
You've spent weeks hunting for the perfect boulder slab—maybe it's the vintage silver finish that catches the afternoon light, or the raw, organic texture that echoes the natural world. Either way, this isn't just a piece of material; it's the centerpiece of your space, whether it's cladding a feature wall, topping a kitchen island, or defining an outdoor patio. But here's the thing: even the most stunning boulder slab will fall flat if its adhesive fails. Loose edges, water damage, or worse—structural instability—can turn your design dream into a maintenance nightmare. That's why choosing the right adhesive and installing it properly isn't just a step in the process; it's the foundation of your project's success. Let's dive into the world of boulder slab adhesives, breaking down the options, best practices, and how to ensure your installation stands the test of time.
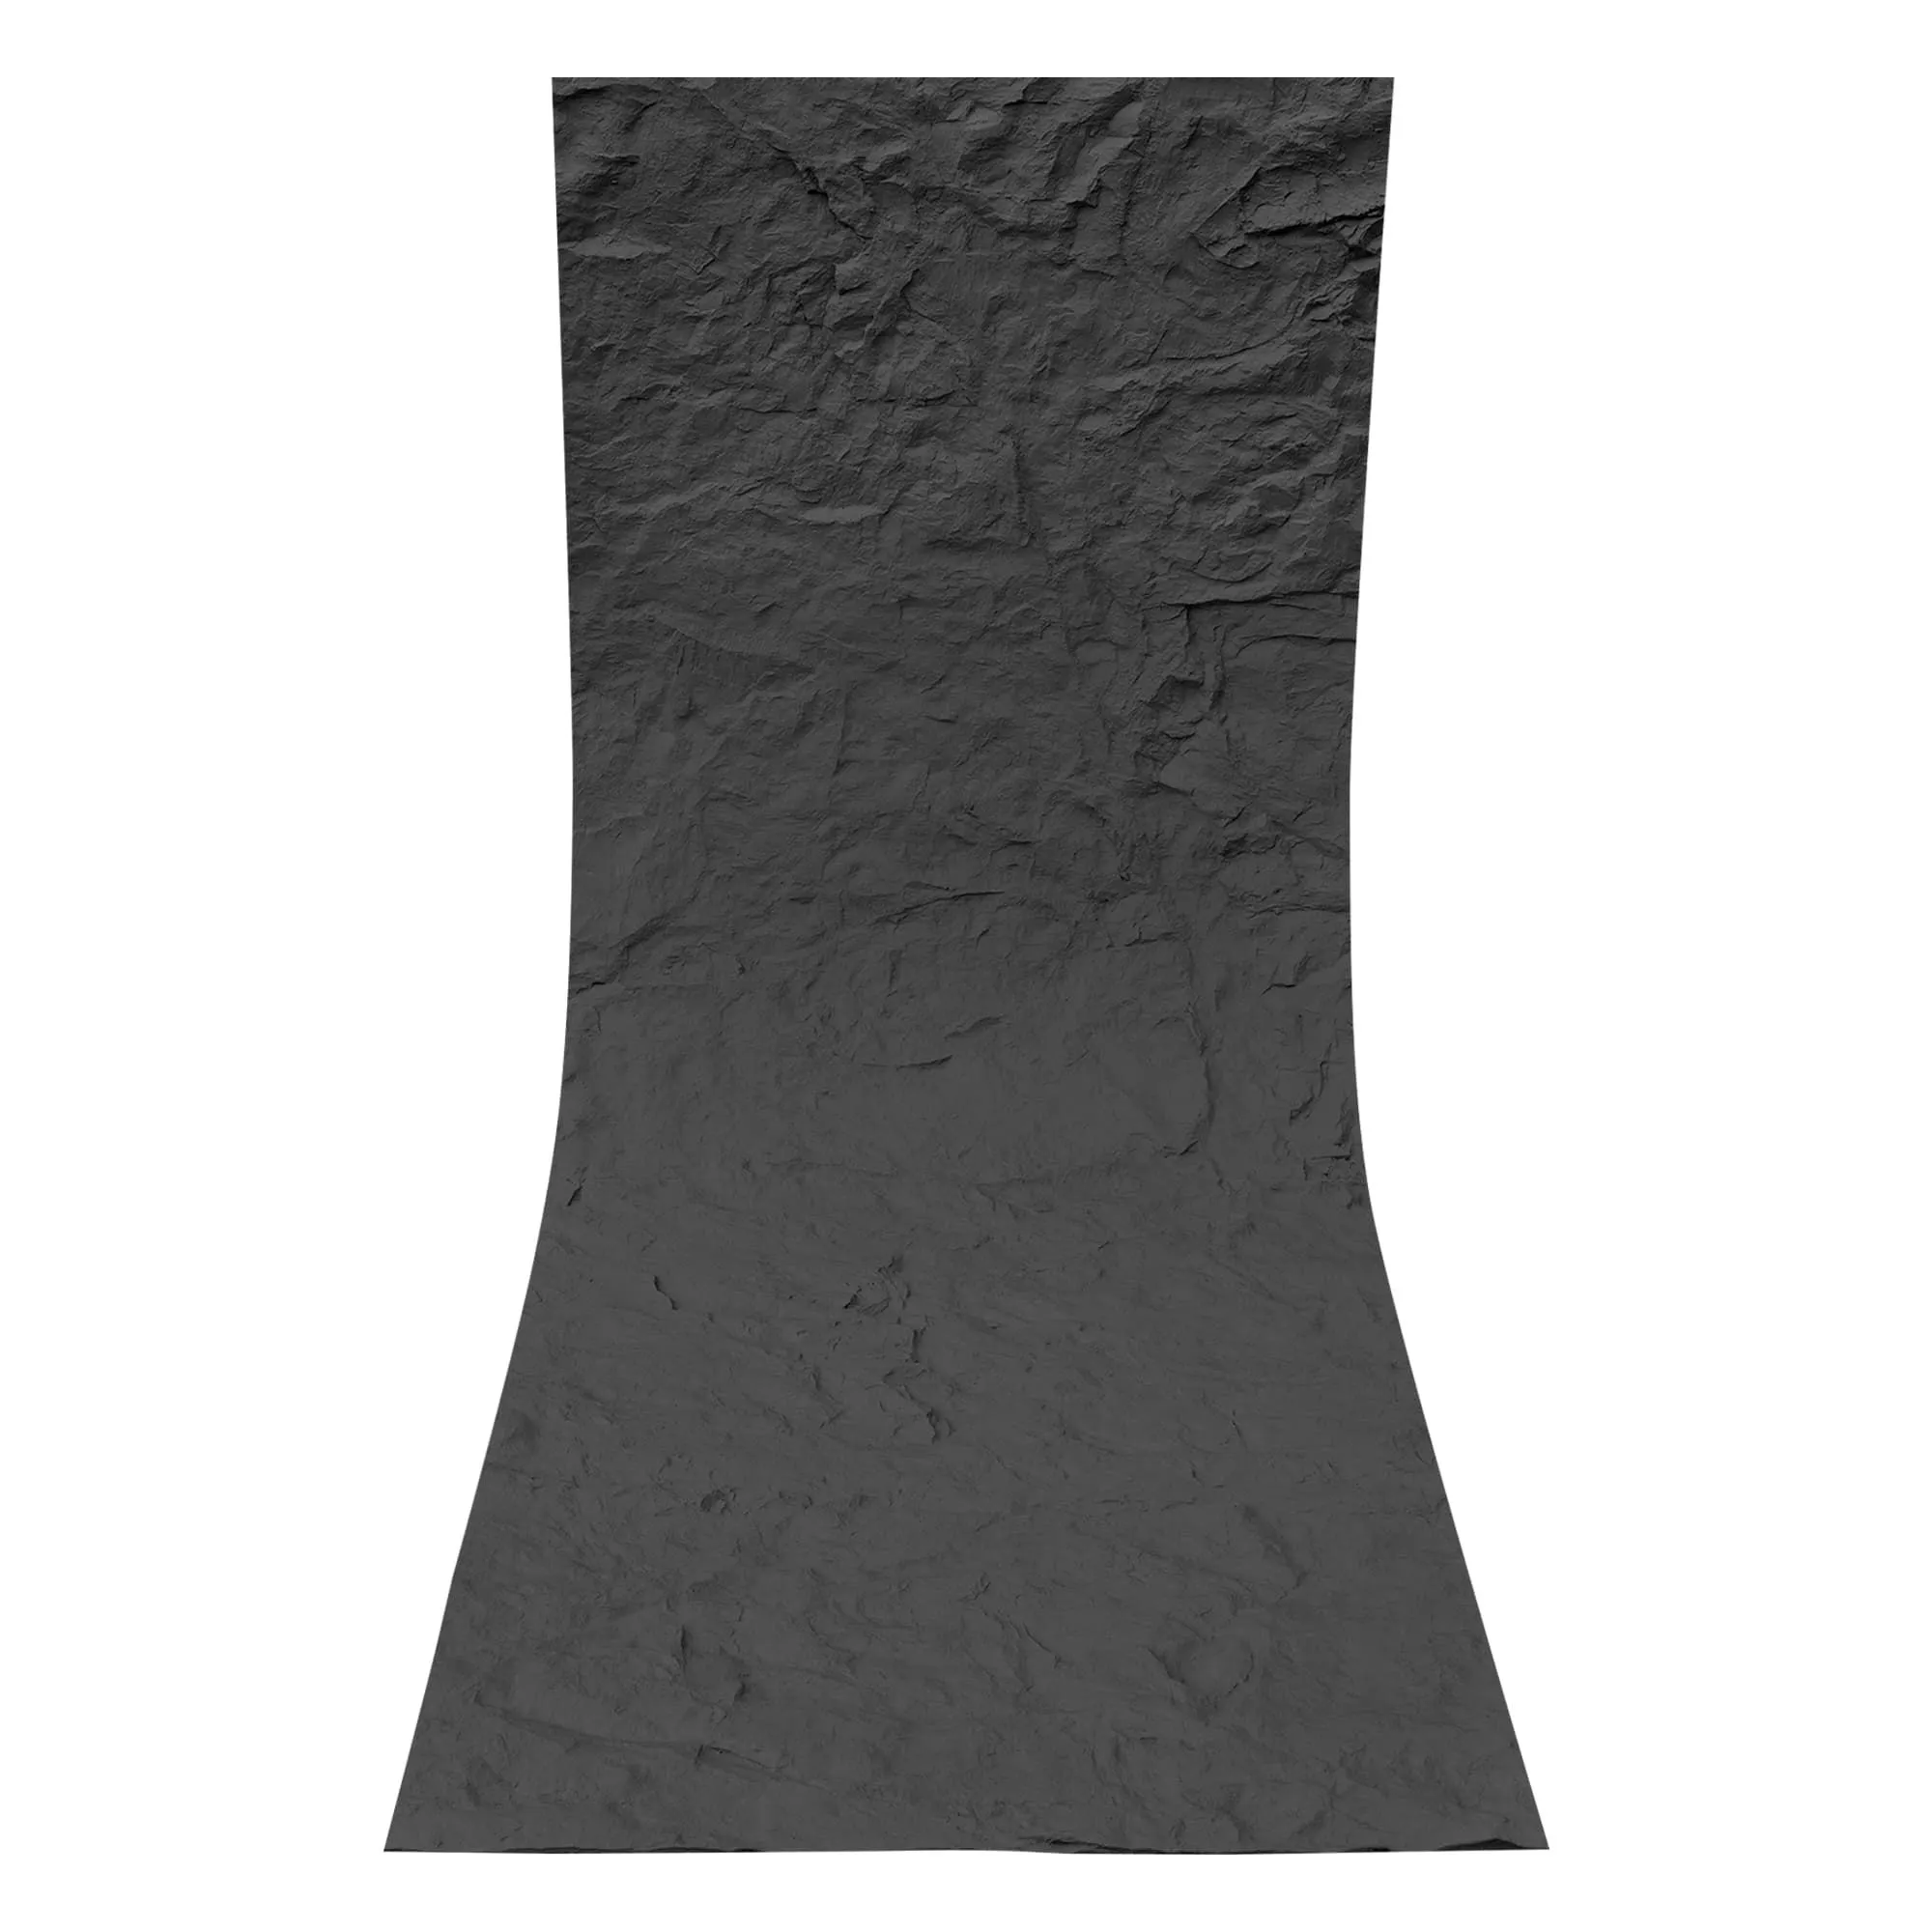
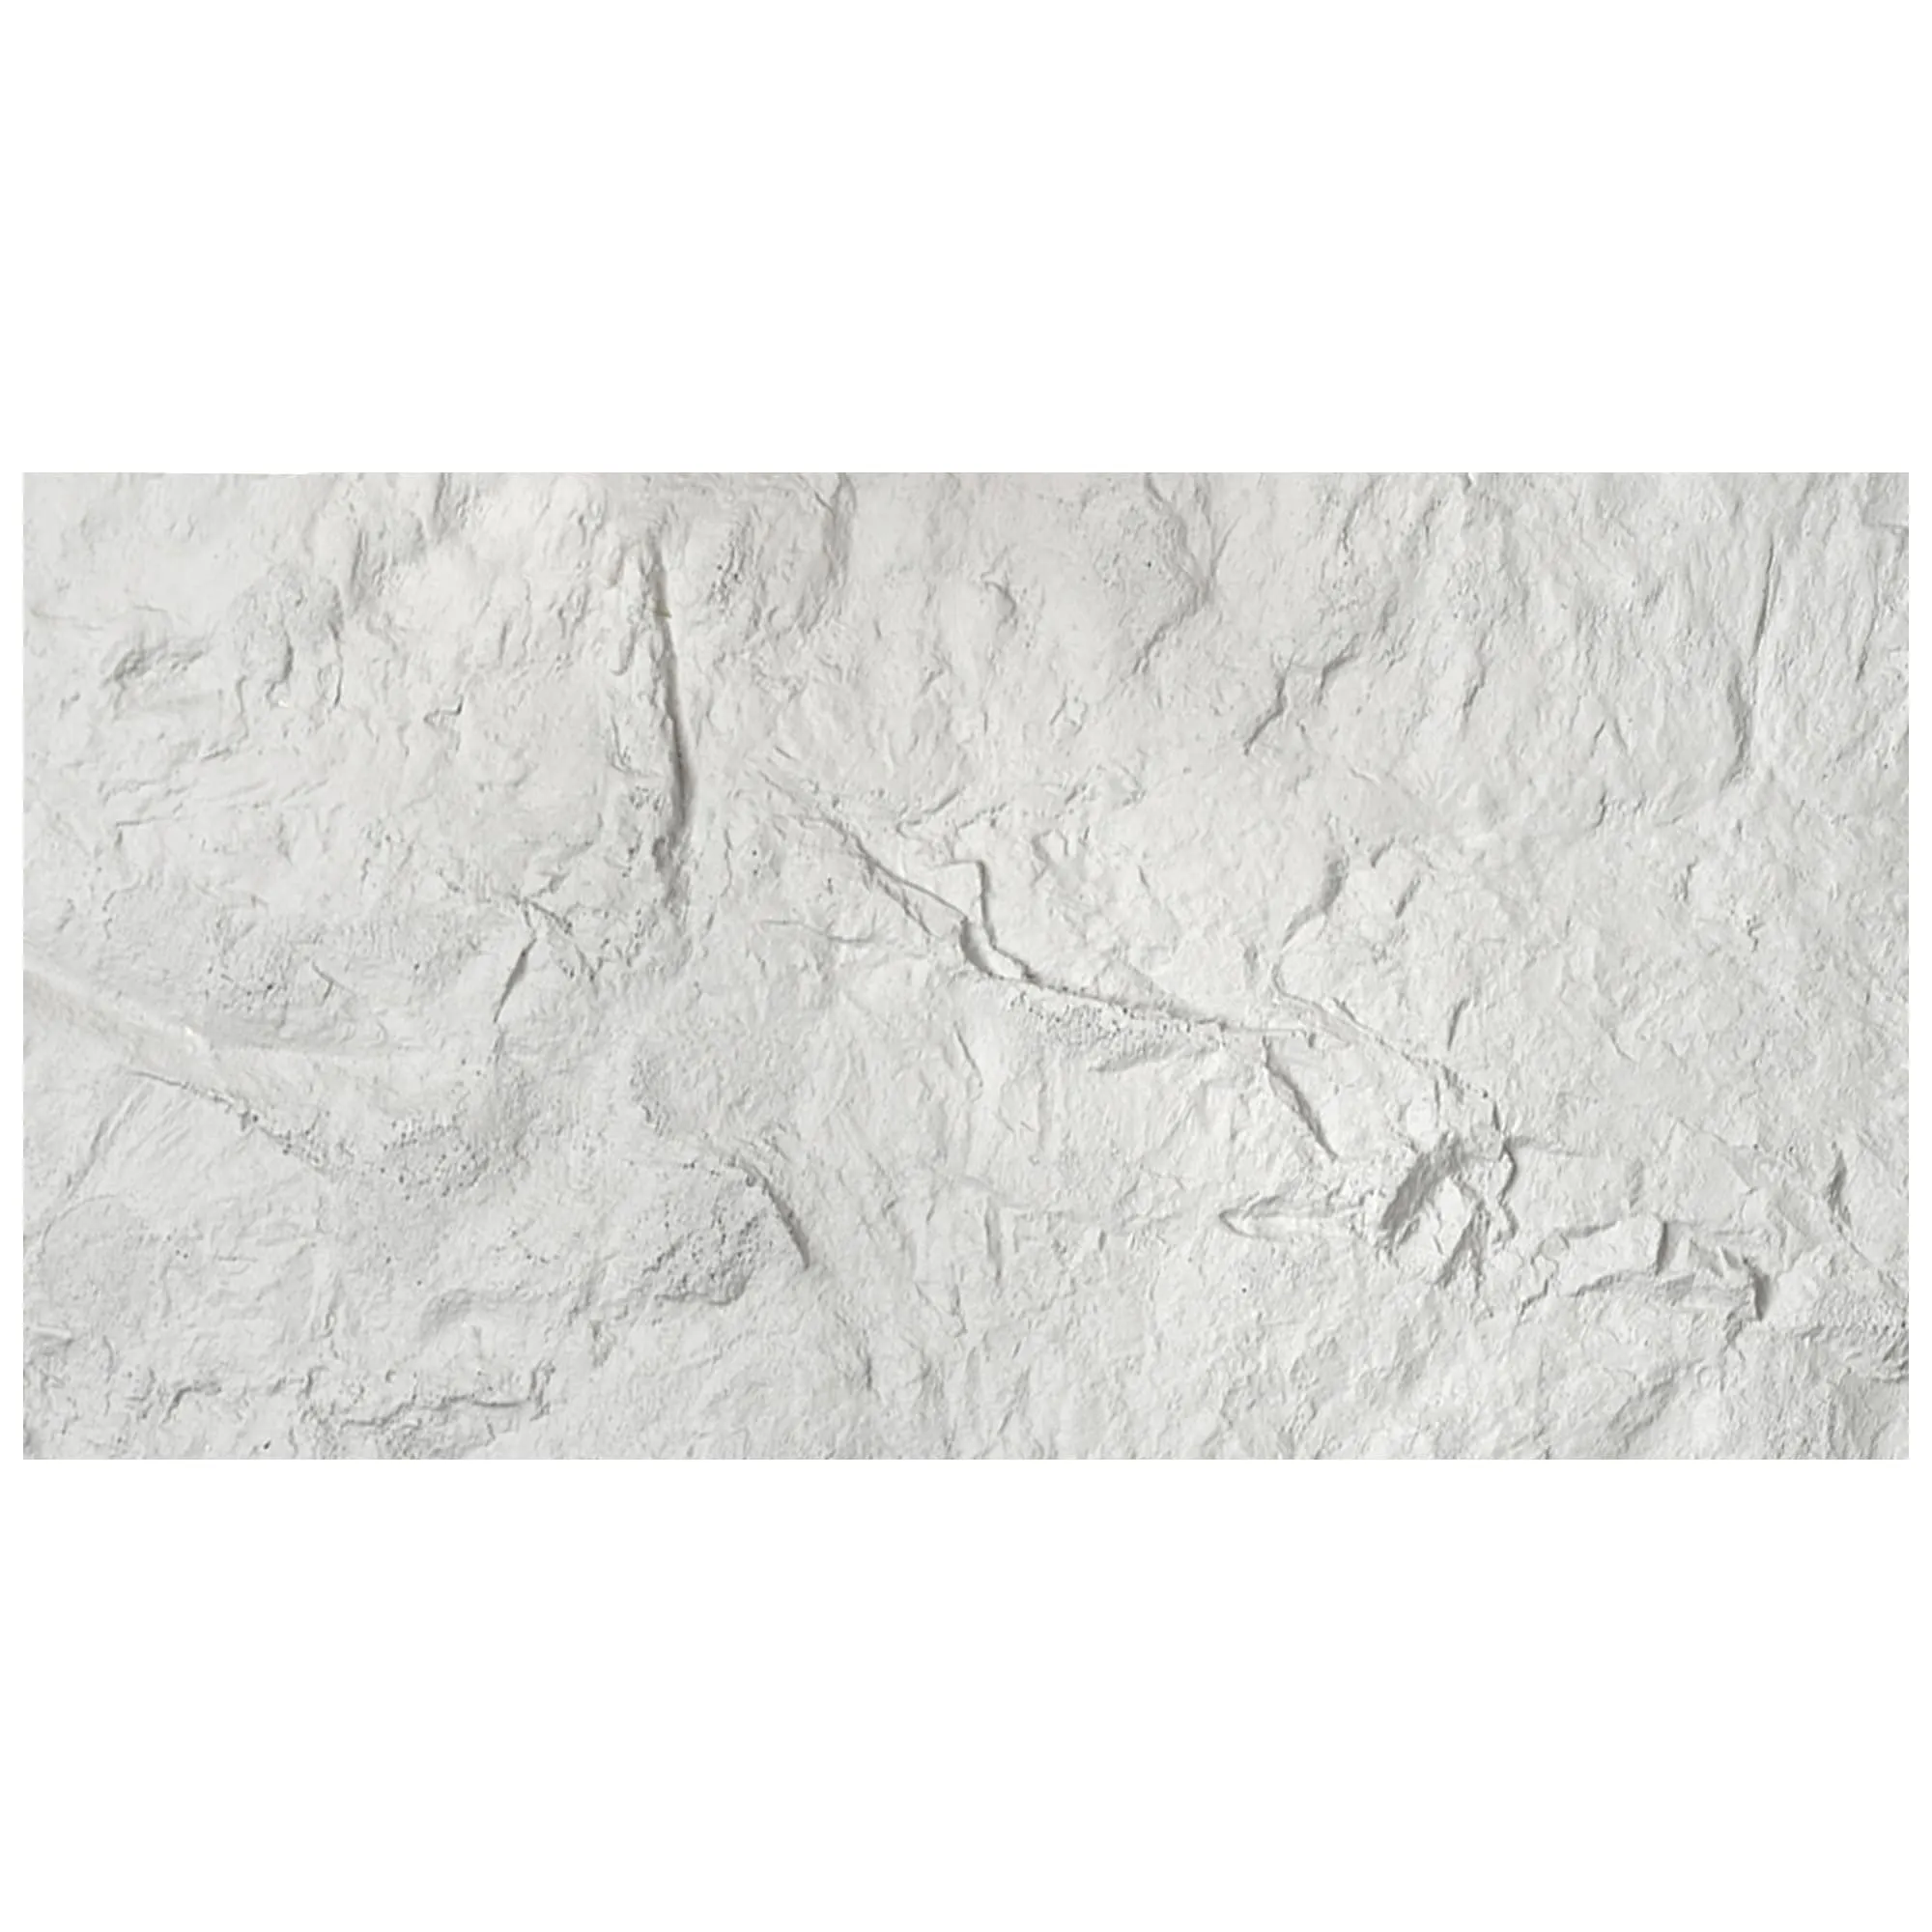
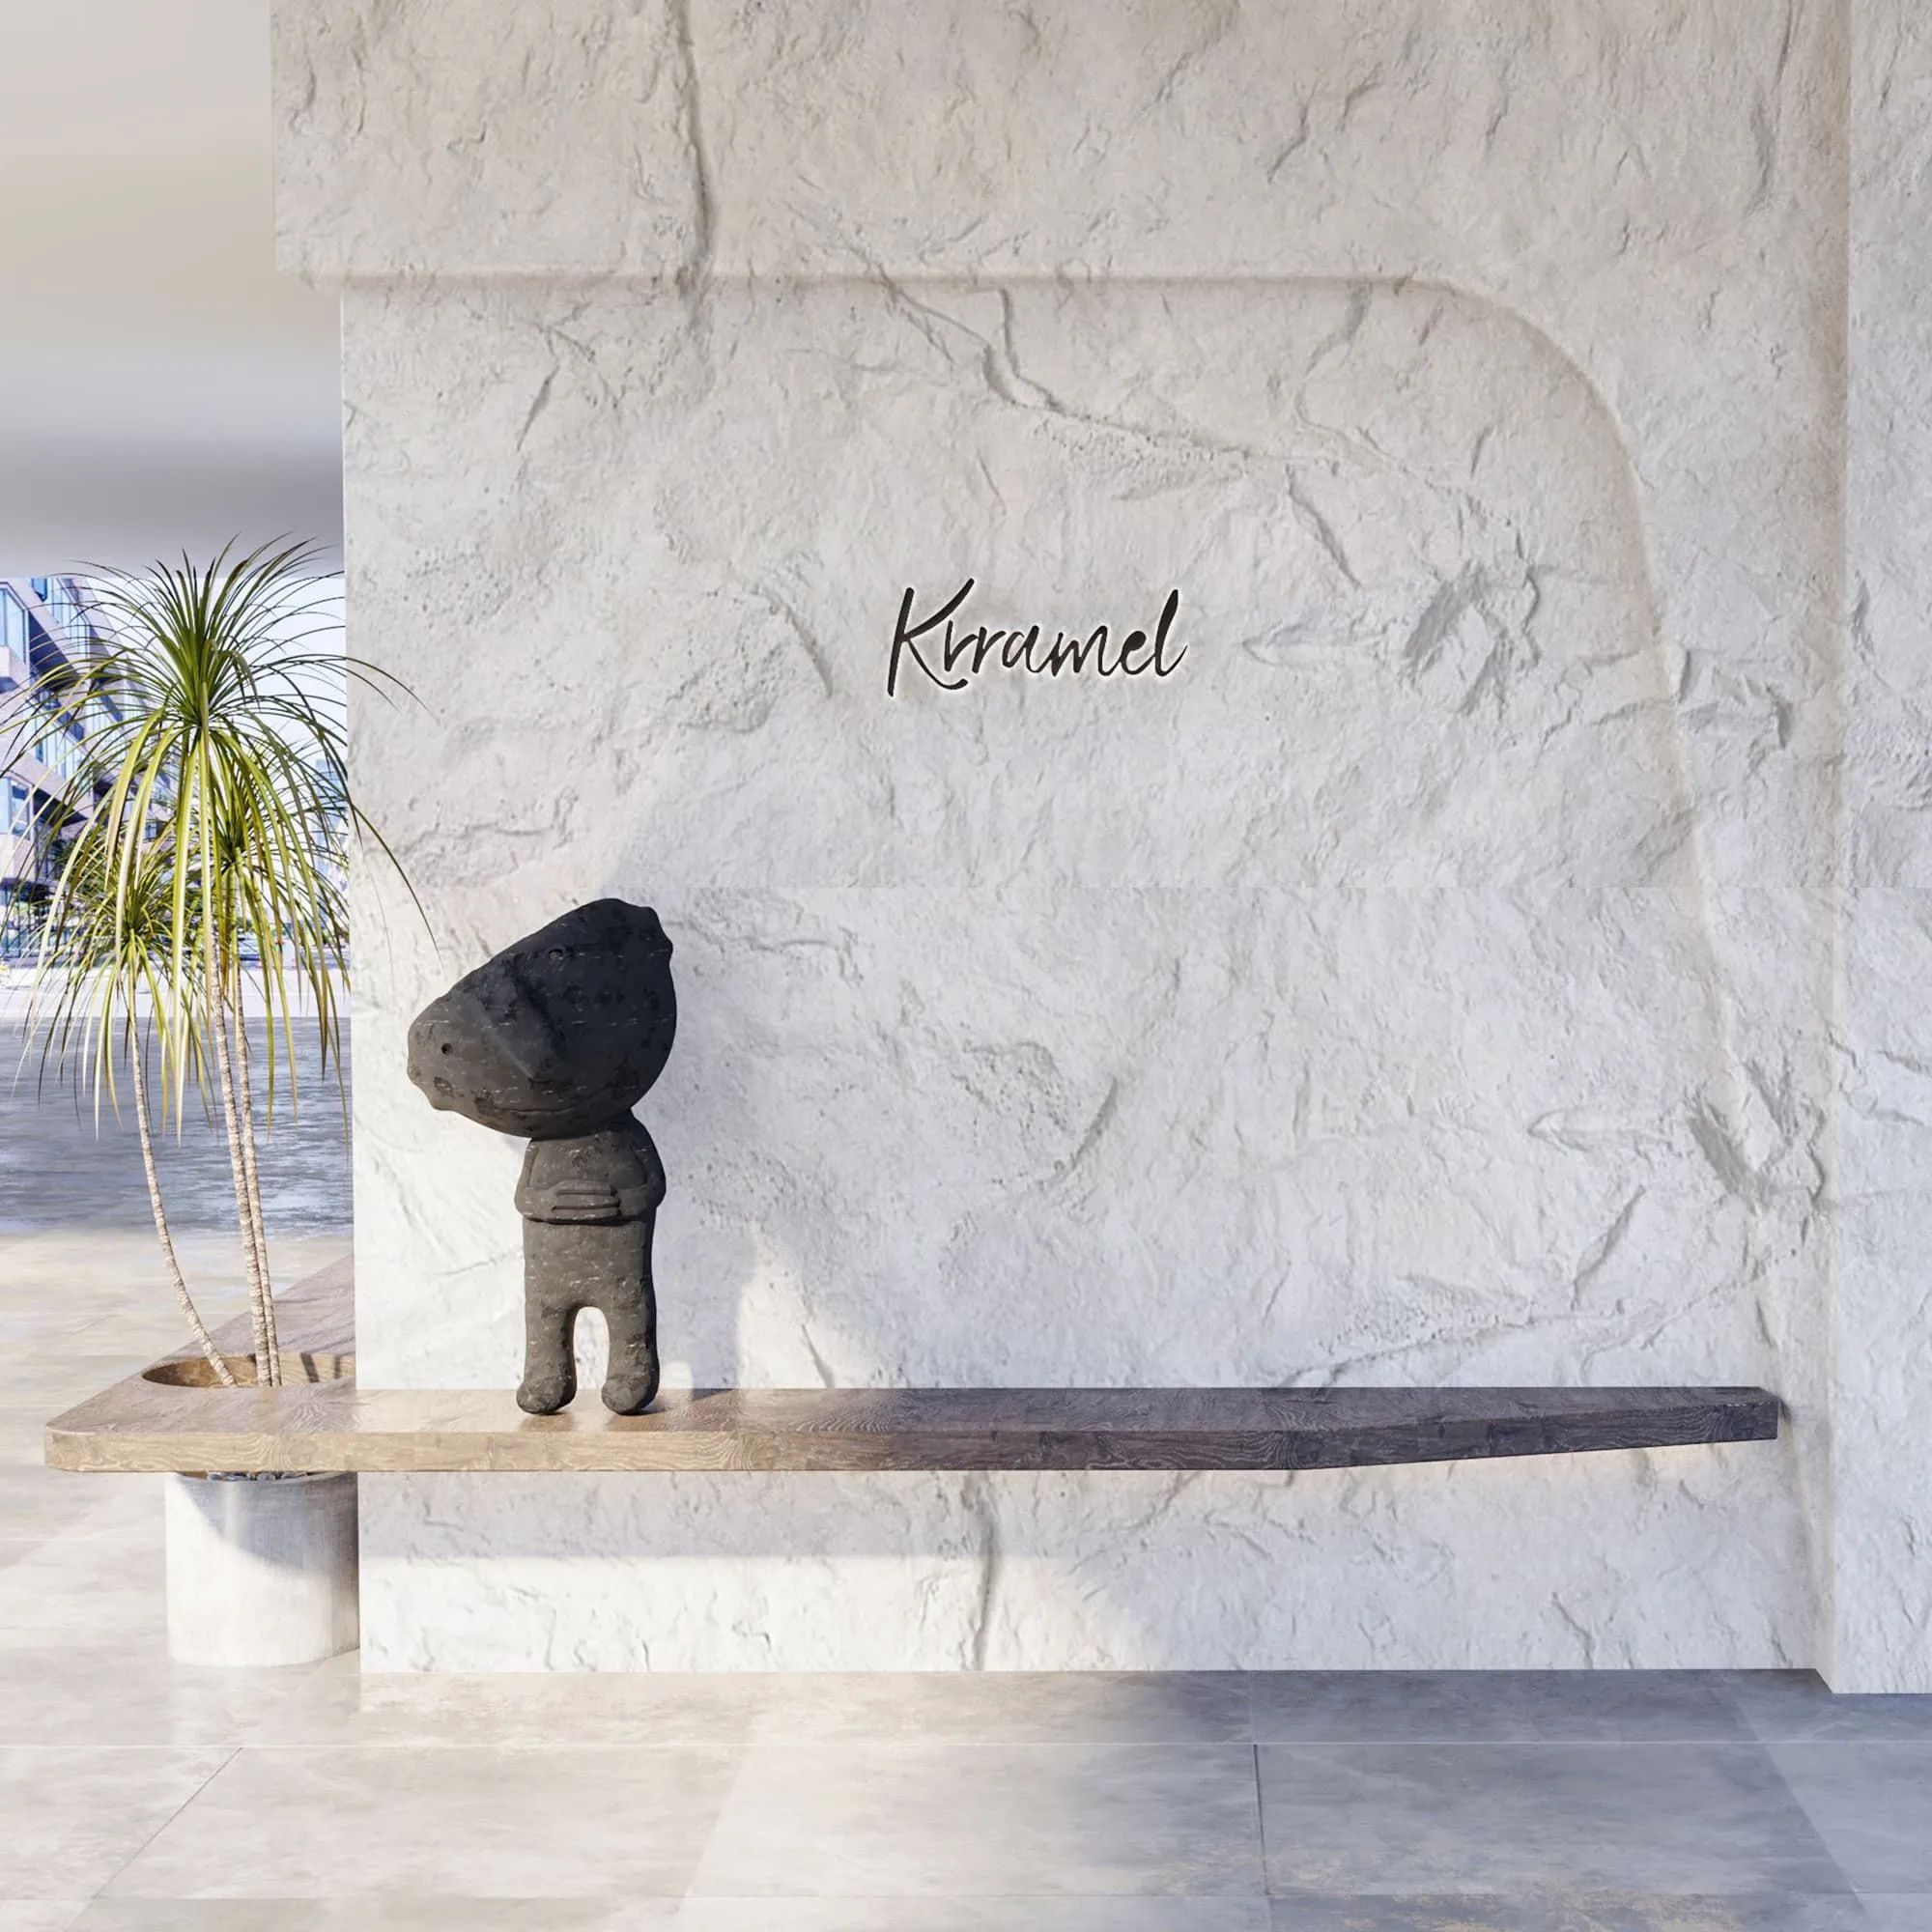
Before we talk adhesives, let's get to know the star of the show: the boulder slab. Unlike sleek marble or uniform concrete, boulder slabs are celebrated for their rugged charm—think irregular edges, natural pits, and variations in color that tell a story of time and geology. They're part of MCM's diverse lineup, sitting alongside materials like travertine (with its starry reds and blues) and flexible stone, but what sets them apart is their heft and uniqueness. A single slab can weigh 50 pounds or more, and its surface isn't always smooth—those nooks and crannies? They're beautiful, but they demand an adhesive that can grip tight, even in tricky spots.
Boulder slabs also come in a range of finishes: vintage silver, vintage gold, vintage black, or the classic natural look. Each has its own personality, but they all share one common need: a bond that can handle their weight, resist environmental stress (rain, heat, cold), and complement their texture. Skip this step, and you might as well hang your slab with chewing gum—temporary, messy, and destined to fail.

Not all adhesives are created equal, and when it comes to boulder slabs, "good enough" doesn't cut it. Let's break down the top contenders, their pros and cons, and when to reach for each one.
Pro Tip:
Always test adhesives on a scrap piece of your boulder slab first. Some finishes (like vintage silver or gold) are sensitive to chemical reactions, and you don't want to end up with discoloration or staining.
If boulder slabs had a soulmate, it might be epoxy. This two-part adhesive (resin + hardener) is known for its brute strength—we're talking tensile strengths of 3,000 psi or more—and its ability to bond to almost anything, including porous surfaces like boulder slabs. What makes it ideal? It's waterproof, heat-resistant (up to 200°F in some formulations), and doesn't shrink as it cures, so you won't get gaps between the slab and substrate.
But epoxy isn't without quirks. It's thick, which means it can fill in those uneven gaps on a boulder slab's back, but it also requires precise mixing—get the ratio wrong, and it won't cure properly. It's also not the most flexible; if your substrate (like a wooden wall) shifts with temperature changes, epoxy might crack over time. Save this for indoor installations or outdoor areas with minimal movement, like a concrete patio where the slab is supported from below.
Think of polyurethane as epoxy's more laid-back cousin. It's still strong (tensile strength around 2,500 psi), but it adds a dash of flexibility—perfect for outdoor projects where temperature swings cause materials to expand and contract. Polyurethane adhesives also bond well to porous surfaces, and many are moisture-curing, meaning they'll set even in humid conditions (hello, coastal homes or rainy climates).
The downside? It's messier than epoxy. It expands as it cures, so you'll need to clamp the slab tightly to prevent it from pushing up, and cleanup requires mineral spirits (no water here). It's also not as heat-resistant as epoxy—keep it away from fire pits or direct sunlight that heats the surface above 150°F. For boulder slabs in shaded outdoor areas or interior walls that see moderate traffic, though, polyurethane is a solid pick.
If you're working on a larger project—say, cladding an entire exterior wall with boulder slabs—cement-based adhesives (often called "thin-set mortar") might be your go-to. They're affordable, easy to mix (just add water), and designed for heavy materials like stone and tile. Many are fortified with polymers these days, boosting their bond strength and flexibility beyond traditional mortar.
But proceed with caution: cement-based adhesives need a dry, clean surface to set properly. If your boulder slab has a lot of pits or cracks, the mortar might not fill them evenly, leading to weak spots. They're also porous, so they'll absorb water if not sealed—bad news for freeze-thaw climates, where trapped water can expand and crack the bond. Save this for indoor projects or covered outdoor areas (like a porch) where moisture is minimal.
Silicone isn't the first adhesive that comes to mind for heavy slabs, but it has its place—especially if your boulder slab is paired with non-porous materials like MCM's foamed aluminium alloy board (vintage silver, for example). Silicone is ultra-flexible, resistant to UV rays, and waterproof, making it great for sealing edges or attaching slabs to metal or glass substrates.
The catch? It's not as strong as epoxy or polyurethane. Use it as a supplement, not the main adhesive—think of it as the "insurance" that keeps water out and adds a little give, rather than the primary bond holding up your slab.

| Adhesive Type | Best For | Strength (Tensile) | Flexibility | Drying Time | Key Considerations |
|---|---|---|---|---|---|
| Epoxy | Indoor slabs, heavy loads, smooth substrates | 3,000–4,000 psi | Low | 4–24 hours (full cure: 7 days) | Requires precise mixing; avoid flexible substrates |
| Polyurethane | Outdoor slabs, temperature swings | 2,000–3,000 psi | High | 6–12 hours (full cure: 24–48 hours) | Expands during cure; needs clamping |
| Cement-Based | Large indoor projects, budget-friendly needs | 1,500–2,500 psi | Moderate | 24 hours (full cure: 28 days) | Needs dry surface; porous (seal after installation) |
| Silicone | Edge sealing, non-porous substrates | 500–1,000 psi | Very High | 2–4 hours (full cure: 24–72 hours) | Use as a supplement, not primary adhesive |
Choosing an adhesive isn't just about picking a type—it's about matching it to your specific slab, substrate, and environment. Here are the key questions to ask before you buy:
The surface you're attaching the boulder slab to matters more than you might think. Concrete? Epoxy or polyurethane will work. Wood? Polyurethane's flexibility handles expansion/contraction better than rigid epoxy. Metal (like MCM's foamed aluminium alloy board)? Silicone or epoxy (but test for corrosion first). Drywall? Skip cement-based adhesives—they'll pull the paper right off. Always check the adhesive manufacturer's guidelines for substrate compatibility.
Outdoor installations face a triple threat: moisture, temperature swings, and UV rays. Polyurethane or epoxy (with UV inhibitors) are your best bets here. Indoor projects have more leeway—cement-based adhesives work for low-moisture areas like living rooms, while epoxy shines in high-traffic zones like kitchens.
A small boulder slab (2x3 feet) might get by with polyurethane, but a large, 50-pound slab needs the brute strength of epoxy. When in doubt, calculate the weight per square foot and check the adhesive's load rating—most brands list a "vertical bond strength" for wall installations, which is critical for keeping slabs from sliding down.
Boulder slabs with rough, pitted surfaces (like vintage black or natural finish) need adhesives that can fill gaps—epoxy or polyurethane work here, as they're thick enough to bridge uneven areas. Smoother finishes (vintage silver or gold) might require a thinner adhesive to avoid squeeze-out that mars the surface. And remember: some adhesives (like oil-based polyurethane) can stain light-colored slabs, so always do a patch test!
Even the best adhesive will fail if the installation is shoddy. Follow these steps to ensure your boulder slab stays put for years:
Start with the substrate: scrape off old adhesive, dust, or debris. For concrete, etch it with a mild acid solution (like muriatic acid diluted with water) to create a rough surface the adhesive can grip. For wood, sand it lightly and apply a primer to seal pores. The slab's back needs love too—wipe it with a damp cloth to remove dust, then let it dry completely (24 hours is ideal). Moisture is the enemy here; even a little can weaken the bond.
Epoxy and polyurethane adhesives are finicky about ratios. Use the mixing cup that comes with the adhesive, or a digital scale for precision—too much hardener in epoxy, and it'll cure too fast (and brittle); too little, and it'll never set. Mix slowly to avoid air bubbles, which create weak spots. For cement-based adhesives, follow the "slump test": the mixed mortar should hold a peak when you lift the trowel, not runny or crumbly.
Use a notched trowel for cement-based adhesives—choose a notch size based on the slab's thickness (1/4-inch notches for thin slabs, 1/2-inch for thicker ones). For epoxy or polyurethane, apply a 1/8–1/4 inch layer to both the substrate and the slab's back (this is called "buttering"). Avoid globs—they'll squeeze out and make a mess, and gaps under the slab will weaken the bond.
Pro Hack:
For vertical installations (like a feature wall), apply adhesive in a "snake" pattern on the slab's back, then add small dabs around the edges. This ensures even coverage and prevents the slab from sliding while the adhesive sets.
Once the slab is in place, clamp it firmly (use padded clamps to avoid scratching the surface) or prop it up with shims if it's vertical. Follow the adhesive's curing time—don't rush! Epoxy might feel dry in 4 hours, but it needs 7 days to reach full strength. Polyurethane takes 24–48 hours, and cement-based adhesives need a full 28 days. Avoid walking on or leaning against the slab during this time—even a little pressure can disrupt the bond.
Wipe away excess adhesive immediately with the right solvent: mineral spirits for polyurethane, isopropyl alcohol for epoxy, or a damp sponge for cement-based. Once cured, check for gaps—fill small ones with silicone caulk. For outdoor installations or porous slabs, apply a sealer to protect against water and stains (this is extra important for boulder slabs with vintage finishes, which can fade in direct sunlight).
Boulder slabs aren't the only stars in MCM's lineup—materials like flexible stone, travertine, and the big slab board series each have their own adhesive needs. Let's see how they stack up:
Flexible Stone: Lighter and more bendable than boulder slabs, flexible stone often uses polyurethane adhesives for their flexibility—critical for curved surfaces or substrates that move. They don't need the heavy-duty strength of epoxy, but they do require a bond that can stretch without cracking.
Travertine: With its porous, pitted surface (think starry red or starry blue travertine), travertine needs an adhesive that can fill gaps without shrinking. Epoxy or polymer-modified cement-based adhesives work here, but avoid water-based formulas—they can seep into pores and cause discoloration.
MCM Big Slab Board Series: These larger, often thinner slabs (like those in the lunar peak or epoch stone lines) balance weight and durability. Polyurethane or epoxy is ideal here, depending on the substrate—foamed aluminium alloy boards, for example, pair well with epoxy to ensure a tight bond.
Even with careful planning, things can go wrong. Here's how to fix the most common adhesive headaches:
Cause: Incorrect mixing ratio (epoxy/polyurethane) or cold temperatures (below 50°F slows curing). Fix: If it's still tacky after 24 hours, scrape off the old adhesive, clean the surface, and reapply with fresh adhesive mixed to the correct ratio. Warm the area with a space heater (keep it below 80°F) to speed curing.
Cause: Weak bond from poor surface prep or insufficient adhesive. Fix: For small cracks, inject epoxy into the gap and clamp until cured. For larger looseness, remove the slab, clean both surfaces, and reinstall with a thicker adhesive layer.
Cause: Adhesive squeeze-out left too long, or chemical reaction with the slab's finish (common with vintage gold/silver). Fix: For fresh stains, wipe with solvent immediately. For cured stains, try a mild abrasive pad (like 400-grit sandpaper) on non-vintage finishes; for vintage, use a stone-safe cleaner (test first!).
At the end of the day, choosing the right adhesive for your boulder slab isn't just about sticking two things together—it's about preserving the beauty and integrity of your project for years to come. Whether you opt for the brute strength of epoxy, the flexibility of polyurethane, or the budget-friendly reliability of cement-based mortar, the key is to prep thoroughly, mix carefully, and give the adhesive time to cure. After all, that vintage silver boulder slab deserves more than a quick fix—it deserves a bond that's as strong and enduring as the stone itself.
So go ahead: pick your adhesive, follow these steps, and watch your boulder slab transform from a piece of material into a masterpiece that stands the test of time.
Recommend Products


