

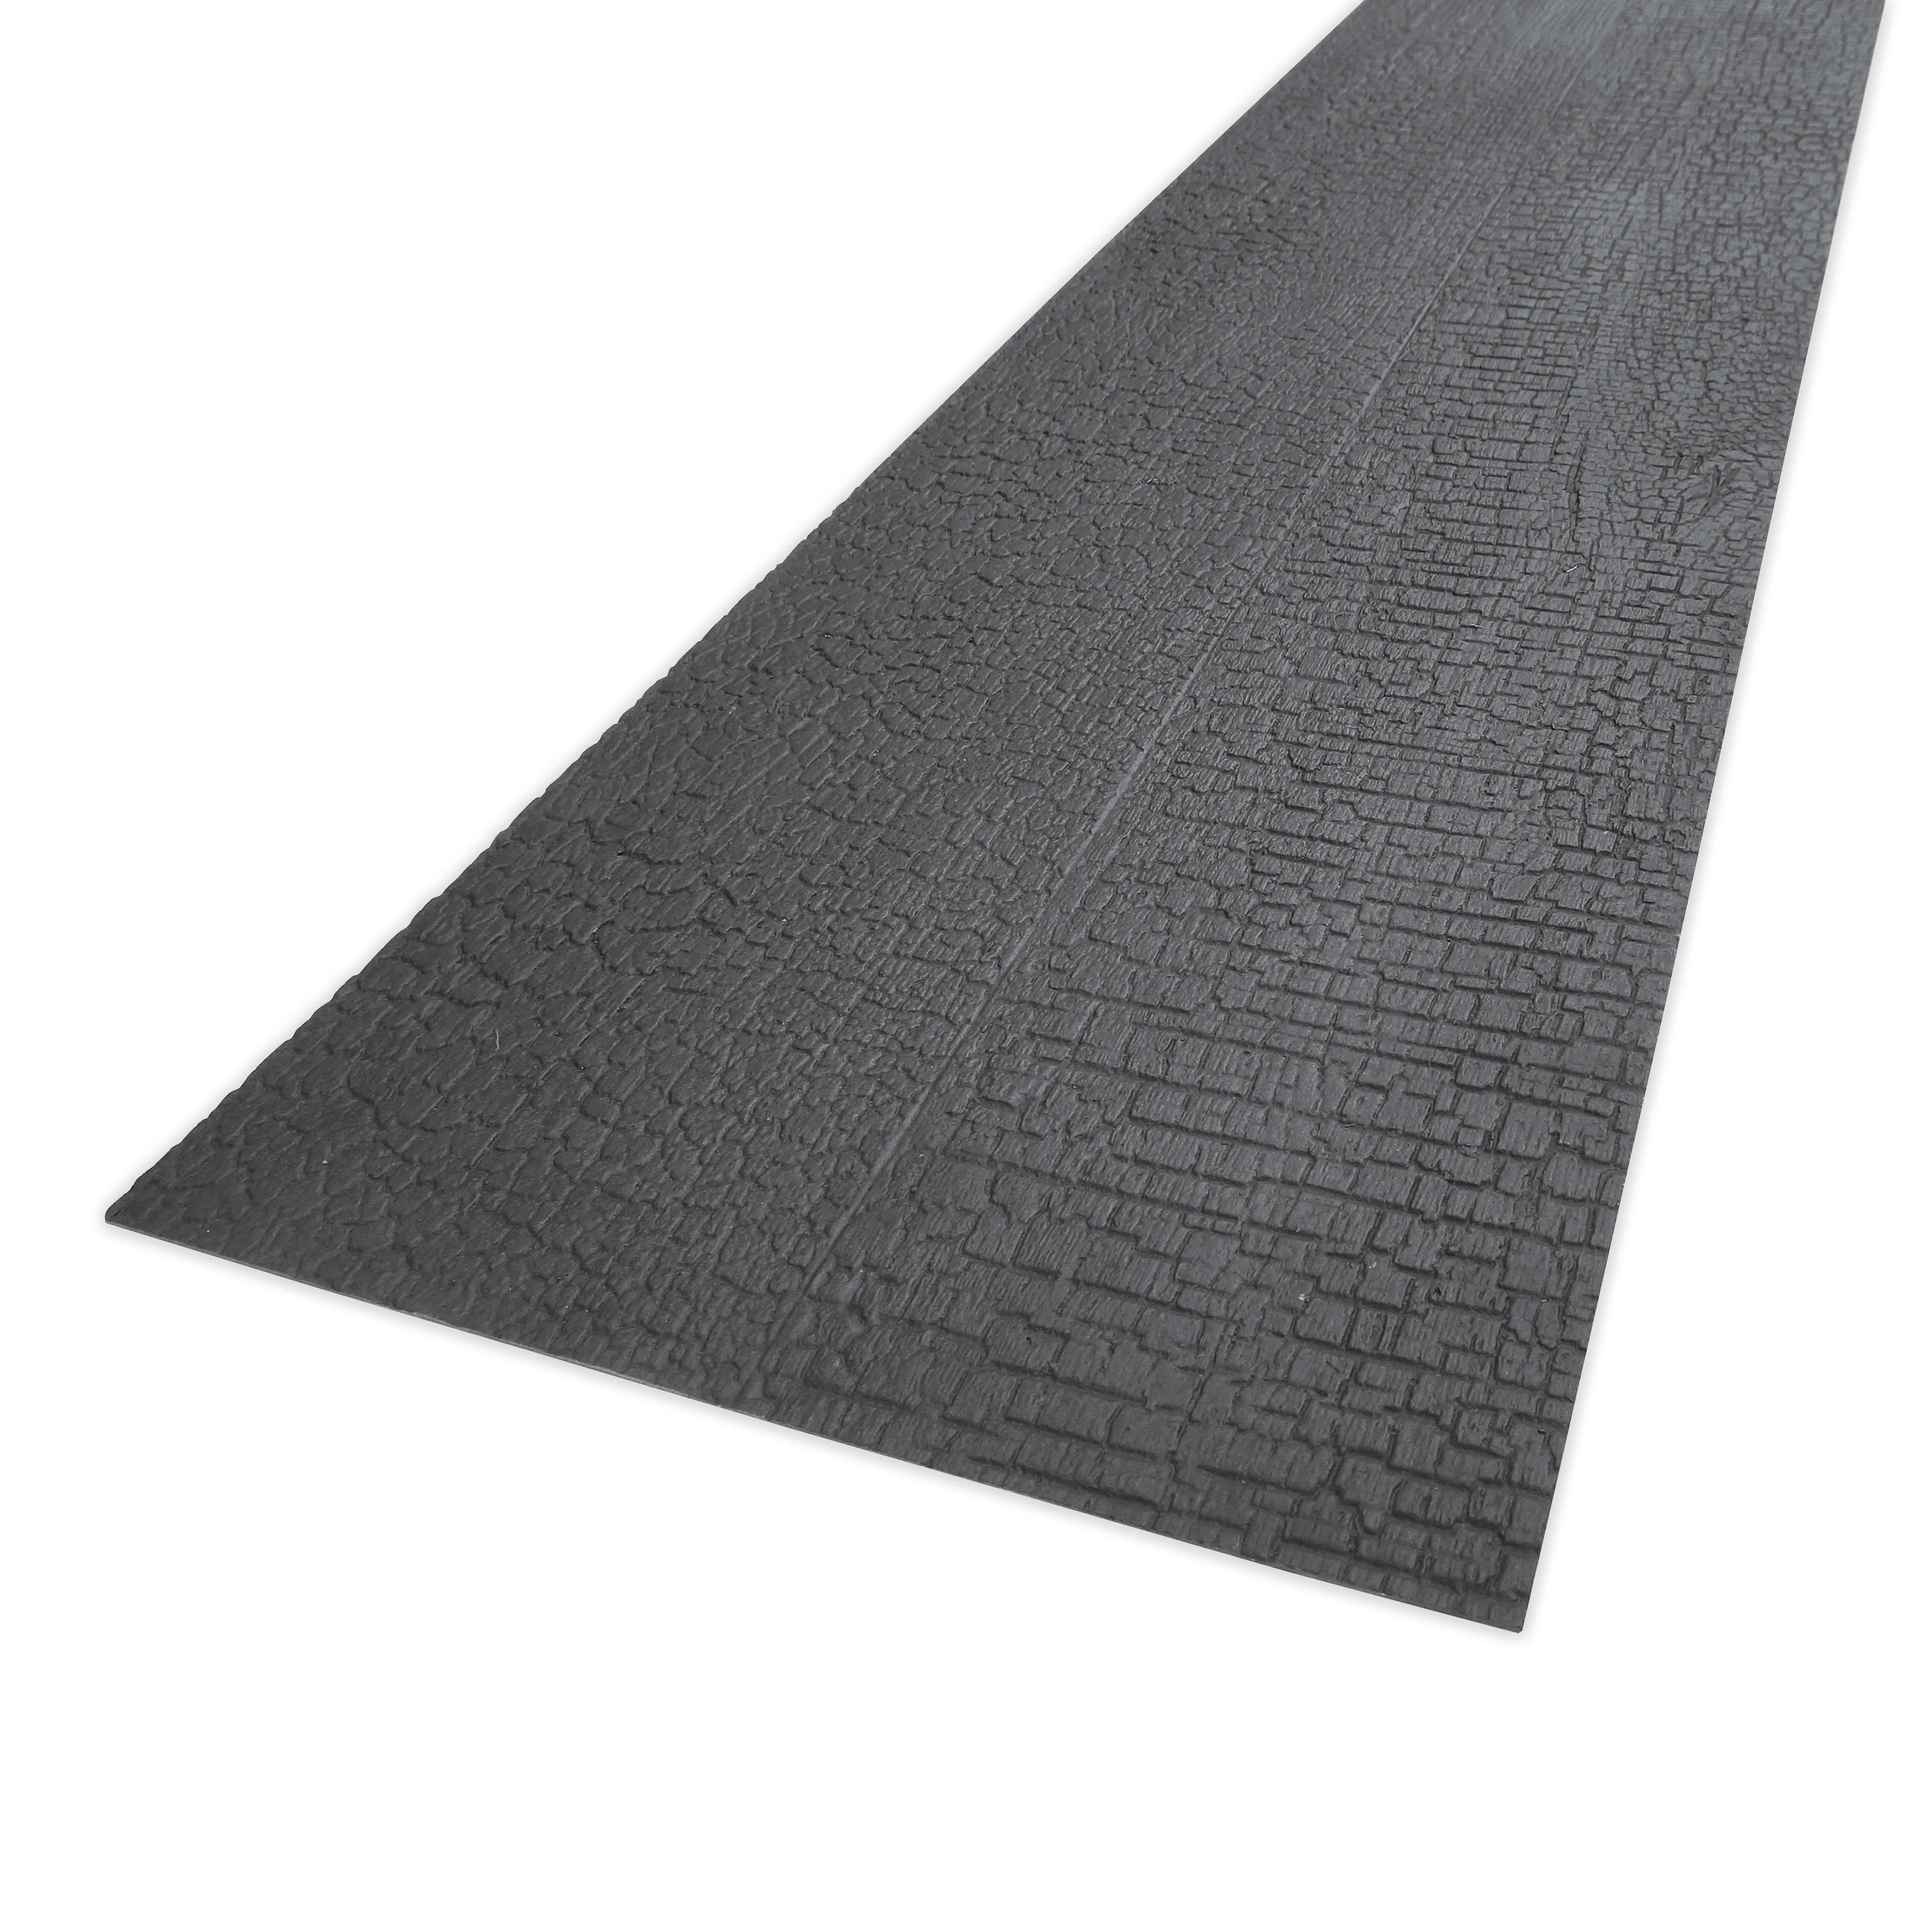
There's a reason charcoal burnt wood boards have become a darling of interior and exterior designers alike. Their deep, smoky hues—rich with undertones of umber and charcoal—paired with the tactile texture of charred grain, bring warmth and character to any space, whether it's a modern kitchen backsplash, a rustic accent wall, or an outdoor patio. But here's the thing: even the most stunning materials can fall flat if installed incorrectly. Over the years, I've seen too many projects where the beauty of charcoal burnt wood is marred by warped panels, unsightly gaps, or premature wear—all because of avoidable mistakes. Let's walk through the most common pitfalls and how to steer clear of them, so your installation shines as bright as the material itself.
Imagine spending weeks selecting the perfect batch of charcoal burnt wood boards, only to mount them on a substrate that's uneven, damp, or covered in debris. It's like building a house on sand—sooner or later, things will start to crumble. Many DIYers and even some pros rush this step, assuming any flat surface will do. But charcoal burnt wood, with its slightly porous surface and tendency to expand or contract with moisture, is surprisingly picky about its "bed."
Take fair-faced concrete , for example—a popular substrate for its industrial-chic appeal. On the surface, it looks smooth, but up close, you might find tiny cracks, (residual cement slurry), or even moisture trapped beneath the surface. If you skip cleaning, sanding, and sealing that concrete first, the boards won't adhere properly. Moisture will seep into the wood, causing warping or mold, while debris will create uneven pressure points, leading to cracks over time.
The same goes for other substrates, like plywood or even rammed earth board (a material known for its earthy, textured finish). Rammed earth is naturally porous, so without a primer to seal its surface, it will wick moisture from the air into the wood boards. I once visited a café where the owner installed charcoal burnt wood over unsealed rammed earth walls; within a year, the bottom edges of the boards had swollen and turned a dull, water-stained gray—a far cry from the crisp, dramatic look they'd envisioned.
| Substrate Type | Key Preparation Steps | Common Pitfalls to Avoid |
|---|---|---|
| Fair-Faced Concrete | Sand rough spots, repair cracks, apply concrete primer | Ignoring residual moisture; leaving cement residues |
| Rammed Earth Board | Seal with breathable masonry sealer, sand uneven areas | Using non-breathable sealers that trap moisture |
| Plywood | Sand to remove splinters, apply wood conditioner | Using untreated plywood in high-moisture areas |
Fasteners might seem like an afterthought, but they're the unsung heroes holding your installation together. The problem? Many people grab the first box of nails or screws they find at the hardware store, without considering the unique needs of charcoal burnt wood. Unlike wood grain board (which often has a smoother, more uniform density), charcoal burnt wood has areas of varying density—softer, unburnt wood alongside harder, charred layers. Using the wrong fastener here is a recipe for disaster.
Let's start with length: too short, and the fastener won't penetrate the substrate deeply enough, causing the board to loosen over time. Too long, and you risk piercing through the substrate (especially on walls) or splitting the wood. For most 1/2-inch thick charcoal burnt wood boards, a 1 1/4-inch screw is ideal—long enough to grip the substrate (plywood, concrete, etc.) by at least 3/4 inch, but not so long that it causes splitting.
Material matters too. I've seen installations where standard steel nails were used outdoors; within months, they rusted, leaving orange streaks bleeding through the wood's surface. Charcoal burnt wood, even when sealed, is still wood—it needs corrosion-resistant fasteners. Stainless steel or hot-dipped galvanized screws are non-negotiable, especially in humid climates or outdoor settings. And avoid electroplated fasteners—they might look shiny, but their thin coating wears off quickly, exposing the steel beneath.
The charred outer layer of these boards is brittle, so driving a screw directly into it can cause splitting. Pre-drill pilot holes slightly smaller than the screw diameter (about 1/64 inch smaller) to guide the fastener without cracking the wood. For bamboo mat board —another material with a layered structure—this step is equally critical, as bamboo fibers can splinter easily under pressure.
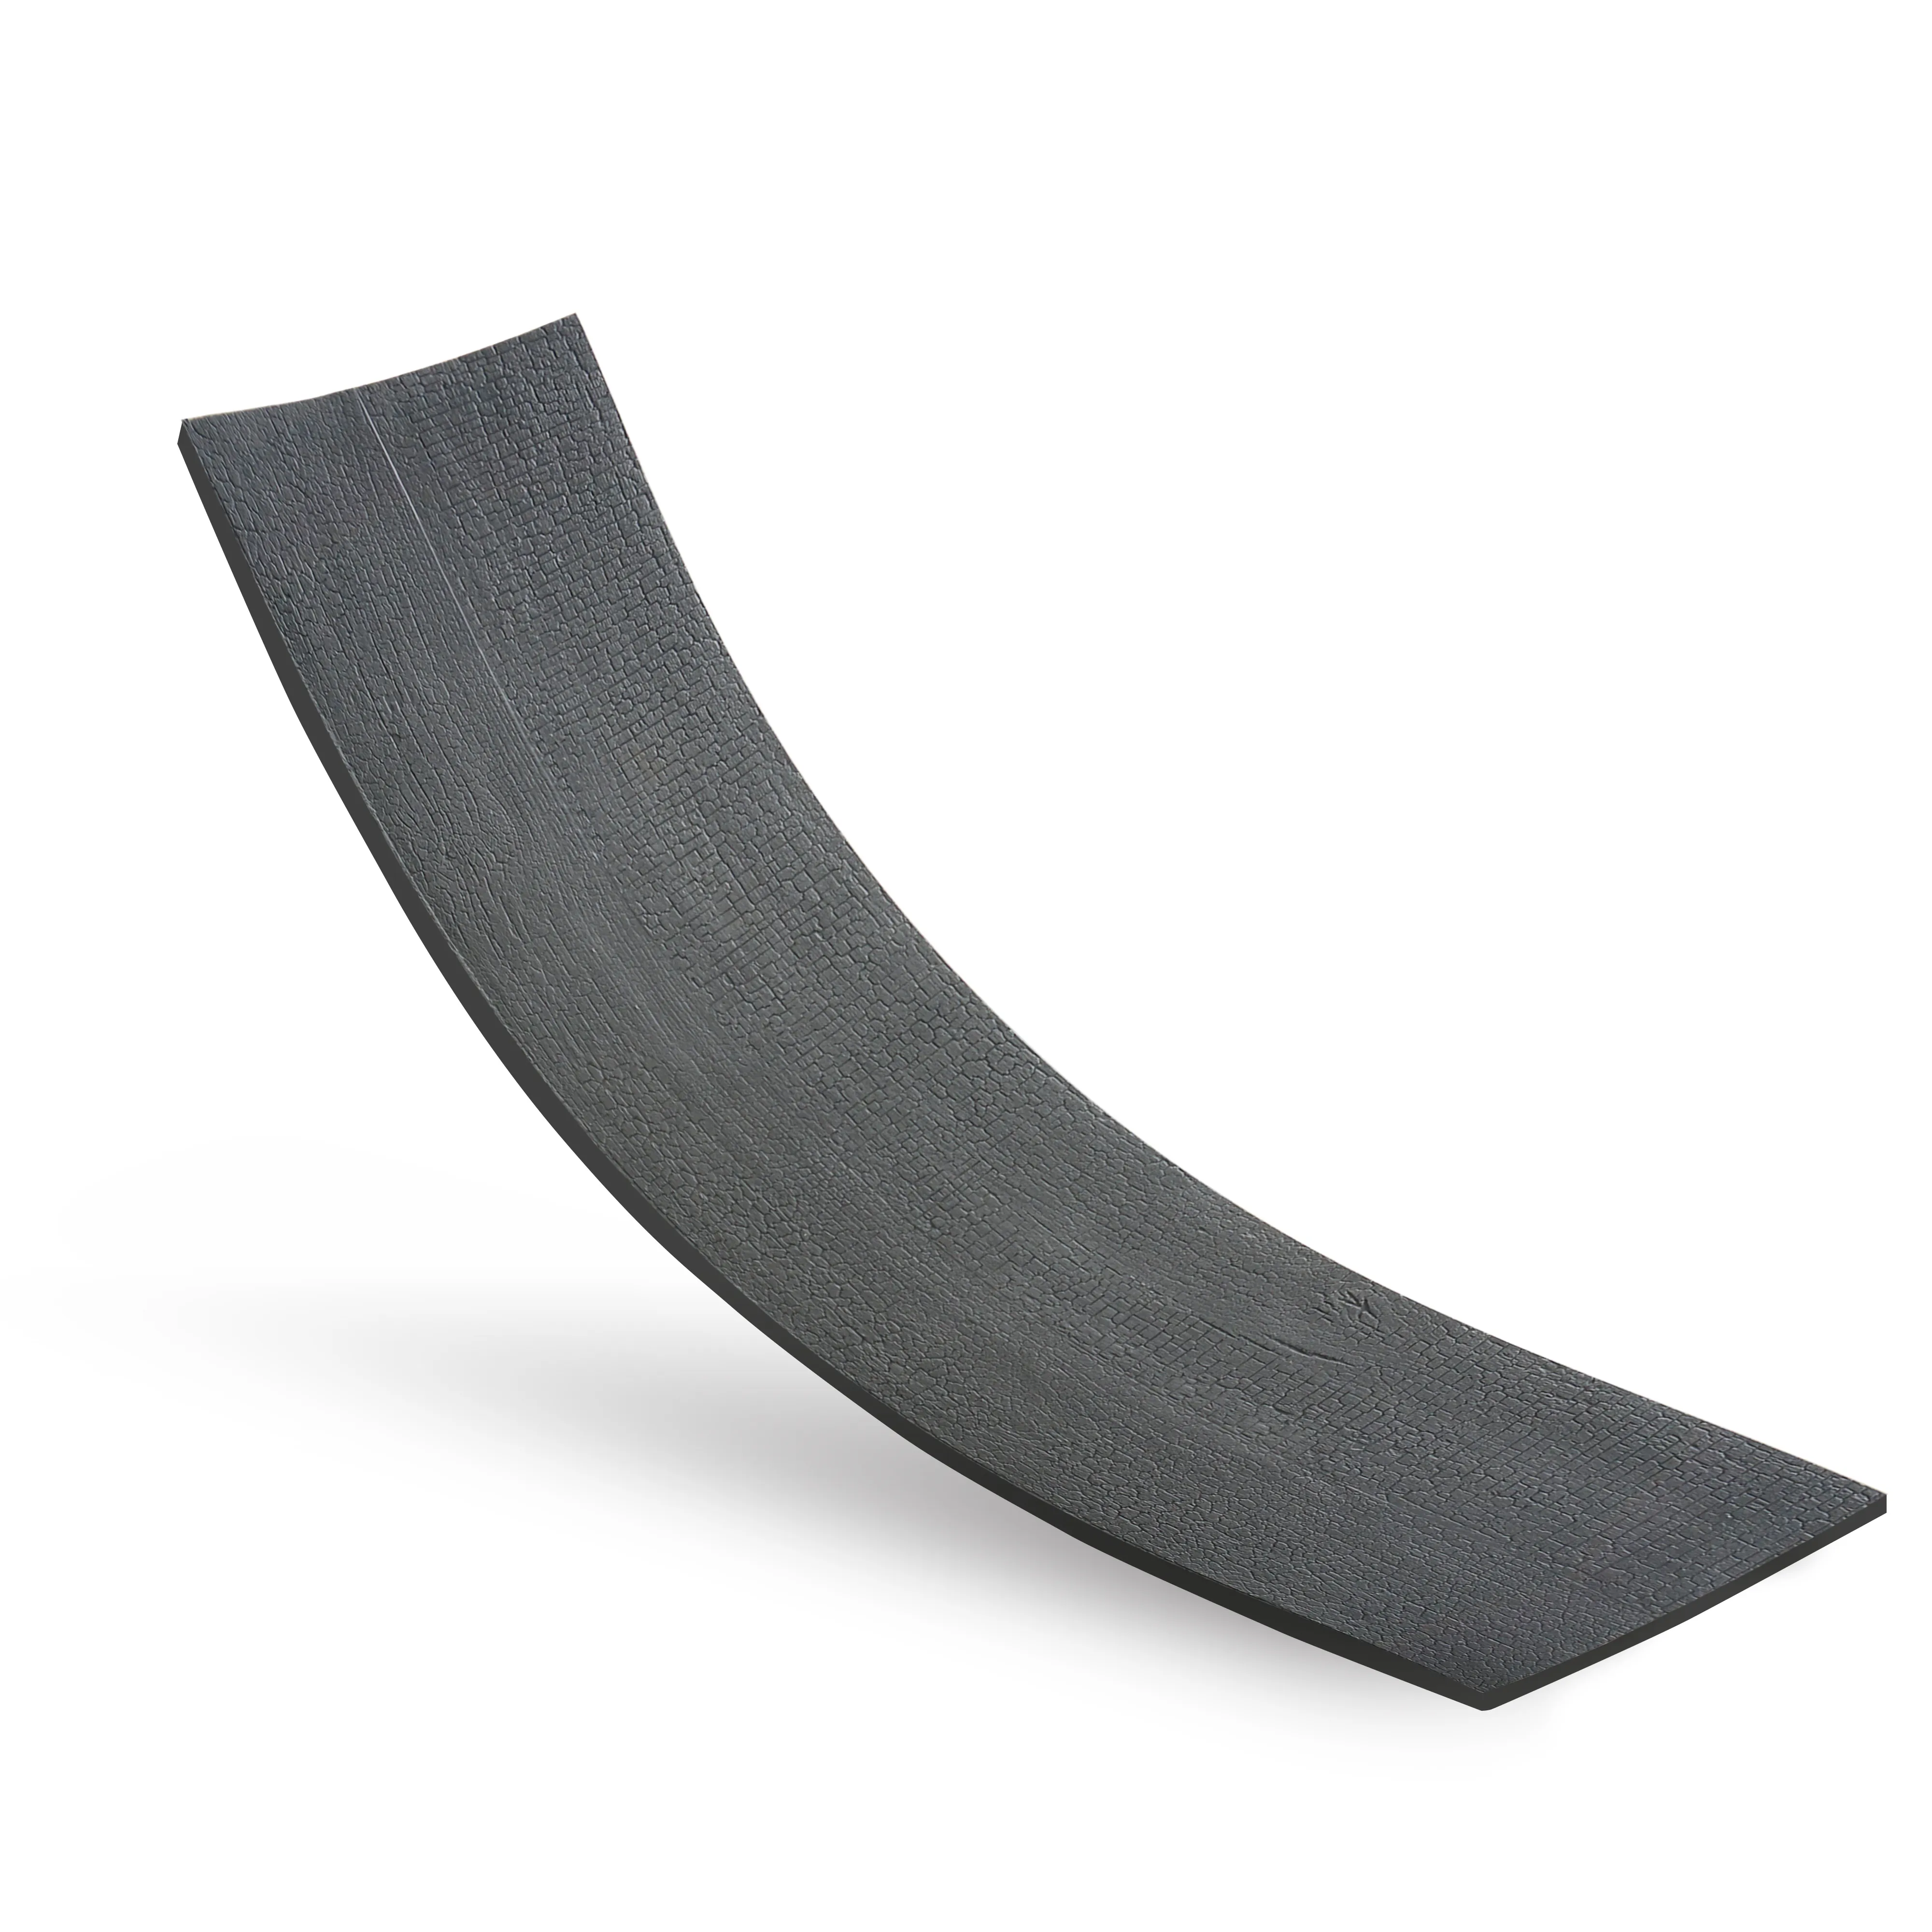
Wood is a living material, even after it's been harvested and treated. It expands when humid, contracts when dry, and shifts with temperature changes. Charcoal burnt wood is no exception—if anything, its charred surface makes it slightly more sensitive to moisture. Yet, I've lost count of how many installations I've seen where boards were installed straight out of the box, without acclimating to the space first.
Here's what happens: You order boards from a warehouse in a dry, air-conditioned facility and install them immediately in your coastal home, where humidity hovers around 70%. The wood absorbs moisture, swells, and starts pushing against adjacent boards—no expansion gaps? Now you've got buckling or warped panels. Conversely, installing in a dry winter and skipping gaps means summer humidity will cause the same problem.
Outdoor installations face even more challenges. UV rays can fade the wood's rich color over time, while rain and snow can seep into unprotected edges. I once worked on a backyard project where the homeowner installed charcoal burnt wood boards without a rain screen—airflow behind the boards that prevents moisture buildup. After a rainy season, the boards trapped water against the wall, leading to rot at the mounting points.
Charcoal burnt wood's surface is a study in contrasts: smooth in some areas, pitted and porous in others. That porosity is part of its charm, but it's also its Achilles' heel. Without proper sealing, spills (like wine or cooking oil indoors) or rain (outdoors) will soak into the wood, leaving stains that are nearly impossible to remove. Worse, UV rays will fade the deep charred color to a dull, ashy gray over time.
The mistake here isn't just skipping sealing—it's using the wrong type of sealer. Many people reach for polyurethane, a common wood finish, but it's too rigid for charcoal burnt wood. As the wood expands and contracts, polyurethane can crack, allowing moisture to seep in. Instead, opt for a breathable, penetrating oil sealer (like linseed oil or tung oil) or a water-based acrylic sealer designed for exterior wood. These products soak into the wood, protecting from within while still allowing it to "breathe."
Application matters too. A single coat won't cut it—plan for 2-3 thin coats, sanding lightly between coats with fine-grit sandpaper (220-grit) to ensure even coverage. I recently helped a client refinish their charcoal burnt wood dining table, which had been sealed with one thick coat of polyurethane. The finish was peeling in patches, and moisture had stained the wood underneath. After stripping the old finish and applying three thin coats of tung oil, the table looked brand new—rich, deep, and protected.
Don't forget the edges! The cut edges of the boards are raw wood, even if the surface is charred. Sealing them thoroughly is just as important as the front face—otherwise, moisture will wick in through those unprotected areas.
Sometimes, the biggest disappointments come from the smallest oversights. Take wood line alignment, for example. Charcoal burnt wood often has visible grain patterns; if you install boards with the grain running haphazardly (some vertical, some horizontal), the overall look becomes chaotic, undermining the material's natural beauty. Taking 10 extra minutes to lay out boards on the floor first, arranging them for consistent grain direction and color variation, makes a world of difference.
Or consider fastener placement. Driven too close to the edge, and you'll split the board; too far from the edge, and the board might warp. A good rule of thumb: fasteners should be at least 3/4 inch from the board's edge and spaced 12-16 inches apart along the length. For longer boards (over 4 feet), add a third fastener in the middle to prevent sagging.
And let's talk about color matching. Charcoal burnt wood can vary slightly in hue—some boards may have more orange undertones, others more blue-gray. If you pull boards randomly from the stack, you might end up with a patchy, "splotchy" wall. Instead, sort boards into light, medium, and dark piles, then intersperse them evenly during installation for a balanced, cohesive look.
Installing charcoal burnt wood boards isn't just about nailing (or screwing) wood to a wall—it's about respecting the material, planning for its quirks, and taking the time to do it right. By avoiding these common mistakes—prepping the substrate, using the right fasteners, accounting for nature, sealing properly, and sweating the small details—you'll create an installation that not only looks stunning today but stands the test of time.
Remember: The beauty of charcoal burnt wood lies in its authenticity—its knots, its grain, its charred texture. With careful installation, you're not just building a surface; you're creating a story. And that story deserves to be told well.
Recommend Products


