

There's something undeniably striking about Charcoal Burnt Wood Board. Its deep, smoky hues and textured surface—crafted by carefully burning the wood's outer layer—add warmth and character to everything from accent walls to furniture pieces. It's no wonder designers and homeowners alike are drawn to its rustic-modern charm. But here's the thing: installing this material isn't as simple as nailing up regular plywood. Its unique burnt finish and density mean you need the right tools to avoid damaging the board, ensure a secure fit, and keep that signature aesthetic intact.
Whether you're a seasoned contractor or a DIY enthusiast tackling your first project, skimping on tools can lead to splintered edges, loose fasteners, or even warped boards down the line. In this guide, we'll walk you through the essential equipment you need to install Charcoal Burnt Wood Board like a pro. We'll also touch on how these tools compare to those used for similar materials—think wood grain board or rough granite stone—to give you a sense of what makes Charcoal Burnt Wood Board installation unique. Let's dive in.
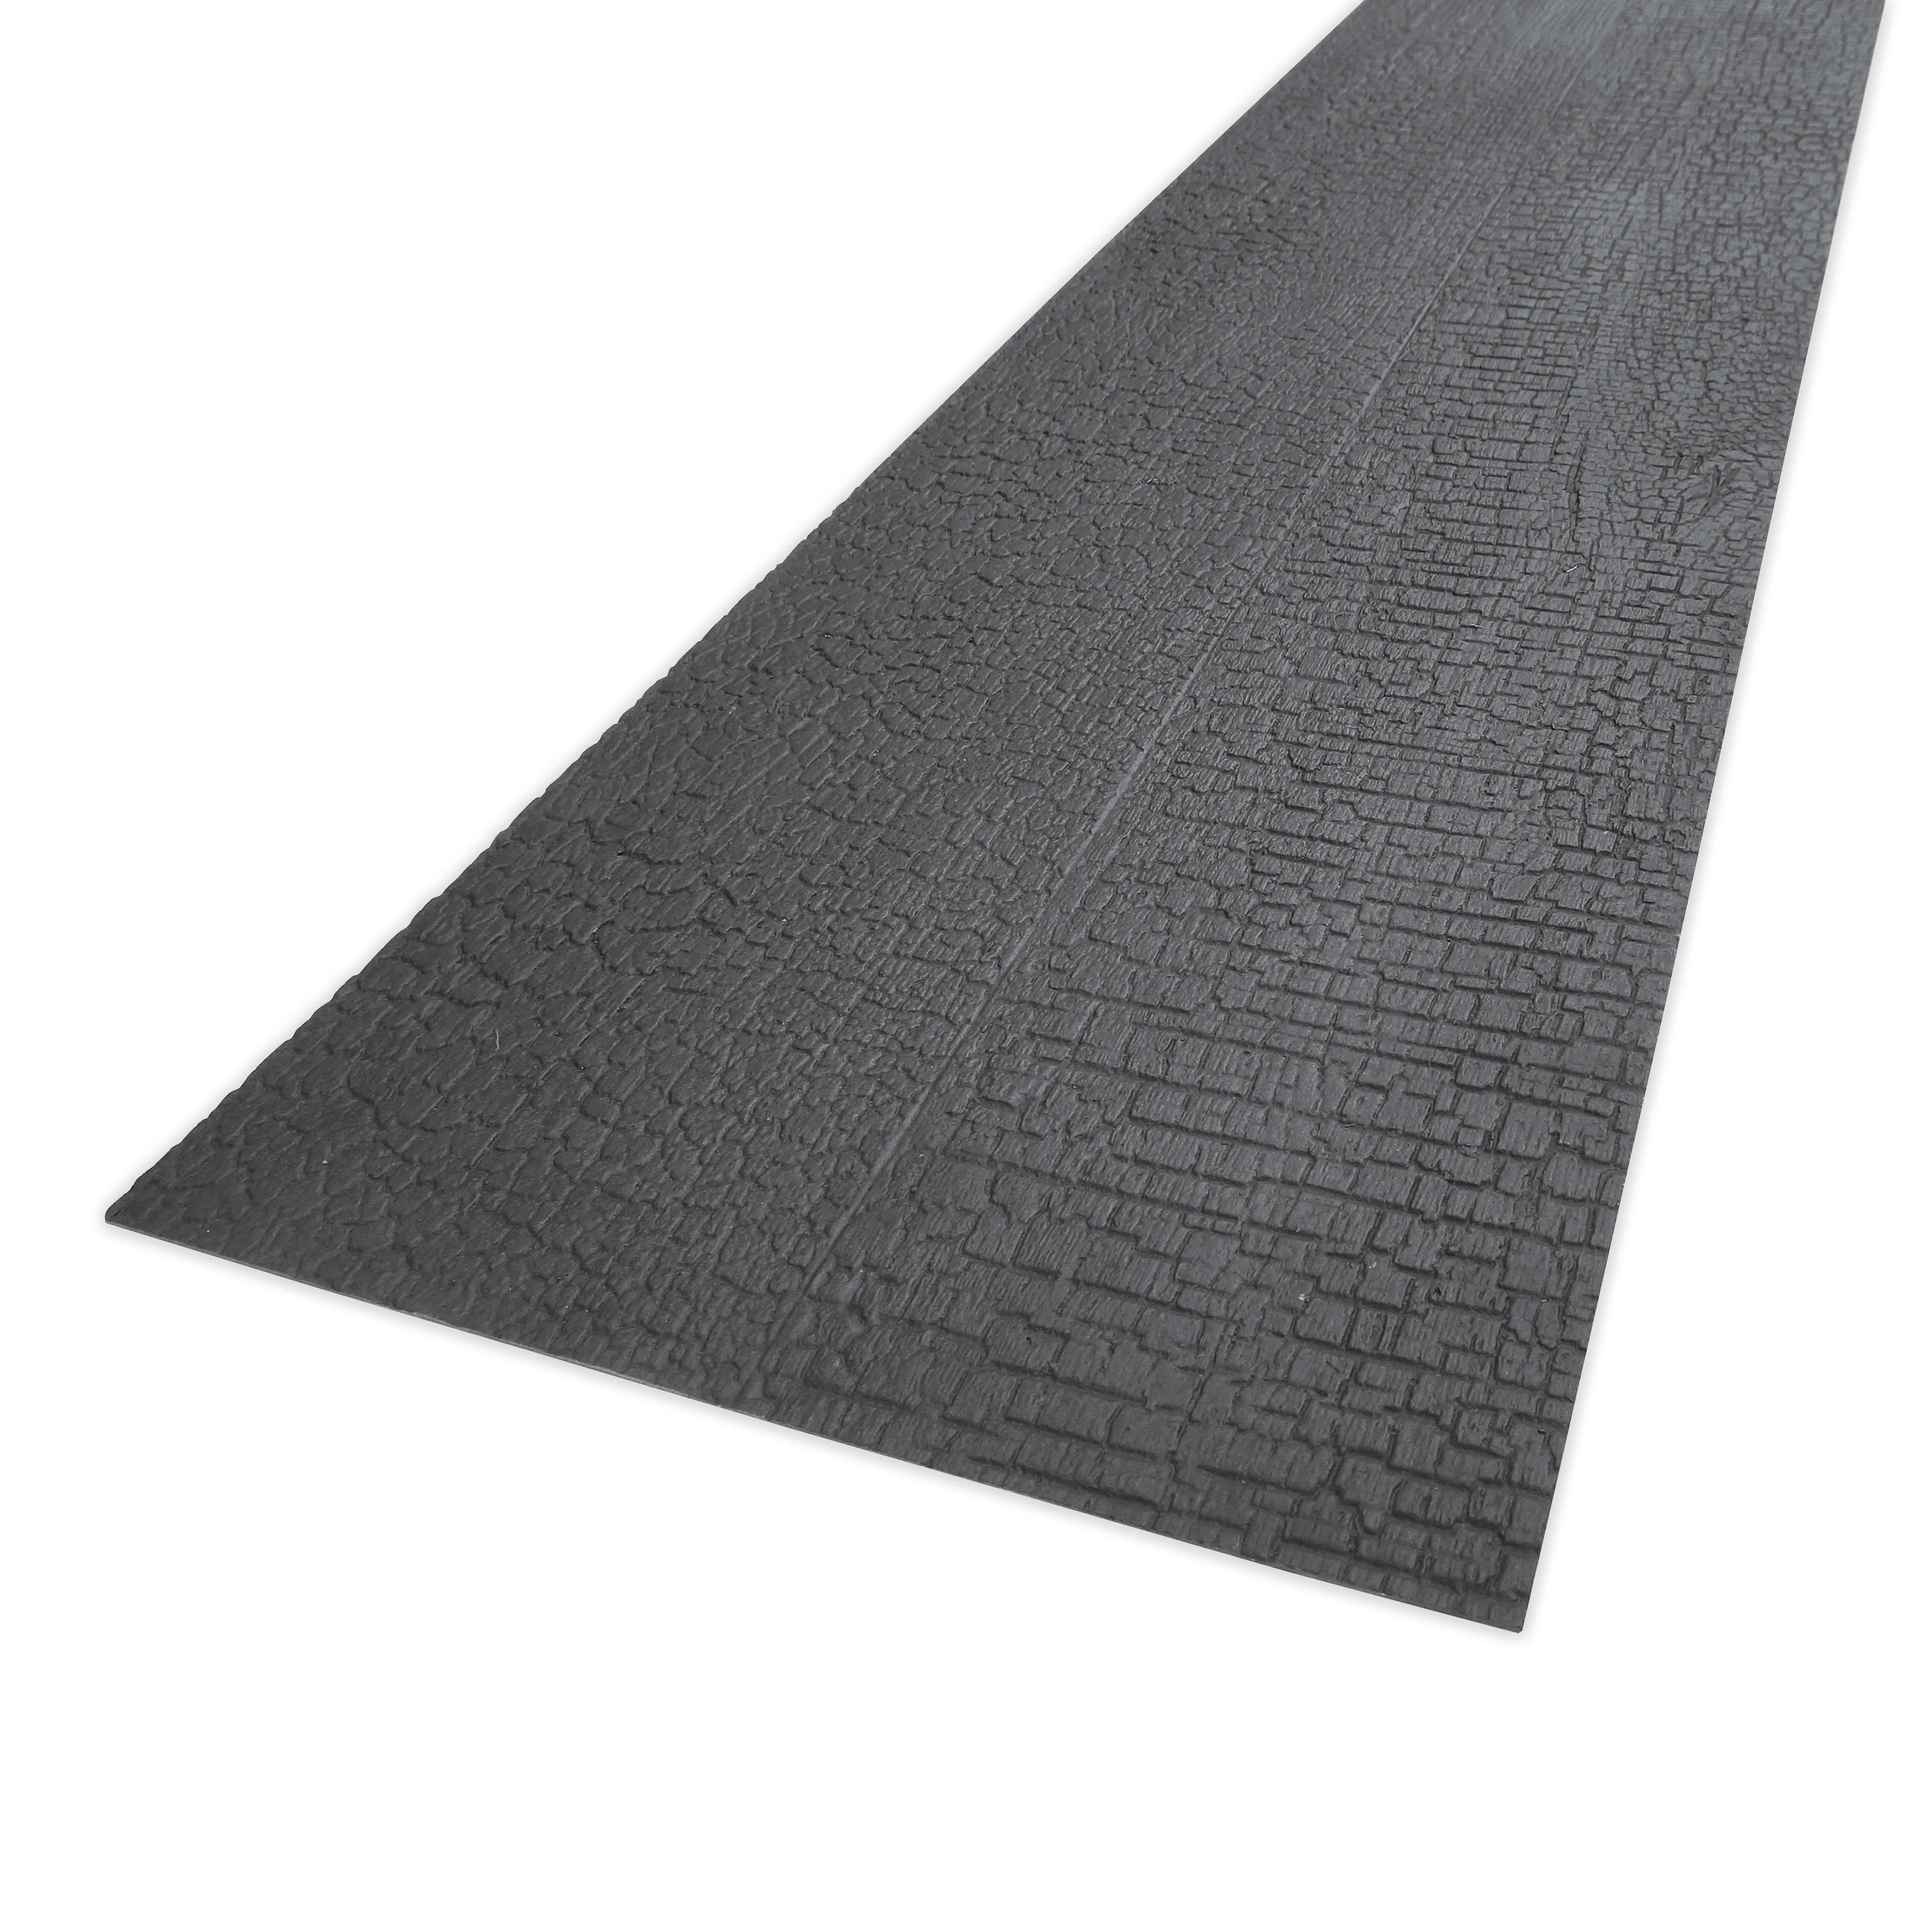
Before we talk tools, let's get to know the star of the show: Charcoal Burnt Wood Board. Unlike standard wood panels, this material undergoes a controlled burning process (often called "shou sugi ban," a traditional Japanese technique) that chars the surface. This not only gives it that rich, dark color but also makes it more resistant to rot, insects, and moisture. The result? A durable, low-maintenance material that looks just as good in a sleek urban loft as it does in a countryside cabin.
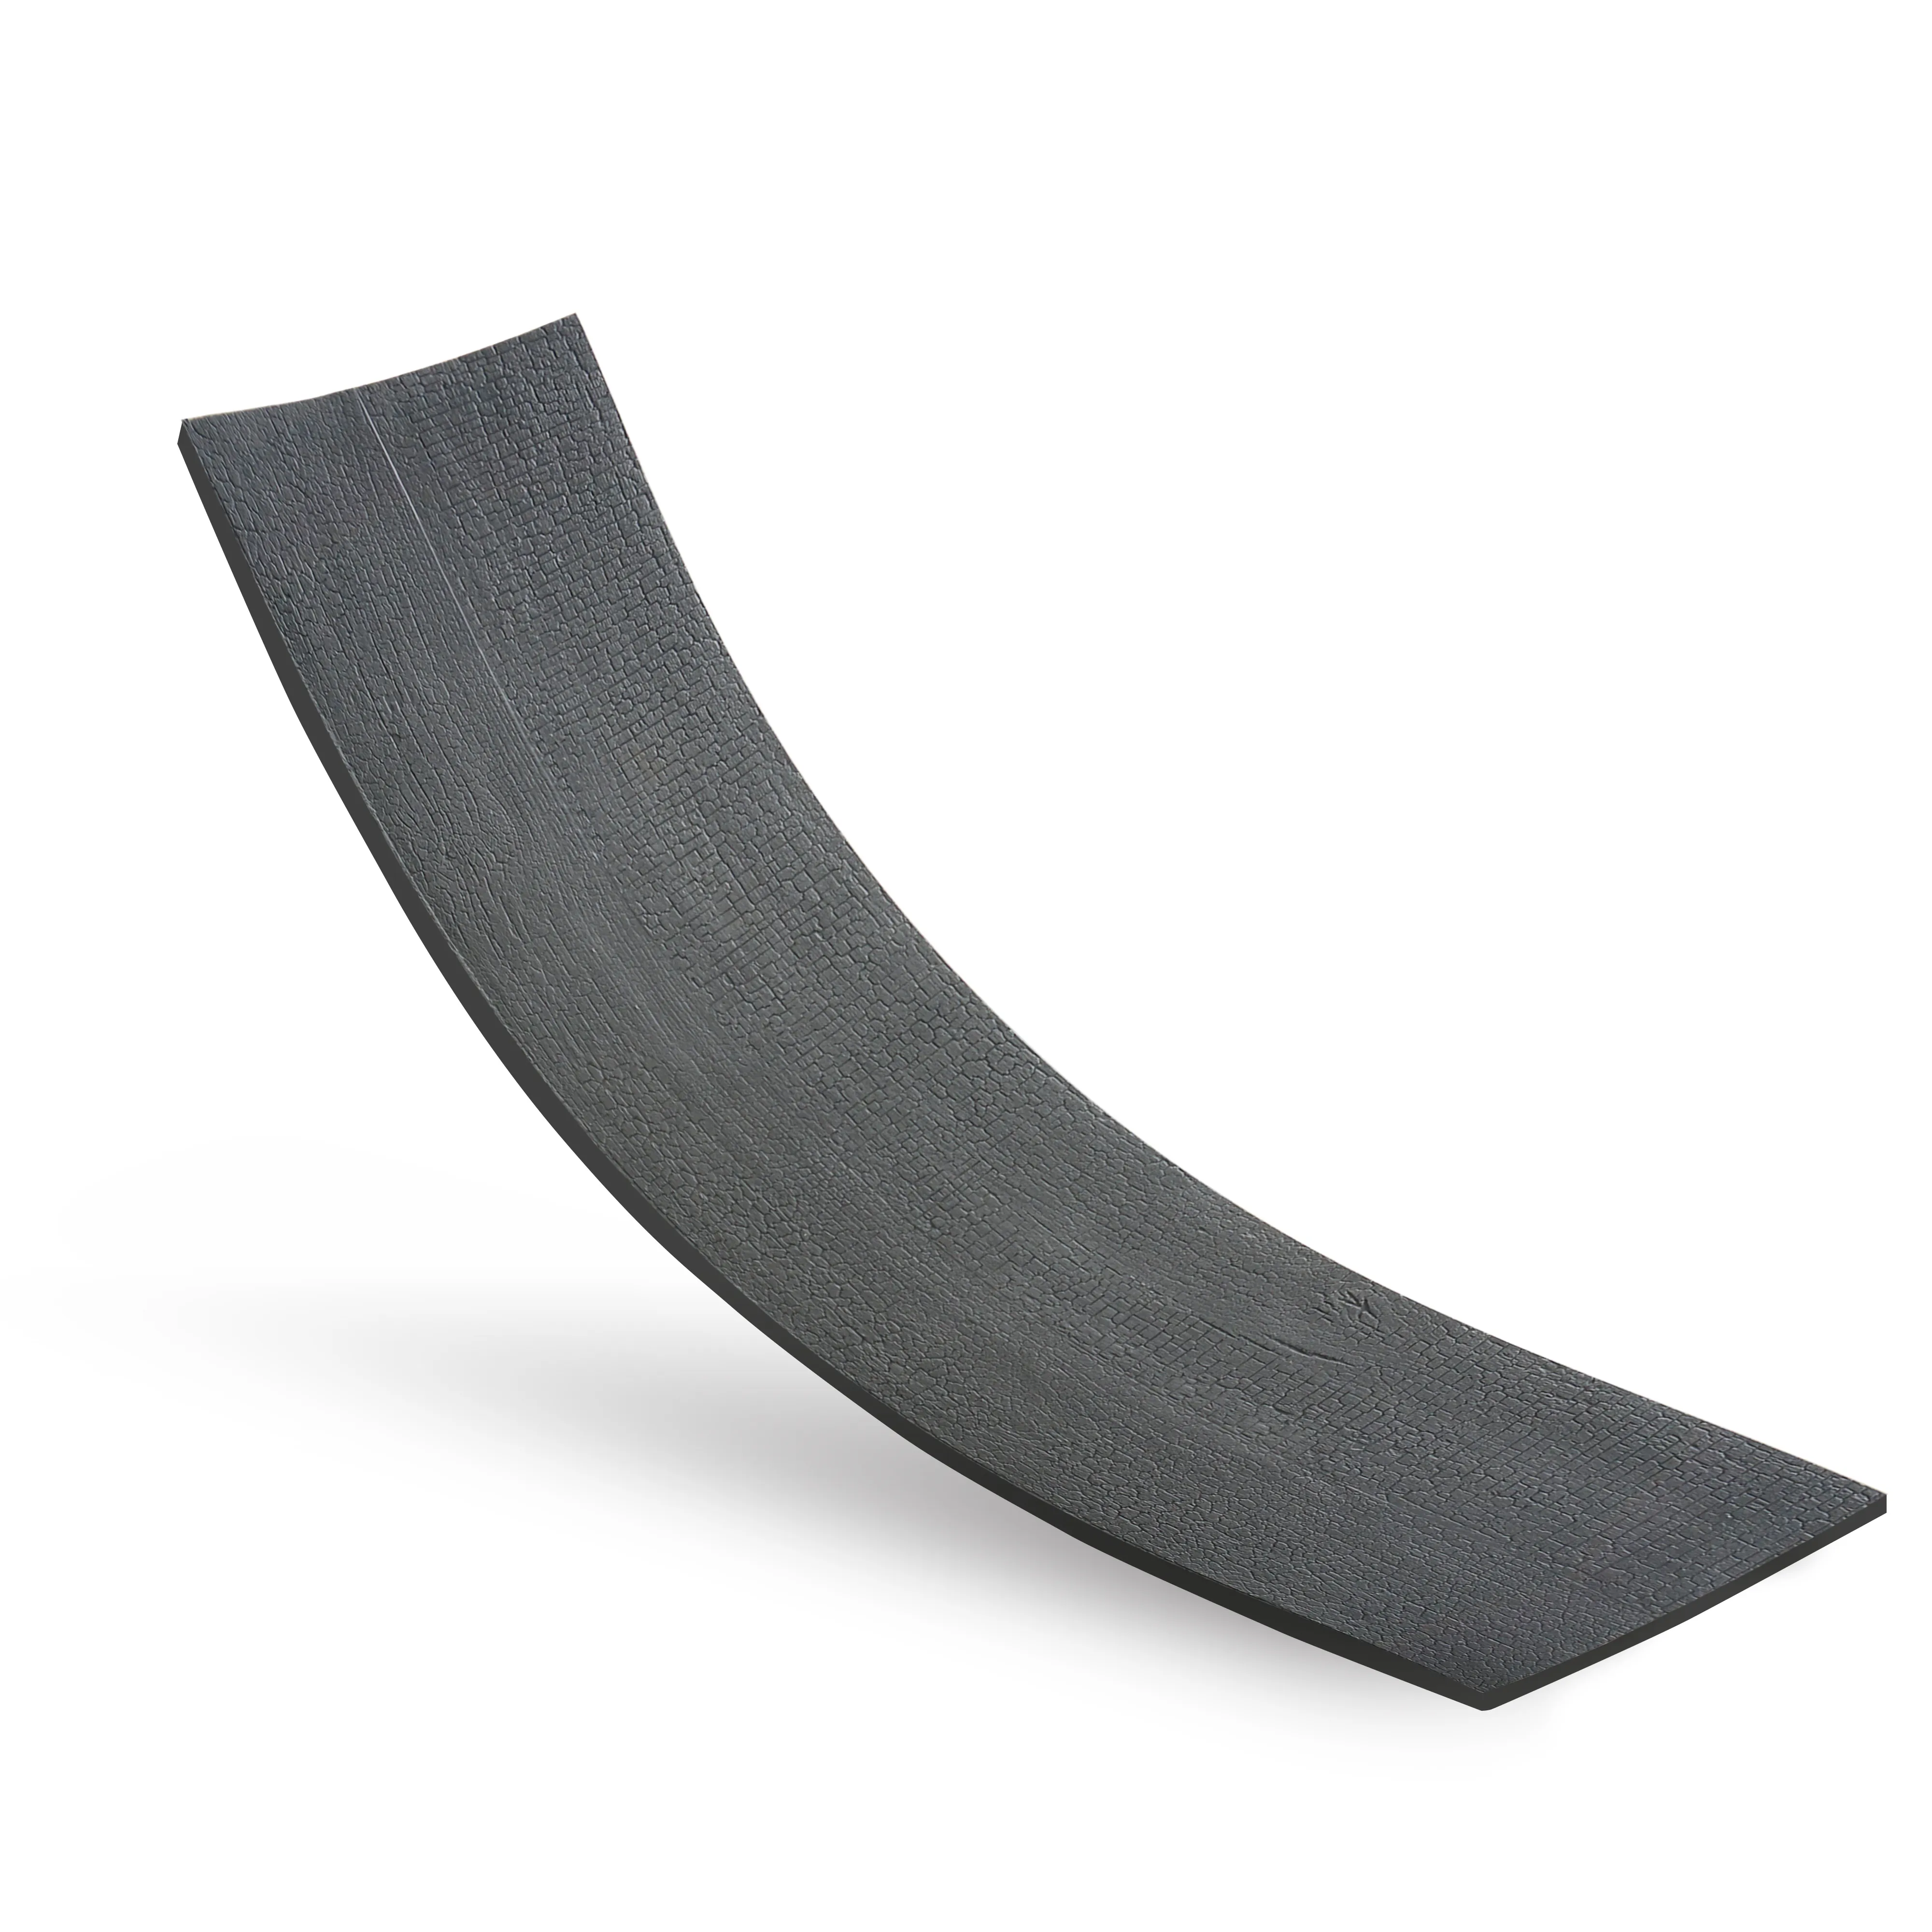
But this durability comes with a catch: the burnt layer is brittle. While the inner wood remains strong, the outer char can crack or flake if handled roughly. Compare that to wood grain board, which has a smoother, more uniform texture—its installation is more forgiving because there's no delicate burnt layer to protect. Similarly, rough granite stone, with its hard, crystalline structure, requires heavy-duty tools, but Charcoal Burnt Wood Board needs a balance of strength and precision. Get the tools wrong, and you might end up with a board that looks more "damaged" than "distressed."
Let's break down the tools into categories to keep things organized. From cutting to fastening to finishing, each piece of equipment plays a role in ensuring your installation goes smoothly.
Charcoal Burnt Wood Board isn't cheap, so you don't want to waste a single sheet on messy cuts. The goal here is to slice through the board without splintering the burnt layer or tearing the inner wood. Here's what you'll need:
Once your boards are cut to size, you need to attach them to the wall, ceiling, or frame. The wrong fasteners or tools can either split the wood or fail to hold it in place over time. Here's what you'll need:
"Measure twice, cut once" isn't just a cliché—it's golden rule for Charcoal Burnt Wood Board. A mismeasurement can mean wasting a $50 board, so invest in tools that help you mark accurately.
Even with perfect cuts and fasteners, a few finishing touches will take your installation from "good" to "professional." These tools help smooth edges, fill gaps, and protect the board's surface.
Installing Charcoal Burnt Wood Board involves power tools, sharp blades, and dust—so safety should always come first. Here's what you need to stay protected:
Most Charcoal Burnt Wood Board installations will go smoothly with the tools above, but every project has its curveballs. Here are a few specialized tools you might need for unique situations:
Even with the right tools, it's easy to slip up. Use this table to avoid rookie errors:
| Task | Correct Tool | Incorrect Tool | Why It Matters |
|---|---|---|---|
| Cutting straight lines | Circular saw with 40–60 tooth blade | Handsaw with coarse teeth | Coarse teeth tear the burnt layer, leaving jagged edges. |
| Fastening near edges | 18-gauge brad nailer | 3-inch wood screws | Long screws can split the board; brads are thin enough to avoid cracking. |
| Sanding edges | Fine-grit sanding block | Power sander (high speed) | Power sanders can quickly sand through the burnt layer, ruining the texture. |
| Marking cut lines | Carpenter's chalk + straightedge | Pen or marker | Pen/marker ink can bleed into the wood and stain the burnt finish. |
Your tools are an investment—treat them well, and they'll serve you for years. Here's how to keep them in top shape:
Charcoal Burnt Wood Board isn't just a building material—it's a design statement. To do it justice, you need tools that match its uniqueness: precise cutting tools to preserve its texture, gentle fasteners to avoid damage, and careful finishing tools to enhance its beauty. Whether you're installing it in a living room, bedroom, or commercial space, the right equipment will ensure your project looks professional and stands the test of time.
And remember: this isn't just about Charcoal Burnt Wood Board. Many of these tools—like the fine-tooth saw blades and brad nailers—will come in handy for other materials too, from wood grain board to even rough granite stone. So invest in quality, take your time, and enjoy the process. When you step back and see that perfectly installed wall or shelf, you'll know it was worth it.
Recommend Products


