
If you've ever walked into a space—whether it's a cozy home living room or a sleek commercial lobby—and thought, "Wow, that wall (or floor) really makes the room," chances are it was decked out with MCM materials. Short for Modified Composite Material, MCM has taken the construction and design world by storm, and for good reason: it's lightweight, durable, and comes in textures and finishes that can mimic everything from natural stone to aged metal. Today, we're diving deep into installing one of the most versatile stars of the MCM lineup: Croco . Whether you're sprucing up your home's accent wall or tackling a commercial project that needs to impress, this guide will walk you through best practices to ensure your Croco installation looks professional and lasts for years.
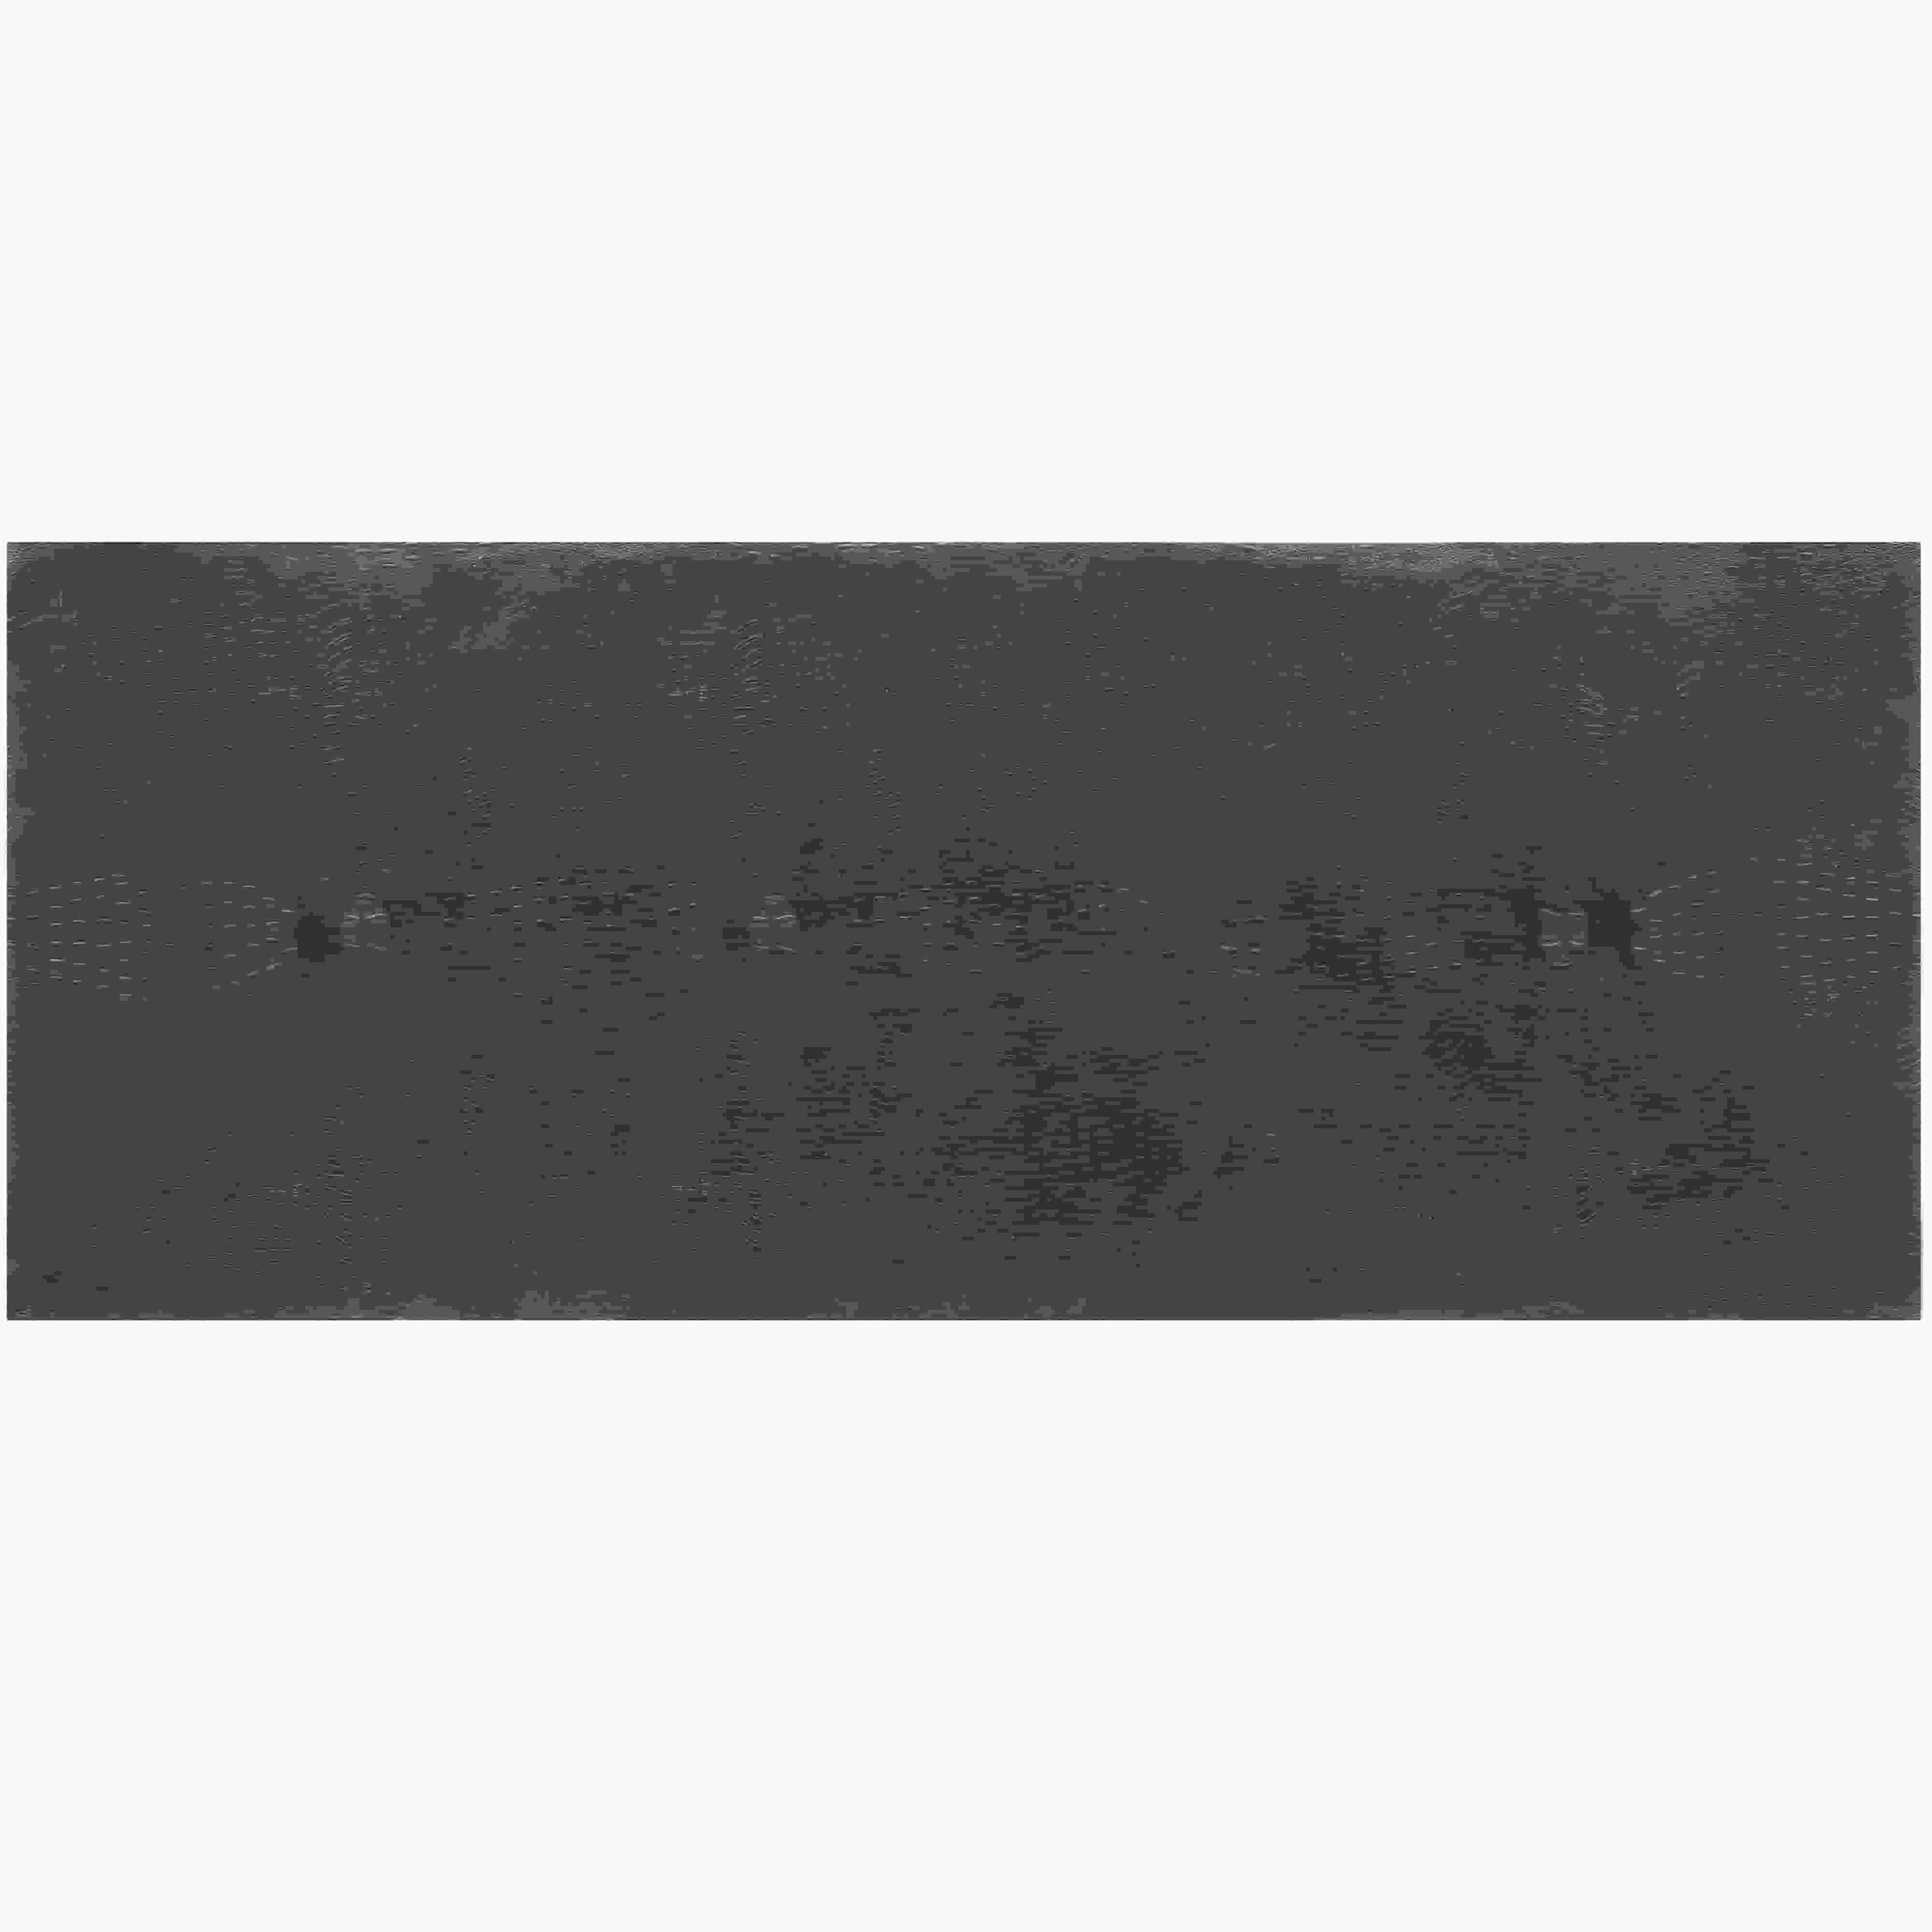
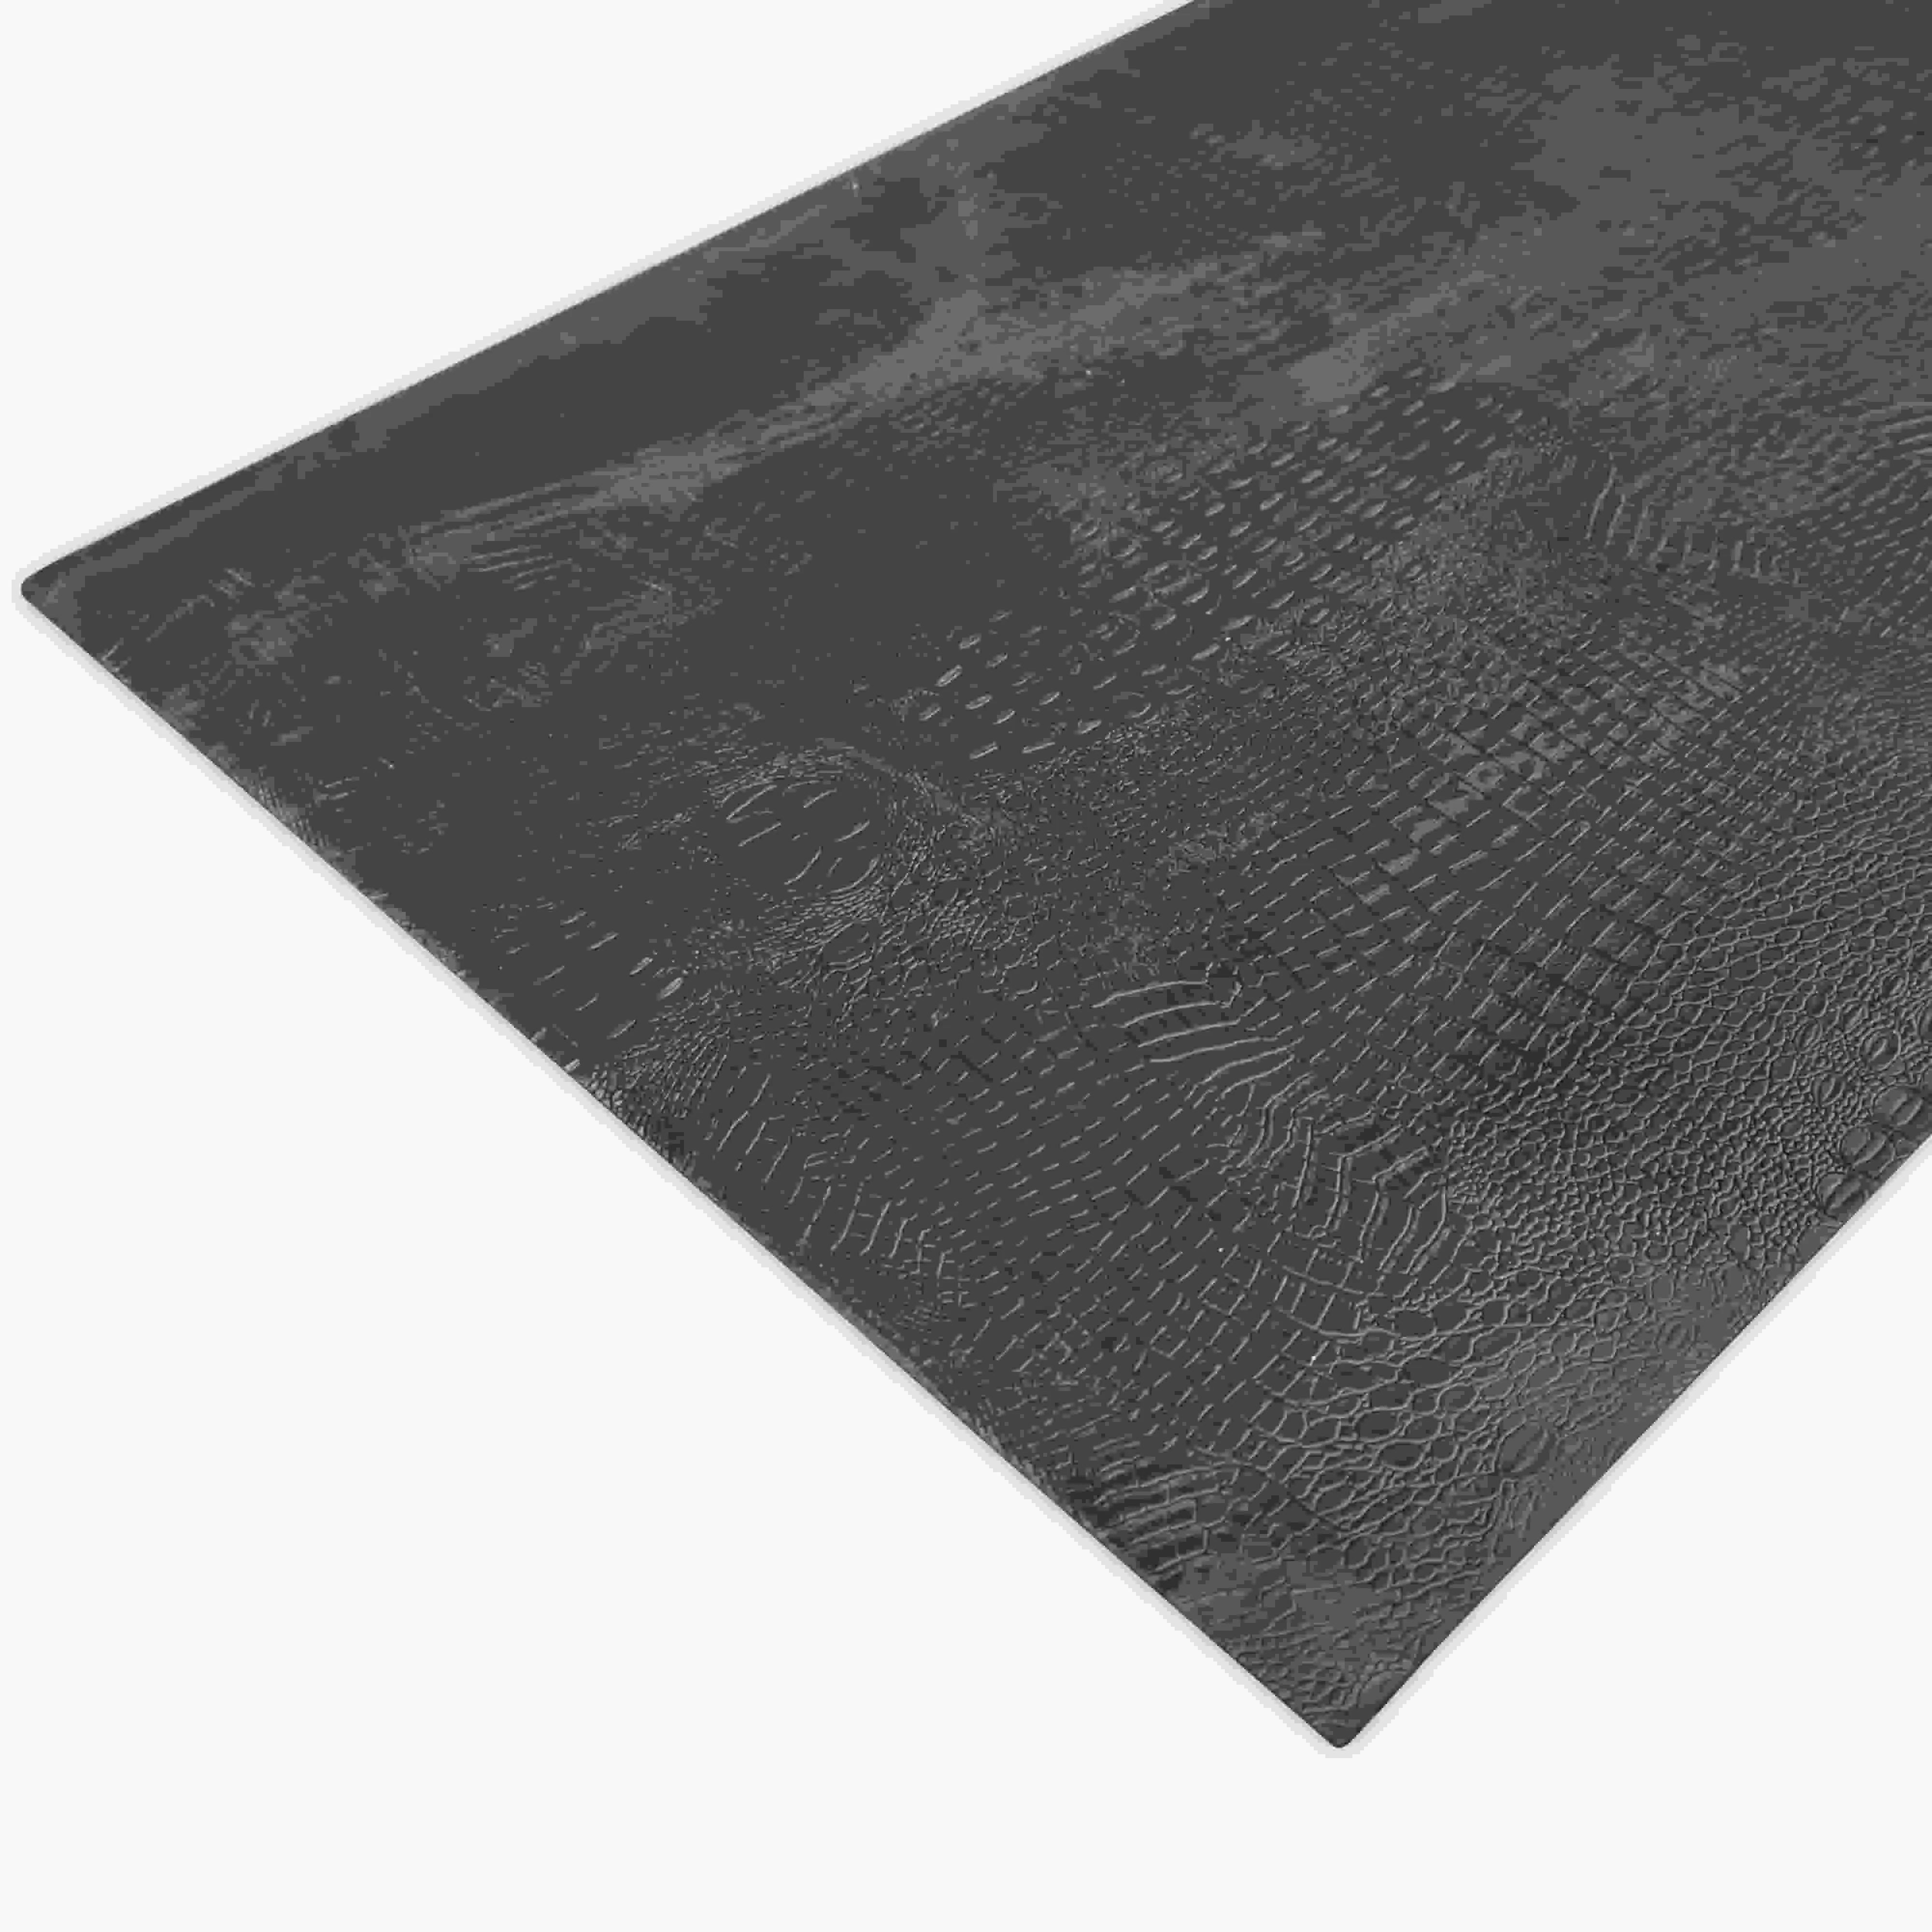
First, let's talk about why Croco stands out. Part of the broader MCM family—think mcm flexible stone for its bendable properties or boulder slab for that rugged, natural look—Croco brings a unique texture that's equal parts modern and organic. Its surface has a subtle, reptilian-like pattern (hence the name) that adds depth without overwhelming a space. And because it's MCM, it's lighter than traditional stone or tile, which means easier handling and less stress on your walls or floors. But here's the thing: even the best materials need proper installation to shine. Let's get started.
Before you even think about picking up a trowel, you need to prep your surface. This step is non-negotiable—skipping it is like building a house on sand. Croco, like all MCM products, relies on a clean, level, and stable base to adhere properly. Let's break it down:
Grab a stiff brush, a bucket of warm water, and a mild detergent (avoid harsh chemicals like bleach—they can leave residues that mess with adhesive bonding). Scrub away dust, dirt, grease, or old paint. For walls that had wallpaper, make sure all traces are stripped off, and sand down any leftover paste. For floors, sweep and mop thoroughly—even a little dust can create air pockets under the panels, leading to cracks or lifting later. Once clean, let the surface dry completely. Pro tip: Check for moisture with a moisture meter (aim for less than 5% for concrete floors, 12% for drywall). Too much moisture? Use a dehumidifier or sealant before proceeding.
MCM materials like Croco are flexible, but they're not magic. If your wall or floor has dips, bumps, or cracks larger than 1/8 inch, you'll need to fix them. For small cracks, use a patching compound (look for one labeled "for MCM installation"). For bigger uneven spots, sand down high areas and fill low ones with a self-leveling mortar. Let everything dry and sand smooth. Why? An uneven surface will cause your Croco panels to flex or lift over time, ruining that seamless look you're after.
Here's a trick pros swear by: Let your Croco panels sit in the installation space for 24–48 hours before installing. MCM materials can expand or contract slightly with temperature and humidity changes. By acclimatizing them, you're letting them adjust to the room's conditions, which prevents warping after installation. Stack them flat (never on their edges) and leave a small gap between panels for air circulation. Trust us—this extra day will save you from headaches later.
You wouldn't paint a masterpiece without the right brushes, and installing Croco is no different. Here's a handy list of tools to gather before you start. (Pro tip: Lay them out on a drop cloth so you're not scrambling mid-project.)
| Tool | Purpose | Pro Tip | Safety Note |
|---|---|---|---|
| Notched Trowel | Applying adhesive evenly | Use a 3/16-inch V-notch trowel for walls, 1/4-inch for floors (more adhesive for horizontal surfaces). | Clean immediately after use—adhesive dries fast! |
| Circular Saw with Carbide Blade | Cutting Croco panels to size | Opt for a blade with 10–12 teeth per inch (TPI) to avoid chipping the surface. | Wear safety goggles and a dust mask—MCM dust is fine! |
| 4-foot Level | Ensuring panels are straight | Check both vertically and horizontally with each panel—even 1/16-inch off adds up! | Keep the level clean; dirt on the edges can throw off readings. |
| Rubber Mallet | Tapping panels into place | Use gentle, even taps—too hard and you might crack the panel. | Wrap the mallet head in a soft cloth to avoid marring the Croco surface. |
| Adhesive (MCM-Specific) | Bonding panels to the surface | Look for a polyurethane or epoxy-based adhesive labeled "for MCM" or "flexible materials." | Work in small sections—adhesive sets quickly (15–20 minutes). |
| Sponge & Bucket | Cleaning excess adhesive | Use warm water and wring the sponge well—too much water can weaken fresh adhesive. | Change water frequently to avoid smearing adhesive on the panels. |

Now that your surface is prepped and tools are ready, it's time to install. We'll cover both residential (think accent walls, backsplashes) and commercial (lobby walls, restaurant facades) scenarios, since Croco shines in both.
Let's say you're adding a Croco accent wall in your bedroom—a popular choice for adding texture without overwhelming the space. Here's how to go:
Step 1: Measure and Mark Measure your wall height and width, then map out where each Croco panel will go. MCM panels usually come in standard sizes (e.g., 3x6 feet), but you'll likely need to cut some to fit. Use a pencil to mark cutting lines on the back of the panel (never the front—you'll scratch the finish!). For corners or outlets, trace the shape with a template (cardboard works great) and transfer it to the panel.
Step 2: Cut with Care Set your circular saw to a low speed (high speed can cause chipping). Place the panel face-down on a sawhorse, and secure it with clamps (use scrap wood under the clamps to avoid denting). Cut along your marked line in one steady motion—no stopping mid-cut. For intricate cuts (like around outlets), use a jigsaw with a fine-tooth blade. Test a scrap piece first to get the hang of it!
Step 3: Apply Adhesive Using your notched trowel, spread adhesive on the back of the first panel in a "U" pattern, then add horizontal lines across the middle. This ensures full coverage. For walls, apply adhesive to the panel itself (not the wall) to avoid drips. Work quickly—adhesive starts setting in 15 minutes!
Step 4: Position and Press Line up the panel with your marked guidelines, starting from the bottom corner (it's easier to build up than start from the top). Gently press it into place, then use your rubber mallet to tap the surface—focus on the edges and corners to ensure the adhesive bonds. Check with your level to make sure it's straight. If it's off, gently lift and reposition (but do it fast—once the adhesive grabs, it's hard to move).
Step 5: Repeat and Grout (If Needed) Continue installing panels, leaving a 1/16-inch gap between them for expansion (MCM shifts slightly with temperature changes). For a seamless look, Croco often doesn't require grout, but if you prefer defined lines, use a sanded grout that matches the panel color. Apply grout with a rubber float, wipe off excess with a damp sponge, and let it cure for 24 hours.
Residential Pro Tip: For a bathroom accent wall with Croco, seal the edges with silicone caulk to prevent moisture from seeping behind the panels. Bathrooms are humid, and even MCM needs a little extra protection here!
Commercial projects often have higher stakes—more traffic, stricter durability needs, and bigger surfaces. Let's say you're installing Croco on a 20-foot lobby wall for a hotel. The steps are similar, but here are key tweaks:
Surface Prep Upgrade: Commercial walls may have studs or metal framing. If installing over drywall, ensure it's 5/8-inch thick (fire code for many commercial spaces) and screwed into studs every 16 inches. For concrete or masonry walls, use a primer designed for porous surfaces to help adhesive stick.
Adhesive Boost: For high-traffic areas, use a two-part epoxy adhesive instead of standard polyurethane. It's stronger and more resistant to impacts. Mix it according to the manufacturer's instructions (ratio matters!) and apply within 10 minutes of mixing.
Panel Alignment: With large walls, snap chalk lines every 4 feet vertically and horizontally to keep panels aligned. Use spacers (little plastic wedges) between panels to maintain consistent gaps—this is crucial for a uniform look when installing 50+ panels.
Reinforcement for Heights: For walls over 8 feet, add temporary supports (like wooden braces) to hold panels in place while adhesive cures. Commercial adhesives take longer to fully set (up to 48 hours), so bracing prevents sagging.
You've put in the work—now how do you keep your Croco installation looking as good as day one? MCM is low-maintenance, but a little care goes a long way:
Daily Cleaning: Wipe with a soft, damp cloth to remove dust. For spills (coffee, ketchup, you name it), blot immediately with a dry cloth, then wipe with warm, soapy water. Avoid abrasive sponges or scouring pads—they'll scratch the surface.
Deep Cleaning: Every 3–6 months, mix a solution of 1 gallon warm water and 1/4 cup mild dish soap. Use a mop (for floors) or sponge (for walls) to clean, then rinse with clean water and dry with a towel. Skip vinegar or citrus-based cleaners—their acidity can etch the finish over time.
Handling Scratches: Minor scratches? Buff with a soft cloth and a tiny bit of car wax (test on a hidden corner first). Deeper scratches may need a touch-up kit from the manufacturer—most MCM brands offer color-matched fillers.

Even pros run into hiccups. Here's how to fix common issues:
Adhesive Not Sticking: Check if the surface was too dusty or moist. If it's already installed, inject a small amount of adhesive into the gap with a syringe, then clamp the panel overnight. If the panel lifts completely, remove it, clean both the panel and surface, and reinstall with fresh adhesive.
Uneven Panels: This usually happens from a warped panel or uneven adhesive application. Sand down high spots on the panel back, or add extra adhesive to low areas before reinstalling.
Chipping During Cutting: You probably used a dull blade or cut too fast. replace the blade with a new carbide-tipped one, and cut at a slower speed. Also, support the panel fully—hanging edges bend and chip.
Installing Croco MCM isn't rocket science, but it does require patience and attention to detail. From prepping your surface like a pro to cutting with care and maintaining that fresh finish, following these steps will ensure your residential accent wall or commercial lobby feature becomes the focal point you envisioned. Remember, MCM materials like Croco are designed to make your life easier—they're lightweight, durable, and endlessly customizable. With the right installation, they'll not only transform your space but stand up to the chaos of daily life (kids, clients, whatever comes your way).
So go ahead—grab your tools, prep that surface, and let Croco bring its unique texture to your next project. And when friends or clients ask, "Who did this amazing install?" you can smile and say, "I did. With a little help from MCM best practices."
Recommend Products


