
Your go-to playbook for a smooth, professional install that'll make clients rave
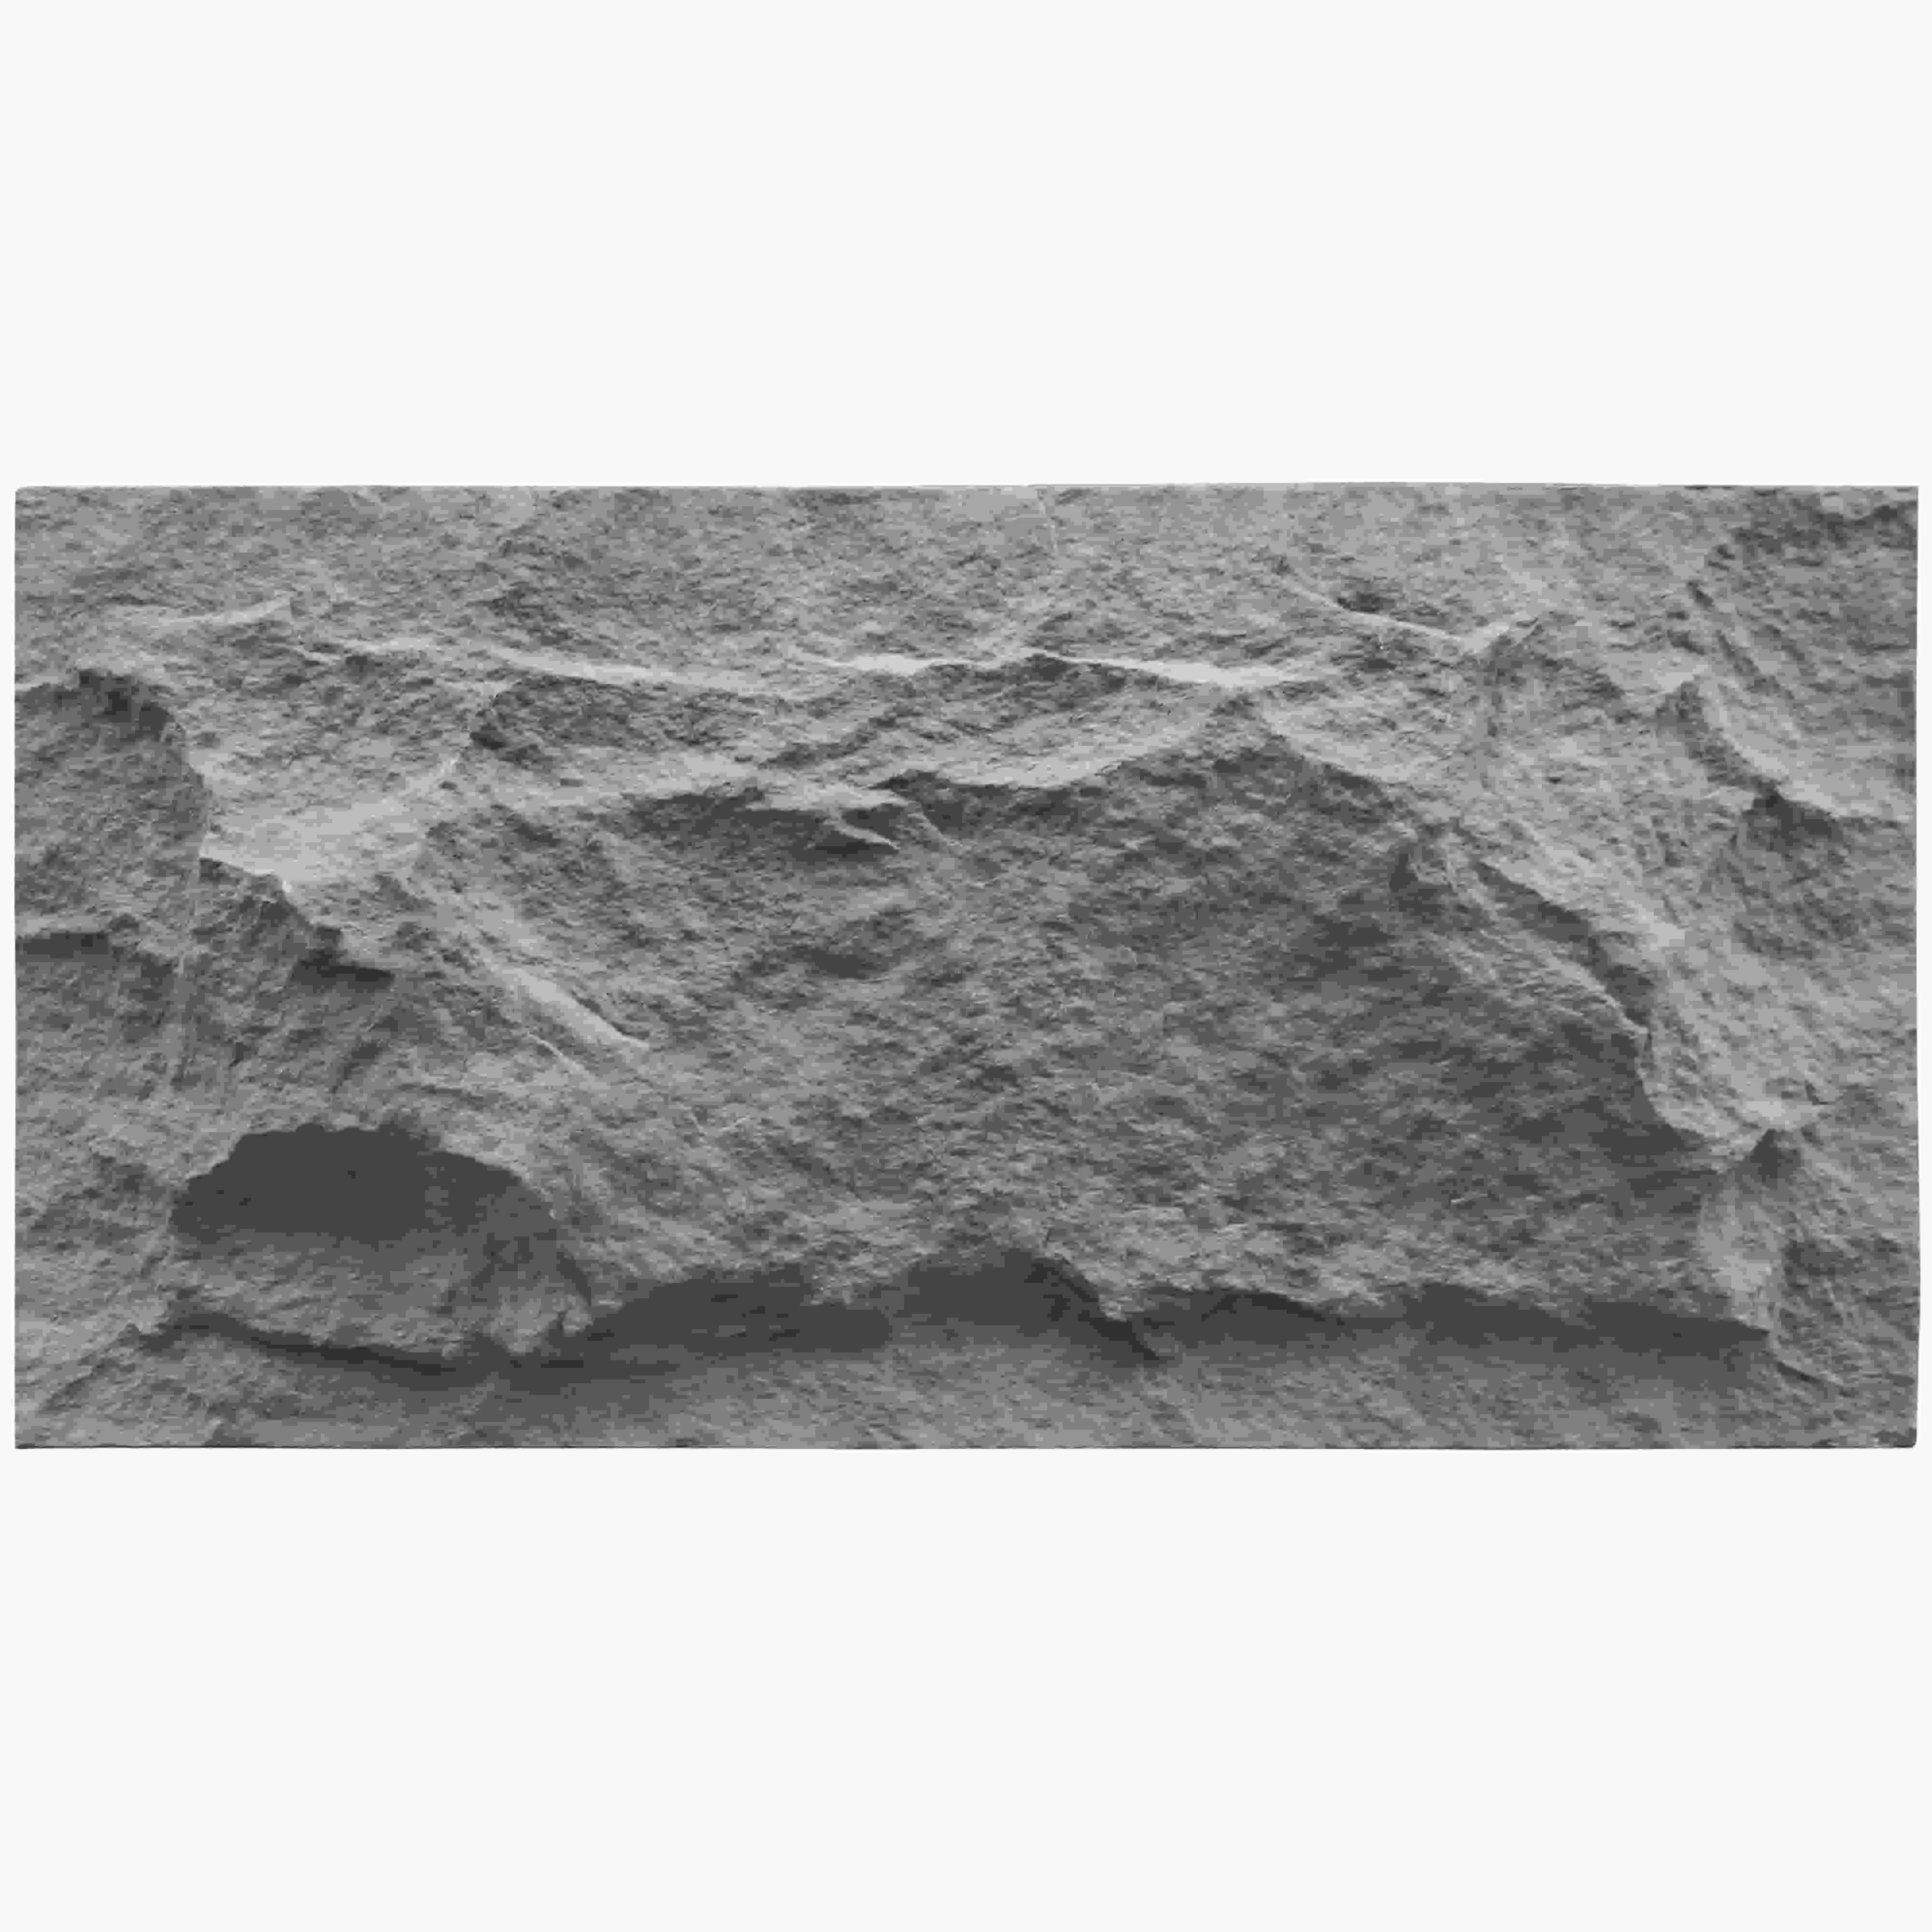
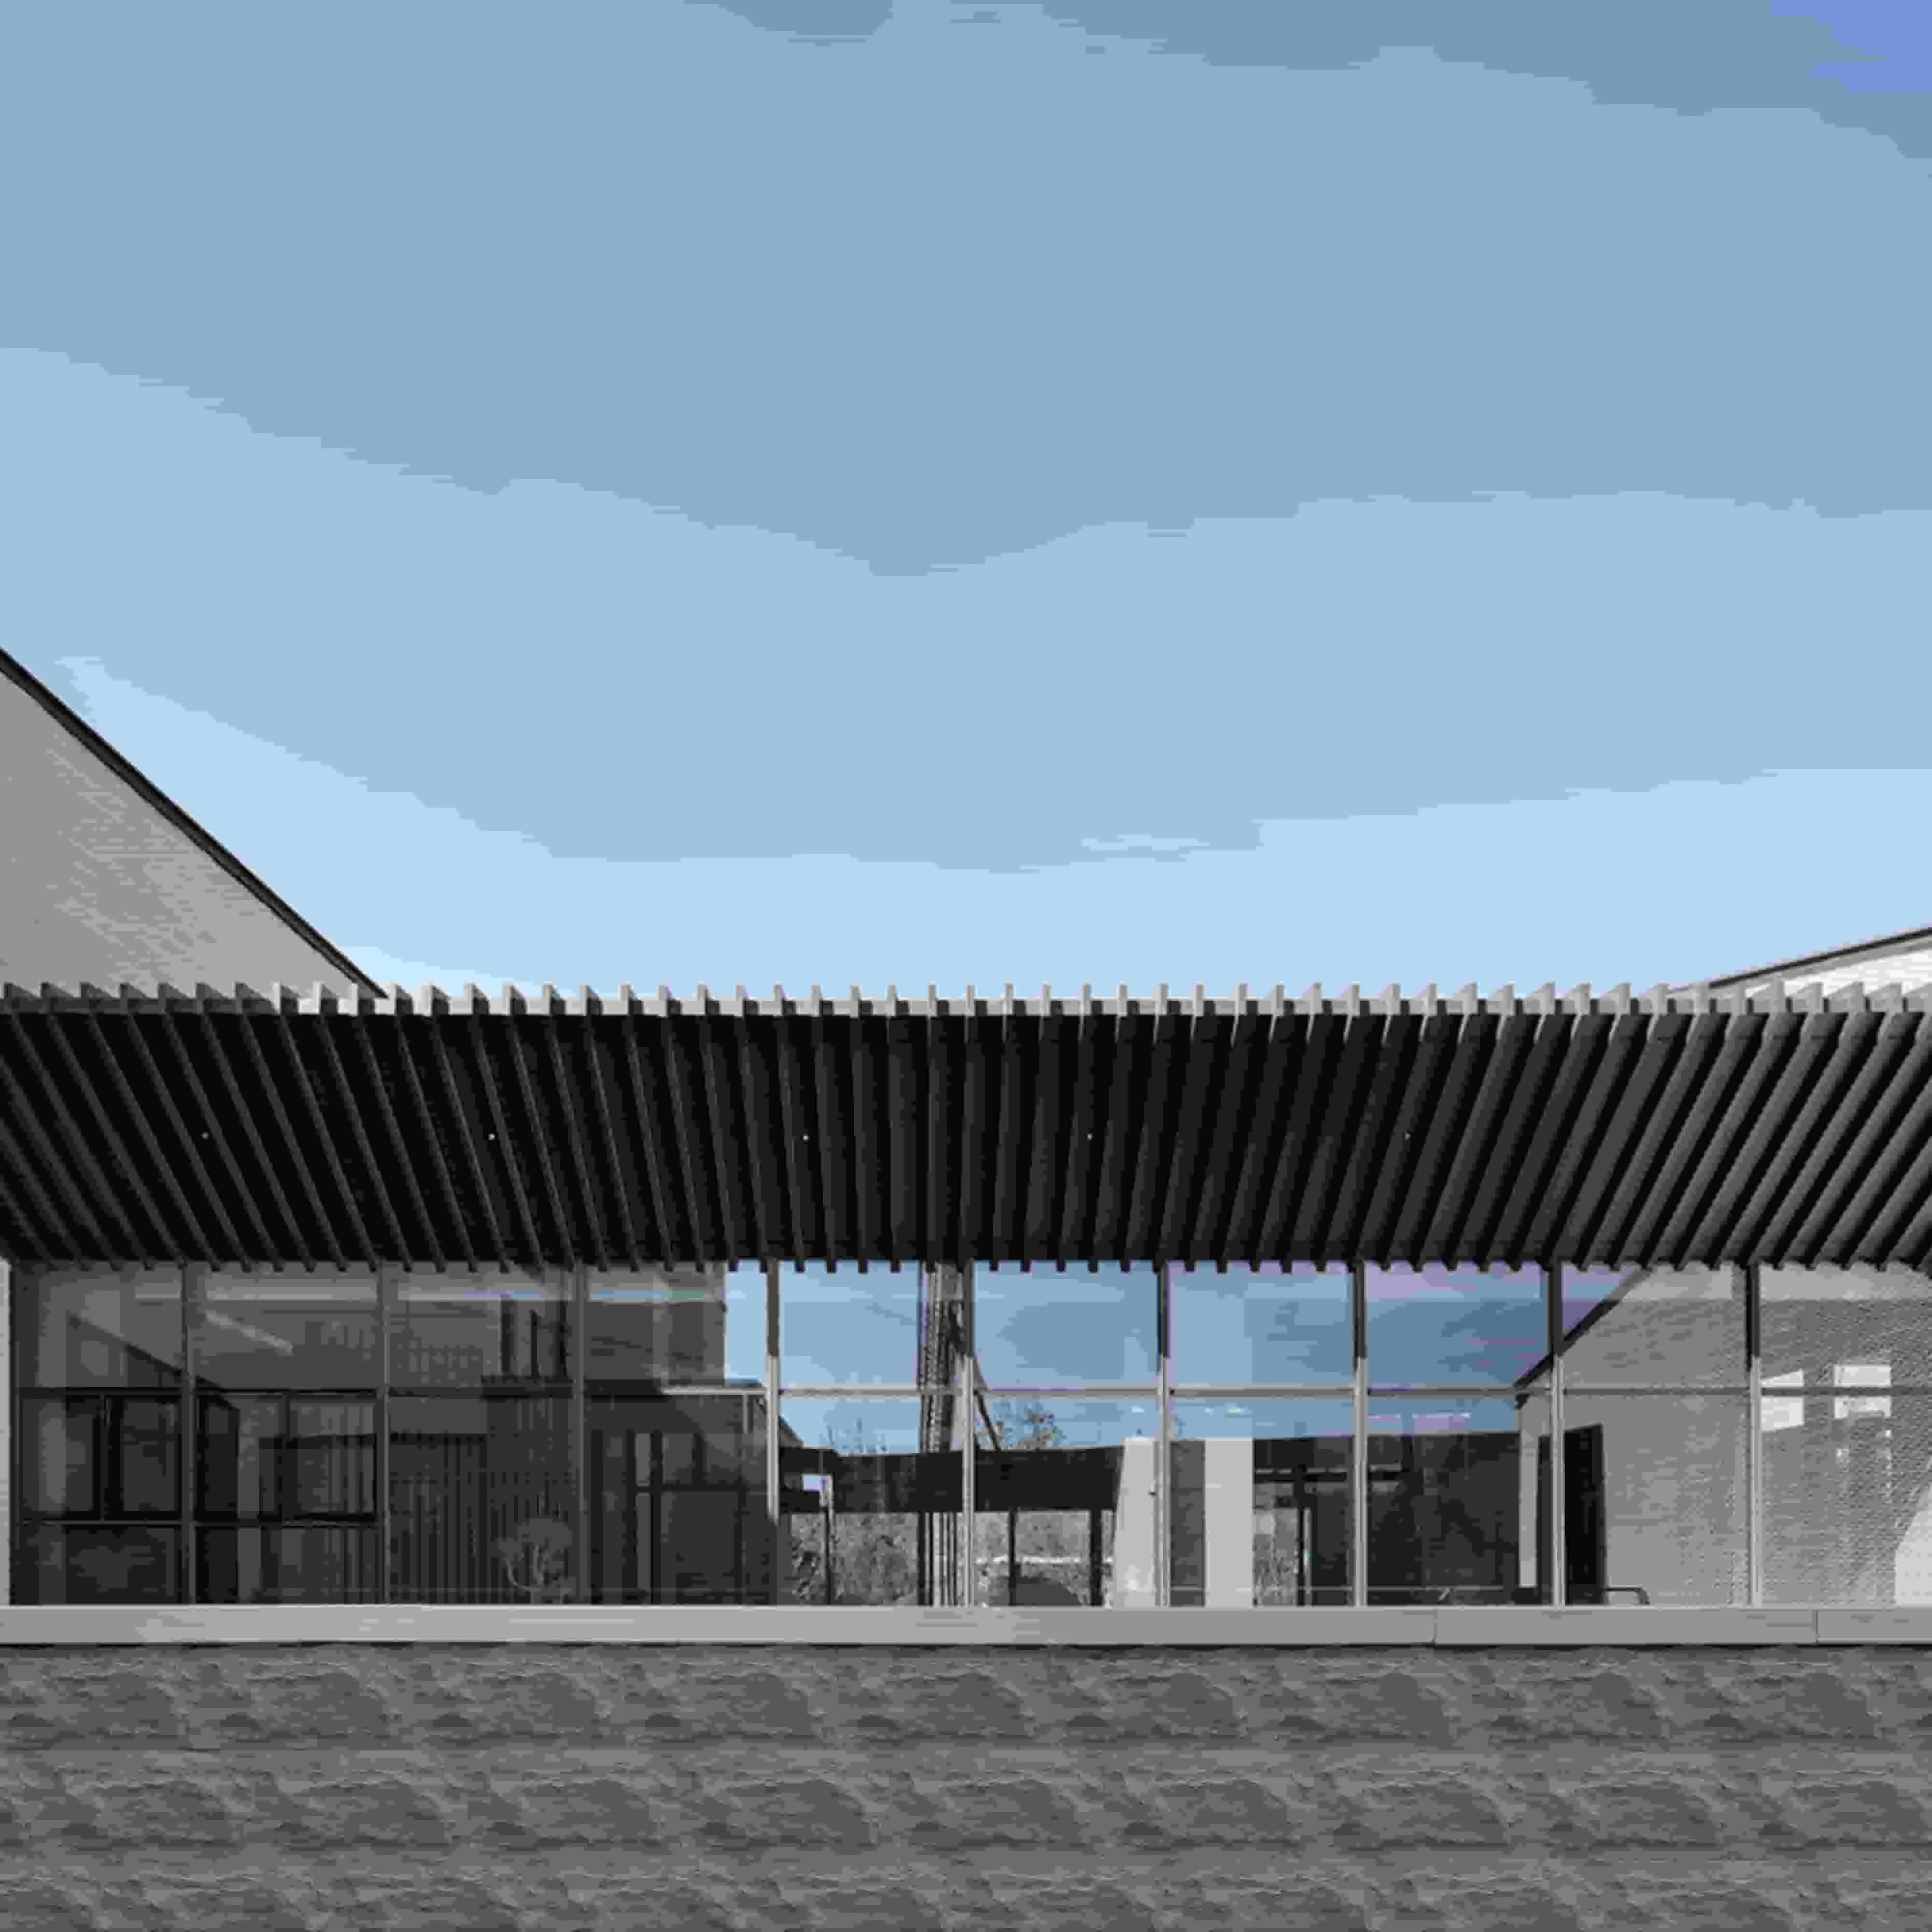
If you've been in the game a while, you know that not all cladding stones are created equal. Crossare Mushroom Stone043? It's one of those materials that makes architects and homeowners light up. Part of the broader mcm flexible stone family, it's prized for its organic, textured surface—think the soft, weathered look of mushroom caps, but durable enough to stand up to rain, wind, and even the occasional stray basketball.
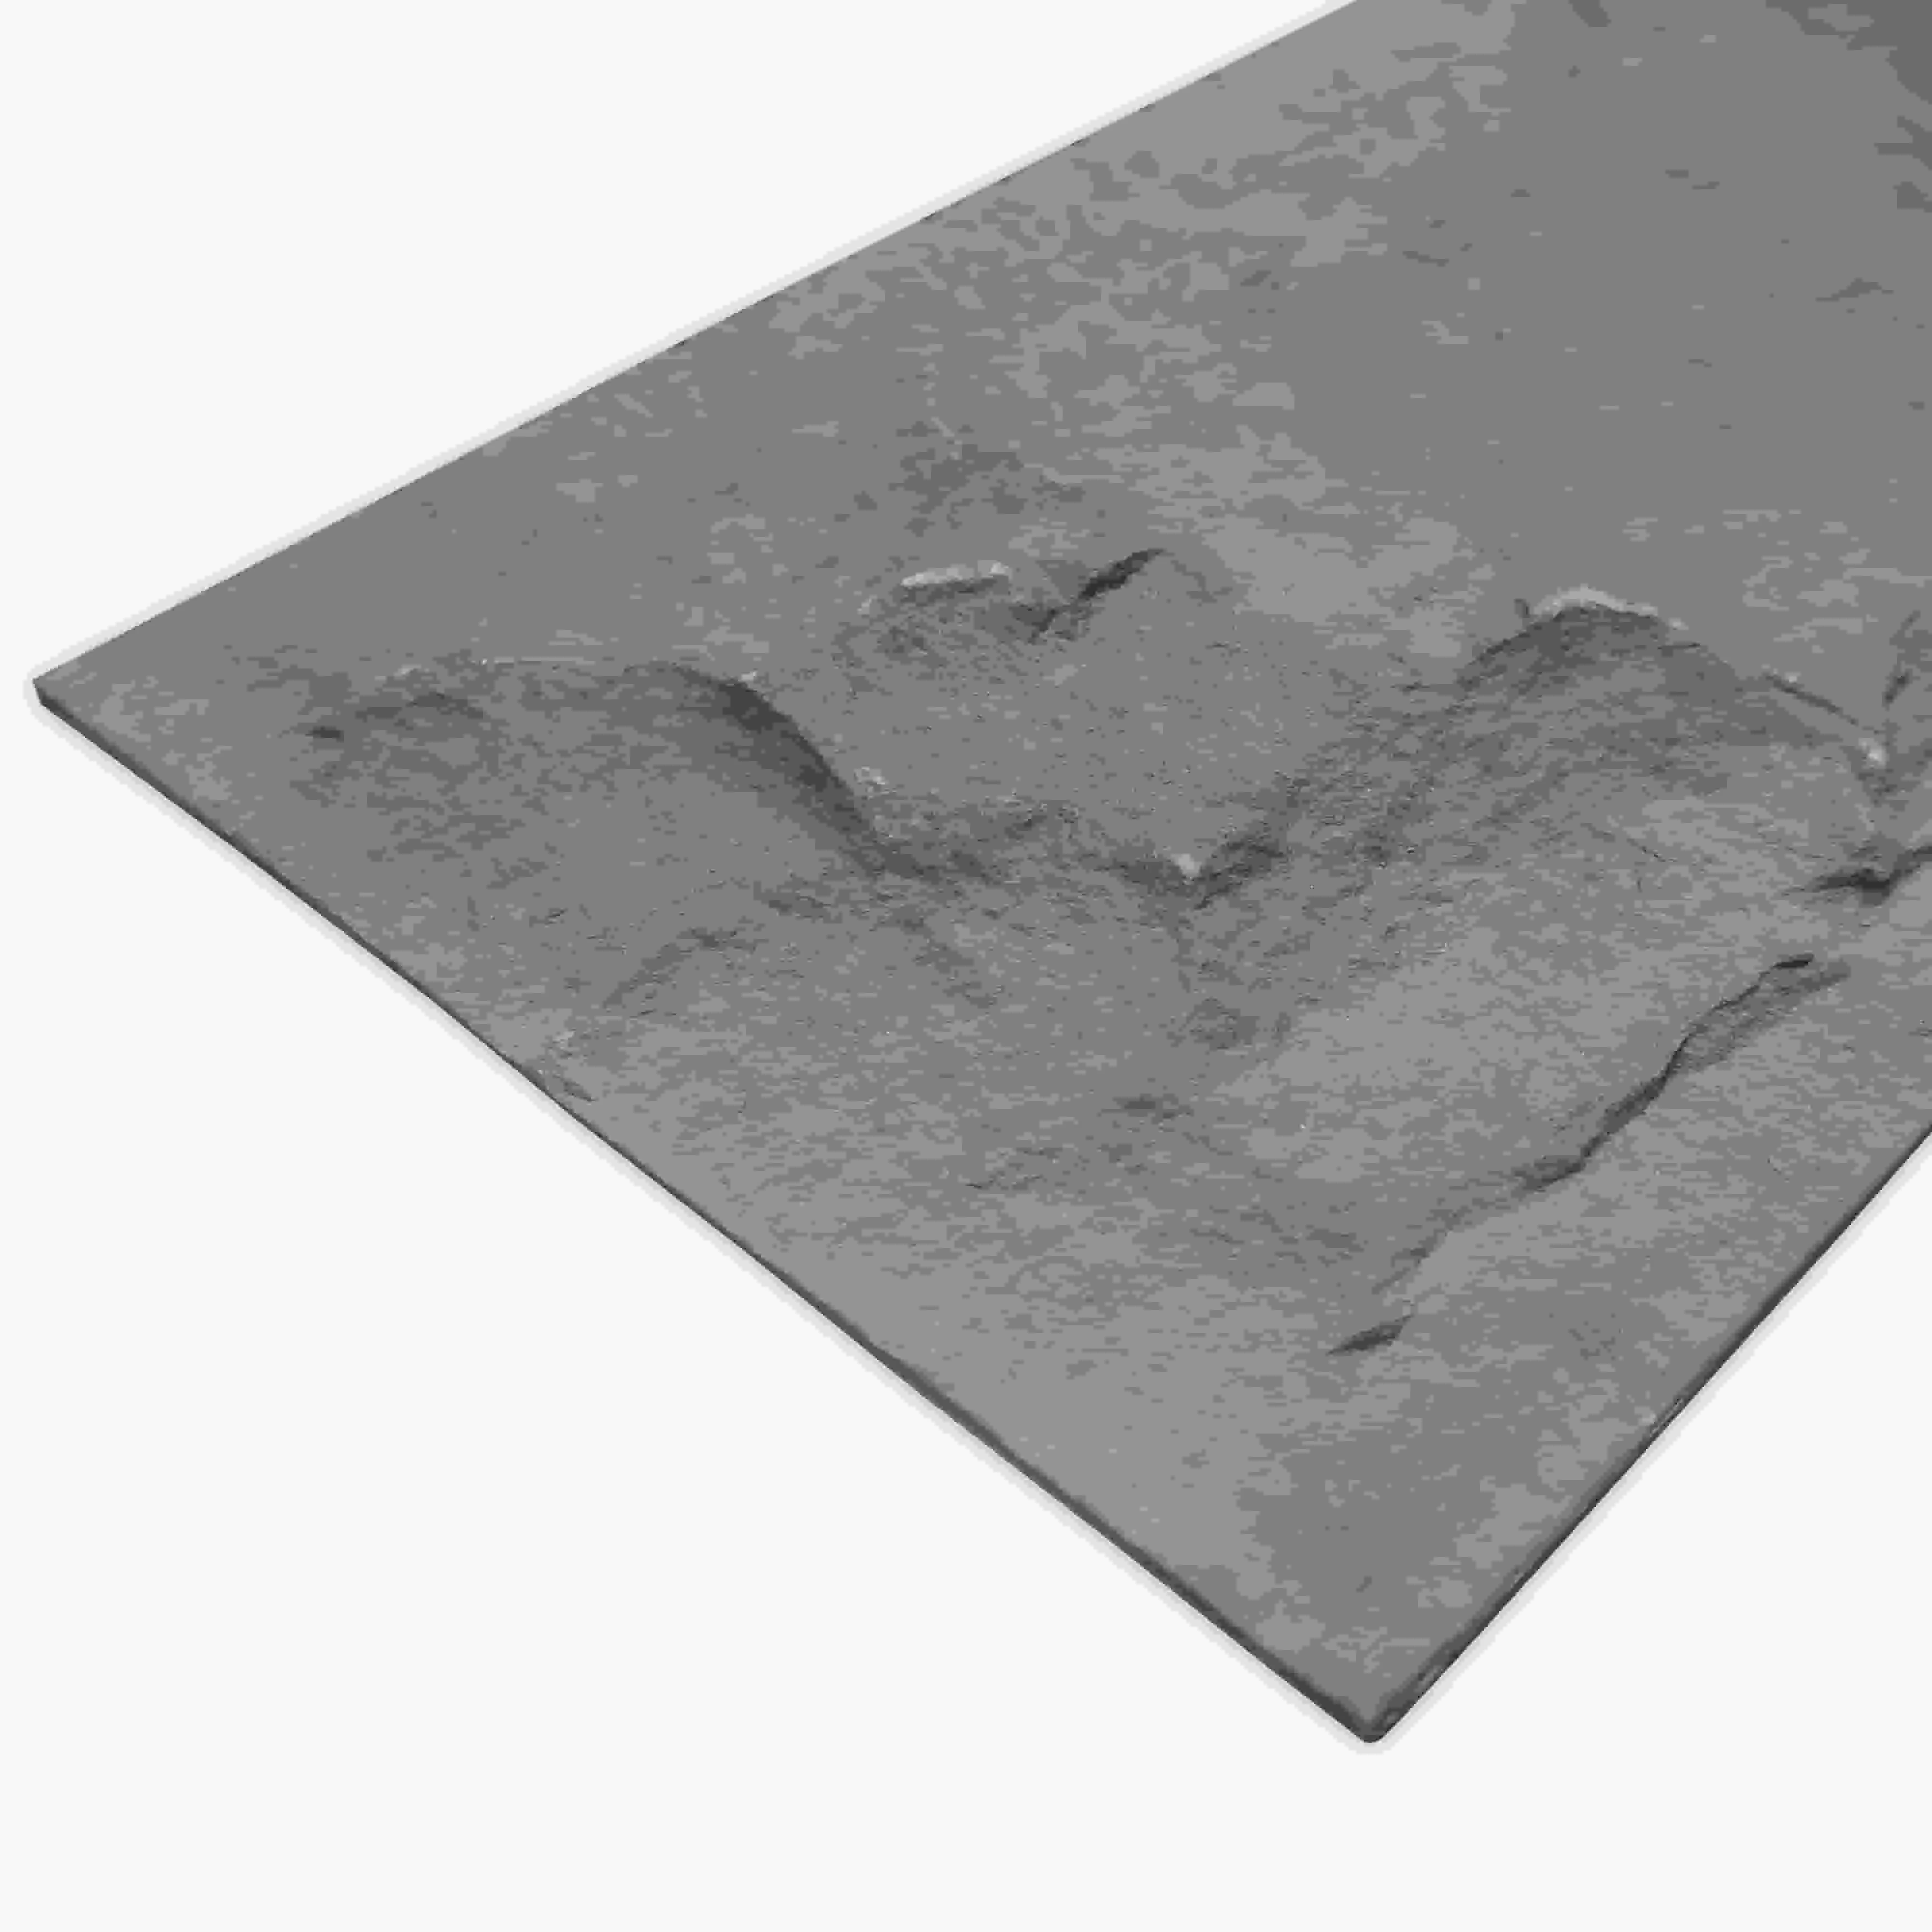
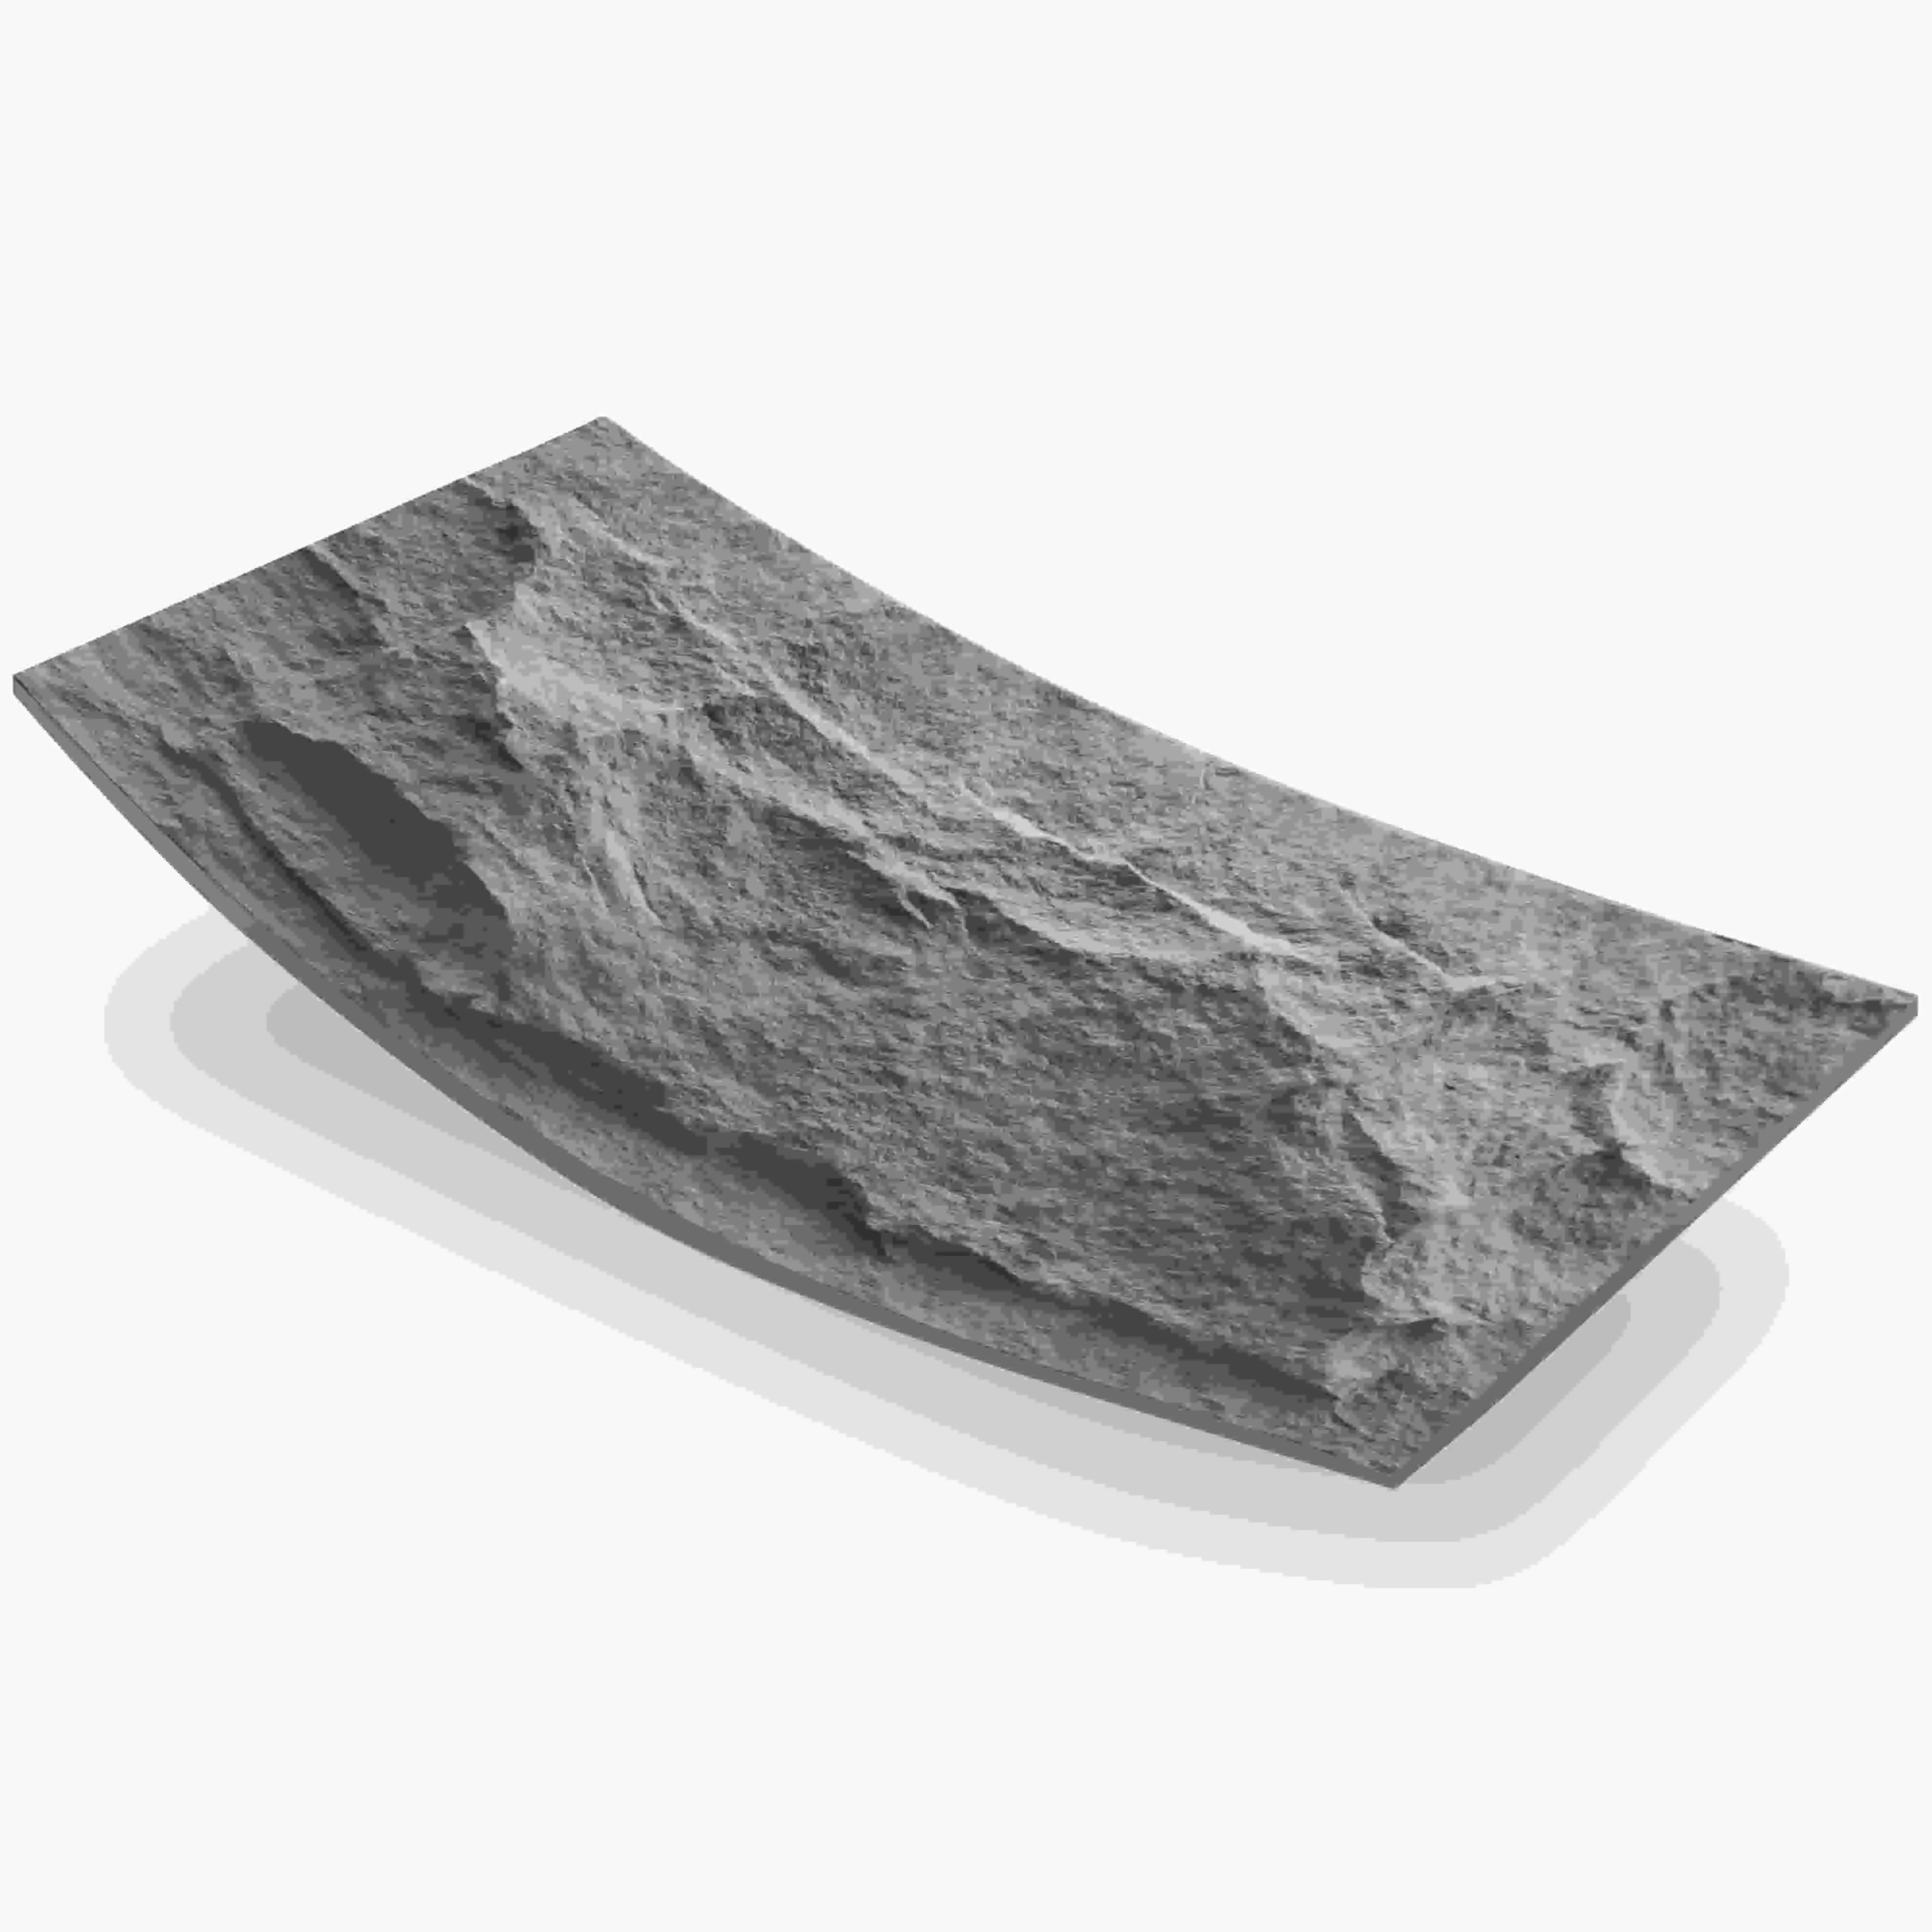
What sets it apart? Unlike flat, uniform panels, each piece has subtle variations in texture and color, giving walls a lived-in, natural vibe without the hassle of heavy natural stone. Plus, it's flexible (thanks to that mcm tech), which means it plays nice with curved surfaces or uneven walls—something you'll appreciate when you're up against a tricky substrate.
Here's the hard truth: Skipping prep is how good installs turn into call-backs. Let's make sure you don't end up there. Crossare Mushroom Stone043 might be forgiving, but it's not magic. Let's break down what you need to do before you even crack open a bucket of adhesive.
First, inspect the wall or substrate where you'll be installing. Common substrates include drywall, plywood, or even fair-faced concrete —a sleek, unfinished concrete surface that pairs beautifully with the stone's texture. Whatever it is, it needs to be:
Even though each piece of Crossare Mushroom Stone043 is unique, you still need a game plan. Grab your tape measure and sketch out the area. Note windows, doors, or outlets—you'll need to cut stones to fit around them, and it's better to plan those cuts ahead than wing it mid-install.
Pro tip: If the project is large, divide the wall into smaller sections (like 4x4ft squares). This makes it easier to stay on track and adjust if the pattern starts to look off.
Crossare Mushroom Stone043 is durable, but the edges can chip if you're rough with it. When unboxing, lay the pieces flat on a clean surface (avoid dragging them across concrete!). Sort through them first—you'll notice slight color variations, so mix and match from different boxes to avoid splotchy patches. It's like arranging a puzzle: you want the colors to flow, not clash.
You don't need a workshop full of gadgets, but having the right tools will cut your install time in half. Here's a quick breakdown:
| Tool/Material | Why You Need It |
|---|---|
| Notched trowel (6mm or 8mm) | Spreads adhesive evenly—too small, and you'll get gaps; too big, and adhesive oozes out. |
| Utility knife or wet saw | For cutting stones to size. A wet saw is better for clean edges, especially around outlets. |
| Level (2ft and 4ft) | To keep rows straight. Trust us—eyeballing it never works. |
| Adhesive (urethane or polymer-modified mortar) | Stick with the manufacturer's recommendation. We've had great results with urethane adhesives for exterior installs. |
| Grout (matching or contrasting) | Fill in gaps between stones. For a seamless look, go with a color close to the stone; for contrast, try a lighter or darker shade. |
| Grout float | Smooths grout into joints without scratching the stone's surface. |
| Sponge and bucket | Clean excess grout off the stone before it dries—once it sets, it's a pain to remove. |
Pro Tip: Skip the cheap adhesive! Crossare Mushroom Stone043 isn't heavy, but using a low-quality adhesive can lead to stones popping off in extreme temperatures. Spend the extra few bucks—your future self (and your client's wallet) will thank you.
Alright, prep's done, tools are out—let's install. We'll take it slow, step by step, so you don't miss a beat.
Before you apply any adhesive, lay out the stones on the ground (or directly on the wall, if it's clean) in the pattern you want. This is your chance to spot problem areas: a stone that's too narrow, a gap that's too big, or a color that sticks out like a sore thumb. For exteriors, include corners and edges in the dry layout—those are often the trickiest parts.
Start with a small section—about 3ft x 3ft—to avoid adhesive drying out before you can place the stones. Use your notched trowel to spread adhesive in a thin, even layer, holding the trowel at a 45-degree angle. The goal is to cover the surface with ridges of adhesive; these ridges collapse when you press the stone down, creating a strong bond.
Pro move: Apply a thin "back butter" layer to the back of each stone, too. This ensures full contact with the adhesive, reducing the risk of air bubbles or loose stones later.
Pick up a stone, align it with your dry layout marks, and press firmly into the adhesive. Give it a gentle wiggle side-to-side—this helps the adhesive spread and ensures good contact. Then, grab your level and check that it's straight (both horizontally and vertically). If it's off, gently lift and reposition—you have about 10-15 minutes before the adhesive sets, so don't panic.
Spacing matters! Leave a 3-5mm gap between stones for grout. A spacer tool can help, but honestly, a quick eye check works if you're consistent. Just avoid making the gaps too tight—grout needs room to fill, and tight gaps trap moisture.
When you hit a window, outlet, or corner, measure the space carefully, mark the stone with a pencil, and cut with your utility knife or wet saw. For corners, you might need to miter the edges for a clean look. Take your time here—ragged cuts are hard to hide, even with grout.
Wait at least 24 hours for the adhesive to cure before grouting—rushing this is how grout cracks or pulls stones loose. Mix the grout according to the package directions (too runny, and it'll sag; too thick, and it won't spread). Use your grout float to press grout into the gaps, holding the float at a 45-degree angle and working diagonally to avoid scraping the stone's surface.
Let the grout set for 15-20 minutes, then wipe off the excess with a damp (not soaking) sponge. Rinse the sponge frequently—dirty water leaves streaks. For extra shine, do a final buff with a dry cloth once the grout is fully dry (usually 48 hours later).
Even pros run into issues. Here's how to handle the most common headaches:
If stones slide down the wall after placement, your adhesive is too thin, or the surface was too wet. Scrape off the old adhesive, let the surface dry, and apply a thicker layer (with those notched ridges!) before repositioning.
Cracked grout usually means either the adhesive wasn't fully cured when you grouted, or the grout was mixed too dry. If it's minor, you can touch up with a grout repair pen. For major cracks, remove the old grout, let the area dry, and re-grout.
Remember when we said to mix stones from different boxes? If you skipped that, you might have splotchy color. If it's noticeable, gently remove the mismatched stones (while the adhesive is still wet!) and swap them with pieces from another box. If the adhesive has set, you might need to live with it—or suggest adding a complementary accent, like rust mosaic stone , to distract the eye.
Crossare Mushroom Stone043 is low-maintenance, but a little care goes a long way. Here's what to tell your client:
And if they ask about pairing it with other materials? Suggest lunar peak silvery —a sleek, metallic panel that contrasts beautifully with the stone's earthy texture. It's a combo we've seen in modern homes, and it always gets compliments.
Installing Crossare Mushroom Stone043 isn't rocket science, but it does take patience, prep, and a little attention to detail. Remember: the goal is to let the stone's natural beauty shine, so don't overcomplicate it. Start with a solid prep, take your time with placement, and don't hesitate to adjust if something looks off.
At the end of the day, you're not just installing stone—you're creating a surface that'll be part of someone's home for years. And when the client walks in and says, "Wow, that looks amazing," you'll know all that prep was worth it. Now go out there and make that wall (and your client) happy.
Recommend Products


