
Walk into any home improvement forum these days, and you'll find a common thread: homeowners are craving more control over their spaces. We're not just buying furniture—we're building, creating, and customizing. There's a pride in saying, "I did that myself," whether it's a bookshelf, a deck, or a feature wall. But when it comes to materials like poly wood board, a product that's been turning heads for its uncanny wood-like appearance and industrial durability, the big question lingers: Is this a DIY-friendly project, or should I pick up the phone and call a contractor?
I've spent years talking to homeowners, contractors, and even material suppliers about this very topic. What I've learned is that "DIY" doesn't have to mean "easy"—it means "doable with the right guidance." So let's break this down. We'll start by understanding what poly wood board is, what tools you'll need, how to prep your space, walk through the installation steps, and even compare it to other popular materials like wood grain board or rough granite stone (beige). By the end, you'll have a clear answer: Yes, you can install poly wood board yourself —but let's make sure you're set up for success.
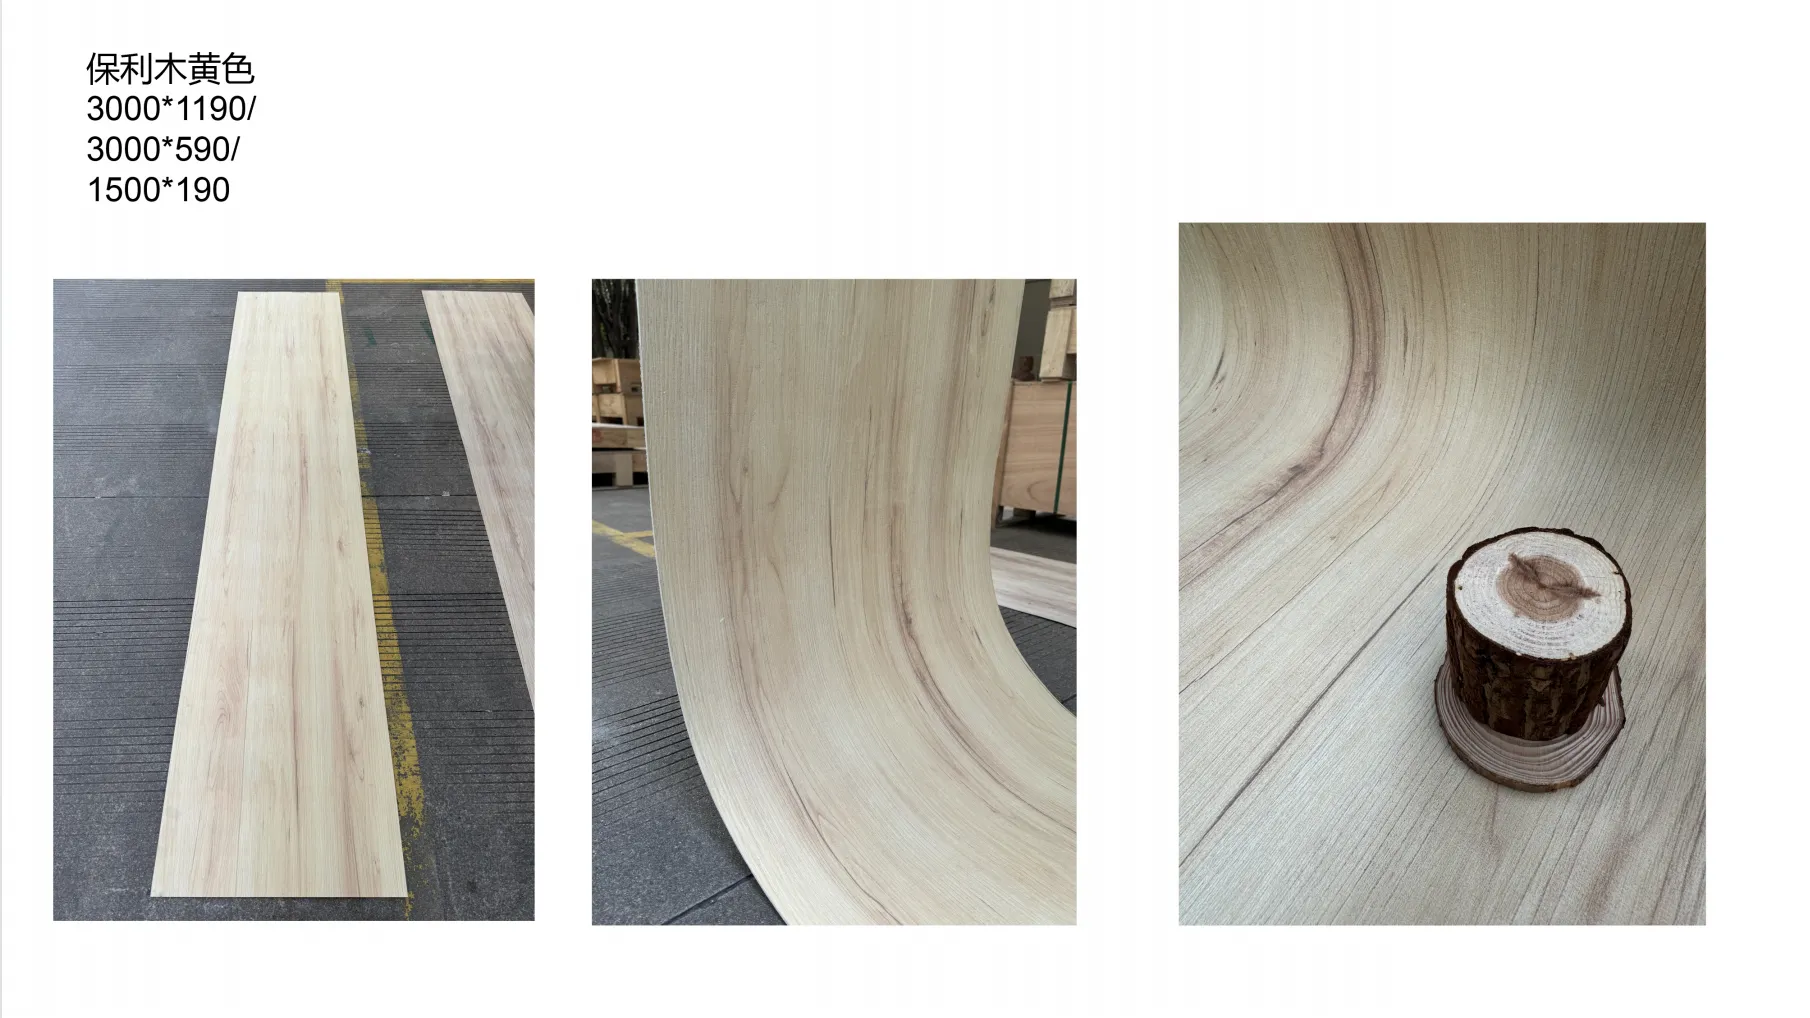
Before we grab the drill, let's get to know the star of the show. Poly wood board (sometimes called polywood or composite wood board) is a blend of recycled plastic and wood fibers, engineered to mimic the look and texture of real wood without the headaches. Think: no splinters, no warping in the rain, no termite infestations, and zero need for annual staining or sealing. It's why you'll see it in outdoor patios, indoor accent walls, and even commercial spaces—it's tough, versatile, and surprisingly good-looking.
What sets it apart from, say, flexible stone (another popular cladding option) is its weight and workability. Flexible stone, while stunning for curved surfaces, can be brittle and harder to cut without specialized tools. Poly wood board, on the other hand, is lightweight (most planks weigh 2-4 pounds per linear foot) and cuts cleanly with standard saws. That's the first clue it might be DIY-friendly.
And let's talk aesthetics. Modern poly wood boards come in everything from rich mahogany tones to weathered grays, with textures that mimic saw marks, knots, and grain patterns—so much so that guests might do a double-take and ask, "Is this real wood?" Spoiler: It's not, and that's a good thing. No more fretting over water rings or sun damage.
One of the biggest myths about home installation projects is that you need a garage full of professional tools. Not so with poly wood board. Chances are, you already own most of what you'll need. Let's make a list—grab a pen, and check off what's in your toolbox:
Notice anything missing? No jackhammers, no laser levels, no $500 specialty tools. That's the beauty of poly wood board—it plays nice with the tools most of us already have (or can borrow from a neighbor). The only exception might be if you're installing on a ceiling or overhead surface, in which case a second pair of hands (or a scaffold) would help—but we'll get to that later.
Here's a secret contractors don't always share: Most installation mistakes happen before you even pick up a tool . Prep work is where you set the stage for success. Let's walk through it step by step.
1. Measure Twice, Cut Once (Yes, It's a Cliché for a Reason)
Start by mapping out your space. Let's say you're installing a feature wall in your living room, 8 feet tall and 10 feet wide. Measure the height and width at three different points—walls are rarely perfectly straight! Jot down the smallest measurement to avoid cutting boards too short. Then, decide on your board orientation: vertical (taller, slimmer look) or horizontal (wider, more expansive feel). Vertical installation is often easier for beginners because it means fewer cuts (most poly wood boards come in 8-foot lengths, which might align perfectly with standard ceiling heights).
2. Inspect Your Surface
Poly wood board can be installed on walls, ceilings, floors, or even furniture—but the surface needs to be flat, clean, and stable. If you're mounting to drywall, check for loose panels or water damage. If it's a concrete wall, fill any cracks with concrete patch. For outdoor use (like a patio ceiling), ensure the surface is sloped slightly (1/4 inch per foot) to drain water—poly wood is water-resistant, but standing water can still cause mold if trapped.
3. Acclimate the Boards
This is a step many DIYers skip, and it's a mistake. Poly wood board expands and contracts with temperature changes. If you bring it home from the store (where it's climate-controlled) and immediately install it in a hot garage or cold basement, it might warp later. Leave the boards in the room where they'll be installed for 48 hours, stacked flat with spacers between them to let air circulate. Trust me—this 2-day wait will save you from a wavy wall down the line.
Even after acclimation, poly wood will still expand slightly in heat and contract in cold. Leave a 1/4-inch gap between the ends of boards and a 1/8-inch gap between the edges (if installing side-by-side). For outdoor installations, bump that up to 3/8-inch gaps to account for more extreme temperature swings.
Now for the fun part. I'll walk through installing poly wood board on a vertical wall (the most common DIY scenario). If you're installing on a floor or ceiling, the steps are similar, but we'll note the differences as we go.
Step 1: Mark Your Studs (or Furring Strips)
If you're installing on drywall, use a stud finder to locate the wall studs. Mark their positions with a pencil—you'll need to drive screws into these for stability. If your wall is concrete, brick, or a material without studs, you'll first attach furring strips (1x3 or 1x4 wooden boards) horizontally across the wall, spaced 16 inches apart. This gives you a surface to screw the poly wood into. Use concrete screws for masonry walls, and make sure the furring strips are level—shim them with wood shims if needed.
Step 2: Cut Your First Board
Measure the height of your wall (or the length of your section) and mark the board with a pencil. Use a carpenter's square to draw a straight line across the board. Clamp the board to a workbench (or sawhorses) so the cut line hangs off the edge—this prevents the board from splintering. For a circular saw, use a fine-tooth blade (10-12 teeth per inch) to get a clean cut. If you're new to cutting, practice on a scrap piece first—better to waste a small offcut than a full board!
Step 3: Attach the First Board
Hold the board against the wall, aligning the bottom edge with your starting line (use a level to ensure it's plumb—straight up and down). Pre-drill a hole through the board and into the stud (or furring strip) using a drill bit slightly smaller than your screw. This prevents the board from cracking. Then drive a screw into the pre-drilled hole—sink it just below the surface, but don't overtighten (you'll strip the plastic). Repeat this every 16-24 inches along the stud line. For the top of the board, drill another row of screws, staggering them from the bottom row for extra strength.
Step 4: Add the Next Boards
Slide the next board into place, leaving a 1/8-inch gap between it and the first board (use a nail or a spacer to keep the gap consistent). Clamp it to the first board to hold it steady, then repeat the pre-drilling and screwing process. Continue this until you reach the end of the wall. If the last board needs to be cut to width (not length), measure carefully—measure twice, cut once, as they say!
Step 5: Finish the Edges
Most poly wood board comes with matching trim pieces (like corner caps or edge boards) to cover the exposed ends. If not, you can use a router with a round-over bit to soften the edges, or paint the cut ends with exterior-grade paint that matches the board color. For a seamless look, some DIYers use wood filler (look for one labeled "for composites") to cover screw heads, then sand and paint—though this is optional.
For floors: Install a vapor barrier first (if over concrete), then lay the boards perpendicular to the floor joists, using hidden fasteners (clips that fit into grooves on the board edges) for a screw-free surface. For ceilings: Use longer screws (2.5 inches) and a helper to hold the boards in place—ceiling installation is doable solo, but having someone steady the board while you drill is a game-changer.
Let's be real: No DIY project is without hiccups. Here are the most common challenges homeowners face with poly wood board installation, and how to solve them:
Problem: Crooked Cuts
Even with a square, it's easy to veer off the line when cutting. Solution: Use a guide! Clamp a straight piece of wood (like a 2x4) along your cut line, then run the saw's base plate against the wood. This keeps the blade perfectly straight. If you do make a slightly crooked cut, don't panic—most trim pieces will cover small imperfections.
Problem: Loose Screws
If screws feel wobbly after driving, you either pre-drilled a hole that's too big, or you missed the stud/furring strip. Solution: Back out the screw, fill the hole with a small piece of wood (or composite shim), and drill a new hole 1 inch away. For drywall, never rely on just the drywall itself—always hit a stud or furring strip.
Problem: Warped Boards
Rare, but possible if the boards weren't acclimated properly. Solution: If a board is slightly bowed, use clamps to pull it flat while you screw it down. Start by screwing the middle, then work outward to the ends, tightening the clamps as you go. For severely warped boards, contact the supplier—most have warranties for defective materials.
Problem: Outdoor Installation in Extreme Weather
Installing in 90°F heat or 30°F cold can make the boards more brittle or prone to expansion. Solution: Work in the morning or evening on hot days, and keep boards in the shade until ready to install. In cold weather, pre-drill slightly larger holes (1/64 inch bigger) to allow for contraction.
Maybe you're still on the fence—should you go with poly wood board, or something else? Let's compare it to two popular alternatives: wood grain board (a natural wood option) and rough granite stone (beige) (a heavier, more traditional material). This will help you see why poly wood might be the smarter DIY choice.
| Feature | Poly Wood Board | Wood Grain Board (Natural Wood) | Rough Granite Stone (Beige) |
|---|---|---|---|
| Installation Difficulty | Moderate—lightweight, cuts easily with standard tools | Moderate, but requires sealing/staining post-installation | Hard—heavy (50-80 lbs per slab), needs mortar and specialized cutting tools |
| Weight (per 4x8 ft sheet) | 35-45 lbs (easy to carry solo) | 40-50 lbs (similar weight, but more fragile) | 200-300 lbs (requires 2+ people to lift) |
| Tools Needed | Drill, circular saw, level (basic DIY tools) | Same as poly wood, plus sander and stain applicators | Wet saw, trowel, grout float, mortar mixer (specialized tools) |
| Time to Install (100 sq ft) | 4-6 hours (for a beginner) | 6-8 hours (plus 24 hours for stain to dry) | 1-2 days (and that's with help) |
| Long-Term Maintenance | Low—hose off with soap and water annually | High—stain every 1-2 years, sand out scratches | Moderate—seal every 3-5 years, watch for cracks |
| Best For | Indoor accent walls, outdoor patios, ceilings, furniture | Indoor feature walls, furniture (not ideal for high-moisture areas) | Fireplaces, exterior facades, high-end feature walls (requires structural support) |
The takeaway? Poly wood board hits that sweet spot between ease of installation, durability, and aesthetics. It's not as finicky as natural wood, and it's infinitely more manageable than heavy stone. For DIYers, that's a win-win.
You've finished installing—now what? The good news is, poly wood board is low-maintenance, but a little care will keep it looking new for decades.
Cleaning : For routine cleaning, mix a few drops of dish soap with warm water and scrub gently with a soft brush or sponge. Rinse with a hose (or bucket of water for indoor use). For tough stains (like oil or grease), use a mild bleach solution (1 part bleach to 3 parts water), let it sit for 10 minutes, then rinse. Avoid pressure washers—too much pressure can scratch the surface.
Preventing Damage : Don't drag heavy furniture across poly wood floors—use felt pads. For outdoor installations, trim back overhanging trees to prevent leaves and debris from accumulating (they can trap moisture). And while poly wood is heat-resistant, avoid placing hot grills or fire pits directly on it (use a heat-resistant mat).
Long-Term Checks : Every 6 months, walk around and check for loose screws or gaps that might have widened. Tighten screws as needed, and if a board becomes damaged (unlikely, but possible), it's easy to replace—just unscrew the damaged section and pop in a new one. No need to redo the entire wall!
Let's circle back to the question: Can homeowners install poly wood board themselves? After walking through the tools, the prep, the steps, and the potential challenges, my answer is a resounding yes . It's not a project you'll finish in an hour, but with a weekend of work (and maybe a friend to help with heavy lifting), you'll have a professional-looking feature that you can truly call your own.
Remember, DIY isn't about being perfect—it's about learning, adapting, and taking pride in the process. I've seen first-time DIYers install poly wood board on their patios and end up so confident they tackle their kitchen backsplash next. And if you hit a snag? There are endless tutorials online, and most home improvement stores have staff who'll walk you through a problem.
So grab your measuring tape, acclimate those boards, and take the first step. In a few days, you'll be standing back, admiring a wall (or floor, or ceiling) that you built with your own hands. And when someone asks, "Did you hire a pro for that?" you'll smile and say, "Nope—I did it myself."
Recommend Products


