
There's something deeply satisfying about transforming a space with your own two hands. Whether you're revamping a kitchen backsplash, upgrading a fireplace surround, or adding texture to an outdoor patio, few materials make a statement like natural stone. But if you've ever browsed stone options, you know the choices can feel overwhelming—until you stumble upon rock cut dolomitic stone. With its raw, earthy texture and versatile color palette, it's become a favorite among DIY enthusiasts and designers alike. Let's dive into what makes this stone special, the ups and downs of installing it yourself, and how to stay safe while turning your vision into reality.
First things first: let's break down the name. "Rock cut" refers to the way the stone is processed—instead of being polished to a shiny finish, it's cut with rough tools to preserve its natural, unrefined texture. Think of it like a slab of stone fresh from the quarry, with all the nooks, crannies, and subtle color variations that make nature so unique. "Dolomitic" means it's primarily made of dolomite, a mineral similar to limestone but harder and more resistant to acid. This combo results in a stone that's both durable and full of character.
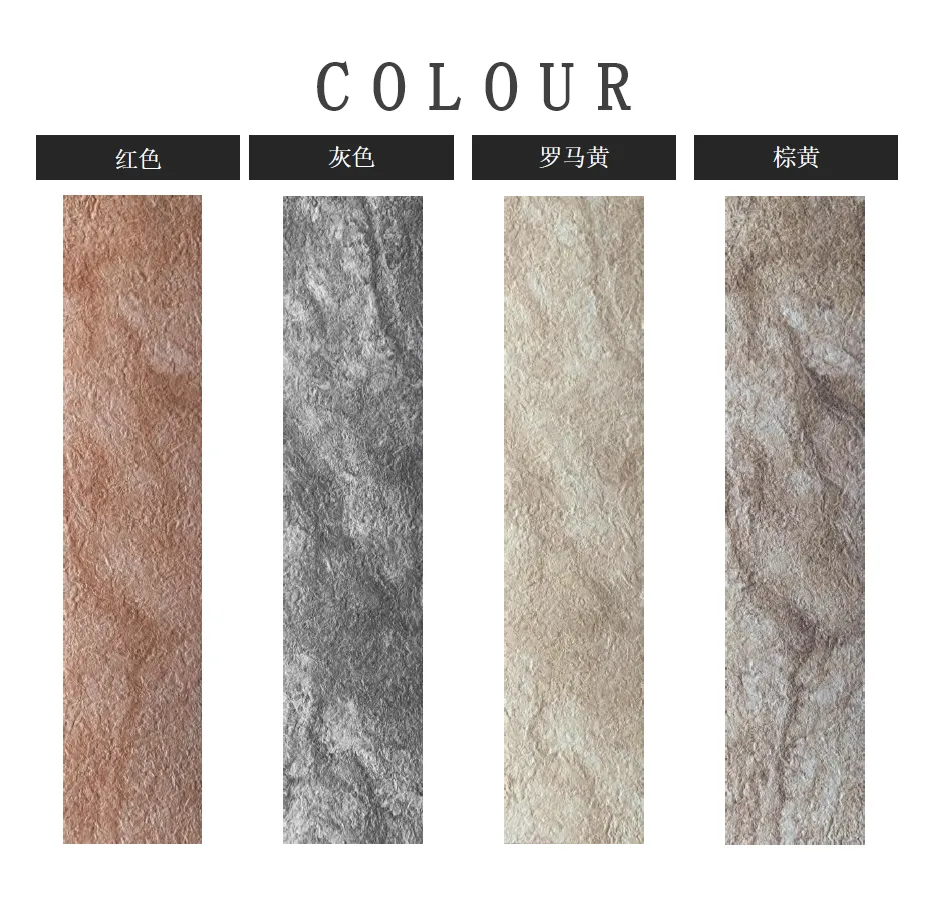
You'll often hear it grouped with related materials like dolomitic travertine (dark grey) or rock cut stone (beige)—variations that tweak the color or veining to suit different styles. For example, rock cut stone (dark grey) leans industrial, with deep, moody tones that pair perfectly with modern metal fixtures, while rock cut stone (beige) feels warm and rustic, ideal for farmhouses or cozy living rooms. And if you've ever scrolled through rock cut stone real photos online, you'll notice no two pieces are identical—each slab tells a story of the earth it came from.
A bold, moody option with subtle white veining that mimics storm clouds. Its cool tone adds depth to minimalist or industrial spaces, and it pairs beautifully with brass hardware or warm wood accents to balance the intensity.
Soft and inviting, with sandy undertones and gentle variations in light and dark. It's the chameleon of stones—equally at home in a sunlit breakfast nook or a shaded outdoor patio, bringing warmth without overwhelming the room.
A close cousin to rock cut dolomitic stone, this variation has a slightly smoother texture with honeycomb-like pores (a signature of travertine). The dark grey hue adds sophistication, making it a popular choice for high-end kitchen backsplashes.
So, why has this stone become a go-to for do-it-yourself projects? Let's start with the wins.
Let's be honest—we DIY because we want our space to feel unique . Rock cut dolomitic stone delivers on that front. Unlike uniform porcelain tiles or synthetic laminates, its rough-hewn surface catches light in unexpected ways, creating shadows and depth that make a wall or countertop feel alive. Whether you opt for dark grey or beige, the natural texture adds a tactile element that invites touch (and compliments from guests). I once helped a friend install rock cut stone (beige) on her fireplace, and now it's the first thing people mention when they walk in—"It feels like a cabin in the woods, but elevated," one guest said. That's the magic of natural texture.
Dolomite is tougher than traditional limestone, which means rock cut dolomitic stone can handle daily wear and tear. Scratches from pots and pans? Minor. Spills from coffee or wine? Wipe them up quickly, and you're golden. I installed a dark grey slab in my own mudroom three years ago, and it still looks brand-new despite muddy boots, dropped keys, and the occasional stray Lego. Just avoid using harsh acidic cleaners (like vinegar) long-term—they can etch the surface over time.
One of the biggest perks for DIYers is how forgiving this stone can be. Unlike marble, which cracks easily if cut improperly, dolomitic stone is relatively easy to trim to size with a diamond-tipped blade (more on tools later). Its lightweight nature (especially if you opt for MCM's flexible stone variants) also makes handling easier—no need to recruit a team of friends to lift heavy slabs. I've seen first-timers use it to create accent walls, outdoor kitchen counters, and even shower surrounds, all with professional-looking results.
Natural stone can sometimes have wild color swings, which is charming but tricky if you need a cohesive look. Rock cut dolomitic stone strikes a nice balance: while each piece has unique veining, the overall color stays consistent within a batch. That means if you're installing a backsplash with 20 tiles, you won't end up with one that's drastically lighter or darker than the rest—a relief for anyone who's ever stared at a mismatched tile job and sighed.
Of course, no material is perfect. Before you grab your trowel, let's talk about the challenges you might face.
Natural stone costs more upfront than ceramic tiles or vinyl. Depending on the color and thickness, rock cut dolomitic stone can run $8–$15 per square foot, plus the cost of adhesive, grout, and tools. If you're working on a large space (like a full kitchen backsplash or outdoor patio), those costs add up fast. Pro tip: Start small. A fireplace surround or accent wall lets you test the waters without breaking the bank.
Dolomitic stone is porous, which means it can absorb liquids and stains if left unprotected. That coffee spill I mentioned earlier? It's only harmless if you've sealed the stone first. Most pros recommend sealing it immediately after installation and then re-sealing every 1–2 years (more often for high-moisture areas like showers). Skipping this step is a rookie mistake that can lead to permanent discoloration—and regret.
While it's easier to cut than marble, rock cut dolomitic stone still demands sharp tools and steady hands. A cheap hacksaw blade will leave jagged edges, and rushing the cut can cause the stone to chip. I learned this the hard way when I tried to trim a dark grey slab with a dull blade—the result looked like a toddler had taken a bite out of it. Invest in a diamond-tipped wet saw (you can rent one for $50–$75 a day) to get clean, professional edges.
While MCM's flexible stone options are lighter than traditional stone slabs, they're still heavier than ceramic tiles. If you're installing it on a vertical surface (like a wall), you'll need to make sure the substrate (drywall, cement board, etc.) can support the weight. A 10-square-foot section of ½-inch stone can weigh 30–40 pounds—enough to pull down weak drywall if you don't prep properly.
| Pros | Cons |
|---|---|
| Unique, natural texture with depth | Higher upfront cost than synthetic materials |
| Durable against scratches and daily wear | Requires sealing every 1–2 years |
| Consistent color within batches | Needs diamond-tipped tools for clean cuts |
| Lightweight (MCM variants) for easier handling | Still heavier than ceramic tiles; requires sturdy substrate |
DIY projects should end with a sense of pride, not a trip to the ER. Here's how to stay safe while installing rock cut dolomitic stone.
Stone dust is no joke—it can irritate your eyes, lungs, and skin. Always wear safety goggles (not just glasses), a dust mask or respirator, and thick work gloves. When cutting stone, the dust flies everywhere, so consider a face shield for extra protection. I once skipped the goggles to "save time" and ended up with stone grit in my eye that took hours to flush out. Trust me: 30 seconds to put on gear is worth avoiding a painful trip to urgent care.
Rock cut dolomitic stone adheres best to clean, flat, dry surfaces. If you're installing it over drywall, make sure there are no cracks or water damage. For outdoor projects, use a cement board or mortar bed to prevent shifting. And whatever you do, don't skip the primer! A good bonding primer helps the adhesive stick, reducing the risk of tiles falling off later. I've seen DIYers cut corners here, only to have their beautiful stone work start peeling up after a few months—it's heartbreaking.
Even lightweight stone adds up. A 2-foot slab can weigh 10–15 pounds, and bending over to lift it repeatedly is a recipe for back pain. Use proper lifting technique: bend at the knees, keep the stone close to your body, and ask for help with larger pieces. If you're working alone, use a dolly or tile carrier to move slabs—your lower back will thank you later.
Grouting is the final step, and it's easy to rush. But rock cut dolomitic stone's rough texture traps grout, making cleanup a nightmare if you let it dry. Work in small sections (3–4 square feet at a time), and wipe excess grout off the stone with a damp sponge before it sets. I made the mistake of grouting an entire wall at once and spent hours scrubbing dried grout out of the crevices. Spoiler: some of it still won't come out. Lesson learned.
Moisture is stone's worst enemy. If you're installing rock cut dolomitic stone in a bathroom or outdoor area, make sure the surface is sloped to drain water and use a waterproofing membrane under the adhesive. For indoor spaces like kitchens, wipe up spills immediately—even sealed stone can stain if liquid sits too long. And avoid using pressure washers on outdoor installations; the force can push water behind the stone, leading to mold or mildew.
Absolutely—if you're willing to put in the time and care. There's nothing like stepping back and saying, "I did that," especially when the result is a space that feels warm, unique, and full of character. Rock cut dolomitic stone isn't the easiest material to work with, but its beauty and durability make the effort worthwhile.
Start small, invest in the right tools, and don't be afraid to ask for help when you need it. And when you're done, grab a cold drink, sit back, and admire your handiwork—you've earned it. Whether it's the industrial chic of rock cut stone (dark grey) or the cozy warmth of rock cut stone (beige), your space will tell a story of creativity, patience, and the joy of building something real.
Happy DIYing!
Recommend Products


