
For architects and contractors, selecting the right cladding or flooring material is a balance of art and engineering. It needs to tell a story, endure the test of time, and adapt to the unique demands of each project. Enter Dolomitic Travertine (Claybank) —a material that marries the rustic charm of natural stone with the durability modern construction demands. Its warm, earthy claybank hue, reminiscent of sun-baked soil and aged terracotta, adds depth to both contemporary and traditional designs, making it a favorite for everything from luxury hotels to boutique residential buildings.
Unlike its darker counterpart, Dolomitic Travertine (Dark Grey) , the claybank variant brings a softer, more inviting energy to spaces. Its subtle veining and matte finish create a tactile experience that feels both organic and refined. But what truly sets it apart is its versatility: it pairs seamlessly with materials like fair-faced concrete for an industrial-chic vibe, or Lunar Peak Golden accents for a touch of opulence. In this guide, we'll walk through everything you need to know to install Dolomitic Travertine (Claybank) with precision, ensuring your project not only looks stunning but stands the test of time.
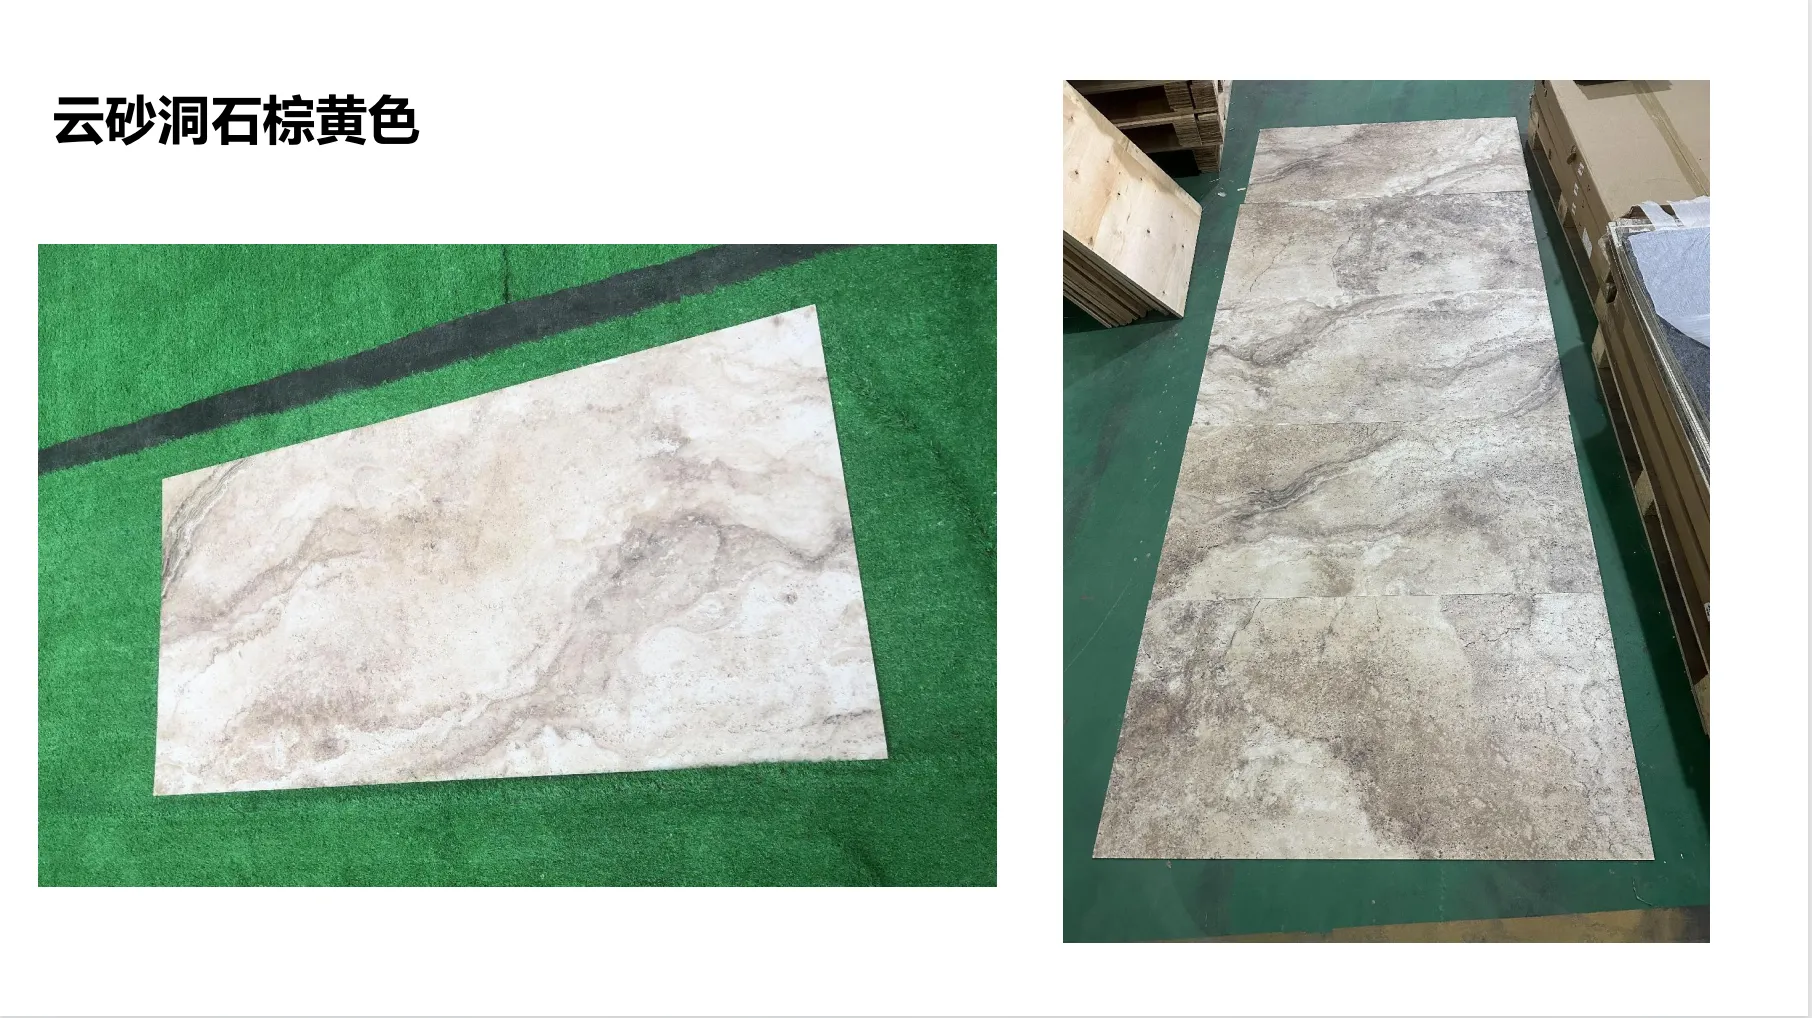
Before diving into installation, it's critical to understand what makes Dolomitic Travertine (Claybank) unique. Travertine itself is a form of limestone formed by mineral-rich water flowing through geological deposits, but dolomitic travertine has a higher magnesium content, which enhances its durability. The claybank color comes from iron oxide deposits, giving it that warm, terracotta-tinged base with hints of cream and taupe.
Key properties to note:
Pro Tip: Always request a sample from your supplier to test porosity and color consistency. Dolomitic Travertine (Claybank) can vary slightly between batches, so matching samples to the final delivery ensures a uniform look.
A successful installation starts with meticulous preparation. Rushing this step is the #1 cause of failed stone installations, so take the time to get it right.
Dolomitic Travertine (Claybank) can be installed over concrete, cement board, or properly prepared wood (for interior floors). The substrate must be:
For exterior walls or vertical applications, consider using MCM Flexible Stone as a lightweight alternative in areas where weight is a concern. MCM (Modified Composite Material) mimics the look of natural stone but is thinner and more flexible, making it easier to install on curved surfaces or high-rise buildings.
Upon delivery, inspect slabs for cracks, chips, or color mismatches. Stack them in a dry, climate-controlled area (avoid direct sunlight or extreme temperatures) for 48-72 hours to acclimate. This prevents expansion or contraction post-installation.
If using large-format slabs (over 60x60cm), sort them by color and veining to create a balanced layout. Lay out slabs on the floor first (a "dry run") to visualize the pattern—this is especially important for claybank travertine, where subtle color variations can create a patchy look if not blended properly.
Now, let's get to the hands-on work. Follow these steps for a smooth, professional installation:
Use a high-quality, polymer-modified thinset mortar designed for natural stone (avoid mastic, which can stain porous stone). Mix according to the manufacturer's instructions—aim for a creamy consistency, like peanut butter, that holds a notch when troweled. Let it slake for 5-10 minutes, then remix briefly before use.
Use a 10mm x 10mm notched trowel for 2cm slabs (adjust trowel size based on slab thickness). Apply mortar in small sections (1-2 sqm at a time) to prevent it from drying out. Hold the trowel at a 45-degree angle and comb ridges in one direction for even coverage. For vertical installations, "back-butter" the slabs by applying a thin layer of mortar to the back before placing—this ensures full contact and reduces air bubbles.
Place slabs gently onto the mortar, aligning with your layout lines. Use plastic spacers (2-3mm for tight grout lines, 5mm for a more rustic look) to maintain consistent spacing. Tap the slabs lightly with a rubber mallet to set them and remove air pockets—check with a level to ensure they're flat and even. Avoid sliding slabs, as this can displace mortar and cause lippage (uneven edges).
Wait 24 hours for the thinset to cure, then grout. Use a sanded grout in a color that complements the claybank tone—taupe, cream, or light grey work well. Mix grout to a paste-like consistency and apply with a rubber float, pressing firmly into the joints at a 45-degree angle. Let it set for 15-20 minutes, then wipe excess with a damp sponge (use clean water and change sponges frequently to avoid smearing).
Pro Tip: For travertine's pitted texture, use a grout release agent before grouting to make cleanup easier. Avoid using acidic cleaners (like vinegar) on fresh grout, as they can etch the surface.
After grout has cured (72 hours for interior, 7 days for exterior), seal the travertine. Use a penetrating sealer (water-based or solvent-based) designed for natural stone. Apply with a lamb's wool applicator or sponge, working in small sections. Let it soak in for 5-10 minutes, then wipe off excess. Apply a second coat after 2 hours for extra protection. Allow 24 hours before allowing foot traffic.
Having the right tools on hand will save time and frustration. Here's a breakdown of what you'll need:
| Tool/Material | Use |
|---|---|
| Diamond-tipped wet saw | Cutting slabs to size (wet cutting reduces dust and prevents chipping) | Notched trowel (10mm x 10mm) | Applying thinset mortar evenly |
| Rubber mallet | Tapping slabs into place without damaging them |
| Spirit level (2ft and 4ft) | Ensuring slabs are flat and level |
| Plastic spacers | Maintaining consistent grout line spacing |
| Grout float | Pressing grout into joints |
| Grout sponge | Cleaning excess grout from the surface |
| Penetrating sealer | Protecting against stains and moisture |
| Straightedge (2m) | Checking substrate flatness |
| Angle grinder with diamond blade | Making precise cuts or shaping edges |
Dolomitic Travertine (Claybank) is a team player—its neutral earthiness pairs beautifully with other materials to create layered, dynamic spaces. Here are some designer-approved combinations:
The raw, industrial look of fair-faced concrete contrasts stunningly with the warmth of claybank travertine. Use travertine for flooring and concrete for walls, or vice versa, to balance texture and color. This combo works well in modern lofts or minimalist commercial spaces.
Lunar Peak Golden —a shimmering, metallic-hued stone—adds a touch of luxury when used as an accent wall or backsplash alongside claybank travertine. The gold flecks complement the travertine's earthy tones, creating a space that feels both grounded and glamorous.
For a cozy, organic vibe, pair travertine with wood grain board (a composite material that mimics natural wood). Use travertine for high-moisture areas (like bathrooms) and wood grain board for walls or ceilings to add warmth without the maintenance of real wood.
With proper care, Dolomitic Travertine (Claybank) can last decades. Here's how to maintain it:
Over time, the travertine may develop a natural patina, which many designers love for its aged charm. If you prefer a "like-new" look, consider professional honing or polishing every 5-7 years.
To take your installation to the next level, keep these expert insights in mind:
Measure Twice, Cut Once: Dolomitic Travertine (Claybank) is expensive—avoid waste by double-checking measurements before cutting. For complex angles, create a template with cardboard first.
Collaborate with Suppliers: Work closely with your stone supplier to source slabs from the same quarry batch for consistent color. Ask about custom finishes (like honed or brushed) to tailor the texture to your project.
Consider Environmental Impact: Opt for locally sourced travertine to reduce carbon footprint, and choose low-VOC sealers for eco-friendly installations.
Dolomitic Travertine (Claybank) isn't just a building material—it's a design story. Its warm, earthy tones and natural texture bring spaces to life, while its durability and versatility make it a practical choice for architects and contractors alike. By following this guide—from substrate prep to maintenance—you'll ensure your installation is not only visually stunning but built to last.
Whether paired with fair-faced concrete for an industrial edge or Lunar Peak Golden for luxury, claybank travertine adapts to any vision. So go ahead—embrace its imperfections, celebrate its uniqueness, and create spaces that feel both timeless and alive.
Recommend Products


