
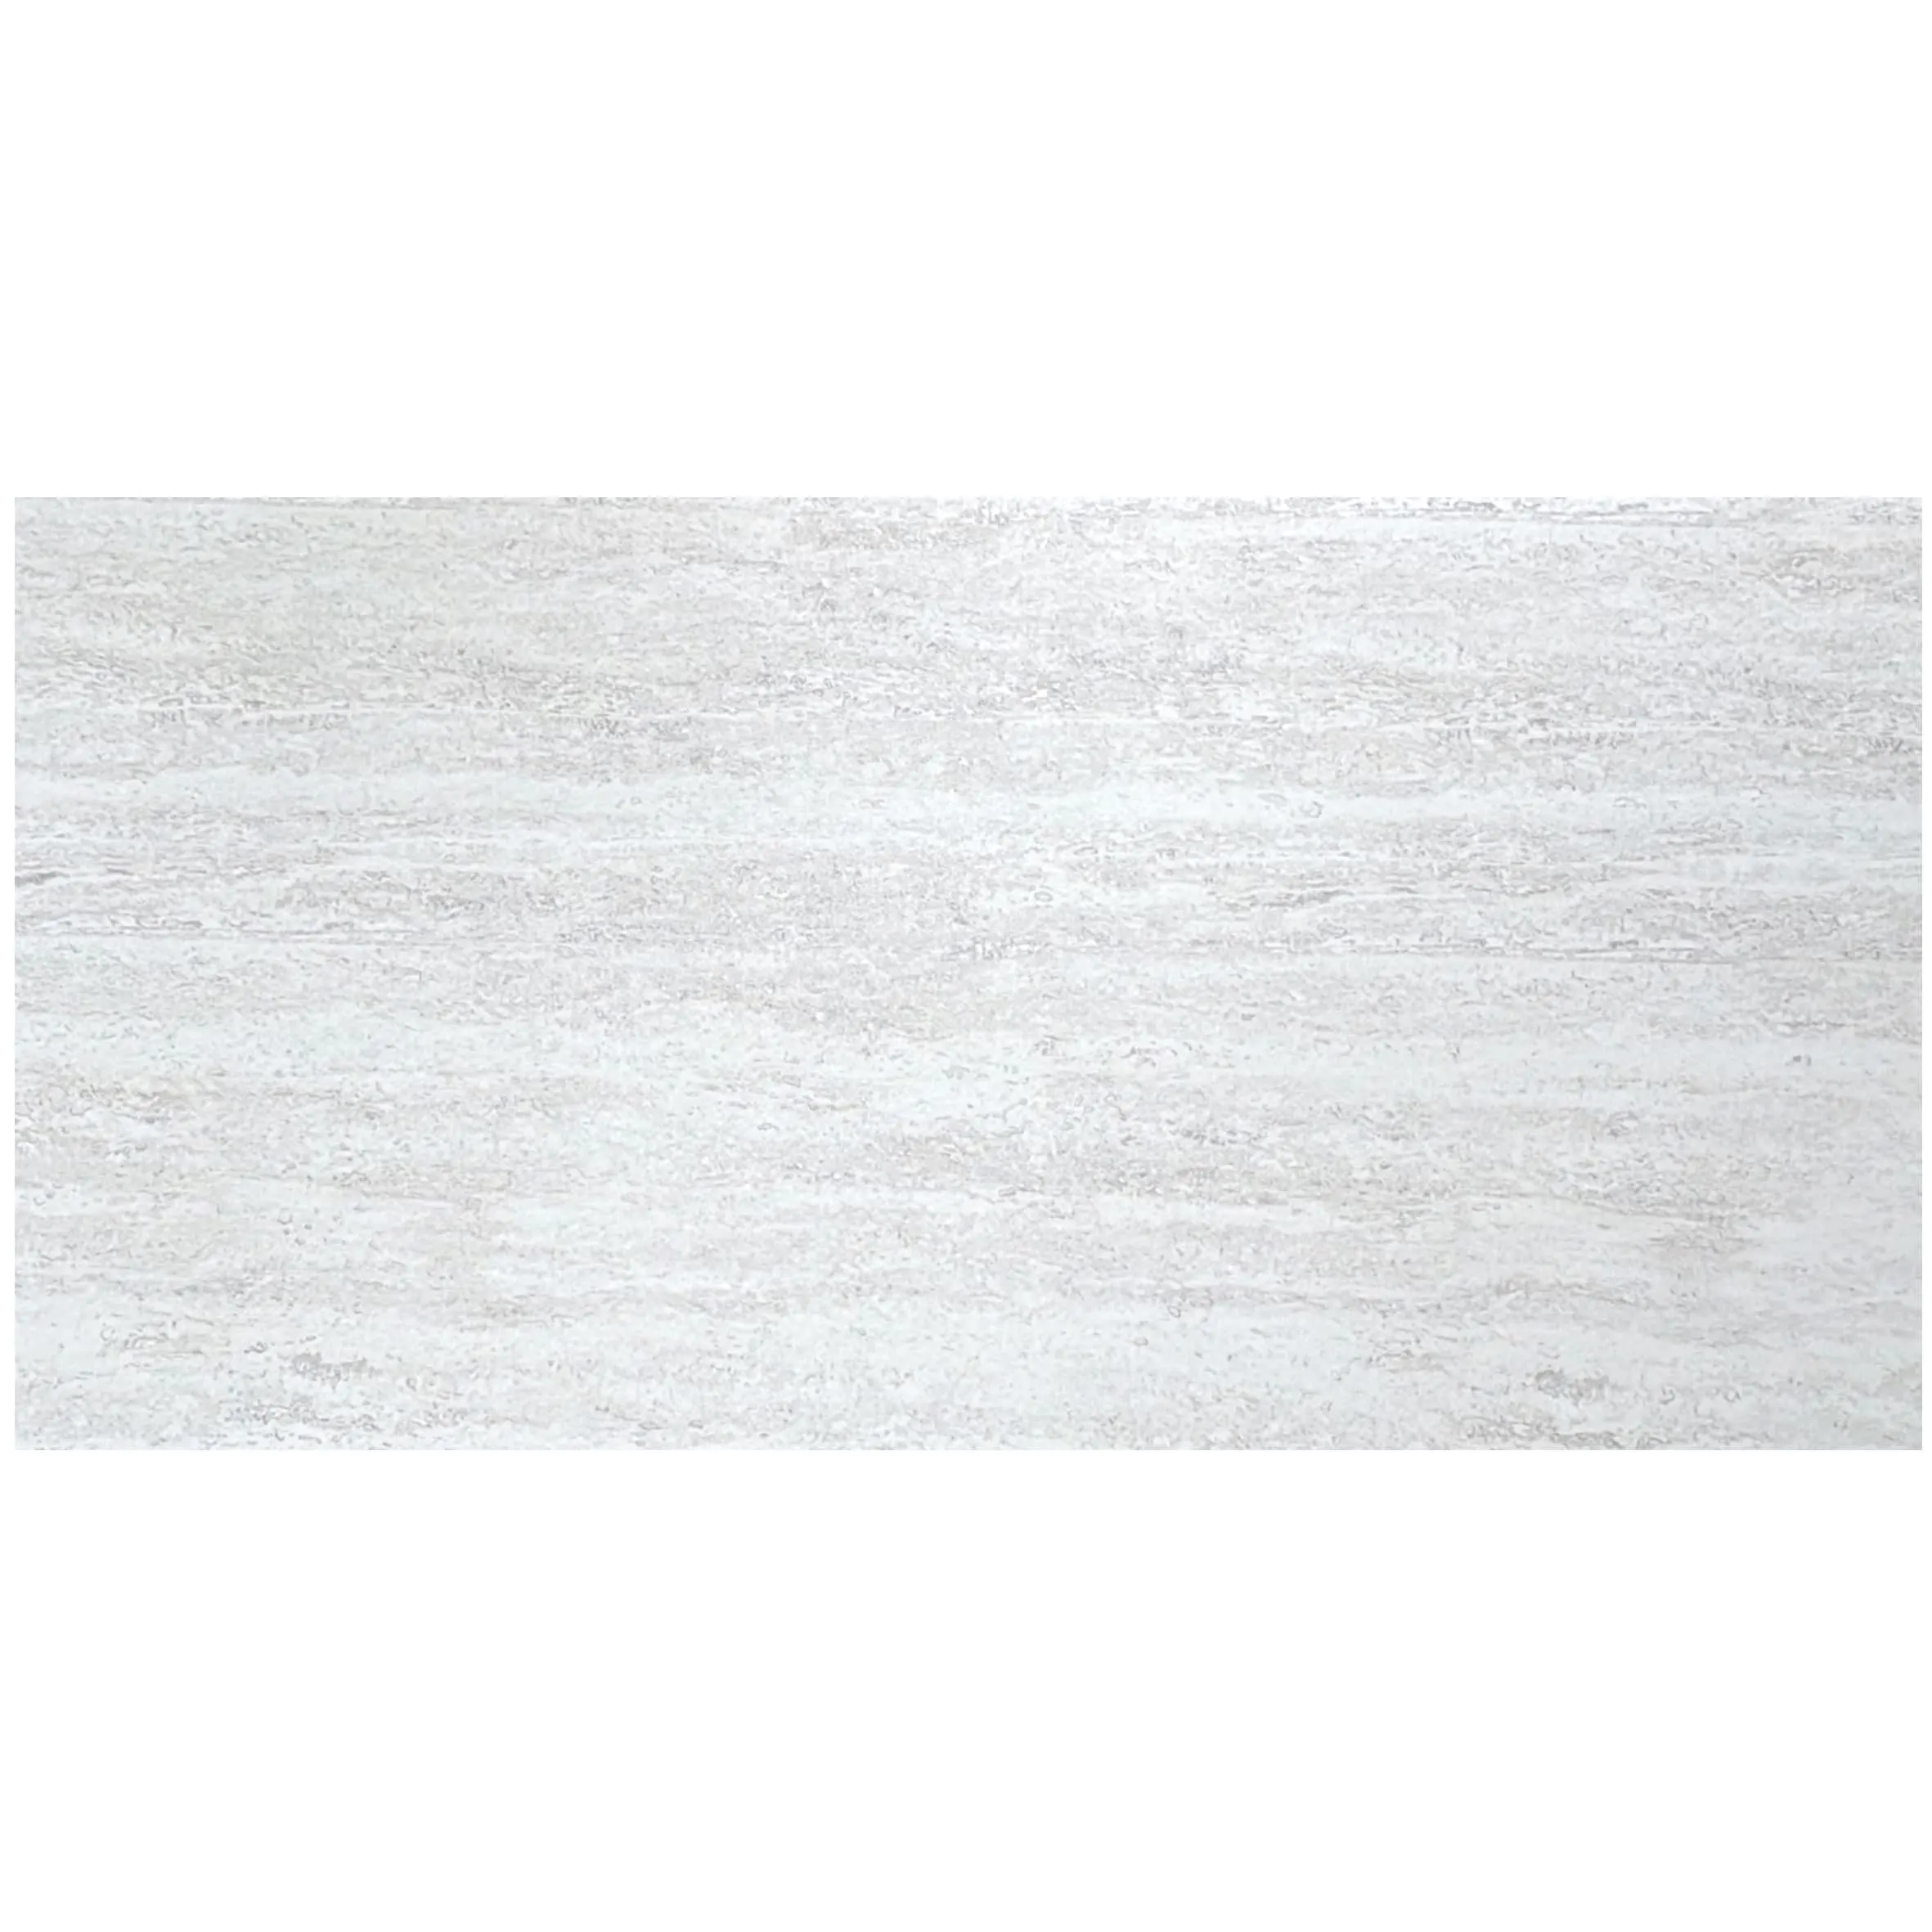
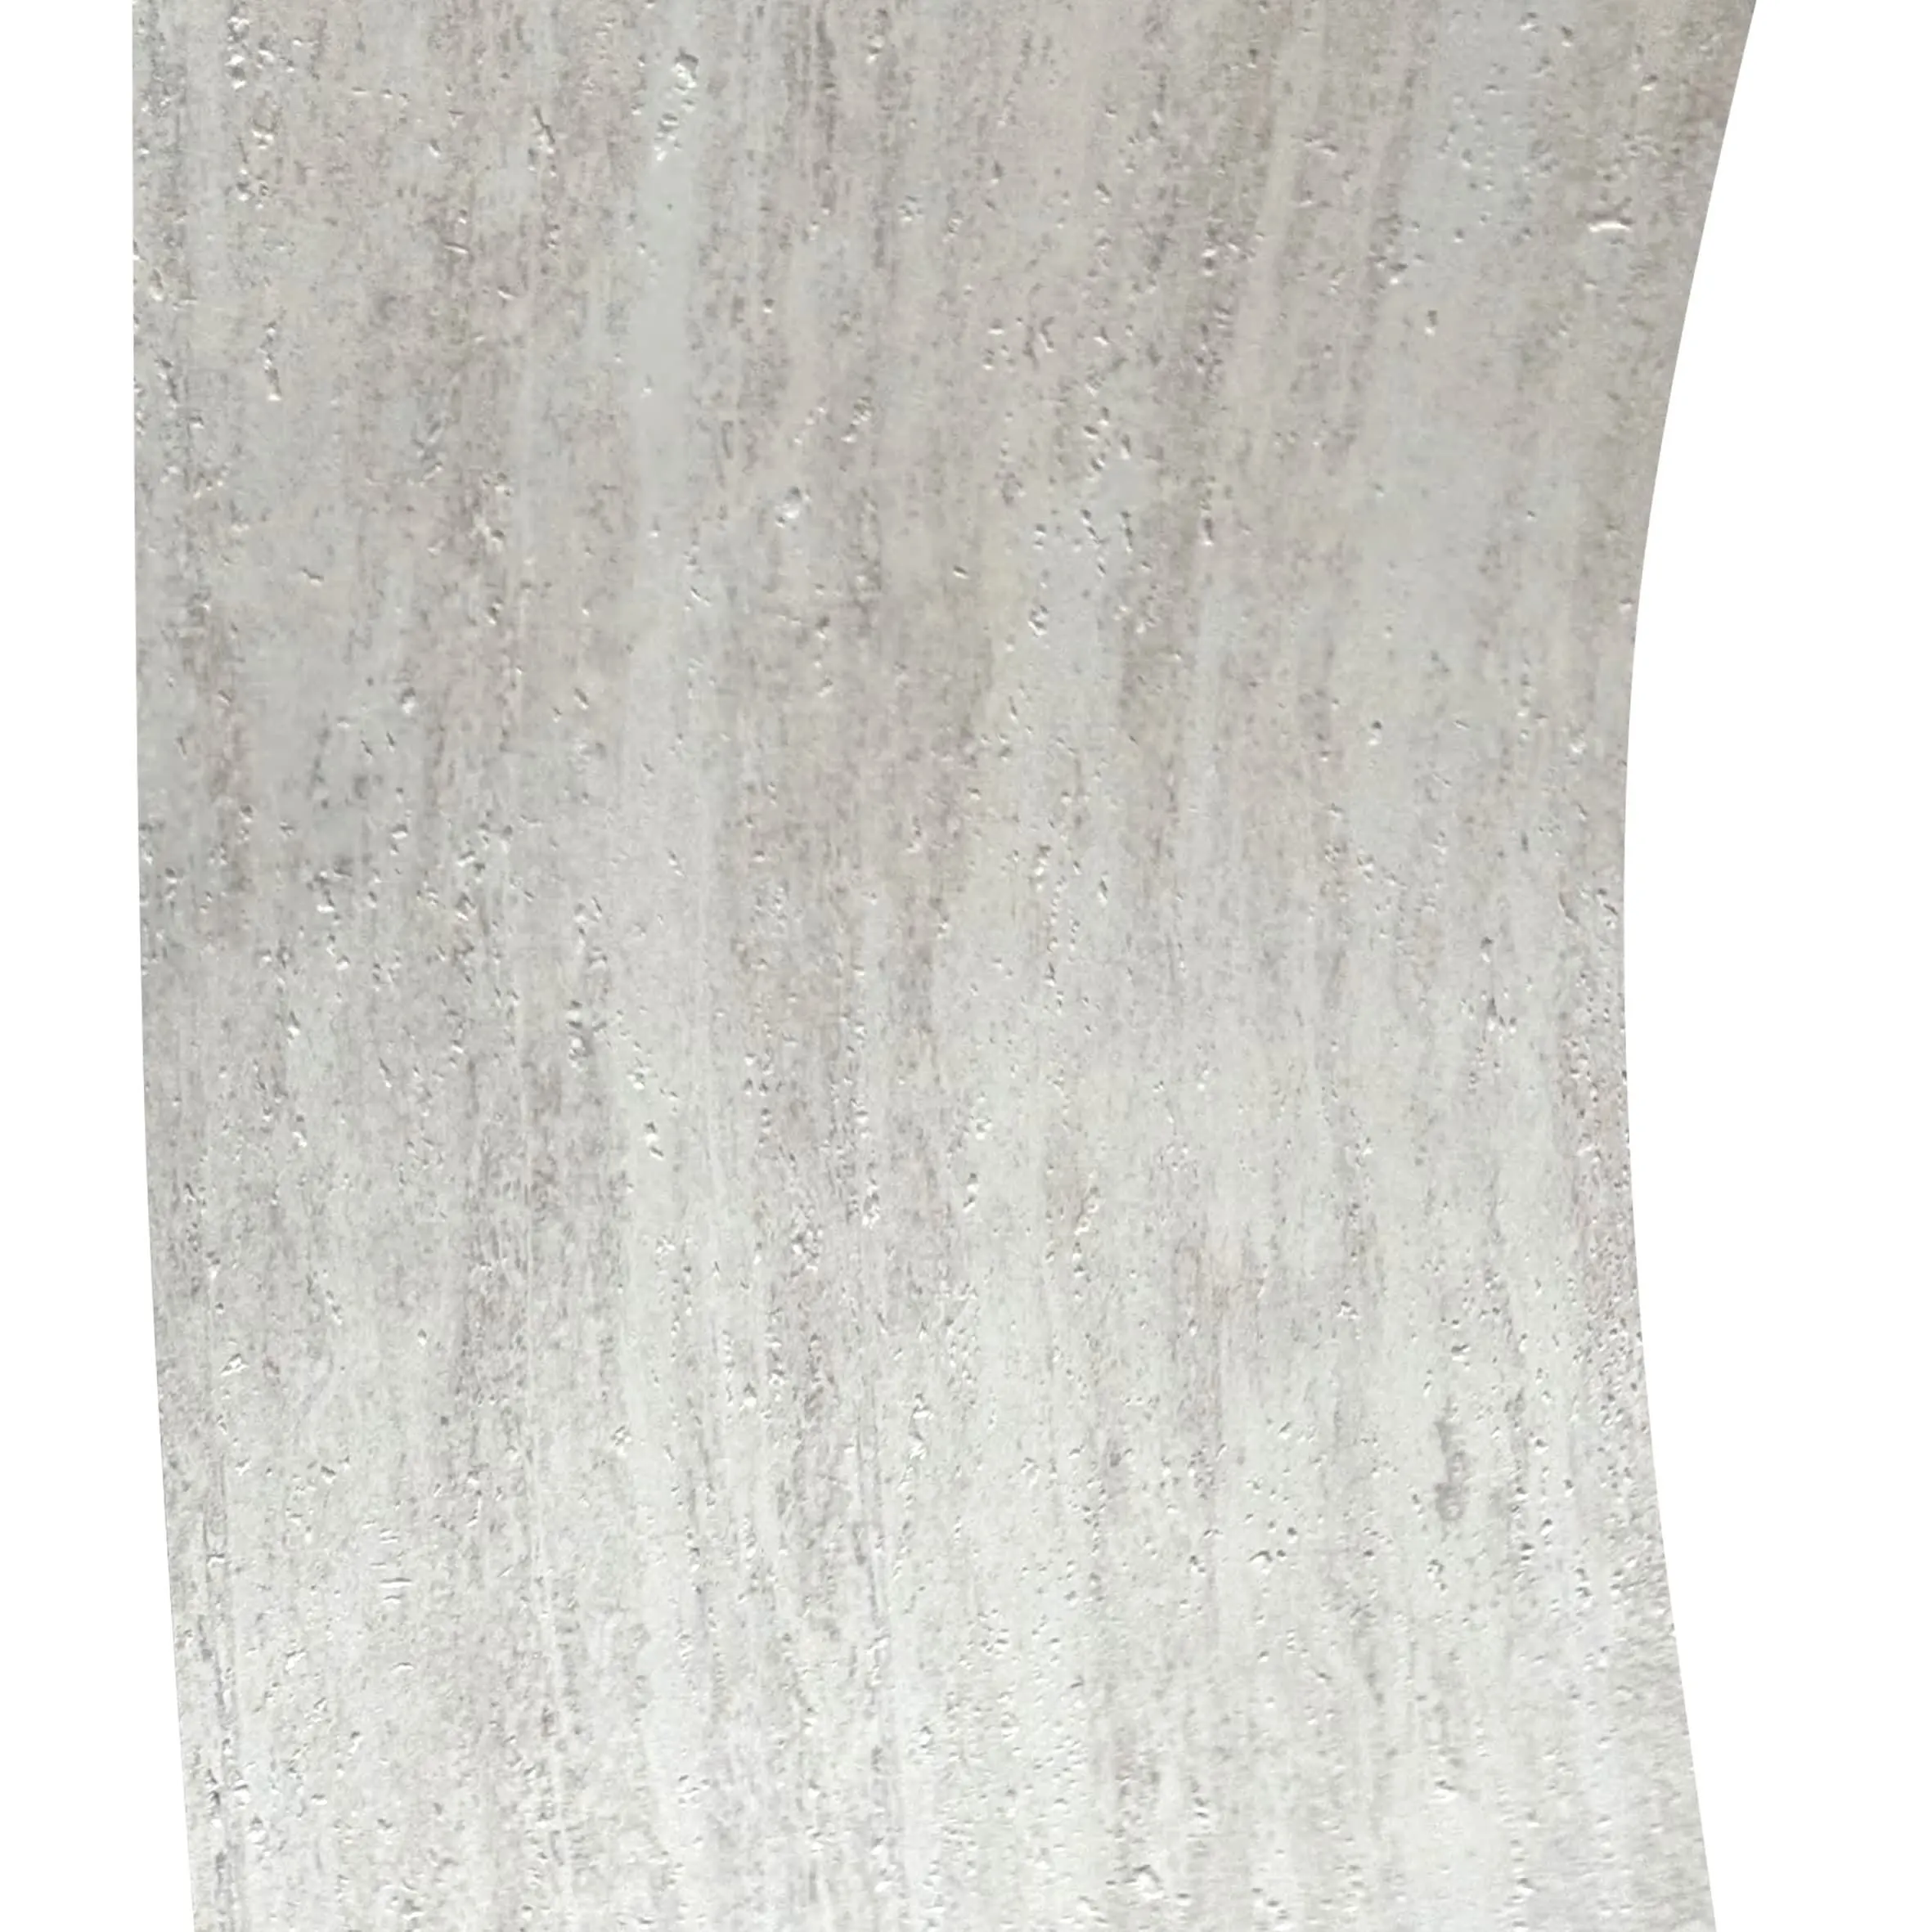
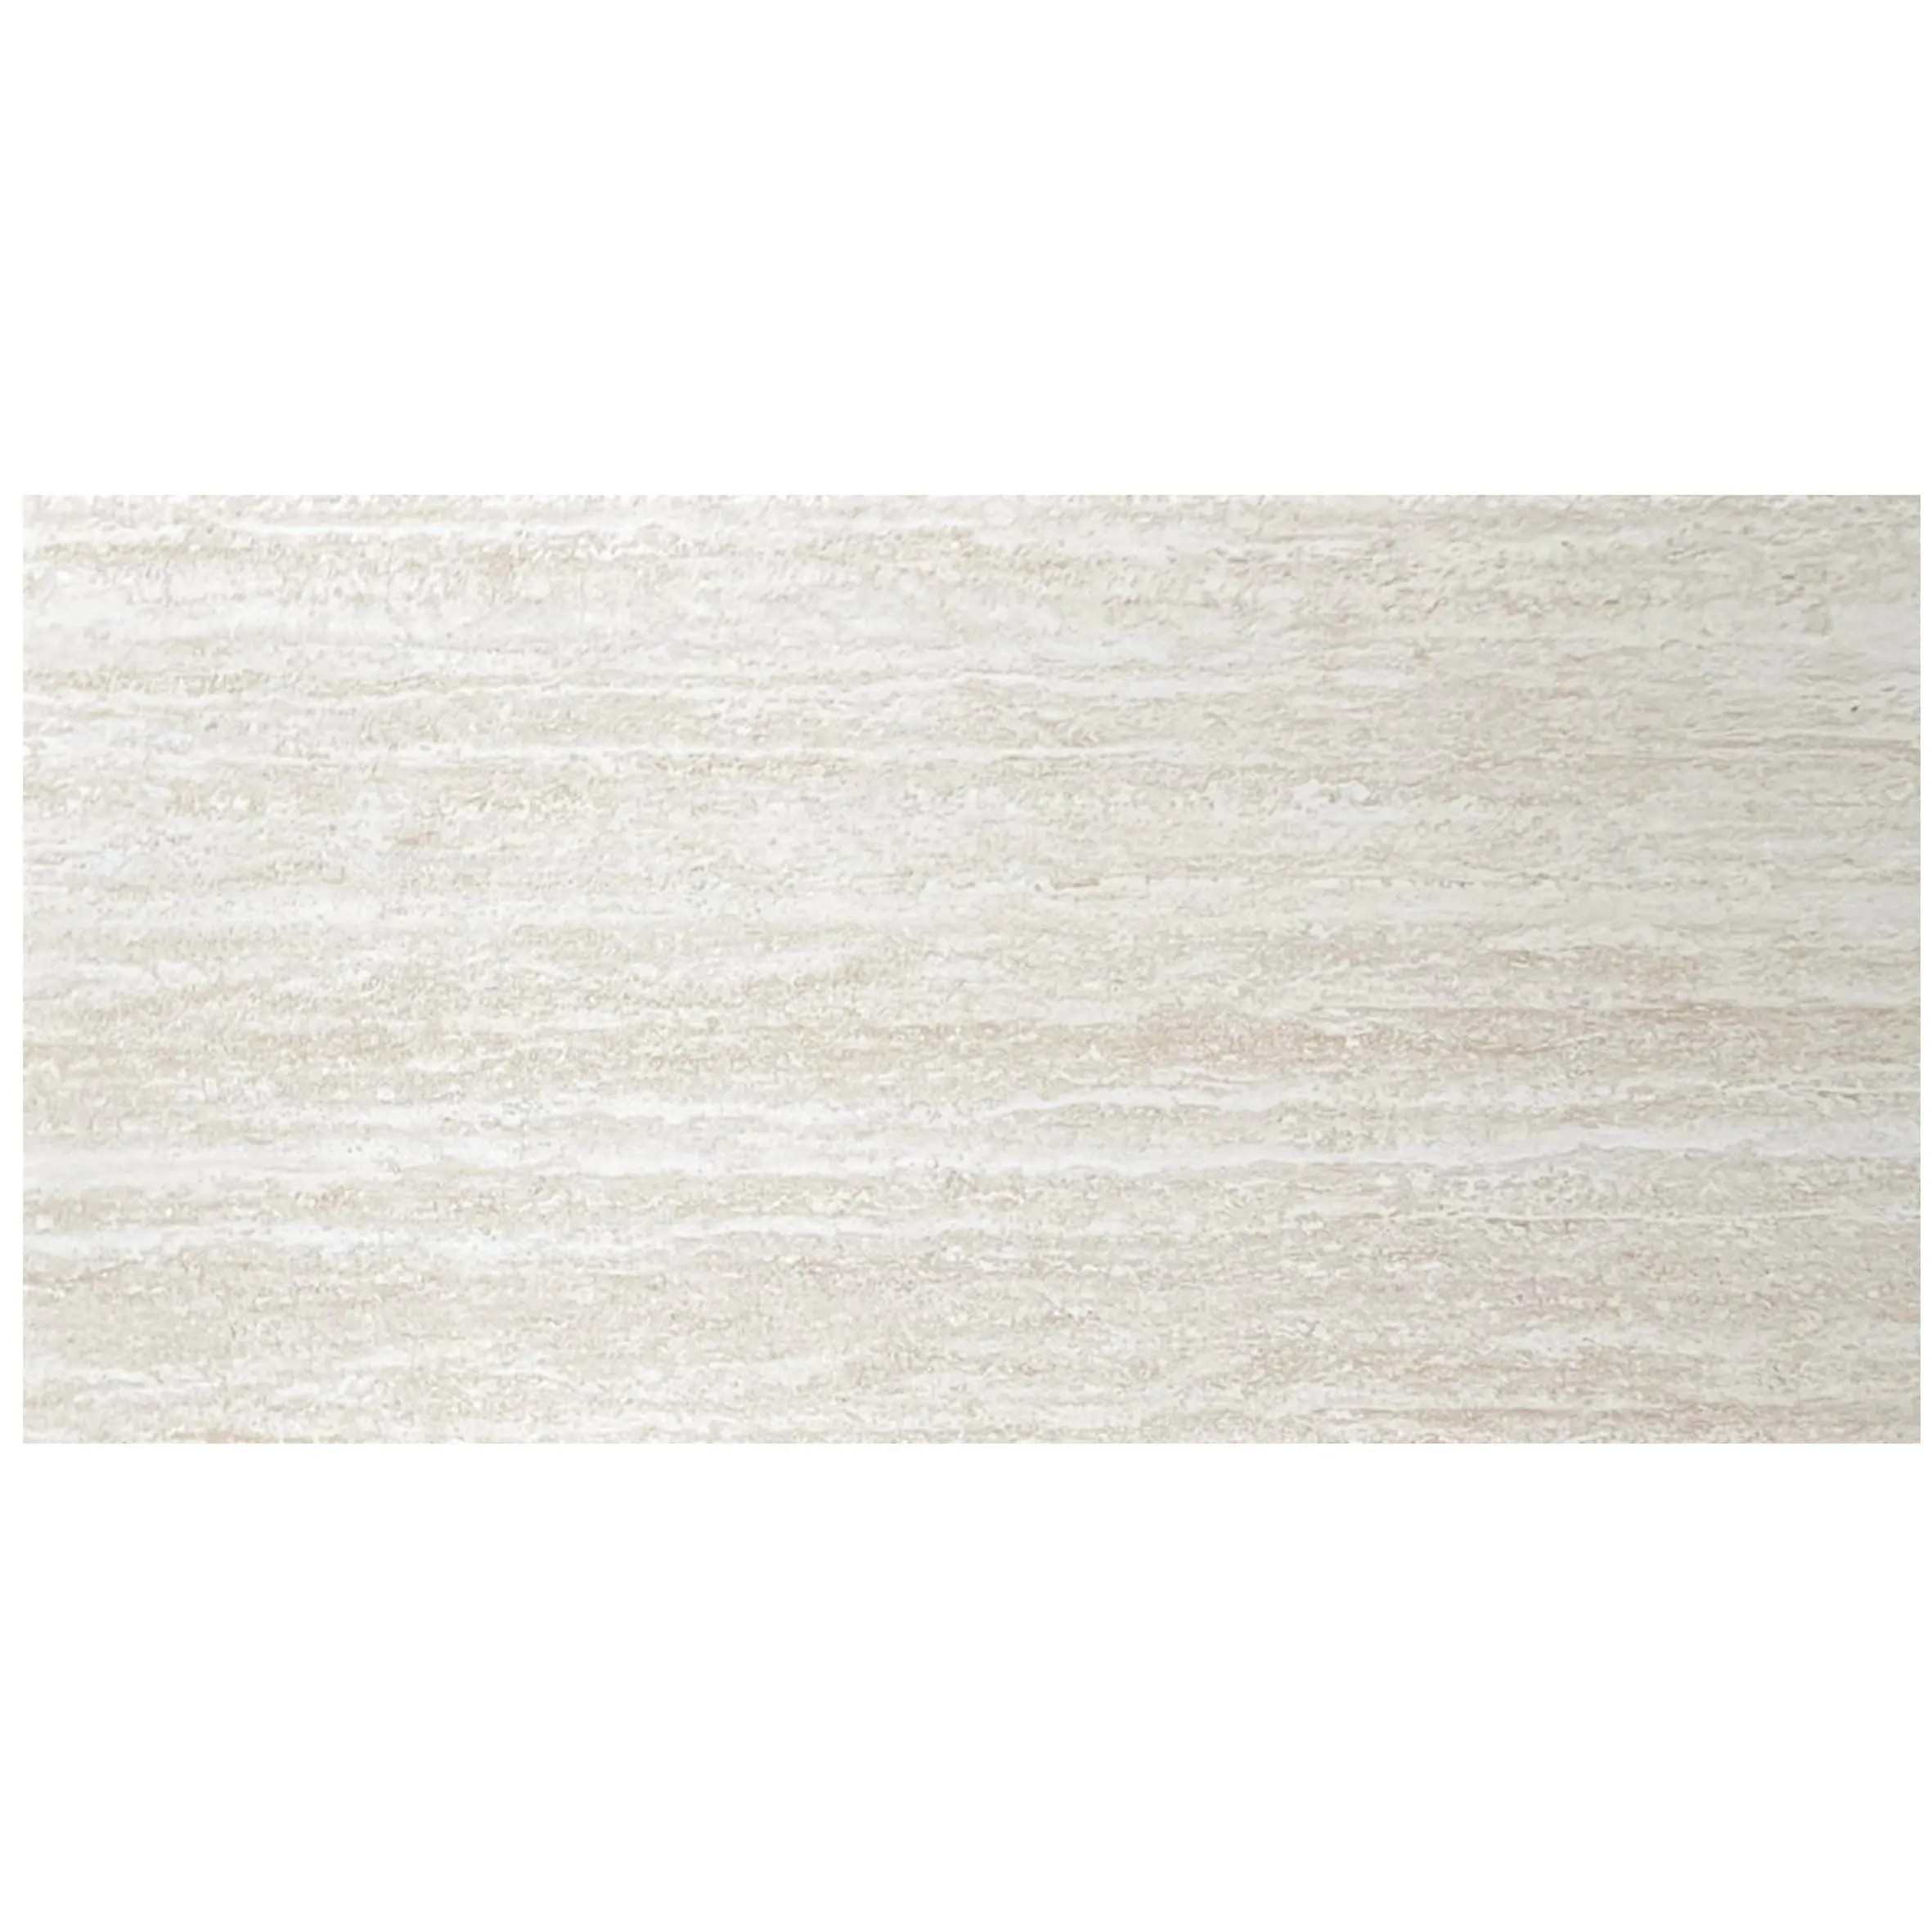
If you've spent any time in the world of architectural finishes, you know that the right material can transform a space from ordinary to unforgettable. Ethereal Shadow Travertine has been turning heads lately, and for good reason. Its soft, muted gray tones with subtle veining—reminiscent of dawn breaking over a misty mountain range—add depth and warmth to both commercial and residential projects. But what really makes it a favorite among contractors isn't just its beauty; it's the balance of durability and workability that comes with being part of the MCM flexible stone family. Unlike traditional natural stone slabs that can be heavy and brittle, Ethereal Shadow Travertine offers the best of both worlds: the authentic look of travertine with the flexibility to adapt to various substrates, making installation smoother and more forgiving than you might expect.
In this guide, we're diving deep into the nitty-gritty of installing Ethereal Shadow Travertine. Whether you're a seasoned contractor who's worked with stone for decades or you're just starting to explore MCM products, we'll walk through everything from pre-installation prep to post-project care. We'll also touch on how it pairs with other materials—like fair-faced concrete for a modern industrial vibe or even lime stone(beige) for a softer contrast—to help you create cohesive, stunning designs. Let's get started.
Any contractor worth their salt will tell you: the key to a flawless installation is in the prep work. Rushing this step is like building a house on sand—sooner or later, cracks will show. Let's break down the critical steps to ensure your Ethereal Shadow Travertine project goes off without a hitch.
First things first: walk the site. Ethereal Shadow Travertine, like all stone products, demands a stable, level substrate. Start by checking the surface where the stone will be installed—whether it's a wall, floor, or countertop. Is it concrete? Drywall? Plywood? Each has its own considerations.
For concrete substrates: Look for cracks, spalling, or unevenness. Even small dips (more than 3mm over a 2m span) can cause lippage (that annoying uneven edge between tiles) later on. Use a long level or straightedge to map out high and low spots. If you find major issues, consider grinding down high areas or using a self-leveling compound to fill in low ones. Also, check for moisture. Travertine is porous, so excess moisture can lead to mold, staining, or adhesive failure. Use a moisture meter to test concrete slabs—ideally, readings should be below 3% for wood substrates and 5% for concrete. If moisture is high, apply a waterproofing membrane before proceeding.
For drywall or plaster walls: Ensure the surface is clean, dry, and firmly attached. Loose tape or bubbling paint? Scrape it off, repair with joint compound, and sand smooth. Avoid installing directly over wallpaper—strip it down to the bare drywall instead. For plywood substrates (common in countertops or backsplashes), make sure the plywood is at least 18mm thick and properly secured. Add a layer of cement board if needed to prevent flexing, which can crack the stone over time.
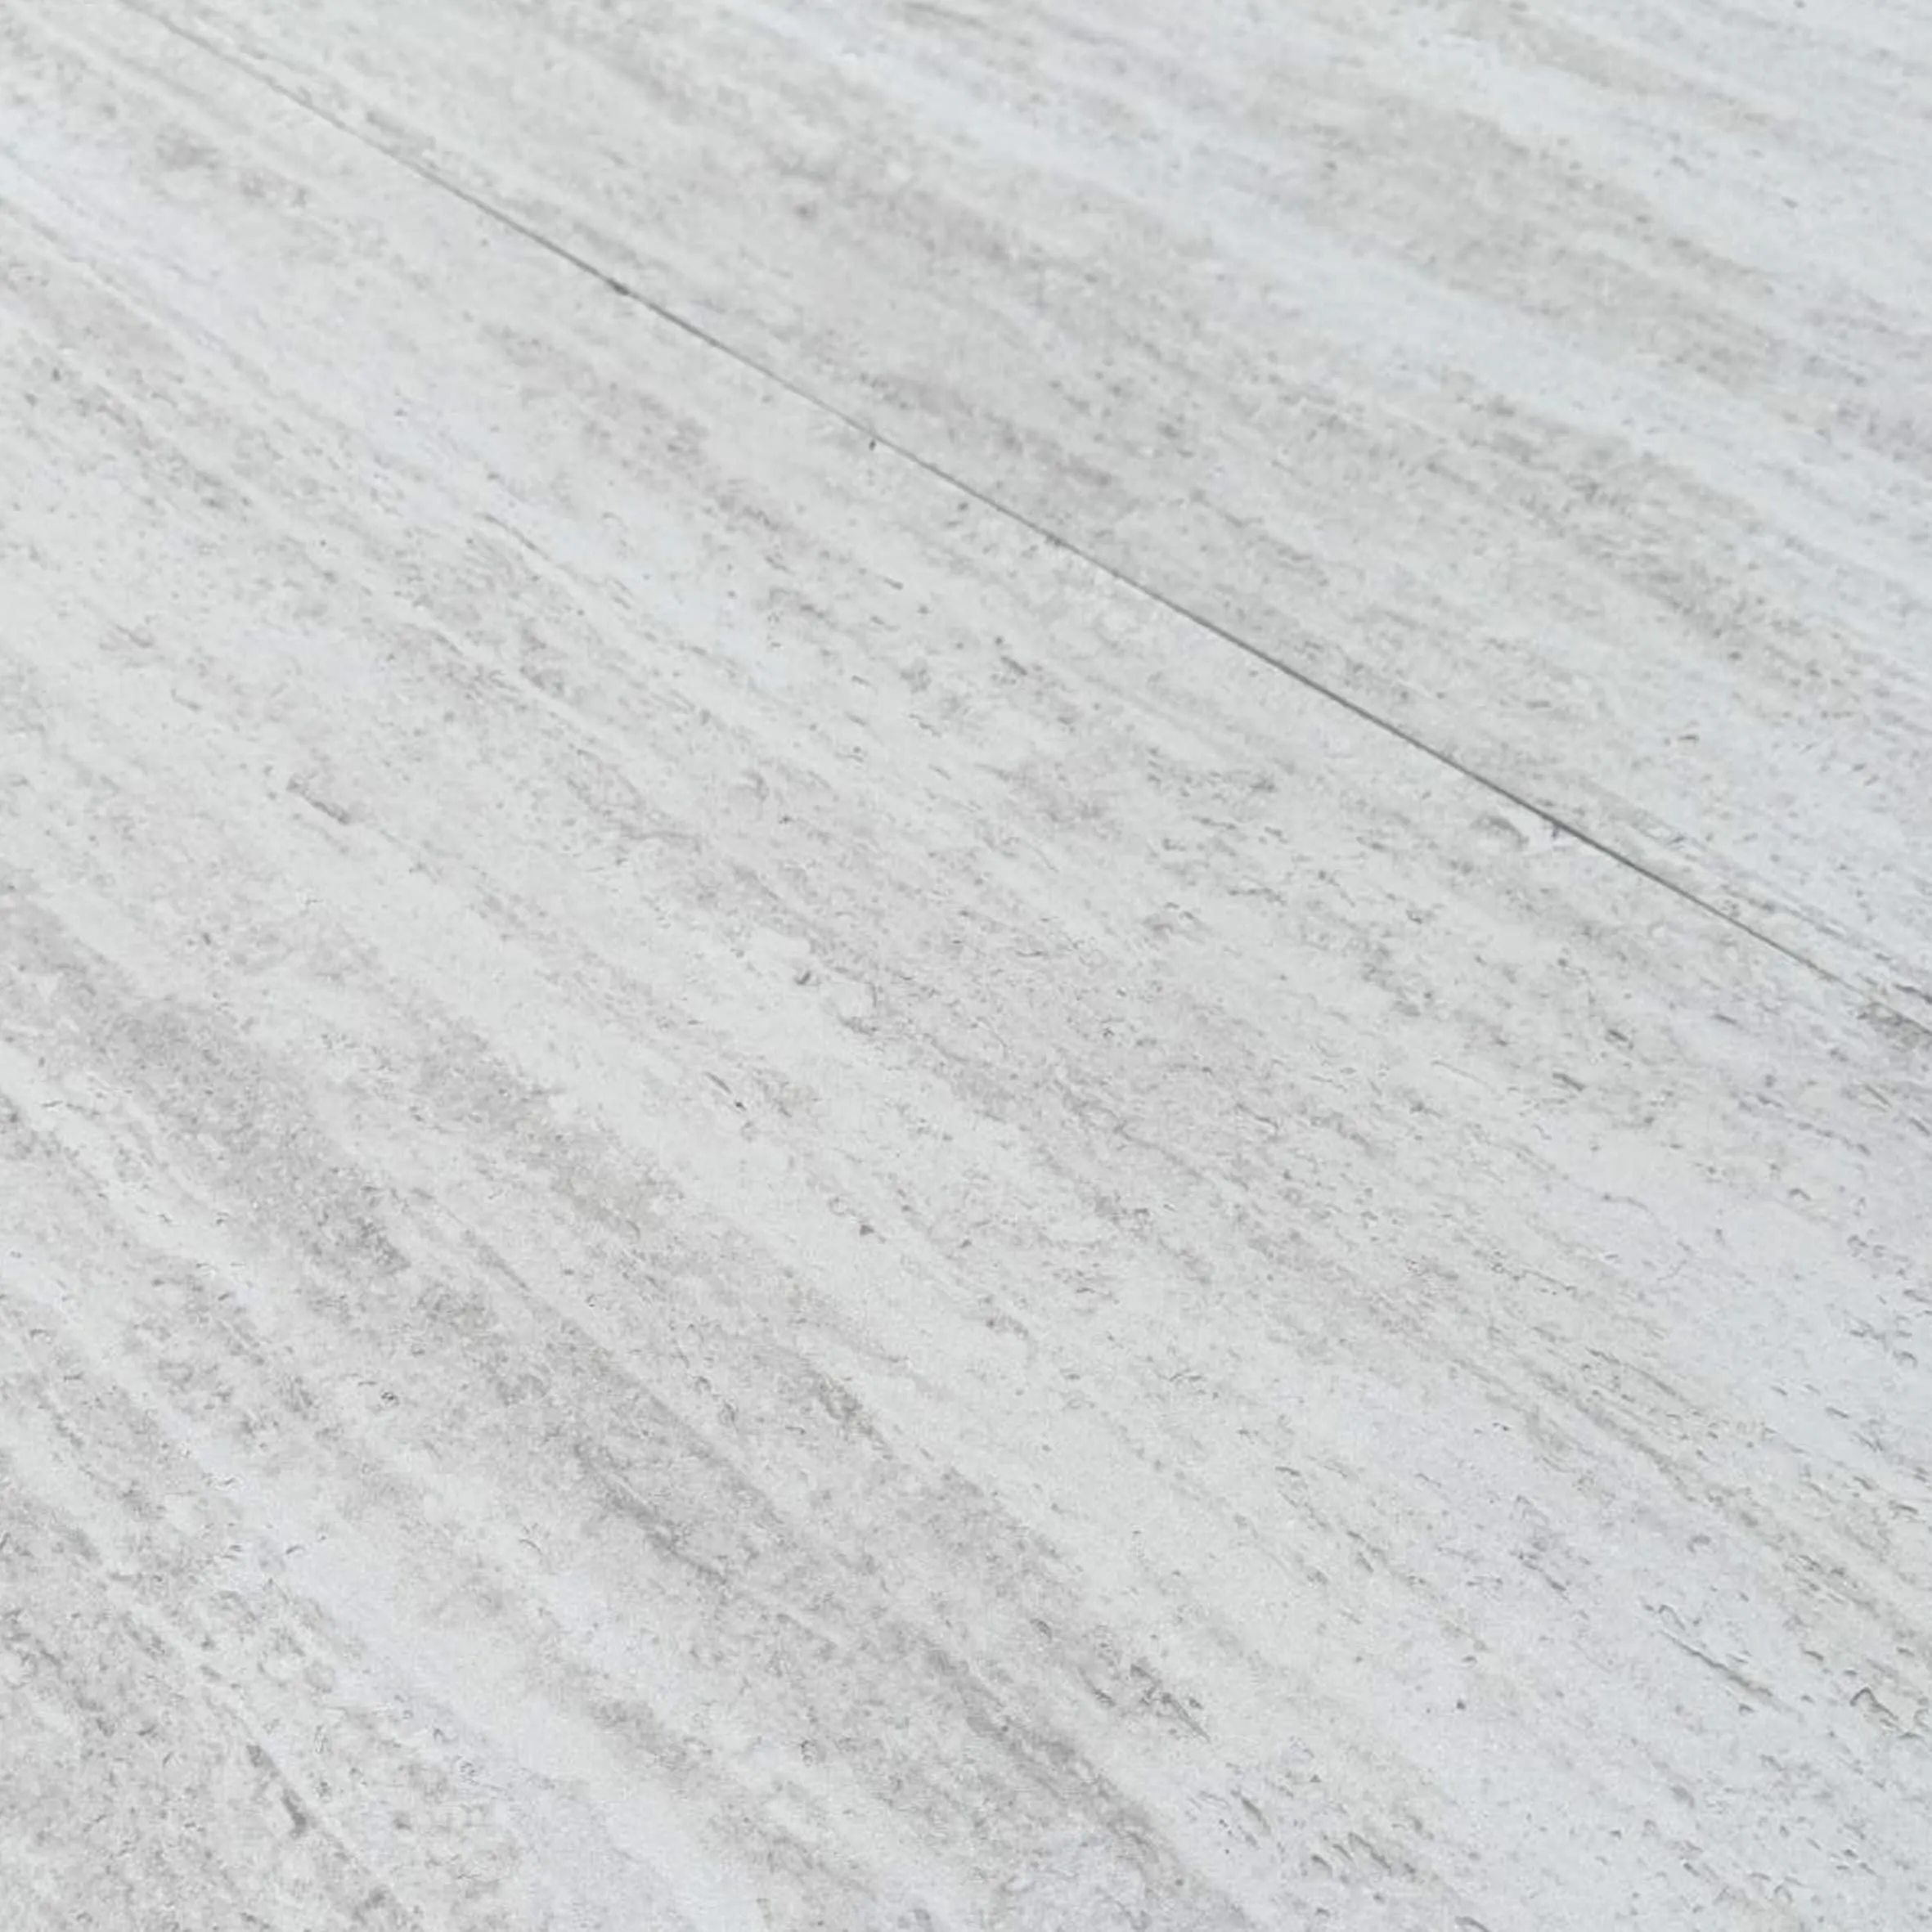
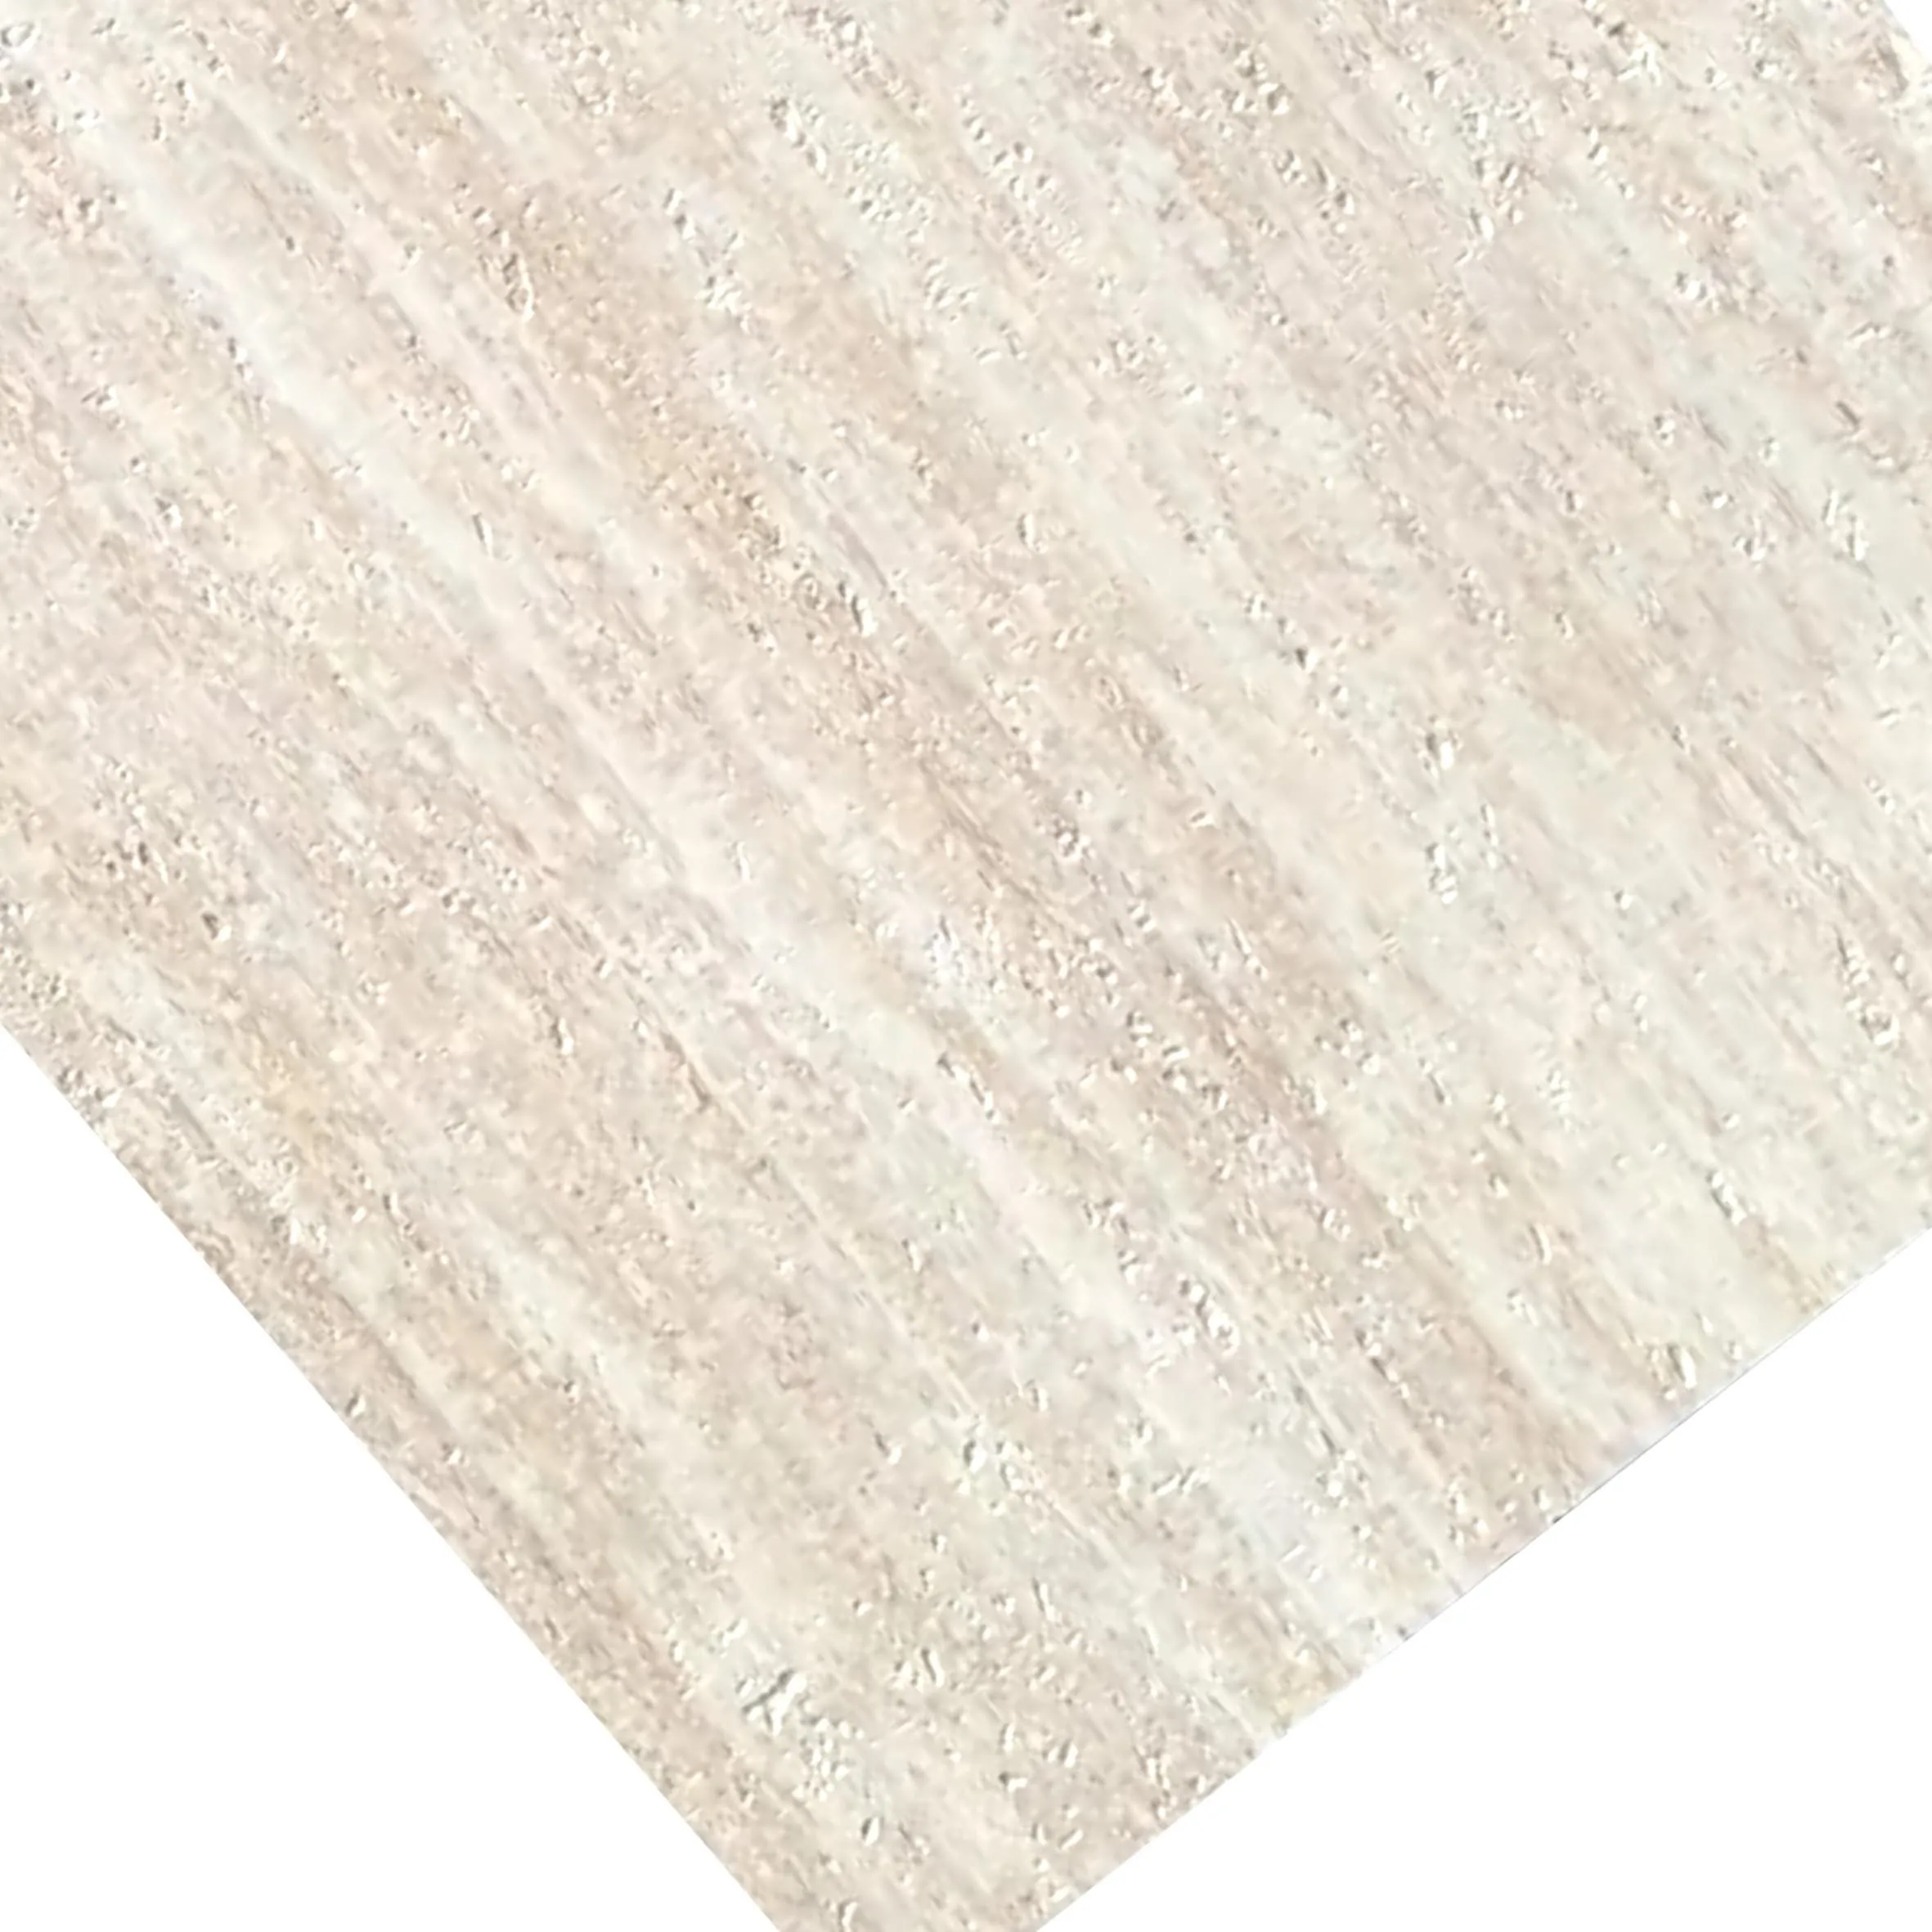
Once the substrate is prepped, turn your attention to the Ethereal Shadow Travertine itself. MCM products are known for consistent quality, but it's still smart to inspect each piece before installation. Open the crates and lay out a few boards on a flat surface. Look for color variations—travertine is a natural material, so slight differences are normal, but you don't want drastic shifts that will make the finished surface look patchy. Sort the boards by shade, and plan to mix them evenly across the installation to blend variations naturally.
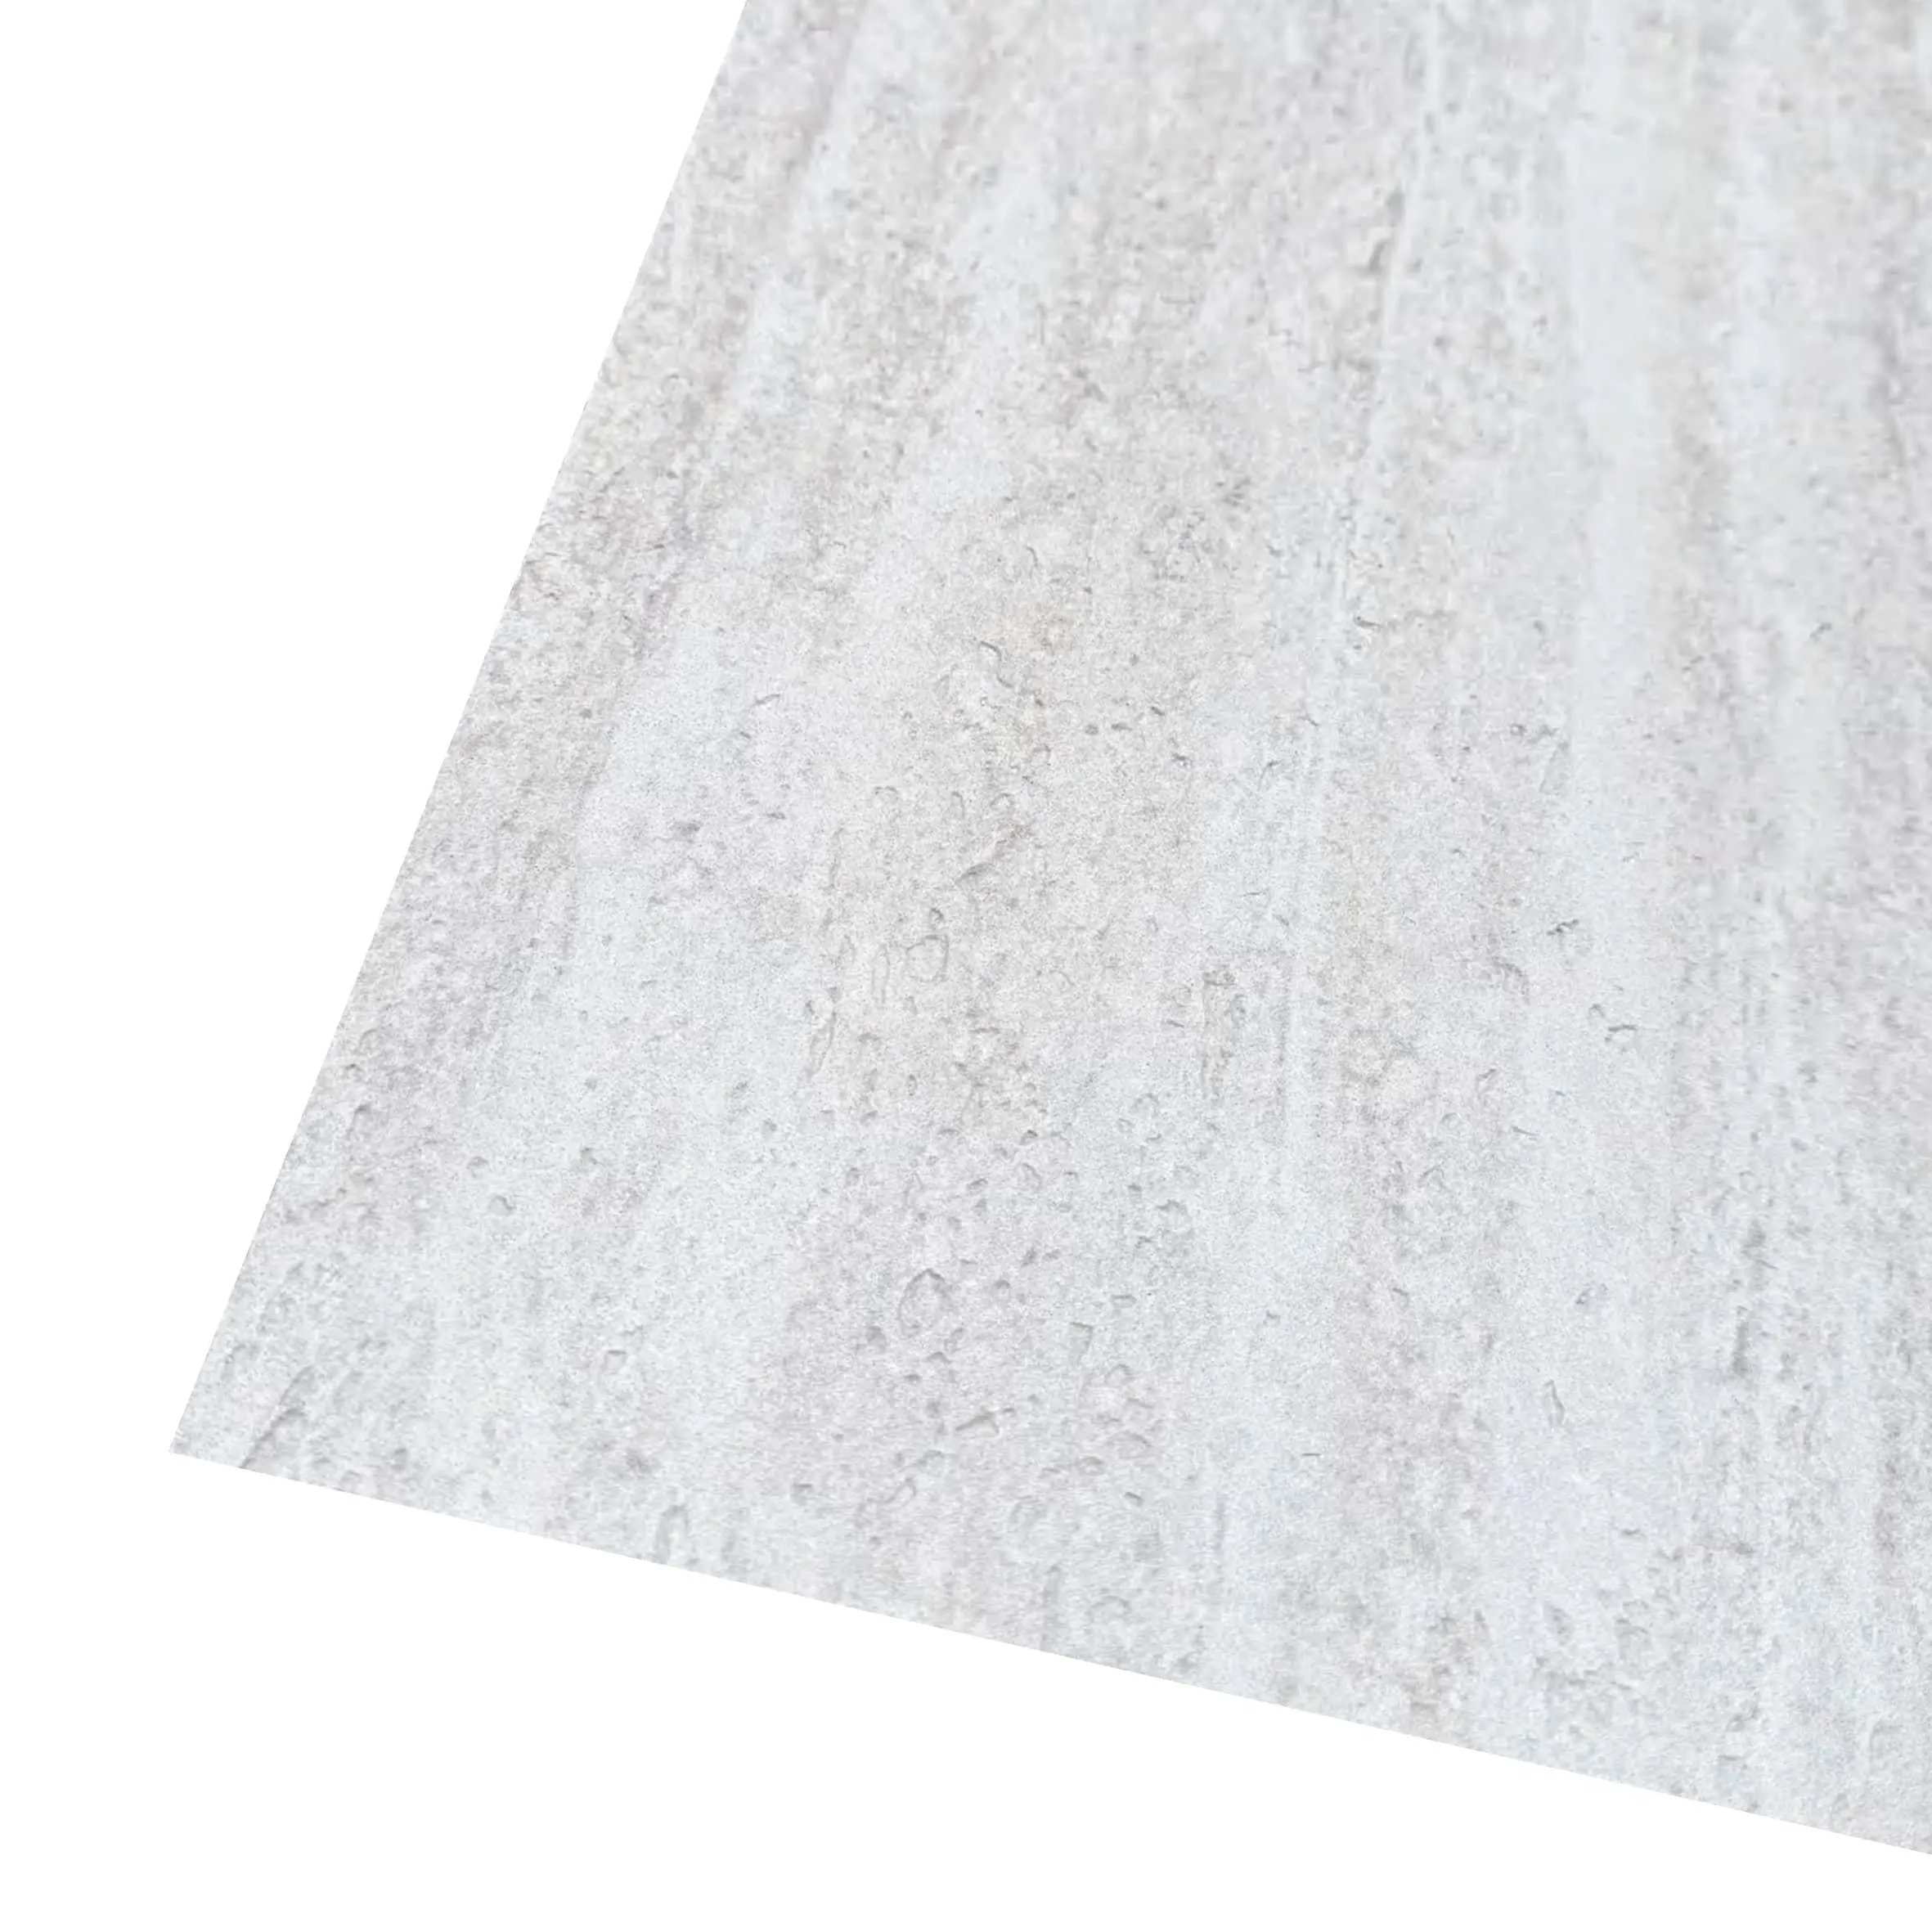
Check for chips, cracks, or warping, too. A small chip on the edge might be fixable with filler, but a cracked board should be set aside (save it for cuts or trim if possible). Also, verify the thickness of each piece. Ethereal Shadow Travertine, being part of the MCM flexible stone range, typically has a consistent thickness (around 4-6mm for wall applications, 8-10mm for floors), but inconsistencies can throw off your layout. If you notice significant thickness variations, adjust your adhesive application later to compensate.
Dry layout is non-negotiable. This step lets you test the fit, adjust for cuts, and ensure the pattern flows the way you want. Start by measuring the installation area and marking the center point—this helps keep the layout symmetrical, especially for large spaces. Then, lay out the Ethereal Shadow Travertine boards without adhesive, using spacers to mimic the grout lines (we recommend 2-3mm for walls, 3-5mm for floors, depending on the desired look).
Pay attention to the edges: if the room isn't perfectly square (and let's be real, few are), you might need to trim the boards along one wall to avoid tiny, awkward cuts. Aim for cuts that are at least 50mm wide—anything smaller looks unprofessional and can be prone to chipping. For walls, start from the bottom and work up, but dry layout from the top down to ensure the top row isn't a narrow strip. If you're working with the MCM big slab board series (which includes larger-format Ethereal Shadow Travertine pieces), dry layout becomes even more critical—these slabs are heavier and trickier to maneuver, so getting the placement right the first time saves backaches and material waste.
Having the right tools on hand is half the battle. Ethereal Shadow Travertine is softer than granite but harder than marble, so you'll need equipment that can handle its unique density without damaging the surface. Here's a breakdown of the essentials:
| Tool/Material | Use | Pro Tip |
|---|---|---|
| Notched Trowel | Applying adhesive; size depends on stone thickness (6mm x 6mm for 4-6mm boards, 10mm x 10mm for 8-10mm) | Use a square-notched trowel for walls, V-notched for floors to reduce air pockets |
| Rubber Mallet | Tapping stones into place to ensure full adhesive contact | Wrap the mallet in a soft cloth to avoid chipping the stone surface |
| Tile Cutter/Wet Saw | Cutting boards to size; wet saw is best for clean, precise cuts | Use a diamond blade designed for travertine to prevent chipping the edges |
| Spacers | Maintaining consistent grout lines | Opt for plastic "T" spacers for walls; wedge spacers for floors to prevent shifting |
| Level (2ft and 4ft) | Ensuring boards are straight horizontally and vertically | Check level after setting every 2-3 boards to catch unevenness early |
| Adhesive | Securing stone to substrate; use a polymer-modified thinset for Ethereal Shadow Travertine | Avoid rapid-set adhesives unless you're experienced—they can dry before you adjust the stone |
| Grout | Filling gaps between boards; sanded grout for lines 3mm+, unsanded for smaller gaps | Choose a grout color that complements the stone—gray or taupe works well with Ethereal Shadow Travertine |
| Sealer | Protecting porous travertine from stains and moisture | Use a penetrating sealer (not topical) to maintain the stone's natural texture |
| Grout Float | Applying grout evenly into joints | Hold the float at a 45-degree angle and work in small sections (3ft x 3ft) to prevent grout from drying |
| Sponge and Buckets | Cleaning excess grout and adhesive | Use two buckets: one for soapy water, one for rinsing the sponge to avoid re-depositing grout |
Pro tip: If you're working with the larger MCM big slab board series, invest in a suction cup lifter. These tools make moving heavy slabs (which can weigh 20-30kg each) safer and easier on your back. Trust us—your future self will thank you.
Now that the prep work is done and your tools are ready, it's time to start installing. Take your time here—rushing leads to mistakes, and mistakes with stone can be costly. Let's walk through each step.
Start by mixing your adhesive. For Ethereal Shadow Travertine, we recommend a white or gray polymer-modified thinset mortar. White thinset is better if the stone is lighter or has translucent veining (to avoid dark edges showing through), while gray works well for darker tones like Ethereal Shadow. Follow the manufacturer's instructions for water-to-powder ratio—too much water makes the adhesive runny and weak; too little makes it hard to spread.
Mix in a clean bucket using a drill with a mixing paddle. Aim for a peanut butter-like consistency—thick enough to hold a notch when you lift the trowel, but smooth enough to spread easily. Let the mixture slake (rest) for 5-10 minutes, then mix again briefly. This activates the polymers and ensures a strong bond. Only mix as much as you can use in 20-30 minutes (less in hot weather, as thinset dries faster). Waste is better than having adhesive harden in the bucket mid-project.
Using your notched trowel, apply the adhesive to the substrate in small sections (about 2ft x 2ft at a time). Hold the trowel at a 45-degree angle and spread the adhesive evenly, then "comb" it with the notched side to create uniform ridges. This helps with air release and ensures full contact between the stone and substrate. For Ethereal Shadow Travertine, which is relatively lightweight, you don't need to back-butter the boards (applying adhesive to the back of the stone), but if you're working with uneven substrates, it can help fill gaps.
Pro tip: After combing, lightly press the flat side of the trowel over the adhesive to flatten the ridges slightly. This increases the contact area and reduces the chance of hollow spots under the stone. You can check for hollow spots later by tapping the board with a rubber mallet—if it sounds hollow, you'll need to remove it, clean off the adhesive, and reapply with more coverage.
Now, carefully place the Ethereal Shadow Travertine board onto the adhesive. Start at the center point you marked earlier and work outward. Gently press the board into place, then use a rubber mallet to tap it down—focus on the edges and corners to ensure they're fully seated. Use your level to check that the board is flat and aligned with adjacent pieces. If it's uneven, lift it up, adjust the adhesive (add more if it's low, scrape some off if it's high), and reset.
insert spacers between boards to maintain grout line width. For walls, use temporary supports (like ledger boards) to hold the bottom row in place while the adhesive dries—don't rely on the adhesive alone to support the weight of upper rows. Let each section set for 24 hours before removing the supports to prevent slippage.
Sooner or later, you'll need to cut a board to fit around obstacles like outlets, pipes, or corners. Measure twice, cut once—this old adage is never truer than with stone. Use a pencil to mark the cut line on the board, then score it lightly with a utility knife to prevent chipping. For straight cuts, a wet saw with a diamond blade is your best bet. Feed the board slowly through the saw, keeping the blade cool with water to avoid overheating and damaging the stone.
For curves or notches (like around a pipe), use a jigsaw with a diamond grit blade or a angle grinder with a stone-cutting disc. Start with a rough cut, then refine the edges with a sanding block to smooth out any roughness. Always wear eye protection and a dust mask when cutting stone—silica dust is no joke.
Once the adhesive has cured (check the manufacturer's instructions—typically 24-48 hours), it's time to grout. Start by removing all spacers and cleaning out any debris from the joints with a vacuum or small brush. Mix the grout according to the package directions—again, aim for a thick, creamy consistency. Use a grout float to apply the grout, holding it at a 45-degree angle and pushing it firmly into the joints. Work in small sections (3ft x 3ft) to prevent the grout from drying out before you can clean it.
After applying grout to a section, wait 10-15 minutes (check the grout's "open time") and then use a damp sponge to wipe away excess grout from the stone surface. Rinse the sponge frequently in clean water to avoid smearing grout onto the boards. Be gentle—scrubbing too hard can pull grout out of the joints or scratch the travertine. Let the grout cure for 24-72 hours (depending on humidity) before sealing.

You're almost done—but the job isn't finished until you've sealed and protected the Ethereal Shadow Travertine. Travertine is porous, which means it's prone to staining from spills like coffee, wine, or oil. Sealing it properly will keep it looking fresh for years to come.
Wait at least 72 hours after grouting before sealing to ensure the grout is fully cured. Choose a penetrating sealer designed for travertine—avoid topical sealers, which can create a glossy film that alters the stone's natural look. Apply the sealer with a clean sponge or spray bottle, saturating the stone and grout lines. Let it sit for 5-10 minutes to absorb, then wipe away any excess with a lint-free cloth. If the stone absorbs the sealer quickly, apply a second coat after the first has dried (usually 1-2 hours).
Pro tip: Test the sealer on a scrap piece of Ethereal Shadow Travertine first to ensure it doesn't darken the stone more than you'd like. Some sealers can enhance the color slightly, which might be desirable, but it's better to know upfront.
After sealing, the stone is ready for regular use—but that doesn't mean you can neglect it. Sweep or vacuum floors regularly to remove dirt and grit, which can scratch the surface. For daily cleaning, use a pH-neutral stone cleaner and a soft mop or cloth. Avoid harsh cleaners like vinegar, bleach, or ammonia—these can etch the stone or strip the sealer.
Spills should be wiped up immediately, especially acidic liquids like lemon juice or tomato sauce, which can stain or etch the surface. Re-seal the stone every 1-3 years (more often for high-traffic areas like floors, less often for walls) to maintain protection. To check if it's time to re-seal, pour a small amount of water on the stone—if it beads up, the sealer is still good; if it soaks in, it's time to reapply.
Even with careful prep, issues can pop up. Here's how to handle the most common problems contractors face with Ethereal Shadow Travertine installations.
If you notice boards are uneven after installation, it's usually due to an unlevel substrate or inconsistent adhesive thickness. For minor lippage (less than 1mm), you can use a stone grinder with a diamond pad to gently sand down the high edge. For larger discrepancies, you may need to remove the board, level the substrate, and reset it.
Cracks can happen if the board was stressed during installation (like dropping it) or if the substrate flexes. Small cracks can be repaired with a color-matched stone epoxy—clean the crack, apply the epoxy with a syringe, and smooth it with a putty knife. Let it cure, then sand and seal. For large cracks, replace the board entirely.
If grout haze (a dull film on the stone surface) remains after cleaning, mix a solution of equal parts water and white vinegar (yes, vinegar—this is one case where it's safe, but only for haze!) and wipe the surface with a non-abrasive pad. Rinse thoroughly and dry. For stubborn haze, use a commercial grout haze remover, following the manufacturer's instructions.
Installing Ethereal Shadow Travertine is more than just a construction task—it's about creating spaces that feel intentional and alive. Its unique blend of beauty and practicality, paired with the flexibility of MCM flexible stone, makes it a standout choice for projects that demand both style and durability. By following the steps outlined here—from meticulous prep work to careful grouting and sealing—you'll ensure that your installation not only looks stunning today but stands the test of time tomorrow.
And remember: while Ethereal Shadow Travertine is a star on its own, don't be afraid to experiment with complementary materials. Pair it with fair-faced concrete for a sleek, modern look, or use lime stone(beige) as an accent to add warmth. The MCM big slab board series also offers larger formats for seamless walls or floors, giving you even more creative freedom. Whatever your vision, with the right preparation and technique, Ethereal Shadow Travertine will help you bring it to life.
So go ahead—grab your trowel, prep that substrate, and get ready to install a finish that will make clients say, "Wow, how did you do that?" You've got this.
Recommend Products


