
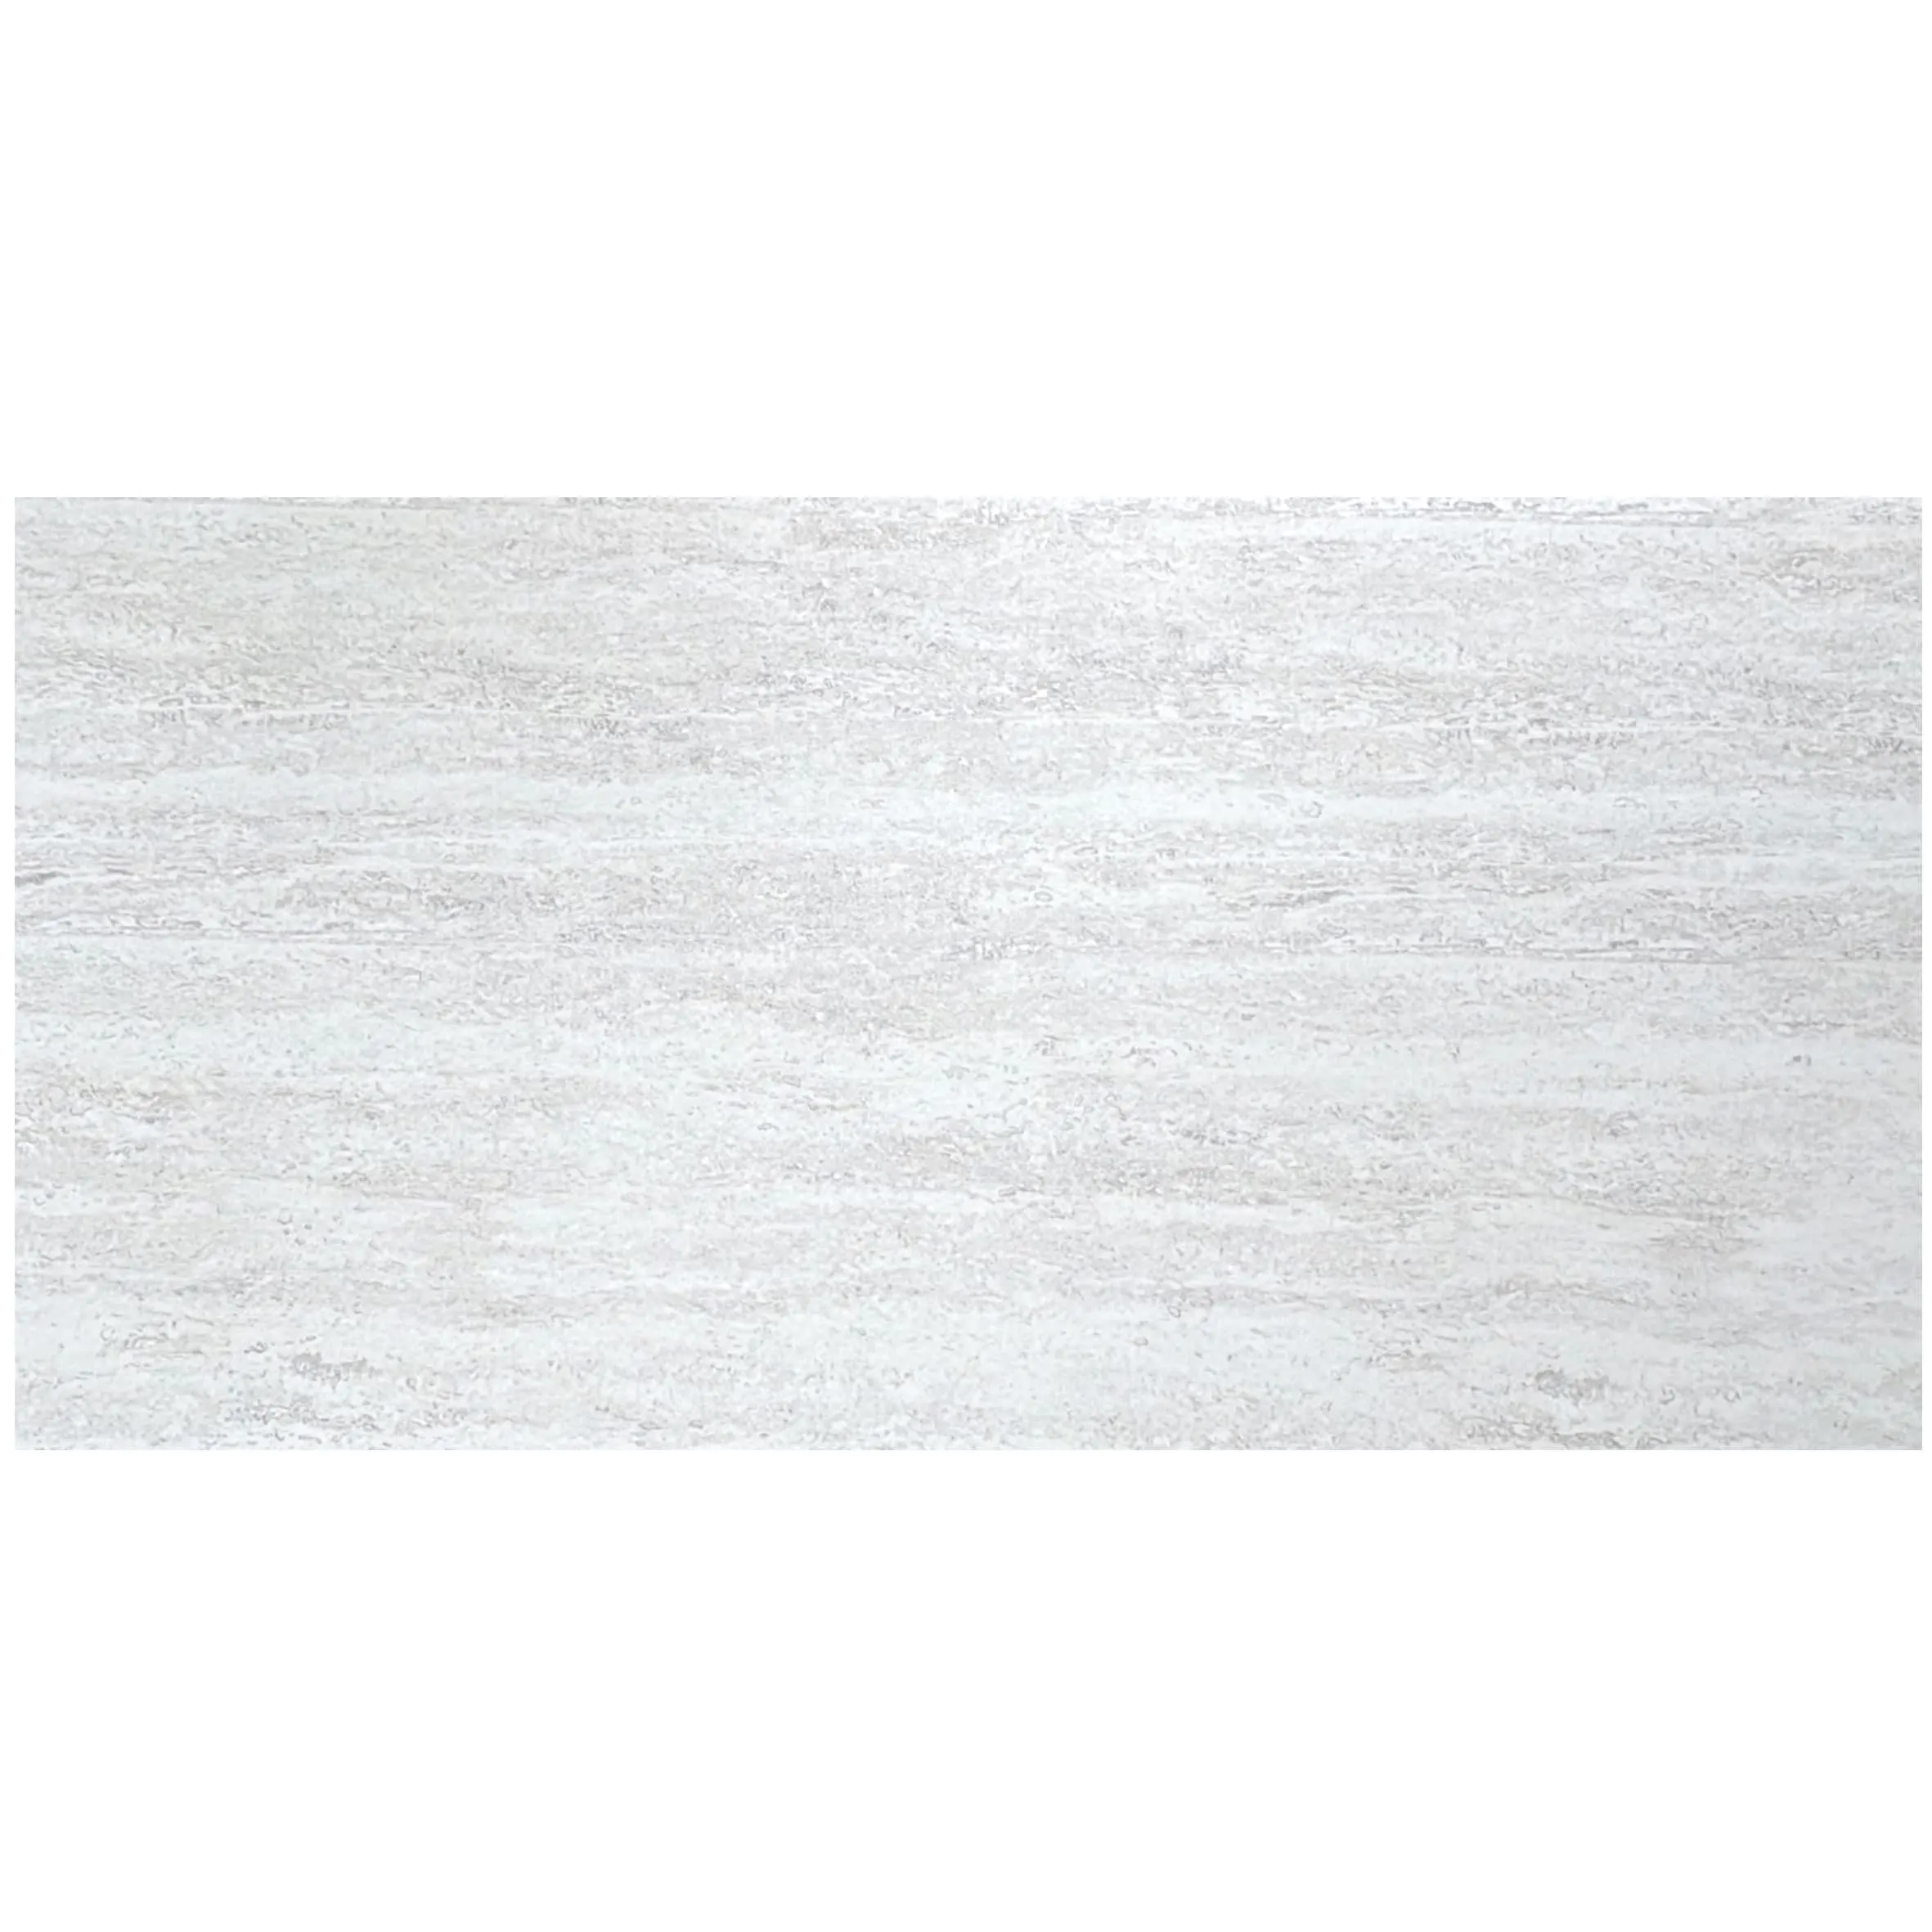
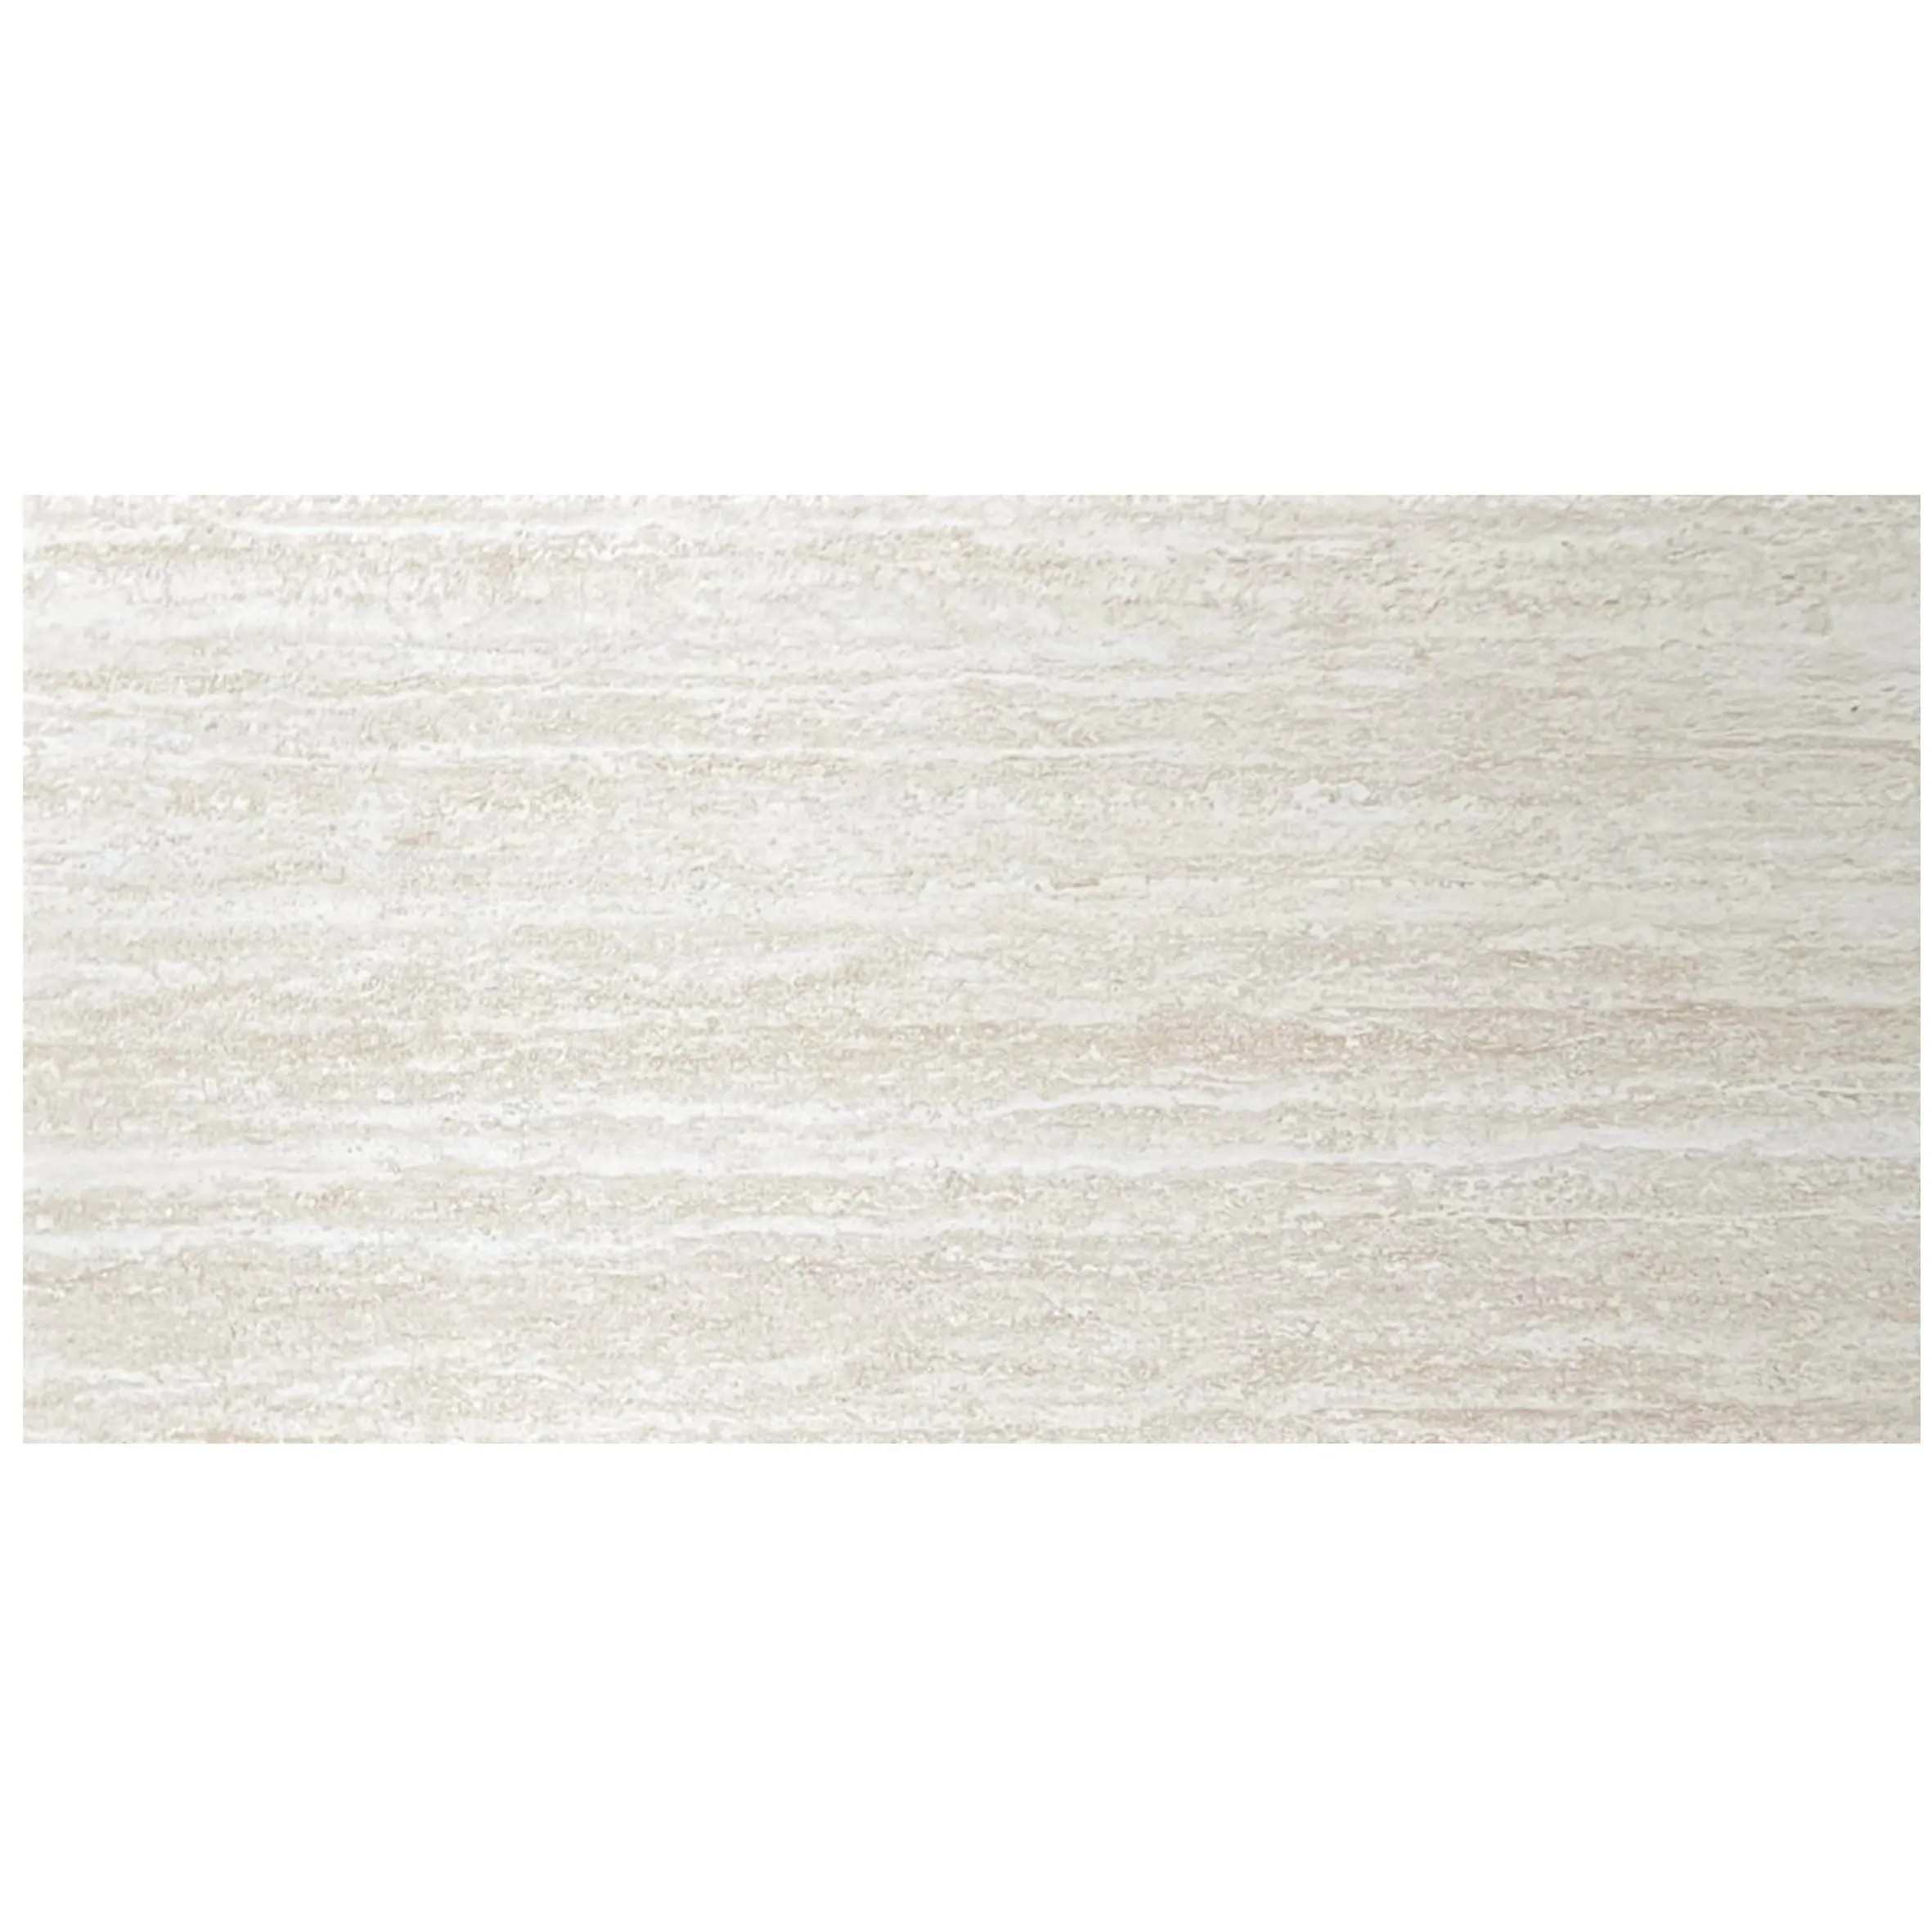
There's something almost poetic about Ethereal Shadow Travertine. Its soft, diffused veining—like shadows dancing across a moonlit surface—has made it a darling of architects and designers aiming to infuse spaces with understated luxury. Whether gracing a kitchen backsplash, a bathroom floor, or a living room accent wall, this stone has a way of turning ordinary rooms into memorable retreats. But here's the thing: even the most breathtaking natural stone can look lackluster, or worse, fail structurally, if its installation isn't approached with care. Over the years, I've spoken with dozens of contractors, designers, and homeowners who've learned this lesson the hard way—investing in premium Ethereal Shadow Travertine only to watch it chip, stain, or delaminate because of avoidable missteps. That's why today, we're diving into the most common installation mistakes plaguing this material and, more importantly, how to steer clear of them. Think of this as your roadmap to ensuring your Ethereal Shadow Travertine installation isn't just good—it's exceptional.
Let's start with the foundation—literally. The surface beneath your Ethereal Shadow Travertine (what pros call the "substrate") is the unsung hero of a successful installation. Yet, it's also the most overlooked step in many DIY and even some professional projects. I once visited a homeowner who'd splurged on 24x24 Ethereal Shadow Travertine slabs for their master bathroom remodel. The stone itself was stunning, but the floor had a noticeable dip in the center, and several tiles near the shower were already loose. When we peeled back a corner, the culprit was clear: the installer had laid the tiles directly over old linoleum, which was itself sitting on a subfloor with water damage. No wonder it failed.
Ethereal Shadow Travertine, like all natural stones, is sensitive to unevenness, moisture, and debris. Even minor imperfections in the substrate—think a bump the size of a nickel or a patch of loose paint—can translate into cracked tiles or hollow-sounding installations down the line. So what does proper surface prep entail? Let's break it down.
First, the substrate must be clean. That means removing all dust, dirt, grease, old adhesive residue, and loose materials. A quick sweep with a broom won't cut it—use a vacuum to suck up fine particles, then wipe the surface with a damp cloth and a mild detergent to eliminate oils. For porous substrates like fair-faced concrete, which is a popular choice for modern spaces, you'll also need to check for laitance (that powdery layer that forms on fresh concrete). Laitance weakens adhesion, so it should be removed with a wire brush or acid etch if necessary.
Next, levelness. The substrate should have no more than a 1/8-inch variance over a 10-foot radius. If your floor or wall has dips or humps, you'll need to use a self-leveling compound to smooth it out. For walls, a skim coat of mortar might be sufficient, but for floors, especially those with larger slabs, a self-leveling underlayment is non-negotiable. Remember: Ethereal Shadow Travertine is heavier than materials like mcm flexible stone, which means it doesn't flex to accommodate unevenness—it cracks.
Moisture is another silent enemy. Travertine is porous, so if the substrate is damp, moisture can seep up, causing tiles to delaminate or grout to discolor. Always test for moisture before installing. For concrete slabs, use a moisture meter (aim for readings below 3 pounds per 1,000 square feet per 24 hours). If moisture levels are high, apply a waterproofing membrane. This step is especially critical in wet areas like bathrooms or kitchens, but don't skip it in dry spaces either—humidity fluctuations can still wreak havoc.
Expert Tip: "I always tell my crew: 'Treat the substrate like you're prepping a canvas for a masterpiece,'" says Maria Gonzalez, a tile installation specialist with over 15 years of experience. "You wouldn't paint a Rembrandt on a crumpled piece of paper, right? The same goes for Ethereal Shadow Travertine. Spend the time here, and the rest of the installation will be smooth sailing."
Consequence of Cutting Corners: A poorly prepped substrate can lead to tiles that sound hollow when tapped (a sign of poor adhesion), cracked edges, or even tiles that lift completely. In wet areas, it can also cause mold growth beneath the stone, which is not only unsightly but a health hazard.
Walk into any hardware store, and you'll be bombarded with adhesive options: mortars, mastics, epoxies, construction adhesives—the list goes on. It's easy to think, "They all stick things together, so what's the difference?" But when it comes to Ethereal Shadow Travertine, the wrong adhesive choice is a recipe for disaster. Let me illustrate with a story: A contractor friend of mine once took on a commercial project—a high-end café with Ethereal Shadow Travertine countertops. To save costs, he opted for a basic cement-based mortar instead of the recommended polymer-modified thinset. Six months later, the countertops were riddled with hairline cracks, and the owner was facing a $20,000 repair bill. The issue? Basic mortar lacks the flexibility to handle the minor movements that occur in commercial spaces (think foot traffic, temperature shifts), causing the rigid stone to crack under stress.
So what makes an adhesive "right" for Ethereal Shadow Travertine? Let's start with the basics. This stone is dense but porous, with a moderate weight (typically 15-20 pounds per square foot for ¾-inch slabs). It needs an adhesive that can bond strongly to both the substrate and the stone, resist moisture, and accommodate slight movement without breaking the bond. For most installations, that means a polymer-modified thinset mortar . The polymers in this type of thinset add flexibility, making it ideal for natural stones like Ethereal Shadow Travertine. Avoid "unmodified" thinset (just cement, sand, and water) unless you're installing over a perfectly stable, dry substrate (which, let's be honest, is rare in real-world projects).
For larger slabs (24x24 inches or bigger), step up to a medium-bed mortar . These thicker-set adhesives (up to ¾ inch) help level out minor substrate imperfections and provide better support for heavy tiles. And if you're installing Ethereal Shadow Travertine in a wet area (shower walls, pool surrounds), opt for a thinset labeled "waterproof" or "for wet areas"—these formulas resist mold and mildew growth.
Compare this to mcm flexible stone, a lighter, more pliable material often used for accent walls. Since mcm flexible stone is thinner and less dense, it can often work with acrylic-based mastics or even construction adhesives in low-moisture applications. But Ethereal Shadow Travertine demands the strength and flexibility of polymer-modified thinset—there's no shortcut here.
| Material Type | Recommended Adhesive | Key Considerations | Drying Time (Minimum) |
|---|---|---|---|
| Ethereal Shadow Travertine (standard tiles) | Polymer-modified thinset mortar | White or gray; avoid latex-only adhesives | 24 hours |
| Ethereal Shadow Travertine (slabs >24x24 inches) | Medium-bed mortar | Use notched trowel (½-inch or larger) for coverage | 48 hours |
| MCM Flexible Stone | Acrylic-based mastic or construction adhesive | Low-VOC for indoor use; test compatibility first | 12-16 hours |
| Rough Granite Stone | Epoxy-based thinset | High strength for dense, heavy stone | 72 hours |
Expert Tip: "Always check the adhesive manufacturer's guidelines for your specific stone," advises Jake Patel, a technical representative at a leading tile adhesive company. "Some Ethereal Shadow Travertine varieties have higher porosity, which can affect how the thinset cures. A quick call to the manufacturer can save you from a world of hurt."
Imagine laying out your Ethereal Shadow Travertine tiles, perfectly aligned, with no visible gaps between them. It looks seamless, almost magical—like the stone was carved directly from a single block. Tempting, right? But resist the urge. Those tiny spaces between tiles (and along walls) aren't just for looks—they're critical for preventing catastrophic failure. Here's why: All materials expand and contract with changes in temperature and humidity. Ethereal Shadow Travertine is no exception. In summer, when temperatures rise, the stone expands; in winter, it contracts. Without room to move, that movement gets trapped, leading to cracked tiles, bulging floors, or grout that crumbles.
So how much space do you need? For Ethereal Shadow Travertine tiles, the general rule is 1/8 to 1/4 inch between tiles , depending on the tile size and the environment. Smaller tiles (12x12 inches or less) can get away with 1/8-inch gaps, while larger slabs need 1/4 inch to accommodate more movement. For perimeter gaps (where the tile meets walls, cabinets, or other fixed objects), go even bigger—at least 1/2 inch. These gaps allow the entire installation to shift without pushing against rigid structures.
How to ensure consistent gaps? Use plastic spacers during installation. They're cheap (a few dollars for a bag of 100), easy to use, and ensure every tile is spaced evenly. Pro tip: Don't remove the spacers until the adhesive has set (usually 24 hours). If you pull them too early, the tiles can shift, ruining your spacing.
What about grout? Some homeowners worry that wider gaps will make the grout lines stand out, disrupting the stone's natural beauty. But modern grout options—like colored or sanded grout in neutral tones—can blend seamlessly with Ethereal Shadow Travertine's veining. In fact, a well-chosen grout color can enhance the stone's pattern, making the gaps look intentional rather than like a mistake.
Real-World Example: A luxury hotel in Miami once installed Ethereal Shadow Travertine in their lobby without perimeter expansion gaps. During a heatwave, the floor expanded, causing a 10-foot section of tiles to buckle upward. The repair required removing and resetting over 50 square feet of stone, costing the hotel $15,000 and closing the lobby for three days. All because someone thought "gaps look messy."
You've prepped the substrate, laid the tiles with the perfect adhesive, and allowed them to set. Now comes the final step: grouting. It's tempting to see this as a "quick finish" and rush through it, but grouting is where many Ethereal Shadow Travertine installations go from "gorgeous" to "gritty." Let's talk about why—and how to do it right.
First, timing is everything. Grouting too soon (before the adhesive is fully cured) can cause tiles to shift, pushing grout out of the joints or creating uneven lines. For Ethereal Shadow Travertine installed with polymer-modified thinset, wait at least 24 hours before grouting. In humid environments, extend that to 48 hours to be safe.
Next, choose the right grout. Ethereal Shadow Travertine has a porous surface, which means it's prone to grout staining. For most installations, a sanded grout is best—it's more durable than unsanded grout and resists cracking in wider gaps (1/8 inch or more). For narrower gaps, opt for unsanded grout to avoid scratching the stone's surface. And always select a grout color that complements the stone—test a small area first to ensure it doesn't clash with the veining.
Sealing before grouting? This is a debated step, but for porous stones like Ethereal Shadow Travertine, it's a smart move. Apply a grout release (a temporary sealer) to the tile surface before grouting. This creates a barrier that prevents grout from sticking to the stone, making cleanup easier. Think of it as a "slippery shield" for your tiles.
Now, the actual grouting process. Mix the grout according to the manufacturer's instructions—too runny, and it will shrink and crack; too thick, and it won't flow into the gaps. Apply it with a rubber float, holding the float at a 45-degree angle and pressing firmly into the joints. Work in small sections (3x3 feet) to prevent the grout from drying out before you can clean it.
The biggest mistake here? Leaving grout on the tile surface too long . Ethereal Shadow Travertine's porous texture traps grout particles, leading to a "haze" that's nearly impossible to remove once dry. After applying grout to a section, wait 10-15 minutes (check the grout's instructions for exact timing), then wipe the tiles with a damp (not wet) sponge in a circular motion. Rinse the sponge frequently to avoid spreading grout around. Once the grout has dried for 24 hours, buff the tiles with a dry microfiber cloth to remove any remaining haze.
Expert Warning: "I've seen homeowners spend hours scrubbing grout haze off Ethereal Shadow Travertine because they waited too long to clean up," says Tom Walker, a tile restoration specialist. "In some cases, we've had to use harsh acids to remove the haze, which can etch the stone's surface. Save yourself the headache—clean as you go."

Travertine is often called a "living stone" because its porosity allows it to absorb liquids, stains, and even oils. Ethereal Shadow Travertine is no exception—its soft, veined surface is beautiful but vulnerable. That's why sealing is non-negotiable. Yet, I've met countless homeowners who either skip sealing entirely ("It looks fine now!") or seal too soon after installation, trapping moisture beneath the stone. Both mistakes lead to the same result: stained, discolored, or degraded stone.
When to seal? Timing is critical. Seal too early, and you'll trap moisture from the adhesive or grout, leading to mold or mildew. Seal too late, and spills (think coffee, wine, cooking oil) will penetrate the stone, leaving permanent stains. The sweet spot? 7-14 days after grouting . This gives the grout and adhesive enough time to cure and release moisture. In humid climates, wait the full 14 days; in dry climates, 7-10 days may suffice.
What type of sealer to use? For Ethereal Shadow Travertine, a penetrating sealer is best. These sealers soak into the stone's pores, creating a barrier against liquids without altering the stone's appearance (no glossy sheen, just enhanced natural color). Avoid "topical sealers" (like wax or polyurethane) unless you want a high-shine finish—they can yellow over time and require frequent reapplication.
How to apply sealer? Start by cleaning the stone thoroughly with a pH-neutral stone cleaner (avoid vinegar, bleach, or abrasive cleaners). Let it dry completely. Then, apply the sealer with a clean sponge or spray bottle, working in small sections. Allow the sealer to soak in for 5-10 minutes, then wipe away any excess with a dry cloth. Apply a second coat after 30 minutes for extra protection. Let the sealer cure for 24 hours before using the surface.
How often to reseal? For high-traffic areas (kitchen floors, countertops), reseal every 1-2 years. For low-traffic areas (bathroom walls), every 3-5 years should suffice. To test if it's time to reseal, drop a few drops of water on the stone. If the water beads up, the sealer is still working; if it soaks in, it's time to reseal.
Comparison to Rough Granite Stone: Unlike Ethereal Shadow Travertine, rough granite stone is much less porous, requiring sealing only every 5-10 years. This difference in porosity is why sealing protocols vary so widely between natural stones—never assume what works for one will work for another.
Ethereal Shadow Travertine is more than a building material—it's an investment in beauty, durability, and the character of your space. By avoiding these common installation mistakes—skimping on surface prep, choosing the wrong adhesive, neglecting expansion gaps, rushing grouting, and overlooking sealing—you're not just ensuring a successful installation; you're protecting that investment for decades to come.
Remember, even the most experienced installers rely on careful planning and attention to detail. Take the time to prep properly, choose quality materials, and follow the guidelines laid out here. Your future self (and your stunning Ethereal Shadow Travertine) will thank you.
And if you're ever in doubt, don't hesitate to call in a pro. A qualified installer with experience in natural stone can save you time, money, and frustration, ensuring your Ethereal Shadow Travertine installation shines as brightly as the stone itself.
Recommend Products


