
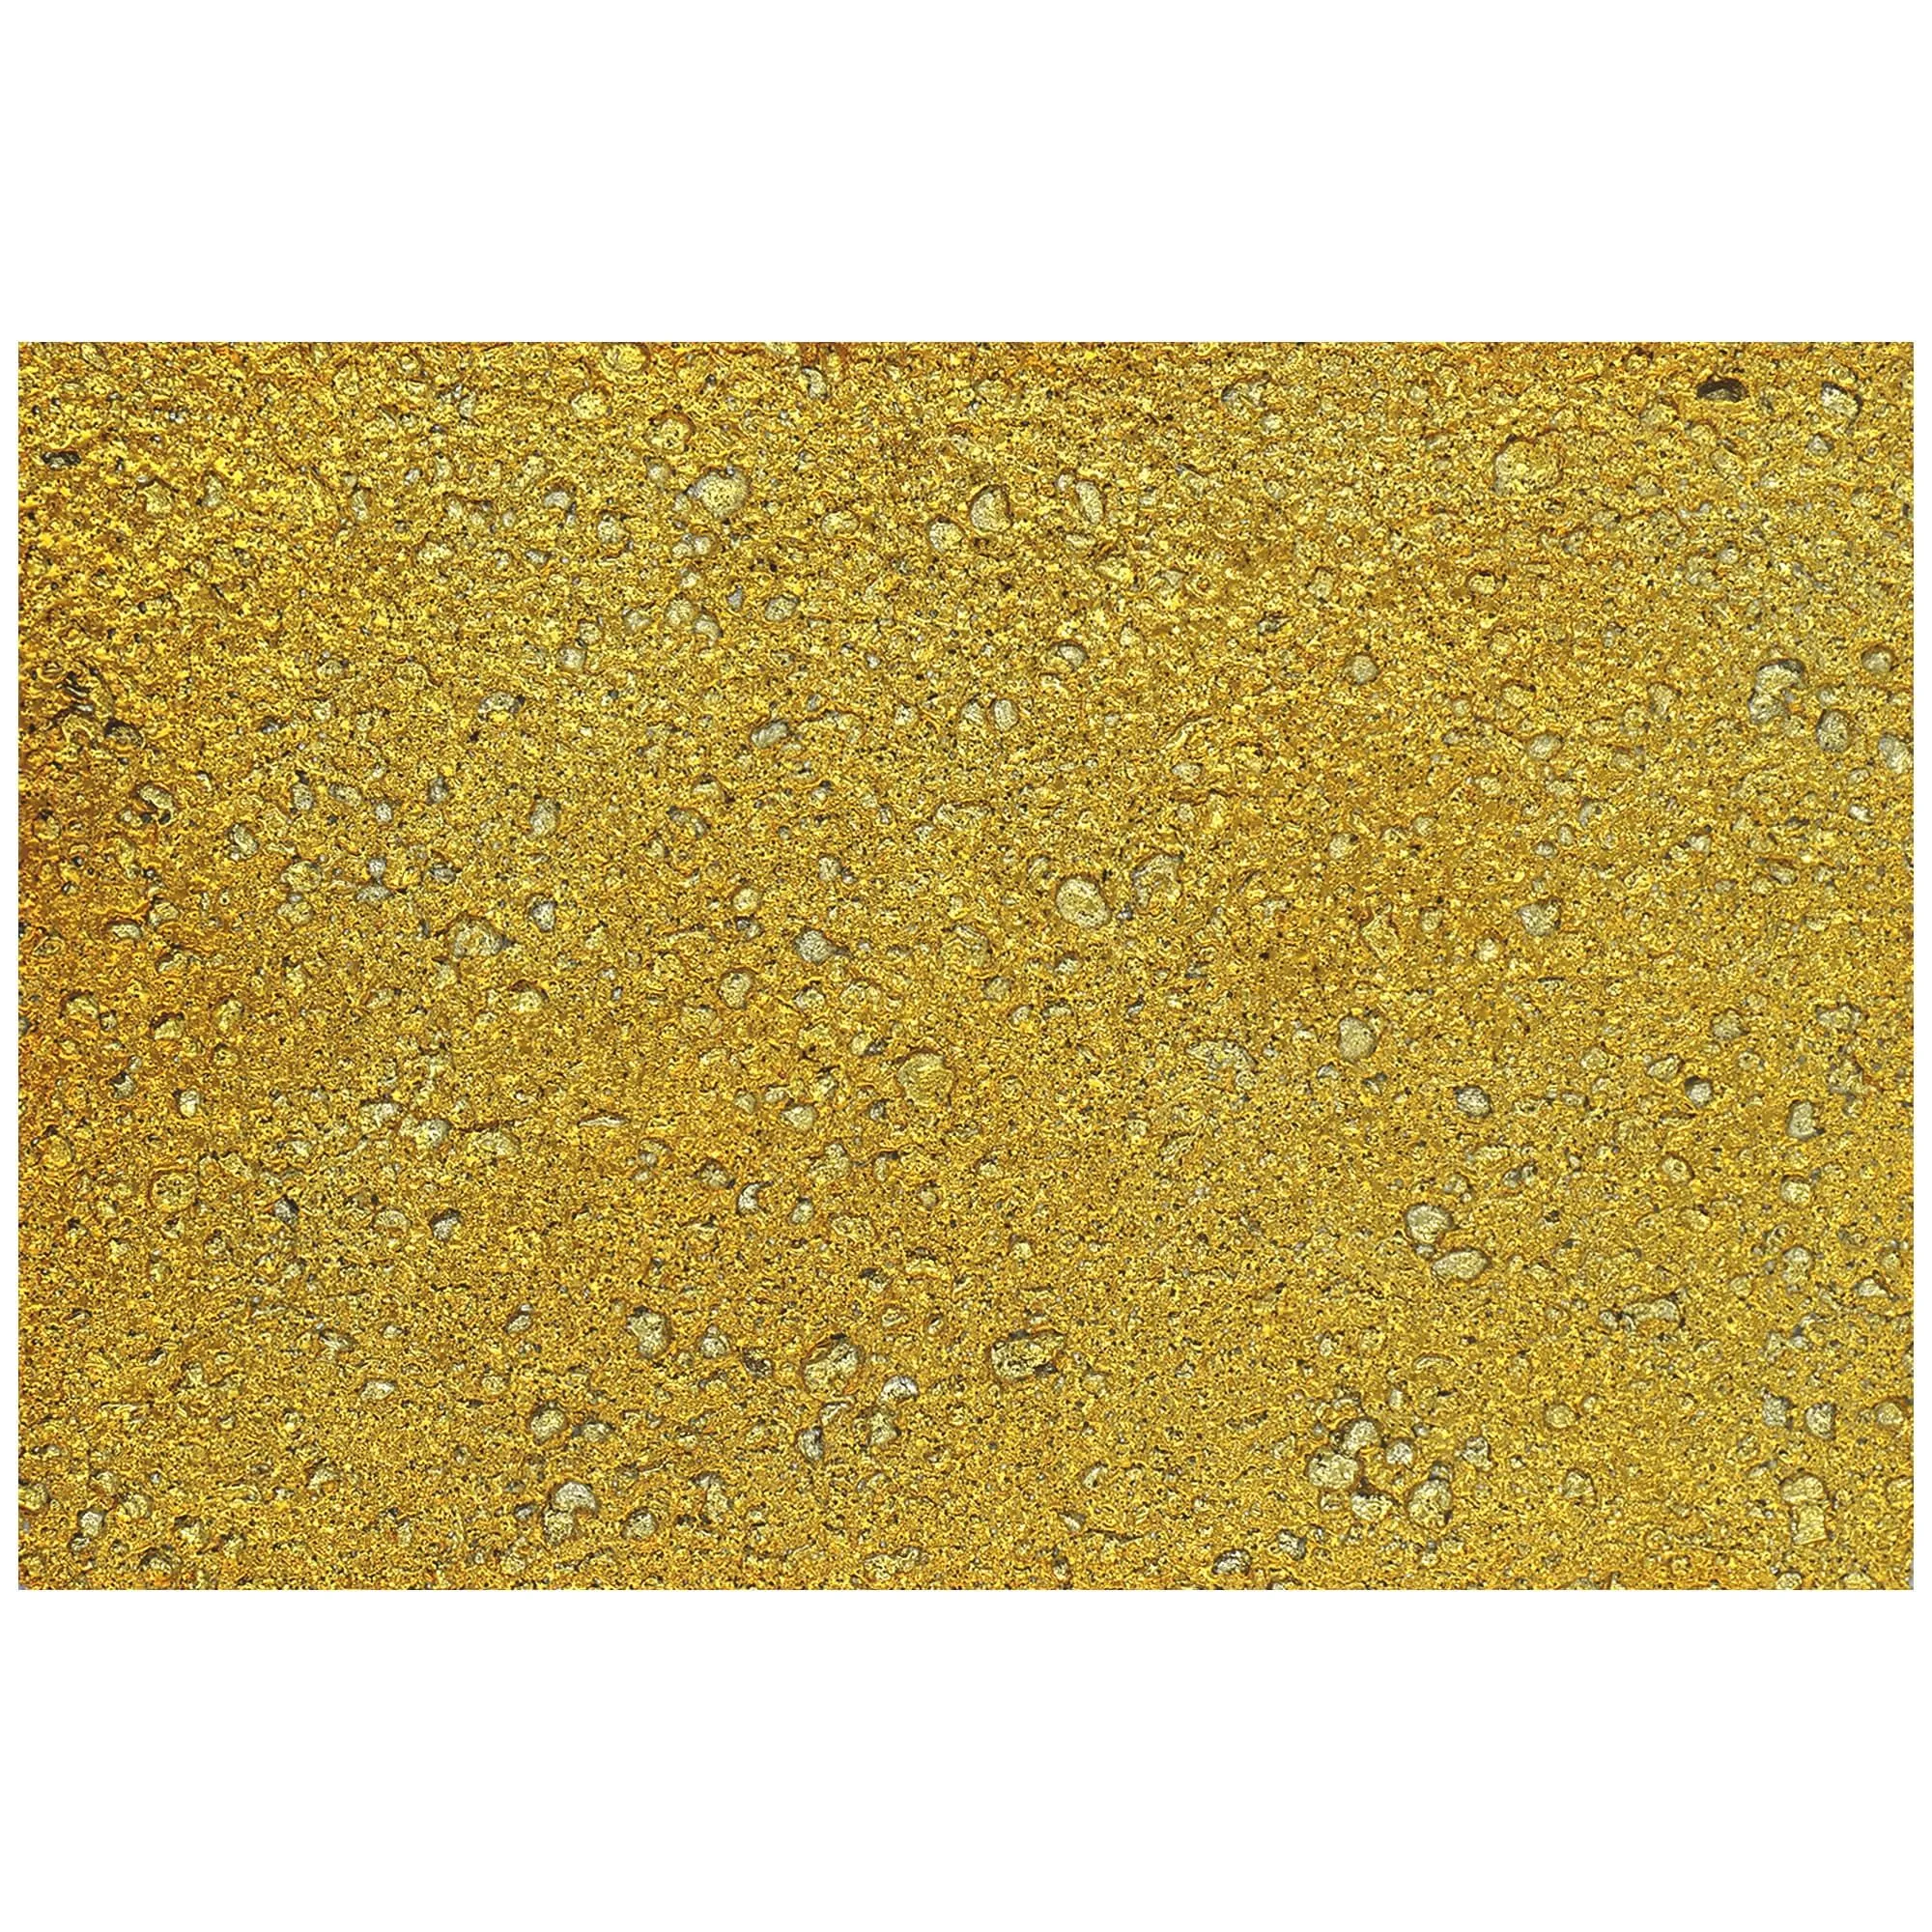
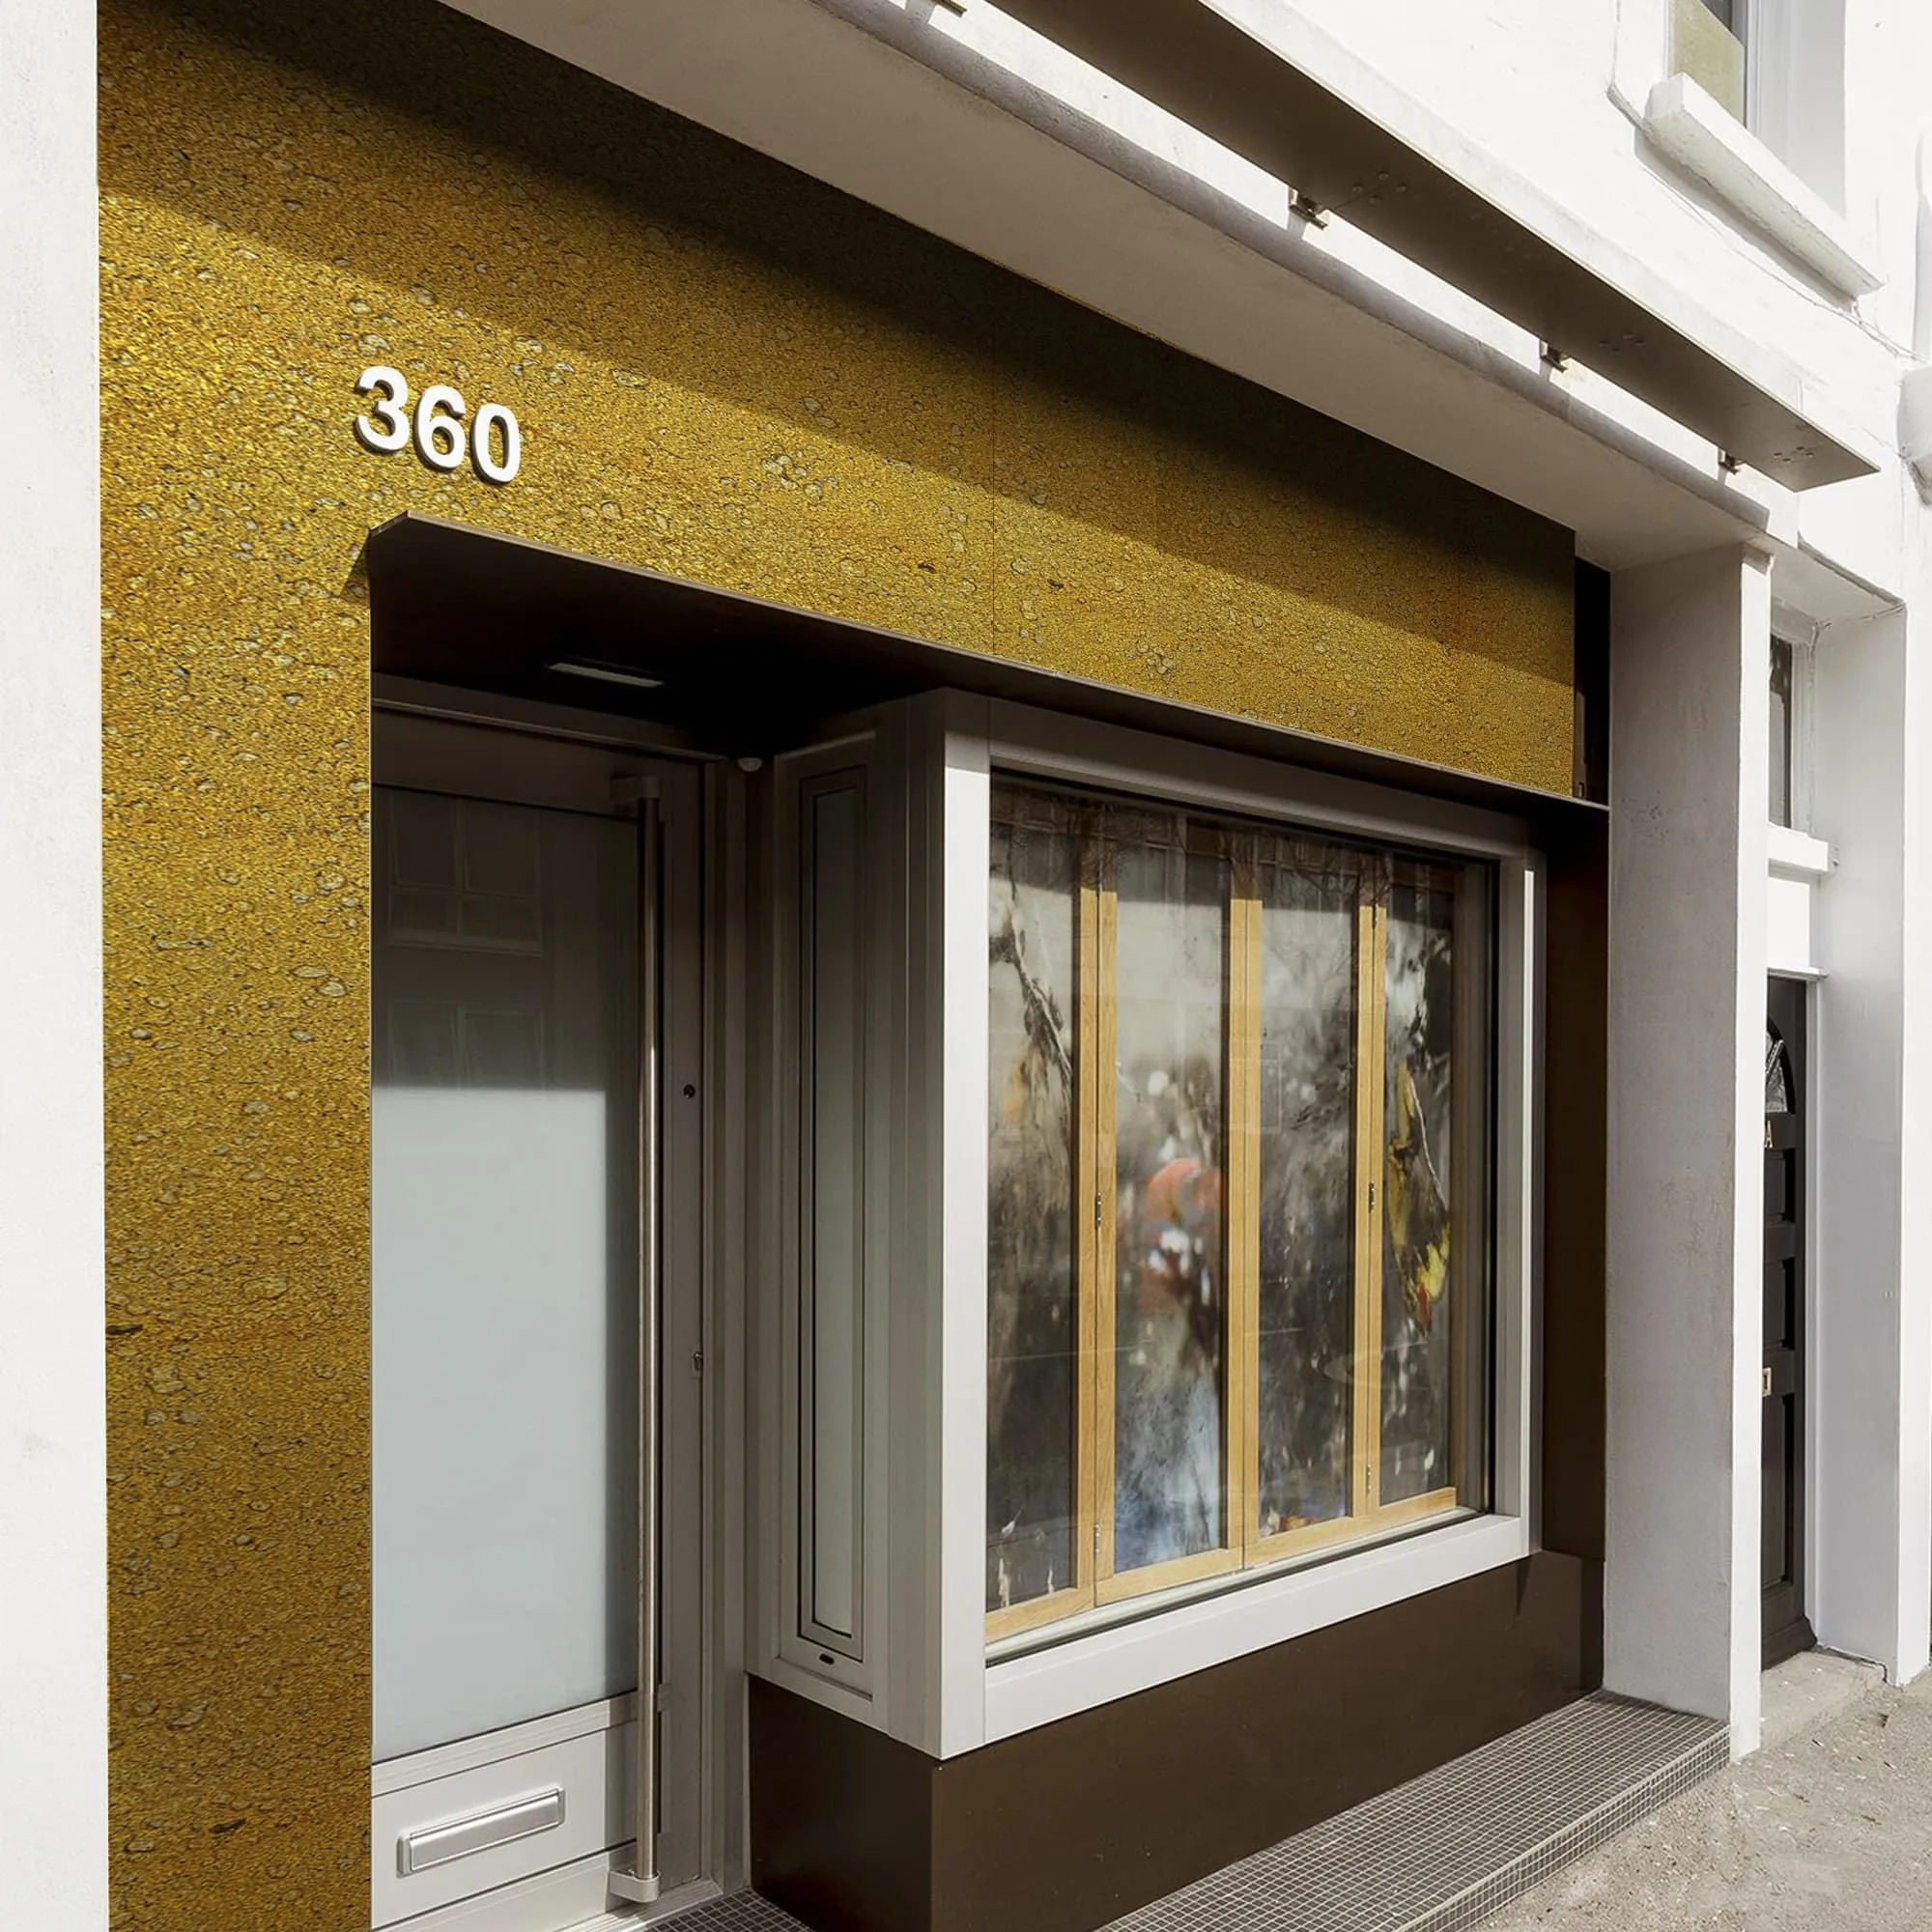
There's something undeniably captivating about a building clad in a shimmering gold finish. It speaks of luxury, modernity, and a bold architectural vision. Foamed aluminium alloy boards, particularly in a gold finish, have become a popular choice for achieving this look. They are lightweight, relatively easy to handle, and offer a metallic aesthetic that can transform a building's exterior. If you're considering this material for your project, a successful outcome hinges entirely on a meticulous and well-planned installation.
This guide is designed to walk you through the essential steps, from initial prep work to the final touches, for installing foamed aluminium alloy boards on exterior walls. We'll cover the tools you'll need, the techniques to follow, and the common pitfalls to avoid. But more than that, we'll also take a moment to look at the bigger picture. The world of construction materials is constantly evolving, with new technologies offering even greater design freedom, sustainability, and performance. Understanding the full spectrum of options is key to making the best choice for your project's unique demands. So, let's get started on creating that stunning façade.
You've heard the saying: "fail to prepare, prepare to fail." In exterior cladding, this is gospel. The longevity and appearance of your foamed aluminium board installation are directly tied to the quality of your preparation. Rushing this stage will almost certainly lead to problems down the road, such as delamination, uneven surfaces, or water intrusion.
The wall you're applying the boards to is called the substrate. It must be clean, structurally sound, and perfectly flat.
Having everything on hand before you begin saves time and prevents frustrating interruptions. A well-organized worksite is a safe and efficient worksite.
| Category | Item | Purpose |
|---|---|---|
| Safety Gear (PPE) | Safety glasses, gloves, dust mask, hard hat, steel-toed boots | Protection from dust, sharp edges, and falling objects. |
| Measuring & Marking | Tape measure, laser level, chalk line, long straight edge, pencils | Ensuring accurate layout, cuts, and placement. |
| Cutting | Circular saw with a fine-toothed blade (for non-ferrous metals), utility knife | Cleanly and accurately cutting the boards to size. |
| Application | Notched trowel (check adhesive specs for size), caulking gun, rubber mallet | Applying adhesive and sealant, tapping boards into place. |
| Substrate Prep | Pressure washer, wire brush, scrapers, grinder, leveling compound | Cleaning and flattening the wall surface. |
| Consumables | Foamed aluminium boards, specialized panel adhesive, exterior-grade sealant, painter's tape | The core materials for the installation. |
Exterior work is at the mercy of the weather. Most adhesives and sealants have specific temperature and humidity ranges for optimal application and curing.
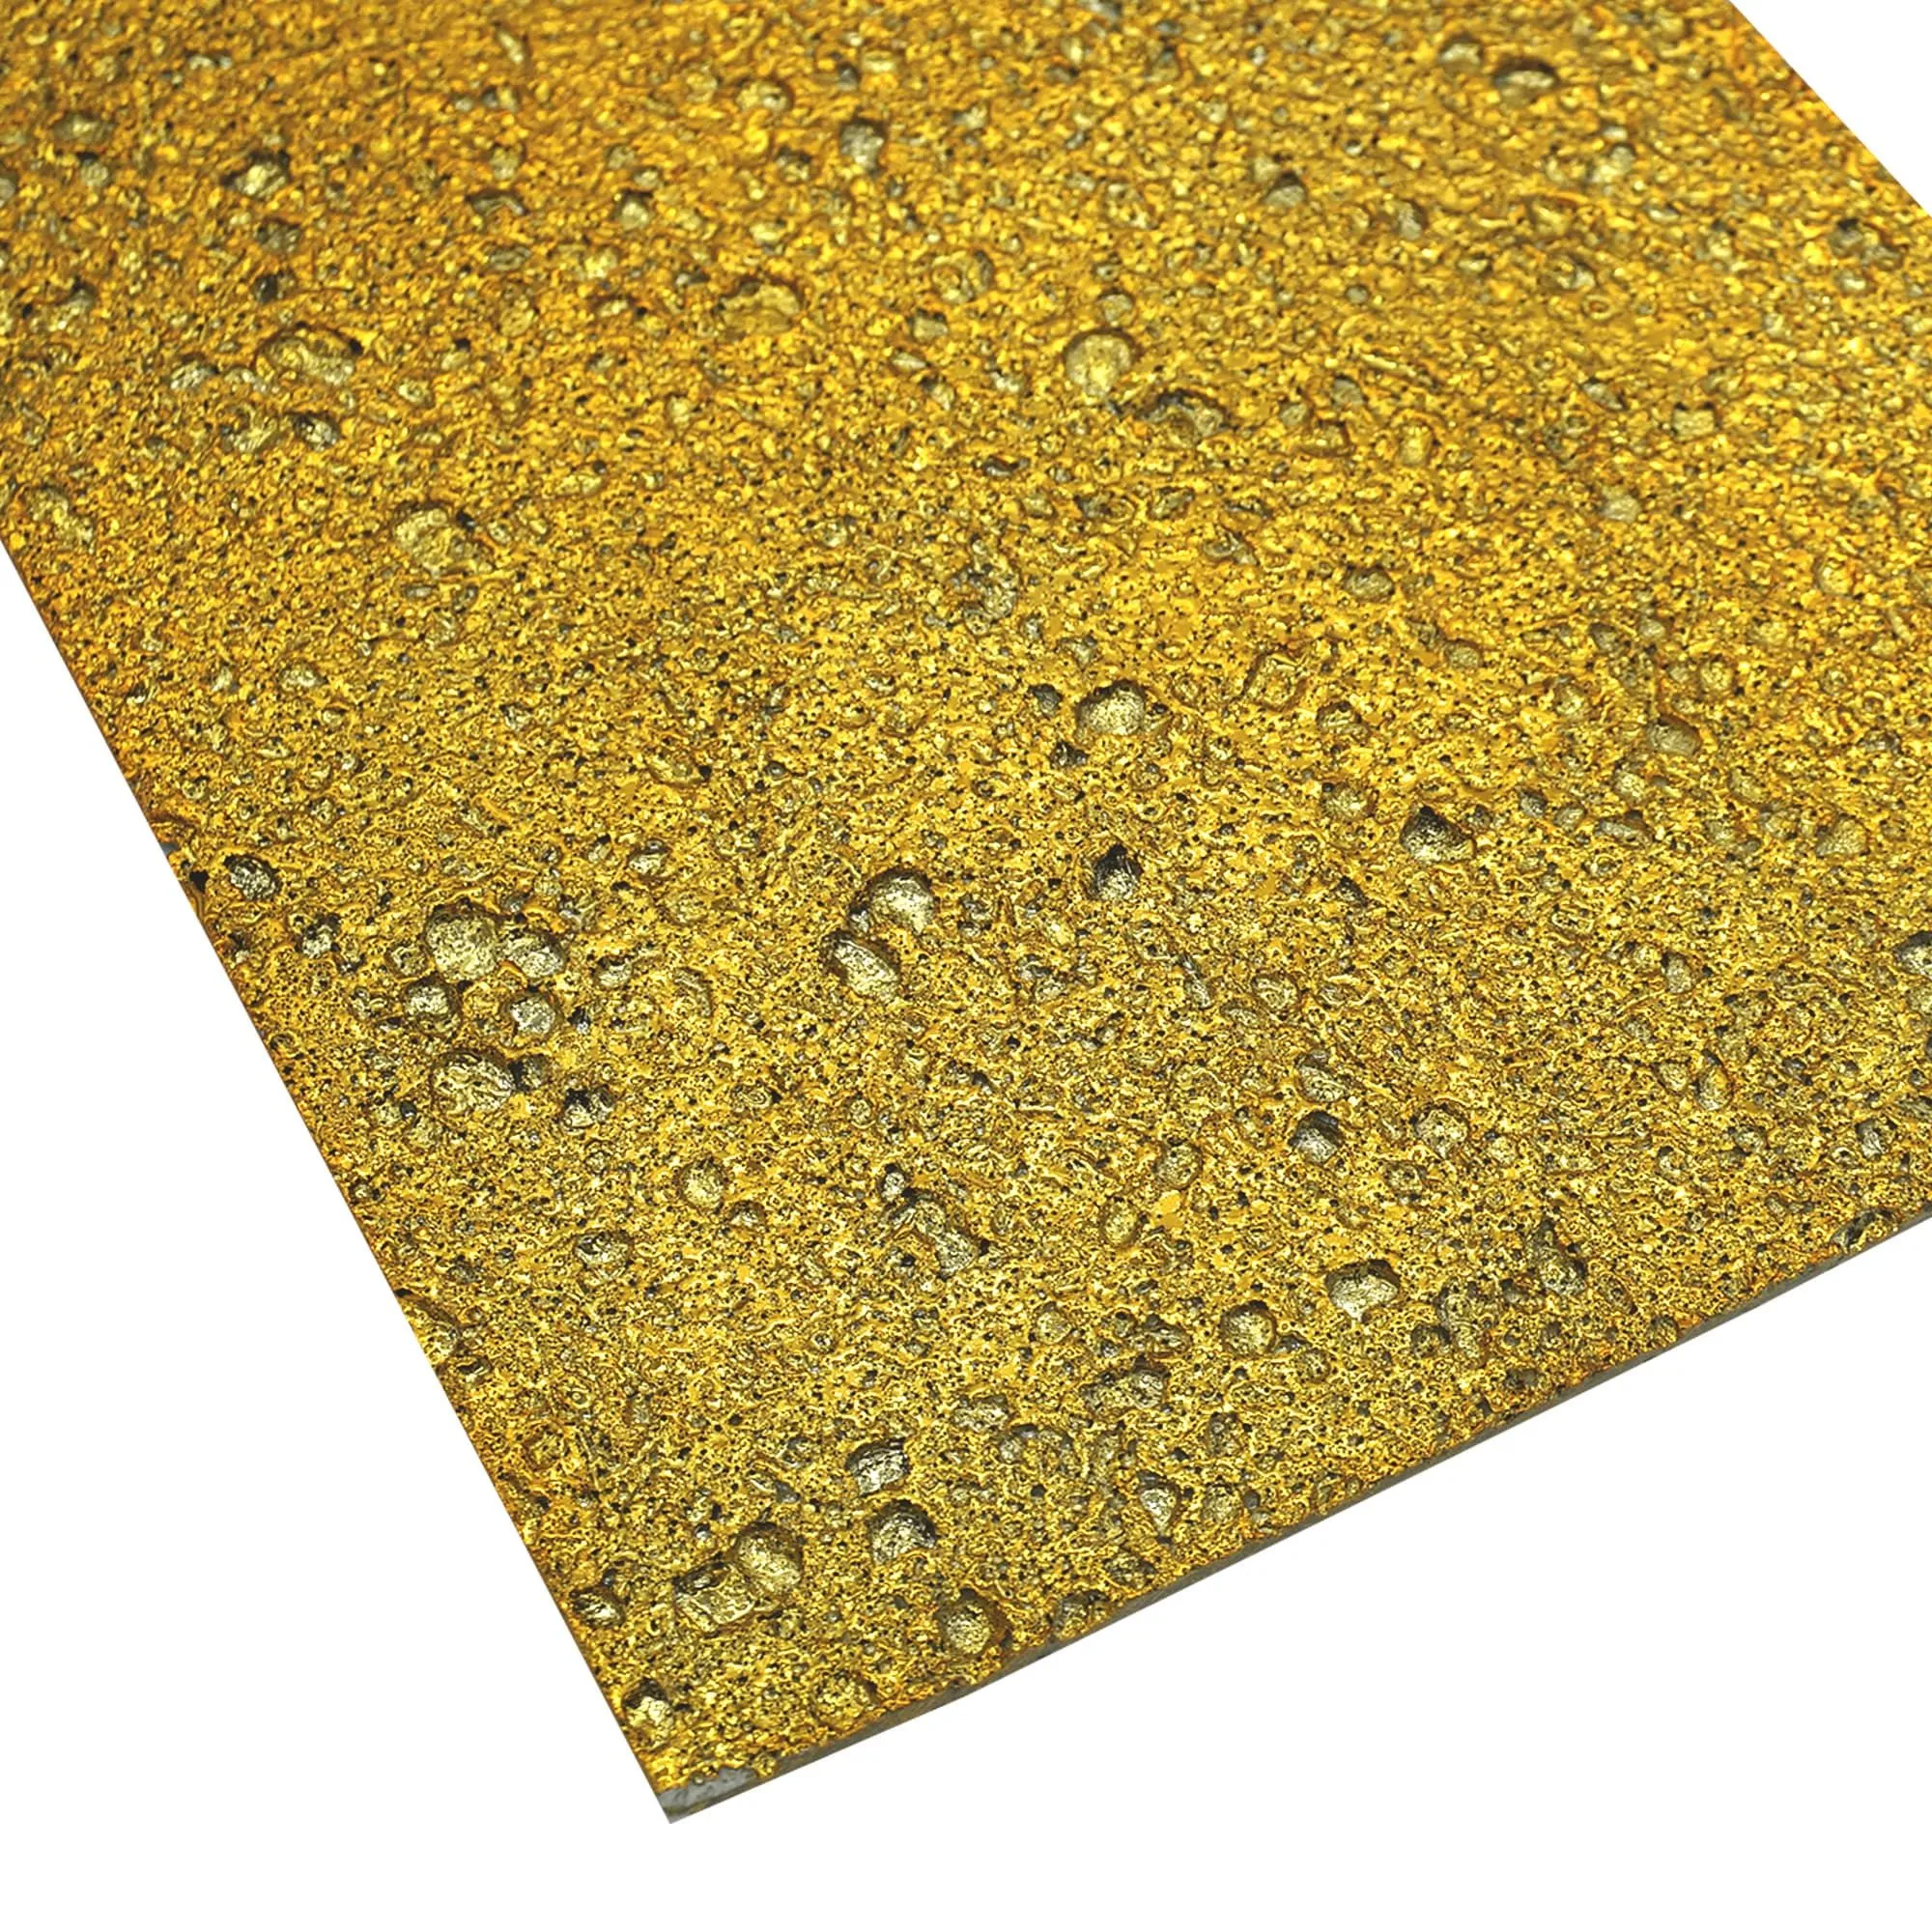
With your preparation complete, it's time to begin the installation. Work methodically and check your alignment at every step. A small error at the beginning can become a major issue by the time you reach the top of the wall.
Your first course of boards must be perfectly level. Do not assume the ground or foundation is level. Use a laser level or a spirit level and straight edge to establish a perfectly horizontal baseline at the bottom of the installation area. Snap a chalk line to guide your first row. It's also wise to do a "dry layout," planning where your joints will fall to avoid awkward small cuts near windows or corners.
Always use the adhesive specifically recommended for foamed aluminium panels. Using the wrong type is a recipe for failure. Following the manufacturer's instructions to the letter, apply the adhesive to the back of the board or directly to the wall using a notched trowel. The trowel creates ridges of a consistent height, ensuring 100% coverage and a uniform bond thickness when the panel is pressed into place. Work in manageable sections so the adhesive doesn't dry before you can place the board.
Precision is key. Measure twice, cut once. For straight cuts, a circular saw equipped with a blade designed for non-ferrous metals is the best choice. Clamp a straight edge to the board to act as a guide for the saw. This ensures a perfectly straight, clean cut. For smaller adjustments or cutouts (e.g., for outlets or pipes), a sharp utility knife can sometimes be used, scoring the board multiple times and then snapping it. Always wear safety glasses and a mask to protect against fine metal and foam particles.
Carefully place the board onto the wet adhesive, aligning it with your chalk line and the previously installed board. Press it firmly against the wall, starting from the center and working your way out to the edges to expel any trapped air. Use a slight sliding motion (about half an inch back and forth) to fully embed the board in the adhesive. Gently tap the surface with a rubber mallet and a clean, flat block of wood to ensure it's fully seated and perfectly flush with its neighbors. Use your level to check each board, both horizontally and vertically.
The gaps between the boards are critical for both aesthetics and performance. Maintain a consistent gap (typically 3-5mm, but check specifications) between all boards to allow for thermal expansion and contraction. Use tile spacers to ensure uniformity. Once the adhesive has cured, these joints must be sealed. Apply painter's tape to both sides of the joint to ensure clean lines. Use a high-quality, exterior-grade polyurethane or silicone sealant and a caulking gun to fill the gap completely. Tool the sealant with a wetted finger or a special tool to create a smooth, concave profile. Remove the tape before the sealant starts to skin over.
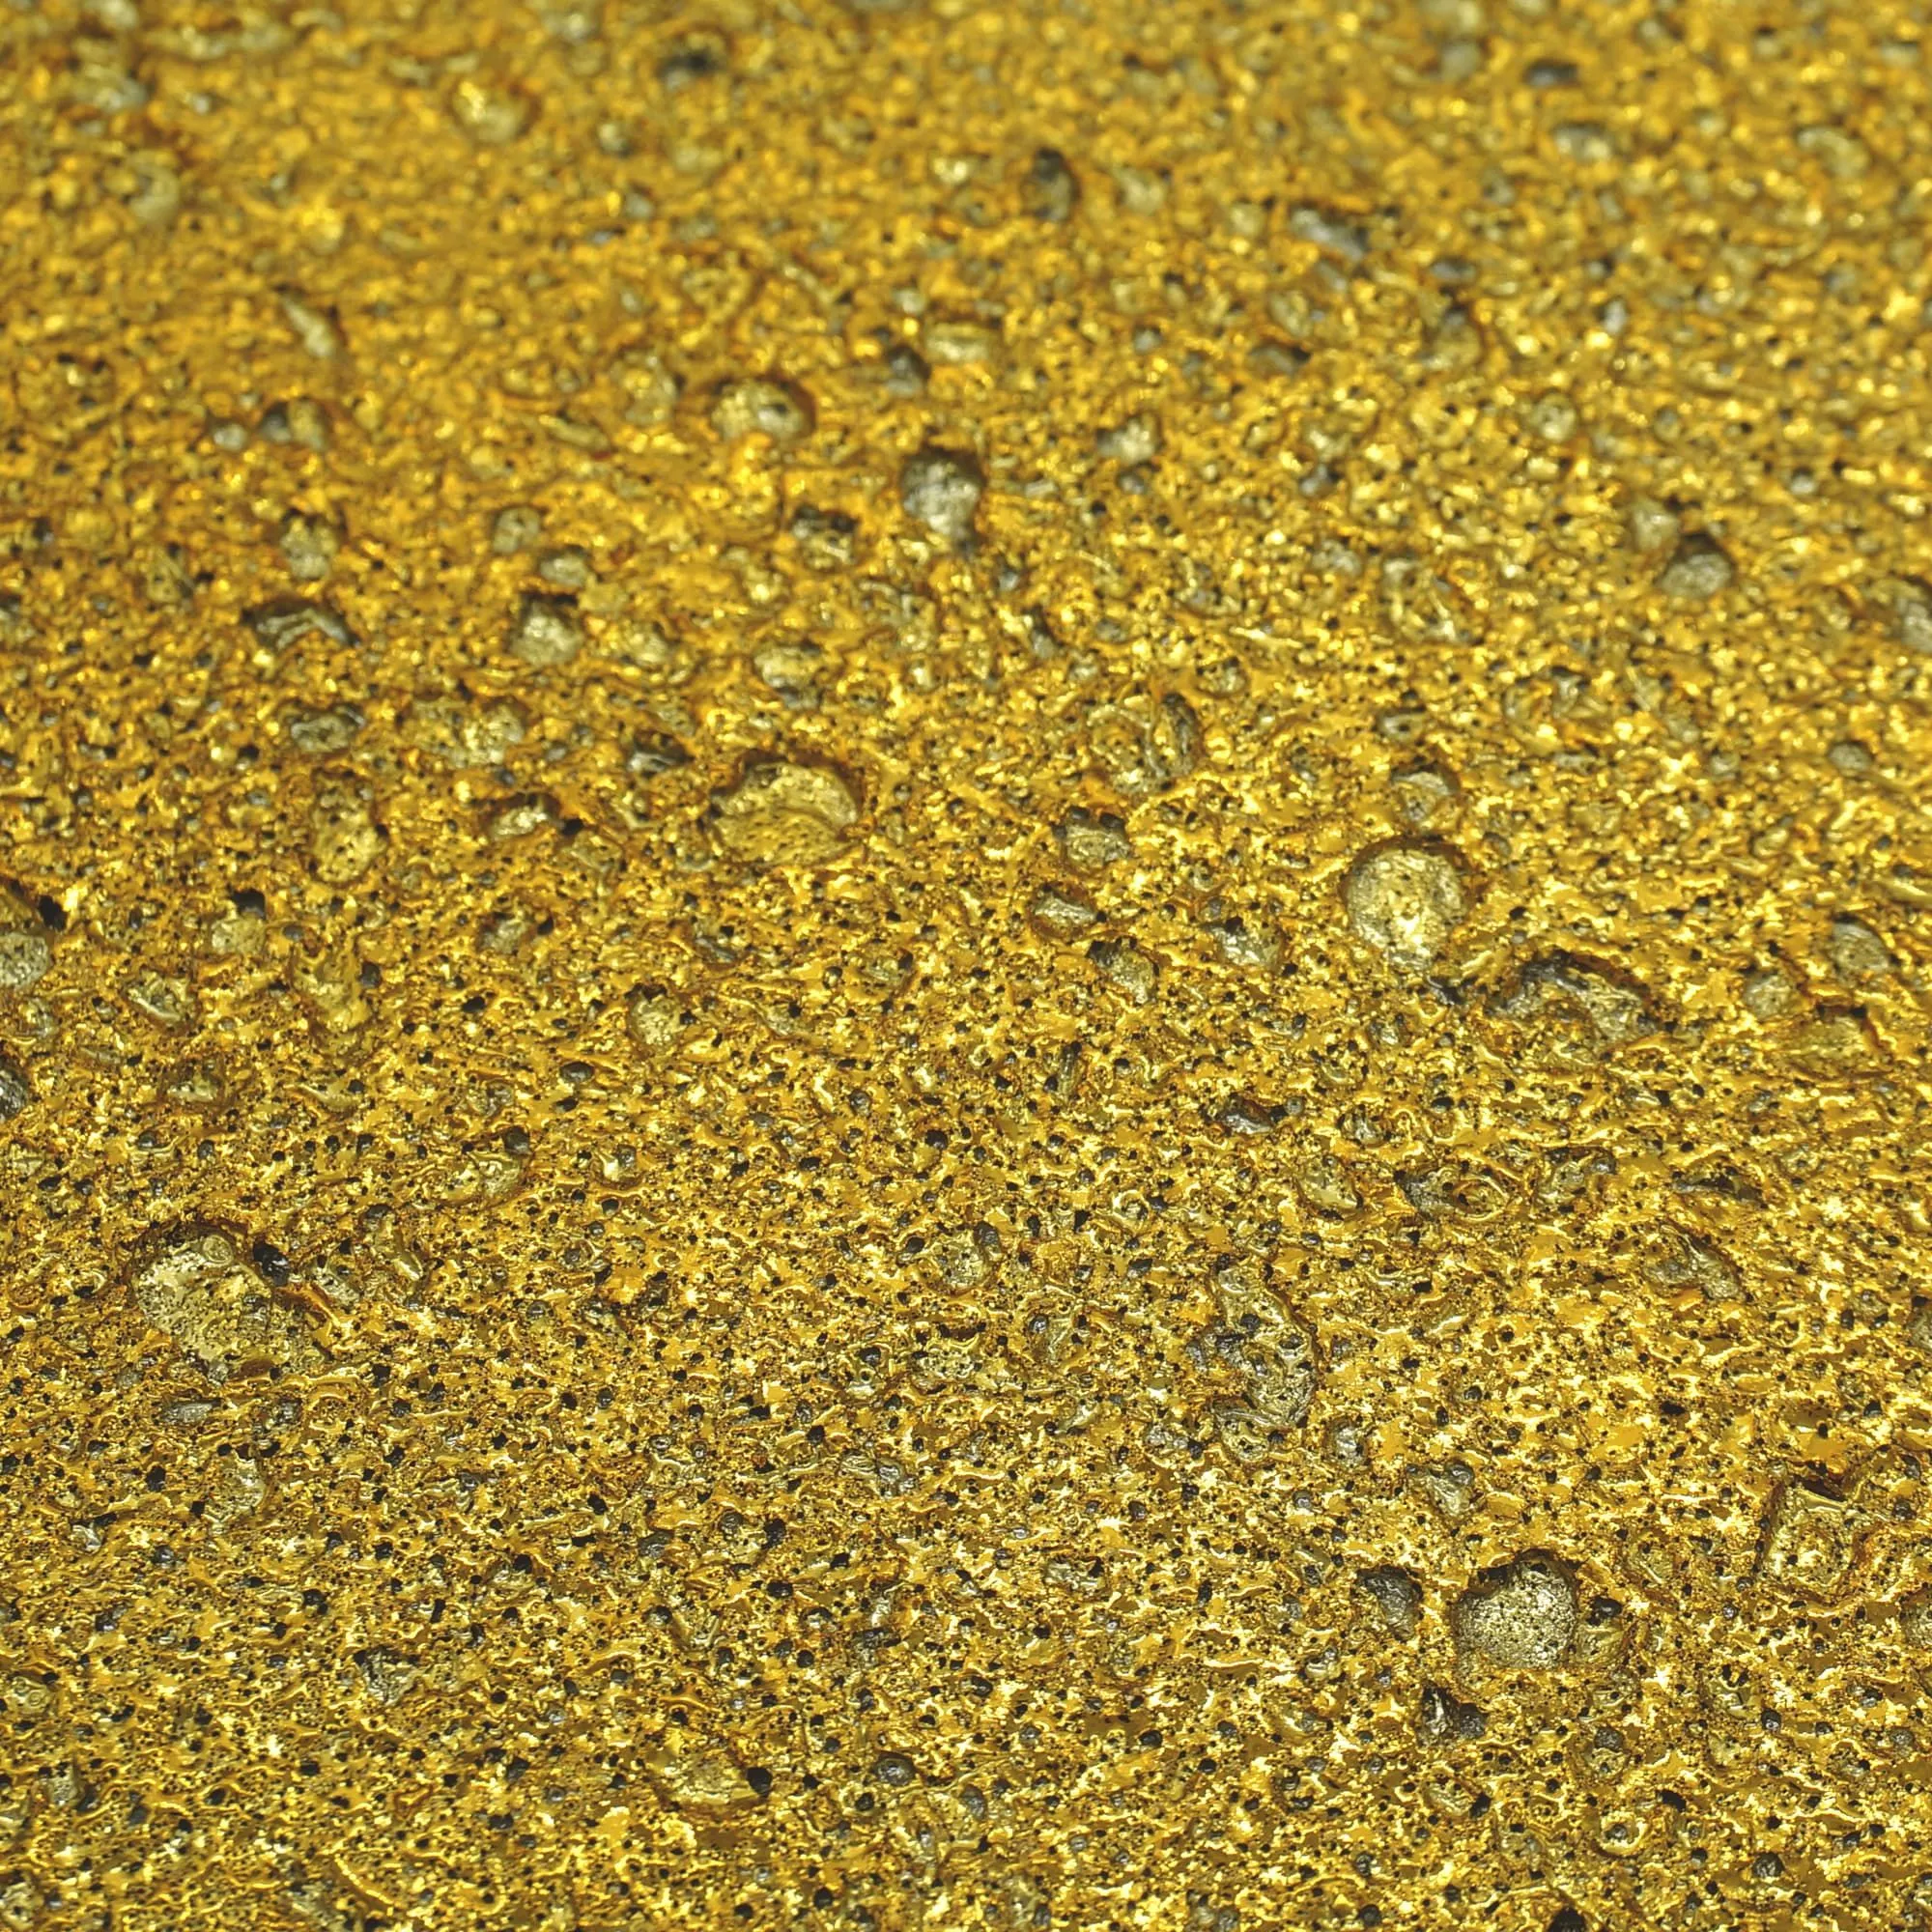
Even experienced installers can make mistakes. Being aware of the most common ones is the first step in avoiding them.
| Common Mistake | Consequence | How to Avoid |
|---|---|---|
| Ignoring Substrate Prep | Poor adhesion, visible bumps and dips, panel failure. | Take the time to properly clean, repair, and level the wall surface. It's non-negotiable. |
| Using the Wrong Adhesive | Delamination. The boards can literally fall off the wall. | Only use the adhesive system recommended by the panel manufacturer or a trusted supplier. |
| Inconsistent Joint Gaps | An unprofessional, sloppy appearance. Potential for stress fractures if gaps are too small. | Use plastic spacers for every joint and measure frequently. |
| Poor Sealant Application | Water intrusion behind the panels, leading to damage, mold, and adhesive failure. | Use high-quality sealant, ensure the joint is clean and dry, tool the bead for a perfect seal. |
| Misaligned First Course | Errors are magnified as you move up the wall, resulting in a crooked, unprofessional finish. | Use a laser level to establish a perfectly true baseline before installing the first board. |
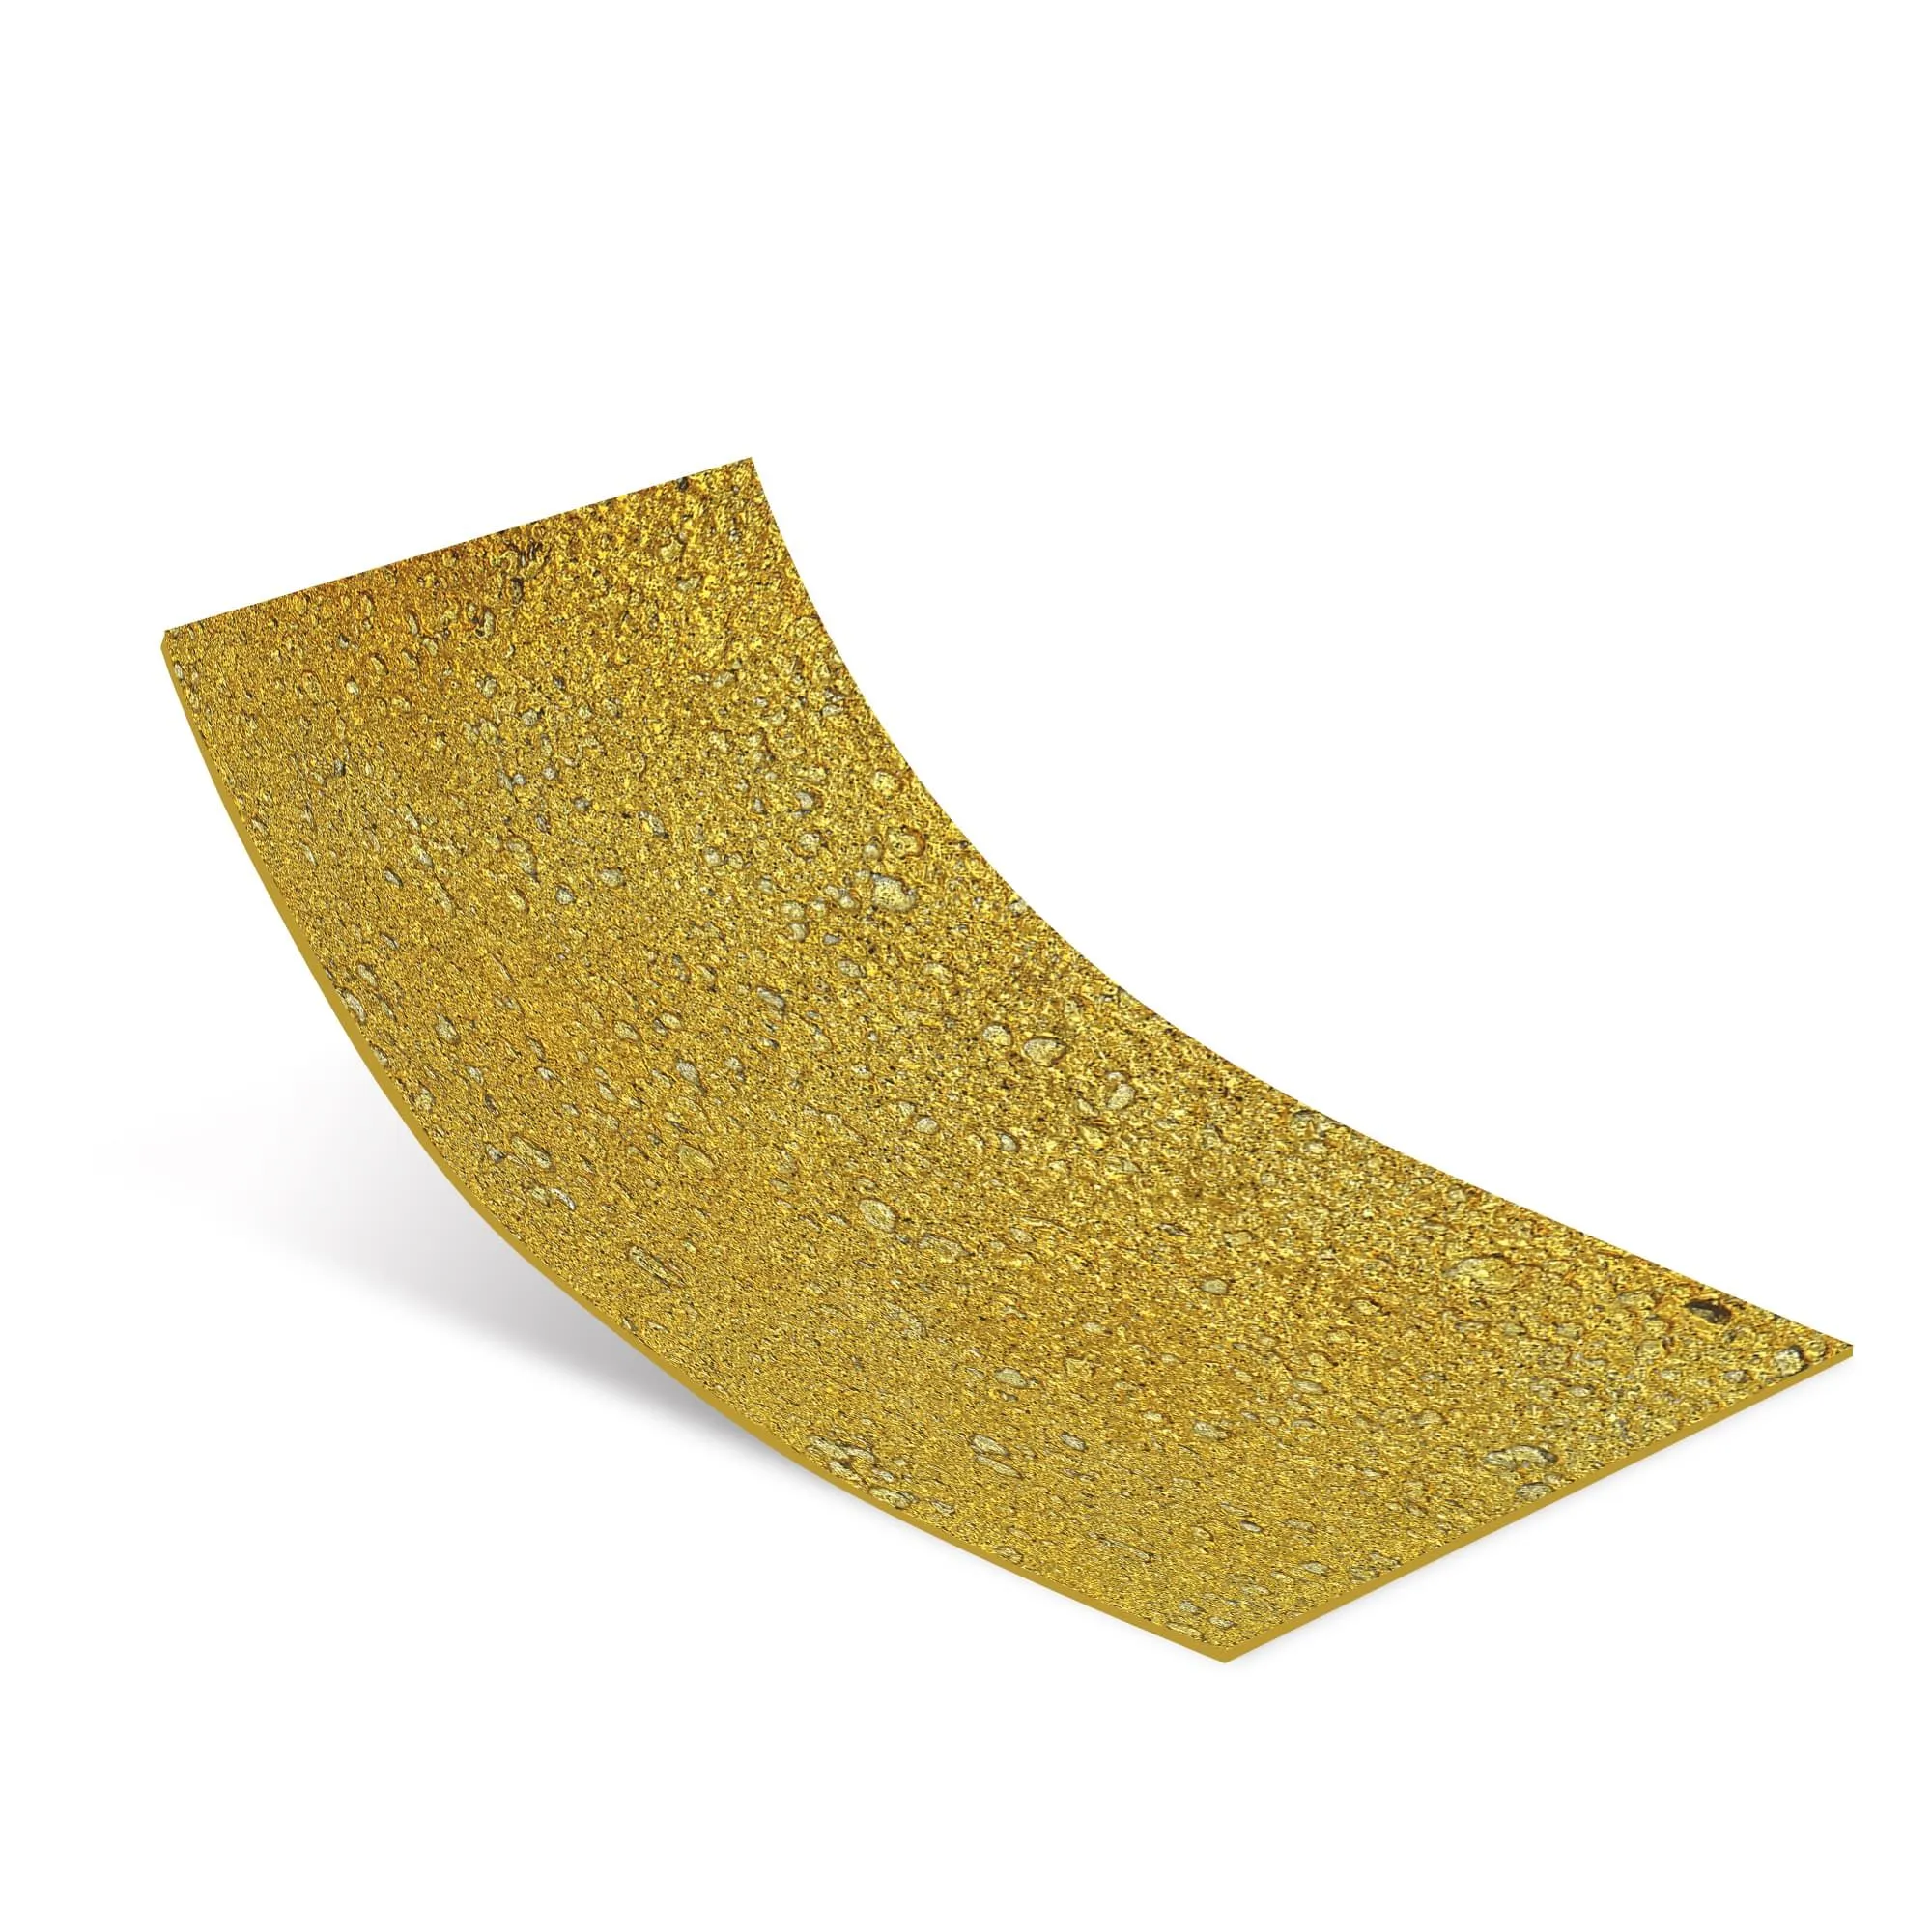
While materials like foamed aluminium alloy boards serve a purpose, the demands of modern architecture are pushing the boundaries of what's possible. Today's projects increasingly call for materials that offer not just a single look, but a complete package: unparalleled design flexibility, superior performance, verified sustainability, and simplified installation. This is where the conversation shifts from traditional panels to next-generation material science.
This evolution in building materials is the core focus of forward-thinking companies like COLORIA GROUP. As a one-stop solution provider in the architectural materials space, the mission is to empower architects, developers, and builders with access to groundbreaking technologies that redefine what a building's exterior can be. It's about moving beyond the standard options and embracing materials that are lighter, stronger, more eco-friendly, and infinitely more customizable.
One of the most exciting innovations in this field is **MCM (Modified Cementitious Material)**. Forget what you think you know about traditional cement products. MCM is a revolutionary material made primarily from natural soil and sand, transformed through a low-energy, unfired manufacturing process. The result is a material that is incredibly lightweight, flexible, and versatile, yet retains the inherent durability and fire-resistance of mineral-based products. It represents a significant leap forward in green building technology.
Understanding the potential of MCM is best done by looking at how it's applied in real-world solutions. It's not just one product, but a whole ecosystem of materials designed for different architectural applications. The focus on providing a comprehensive portfolio is what sets apart a true solutions provider.
Imagine cladding a skyscraper or a curved, undulating wall with solid granite or travertine. The engineering, weight, cost, and installation complexity would be monumental. This is where **MCM Flexible Stone** changes the game. This remarkable material perfectly replicates the look, texture, and natural variations of real quarried stone, from slate to sandstone to marble. Yet, it's incredibly thin (only 2-4mm), lightweight, and flexible enough to be wrapped around columns and curves. It provides the timeless, prestigious aesthetic of natural stone without the associated weight, environmental impact of quarrying, or installation challenges. For projects demanding a natural aesthetic with modern performance, this is an unparalleled choice. It's a key component for both grand commercial façades and detailed residential features.
One of the limitations of many paneling systems is the number of joints, which can break up the visual flow of a façade. The **MCM Big Slab Board Series** directly addresses this challenge. These large-format boards are designed to create expansive, monolithic surfaces with minimal interruption. They offer a clean, modern, and powerful aesthetic that is highly sought after in contemporary architecture. Whether you're aiming for a smooth concrete look, a massive metallic panel effect, or a giant slab of "stone," this series delivers. Because they are still based on the lightweight MCM technology, these large boards are far easier to transport, handle, and install compared to traditional large-format materials like precast concrete or GFRC panels.
For large commercial, residential, or public developments, consistency, efficiency, and reliability are paramount. The **MCM Project Board Series** is engineered to meet these demands. It offers a wide range of standardized textures and colors—like brick, wood, and various stone finishes—that can be produced with exceptional quality control. This ensures a uniform appearance across a massive project area. When a developer is working on a multi-building complex, having a reliable source for a high-quality, easy-to-install cladding material simplifies logistics, shortens timelines, and ensures a cohesive final look. This is the value of a system designed for scale, backed by a provider with a global reach and proven experience in demanding markets.
Pushing the envelope even further is the 3D printing series. This technology allows for the creation of truly bespoke textures and patterns. Architects are no longer limited to off-the-shelf finishes. They can design a unique bas-relief pattern, a custom geometric texture, or an artistic motif and have it realized as a durable, Class-A fire-rated exterior cladding. This opens up a new world of architectural expression, allowing a building's façade to become a true work of art.
The installation guide at the beginning of this article highlighted the many components needed for a successful project: panels, adhesives, sealants, and the technical know-how to bring them all together. In a complex construction project, sourcing these elements from different suppliers can be a logistical nightmare. Are the adhesives compatible with the panels? Does the sealant bond correctly? Who provides technical support when an issue arises on site?
This is the inherent value of partnering with a **one-stop solution provider** like COLORIA GROUP. The approach is holistic. It's not just about selling a box of panels; it's about delivering a complete, tested, and warranted system. This includes:
This integrated model simplifies the construction process, reduces risk for the builder, and ensures that the architect's vision is realized exactly as intended, with the highest standards of quality and performance.
Successfully installing a façade, whether it's with foamed aluminium alloy boards or any other material, requires careful planning, precision, and the right products. While traditional materials have their place, the future of building design and construction clearly lies in advanced, integrated solutions.
Materials like MCM are not just an alternative; they are an upgrade. They offer a path to creating buildings that are more beautiful, more sustainable, and more expressive. By exploring innovative product lines like the **MCM Big Slab Board Series** and embracing the support of a comprehensive solution provider, the architectural community can move beyond the limitations of the past and build the iconic structures of tomorrow. The right choice of material, supported by the right partner, is the foundation upon which lasting architectural legacies are built.
Recommend Products












