
Crafting Timeless Spaces with Nature's Textured Elegance
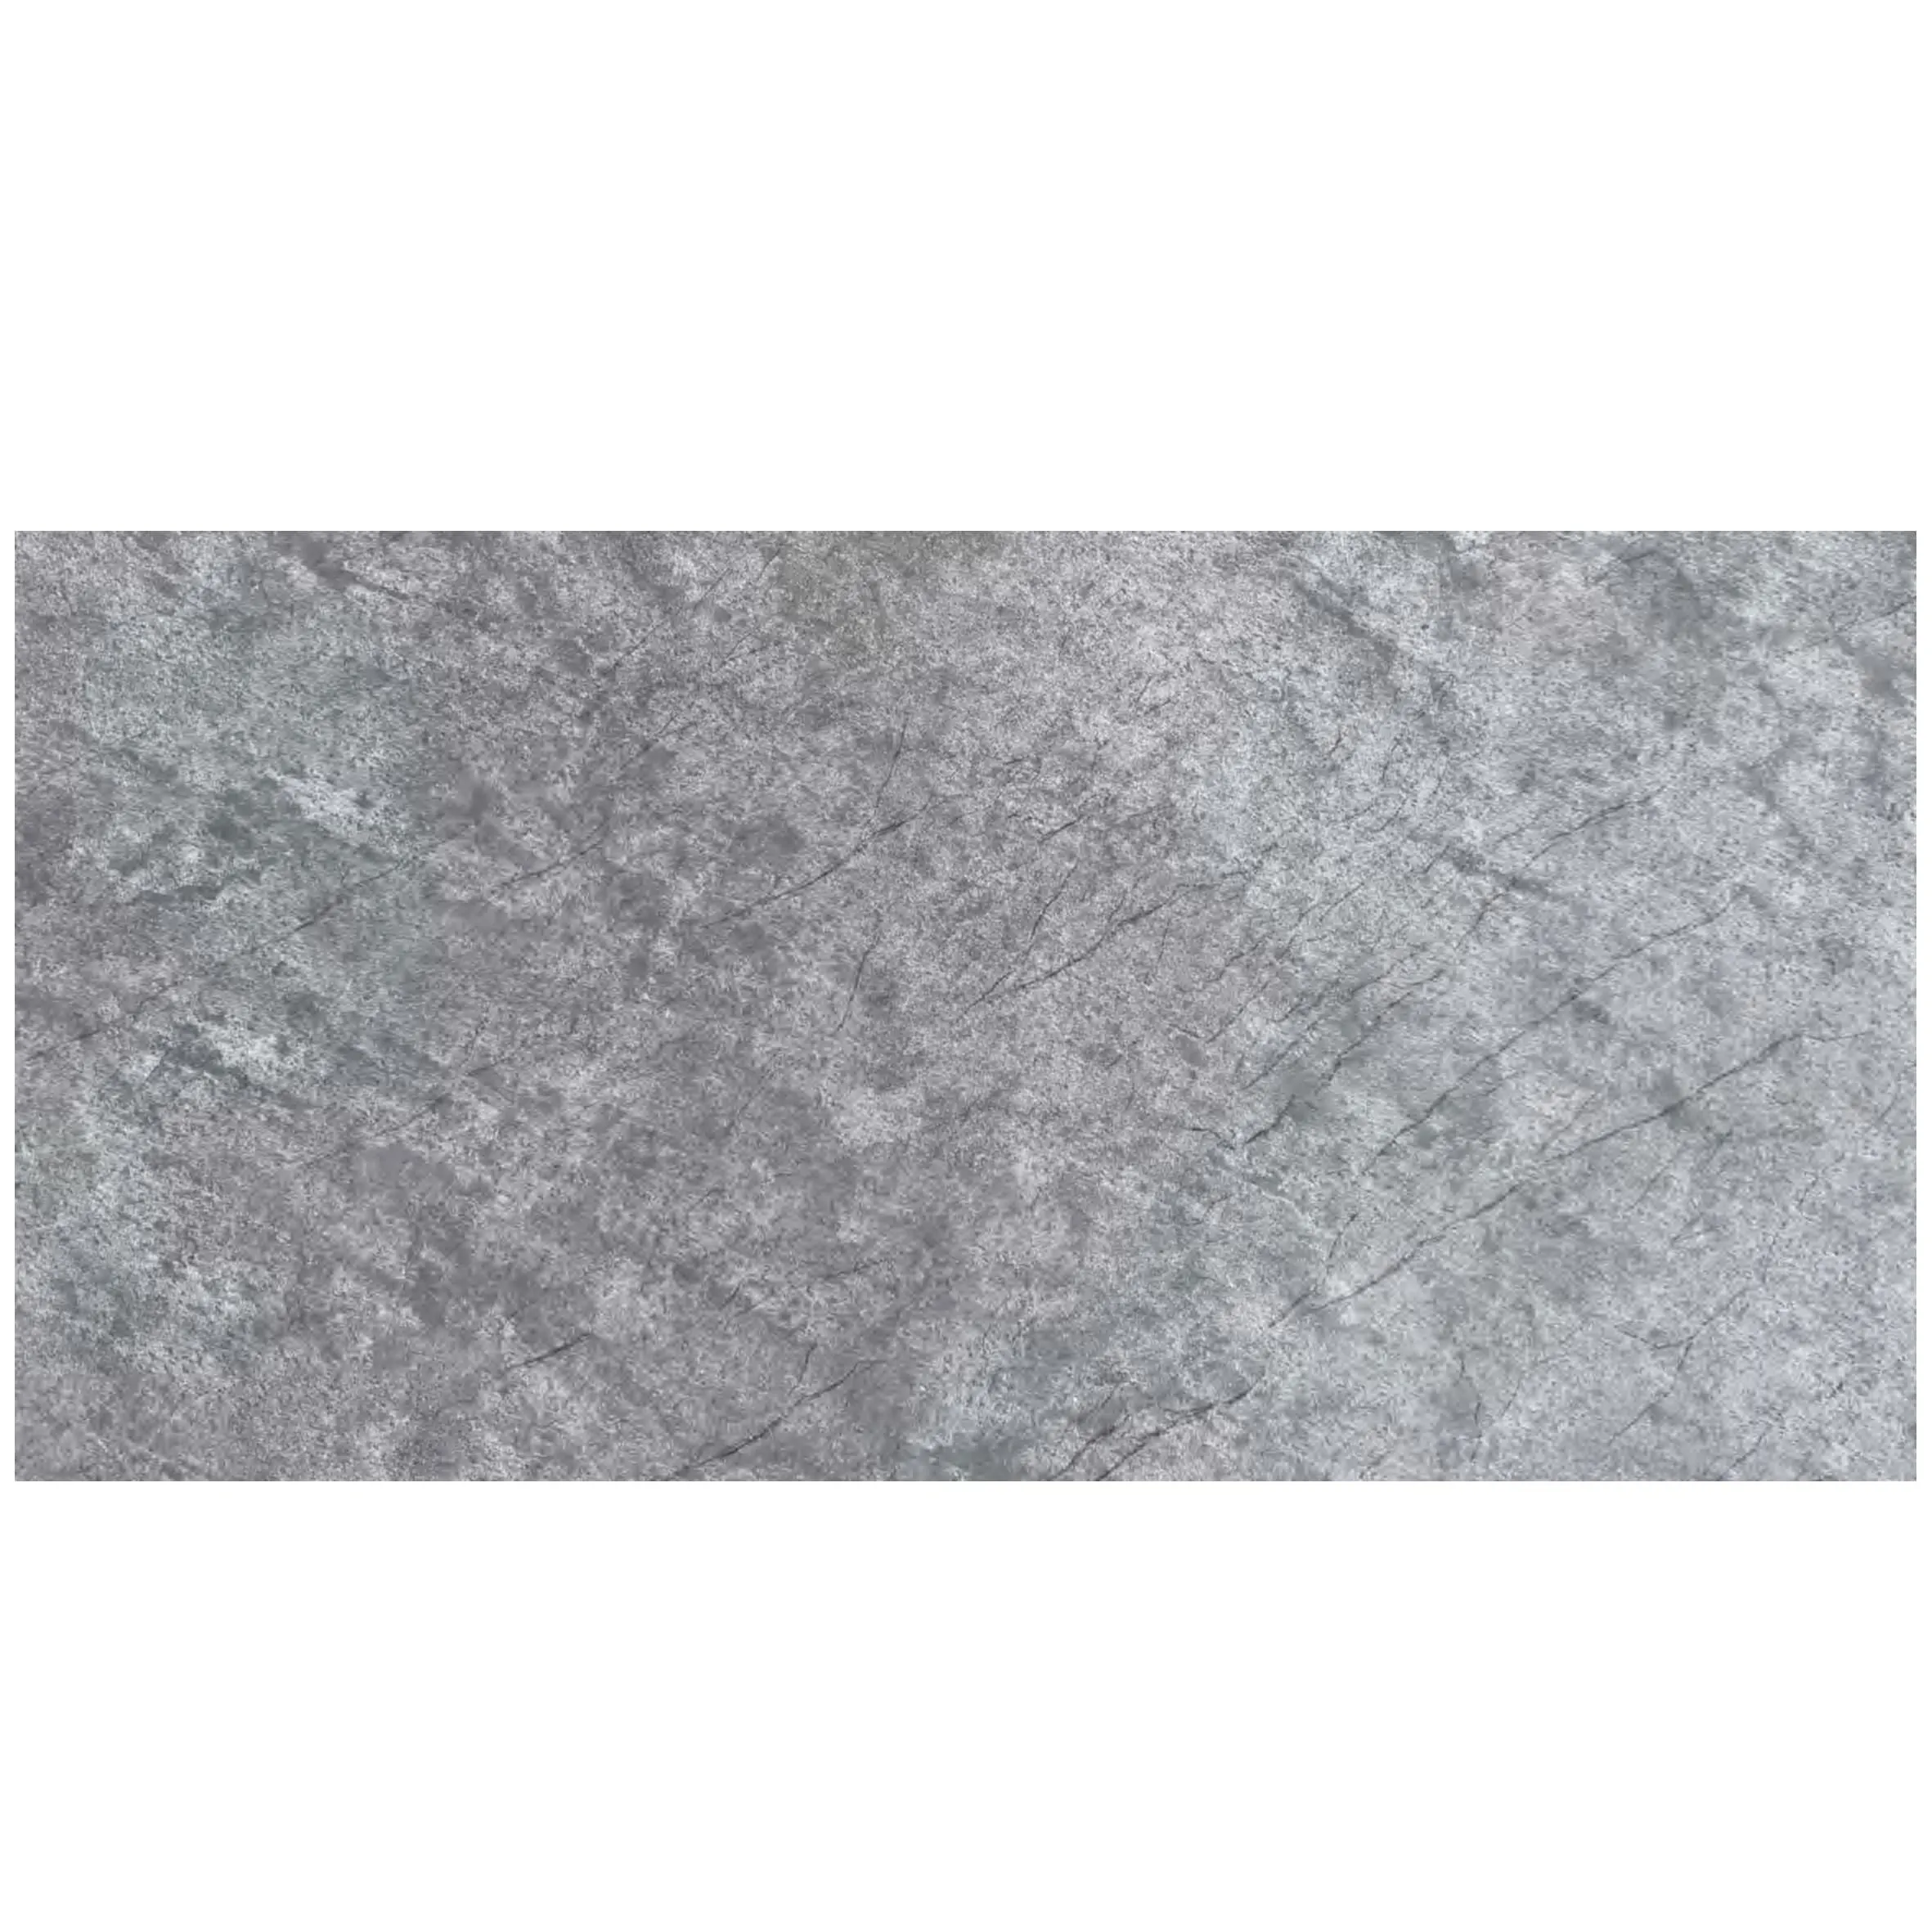
There's something almost poetic about glacial slate. Mined from ancient bedrock shaped by millennia of ice and water, each slab carries the quiet story of the earth's slow, deliberate transformation. Unlike polished marble or uniform concrete, glacial slate wears its character openly—subtle veining that mimics frozen rivers, tiny pits that hint at trapped air bubbles, and a matte finish that softens light rather than reflecting it harshly. It's no wonder architects and designers are increasingly turning to this material for large-scale projects, from hotel lobbies that demand grandeur to residential exteriors that crave warmth.
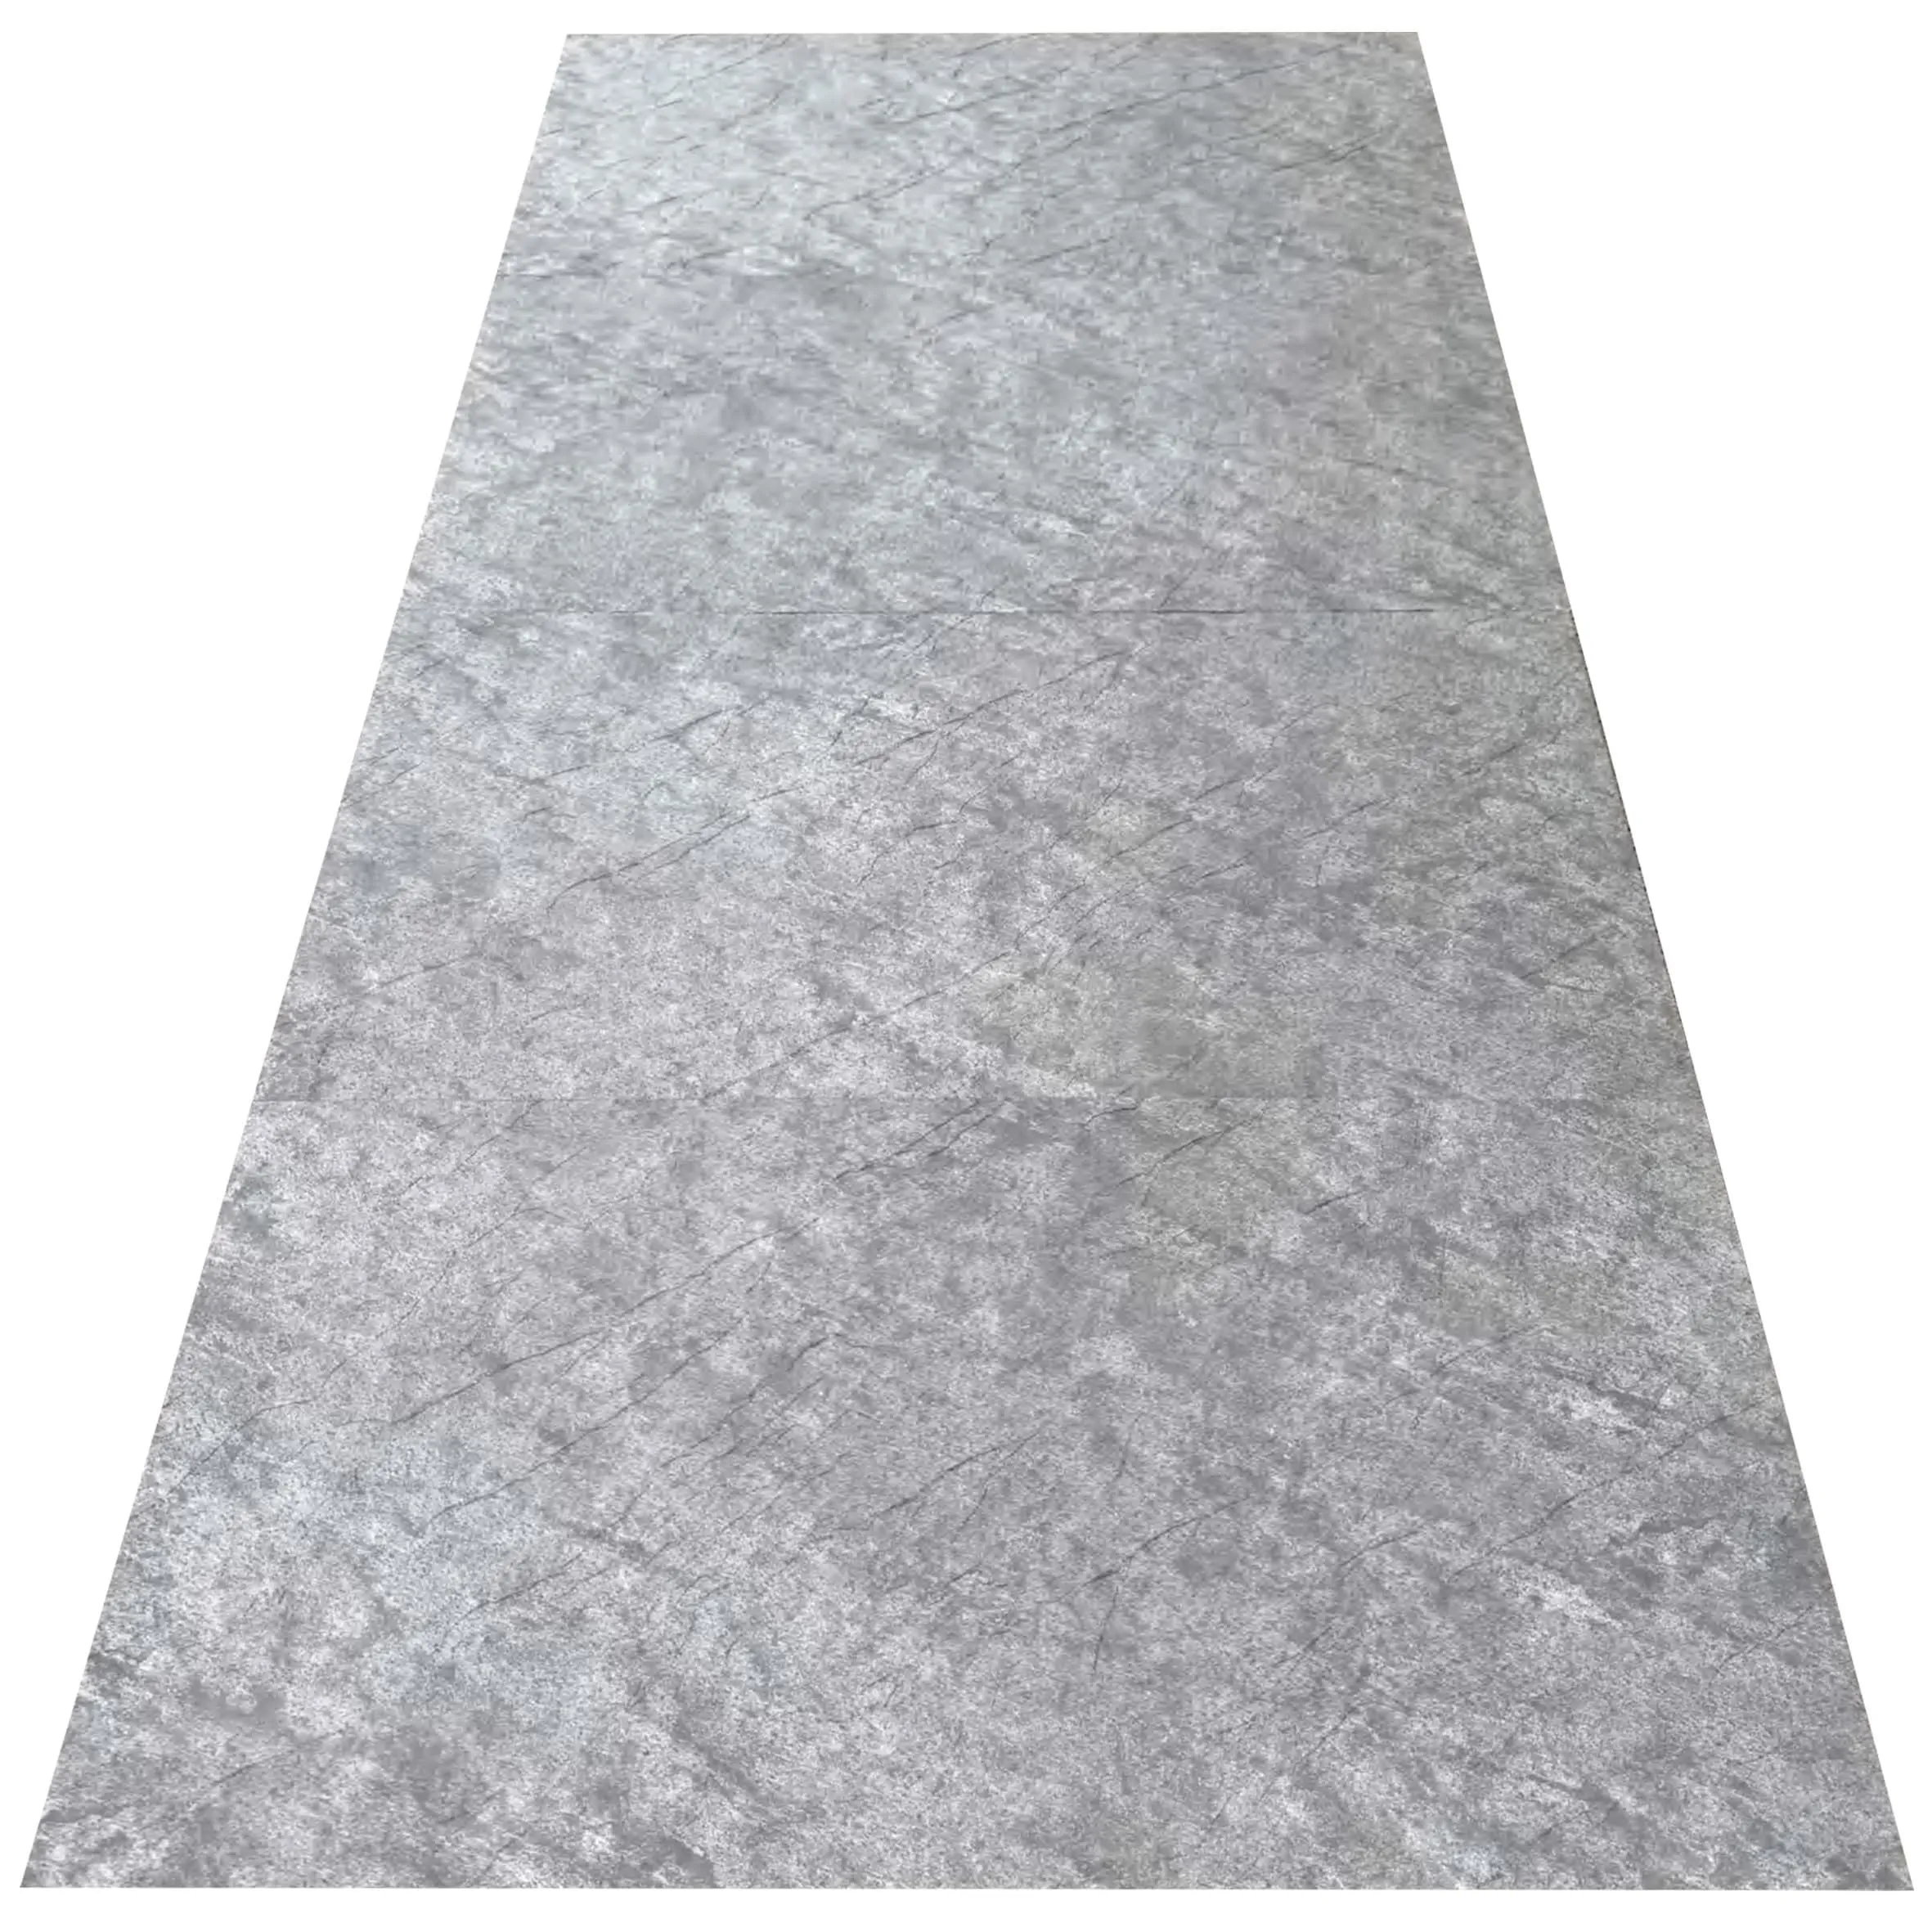
But here's the truth: working with big slabs of glacial slate isn't just about aesthetics. It's a dance between precision and patience, where a single misalignment can disrupt the flow of the entire design. Whether you're installing it on a feature wall, a commercial facade, or a patio that spans the length of a home, the goal is always the same: to make those massive, 6-foot-wide slabs feel like they've always been there—seamless, grounded, and utterly natural. And that's where the art of installation comes in.
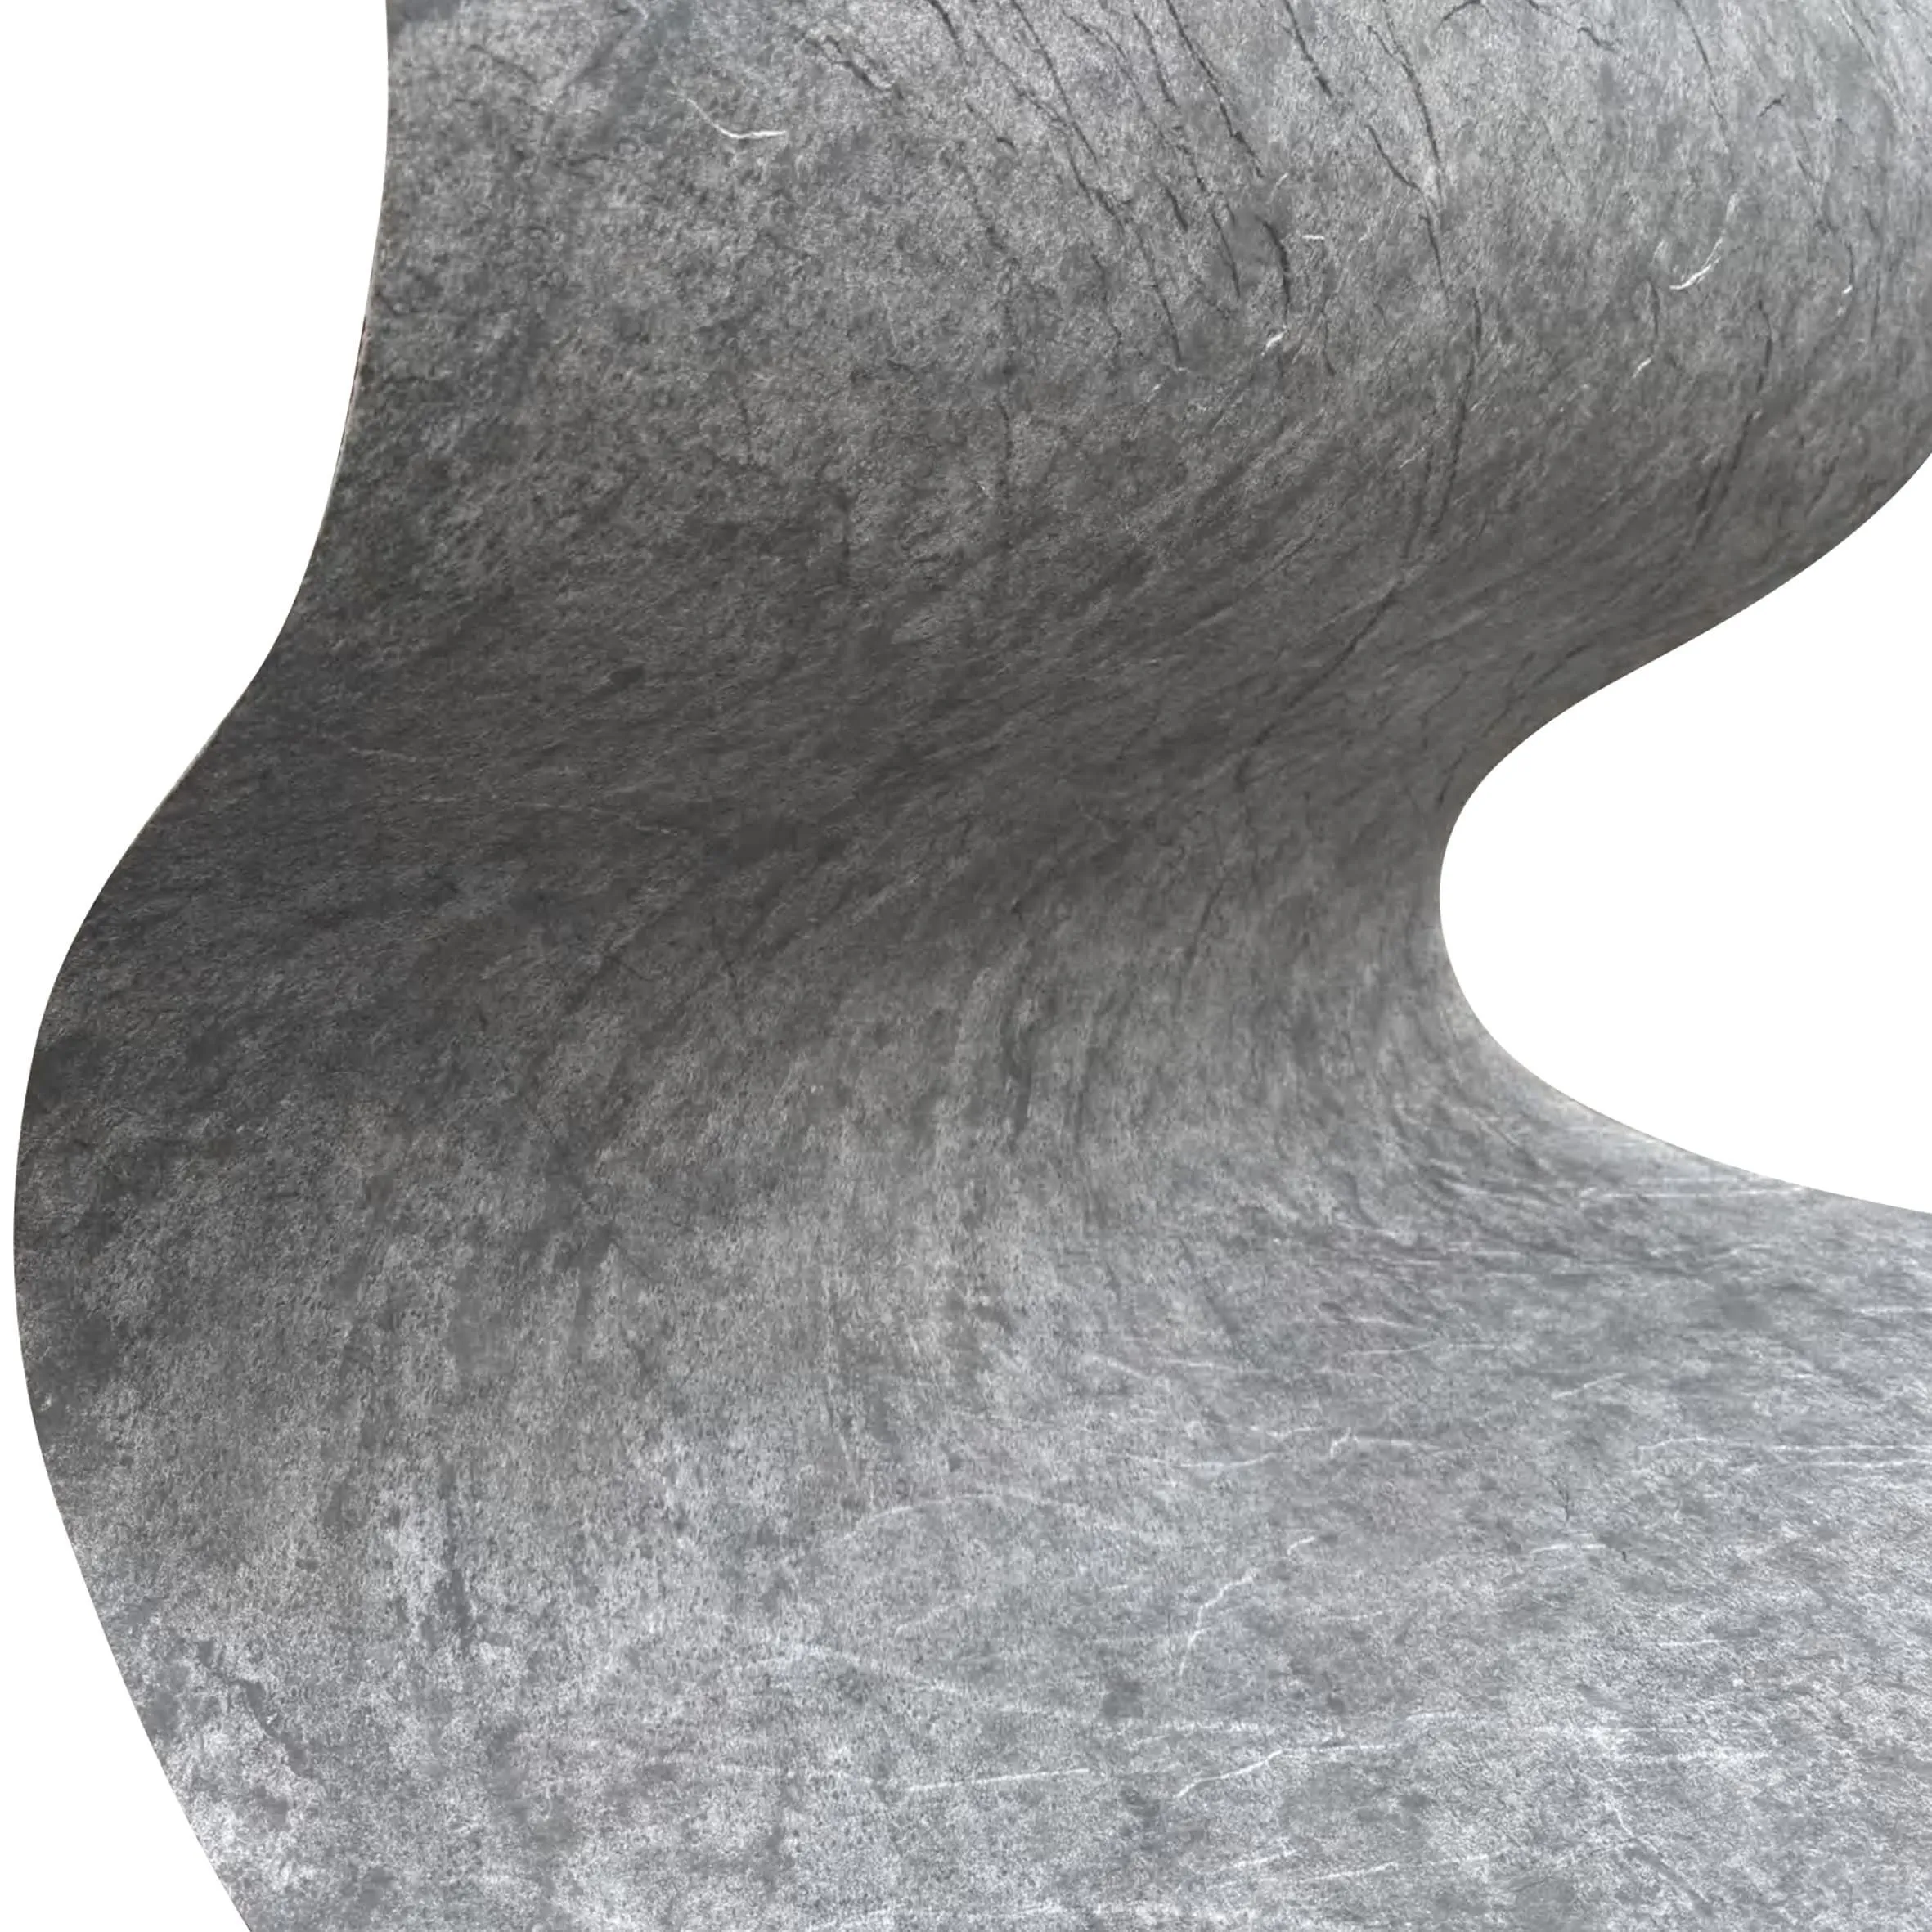
Before diving into installation, it's critical to understand what makes glacial slate unique compared to other popular materials. Let's start with the obvious: weight. A standard 24"x48" glacial slate slab can weigh upwards of 150 pounds—far heavier than, say, flexible stone , a lightweight alternative that bends to fit curved surfaces but lacks the heft and durability of natural slate. Then there's texture: unlike fair-faced concrete , which offers a smooth, industrial vibe, glacial slate is tactile, with a surface that invites touch. Run your hand across it, and you'll feel the faint ridges left by the quarry's saws, a reminder that this isn't a man-made imitation.
Another key distinction is color stability. While materials like lunar peak silvery or travertine (vintage gold) might fade under harsh sunlight, glacial slate's deep gray and charcoal tones are remarkably resilient, retaining their richness even after years of exposure to rain, snow, or UV rays. This makes it ideal for outdoor applications, where longevity matters as much as looks.
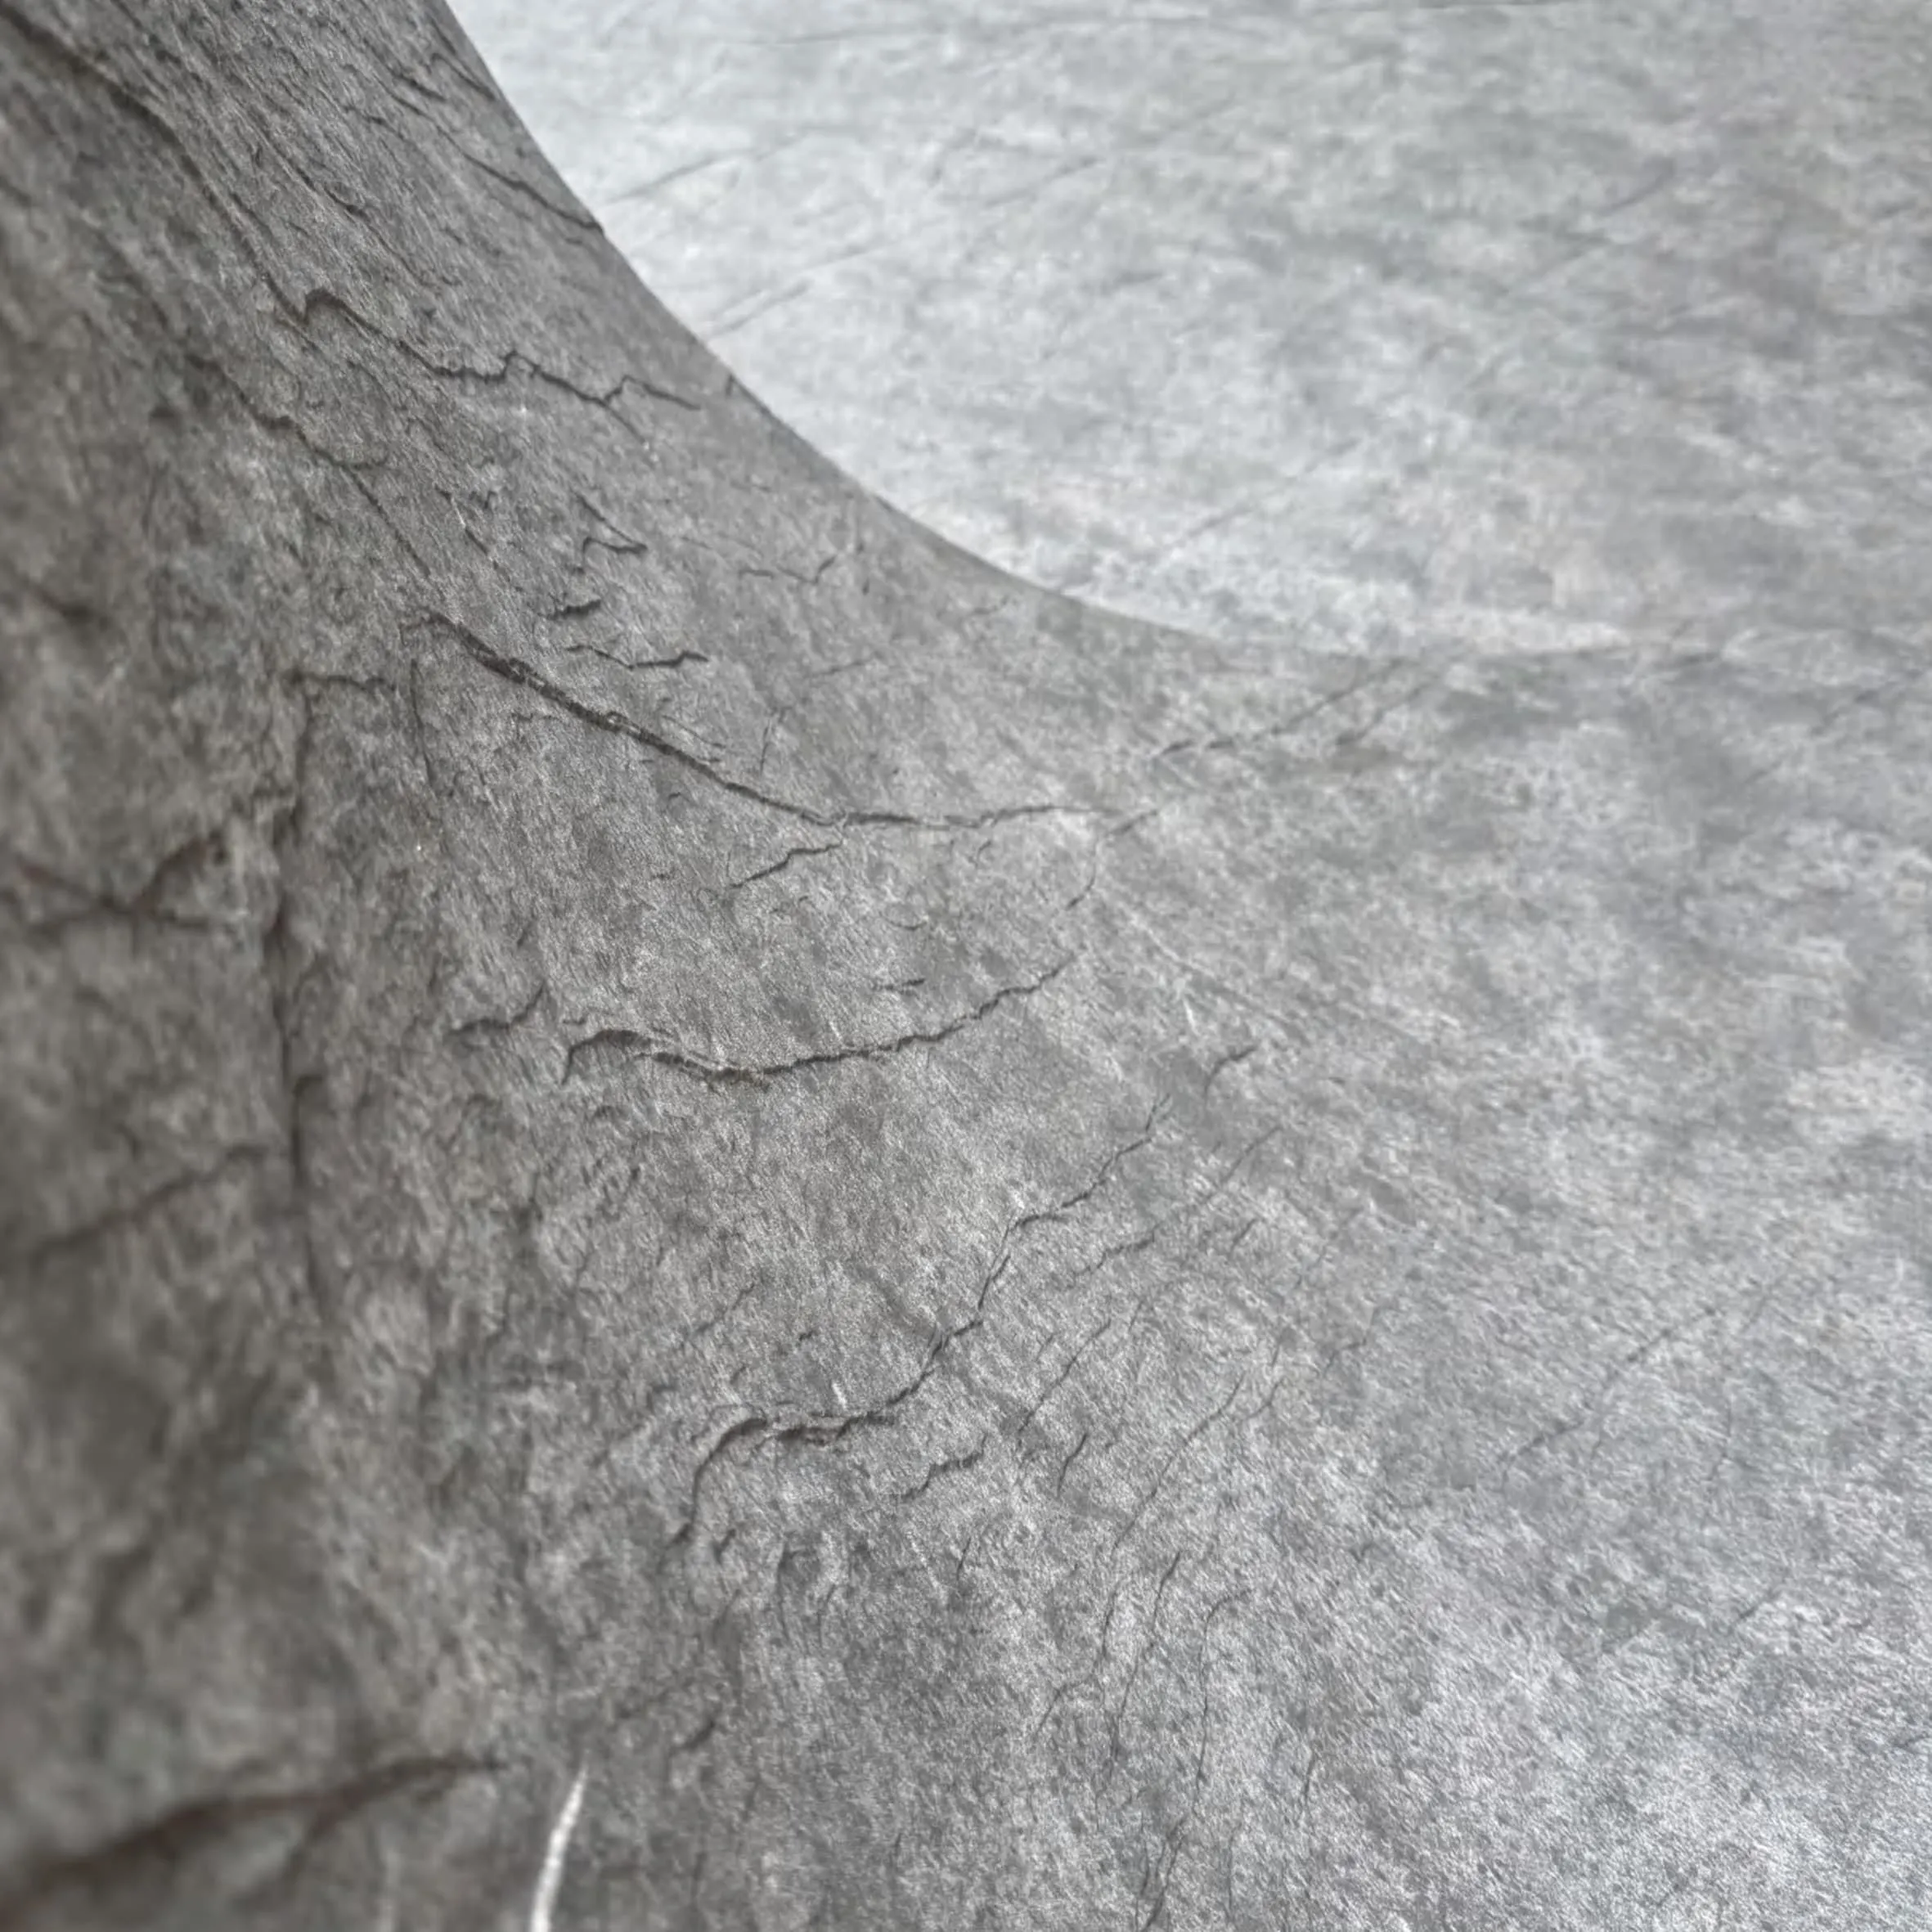
But perhaps the most important thing to note is variability. No two glacial slate slabs are identical. One might have a thicker vein of quartz; another, a cluster of small fossilized shells. This isn't a flaw—it's the material's greatest strength. Embracing this uniqueness means planning for slight color or texture differences during installation, ensuring they blend harmoniously rather than clash.
Think of installing glacial slate big slabs like building a house: if the foundation is shaky, everything else will crumble. Here's how to lay the groundwork for a flawless finish.
Start by mapping out the installation area with laser precision. Use a digital level to check for unevenness—even a 1/4-inch slope over 10 feet can cause slabs to shift over time. For interior walls, ensure the substrate (drywall, cement board, or plywood) is structurally sound; any rot or warping must be repaired before proceeding. For exteriors, pay attention to drainage: glacial slate is porous, so you'll need a slight pitch (1/8 inch per foot) to prevent water from pooling and seeping behind the slabs.
Unpack all slabs at least 48 hours before installation and lay them out on a clean, flat surface. This "dry fit" lets you sort through the pieces, matching slabs by color and texture to create a cohesive pattern. Look for chips along the edges or hairline cracks—these can weaken the slab during cutting or handling. If you're pairing glacial slate with complementary materials (say, mcm big slab board series for accent panels), lay those out too. The goal is to visualize how the textures will interact; for example, the rough-hewn slate next to the sleek, engineered surface of MCM boards can create a striking contrast.
Natural stone is sensitive to temperature and humidity changes. If you're installing glacial slate in a climate-controlled space (like a hotel lobby), let the slabs sit in the room for 72 hours before installation. This allows them to adjust to the environment, reducing the risk of expansion or contraction after they're fixed in place. For outdoor projects, aim to install on a day with mild weather—avoid extremes of heat or cold, as mortar and adhesive set best between 50°F and 80°F.
Installing big slabs isn't a job for a basic toolbox. You'll need equipment that can handle the weight, precision, and unique properties of glacial slate. Here's a breakdown of the essentials:
| Tool | Purpose | Pro Tip |
|---|---|---|
| Diamond Blade Wet Saw | Cutting slabs to size without chipping the edges. | Use a blade with 10mm segments for glacial slate—anything finer may overheat. |
| Suction Cup Lifters (2+) | Lifting and maneuvering heavy slabs safely. | Always test the suction on a scrap slab first—you don't want a 150lb stone slipping mid-air. |
| Notched Trowel (1/2" or 3/4") | Applying thinset mortar evenly to the substrate. | Hold the trowel at a 45° angle for consistent coverage—no bare spots! |
| Rubber Mallet | Tapping slabs into place without cracking them. | Wrap the mallet head in a towel to avoid marring the slate's surface. |
| Spirit Level (4ft+) | Ensuring slabs are perfectly flat and level. | Check both horizontally and vertically—even a 1° tilt will be noticeable. |
Don't skimp on safety gear, either. Gloves with a non-slip grip are a must for handling slabs, and safety glasses will protect your eyes from flying stone dust when cutting. A dust mask is also essential—inhaling silica dust from stone cutting can lead to long-term health issues.
Now, let's get to the heart of the process. Installing glacial slate big slabs is a multi-step journey, but break it down, and it becomes manageable. Here's how to do it right.
Even the most beautiful slab will look off if it's mounted on an uneven surface. Start by cleaning the substrate thoroughly—sweep away dust, scrape off old adhesive, and wipe down with a damp cloth. For concrete substrates, fill any cracks or divots with a patching compound and let it cure for at least 24 hours. If you're working over drywall (for interior walls), seal it with a primer designed for stone installations to prevent moisture from seeping through.
Next, apply a scratch coat of thinset mortar. This is a thin, rough layer that helps the final thinset bond better to the substrate. Use a 1/4" notched trowel for this, and let it dry until it's tacky but not wet—usually 20-30 minutes. Think of it like adding grip to a slippery floor; without it, your slabs might shift over time.
Measure twice, cut once—never has this adage been truer than with glacial slate. Use a straightedge and a pencil to mark your cuts, then secure the slab to the wet saw's platform with clamps (padding the clamps with rags to avoid scratching). Start the saw and let the blade reach full speed before lowering it into the stone. Keep the blade wet at all times—dry cutting will create excessive dust and wear out the blade prematurely.
For angled cuts or notches (like around outlets or corners), use a jigsaw with a diamond grit blade. Go slow—glacial slate is brittle, and rushing can cause the edges to chip. After cutting, smooth any rough edges with a rubbing stone or 80-grit sandpaper. The goal is edges that are clean but still (bǎoliú) the stone's natural texture—no need for a mirror finish here.
The first slab sets the tone for the entire installation, so take your time. Mix your thinset mortar according to the manufacturer's instructions—it should be the consistency of peanut butter, not runny soup. Using your 1/2" or 3/4" notched trowel, apply a thick, even layer to the substrate, holding the trowel at a 45° angle to create ridges. Then, apply a thin layer of thinset to the back of the slab itself (this is called "back buttering")—it ensures full contact with the substrate, eliminating air pockets.
Now, here's where the suction cup lifters come in. Attach two lifters to the slab, one on each end, and have a helper assist you in lifting it into place. Lower it gently onto the thinset, then slide it into position. Use your spirit level to check for levelness—adjust by tapping the high spots with your rubber mallet. Once it's perfectly flat, let it sit undisturbed for 10-15 minutes to set slightly.
Seams are where many installations go wrong. To keep them tight and uniform, use plastic spacers between slabs—1/8" is standard for glacial slate, but you can go up to 1/4" if you want more grout lines. Place spacers along the edges and corners of each slab as you lay them, ensuring the gaps are consistent.
As you add each new slab, check its alignment with the previous one using a straightedge. If there's a slight offset, gently tap the slab with the rubber mallet until they line up. Remember: the eye is drawn to inconsistencies, so even a 1/16" difference will stand out. Take a step back every few slabs to view the installation from a distance—this helps you catch misalignments you might miss up close.
Wait at least 24 hours after laying the last slab before grouting—rushing this step can cause the slabs to shift. Choose a grout color that complements the slate; for most glacial slate, a charcoal or light gray grout works best, as it blends with the stone's natural tones without overwhelming it. Avoid white grout—it will show dirt and stains quickly, especially in high-traffic areas.
Mix the grout to a creamy consistency and apply it with a rubber float, holding the float at a 45° angle and pushing the grout into the seams. Work in small sections (3-4 square feet at a time) to prevent the grout from drying out. After 15-20 minutes, wipe away the excess grout with a damp sponge, rinsing the sponge frequently in clean water. Be gentle—scrubbing too hard can pull grout out of the seams. Let the grout cure for 48 hours before walking on the surface or exposing it to water.
Installing glacial slate is just the first step—maintaining it ensures it stays stunning for decades. Here's how:
Glacial slate is a team player—it shines even brighter when paired with complementary materials. Here are a few combinations that never fail:
Remember, the best designs are those where materials work together, not against each other. Let glacial slate be the star, but give it supporting players that enhance its beauty rather than compete with it.
When installation is done right, glacial slate doesn't just cover a surface—it transforms a space. It becomes the backdrop for conversations, the foundation for memories, and a silent testament to the beauty of natural materials. So take your time, focus on the details, and trust the process. Because at the end of the day, the satisfaction of stepping back and seeing those seamless slabs, each one a piece of the earth's history, is worth every minute of effort.
Recommend Products


