If you've spent any time on a construction site lately, you've probably heard the buzz around
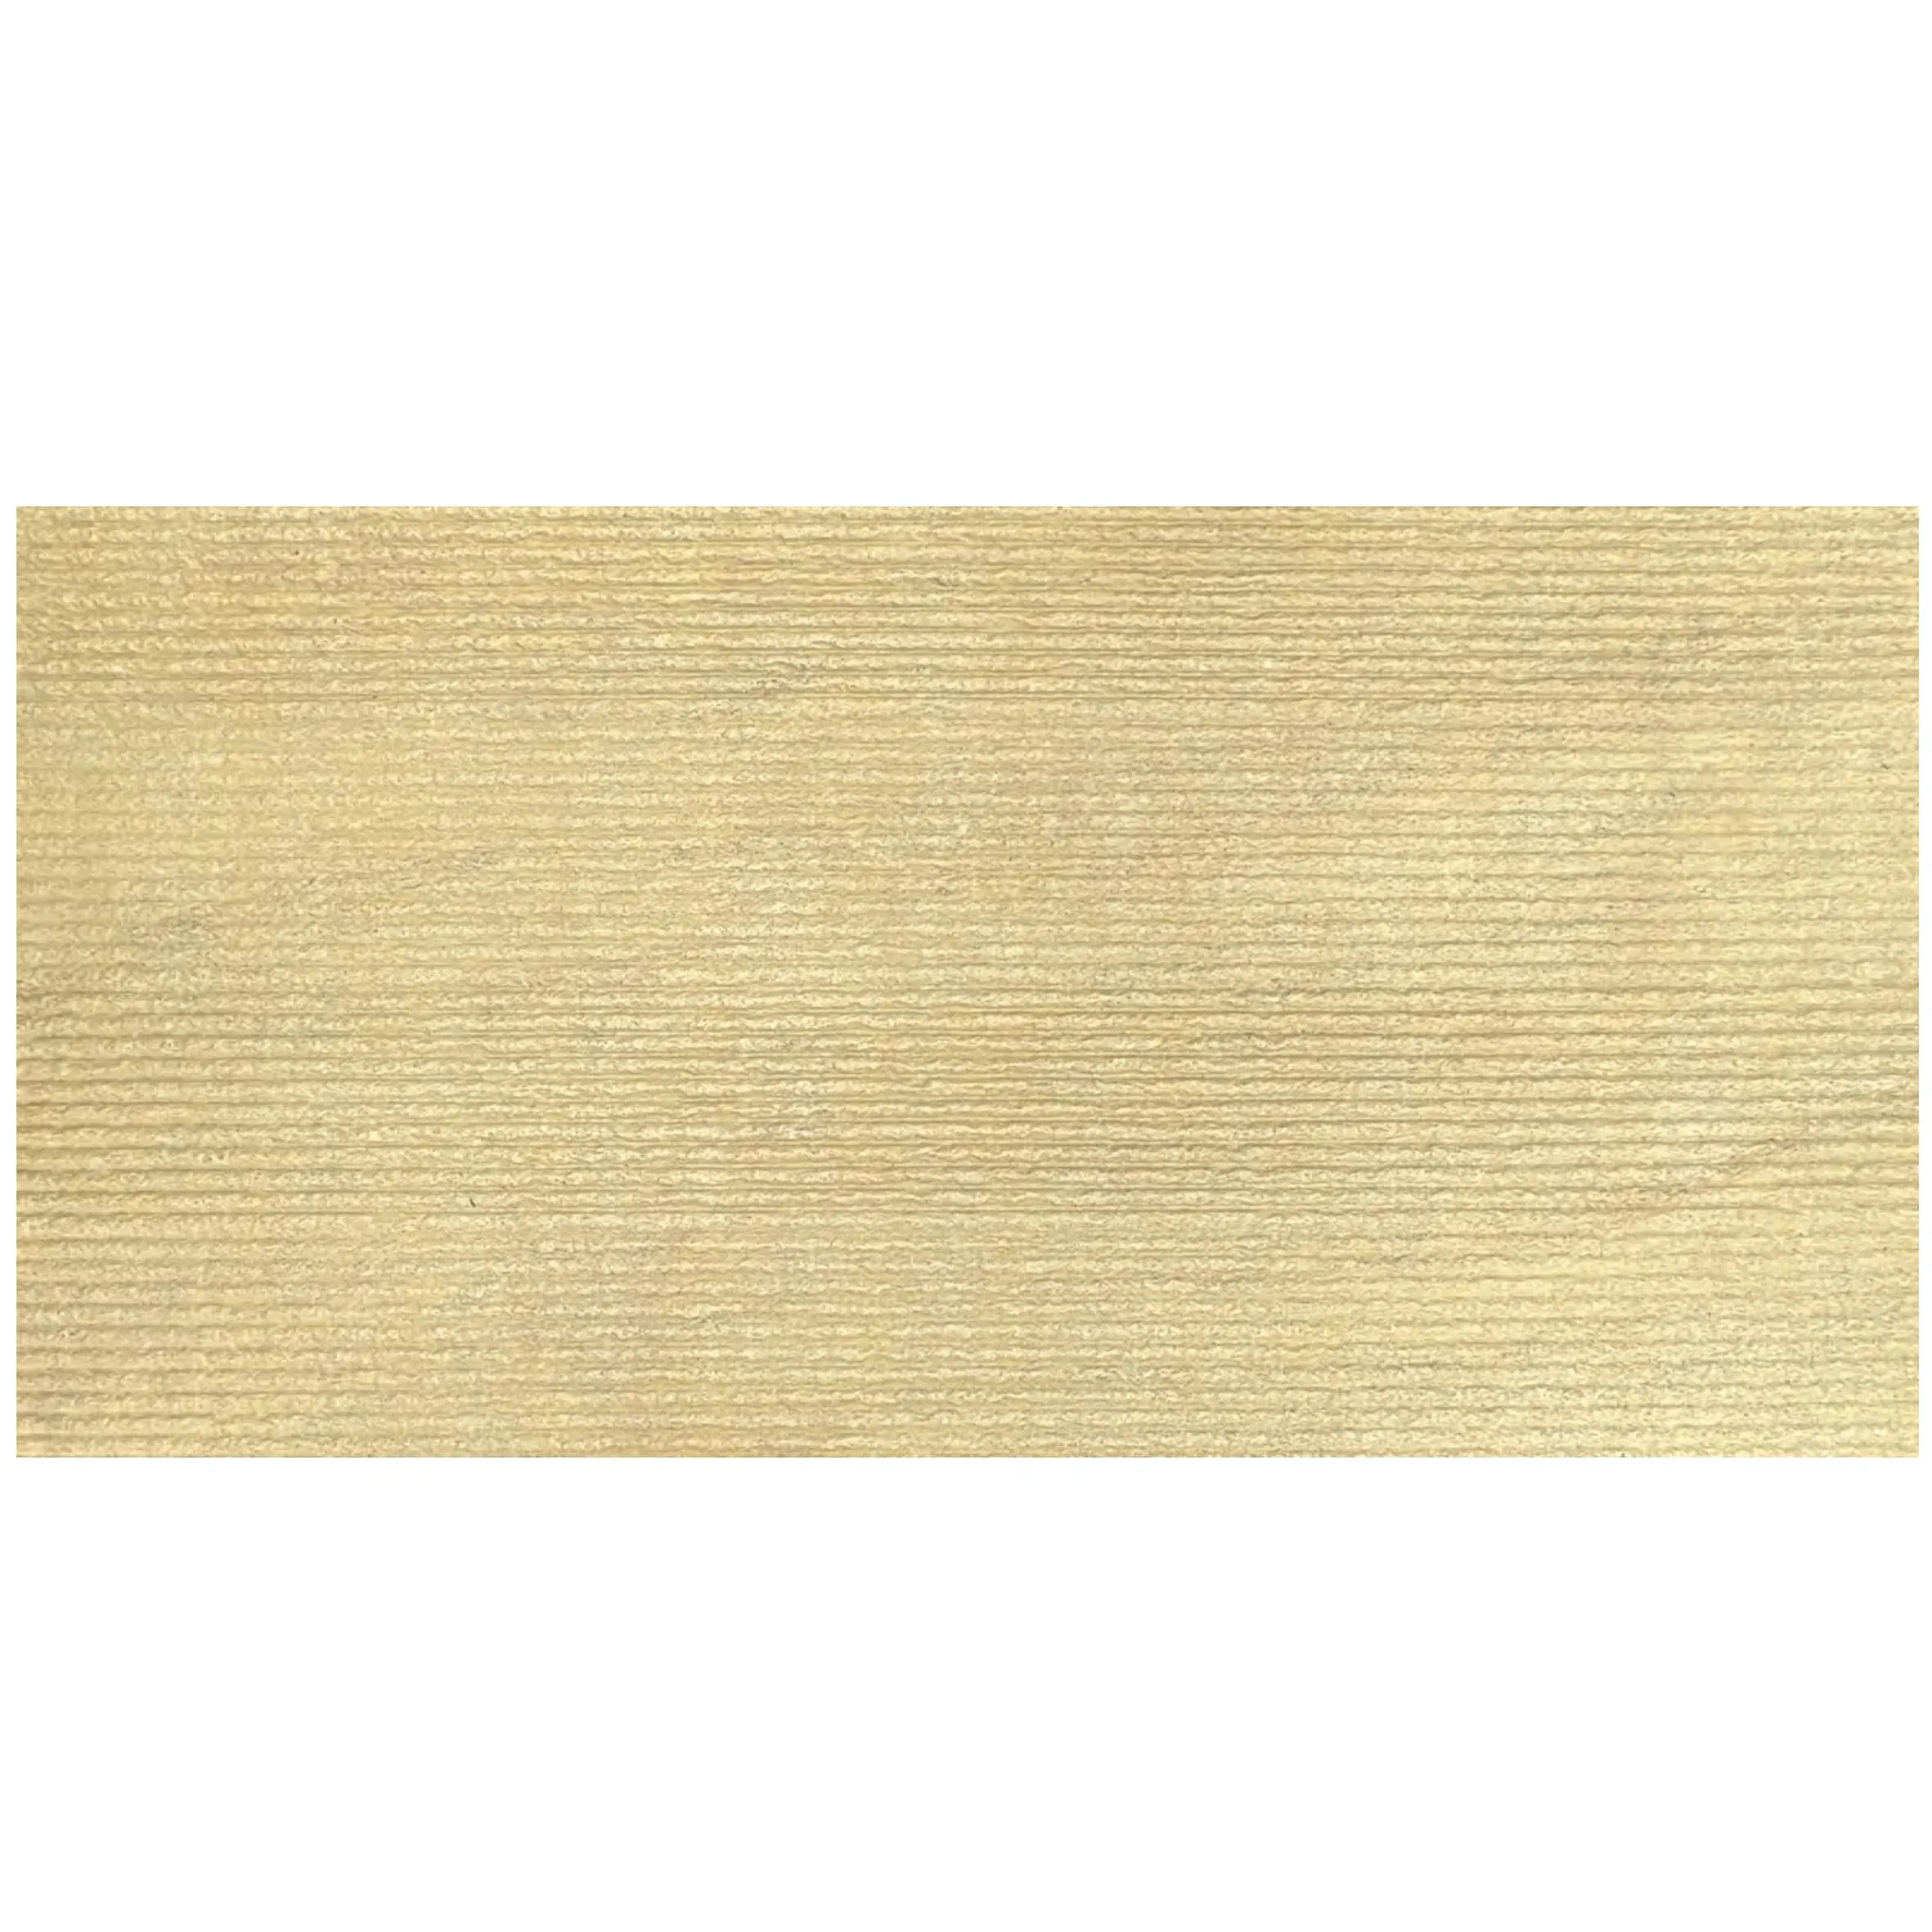
Gravel Omani Stone. It's not just another building material—it's a game-changer for builders who want to blend rugged charm with modern durability. Whether you're working on a boutique hotel lobby, a residential facade, or a commercial plaza, this stone has a way of turning ordinary surfaces into conversation starters. But here's the thing: even the most stunning materials fall flat without proper installation. That's why we're breaking down everything you need to know to get it right the first time—from prepping the surface to putting the final seal on your project. Let's dive in.
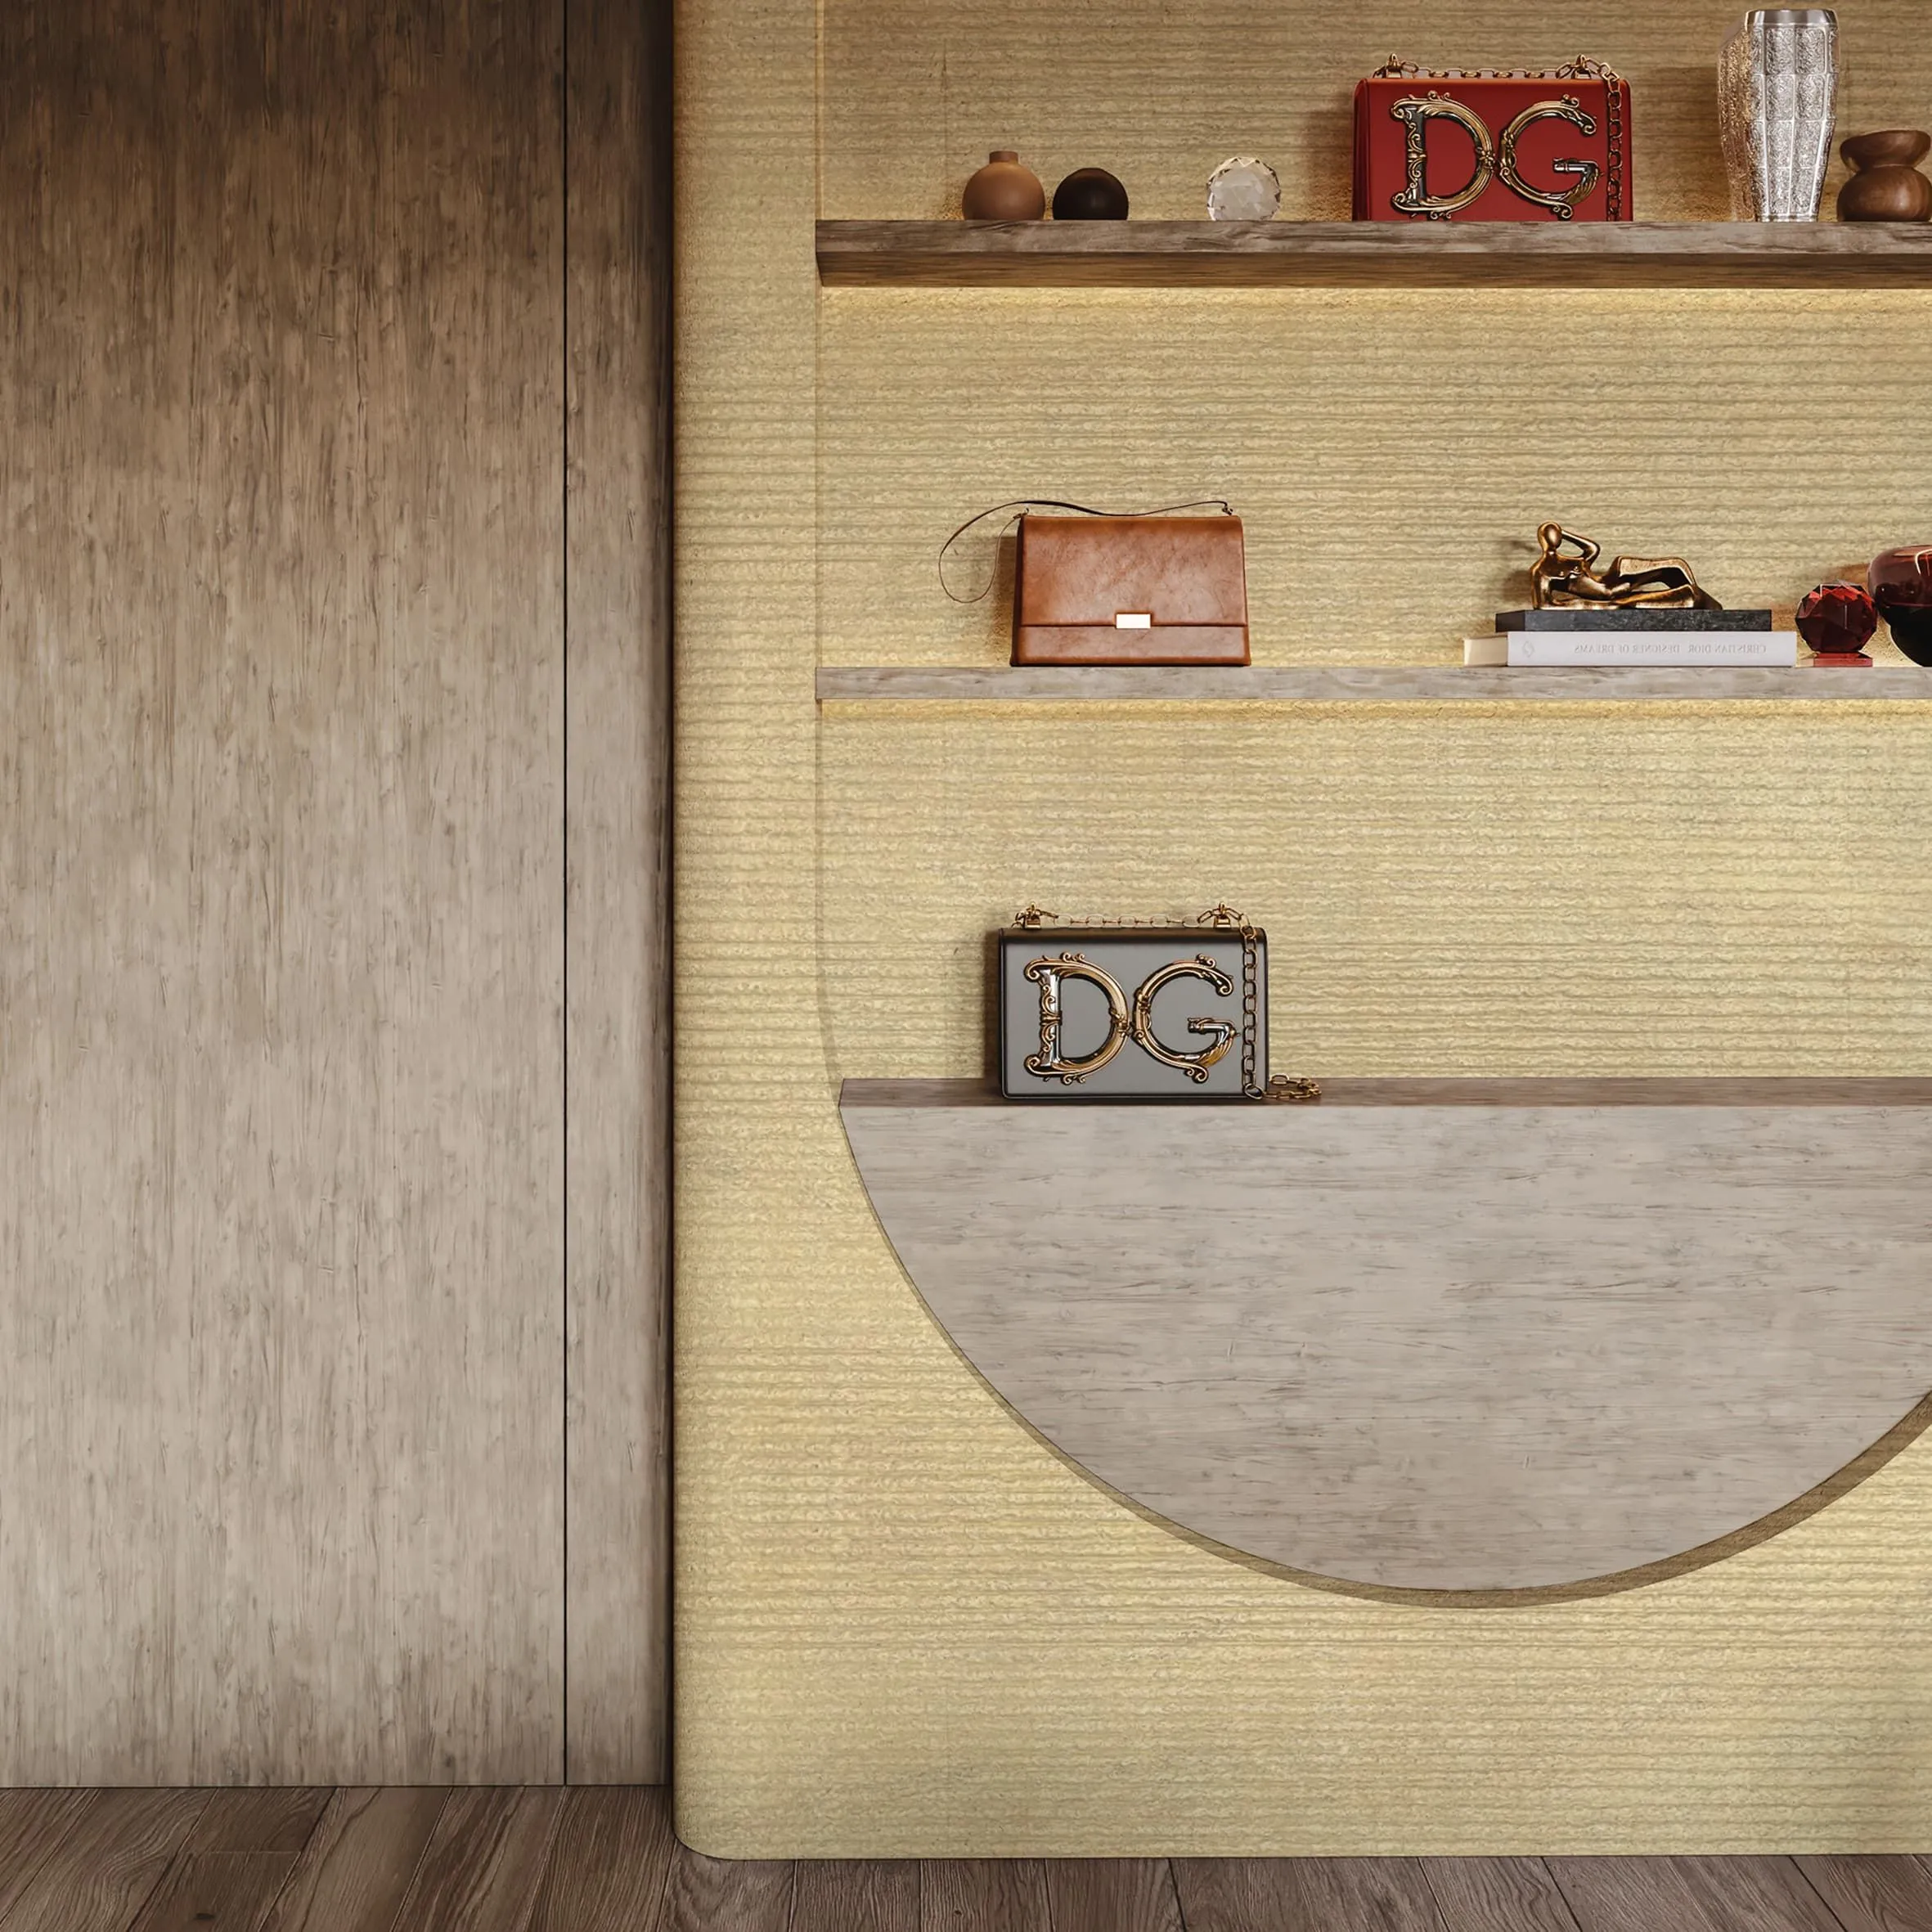
Before we get our hands dirty, let's talk about why
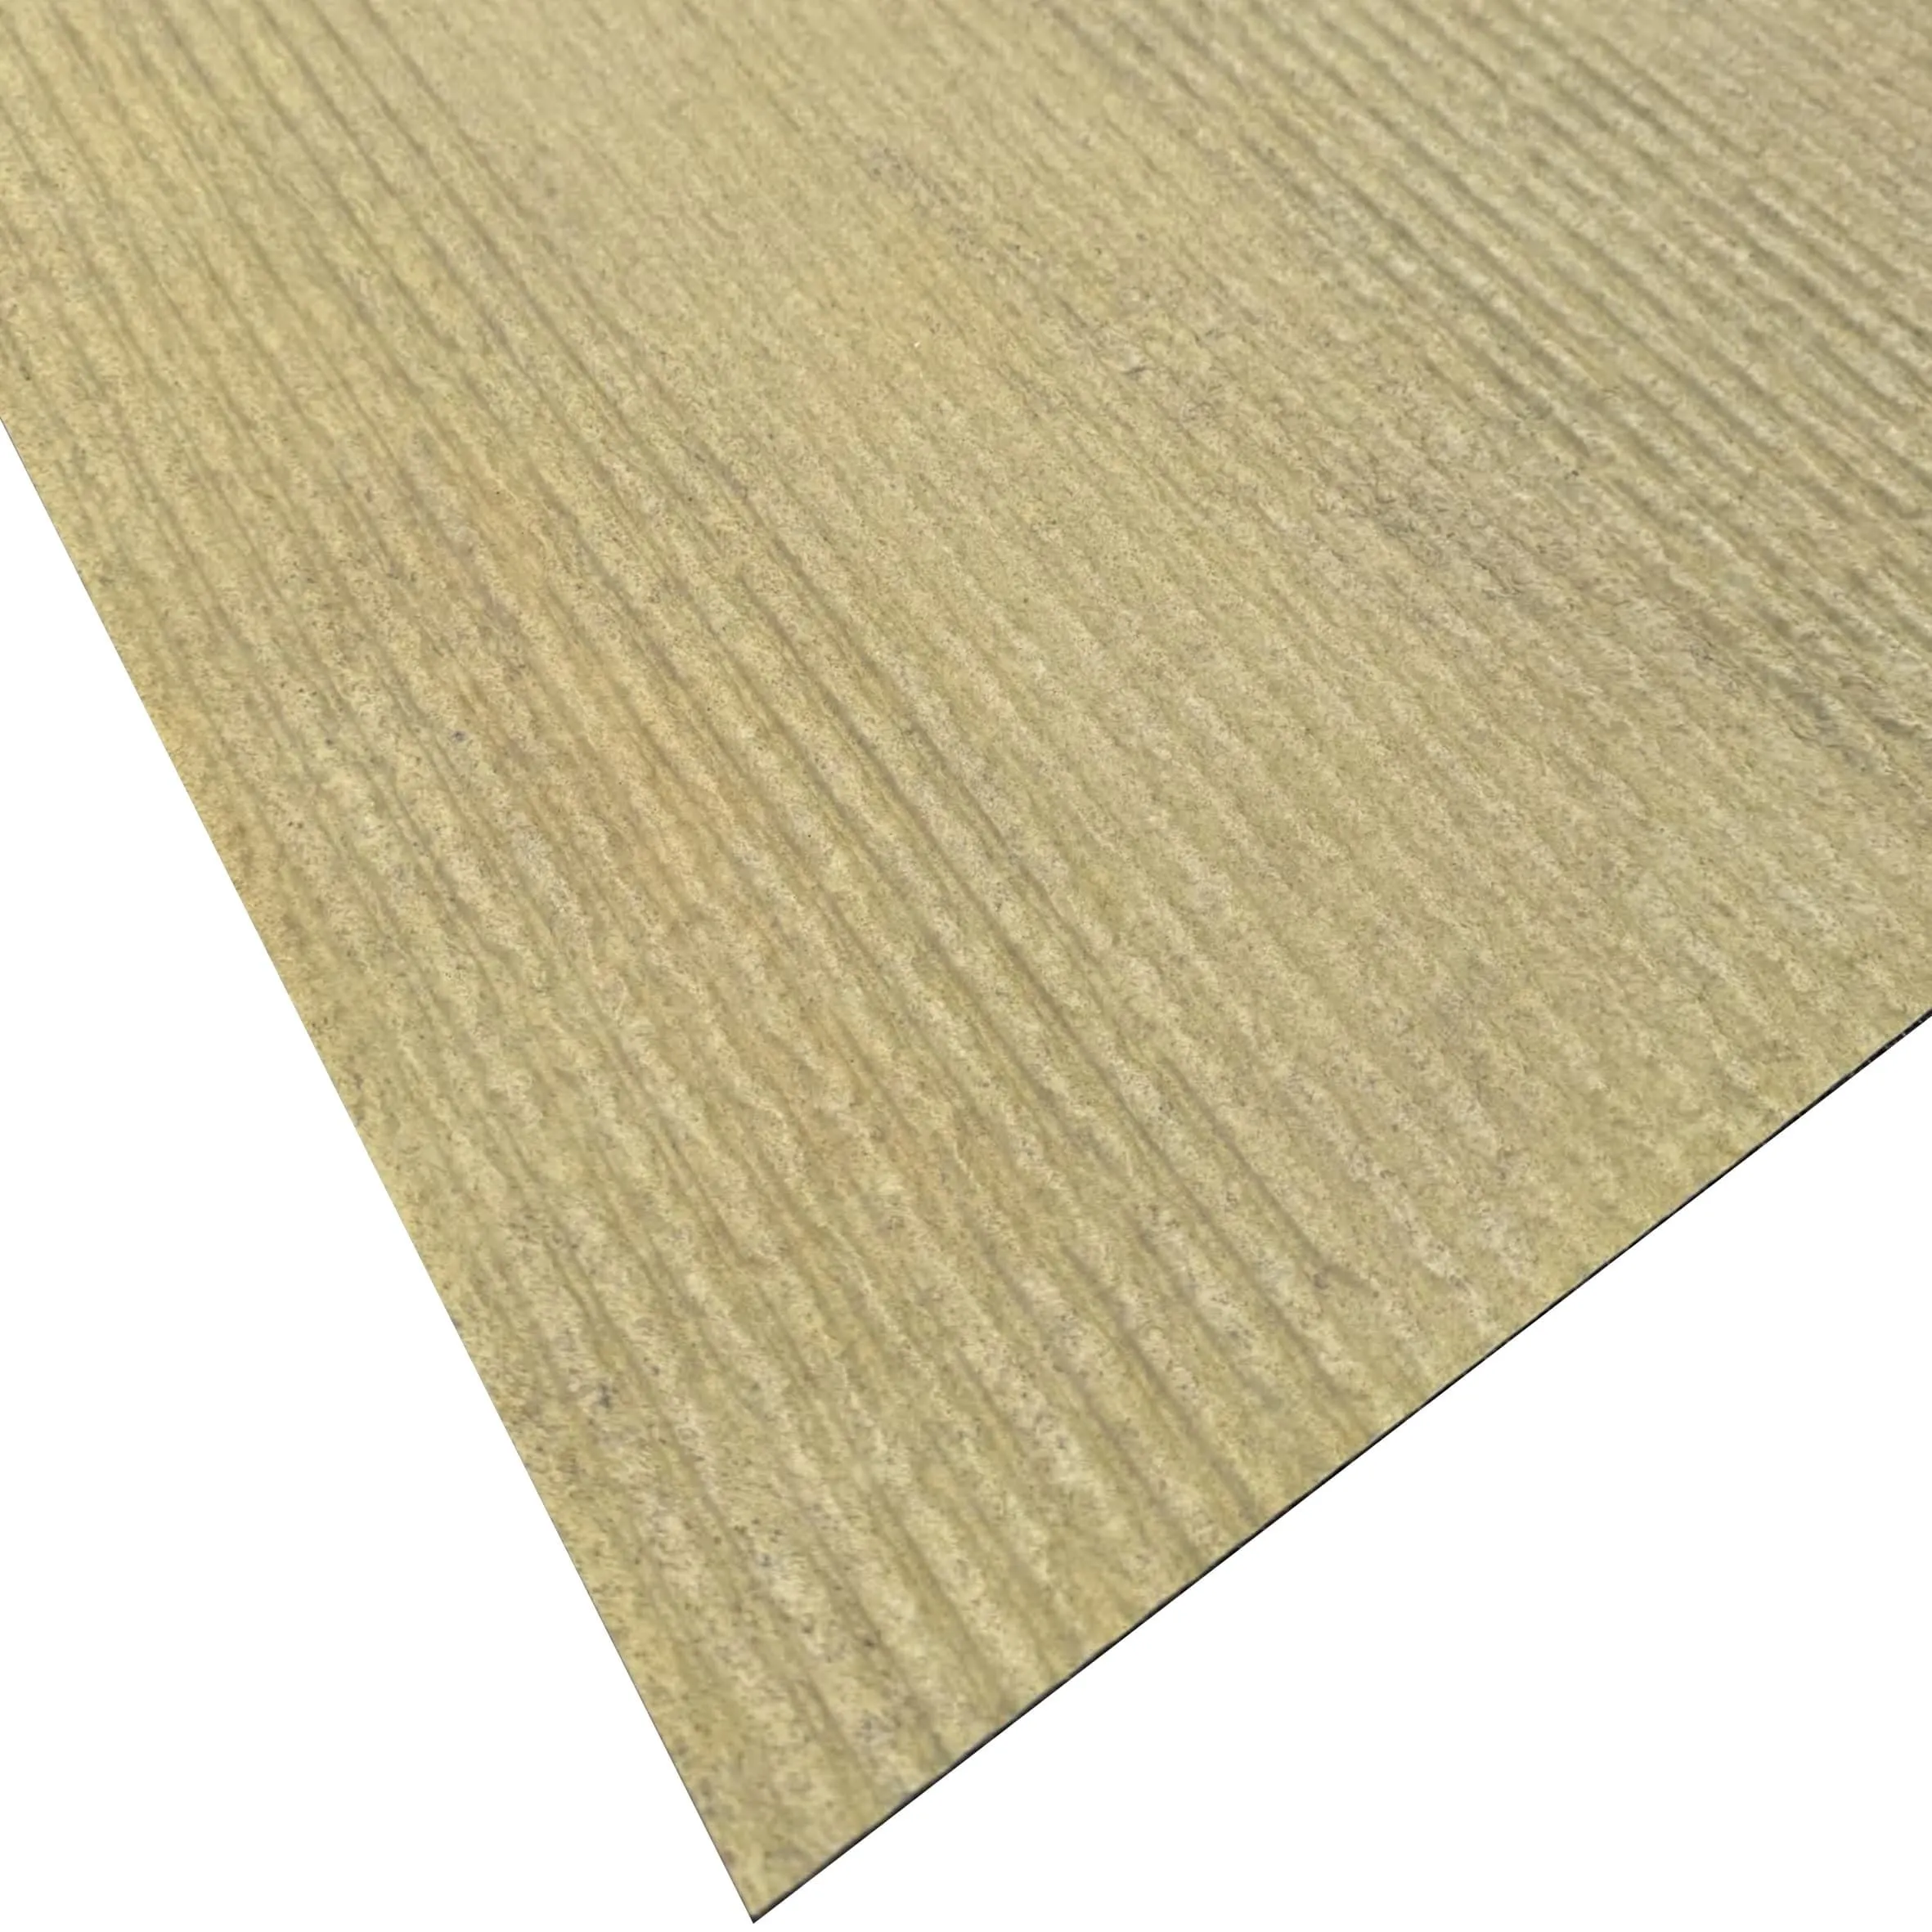
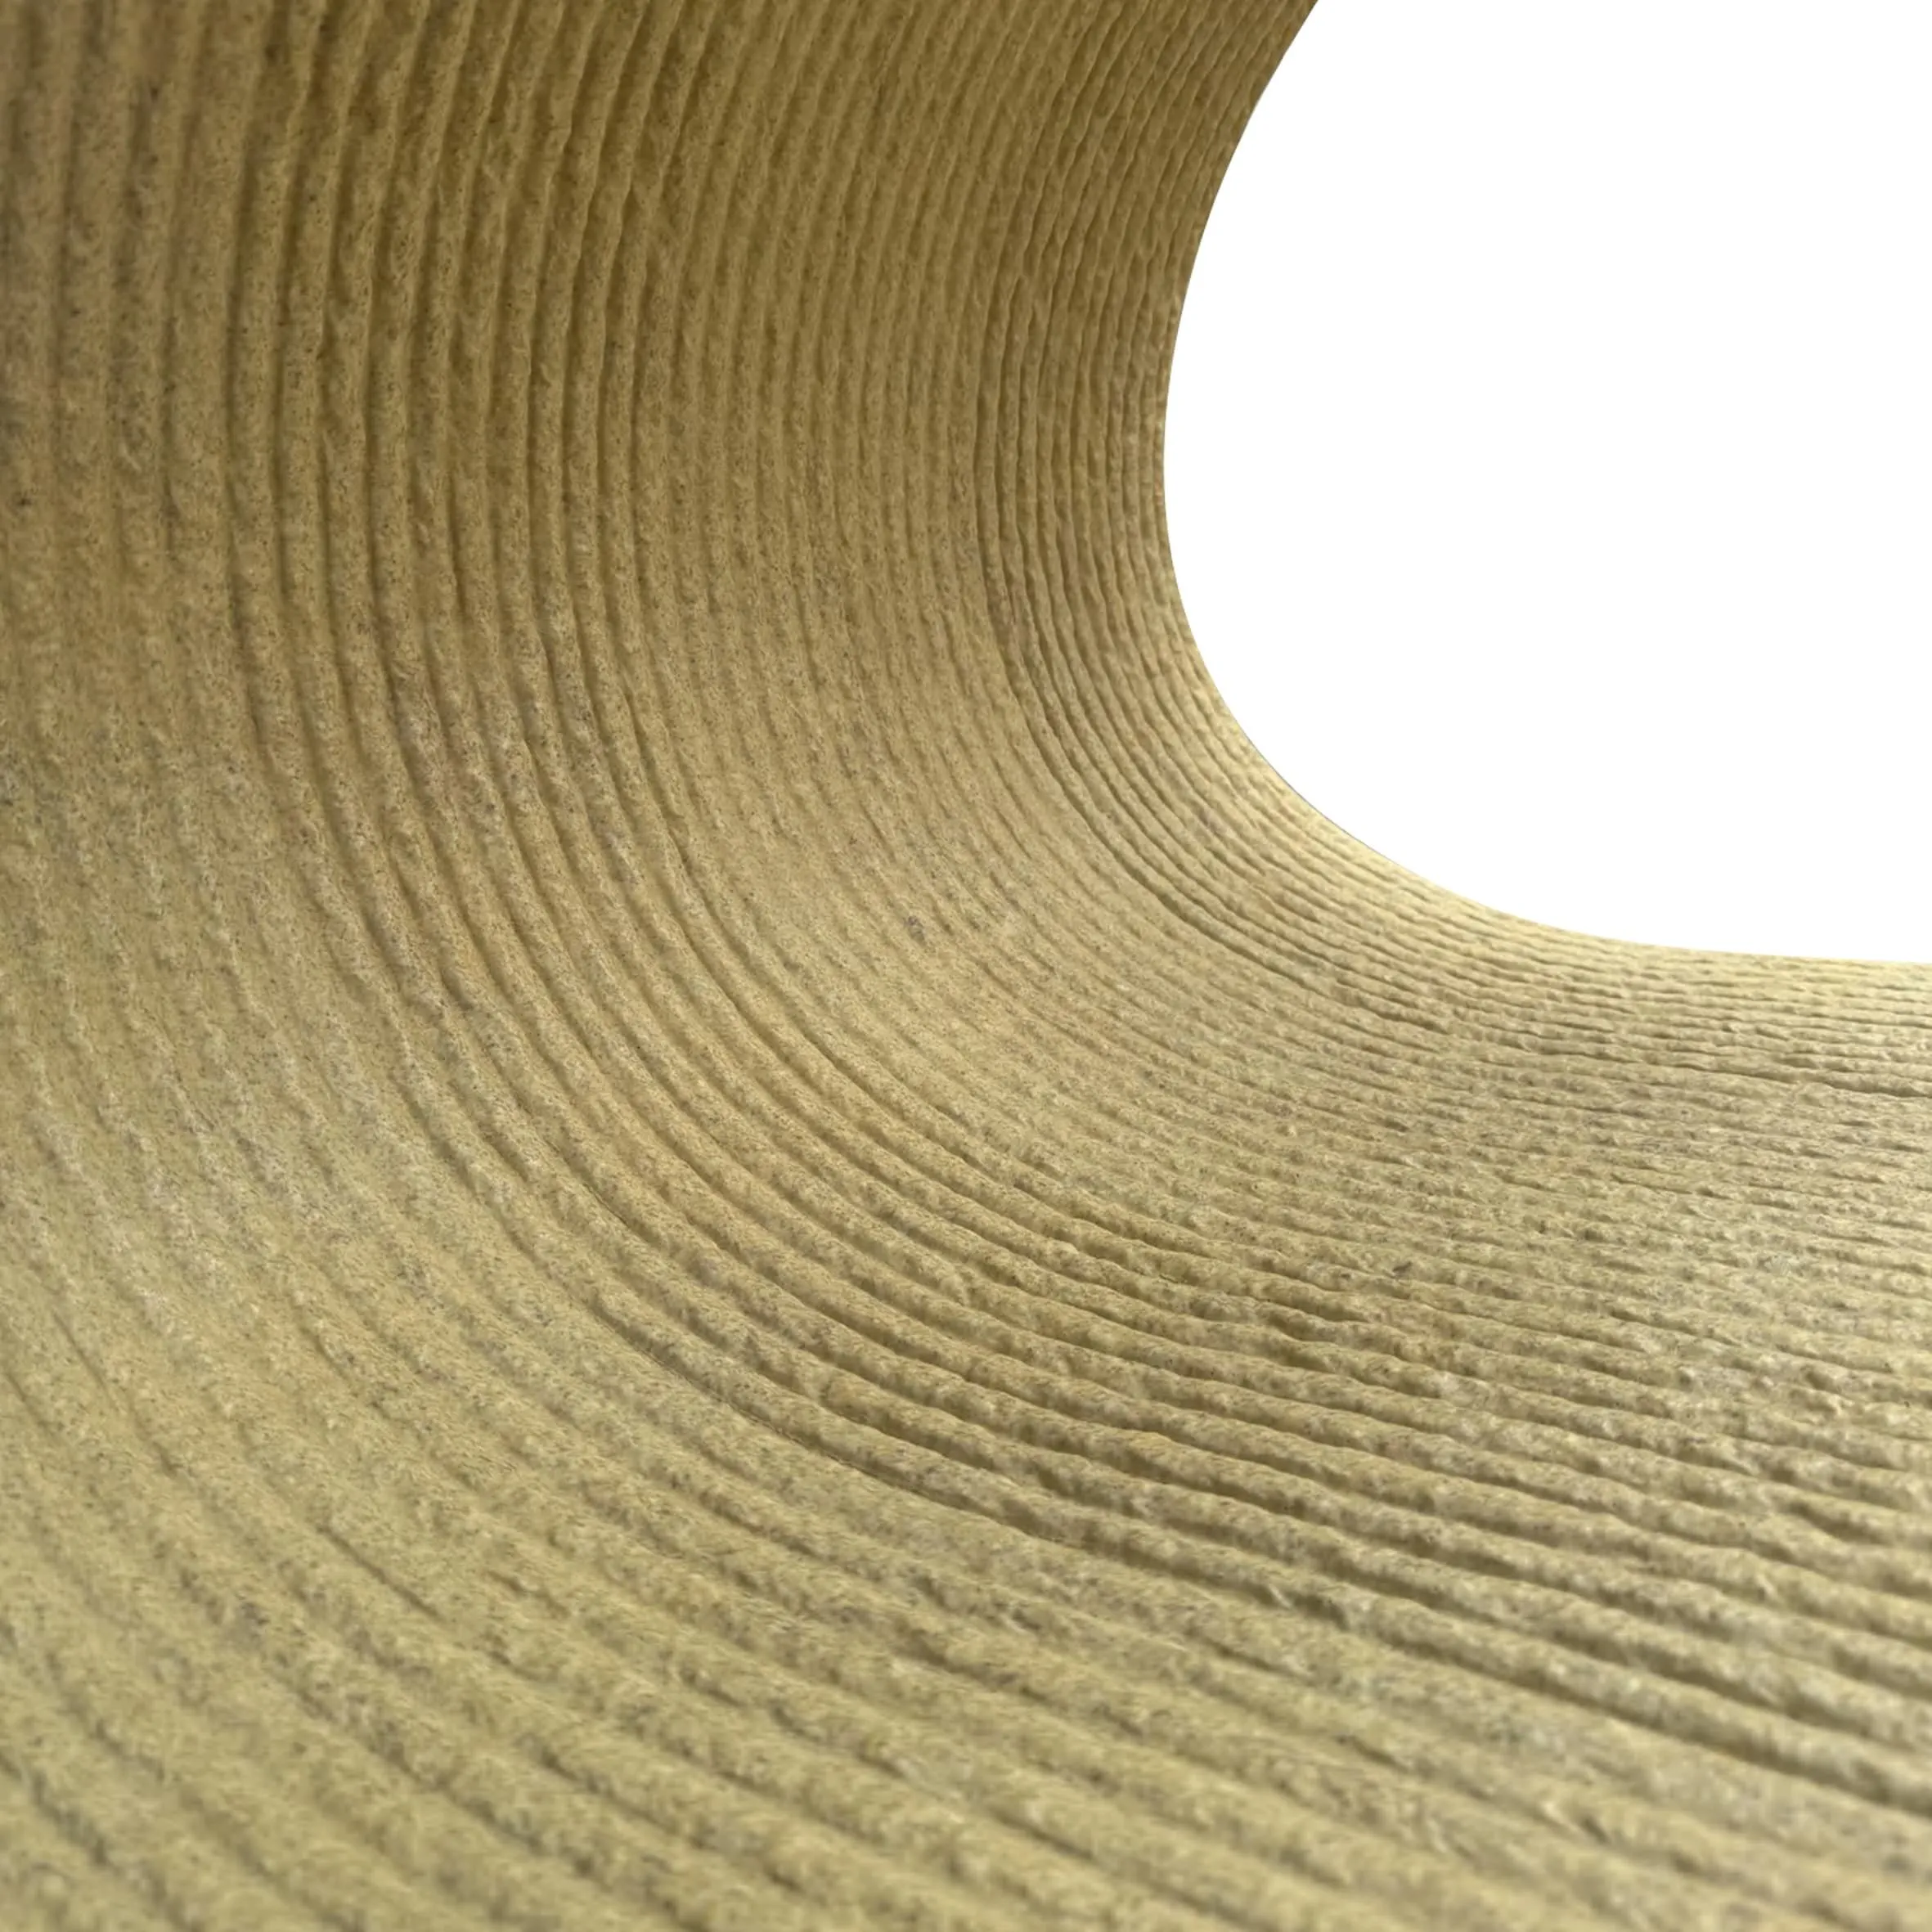
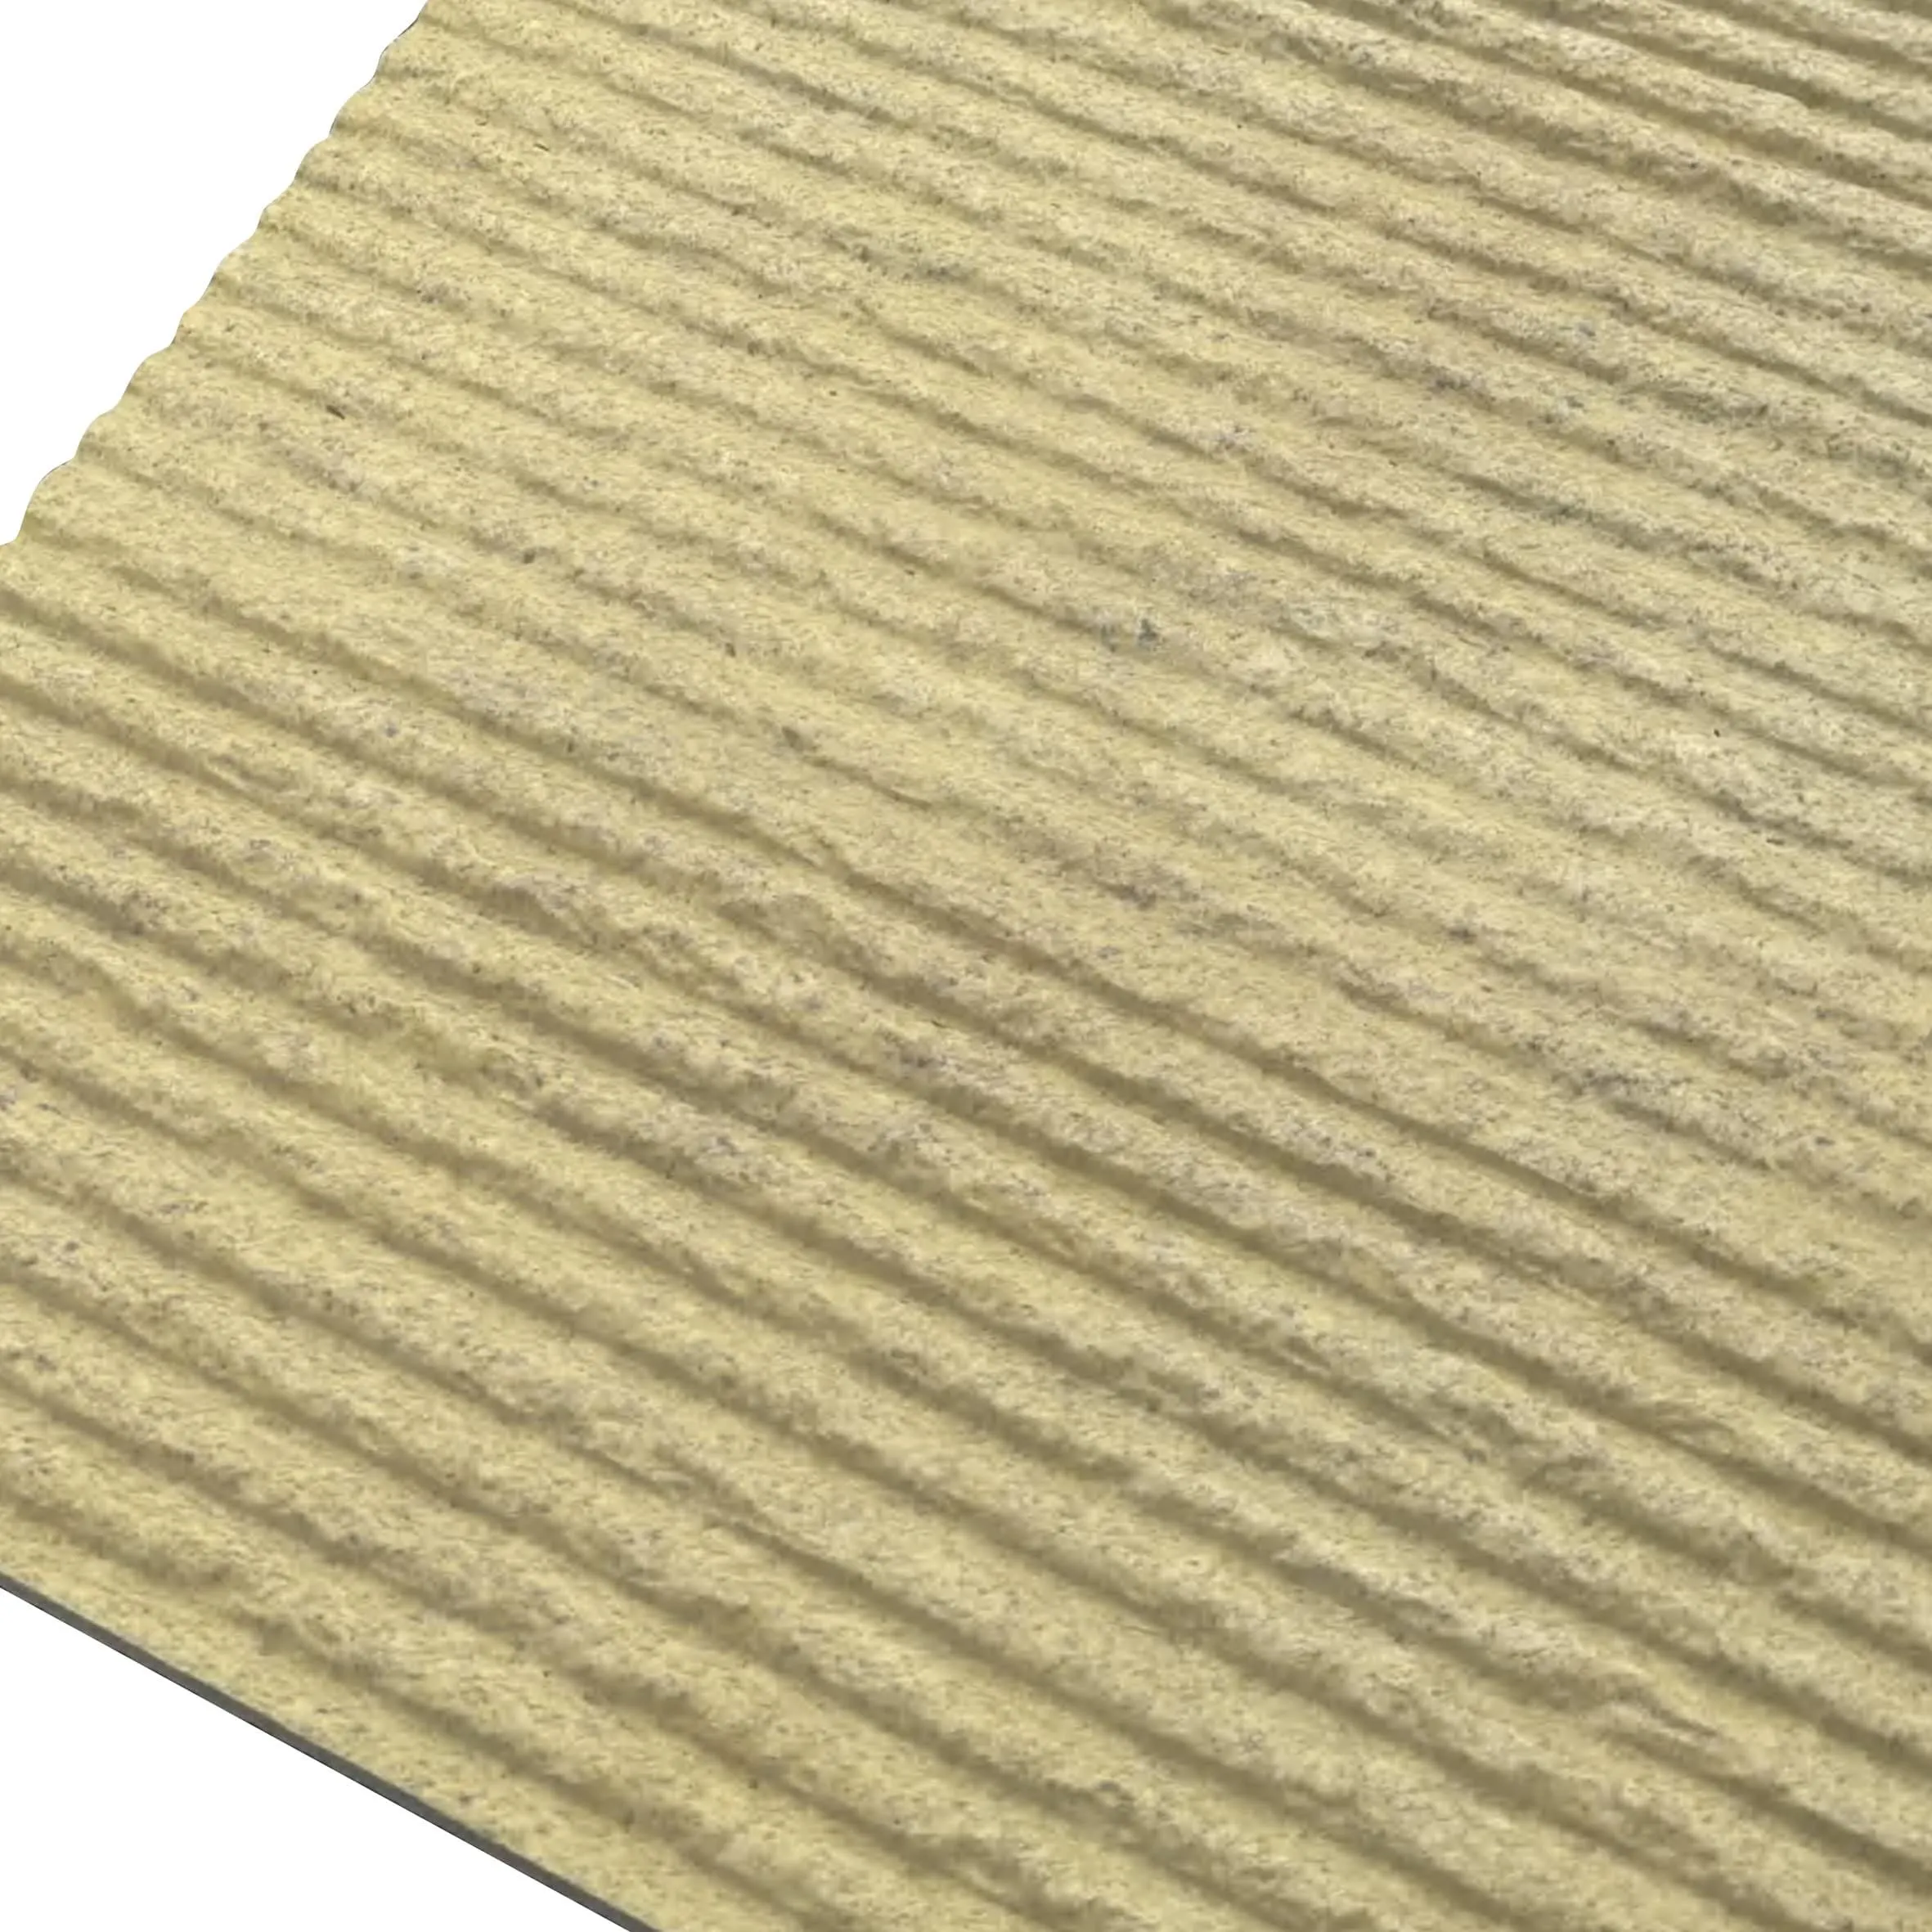
Gravel Omani Stone has become a favorite among builders. First off, its texture is unmatched—think the warm, earthy feel of desert landscapes with a subtle sparkle that catches the light just right. It pairs beautifully with other materials too; we've seen builders mix it with
travertine (starry blue)
for a celestial-inspired accent wall or layer it alongside
lightweight flexible stone sheets
for a dynamic, multi-dimensional look. And unlike some natural stones that feel like lifting boulders,
Gravel Omani Stone is surprisingly manageable, thanks to innovations in
MCM flexible stone
technology. That means less strain on your crew and more flexibility in design—win-win.
Pre-Installation Prep: The Foundation of Success
You wouldn't build a house without a solid foundation, right? The same logic applies here. Rushing through prep work is the number one mistake we see, and it almost always leads to headaches later—like loose stones or uneven surfaces. Let's walk through the key steps.
1. Site Assessment: Know Your Surface
Start by checking the substrate.
Gravel Omani Stone plays nice with most surfaces, but it's pickiest about stability. Common substrates include
fair-faced concrete
, brick, or even drywall (for interior projects), but they all need to meet a few criteria: flatness (no more than 3mm variance over 2m), dryness (less than 5% moisture content), and cleanliness (no dust, oil, or old adhesive residue). Grab a level and a moisture meter—these tools will save you from costly do-overs. If you're working with a surface that's uneven, consider using a self-leveling compound. Trust us, your future self (and your client) will thank you.
2. Measuring Twice, Cutting Once (Literally)
This old carpenter's adage applies perfectly here. Grab your tape measure and sketch out the area—note corners, edges, and any obstacles like windows or outlets. Don't just measure the total square footage; mark where cuts will be needed. For example, if you're installing around a window frame, you'll need to cut stones to fit the angles precisely. Pro tip: Add 10% to your material order to account for cuts, breakage, or last-minute design tweaks. It's better to have extra than to pause mid-project waiting for more stone.
Pro Tip: Take photos of the installation area from multiple angles before you start. These photos will help you visualize the layout and troubleshoot if something feels off during installation.
Tools & Materials Checklist
You wouldn't show up to a job without your hammer, so let's make sure you've got everything else you need. Here's a handy checklist to keep you organized:
Step-by-Step Installation: Let's Get to Work
Now that we're prepped and tooled up, let's walk through the installation process. Take your time here—patience pays off with a finish that looks professional and lasts for decades.
1. Dry Layout: Test the Pattern First
Before you break out the adhesive, lay out the
Gravel Omani Stone sheets on the ground (or the substrate, if it's clean and dry). This "dry fit" lets you adjust the pattern, swap out stones for better color consistency, and plan where cuts will go. If you're mixing in other materials—say,
travertine (starry blue)
as an accent—this is when you'll decide their placement. Play around with it! Maybe a random scatter of starry blue stones looks better than a strict grid. Take photos of the dry layout to reference later, especially if you need to move stones temporarily.
2. Prepping the Adhesive: Mix It Right
Most builders use a polymer-modified thinset adhesive for
Gravel Omani Stone—it's strong, flexible, and bonds well to both the stone and substrates like
fair-faced concrete. Follow the manufacturer's instructions for mixing, but here's a trick: mix only as much as you can use in 20-30 minutes. Adhesive sets quickly, and you don't want it to harden in the bucket. Aim for a consistency like peanut butter—thick enough to hold a notch, but not so thick that it's hard to spread.
3. Applying Adhesive: Less Is More (But Not Too Less)
Using your notched trowel, spread adhesive onto the substrate in small sections (about 3ft x 3ft at a time). Hold the trowel at a 45-degree angle and press firmly to create even ridges. Why small sections? Because adhesive dries fast, and you don't want to rush placing stones before it sets. For
lightweight flexible stone sheets
, you can also apply a thin layer of adhesive directly to the back of the stone (this is called "back-buttering") to ensure full contact—especially useful if the stone has slight irregularities.
4. Placing the Stones: Steady Hands, Level Eyes
Now for the fun part! Pick up a stone sheet and align it with your dry layout marks. Gently press it into the adhesive, then use the rubber mallet to tap it down—start from the center and work outward to push out air bubbles. Check with your spirit level immediately: is it flat? Is it aligned with the stones next to it? If it's off, lift it up (while the adhesive is still wet) and readjust. Don't worry if you need to wiggle it a bit—adhesive gives you a small window to fix mistakes. Repeat this process, working row by row, and use spacers if you want consistent grout lines (we recommend 2-3mm for a natural look).
5. Cutting Stones: Precision Matters
When you reach edges, corners, or obstacles, it's time to break out the wet saw. Measure the space you need to fill, mark the stone with a pencil, and make the cut slowly. Let the saw do the work—pushing too hard can cause the stone to chip. For curves or irregular shapes, use a angle grinder with a diamond blade. Always wear safety goggles and a dust mask when cutting stone—those tiny particles add up!
6. Grouting: Filling the Gaps
Wait 24 hours after installing the stones before grouting—this gives the adhesive time to set. Mix your grout according to the package directions (we like sanded grout for
Gravel Omani Stone, as it's more durable for high-traffic areas). Using a rubber float, press the grout into the gaps at a 45-degree angle, making sure to fill every crevice. Let it sit for 10-15 minutes, then wipe away excess grout with a damp sponge. Rinse the sponge frequently to avoid smearing grout onto the stone's surface. Pro tip: If the stone is porous, seal it lightly before grouting to prevent grout from staining it—this is called "grout release."
7. Sealing: Protecting Your Hard Work
The final step is sealing the stone to protect it from stains, moisture, and UV damage. Wait at least 48 hours after grouting to let everything dry completely. Choose a penetrating sealer (it soaks into the stone) rather than a topical sealer (which sits on top and can peel). Apply the sealer with a paintbrush or roller, working in small sections, and wipe off excess after 5-10 minutes. Let it dry for 24 hours, then apply a second coat for extra protection. For exterior projects, plan to reseal every 2-3 years; interiors might only need it every 5 years.
Best Practices for Builders: Avoid These Common Mistakes
Even seasoned pros make mistakes—we've seen it all. Here are the top pitfalls to watch for, and how to steer clear:
Mistake #1: Rushing the Surface Prep
We get it—you're on a deadline. But skipping steps like cleaning the substrate or fixing cracks is a recipe for disaster. A dusty surface means adhesive won't bond, and a cracked substrate will eventually cause stones to loosen. Take the time to pressure-wash concrete, scrape off old paint, and fill cracks with a patching compound. Your future self will thank you.
Mistake #2: Using the Wrong Adhesive
Not all adhesives are created equal. Avoid generic tile adhesives—they might not have the flexibility needed for exterior projects or areas with temperature fluctuations. Stick with polymer-modified thinset, and check that it's rated for natural stone. If you're installing in a wet area (like a shower or pool surround), use a waterproof adhesive to prevent mold and mildew.
Mistake #3: Ignoring the Weather
Adhesive and grout hate extreme temperatures. Avoid installing
Gravel Omani Stone if it's below 40°F (4°C) or above 90°F (32°C). Cold weather slows curing, while heat causes adhesive to set too fast. Rain is another enemy—keep an eye on the forecast, and cover the installation area if showers are expected within 24 hours of grouting.
Troubleshooting: When Things Don't Go as Planned
Even with perfect prep, issues can pop up. Here's how to fix the most common problems:
Problem: Stones Feel Loose After Installation
This usually happens because the adhesive wasn't applied evenly or the stone wasn't pressed firmly enough. If it's within the first 24 hours, lift the stone, scrape off the old adhesive, apply fresh adhesive, and reset it. If it's after 24 hours, inject epoxy adhesive into the gaps around the stone with a syringe, then tap it down with a rubber mallet. Wipe away excess epoxy and let it cure.
Problem: Grout Is Cracking
Cracking grout is often due to movement in the substrate (like a settling foundation) or using grout that's too stiff. For small cracks, mix a little grout with water to make a paste, apply it to the crack with a toothpick, and smooth it out. For larger cracks, remove the old grout with a grout saw, then regrout the area. If cracking happens repeatedly, consider using a flexible grout additive to improve elasticity.
Final Thoughts: Your Project, Your Legacy
Installing
Gravel Omani Stone isn't just about putting stone on a wall—it's about creating something that lasts. When done right, it's a surface that ages beautifully, telling the story of the space it adorns. Whether you're a seasoned builder or just starting out, remember: the difference between good and great work is in the details—prep carefully, take your time, and don't cut corners. And when your client walks in and says, "Wow, this is incredible," you'll know it was worth every minute. Now go out there and build something amazing.