
Crafting Light, Depth, and Timeless Beauty in Every Slab
There's a quiet drama in a perfectly polished stone surface. It doesn't shout, but it commands attention—reflecting light like a whispered secret, turning a simple wall or floor into a canvas where shadows dance and colors deepen. Among the many stones that respond to the art of polishing, Gravel Omani Stone holds a special place. Hailing from the sun-baked landscapes of Oman, this material isn't just a building product; it's a piece of nature's artistry, and when polished to a high gloss, it becomes something almost transcendent.
Whether you're designing a luxury hotel lobby, a cozy home kitchen, or a commercial space that craves character, the high-gloss finish of Gravel Omani Stone adds a layer of sophistication that's hard to replicate. But achieving that mirror-like shine isn't just about running a buffer over the surface—it's a dance between technique, patience, and an intimate understanding of the stone's unique personality. Let's dive into the world of polishing Gravel Omani Stone, and discover how to turn its raw, earthy charm into a finish that sparkles with timeless elegance.
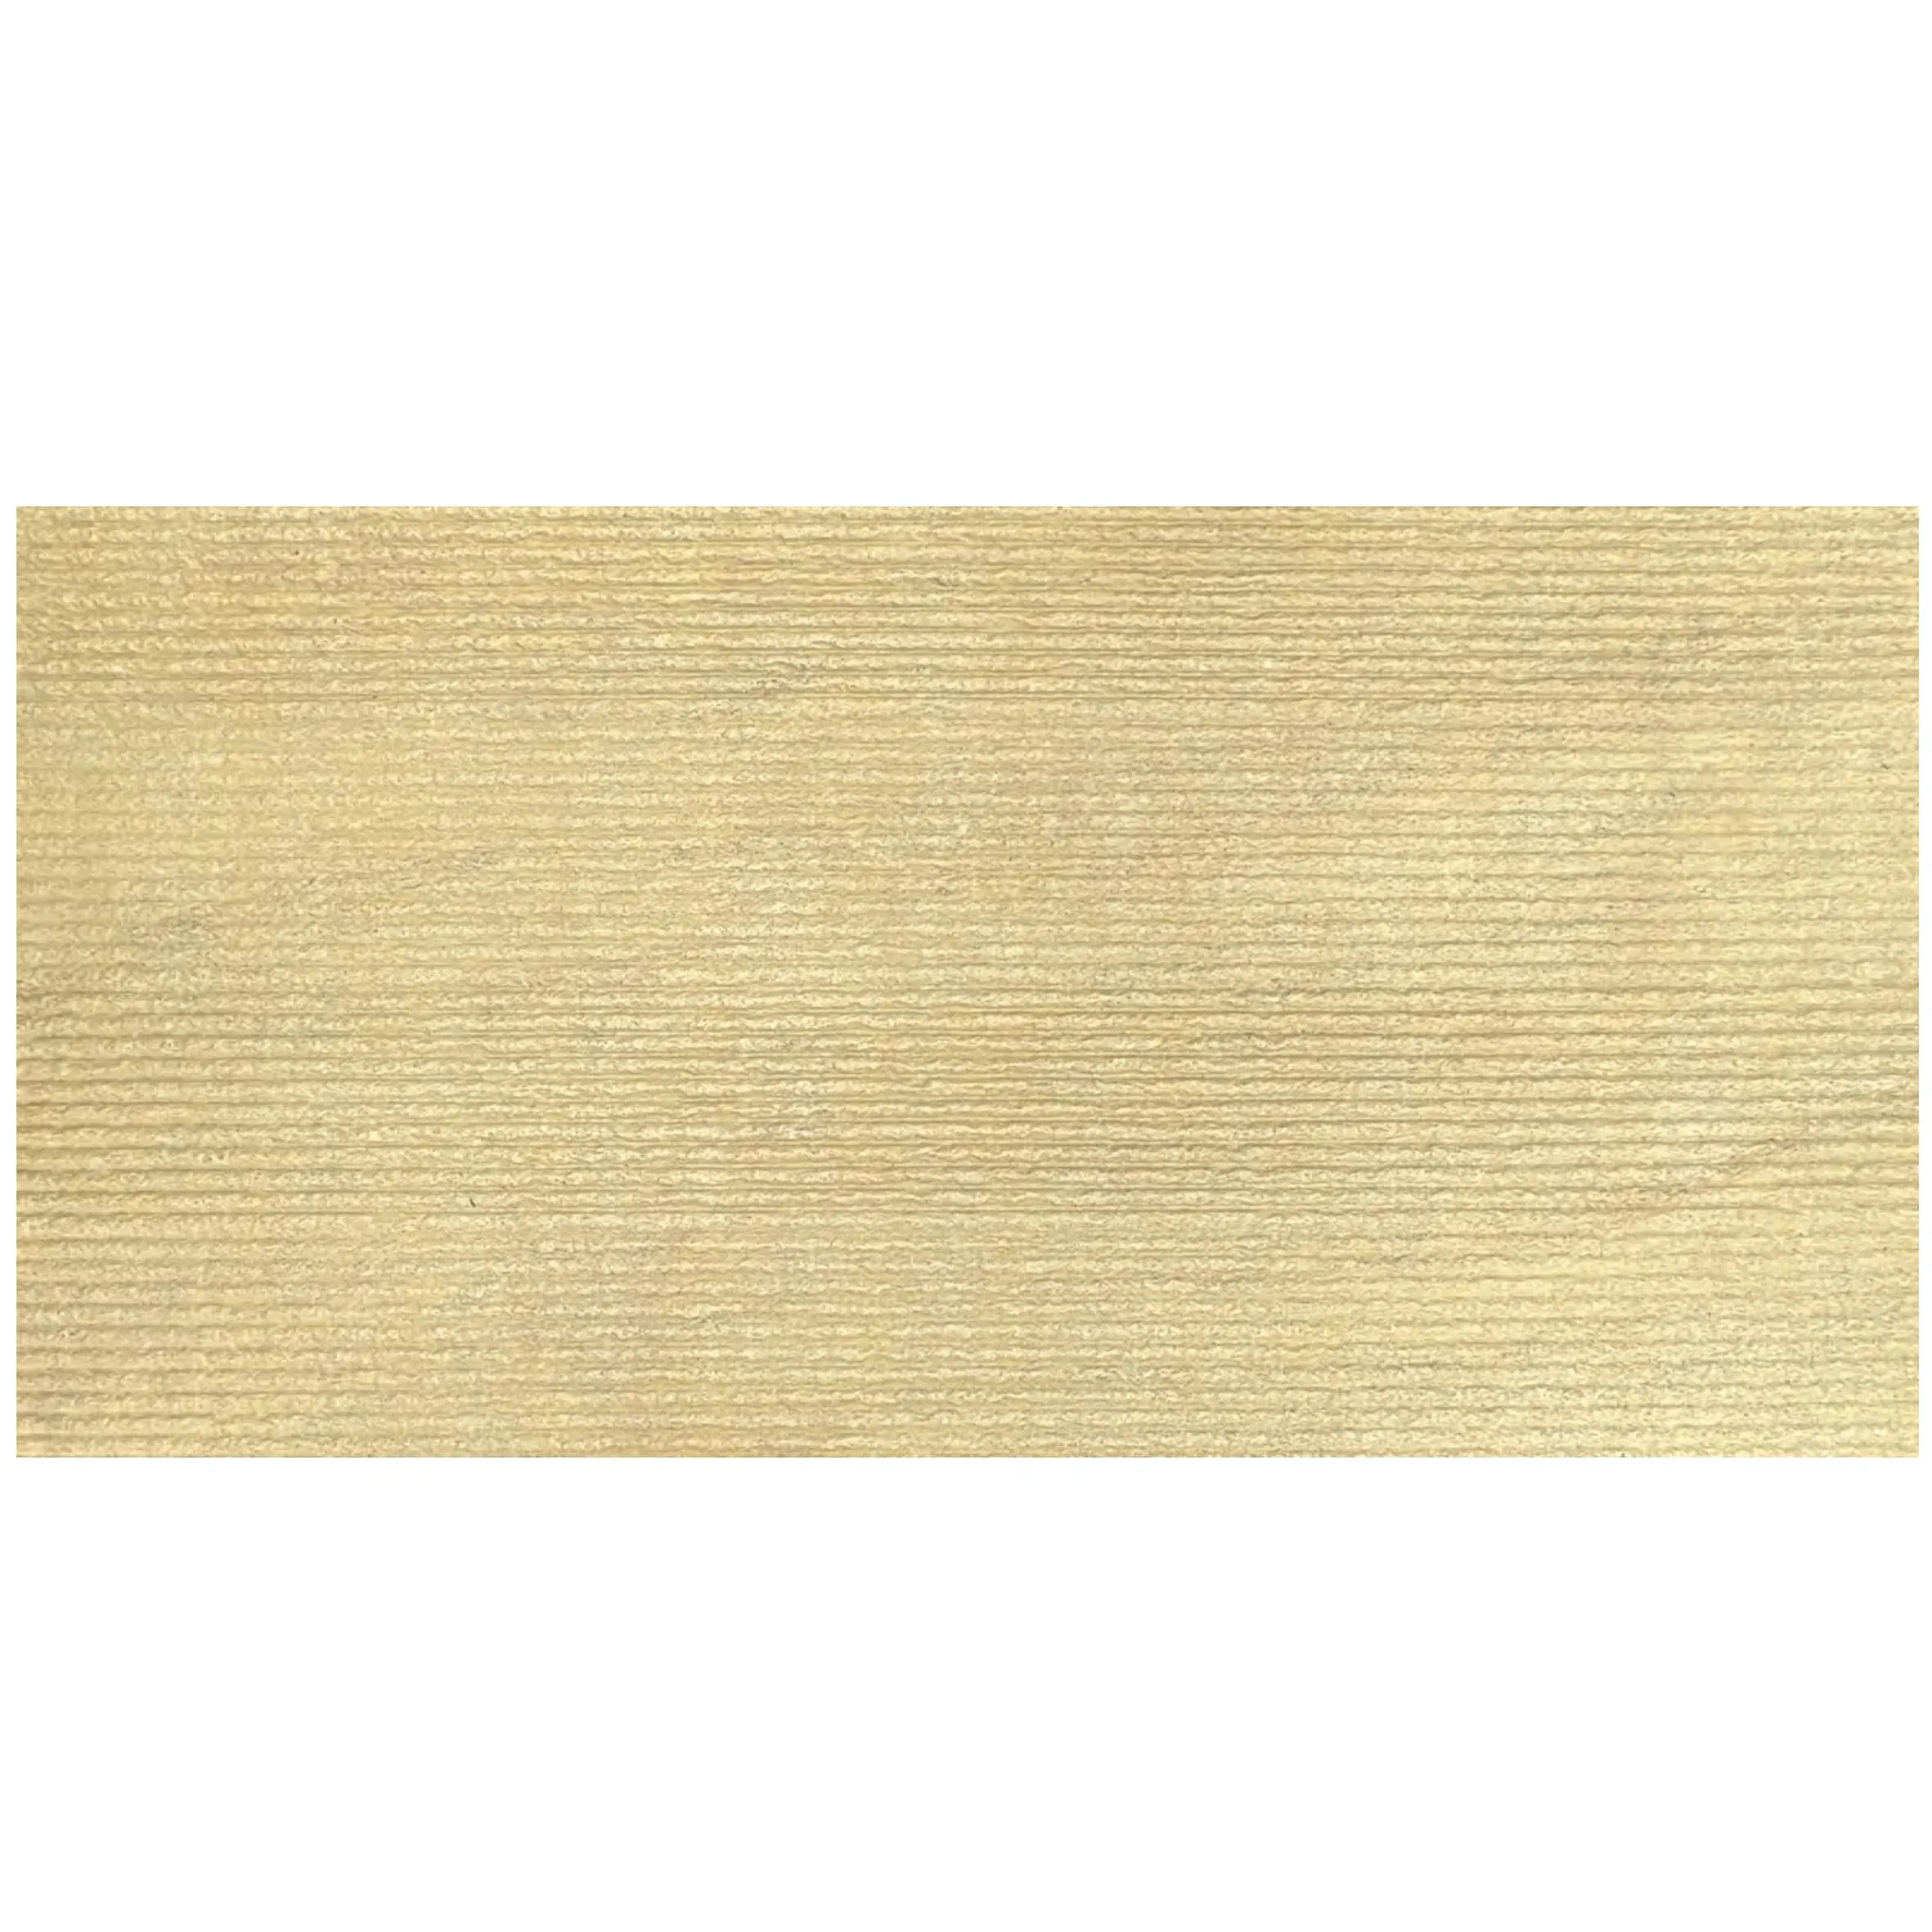
Before we pick up the polishing tools, let's get to know the star of the show. Gravel Omani Stone is a sedimentary rock formed over millions of years, shaped by Oman's arid climate and the slow, steady pressure of the earth. What makes it unique? Its name gives a clue: "gravel" refers to the small, rounded pebbles embedded within its matrix—specks of quartz, feldspar, and other minerals that add texture and depth. These inclusions aren't flaws; they're the stone's fingerprint, telling the story of the rivers and winds that carried them to their final resting place.
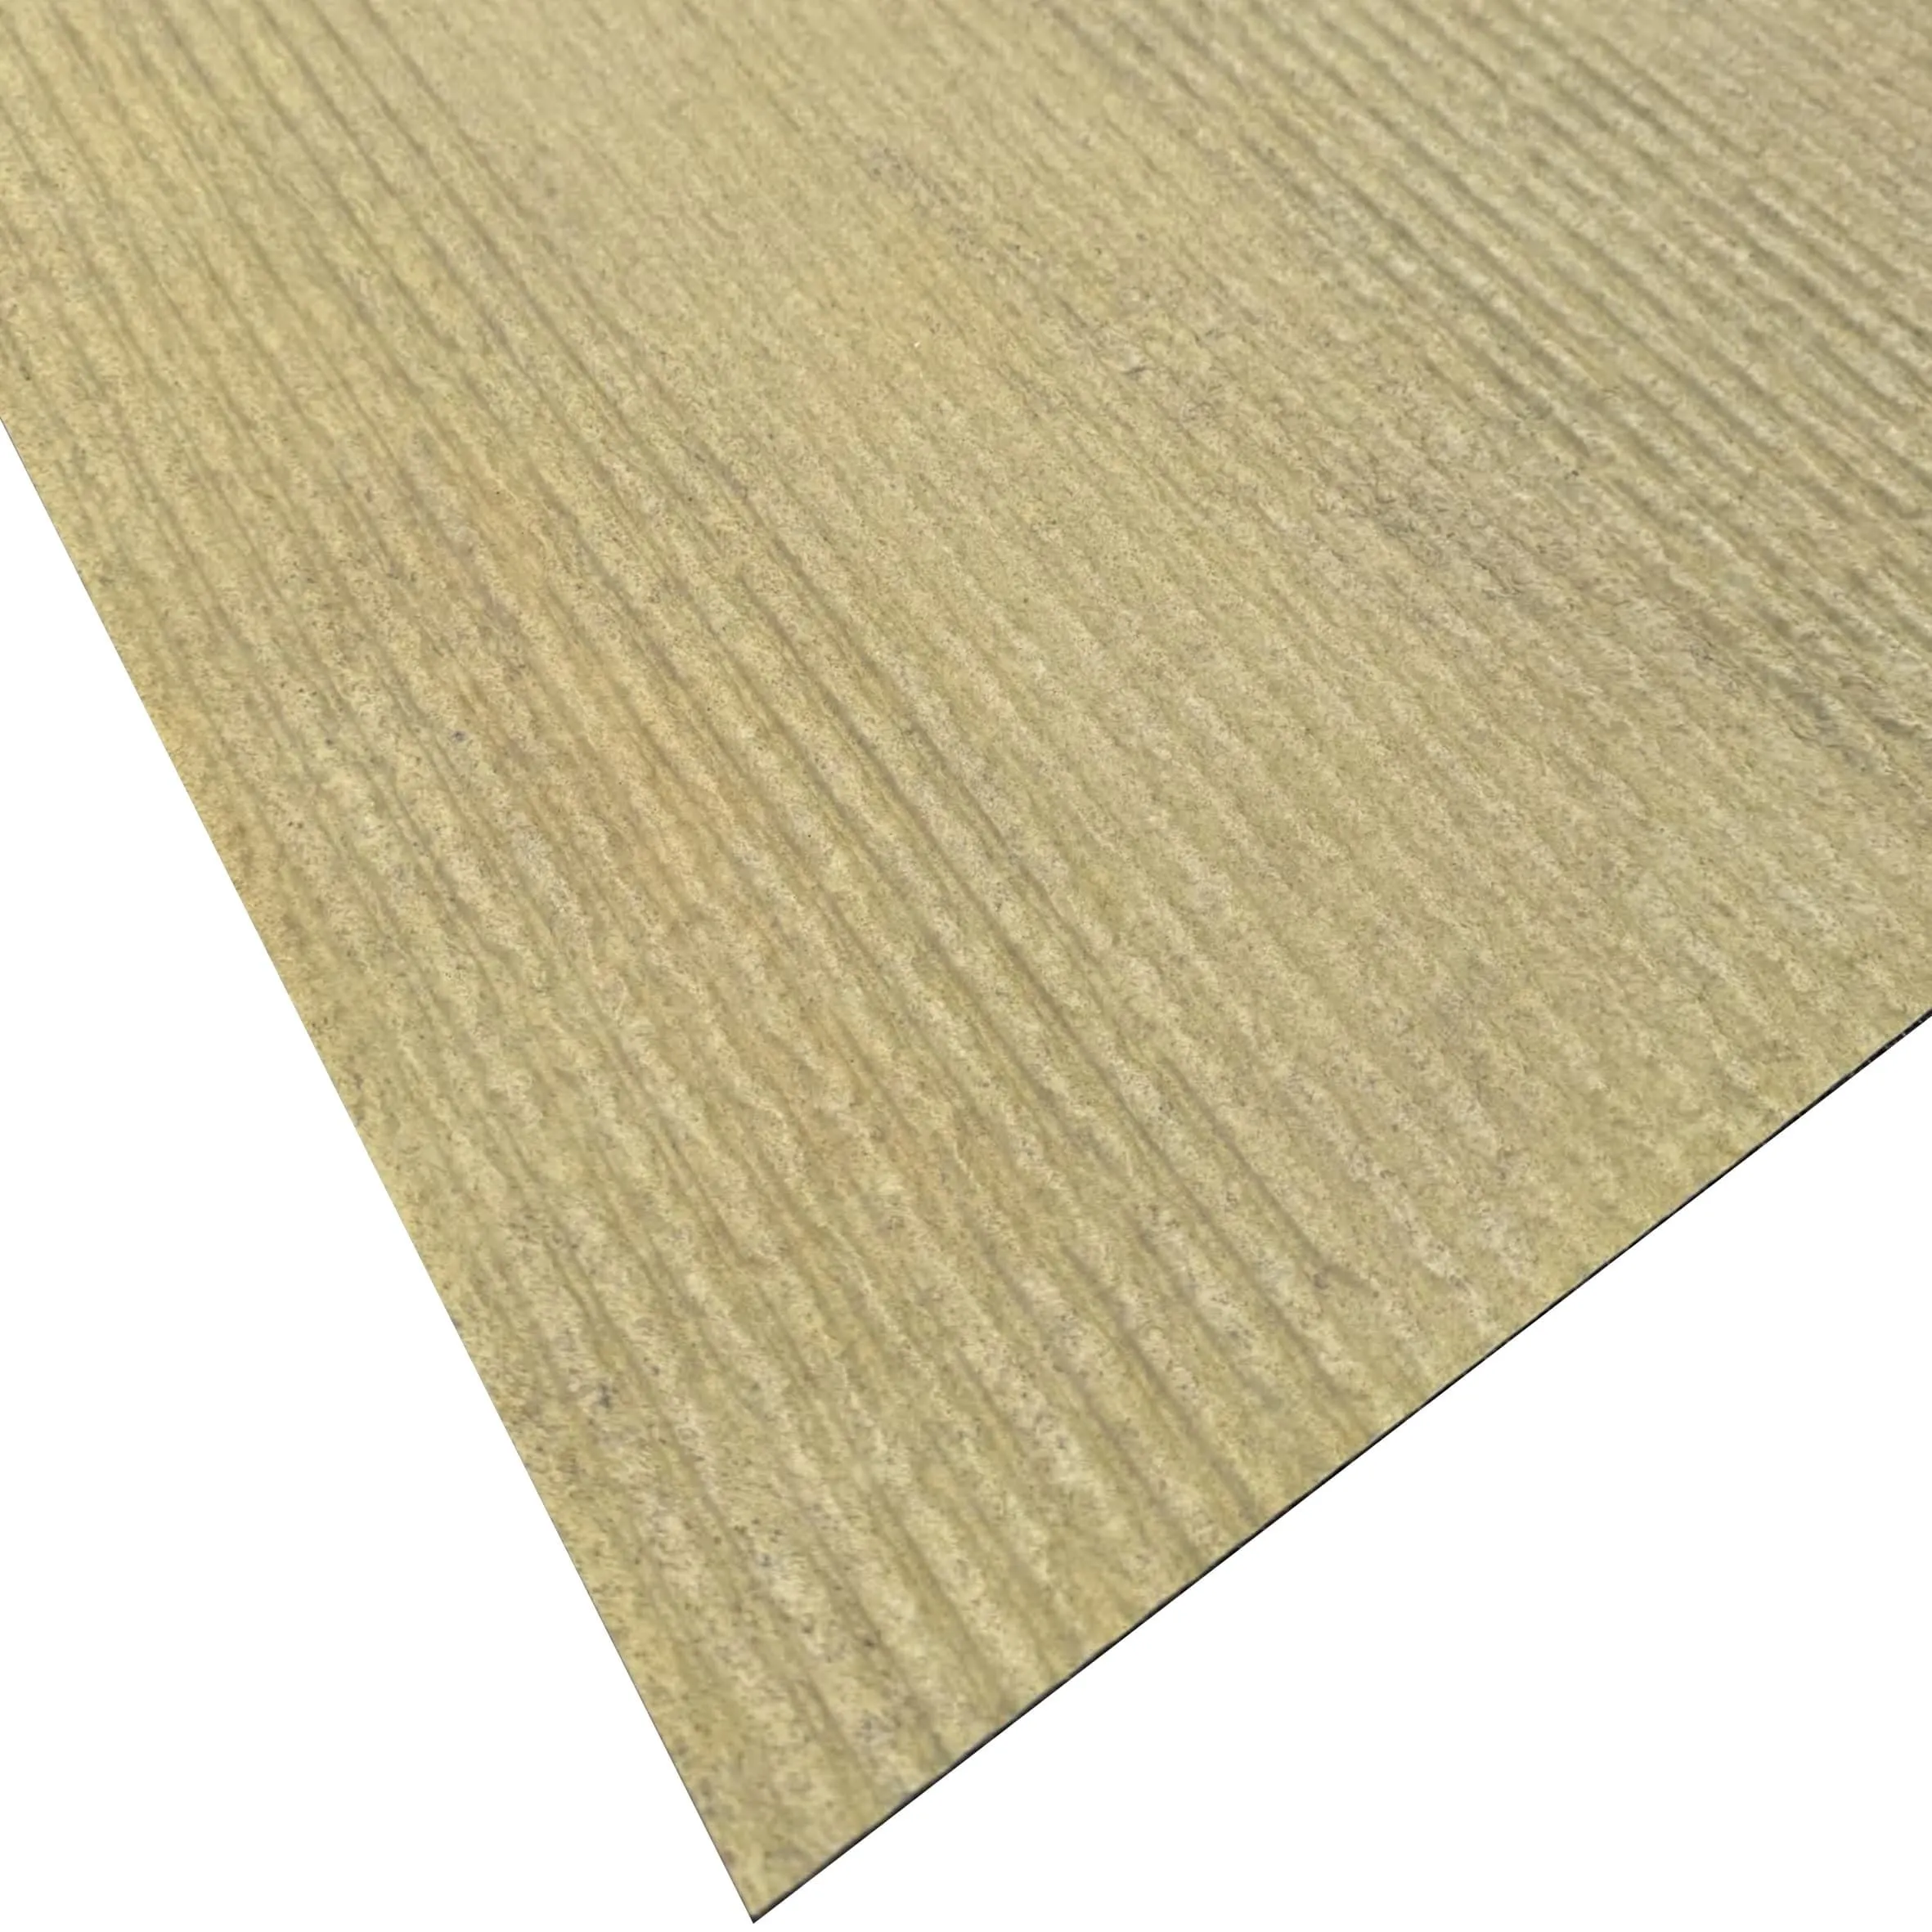
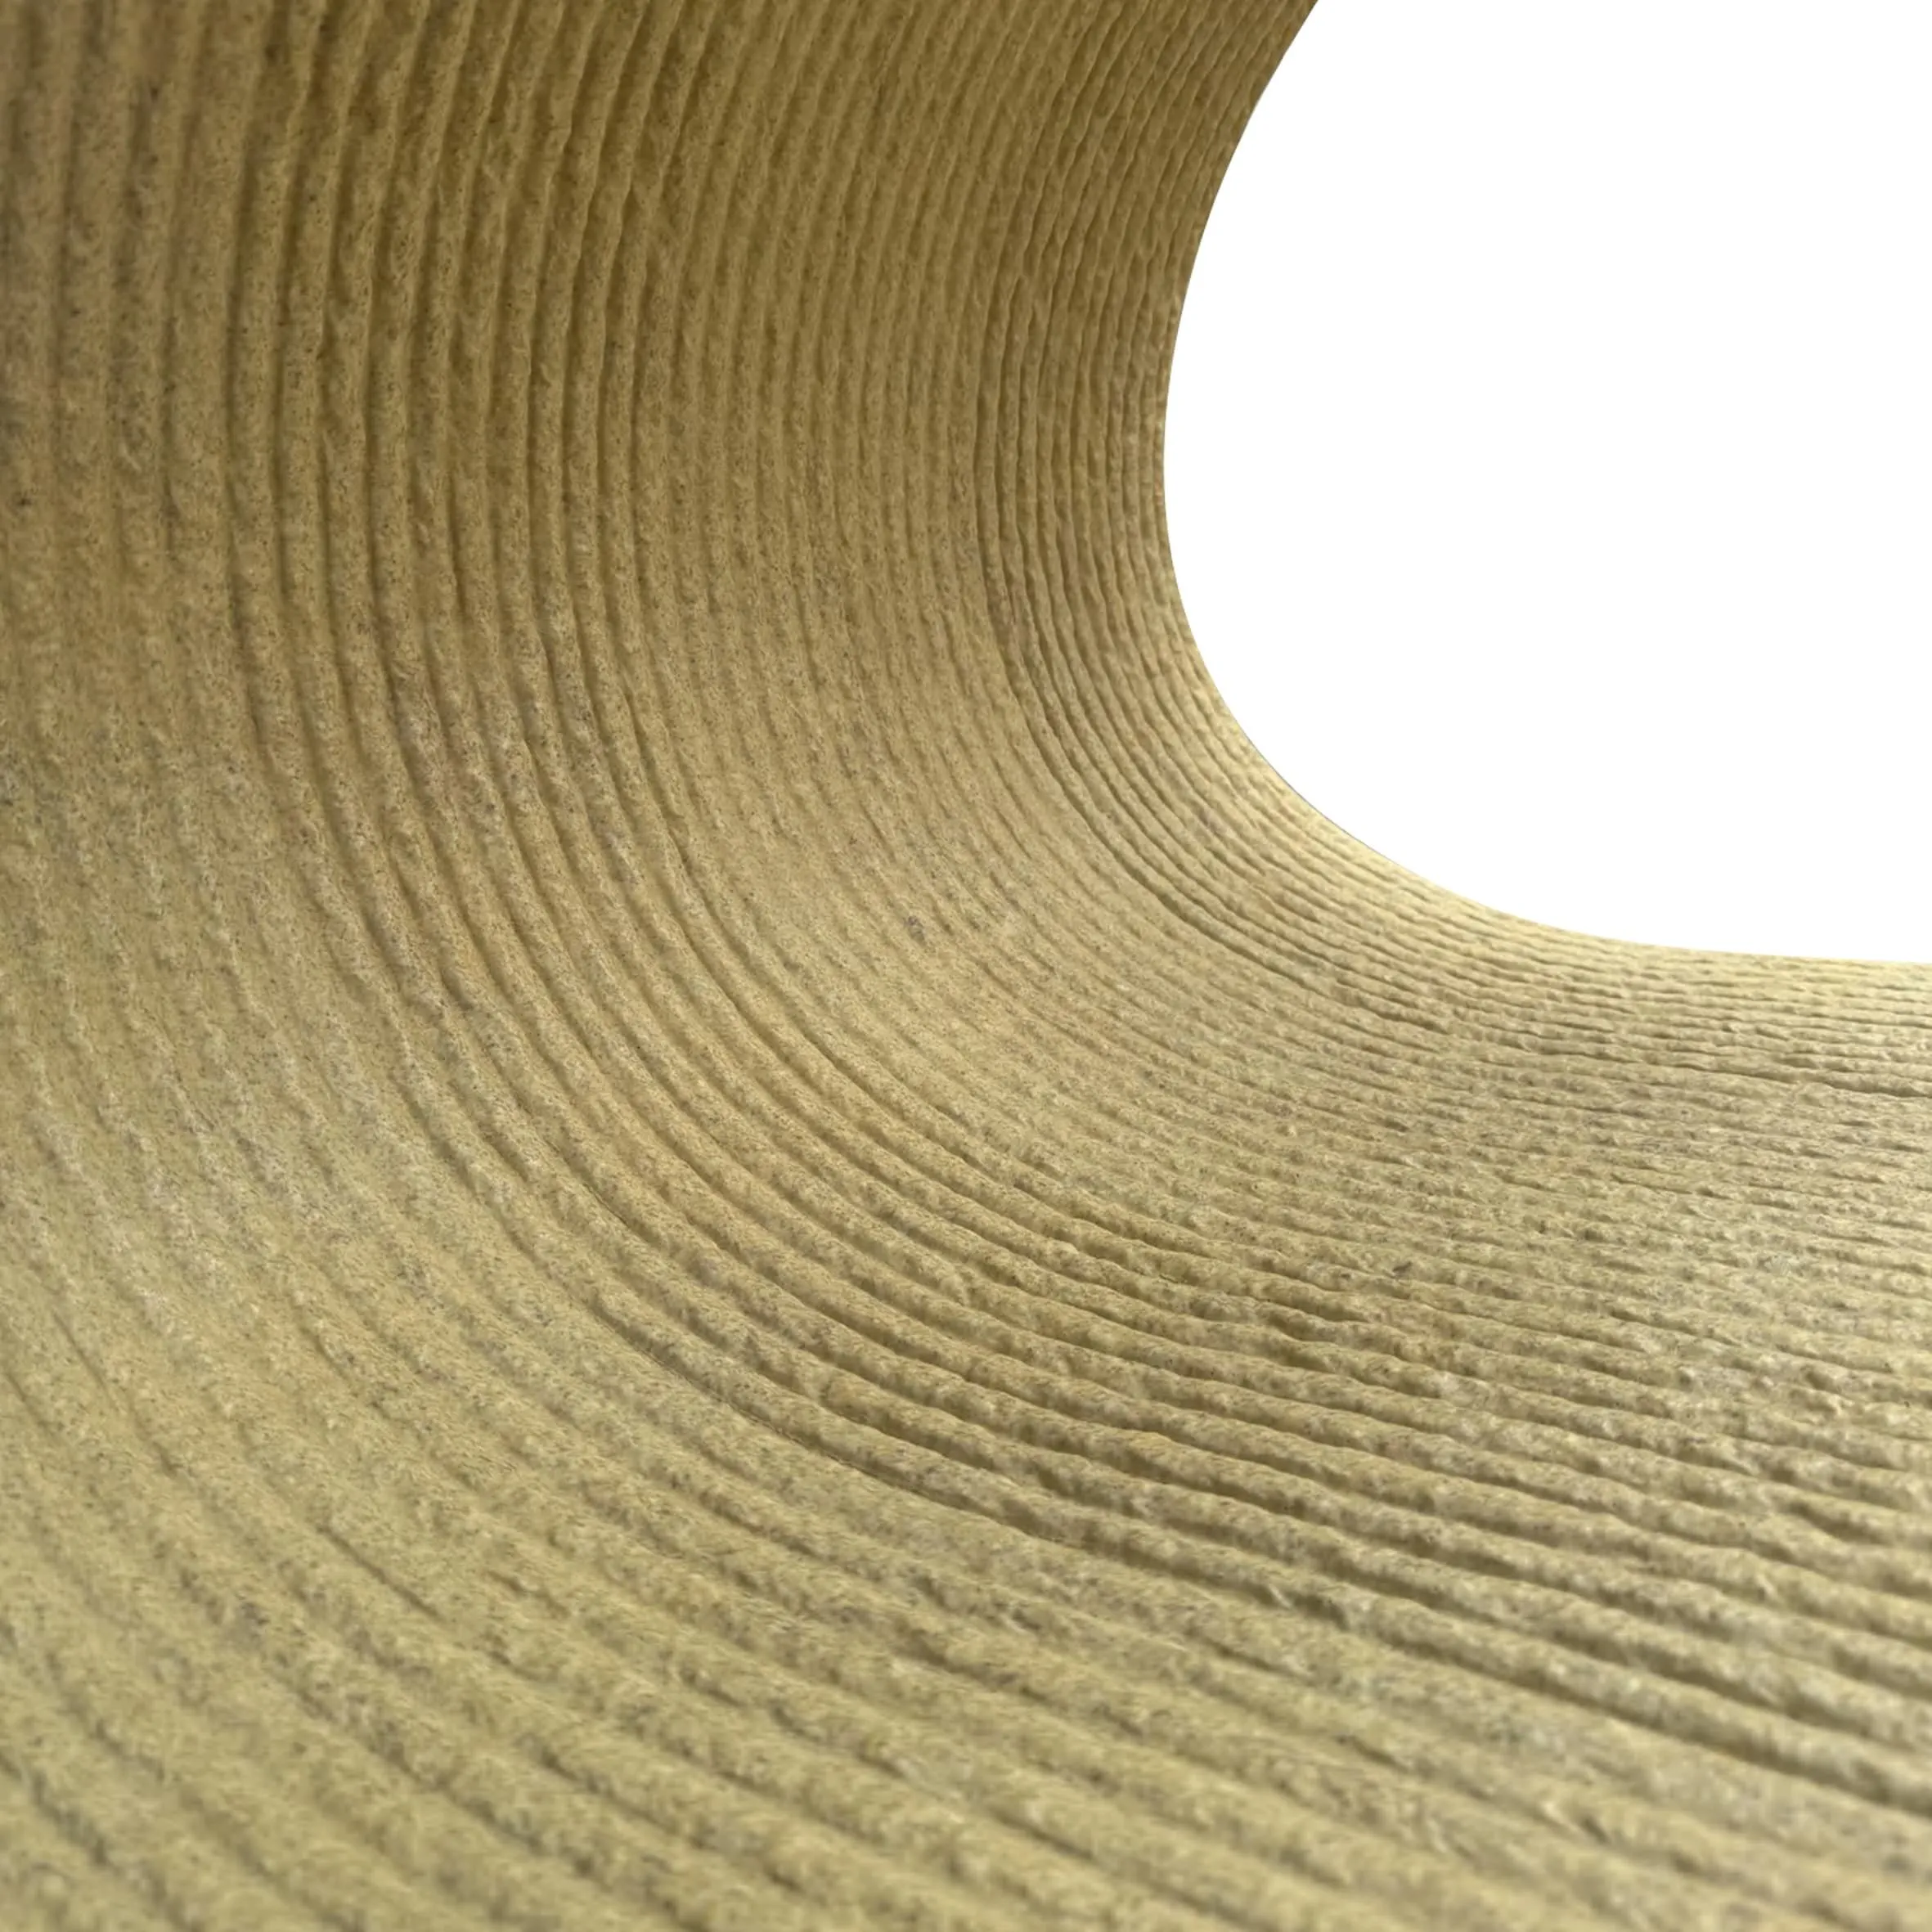
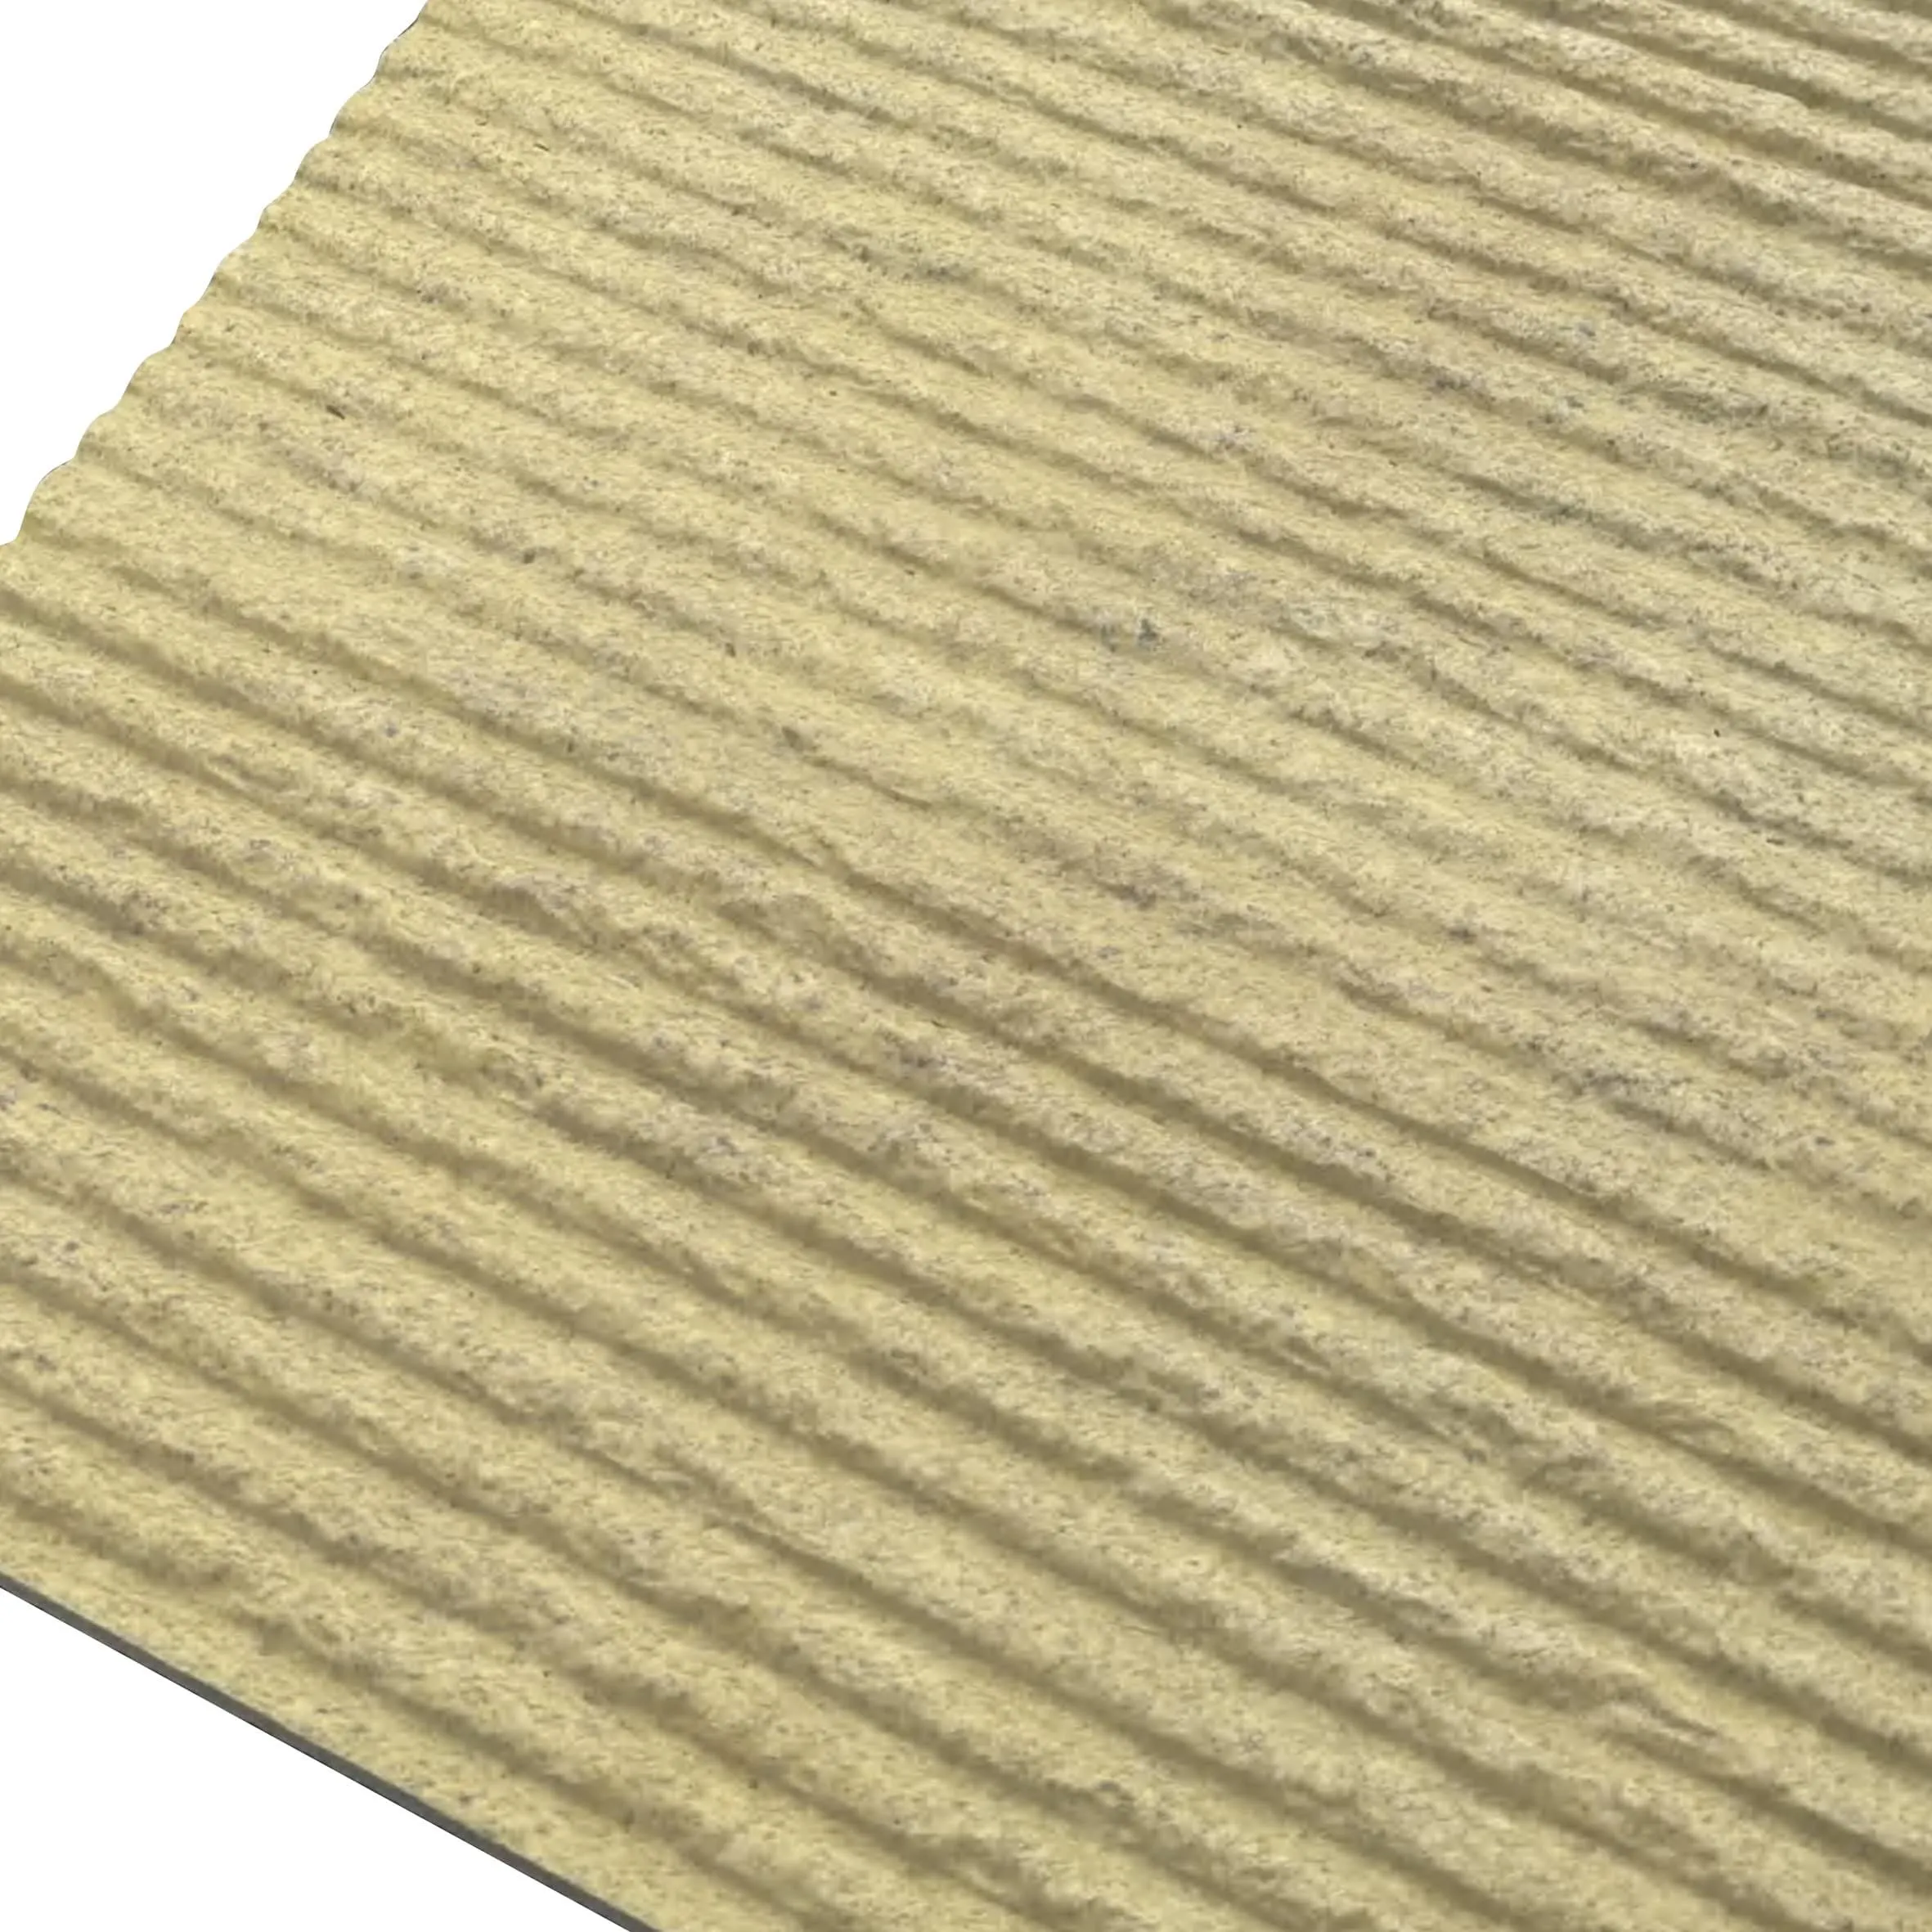
Unlike smoother stones like marble veil white, which has a more uniform texture, Gravel Omani Stone has a "busy" surface—those gravel bits create tiny peaks and valleys that make polishing both a challenge and a joy. Its base color ranges from warm beiges to soft golds, with the gravel adding flecks of white, gray, or even hints of rust. When polished, these colors come alive; the base stone glows, and the gravel inclusions catch the light like scattered diamonds.
But here's the thing: Gravel Omani Stone isn't just pretty—it's tough. Its density and hardness make it durable enough for high-traffic areas, but that same hardness means polishing requires a careful hand. Rush the process, and you might end up with uneven shine or, worse, damage those precious gravel inclusions. So, think of polishing as a conversation with the stone: listen to its needs, work with its strengths, and respect its limits.
Polishing Gravel Omani Stone is a journey from rough to radiant, with each step building on the last. Let's break it down into stages, each as important as the one before.
You wouldn't paint a wall without cleaning it first, right? The same logic applies to stone polishing. Start by giving the Gravel Omani Stone slab a thorough cleaning. Use a pH-neutral stone cleaner and a soft-bristle brush to remove dirt, dust, or any residues from cutting or handling. Pay extra attention to the crevices around the gravel inclusions—those tiny gaps love to trap grime, and any leftover debris will scratch the surface during polishing.
Next, inspect the slab for cracks, chips, or loose gravel bits. If you find small cracks, fill them with a stone-specific epoxy resin that matches the stone's base color. For loose gravel, gently press them back into place with a bit of resin—you don't want them popping out during polishing! Finally, ensure the surface is level. Even a slight dip or bump will lead to uneven polishing, so use a straightedge to check for high spots and grind them down gently with a coarse diamond pad before moving on.
Grinding is where the transformation begins. Think of it as sculpting the stone's surface, removing the top layer of roughness to reveal the smoother material beneath. For Gravel Omani Stone, start with a coarse diamond grinding pad (around 50-100 grit). These pads are embedded with tiny diamond particles—nature's hardest material—perfect for tackling the stone's density.
Work in small, overlapping circles, applying gentle, even pressure. The goal here isn't to shine yet; it's to flatten the surface and remove any deep scratches or irregularities. You'll notice the stone starting to look more uniform, with the gravel inclusions becoming more visible as the rough outer layer fades. After the coarse grind, move to a medium grit (200-400 grit) to refine the surface, then a fine grit (800-1000 grit) to smooth out the lines left by the coarser pads. Take your time here—rushing the grinding stage is like skipping chapters in a book; you'll miss the details that make the final story shine.
Honing is the bridge between grinding and polishing. If grinding is about shaping, honing is about softening—smoothing the surface to a buttery, matte finish that's ready to accept the polish. For Gravel Omani Stone, use a honing pad with a grit of 1500-2000. This step removes the micro-scratches left by the fine grinding pads, creating a surface that feels silky to the touch, even before the polish is applied.
Hone the stone in the same overlapping circles, but with lighter pressure. You'll notice the surface starting to reflect light faintly, like a moonlit lake before dawn. This is a good sign—it means the stone is ready for the final polishing stage. Wipe away any slurry (the wet, powdery residue from honing) with a clean, damp cloth before moving on; leaving slurry on the surface can cause streaks during polishing.
Now comes the step everyone waits for: turning that honed surface into a high-gloss shine. For Gravel Omani Stone, start with a 3000-grit diamond polishing pad, then move to a 5000-grit pad for the final glow. These ultra-fine pads work by burnishing the stone's surface, smoothing out the microscopic peaks and valleys until light reflects evenly, creating that mirror-like effect.
Work slowly, keeping the pad moving to avoid overheating the stone (heat can damage the gravel inclusions). As you polish, you'll see the stone transform—colors deepen, the gravel bits sparkle, and suddenly, the surface isn't just smooth; it's alive. Hold a light at an angle, and watch as the reflection sharpens, like a fog lifting from a lake. This is the payoff for all that patience—the moment when Gravel Omani Stone stops being "just a rock" and becomes a masterpiece.
A high-gloss finish is beautiful, but it's also vulnerable. Gravel Omani Stone, like many natural stones, is porous—those tiny spaces between its minerals can absorb liquids, leading to stains that dull the shine. Sealing is the final step, and it's non-negotiable. Choose a high-quality, penetrating sealer designed for polished stone; it will soak into the pores, creating a barrier against water, oil, and dirt without altering the stone's appearance.
Apply the sealer with a soft cloth or spray bottle, working in small sections. Let it sit for 5-10 minutes, then wipe away any excess with a clean cloth (don't let it dry on the surface, as this can leave a haze). For maximum protection, apply a second coat after the first has dried completely. Now, your Gravel Omani Stone isn't just polished—it's protected, ready to stand up to the demands of daily life while keeping its shine for years to come.
Not all stones polish the same way. What works for Gravel Omani Stone might not be ideal for, say, travertine or marble veil white. To help you navigate the differences, here's a quick comparison of polishing key steps across three popular stones:
| Stone Type | Grinding Start Grit | Polishing End Grit | Unique Challenge | Sealing Frequency |
|---|---|---|---|---|
| Gravel Omani Stone | 50-100 grit | 5000 grit | Embedded gravel inclusions; varying hardness | Every 12-18 months |
| Travertine (Vintage Gold) | 100-200 grit | 3000 grit | Natural pits and pores; requires filling before polishing | Every 6-12 months (more porous) |
| Marble Veil White | 200-400 grit | 8000 grit (for ultra-high gloss) | Softness; prone to scratching during grinding | Every 18-24 months (less porous) |
Even the most careful polishers run into issues. Here are a few common challenges with Gravel Omani Stone and how to fix them:
A high-gloss finish is an investment, and like any investment, it needs care to thrive. Here's how to keep your Gravel Omani Stone looking its best:
Polishing Gravel Omani Stone isn't just a technical process—it's an act of respect. It's about taking a material that's been forming for millions of years and helping it reveal its best self. The result isn't just a shiny surface; it's a connection to the earth, a testament to the beauty that comes from patience and skill.
Whether you're a professional installer or a DIY enthusiast, the journey of polishing Gravel Omani Stone is one that teaches you to slow down, to notice the details, and to appreciate the magic of transformation. And when you step back and see that high-gloss finish—reflecting the world around it, turning ordinary light into extraordinary beauty—you'll know it was worth every minute.
Gravel Omani Stone doesn't just decorate spaces—it elevates them. And with the right polishing techniques, its beauty will shine for generations to come.
Recommend Products


