

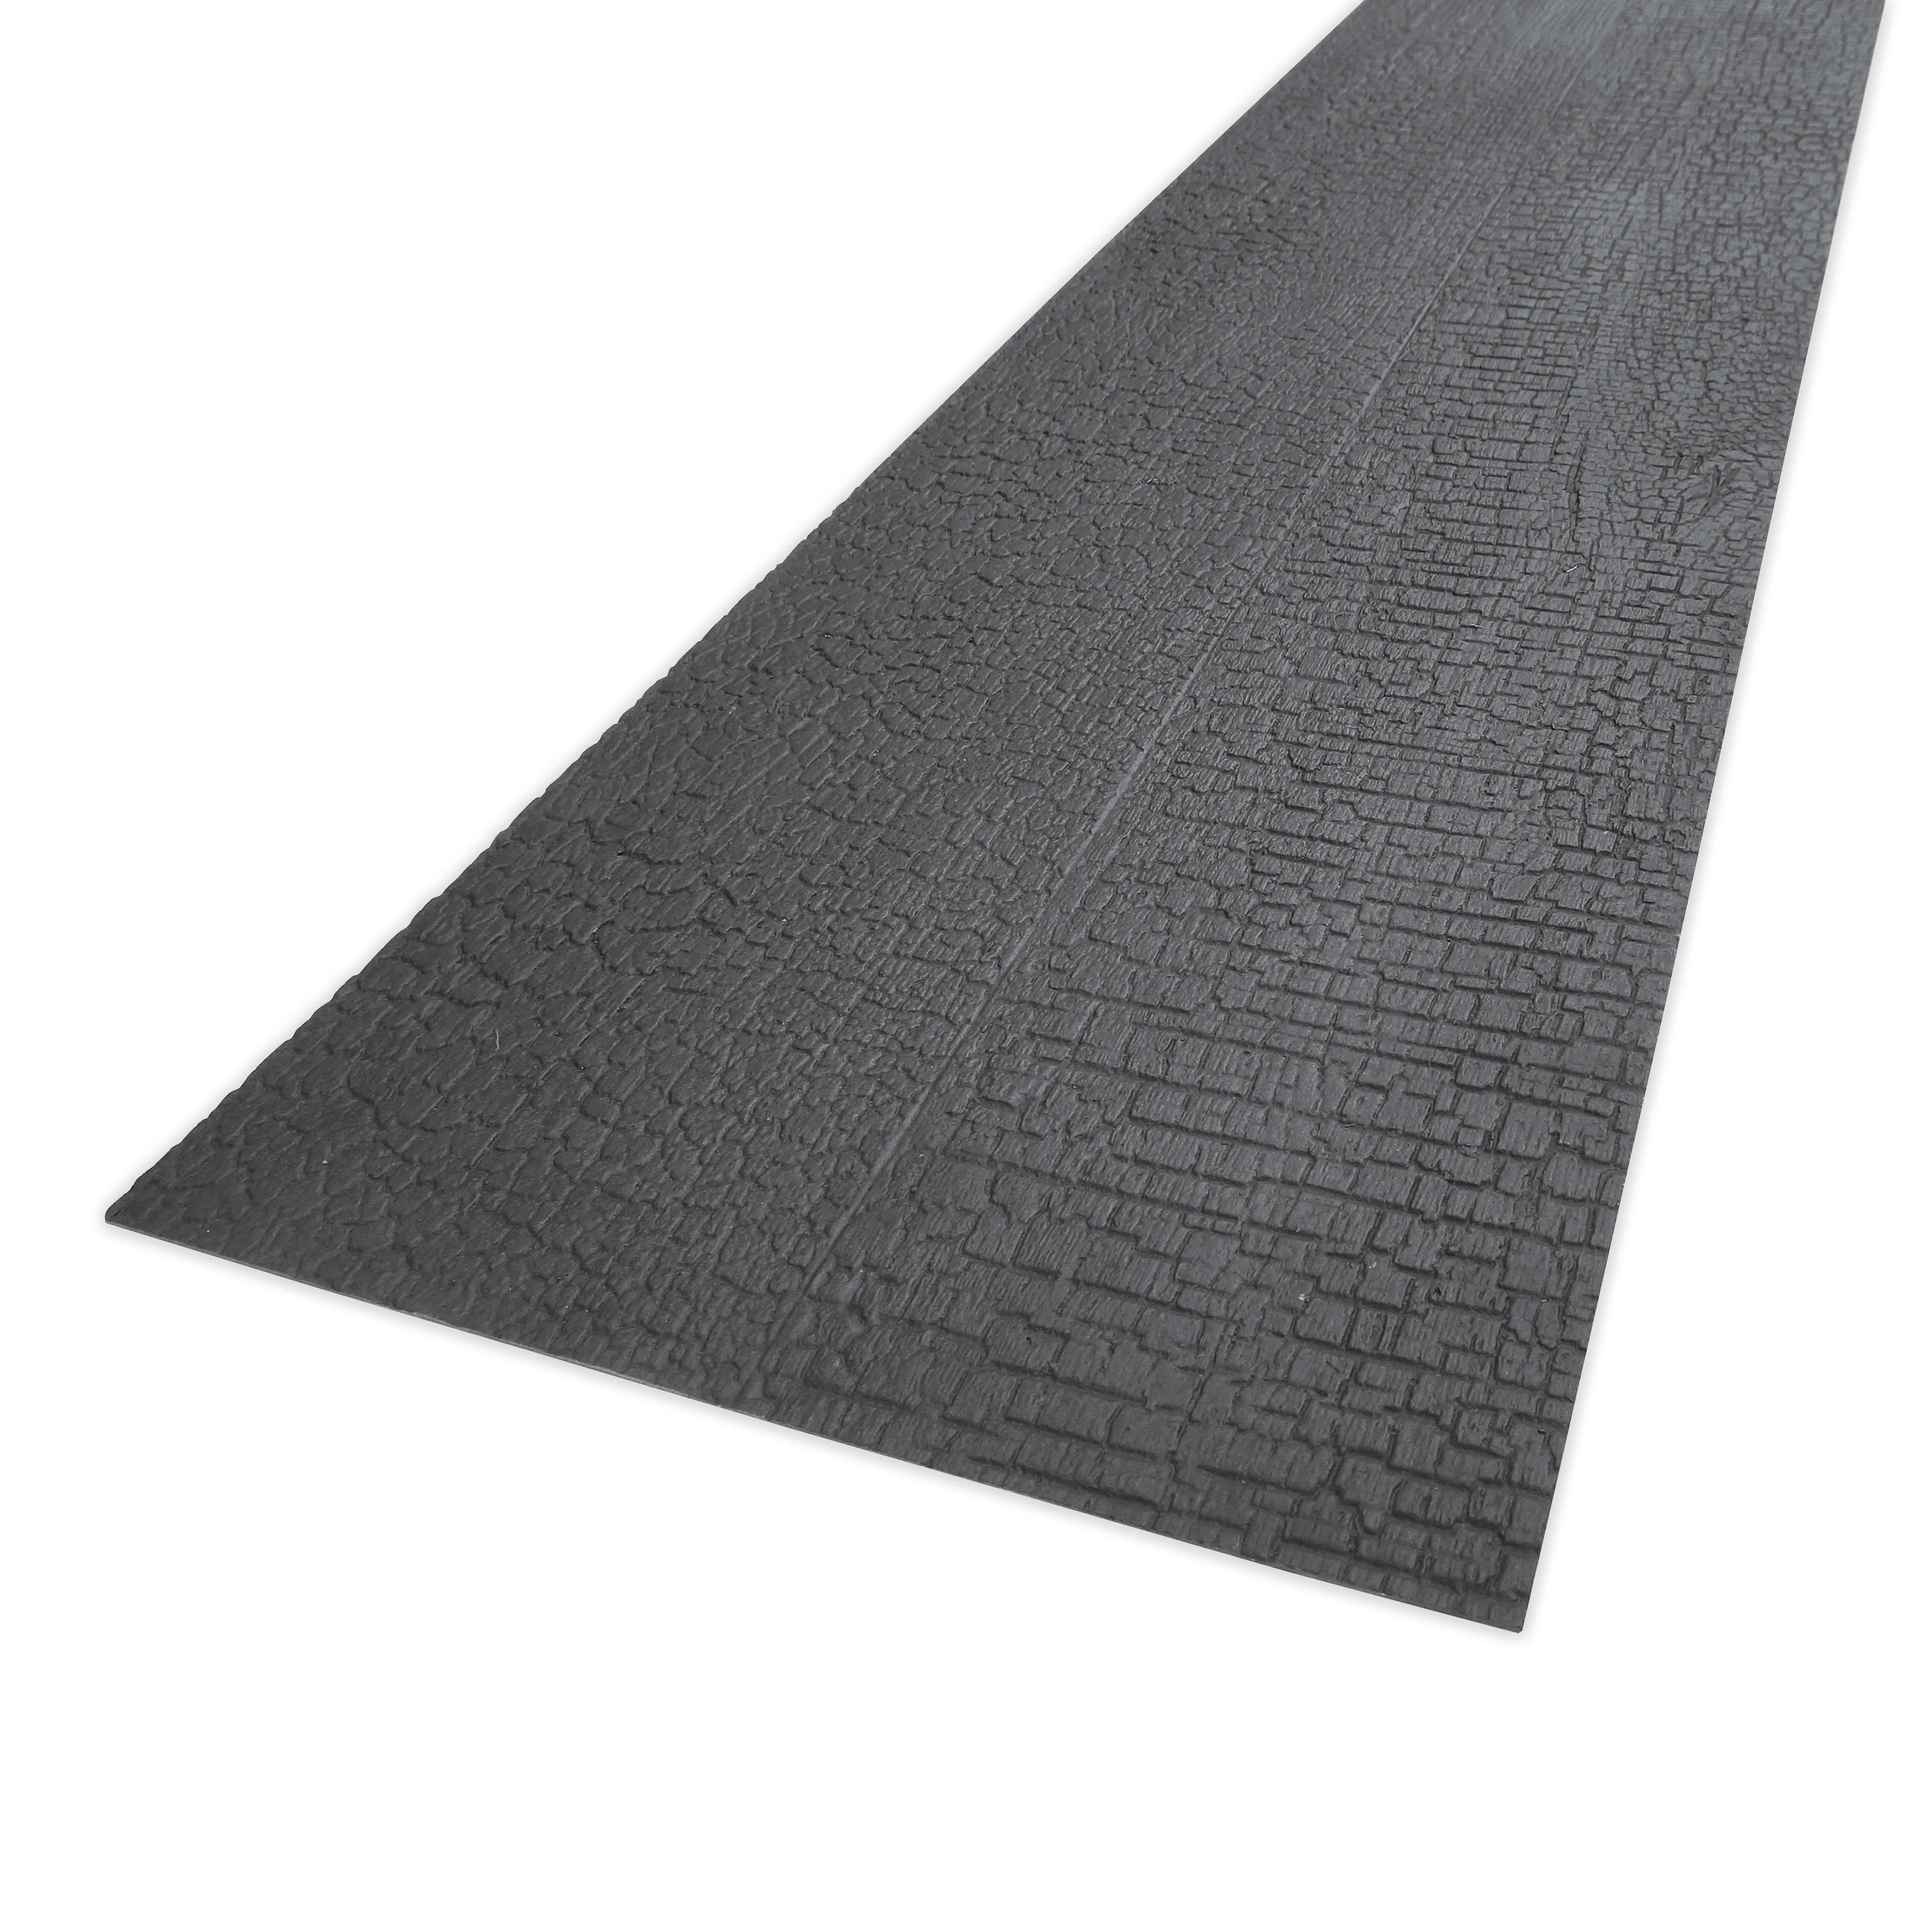
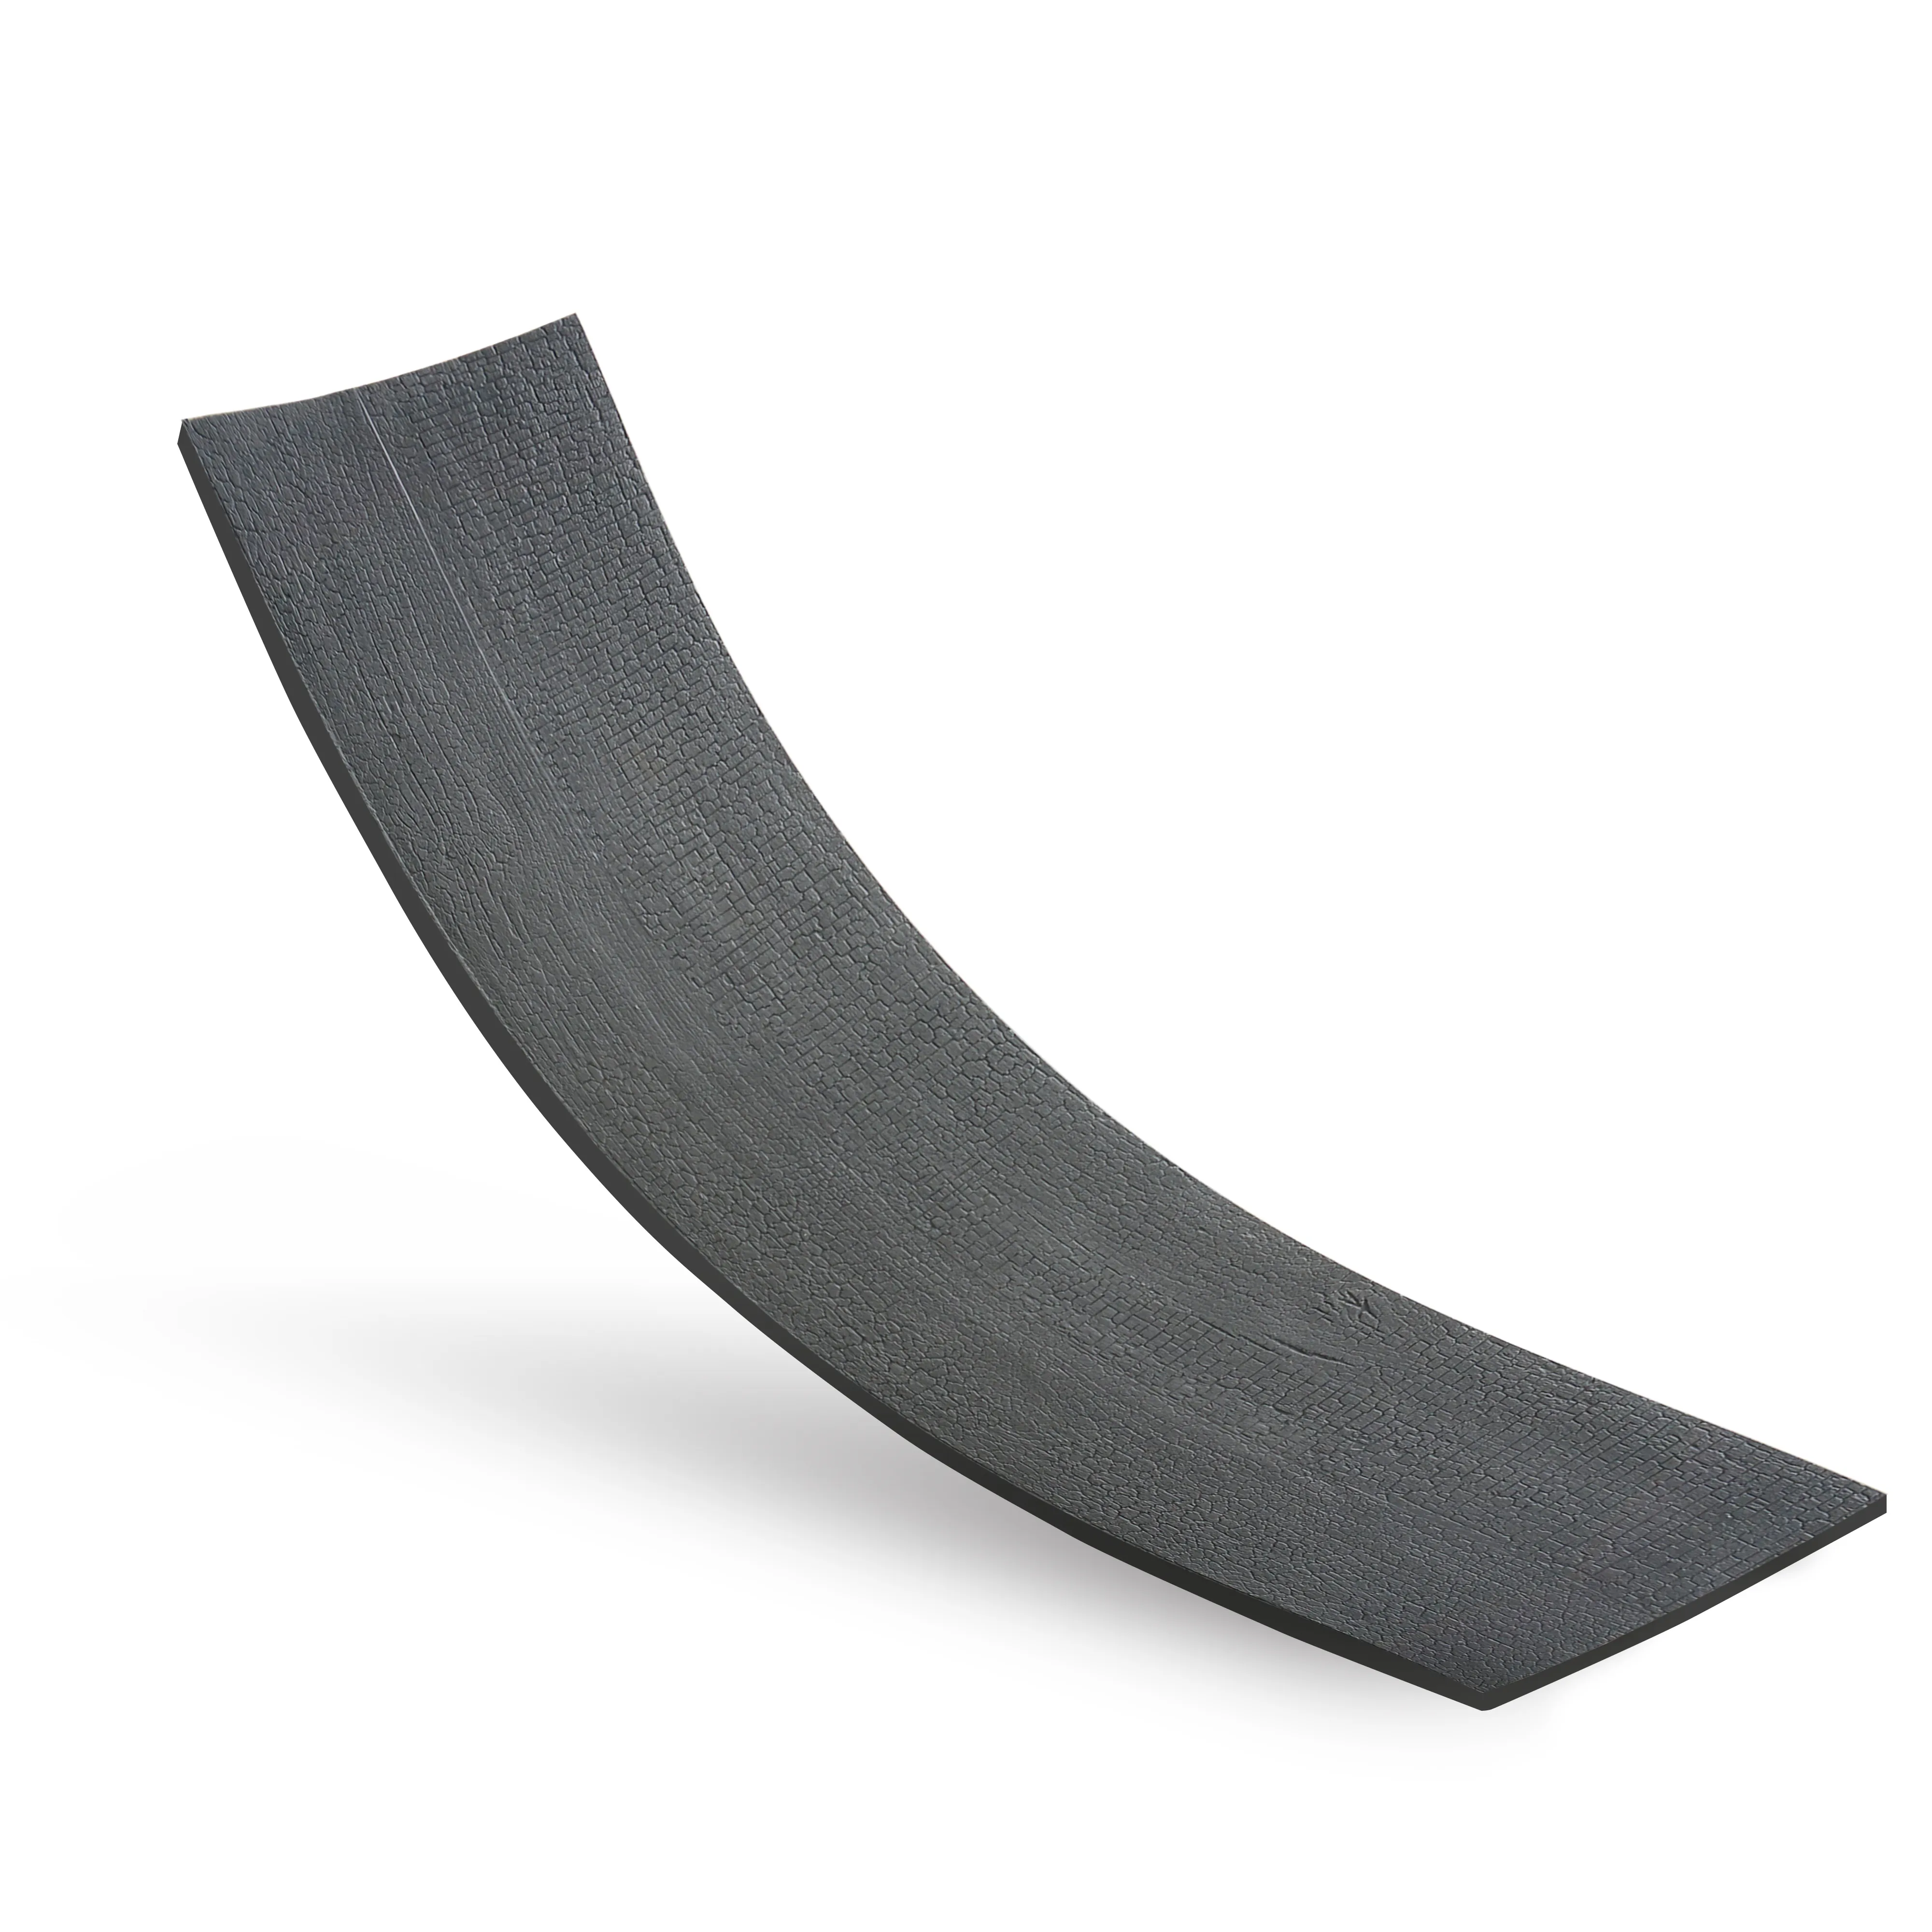
Walk into any modern design studio or construction site these days, and you'll likely spot a material that's been turning heads lately: charcoal burnt wood boards. With their rich, smoky hues and textured finish, they're everywhere—from high-end furniture to accent walls in boutique hotels. But here's the thing about creating something that looks this good and lasts: it's not just about the burn. There's a silent hero in the production process that doesn't get nearly enough credit: pH measurement. Let me take you behind the scenes of how this unsung step ensures your charcoal burnt wood boards don't just look great, but stand the test of time—especially when paired with materials like wood grain board or even fair-faced concrete in those showstopping designs.
Let's start with the basics. pH is a measure of how acidic or alkaline a substance is, ranging from 0 (super acidic) to 14 (super alkaline). For charcoal burnt wood boards, think of pH as the material's "chemical personality." Get it wrong, and you're looking at a host of problems. Too acidic, and the wood might break down over time, losing that signature durability. Too alkaline, and it could react poorly with adhesives or finishes, leading to peeling, discoloration, or even warping. And these boards rarely exist in a vacuum—they're often paired with other materials like travertine (beige) tiles in kitchen backsplashes or woven (khaki) textiles in furniture accents. If the pH is off, those pairings can turn from stunning to disastrous faster than you can say "renovation nightmare."
Take it from Maria, a production manager at a family-run mill in Oregon I spoke with last year. "A few years back, we had a batch of boards that kept failing adhesion tests with our wood grain board panels," she told me. "Turns out, the pH was way too high—like, 9.2 instead of our target 6.5. The glue was basically getting neutralized, so the layers just wouldn't stick. We wasted weeks of work and materials before we started regularly testing pH. Now it's part of our morning checklist, right up there with checking the saw blades."
And it's not just about aesthetics or adhesion. If these boards end up in spaces with moisture—like bathrooms or outdoor patios—pH levels affect how resistant they are to mold and mildew. A board with balanced pH (usually slightly acidic to neutral, around 5.5 to 7.0) can fend off those unwanted guests better than one that's too far on either end of the spectrum. So, in short: pH measurement isn't just a box to tick. It's the backbone of consistent, high-quality charcoal burnt wood boards.
Measuring pH in charcoal burnt wood boards isn't as simple as dipping a strip into a glass of water. Wood is porous, uneven, and full of natural compounds that can throw off readings if you're not careful. Over the years, production teams have landed on a few go-to methods, each with its own pros and cons. Let's break them down.
| Measurement Method | Accuracy | Ease of Use | Cost Range | Best For |
|---|---|---|---|---|
| pH Test Strips | Low to Moderate (±0.5 pH units) | Very Easy (dip and compare) | $5–$20 per pack | Quick spot checks, small batches |
| Digital pH Meters | High (±0.01–0.1 pH units) | Moderate (requires calibration) | $50–$500+ | Large-scale production, quality control |
| Titration | Very High (±0.001 pH units) | Complex (requires lab training) | $200–$1,000+ (equipment) | Research, troubleshooting, certification |
Test strips are the "quick and dirty" option. You've probably used similar ones in a pool or aquarium. For wood, you typically mix a small sample of the board (ground into a powder) with distilled water, let it sit, then dip the strip. They're cheap and fast, but they're not precise. Maria's team uses them for daily spot checks: "If a strip shows something way off, we'll pull out the big guns. But for a first pass? They work."
Digital pH meters are the workhorses of most production lines. These handheld devices have a probe that you insert into the sample solution. They're more accurate than strips but require calibration (usually with buffer solutions of known pH, like 4.0 and 7.0) to stay reliable. "We calibrate ours every morning before the first run," Maria explained. "Temperature matters too—if the workshop's hot, the probe can give wonky readings. We keep a thermos of room-temp distilled water handy to cool samples down if needed."
Titration is for when you need precision down to the decimal. This lab-based method involves adding a chemical solution (like acid or base) to the wood sample until a color change happens, then calculating pH based on how much was added. It's time-consuming and requires training, but it's essential for certifications or troubleshooting tricky batches. "We only break out titration if we're having a mystery issue, like when we switched to a new supplier for our rough granite stone (medium grey) accents last year," Maria said. "Turns out, their stone dust was leaching into our wood samples, skewing pH. Titration helped us pinpoint exactly how much it was affecting things."
Okay, so you've got your tools—now what? Let's walk through how a typical pH measurement goes down on the production floor. I'll use Maria's process as a guide, since her team's method is pretty standard across the industry.
First, you need a sample that actually reflects the batch. Grab a few boards from different parts of the production line—top, middle, bottom of the stack—to avoid outliers. "If you only test the first board off the press, you might miss that the last five have a pH issue from uneven cooling," Maria said. For charcoal burnt wood boards, you'll need a small chunk (about the size of a golf ball) from each sample. Use a clean, dry saw to avoid contamination—no leftover glue or finish from previous cuts allowed.
Grind the wood chunk into a fine powder using a mortar and pestle or a coffee grinder dedicated to this task (no repurposing the office Keurig, folks). The finer the powder, the better the water can extract the pH-affecting compounds. Once you've got a powder, mix 5 grams of it with 50 milliliters of distilled water in a clean beaker. Stir gently for a minute, then let it sit for 30 minutes. This gives the water time to pull out the acids and alkalis from the wood—think of it like steeping tea, but for chemistry.
Before measuring, calibrate your pH meter. Pop the probe into a buffer solution (start with 7.0, the neutral point), wait for the reading to stabilize, and adjust the meter until it matches. Then do the same with a 4.0 buffer (acidic) to ensure accuracy across the range. Wipe the probe with a lint-free cloth between buffers—any leftover solution can throw off the next reading. Test strips skip calibration, but double-check the expiration date—old strips are about as reliable as a weather app in a thunderstorm.
Stir the wood-water mixture again, then let the sediment settle for a minute. For a pH meter, lower the probe into the liquid (not touching the sediment at the bottom) and wait 30–60 seconds for the reading to stabilize. Jot down the number. For test strips, dip the strip into the liquid for 2–3 seconds, then compare it to the color chart on the package. Titration? That's a whole lab process—you'd add drops of a standardized acid solution (like hydrochloric acid) until the mixture changes color, then calculate pH using the volume added. Most production lines only go this route if the meter or strips show something seriously off.
Compare your reading to your target pH range (usually 5.5–7.0 for charcoal burnt wood boards). If it's within range, great—proceed with production. If it's too high or low, investigate why. Maybe the burning process ran too hot (altering the wood's chemistry), or the wood species was different than usual. Adjust the process—tweak the burn time, add a neutralizing agent like calcium carbonate for acidity, or let the wood age longer to stabilize pH. Then test again. Rinse and repeat until you're back in the sweet spot.
Measuring pH in charcoal burnt wood boards isn't always smooth sailing. Even with the best tools, a few curveballs can throw off your results. Let's talk about the biggest ones—and how to hit them out of the park.
Wood is hygroscopic, meaning it soaks up moisture from the air like a sponge. If your sample is too wet, the extra water can dilute the acids/alkalis, making pH seem more neutral than it really is. Too dry, and you might get a falsely high or low reading because there's not enough water to extract the compounds. The fix? Aim for a moisture content of 8–12% in your samples (most mills have moisture meters for this). If it's too wet, let the sample air-dry for a few hours (not in the sun—heat can alter pH too). Too dry? Add a tiny bit of distilled water and let it sit longer before testing.
Even a speck of dust or leftover residue from a previous test can mess things up. "We once had a week where every pH reading was way too high," Maria laughed. "Turns out, someone had cleaned the beakers with soap but didn't rinse them properly. The soap residue was alkaline, so every sample read 8.5+. We wasted a day retesting before we figured it out." Use dedicated, clean tools—no sharing beakers between pH testing and other tasks. And always use distilled water (not tap water, which has minerals that can affect pH).
No two pieces of wood are identical. Even from the same tree, one board might have a slightly different pH than the next. That's why collecting multiple samples (at least 3–5 per batch) is key. "We test one sample per 10 boards," Maria said. "If three out of five are within range, we're good. If two are off, we test more to see if it's a pattern or just a fluke." It's all about catching trends, not obsessing over single outliers.
Let's wrap this up with a real story about why all this matters. A few years ago, a furniture company in California wanted to create a line of dining tables pairing charcoal burnt wood boards with travertine (beige) tabletops. The first prototype looked stunning—until, after a month in their showroom, the wood around the travertine edges started turning a weird greenish tint. Customers noticed, and orders dried up fast.
The team tested everything: the adhesive, the finish, even the travertine itself. Finally, they measured the pH of the wood boards. The reading? 8.3—way above the target 6.5. The alkaline wood was reacting with the minerals in the travertine (beige), causing a chemical reaction that led to discoloration. They adjusted their burning process to cool the boards more slowly, which brought the pH down to 6.2. Retested the tables, and the discoloration stopped. Within three months, the line was back on track, and they even added a new model with fair-faced concrete legs—all because they started monitoring pH.
Today, that company includes pH test results in their product spec sheets. "Customers love it," their designer told me. "It shows we care about the details, not just the look. Plus, we haven't had a single return since we fixed the pH issue."
At the end of the day, measuring pH in charcoal burnt wood board production isn't just about numbers on a screen or colors on a strip. It's about respect for the material—understanding that wood, even after being burnt and shaped, is a living, breathing thing with its own chemical needs. It's about ensuring that the beautiful, textured boards we love today will still be stunning decades from now, whether they're paired with wood grain board shelves, woven (khaki) cushions, or rough granite stone (medium grey) accents.
So the next time you run your hand over a charcoal burnt wood surface, take a second to appreciate the quiet work that went into it—including the pH tests that kept it strong, stable, and ready to shine. After all, great design isn't just about how something looks. It's about how well it's made. And when it comes to charcoal burnt wood boards, pH measurement is the unsung hero making that possible.
Recommend Products


