Walk into any modern home, office, or commercial space today, and there's a good chance you'll spot a material that feels like wood but behaves like something far more resilient. That's
poly wood board—a star player in the world of
modified composite material panels
that's redefining how we build. Blending the warm, organic look of natural wood with the durability of engineered composites, it's no wonder this material has become a go-to for architects and homeowners alike. But have you ever wondered how those smooth, textured boards go from raw materials to the finished product on your walls or floors? Let's pull back the curtain and explore the step-by-step journey of creating
poly wood board—from forest to factory, and everything in between.
Before we dive into the manufacturing magic, let's get clear on what we're talking about.
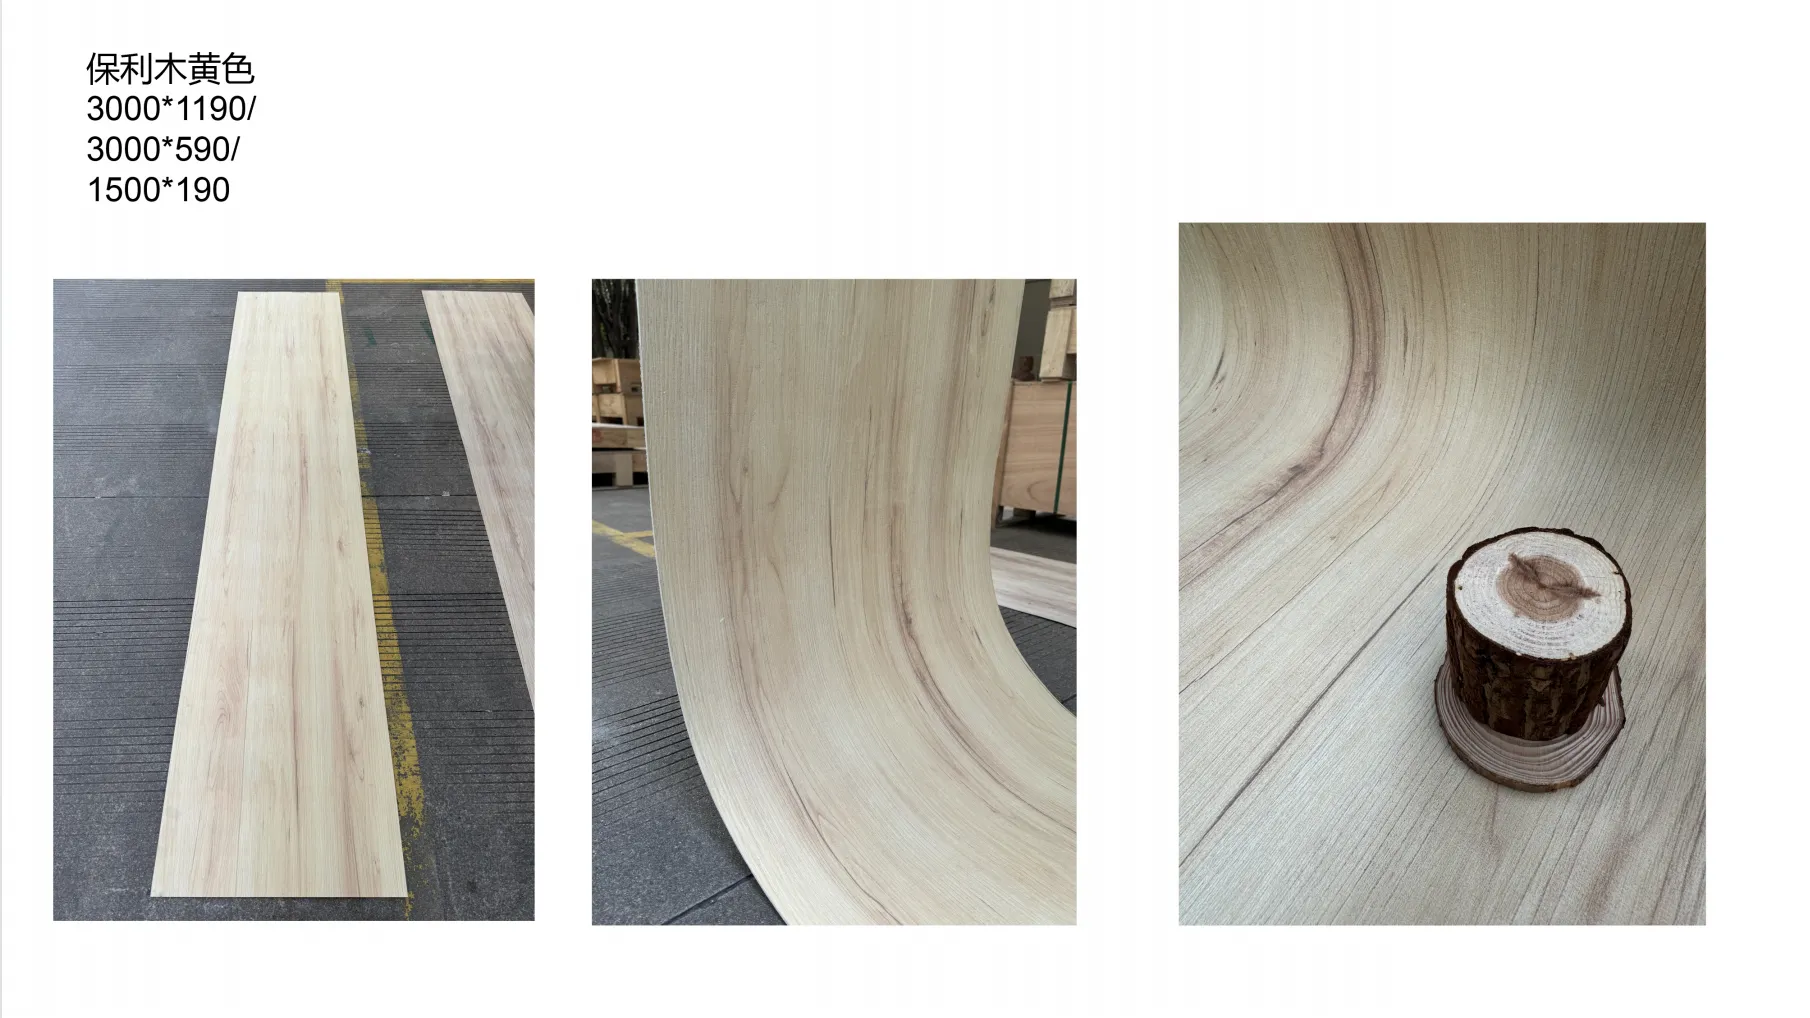
Poly wood board (short for "polymer wood board") is a hybrid material made by combining wood fibers or particles with plastic polymers, along with a mix of additives to boost performance. Think of it as wood's tough, low-maintenance cousin—retaining that classic
wood grain board
aesthetic but resistant to rot, moisture, insects, and warping. It's also a champion of sustainability, often made with recycled materials, which is why it's frequently grouped under
green building materials
. Whether it's used for decking, wall cladding, furniture, or even outdoor signage,
poly wood board checks all the boxes: beauty, strength, and a smaller environmental footprint.
Step 1: Sourcing the Raw Materials—The Foundation of Quality
Every great product starts with great ingredients, and
poly wood board is no exception. The process begins with carefully selecting two primary components: wood fibers/particles and plastic polymers. Let's break down what goes into the mix and why each element matters.
|
Material
|
Common Sources
|
Role in the Final Board
|
|
Wood Fibers/Particles
|
Recycled wood waste (sawdust, offcuts), sustainably harvested softwoods/hardwoods
|
Provides the natural texture, color, and "wood-like" feel we love; reduces plastic usage
|
|
Plastic Polymers
|
Recycled HDPE (high-density polyethylene), PP (polypropylene), or virgin plastics
|
Adds strength, water resistance, and flexibility; binds the wood particles together
|
|
Additives
|
UV stabilizers, colorants, lubricants, flame retardants
|
Prevents fading, enhances
wood grain board
aesthetics, eases processing, boosts safety
|
Manufacturers don't just grab any wood or plastic, though. The wood fibers need to be consistent in size—too coarse, and the board might feel rough; too fine, and it loses that authentic woody texture. For plastics, recycled options are preferred (hello, sustainability!) but they must be free of contaminants like dirt or food residue. Even the additives are chosen with care: UV stabilizers, for example, are non-negotiable if the board will be used outdoors, as they prevent sun-induced fading and brittleness.
Pro Tip:
Many manufacturers prioritize recycled materials here. Up to 90% of the plastic in some poly wood boards comes from post-consumer waste like plastic bottles or bags, making this a circular solution that keeps waste out of landfills. That's the
green building materials
promise in action!
Step 2: Preparing the Raw Materials—Clean, Dry, and Ready to Mix
Now that the raw materials are sourced, they need a little prep work before they can play nice together. Imagine baking a cake: you wouldn't toss a whole bag of flour into the bowl without sifting it first, right? The same logic applies here.
Wood Prep:
First, the wood fibers or particles are run through a series of shredders and grinders to break them down into uniform flakes or powder. This step ensures the wood distributes evenly in the final mix—no lumps, no weak spots. Next, they're dried in large ovens or rotary dryers. Why? Moisture is the enemy of adhesion. If wood particles hold too much water, they'll interfere with the plastic's ability to bind, leading to cracks or bubbles in the finished board. Most manufacturers aim for a moisture content below 2-3% here.
Plastic Prep:
Plastic polymers, whether recycled or virgin, need their own cleanup. Recycled plastics are sorted by type (you don't want HDPE mixed with PVC, for example), then washed to remove labels, dirt, or oils. They're then melted down and pelletized—turned into small, uniform beads that are easy to measure and mix. Virgin plastics skip the washing step but still get pelletized for consistency.
Additive Prep:
Additives like colorants or UV stabilizers are often pre-mixed into "masterbatches"—concentrated blends that make it easier to distribute them evenly throughout the mix. Think of it as adding food coloring to cake batter: a little goes a long way, and pre-diluting ensures the color spreads without streaks. For
wood grain board
effects, colorants might be added in layers to mimic the natural variation in wood tones, from light oak to deep walnut.
Step 3: Mixing the Composite—Where the Magic Starts to Blend
With all materials prepped, it's time to bring them together. This is where the "composite" in
modified composite material panels
really shines. The goal? A homogeneous mix where wood fibers, plastic, and additives are so well integrated that they act as a single, super-strong material.
The mixing happens in high-speed blenders or mixers—industrial-sized machines that look a bit like giant food processors. The wood fibers and plastic pellets are added first, followed by the additive masterbatches. As the mixer spins (often at speeds up to 1,500 RPM), friction generates heat, softening the plastic just enough to start coating the wood particles. This "pre-blend" stage is crucial: if the plastic doesn't fully coat the wood, the board will be weak. Manufacturers carefully monitor the temperature here—too hot, and the plastic might burn; too cold, and it won't bind properly.
Fun Fact:
The ratio of wood to plastic varies by product. Outdoor decking boards, which need extra durability, might have a 50:50 wood-to-plastic ratio. Indoor wall panels, prioritizing aesthetics, could lean more wood (60:40). It's all about balancing form and function!
Step 4: Extrusion—Shaping the Board (Think "Industrial Play-Doh")
Now that we have a well-mixed composite, it's time to give it shape. Enter the extruder—a machine that's like a giant, high-tech pasta maker. The composite mix is fed into a hopper at the top, then pushed through a long, heated barrel by a rotating screw. As the mix travels through the barrel, it's subjected to even more heat (around 180-220°C) and pressure, melting the plastic completely and turning the blend into a thick, molten "dough."
At the end of the barrel is a die—a custom metal plate with an opening shaped like the desired board (e.g., 1x6 inch planks, thin wall panels). As the molten composite is forced through the die, it takes on that shape. But here's where the
wood grain board
magic happens: some dies have textured surfaces or rollers that imprint wood-like patterns onto the board as it exits. It's like stamping a design into clay—except this clay is hot, plastic-y, and about to become a building material.
Extrusion isn't just about shape, though. The screw inside the barrel also works to remove air bubbles from the mix, ensuring the final board is dense and free of voids. Any air trapped inside would weaken the structure, so this step is non-negotiable for quality.
Step 5: Cooling and Sizing—Setting the Shape for Good
Fresh out of the extruder, the board is hot and pliable—like a baked cookie that needs to cool before you can stack it. If it were left to cool on its own, it might warp or shrink unevenly. So manufacturers pass it through a series of cooling stations, often using water sprays or chilled rollers. This gradual cooling locks the shape in place and ensures the board retains its dimensions.
After cooling, the board moves to a sizing saw, which trims the edges to precise dimensions. No more wonky sides here—this step ensures every board is uniform, whether it's a 10-foot plank or a 2-foot panel. Some manufacturers also add tongue-and-groove edges during this stage, making installation easier (think of how floorboards click together).
Step 6: Surface Finishing—Adding the Final Touches
Now that the board has its basic shape, it's time to make it look and feel like a finished product. This is where the
wood grain board
aesthetic really comes to life. Depending on the product, finishing might involve:
-
Sanding:
Fine-grit sandpaper smooths any rough spots, giving the surface a soft, touchable feel.
-
Embossing:
For deeper, more realistic wood grain, the board might pass through embossing rollers that press detailed patterns into the surface.
-
Coating:
Some boards get a protective topcoat—like a clear sealant or stain—to enhance water resistance or add color depth. Outdoor boards often get an extra UV-resistant layer here.
Indoor panels might skip the heavy coating in favor of a natural, matte finish that lets the wood grain shine. Outdoor decking, on the other hand, could get a textured coating for slip resistance. It all depends on where the board will live!
Step 7: Quality Control—Testing, Testing, 1-2-3
No product leaves the factory without passing a battery of tests. After all,
poly wood board is supposed to be durable—so manufacturers make sure it lives up to the hype. Quality control teams check everything from:
-
Tensile strength:
Can the board bend without breaking?
-
Water absorption:
Does it resist moisture (critical for bathrooms or pools)?
-
Color fastness:
Will it fade in the sun?
-
Dimension stability:
Does it shrink or warp when heated/cooled?
Samples are taken from every batch and put through these tests. If a board fails—say, it absorbs too much water—it's sent back for reworking, and the manufacturing process is adjusted (maybe the plastic ratio needs tweaking). This rigorous testing is why
poly wood board has earned a reputation for reliability, even in harsh environments.
Step 8: Packaging and Distribution—Ready for Your Project
Finally, the finished boards are sorted, stacked, and packaged. Most are wrapped in protective plastic or cardboard to prevent scratches during shipping. They're then loaded onto trucks and sent to distributors, home improvement stores, or directly to contractors. And just like that, the
poly wood board is ready to become part of a deck, a wall, a piece of furniture, or whatever project you can dream up.
Why It All Matters: Poly Wood Board's Place in the Future of Building
As we wrap up this deep dive, it's clear that making
poly wood board is equal parts science and art. From selecting the right raw materials to imprinting that perfect wood grain, every step is designed to create a material that's both beautiful and built to last. And as
green building materials
continue to gain traction,
poly wood board stands out as a solution that doesn't just meet our needs today but respects the planet, too.
So the next time you run your hand over a poly wood surface, take a moment to appreciate the journey it took to get there—from recycled plastic bottles and wood waste to a durable, stunning material that's changing the way we build. It's more than just a board; it's a testament to how innovation and sustainability can go hand in hand.