Introduction: The Beauty of Charcoal Burnt Wood Boards
There's something undeniably striking about a
charcoal burnt wood board. Maybe it's the way the deep, smoky hues play with light, or the tactile contrast between the smooth wood underneath and the slightly rough, charred surface. These boards have become a favorite in modern homes, cafes, and even boutique offices—not just for their functionality (they're surprisingly durable!) but for the warmth and character they add to any space. Unlike a standard
wood grain board, which showcases the natural patterns of the tree, a
charcoal burnt wood board tells a different story: one of intentional transformation, where fire is used as a tool to enhance, not destroy. It's a blend of rustic charm and contemporary edge, and if you're lucky enough to own one, you know it's more than just a surface—it's a conversation piece.
But here's the thing about beautiful, textured surfaces: they demand a little extra care. A
charcoal burnt wood board isn't like a sleek
sawing wood board, which you can wipe down quickly and forget about. Its unique, slightly porous finish (thanks to the controlled burning process) means dirt, crumbs, and spills can sneak into tiny crevices if you're not careful. And while it's designed to withstand daily use, neglecting its maintenance can dull its luster, warp its shape, or even lead to unsightly stains. So today, let's dive into everything you need to know to keep your
charcoal burnt wood board looking as stunning as the day you brought it home. We'll cover daily cleaning, deep cleaning, stain removal, and long-term care—plus, we'll even touch on how it stacks up against other materials, like the rough granite stone (beige) you might have in your kitchen, to help you appreciate just how special (and worth caring for) these boards really are.
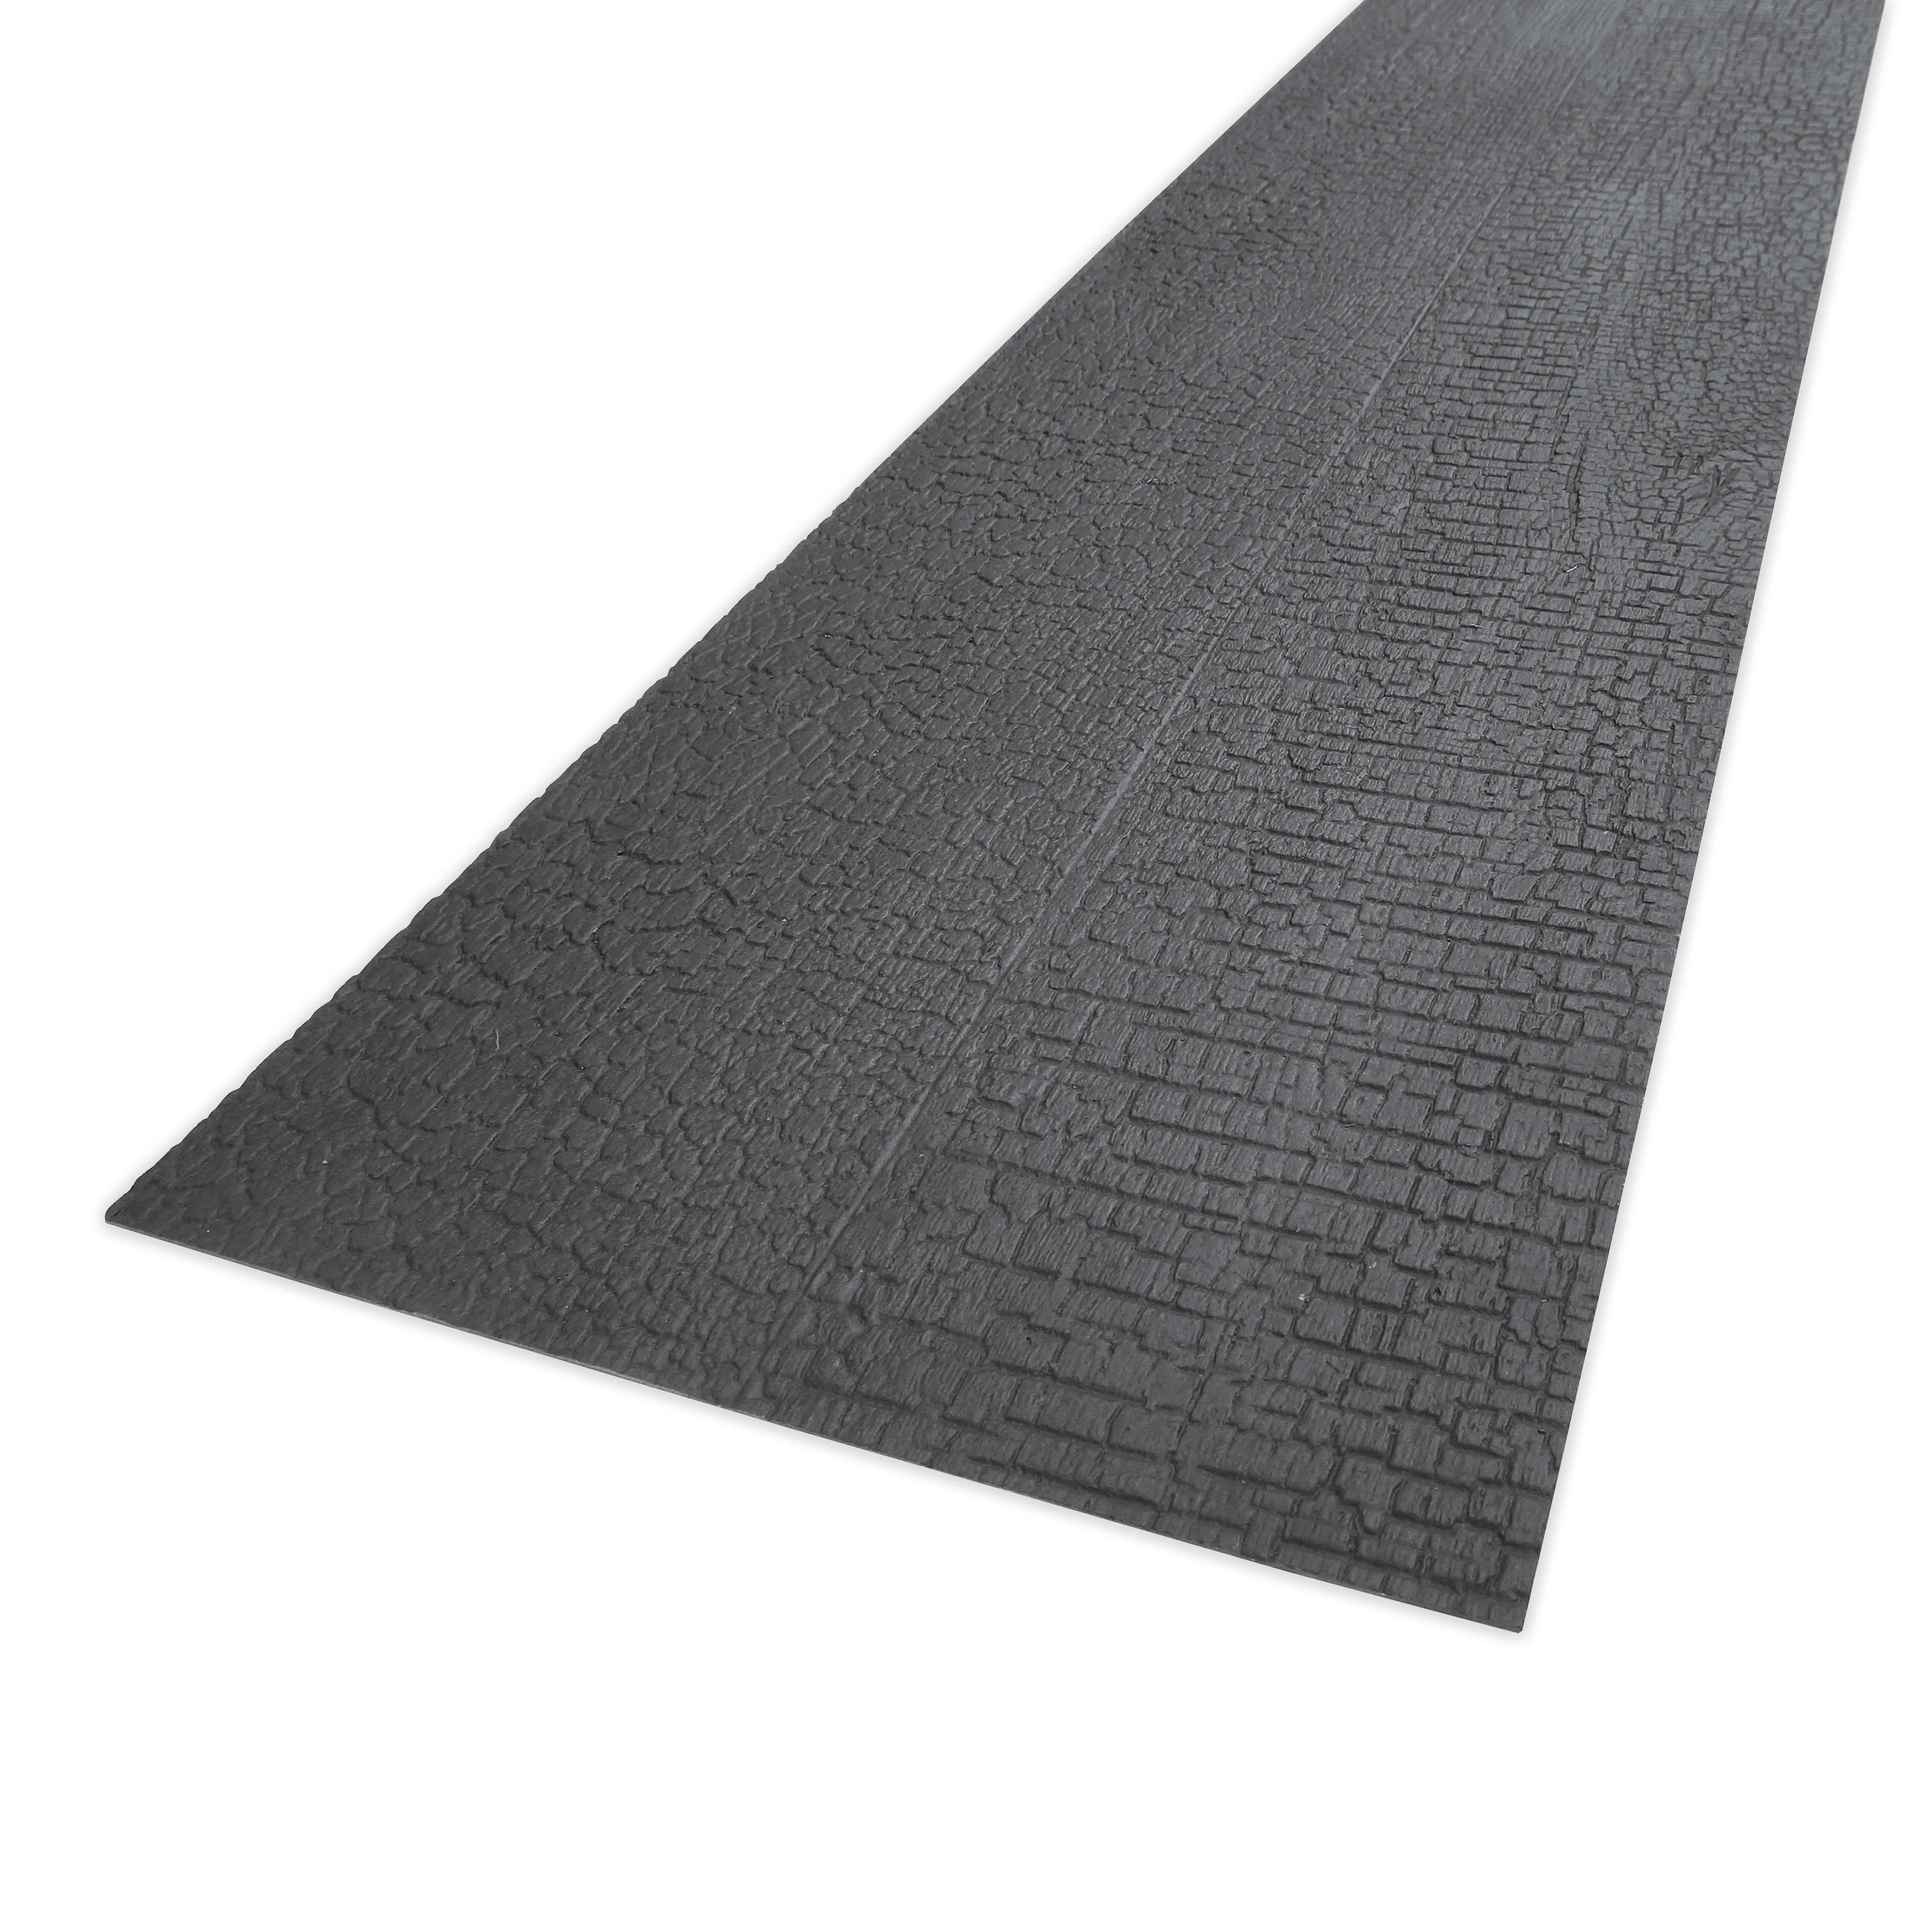
Before we jump into cleaning, let's take a quick second to understand what makes a
charcoal burnt wood board different from, say, a
bamboo mat board or a standard oak cutting board. These boards are created using a traditional technique (often called shou sugi ban, a Japanese method) where the wood is lightly burnt to char the surface, then brushed to remove loose ash. The result? A thin, protective layer of carbon that resists moisture, pests, and even fire (ironic, right?). But beneath that charred layer is still natural wood, which means it's porous, sensitive to temperature changes, and prone to drying out if not nourished.
The texture is key here. Run your hand over the surface—you'll notice it's not perfectly smooth. There are tiny grooves and indentations left by the burning and brushing process. These give the board its signature look, but they also mean that things like crumbs, oil, and even water can get trapped if you're not thorough with cleaning. Compare that to a
sawing wood board, which is cut and sanded to a uniform finish; its surface is flatter, so dirt has fewer places to hide. That's why a one-size-fits-all cleaning routine won't work here—your charcoal burnt board needs a little extra attention to those nooks and crannies.
Pro Tip:
Not all charcoal burnt wood boards are the same! Some are burnt more deeply than others, and some may have been sealed with a natural oil after processing. Check with the manufacturer if you're unsure—this can affect how you clean it (sealed boards might handle slightly more moisture, for example).
Daily Cleaning: Keeping It Fresh with Quick Wipes
Let's start with the basics: daily cleaning. You don't need anything fancy here—just a few minutes and some simple tools. The goal is to remove surface dirt, crumbs, and any spills before they have a chance to set in. Here's how to do it:
Step 1: Grab a soft, lint-free cloth or a microfiber towel.
Avoid abrasive sponges or scouring pads—these can scratch the charred surface and damage the wood underneath. A
bamboo mat board might stand up to a bit more scrubbing, but your charcoal burnt board is more delicate.
Step 2: Wipe down the surface with warm water.
If there are light food residues (like bread crumbs or a smudge of butter), a damp cloth should do the trick. For slightly stickier messes (think honey or jam), add a tiny drop of mild dish soap to the cloth—just enough to create a gentle lather. Avoid pouring water directly onto the board, as excess moisture can seep into the wood and cause warping.
Step 3: Dry immediately with a clean towel.
This is non-negotiable. Wood and water don't mix well long-term, and the charred layer isn't completely waterproof. Even if you only used a damp cloth, dry the board thoroughly to prevent water spots or, worse, mold from forming in those textured grooves.
Step 4: Let it air out (optional).
If you have the space, prop the board up against a wall or place it on a dish rack for 10–15 minutes after drying to ensure no moisture is trapped underneath. This is especially important if you're storing it in a cabinet or drawer later—you want it completely dry first.
That's it! Daily cleaning should take no more than 2–3 minutes, and it's the best way to prevent buildup. Think of it like brushing your teeth—quick, easy, and essential for long-term health (for the board, that is).
Deep Cleaning: Monthly Maintenance for a Deep Refresh
Even with daily wipes, your
charcoal burnt wood board will benefit from a deeper clean once a month (or more often if you use it heavily, like as a cutting board or serving platter for messy foods). Deep cleaning removes any trapped dirt, oils, or residue that daily wipes might miss, and it helps keep the wood from drying out. Here's how to tackle it:
Step 1: Gather your supplies.
You'll need: a soft-bristled brush (an old toothbrush works great for tight spots), a bowl of warm water mixed with a teaspoon of mild dish soap, a microfiber cloth, and a natural wood oil (like mineral oil or beeswax—more on this later).
Step 2: Brush away loose debris.
Use the soft-bristled brush to gently scrub the surface, focusing on those textured areas. The goal is to dislodge any crumbs or dirt that's hiding in the grooves. Be gentle—you don't want to scratch the charred layer.
Step 3: Wipe with soapy water.
Dip the microfiber cloth into the soapy water, wring it out until it's just damp (not dripping), and wipe the entire surface. Again, avoid saturating the board—you want to clean, not soak.
Step 4: Rinse and dry thoroughly.
Use a clean, damp cloth to wipe away any soap residue, then dry immediately with a towel. Follow up by air-drying for 30 minutes to an hour—this ensures all moisture evaporates.
Step 5: Nourish the wood.
Once the board is completely dry, apply a thin layer of natural wood oil. Use a clean cloth to rub the oil into the surface, following the grain of the wood (even though the charred layer hides it, the wood still has a grain underneath!). Let the oil sit for 15–20 minutes, then wipe away any excess with a dry cloth. This keeps the wood hydrated and prevents it from cracking or warping.
Pro Tip:
Skip the commercial wood polishes or furniture sprays—they often contain chemicals that can damage the charred layer or leave a sticky residue. Stick to food-safe oils like mineral oil, coconut oil, or beeswax for best results.
Stain Removal: Tackling the Tough Spots
Even with careful cleaning, stains happen. Maybe you forgot a glass of red wine on the board, or a drizzle of olive oil sat too long and left a dark spot. Don't panic—most stains can be removed with a little patience and the right technique. Here are the most common stains and how to fix them:
Oil Stains:
These are tricky because oil can seep into the wood's pores. Start by sprinkling a small amount of baking soda over the stain—just enough to cover it. Then, dampen a cloth with warm water and gently rub the baking soda into the stain in a circular motion. Let it sit for 5–10 minutes, then wipe away the baking soda with a clean, damp cloth. Repeat if needed. Baking soda is a mild abrasive that helps lift the oil without scratching the surface.
Water Rings:
That annoying white ring left by a cold glass? It's usually just moisture trapped in the wood's top layer. Try this: mix equal parts white vinegar and olive oil (yes, olive oil!). Dip a cloth into the mixture and rub it into the ring, following the wood grain. Let it sit overnight, then wipe away any excess. The vinegar helps break down the moisture, and the oil nourishes the wood.
Food Stains (Tomato Sauce, Coffee, etc.):
For these, make a paste of equal parts water and baking soda. Apply the paste to the stain, cover it with a damp cloth, and let it sit for 30 minutes. The cloth keeps the paste from drying out, allowing it to work deeper into the stain. After 30 minutes, wipe away the paste with a damp cloth and dry thoroughly.
Charred Layer Stains:
If the actual charred surface is stained (maybe from a marker or ink), avoid harsh chemicals. Instead, try rubbing a small amount of toothpaste (non-gel, white) onto the stain with a soft cloth. Rinse with a damp cloth and dry. Toothpaste is gentle enough to lift the stain without removing the charred layer.
Long-Term Maintenance: Protecting Your Board for Years to Come
Daily cleaning and monthly deep cleans are important, but long-term maintenance is what will keep your
charcoal burnt wood board looking great for decades. Here are the key habits to adopt:
Avoid Excess Moisture:
This can't be stressed enough. Never soak the board, and never put it in the dishwasher. Even a quick rinse under the faucet can lead to warping if the wood absorbs too much water. If the board does get wet (like after a spill), dry it immediately with a towel and then air-dry it completely before storing.
Control Temperature and Humidity:
Wood expands and contracts with changes in temperature and humidity. Keep your board away from direct sunlight (which can dry it out and fade the charred color), radiators, or air vents. A room with stable humidity (around 40–60%) is ideal. If you live in a very dry climate, consider using a humidifier near the board to prevent cracking.
Oil Regularly:
We mentioned oiling during deep cleaning, but how often should you do it? Aim for once a month if you use the board frequently, or once every 2–3 months if it's more of a decorative piece. Oiling keeps the wood supple and prevents it from drying out and developing cracks. Think of it like moisturizer for your skin—your board needs that hydration!
Compare with Other Materials:
To put this in perspective, consider rough granite stone (beige), a popular countertop material. Granite is non-porous and highly durable—it can handle spills, heat, and heavy scrubbing without much fuss. But your
charcoal burnt wood board? It's more like a vintage leather jacket—beautiful, but it needs care to age well. You wouldn't throw a leather jacket in the washing machine, and you shouldn't treat your wood board like a granite countertop. Embrace the maintenance—it's part of what makes the board special.
Do's and Don'ts: A Quick Reference Guide
|
Do's
|
Don'ts
|
|
Use a soft cloth or microfiber towel for daily cleaning.
|
Use abrasive sponges, steel wool, or scouring pads.
|
|
Dry the board immediately after cleaning or spills.
|
Let water sit on the surface for more than a few minutes.
|
|
Oil the board monthly (or as needed) with natural oil.
|
Use commercial furniture polish or chemical cleaners.
|
|
Store the board in a dry, well-ventilated area.
|
Store it in a damp cabinet or under the sink.
|
|
Use baking soda or white vinegar for tough stains.
|
Use bleach, ammonia, or other harsh chemicals.
|
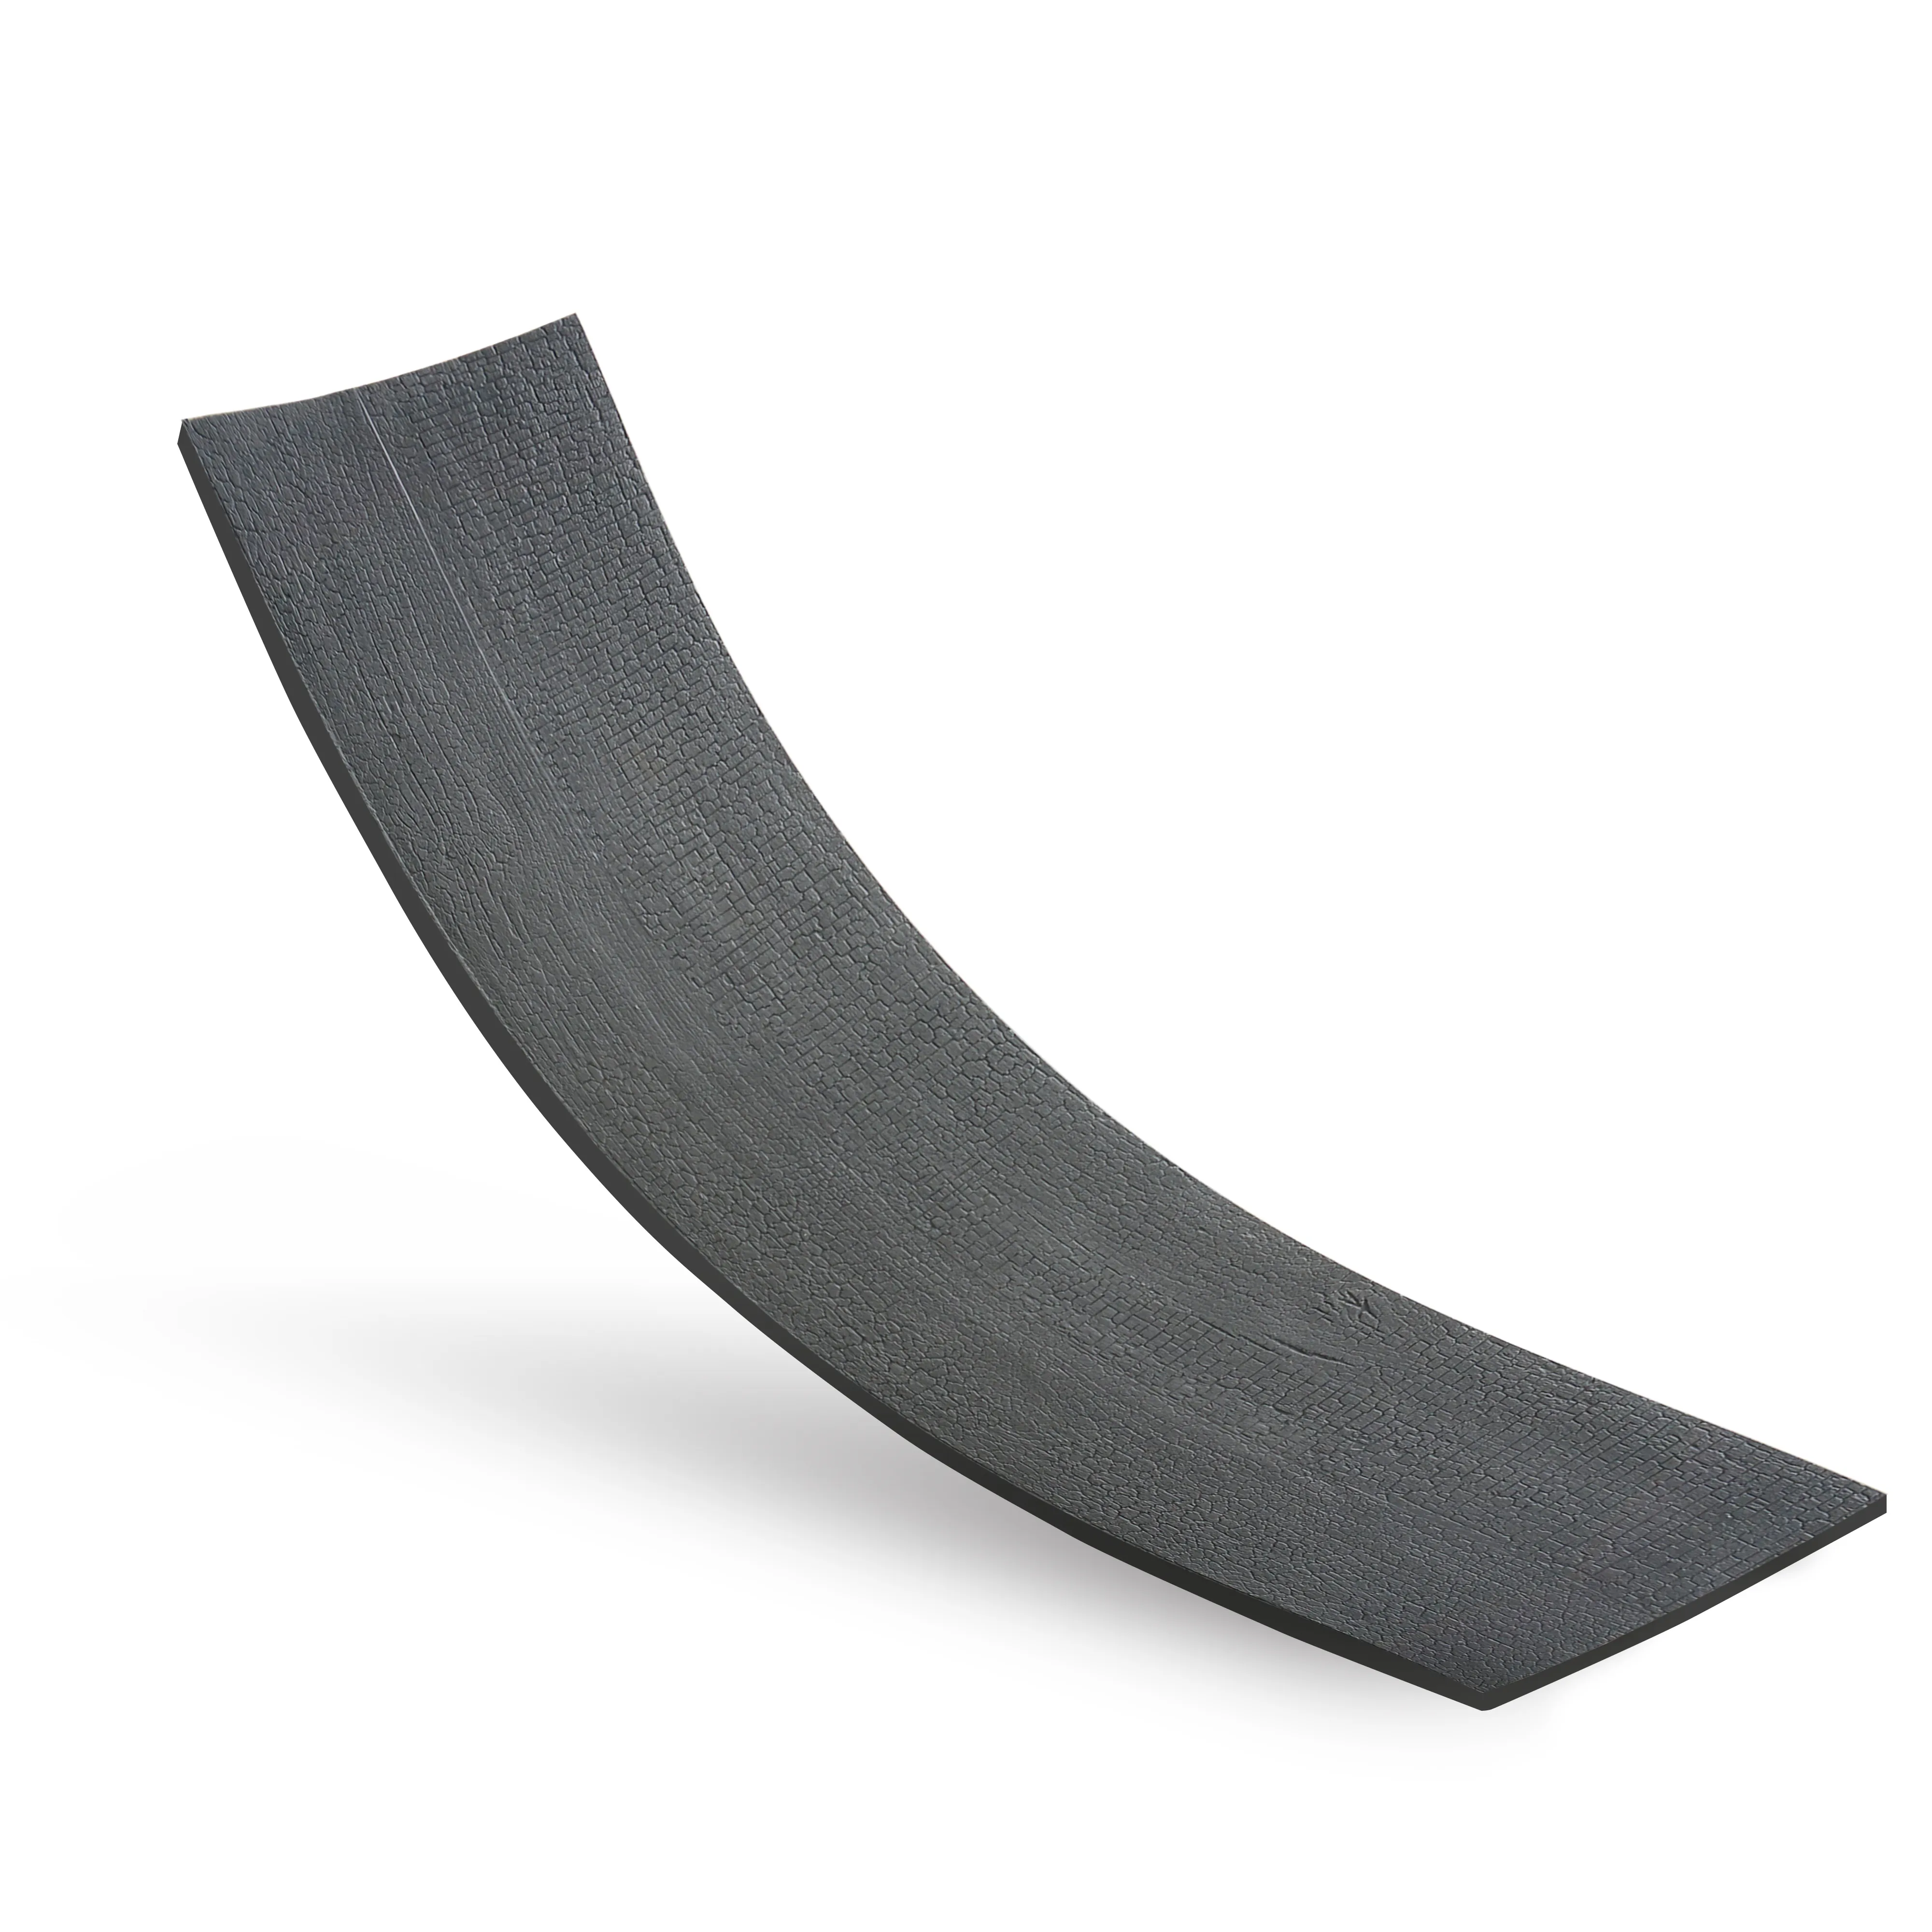
Troubleshooting Common Issues
Even with the best care, you might run into a few hiccups. Here's how to handle the most common problems:
Warping:
If your board starts to curve or bow, it's usually due to uneven moisture exposure (like drying one side more than the other). To fix it, wet the concave side (the "dished" side) with a damp cloth, then place the board flat on a towel, concave side up. Put a heavy, flat object (like a stack of books) on top and let it sit overnight. The moisture will cause the concave side to expand, straightening the board.
Discoloration:
If the charred layer starts to fade or turn uneven, it might be from too much sunlight or harsh cleaners. To restore it, you can try lightly sanding the surface with fine-grit sandpaper (220 grit or higher) to remove the top layer of faded char, then reapply a thin coat of natural wood oil. This should bring back the rich, dark color.
Scratches:
Small scratches can often be fixed with a little wood oil. Rub a tiny amount of oil into the scratch with your finger, then let it sit for a few hours. The oil will seep into the scratch and make it less noticeable. For deeper scratches, you might need to touch it up with a wood stain that matches the charred color—test it on a hidden area first!
Caring for a
charcoal burnt wood board might seem like a lot of work, but it's really just about building a few simple habits into your routine. A quick wipe down after use, a monthly deep clean, and regular oiling—these small steps will keep your board looking beautiful for years to come. And when you consider the character it adds to your space, the warmth it brings to gatherings, and the stories it will tell (that time you served homemade pizza on it, or the holiday brunch where it held the fruit platter), it's more than worth the effort.
Remember, this board isn't just a piece of wood—it's a blend of artistry and nature, transformed by fire and care. By taking the time to maintain it, you're not just preserving a surface; you're preserving a piece of craftsmanship that will only get more beautiful with age. So go ahead—use it, love it, and care for it. Your
charcoal burnt wood board will thank you.


