
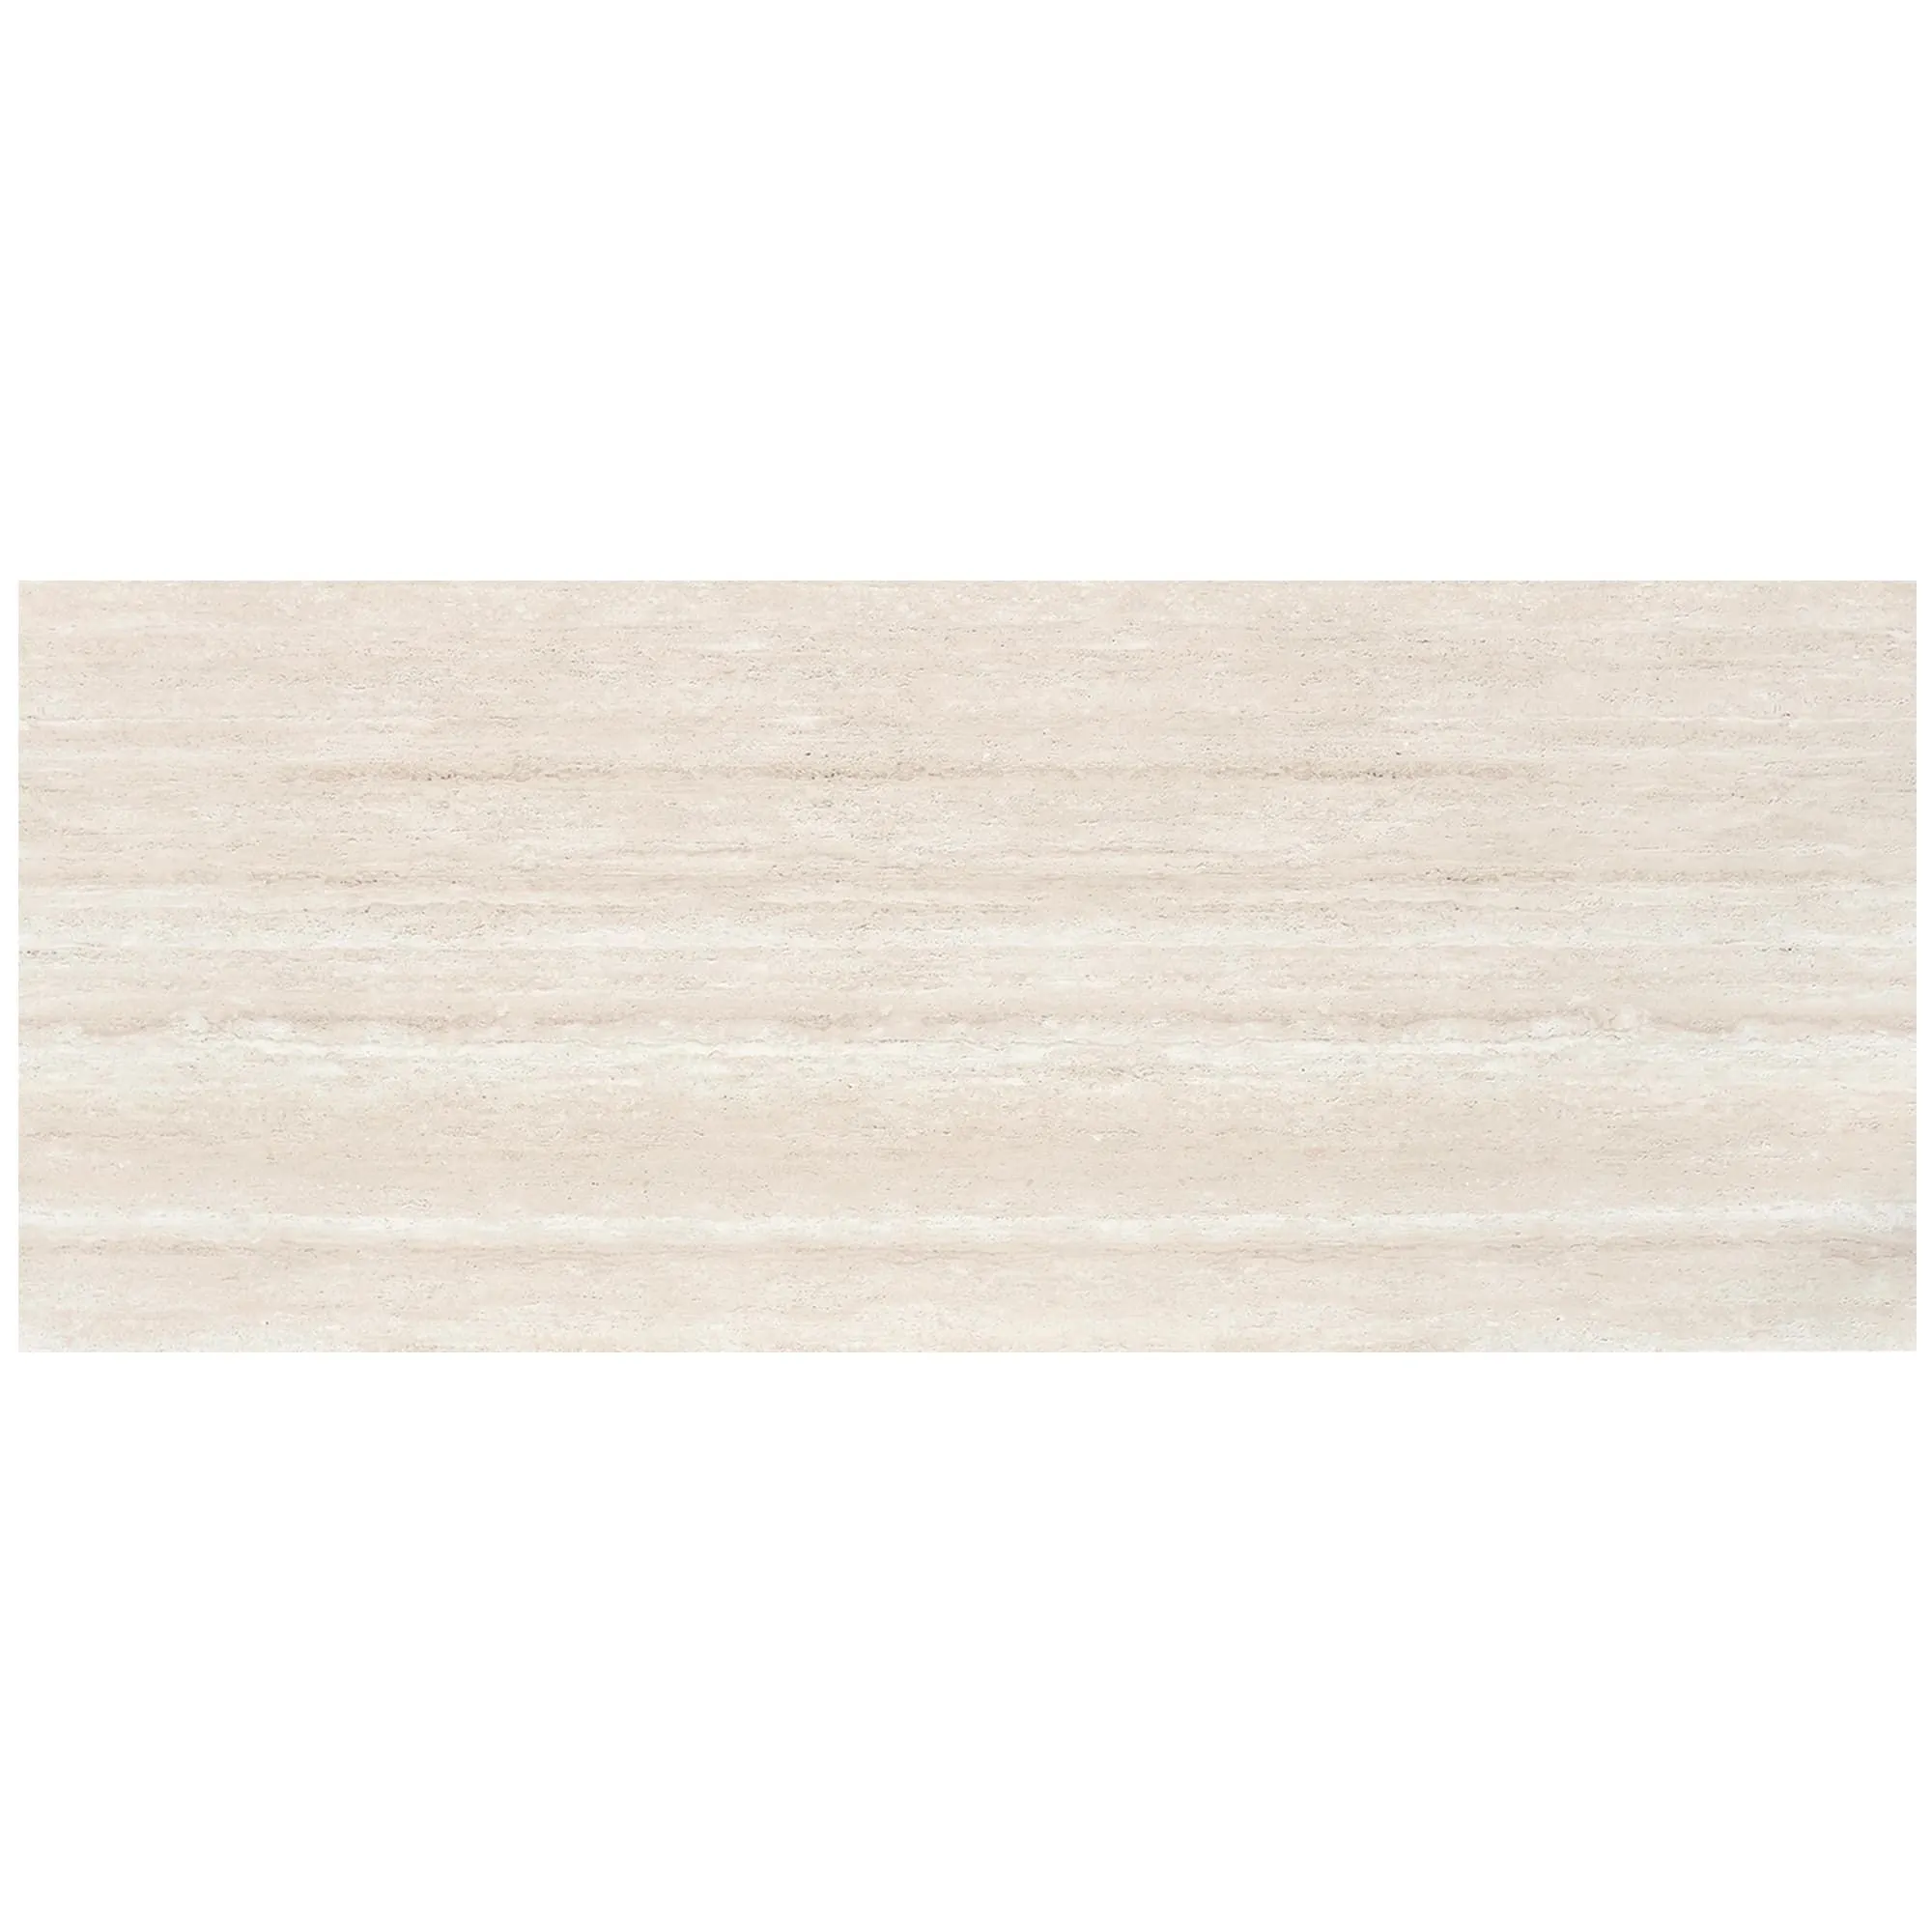
Rona Yellow stone, with its distinctive warm golden tones and natural elegance, has become a popular choice for both interior and exterior design projects. As part of the premium flexible stone collection offered by COLORIA GROUP, this unique material requires proper grouting techniques to ensure lasting beauty and structural integrity. Understanding the correct grouting process is essential for achieving professional results that showcase the stone's natural characteristics while providing long-term durability.
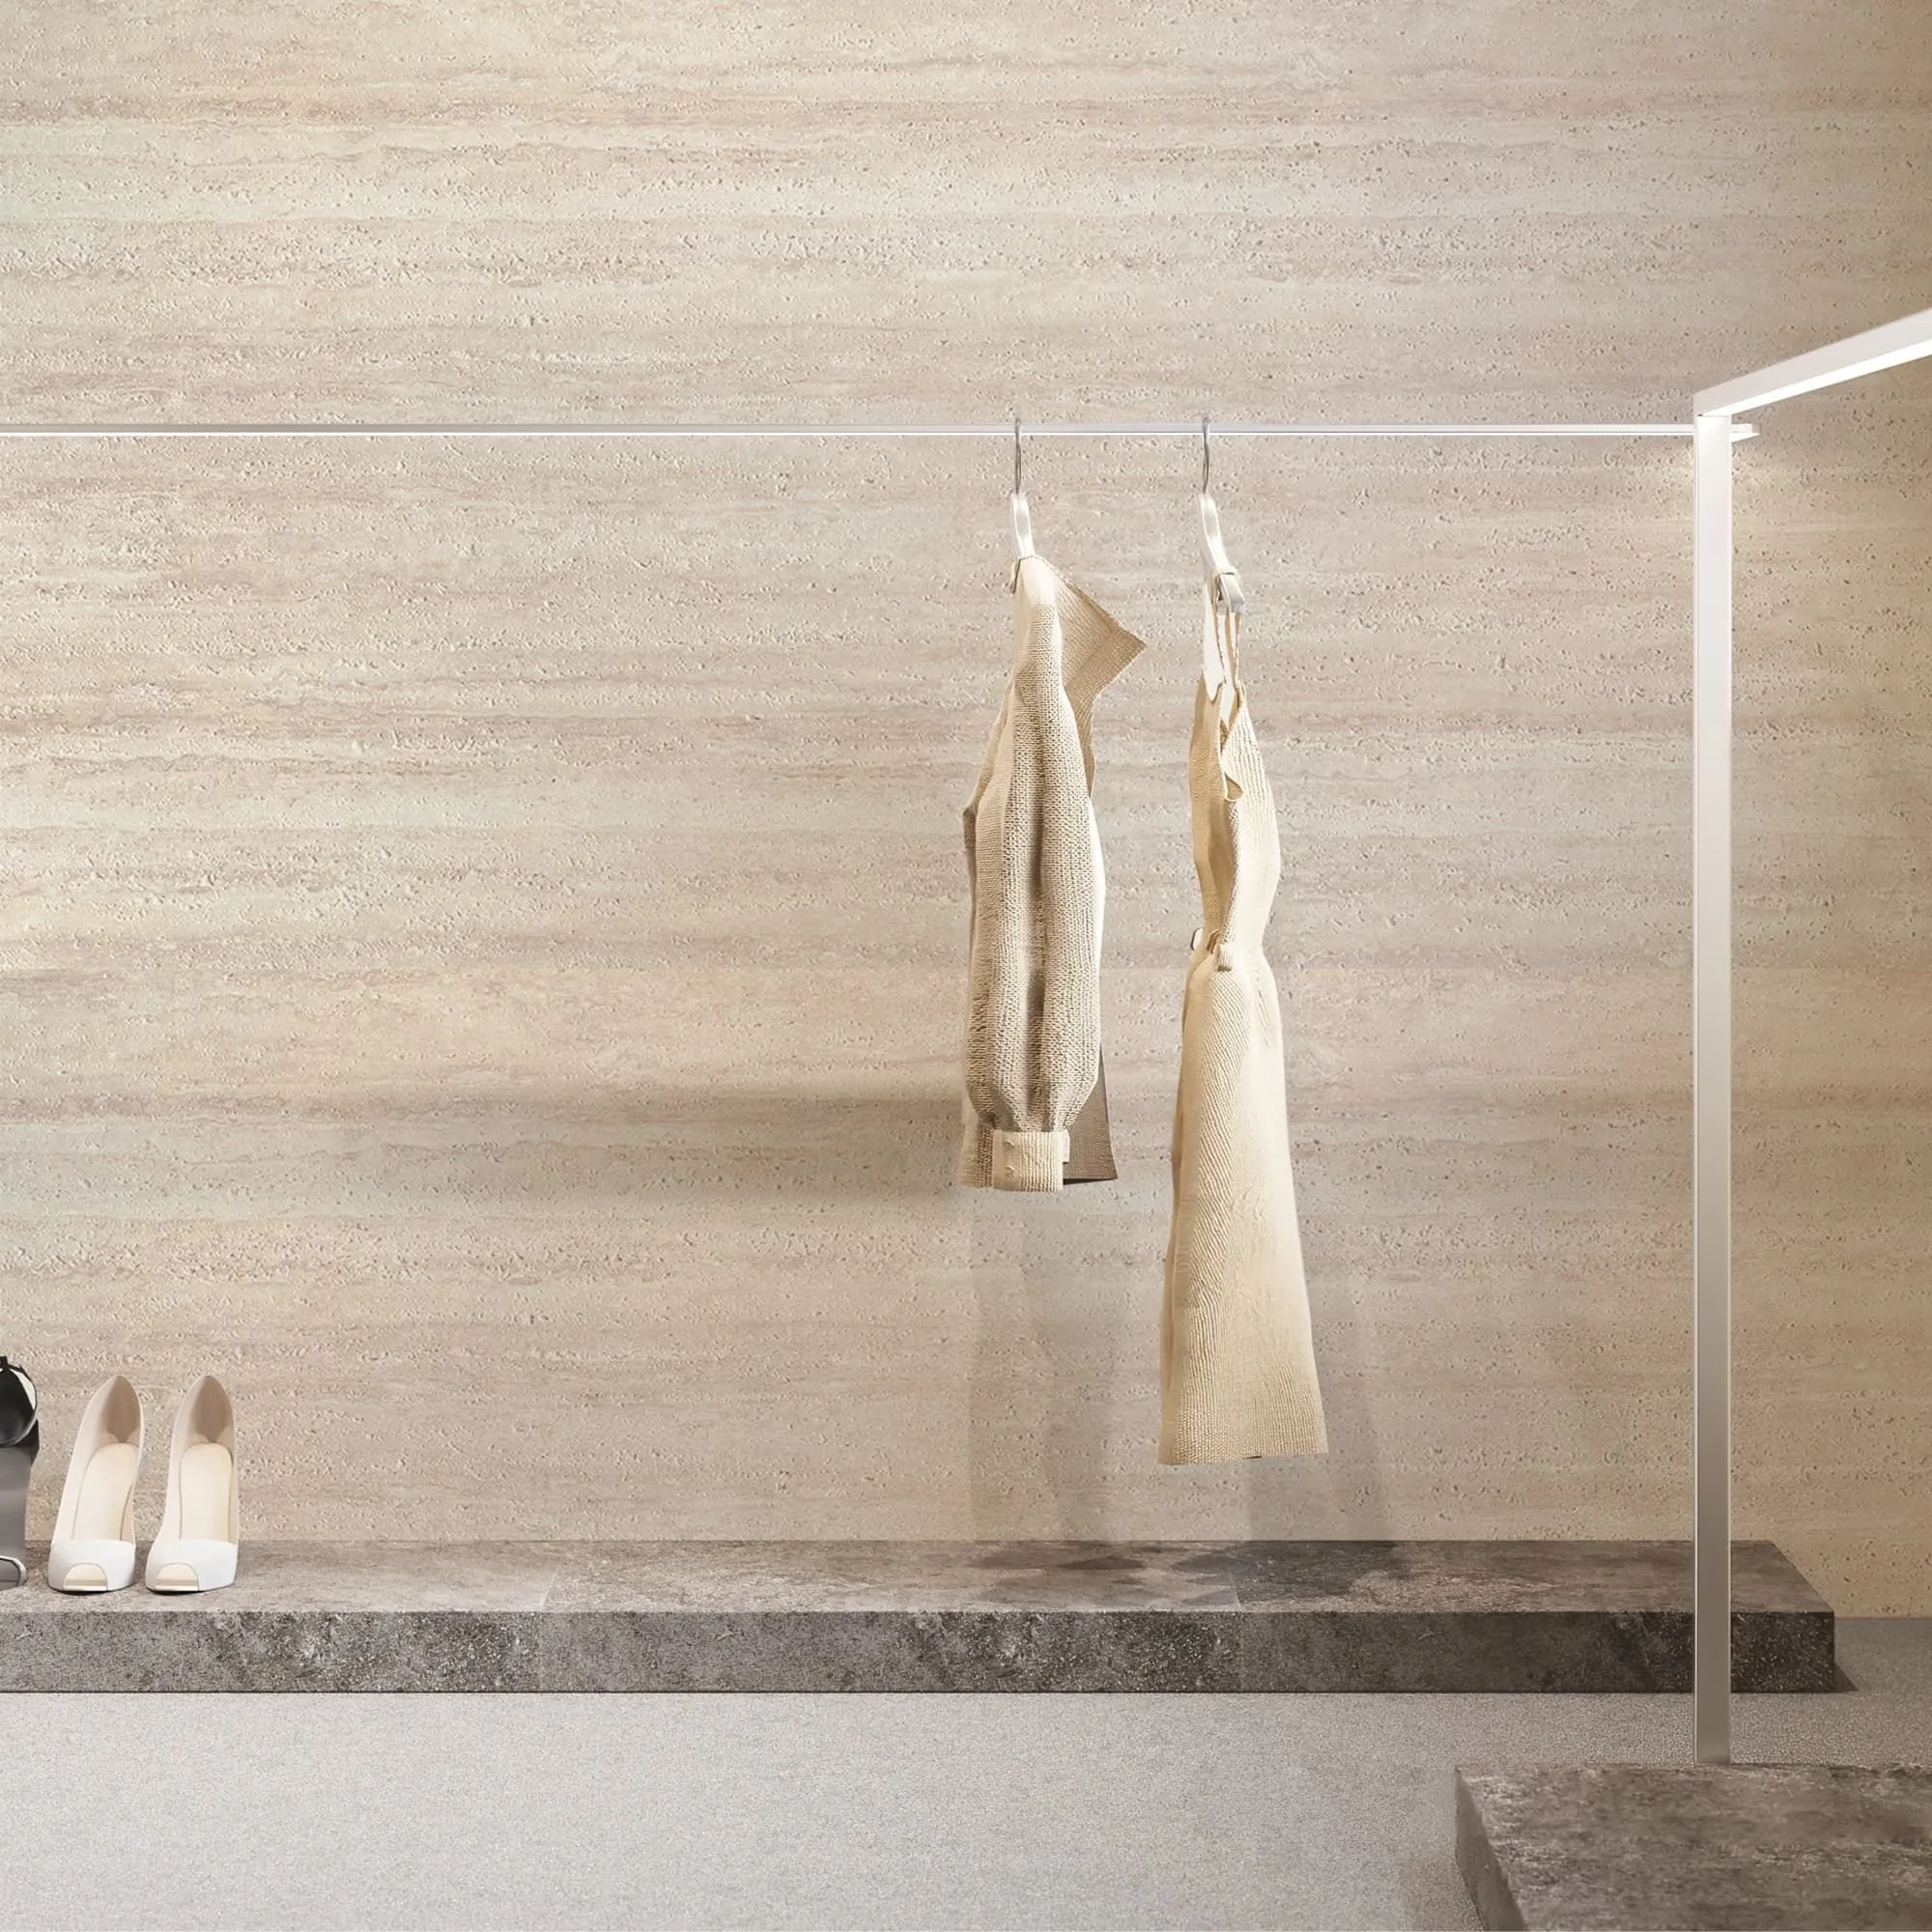
Rona Yellow belongs to the modified clay materials (MCM) category, featuring a unique composition that combines natural stone aesthetics with enhanced flexibility. This innovative Rona Yellow variant offers the authentic appearance of natural stone while providing superior workability and installation advantages. The material's warm yellow and golden tones create inviting spaces, making it ideal for feature walls, exterior facades, and decorative interior applications.
Unlike traditional stone materials, MCM flexible stone panels are lightweight and can be applied to various surfaces without the structural requirements of heavy natural stone. However, this unique composition demands specific grouting approaches to maintain the material's integrity and appearance over time.
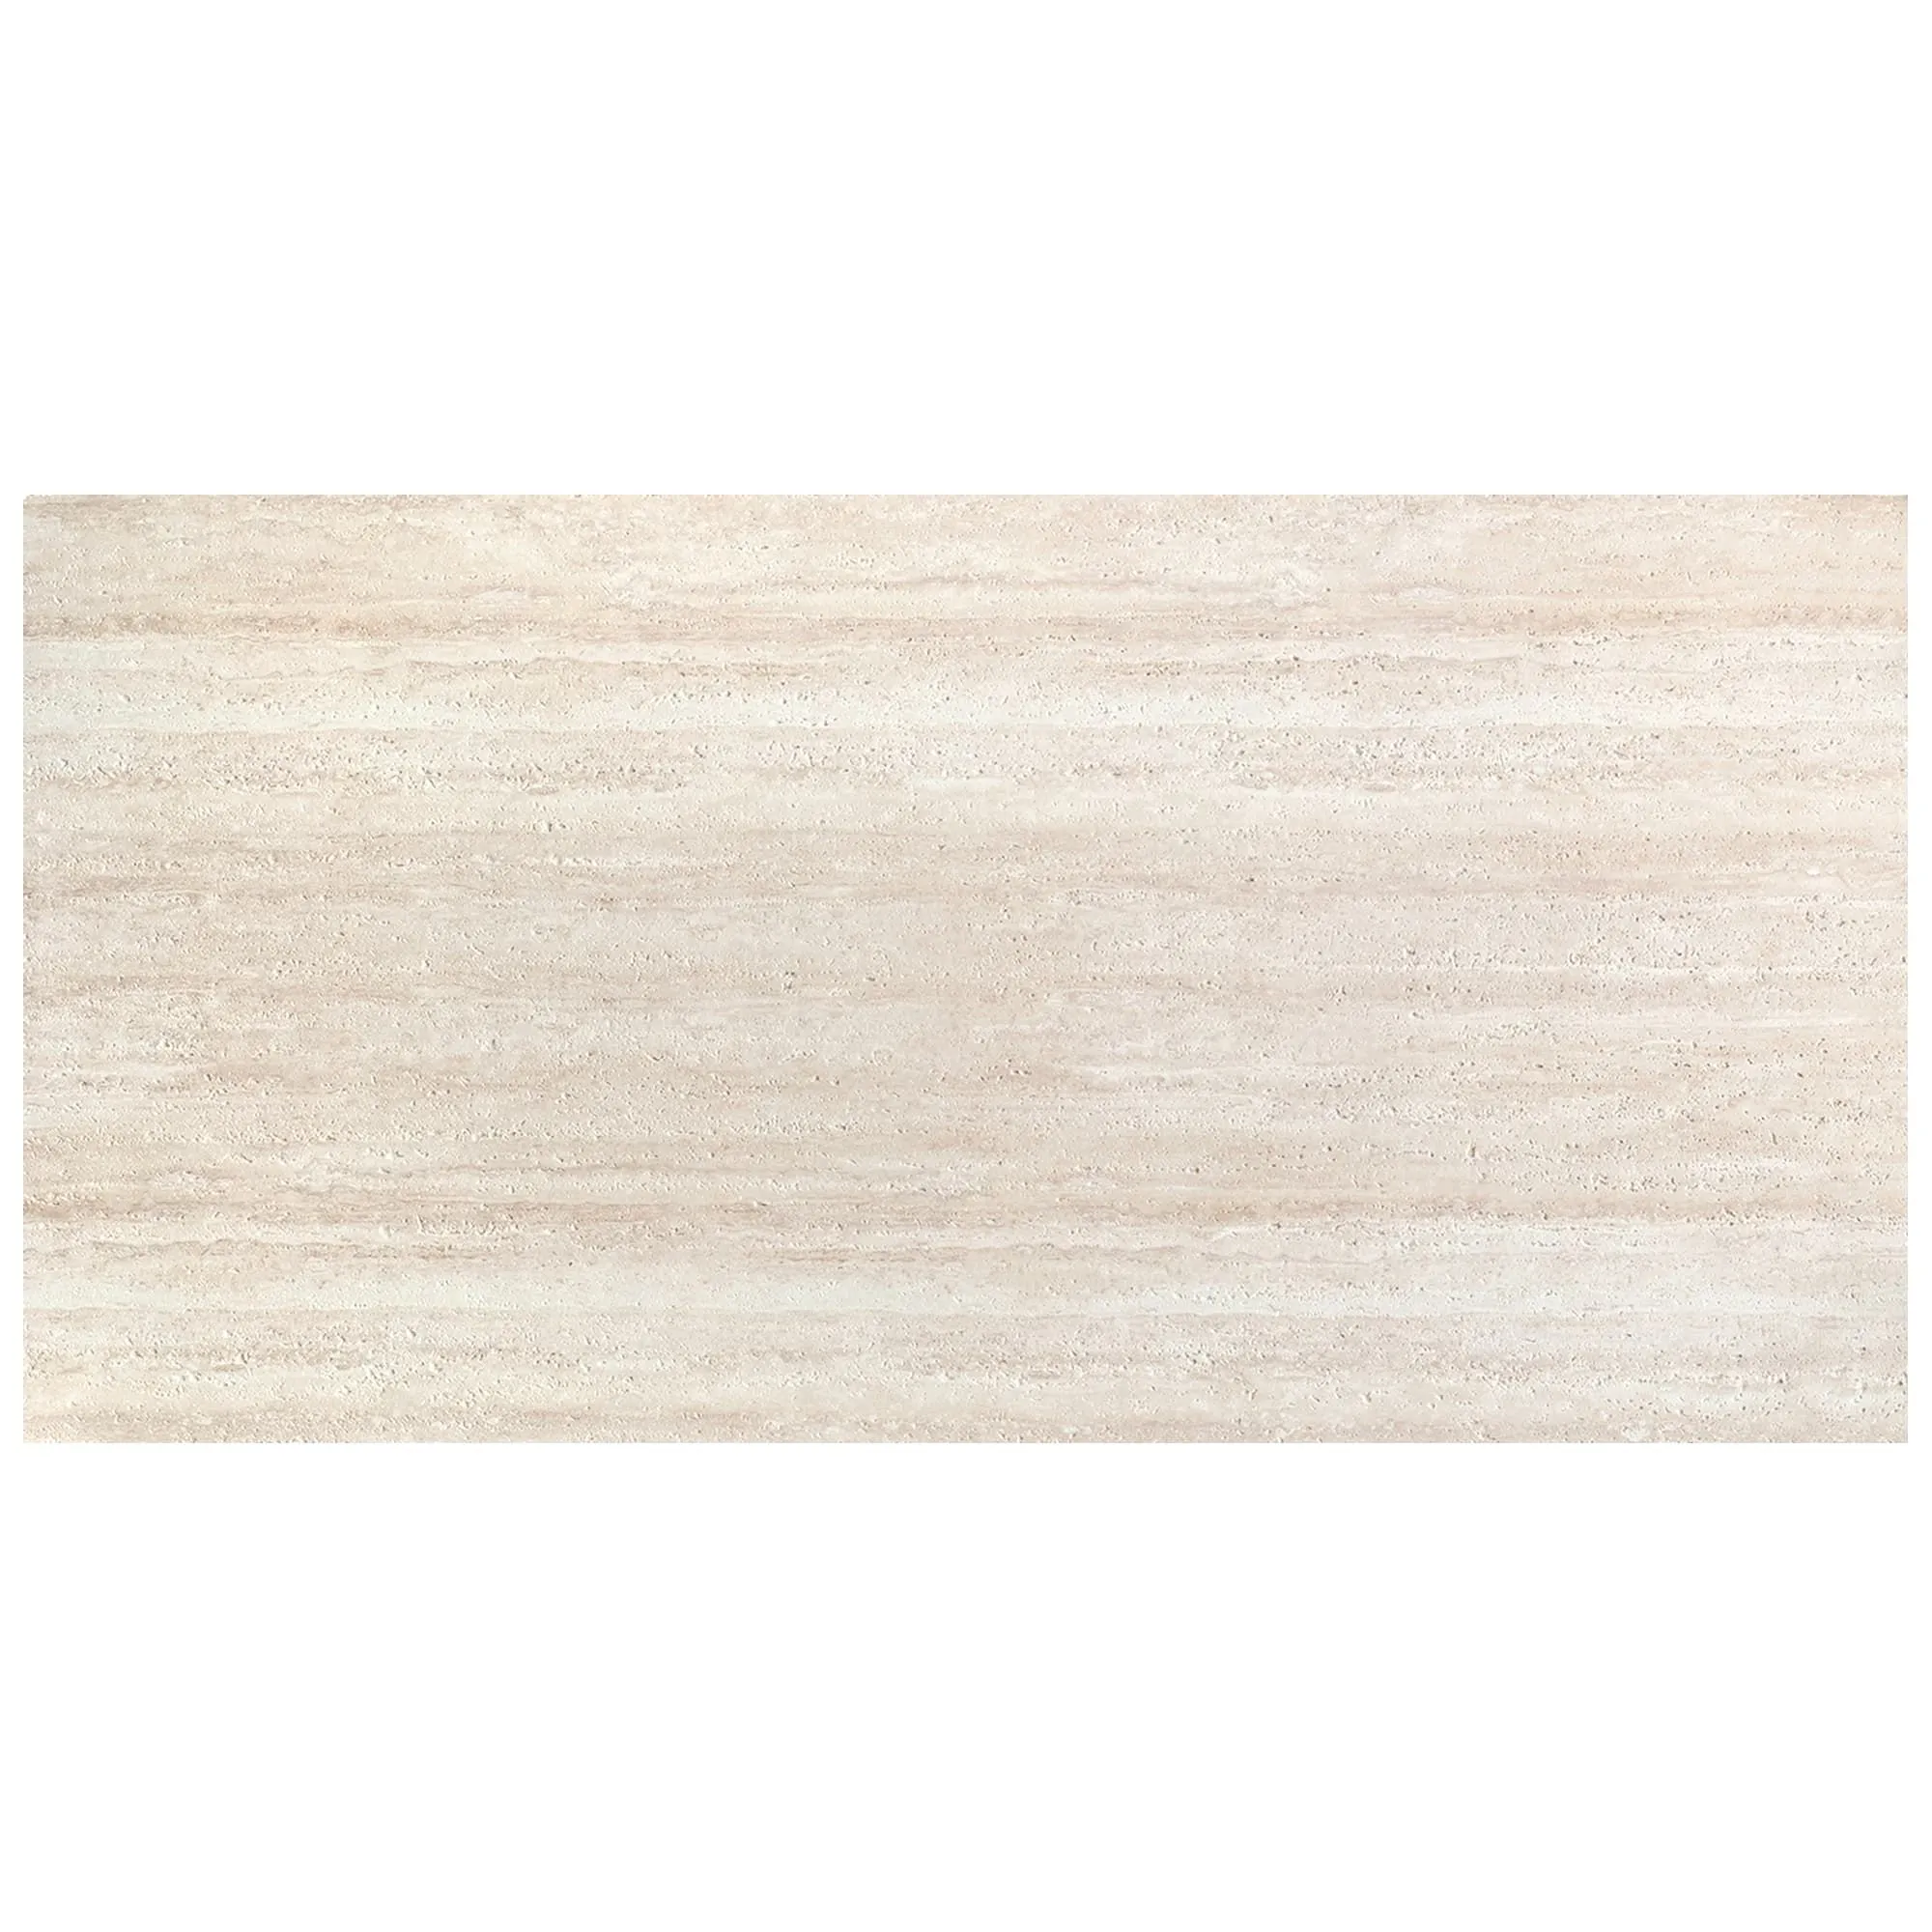
One of the most critical steps that many installers overlook is allowing adequate curing time for the adhesive. After installing MCM project board series panels, wait at least 48 hours before beginning the grouting process. In humid environments or during rainy seasons, extend this waiting period to 72 hours. Rushing this step can compromise the bond between the stone panels and the substrate, leading to potential detachment issues later.
Before applying any grout, inspect all joints between the stone panels. Remove any debris, dust, or leftover adhesive using a grout removal tool or utility knife. Completely clear the spaces between tiles, ensuring they are uniform and free from old grout remnants or construction materials. A clean surface guarantees better grout adhesion and a more polished final result. Run your finger along the tile joints to confirm they are clear and properly spaced.
Prepare the following essential items before starting the grouting process:
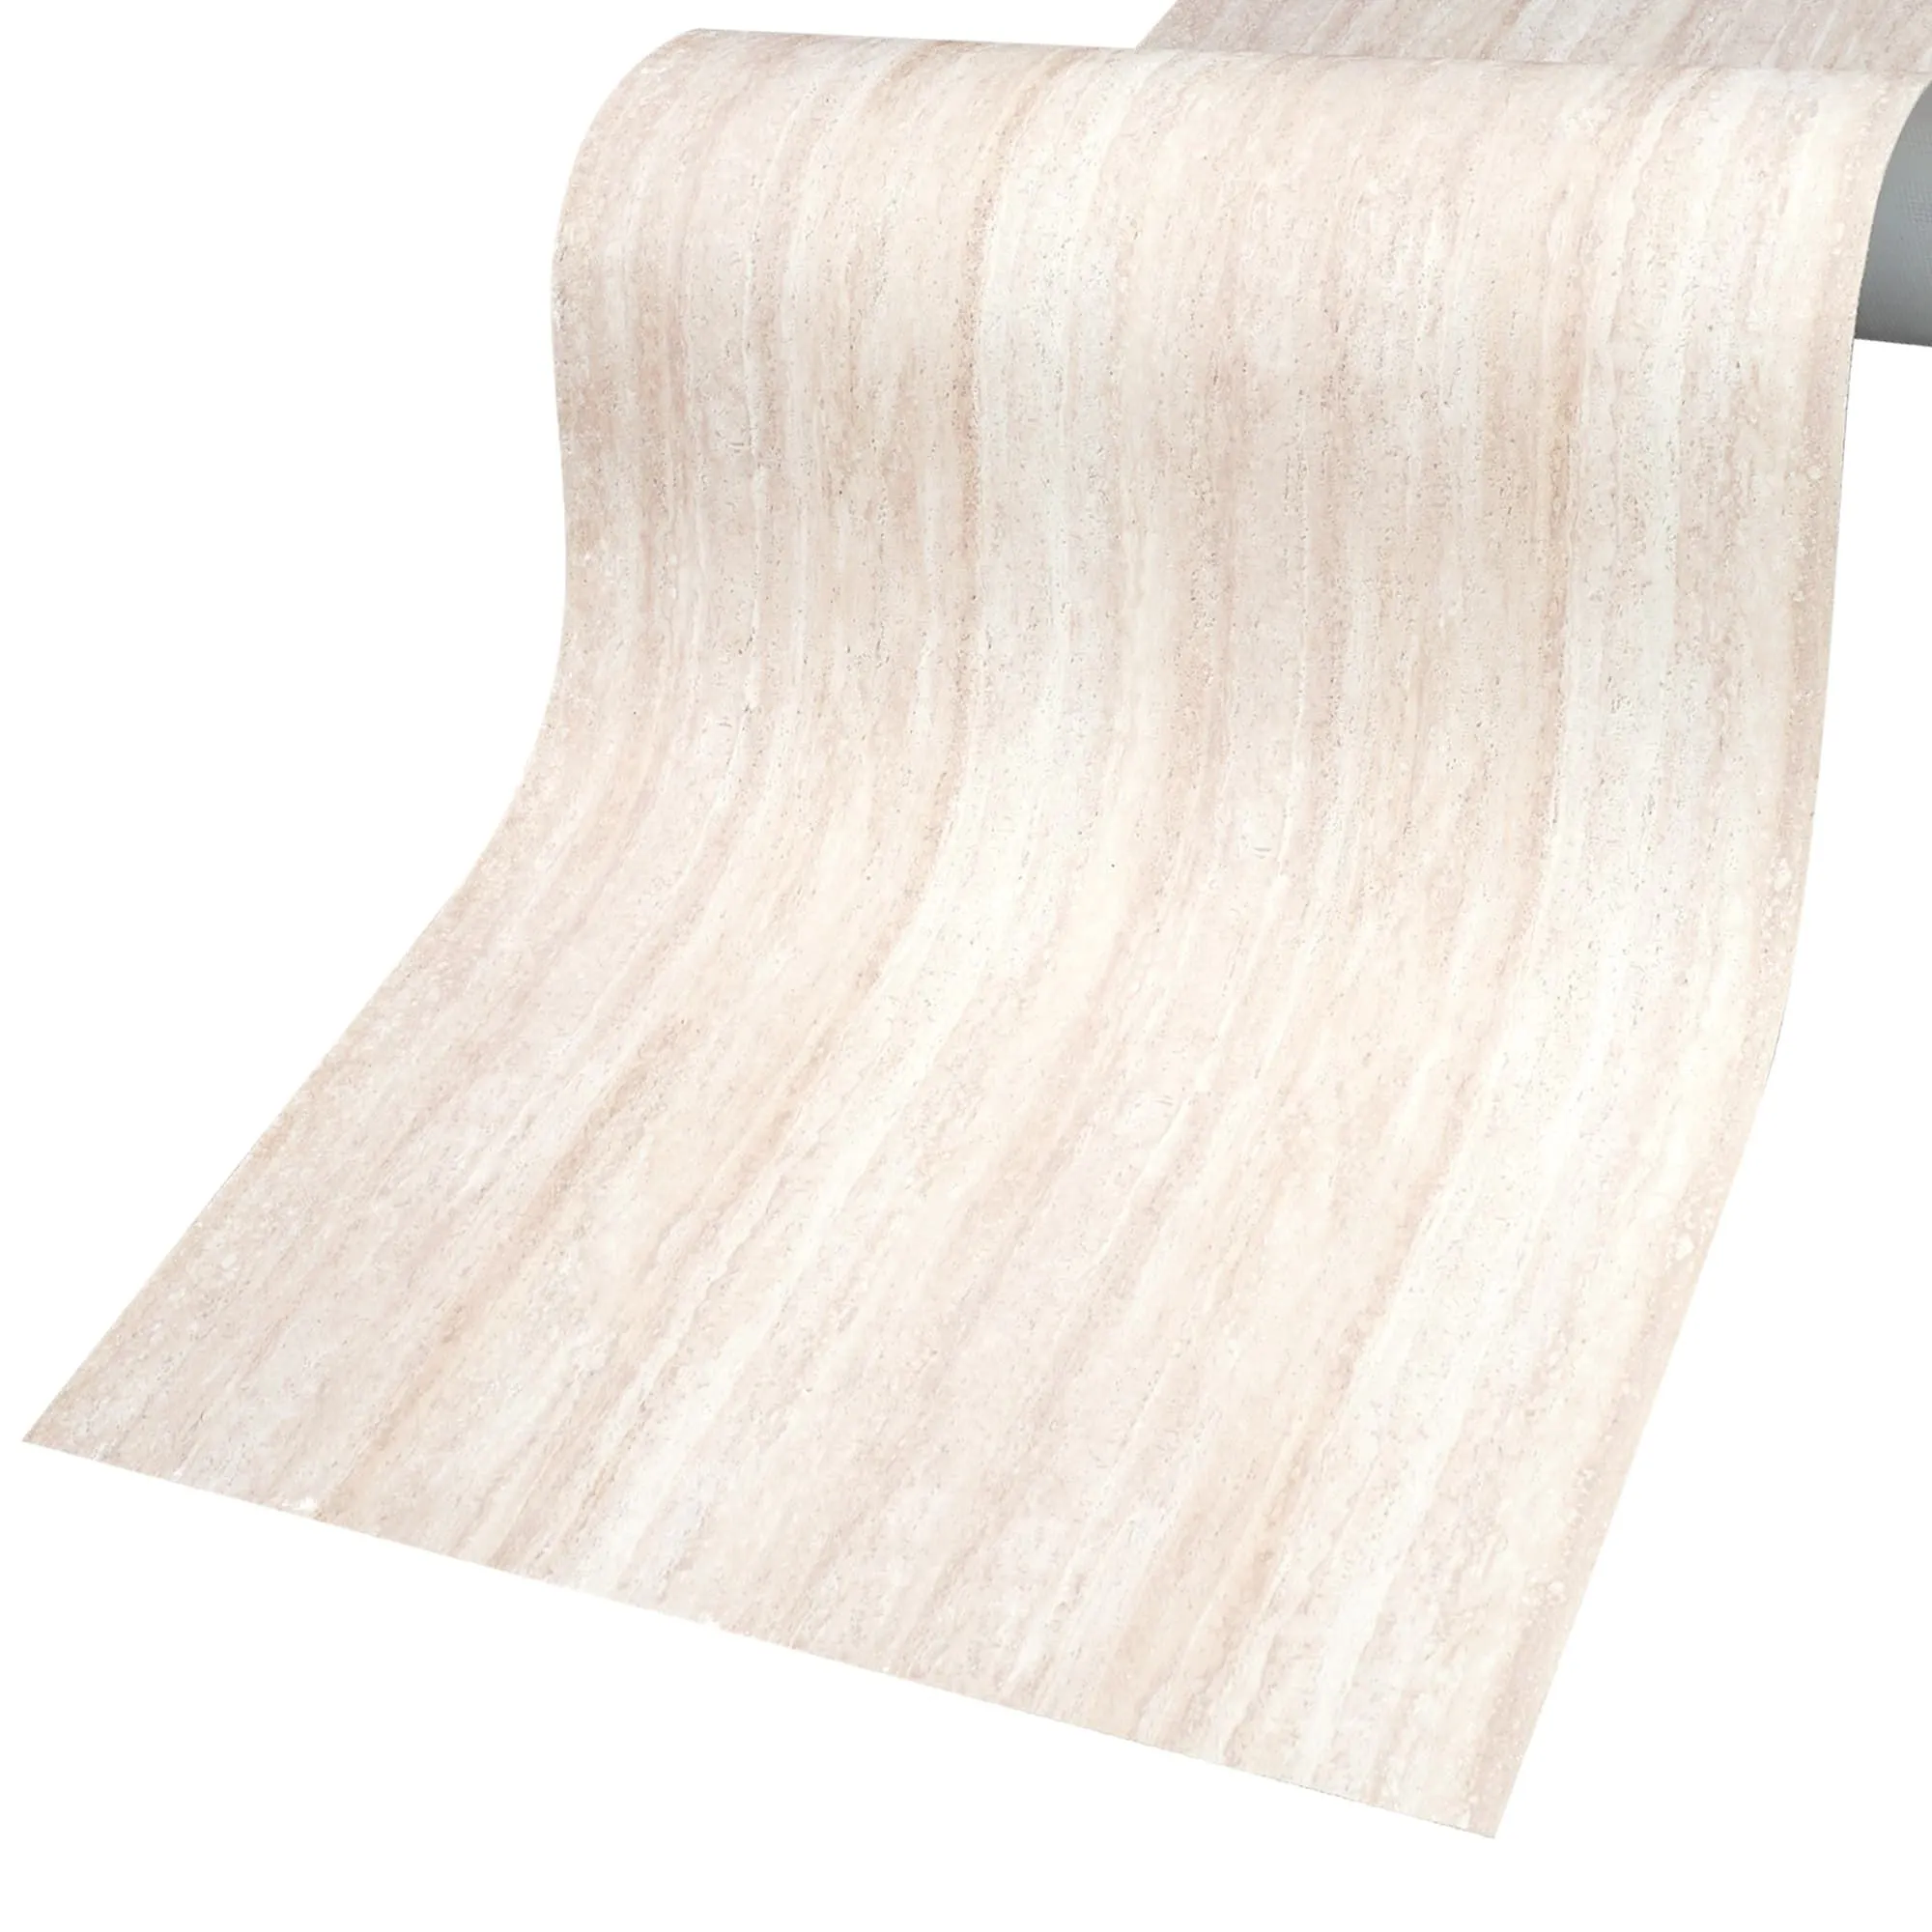
Choosing appropriate grout is crucial for both appearance and durability. Rona Yellow stone panels require grout that can adhere well to the panel edges and resist cracking, water infiltration, and discoloration. Two primary options are recommended for this application.
Polymer-Modified Cement-Based Grout: This type offers excellent adhesion and flexibility, making it suitable for both interior and exterior applications. It accommodates minor structural movements without cracking and is available in various colors to complement the golden tones of Rona Yellow stone.
Epoxy Grout: For areas exposed to moisture or requiring superior stain resistance, epoxy grout is the ideal choice. It provides exceptional durability, resists water penetration, and maintains its color over time. Epoxy grout is particularly recommended for outdoor installations where UV exposure and weather conditions demand higher performance.
When selecting grout color, consider neutral tones like warm beige or light tan that harmonize with the golden hues of Rona Yellow stone. These complementary colors create a cohesive appearance while highlighting the stone's natural beauty. Alternatively, contrasting colors can be used to create dramatic visual effects, depending on the design intent.
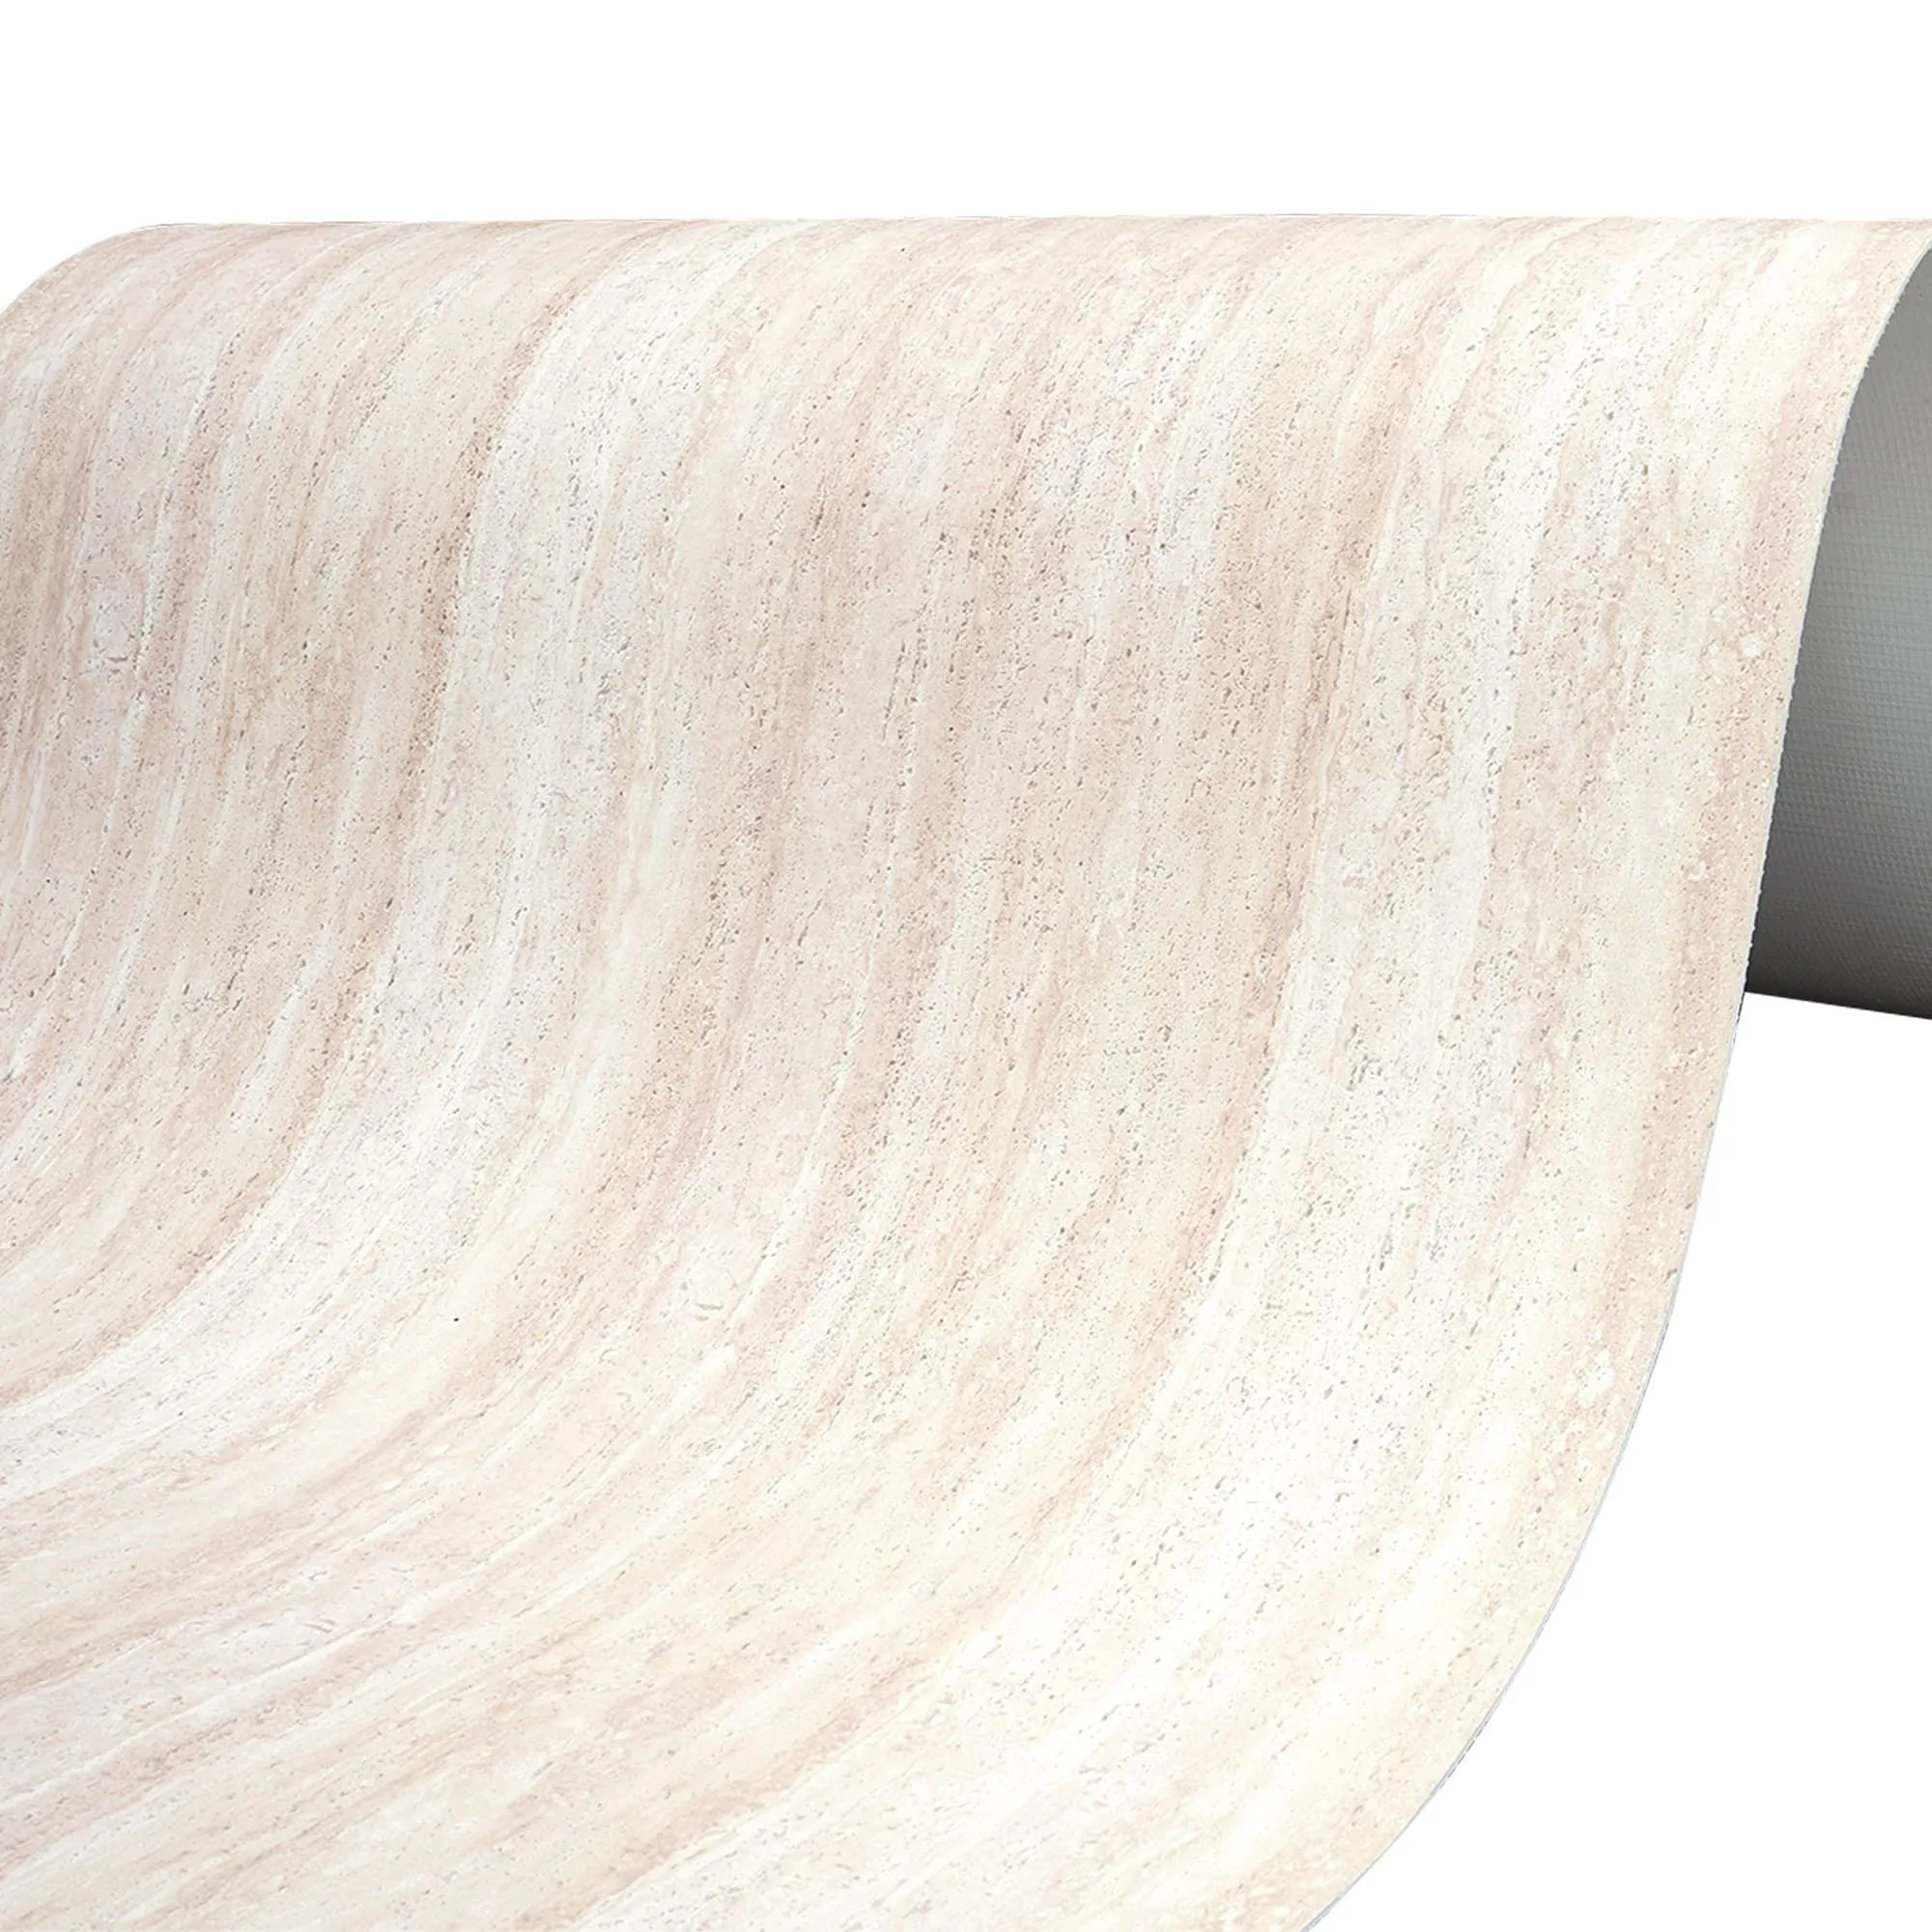
Begin by mixing the grout according to manufacturer specifications. Pour the recommended amount of water into a clean bucket first, then gradually add the dry grout powder while stirring. Use a low-speed mixer at approximately 350 rpm for 3 to 5 minutes, achieving a smooth, creamy, homogenous paste consistency. The ideal grout mixture should resemble thick peanut butter, smooth and free of lumps. Avoid adding extra water after initial mixing, as this can weaken the grout's structural integrity.
After initial mixing, let the grout rest for 5 to 10 minutes. This slaking process allows the chemical components to fully activate and creates a more uniform mixture. During this waiting period, do not stir or add water. When you return, give the grout a brief remix for 1 to 2 minutes to restore its creamy texture.
Work in small, manageable sections of 3 to 4 square feet to prevent the grout from drying before proper cleaning. Scoop a moderate amount of grout onto the rubber float and press it firmly into the stone joints. Hold the float at a 45-degree angle to the surface, moving diagonally across the panels rather than parallel to the joints. This diagonal motion helps prevent pulling grout out of the joints and ensures complete filling.
Apply consistent pressure while spreading the grout, ensuring each joint receives complete and uniform coverage. For flexible stone panels, maintain a grout joint width of 1/8" to 3/16" for optimal results. Work methodically across the surface, forcing grout deeply into the spaces between panels while avoiding air pockets or gaps that could compromise appearance and durability.
Timing is critical when cleaning excess grout. Begin cleaning approximately 15 to 30 minutes after initial application, when the grout has started to set but remains slightly soft. Use a damp sponge with clean water, wringing it out thoroughly to avoid introducing excess moisture. Work in diagonal motions across the stone surface, rotating and rinsing the sponge frequently to prevent spreading grout residue.
The first pass should focus on removing the bulk of excess grout. Gently wipe the panels using light, circular motions, being careful not to dig into the freshly applied grout lines. Never rinse sponges or other grouting tools in sinks because cement-based products can harden underwater and cause clogging. Always use a bucket of clean water and change it frequently to avoid contamination.
After the initial cleaning, allow the surface to dry for about 15 minutes. A hazy film will develop, which is normal and will be removed in subsequent cleaning steps. Use a clean, dry microfiber cloth to buff the panels gently, removing the initial grout haze and revealing the stone's natural golden appearance.
Proper curing is essential for achieving maximum grout strength and durability. After grouting, maintain room temperature between 70 and 80 degrees Fahrenheit, avoiding extreme temperature fluctuations or direct sunlight that can cause rapid drying. Keep the area well-ventilated but not drafty, which helps prevent uneven moisture evaporation.
Most standard cement-based grouts require approximately 72 hours for initial curing. During this period, minimize foot traffic and avoid washing the surface. In dry environments, consider lightly misting the grout lines with water or covering the area with a plastic sheet to prevent rapid moisture loss. Epoxy grouts cure faster but demand precise mixing and application techniques.
After the grout has completely cured for at least 48 to 72 hours, apply a suitable sealer to protect the grout from moisture, stains, and UV damage. Sealing creates an invisible barrier that prevents dirt, liquids, and bacteria from penetrating the grout lines, extending the life and appearance of the installation. For exterior applications of Rona Yellow stone, this sealing step is particularly important for weather resistance.
Even experienced installers can make errors that compromise the final result. Be aware of these common mistakes:
For exterior installations, use wider joints of 2 to 10 mm to accommodate thermal expansion and contraction. This prevents cracking and ensures the installation withstands temperature fluctuations. When working in humid or rainy environments, extend all curing times appropriately to ensure proper bonding.
Consider pre-sealing the Rona Yellow stone panels before installation. This practice makes it easier to remove any residues of grout or adhesive from the stone surface during the cleaning process. Pre-sealing also provides an additional layer of protection against potential staining during grouting.
When grouting vertical surfaces, work from the bottom upward to prevent grout from falling onto untreated areas below. This systematic approach ensures even coverage and reduces cleanup time. Always have additional materials on hand for touch-ups, as matching grout color precisely can be challenging if mixing a new batch later.
Proper grouting of Rona Yellow stone panels requires careful preparation, appropriate material selection, and precise application techniques. By following the detailed steps outlined in this guide, you can achieve professional results that showcase the natural beauty of this distinctive golden-hued material while ensuring long-lasting durability.
COLORIA GROUP's commitment to providing high-quality MCM flexible building materials ensures that architects, designers, and contractors have access to innovative solutions for both residential and commercial projects. The combination of authentic stone aesthetics with enhanced workability makes Rona Yellow an excellent choice for creating stunning interior and exterior spaces that stand the test of time.
For additional information about Rona Yellow stone and other premium building materials in the MCM collection, consult with COLORIA GROUP's technical team who can provide specific guidance for your project requirements. Their expertise in modified clay materials ensures optimal installation and performance across diverse applications and environments.
Recommend Products












