
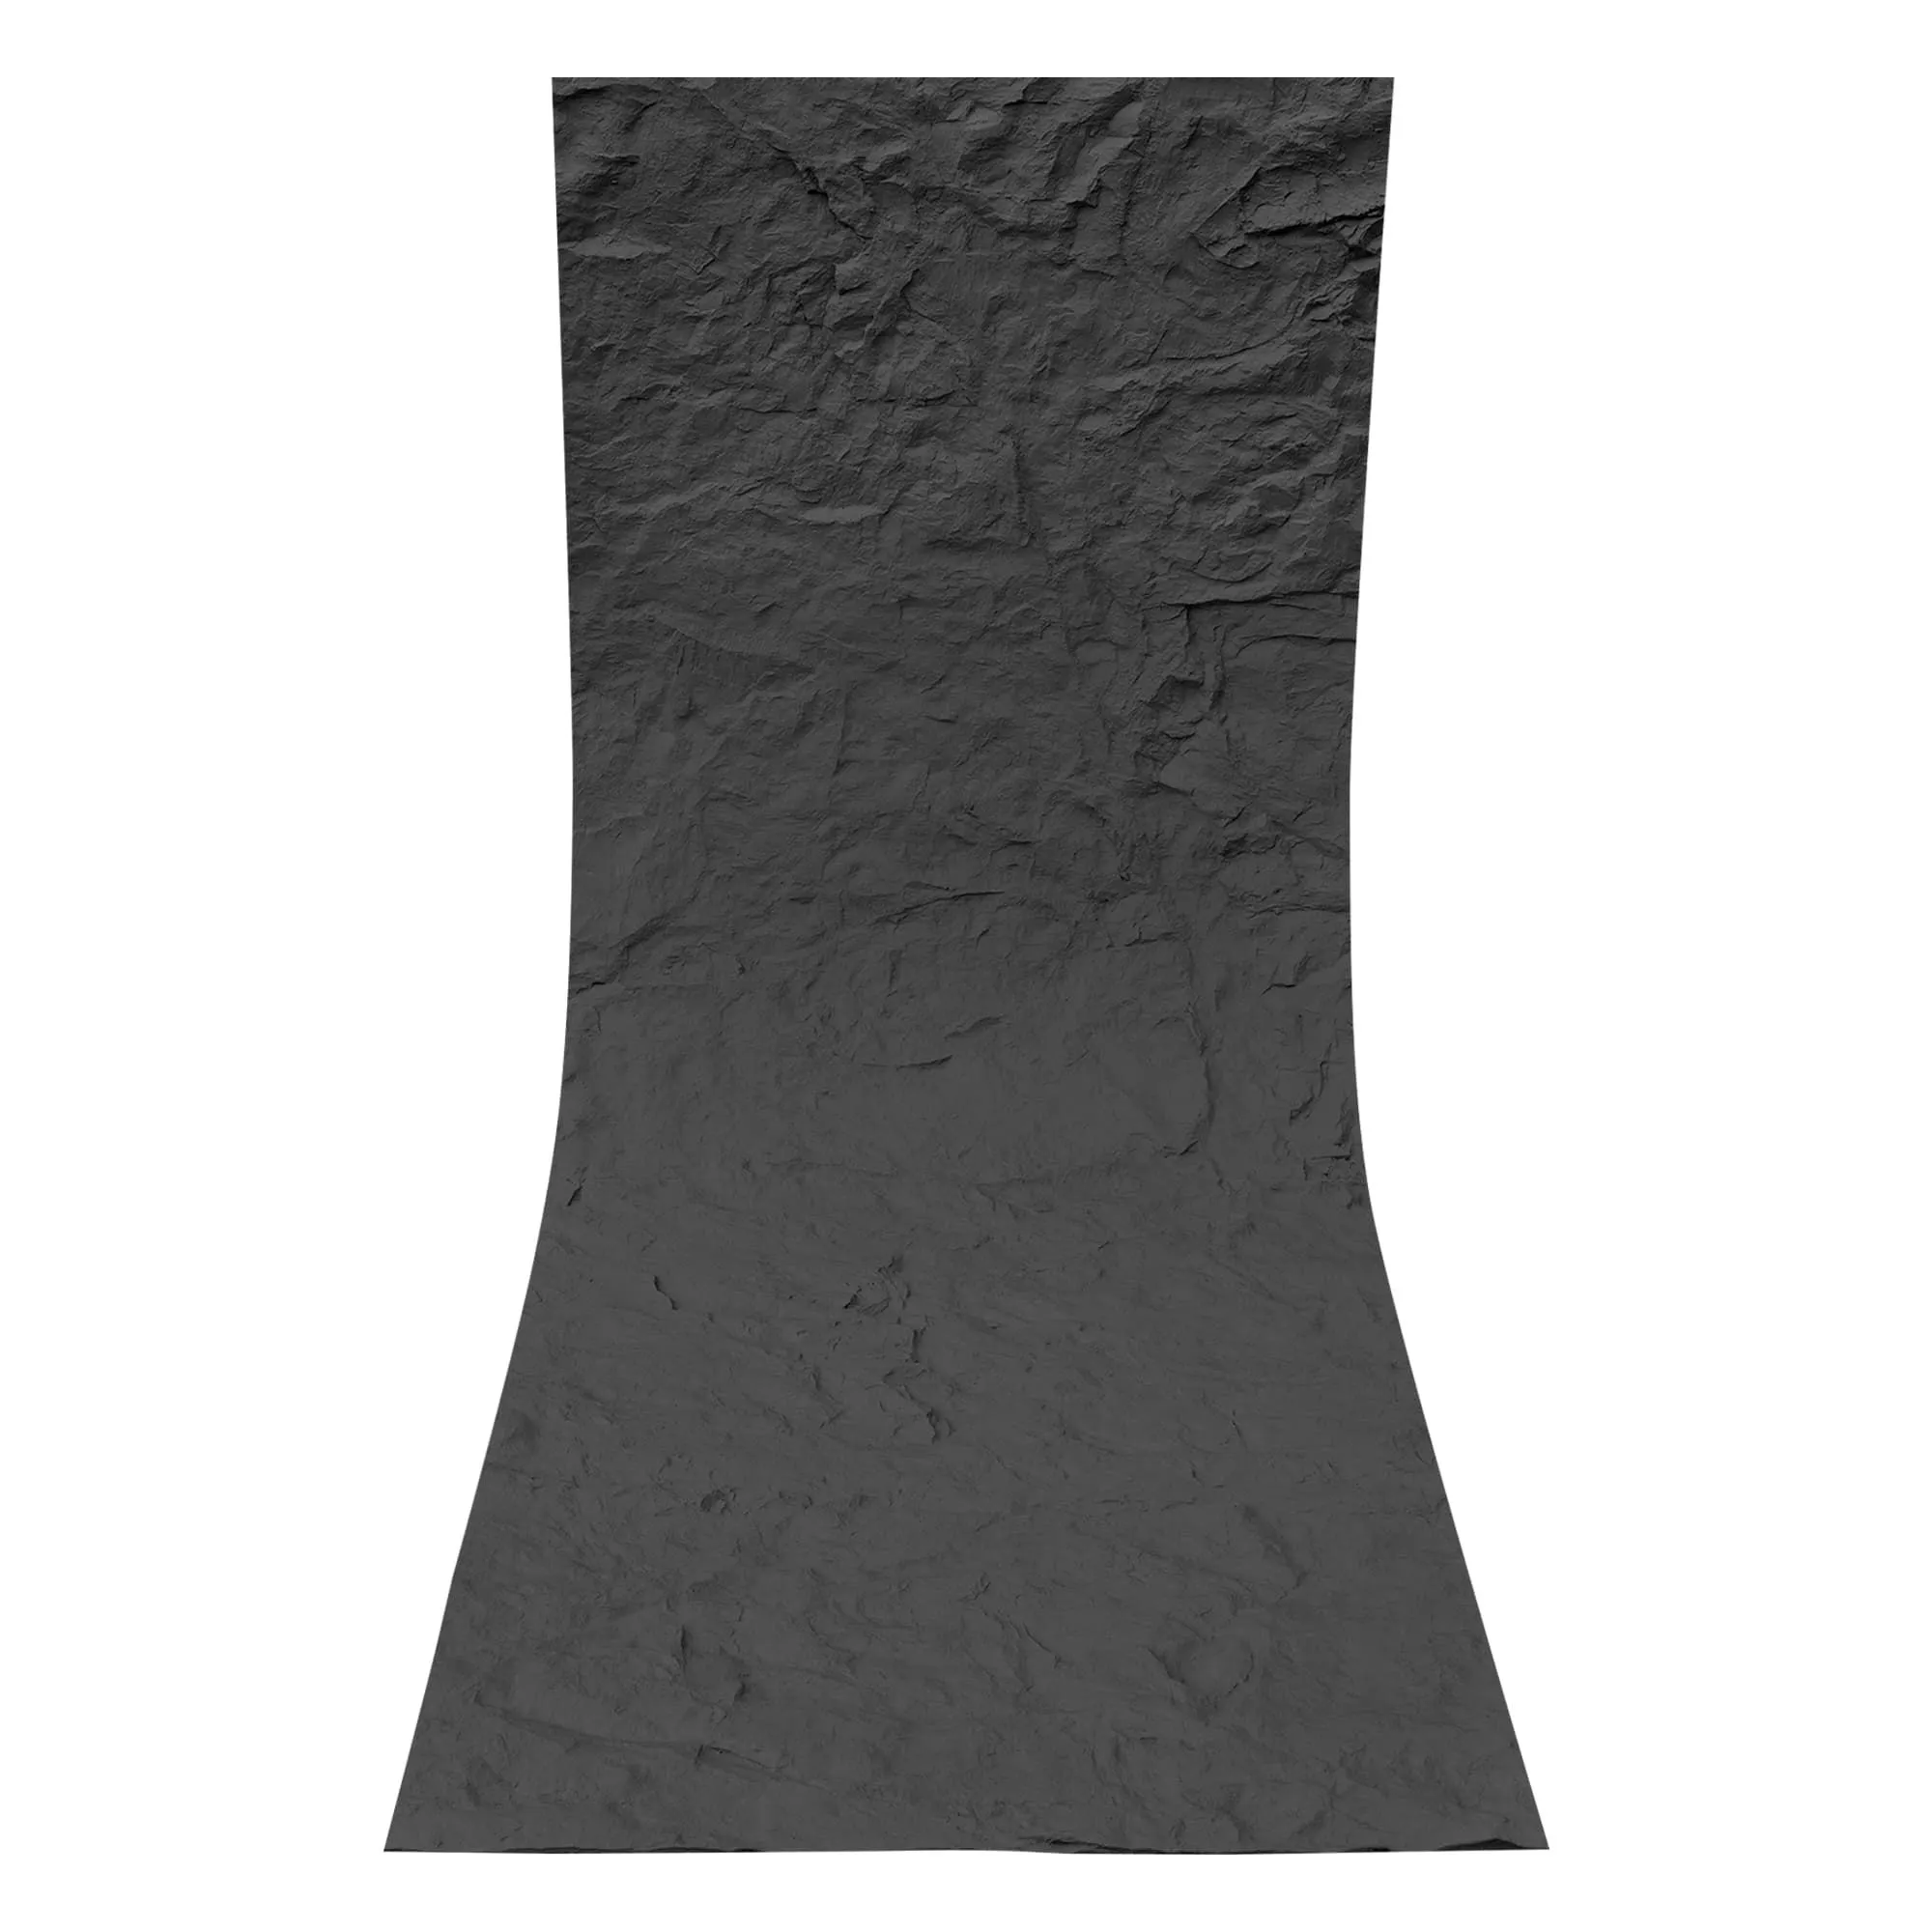
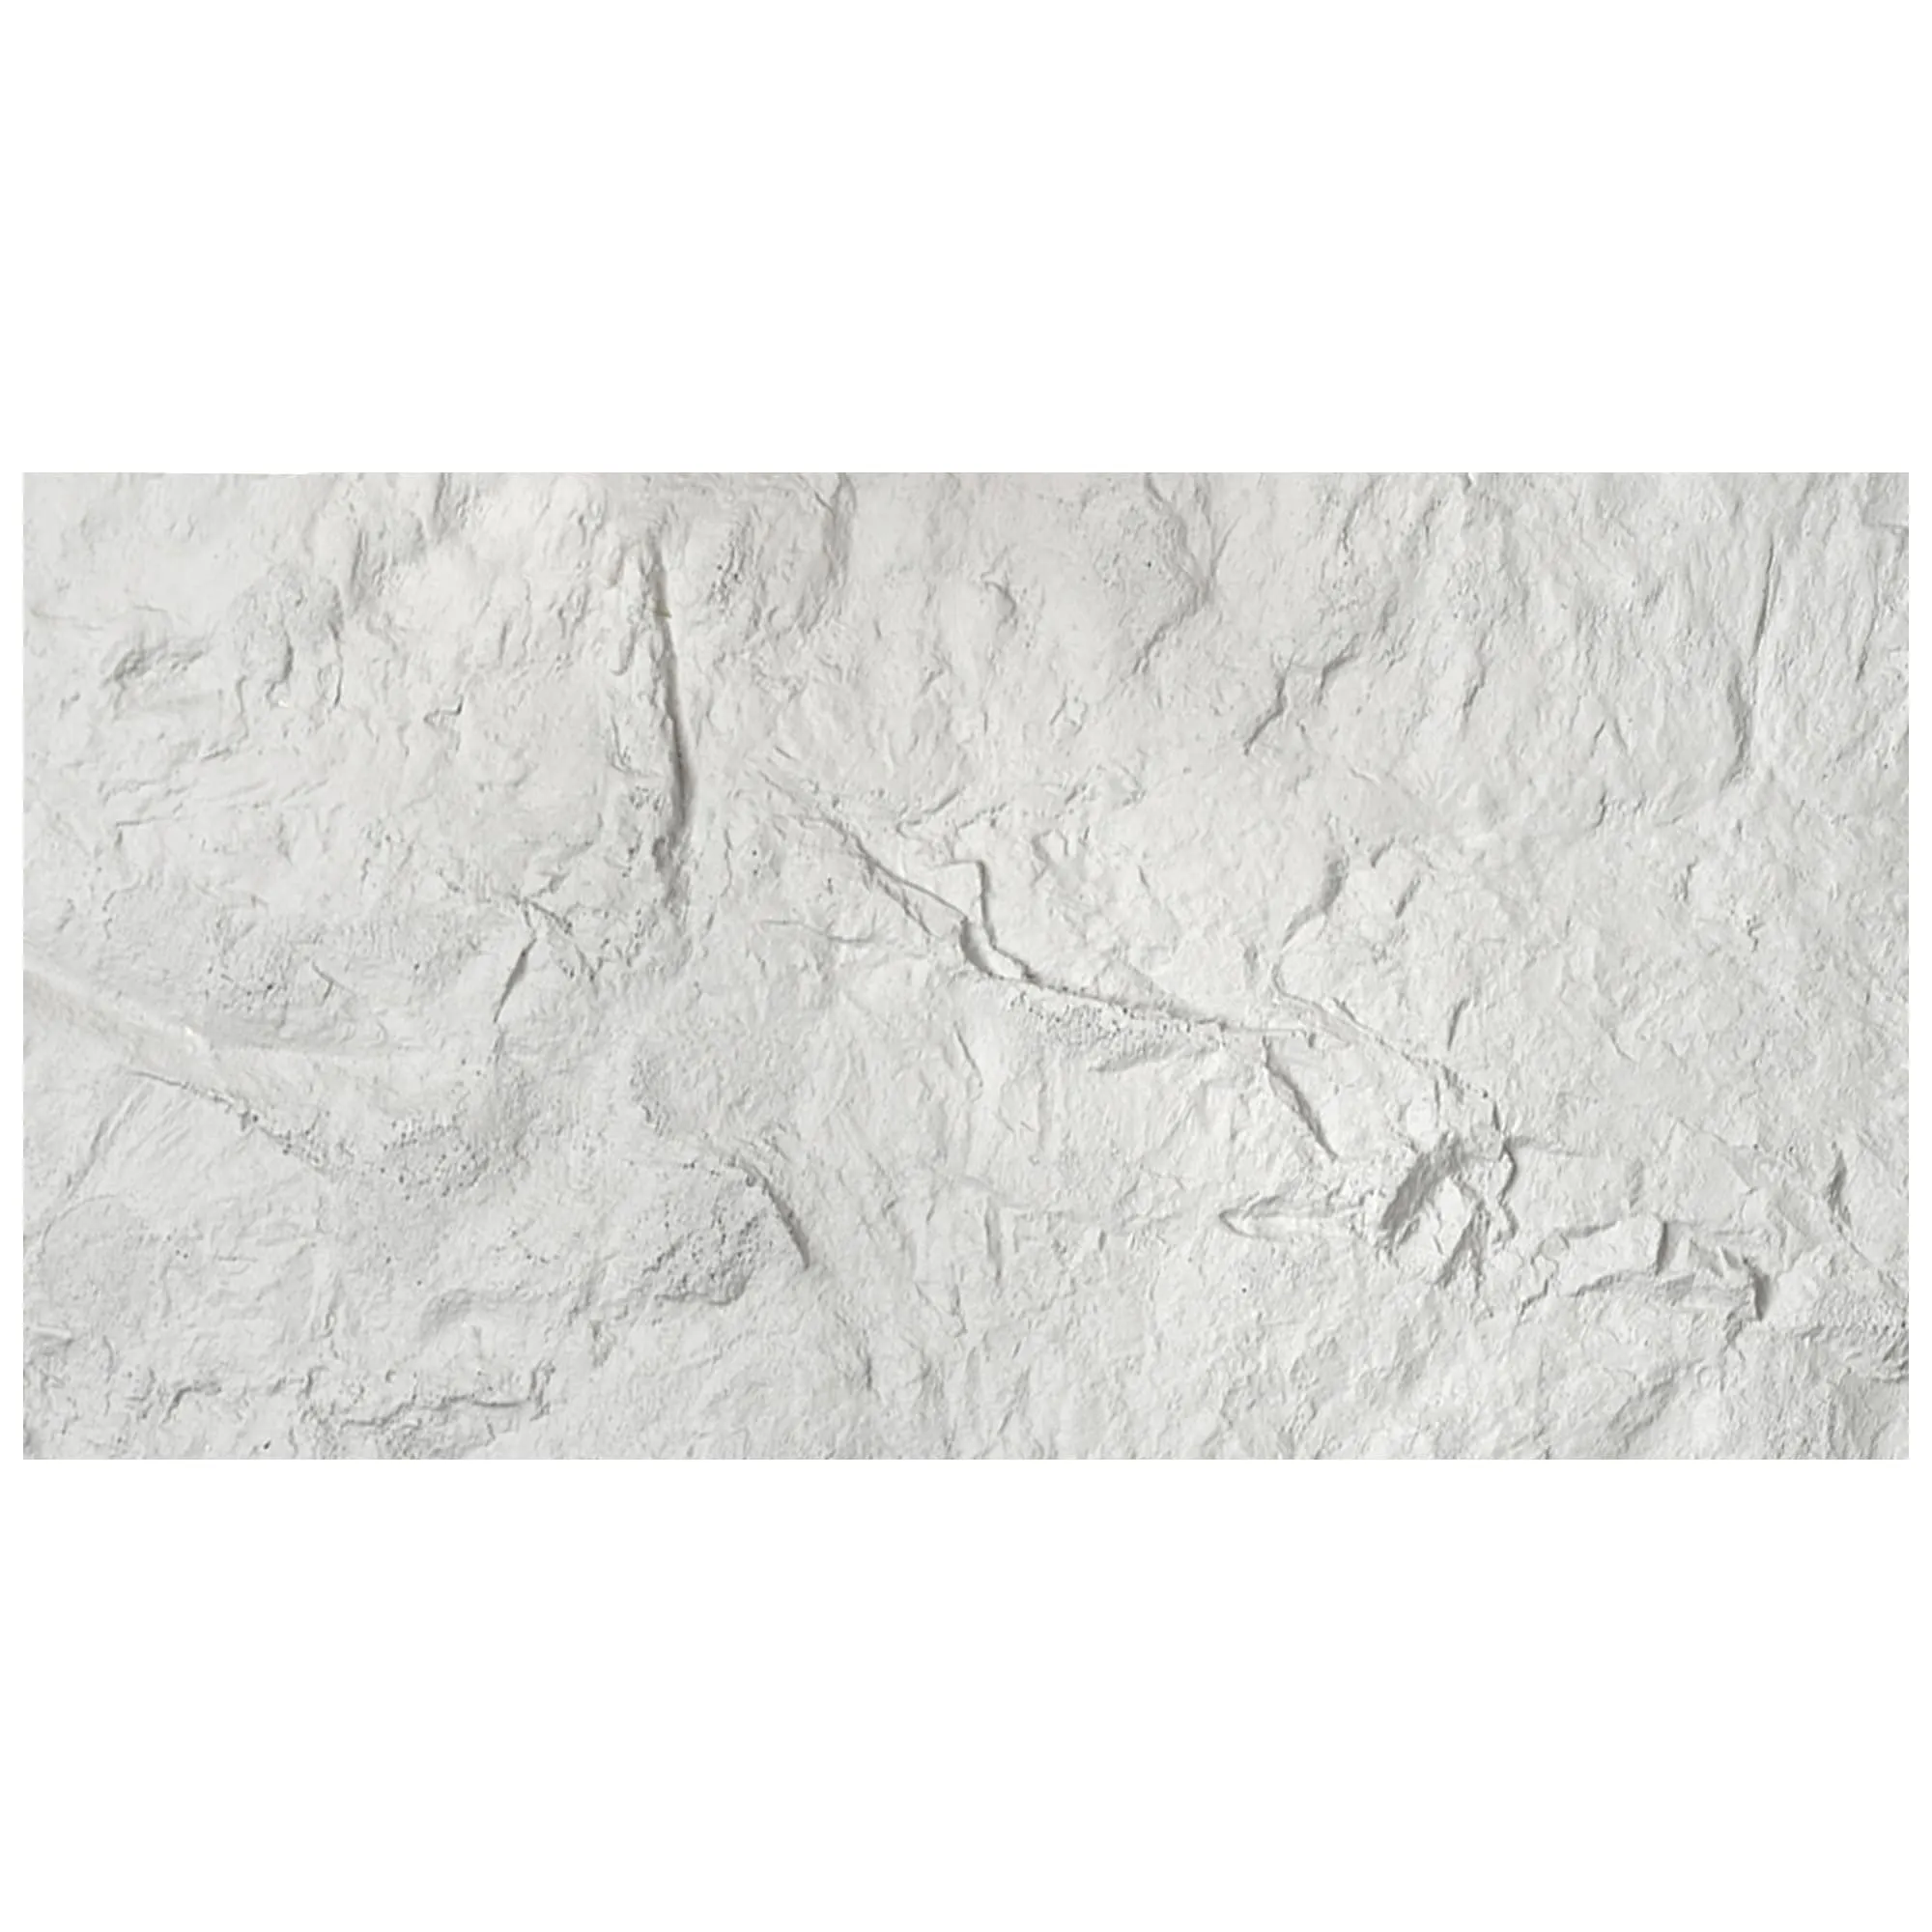
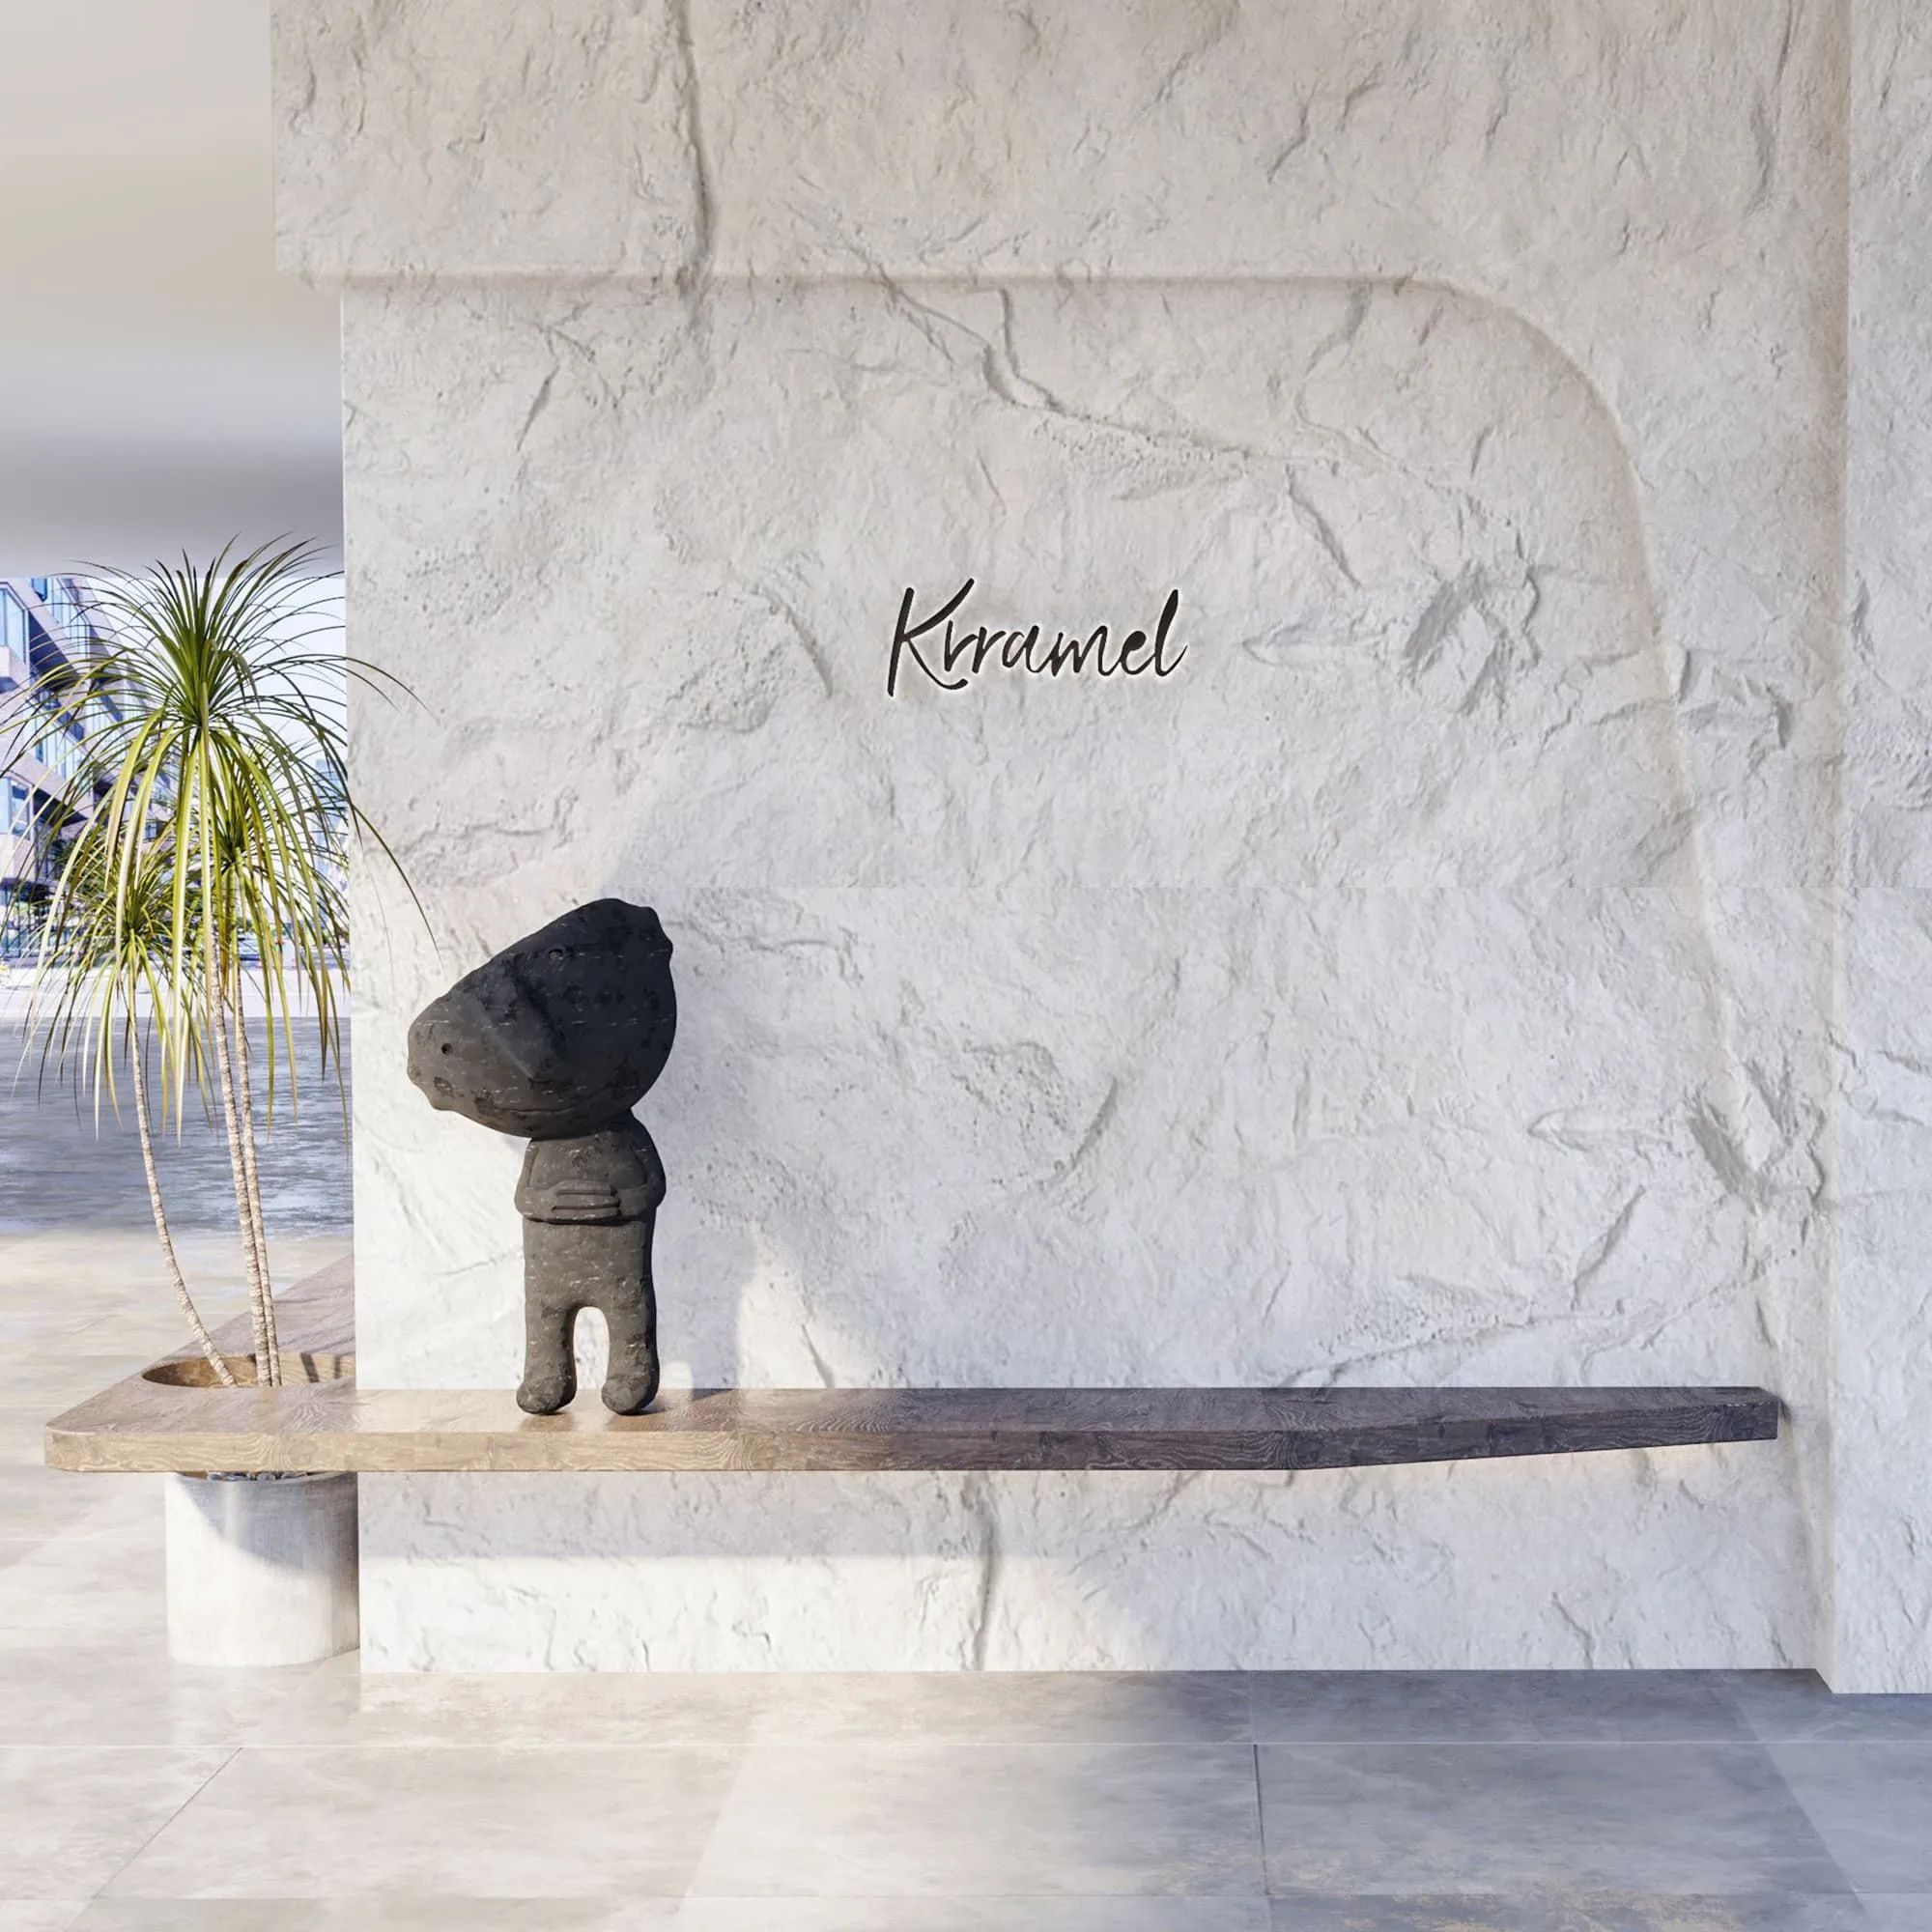
If you've ever walked into a modern café, a boutique hotel lobby, or even a stylish home and thought, "Wow, that wall/backsplash/floor looks incredible," there's a good chance you were looking at boulder slab . With its rugged yet refined texture and stunning vintage finishes—think boulder slab (vintage silver) , boulder slab (vintage gold) , and boulder slab (vintage black) —this material has become a go-to for designers aiming to blend industrial edge with timeless elegance. But here's the thing: even the most beautiful boulder slab won't live up to its potential if it's installed haphazardly. I've seen too many projects where DIYers or even inexperienced contractors cut corners, leading to cracked slabs, uneven surfaces, or worse—slabs that start peeling off within a year. The good news? Installing boulder slab like a pro isn't rocket science. It just takes patience, the right tools, and a step-by-step approach that prioritizes preparation and precision. Let's dive into how to do it right, so your boulder slab installation looks stunning for decades.
First, let's get to know the star of the show. Boulder slab is a type of engineered stone designed to mimic the look of natural boulders that have been split or hewn by hand. Unlike raw natural stone, which can be unpredictable in texture and weight, boulder slab is crafted for consistency—thickness, density, and color are controlled during manufacturing, making it easier to work with. The vintage finishes add another layer of appeal: vintage silver has a cool, industrial vibe that pairs perfectly with modern minimalism; vintage gold warms up a space with subtle metallic hints; and vintage black brings drama and depth, ideal for accent walls or statement floors.
But what really sets boulder slab apart is its durability. It's resistant to scratches, heat, and moisture (when sealed properly), making it suitable for both indoor and covered outdoor spaces. However, its strength is only as good as its installation. A poorly installed slab can crack under pressure, trap moisture, or become a safety hazard. So, let's start with the prep work—the foundation of any successful installation.

Before you even unbox your first boulder slab, you need to set yourself up for success. This phase is all about assessing your space, gathering tools, and ensuring the substrate (the surface you're installing on) is ready to support the slabs. Skipping any of these steps is like building a house on sand—eventually, it will shift.
Boulder slab isn't lightweight—each slab can weigh 15–30 pounds, depending on size. That means the substrate (wall, floor, or countertop) must be flat, stable, and clean. Here's what to check:
You wouldn't paint a room without a roller, and you shouldn't install boulder slab without the right tools. Here's your checklist:
| Tool/Material | Purpose | Pro Tip |
|---|---|---|
| Boulder slabs (vintage silver/gold/black) | The main material—order 10% extra for cuts and waste | Inspect slabs upon delivery for chips or color inconsistencies |
| Tile cutter or wet saw | Cutting slabs to size (wet saw recommended for clean edges) | Use a diamond blade designed for stone to avoid chipping |
| Notched trowel (1/2 inch or 3/4 inch) | Applying adhesive evenly to the substrate | Choose trowel size based on slab thickness: thicker slabs need larger notches |
| Level (2-foot and 4-foot) | Ensuring slabs are flat and straight | Check level both horizontally and vertically for each slab |
| Spacers (1/8 inch or 1/4 inch) | Maintaining even grout lines between slabs | Use reusable plastic spacers—they're easier to remove than rubber ones |
| Adhesive (polymer-modified thinset mortar) | Securing slabs to the substrate | Choose a mortar rated for heavy stone (look for "medium-bed" or "large-format tile" on the label) |
| Grout (sand-based or unsanded) | Filling gaps between slabs | Match grout color to slab edges for a seamless look, or contrast for drama |
| Sealer (impregnating or topical) | Protecting slabs from stains and moisture | Use a breathable sealer to prevent trapped moisture (critical for outdoor use) |
| Rubber mallet and suction cup lifter | Positioning heavy slabs without straining your back | Suction cups are a game-changer—no more finger prints on fresh adhesive! |

Now that your substrate is prepped and tools are ready, it's time to start installing. This is where patience pays off—rushing leads to mistakes, and mistakes with stone are hard to fix. Let's break it down into manageable steps.
Before mixing a single drop of adhesive, lay out your slabs on the floor (or a large table) to plan the pattern. This is called a "dry layout," and it's crucial for two reasons: (1) you can adjust slab placement to avoid small, awkward cuts (no one wants a 2-inch sliver at the edge of a wall), and (2) you can check for color consistency. Even within the same batch, boulder slab (vintage gold) might have slight variations in metallic flecks—embrace them, but arrange slabs so the variations flow naturally.
Measure the area and mark a reference line (use a chalk line for floors/walls) to guide placement. For walls, start at the bottom and work up; for floors, start at the farthest corner from the door (so you don't walk on wet adhesive). Leave a 1/4-inch gap between slabs for grout, and use spacers to mimic this during dry layout.
Once your dry layout is finalized, it's time to cut slabs to fit. Measure each slab twice (seriously—measure, then measure again) and mark the cut line with a pencil. For straight cuts, use a wet saw with a diamond blade. The water keeps dust down and prevents the blade from overheating, resulting in cleaner edges. For curved cuts (e.g., around outlets or pipes), use a angle grinder with a stone-cutting blade, but go slow—boulder slab is tough, and rushing can cause chips.
Now, mix your adhesive (polymer-modified thinset mortar) according to the manufacturer's instructions. It should have the consistency of peanut butter—thick enough to hold a notch when you lift the trowel. Never add extra water to make it easier to spread; this weakens the bond.
Apply adhesive to the substrate using a notched trowel, holding it at a 45-degree angle. The goal is to create ridges that collapse slightly when you press the slab down, ensuring full contact. Cover only as much area as you can work in 15–20 minutes (this is called the "open time" of the adhesive; after that, it starts to set). For walls, apply adhesive to both the substrate and the back of the slab (this is "back buttering") to prevent air bubbles.
Carefully lift a slab (use suction cups for heavy ones) and align it with your reference line. Press it firmly into the adhesive, wiggling it slightly to ensure the ridges collapse and the slab makes full contact. Use a rubber mallet to tap gently—this helps the slab settle evenly. Check with a level to ensure it's flat (no rocking!) and adjust if needed. insert spacers between slabs to maintain grout lines, and wipe off any adhesive that squeezes out with a damp sponge (don't let it dry—it's nearly impossible to remove once cured).
Work in small sections—2–3 slabs at a time—to avoid adhesive drying out. After setting each slab, double-check the level both horizontally and vertically. A single uneven slab can throw off the entire row, so take the time here.
Let the adhesive cure for at least 24 hours (check the mortar bag—some require 48 hours in humid conditions) before grouting. Mix grout according to the instructions—too runny, and it will shrink; too thick, and it won't flow into gaps. Use a rubber grout float to apply grout at a 45-degree angle, forcing it into the gaps. Hold the float diagonally to the grout lines to avoid pulling grout out.
After 10–15 minutes (when the grout starts to haze), wipe the slabs with a damp sponge, rinsing frequently. Don't use too much water—this can weaken the grout. Let the grout cure for another 24–48 hours before sealing.
The final step is sealing, and it's non-negotiable. Boulder slab is porous, meaning it can absorb stains from coffee, oil, or even water if left unsealed. Choose an impregnating sealer (it soaks into the stone) for best protection, and apply it with a foam brush or roller. Let it sit for 5–10 minutes, then wipe off excess with a clean cloth. Apply a second coat after 2 hours, and let it cure for 24 hours before using the surface.
For high-traffic areas like floors or kitchen backsplashes, reseal every 2–3 years. For walls or low-traffic areas, every 4–5 years is fine. Test the sealer by dropping a few drops of water on the slab—if it beads up, the sealer is still effective; if it soaks in, it's time to reseal.
Congratulations—your boulder slab installation is done! Now, how do you keep it looking as stunning as day one? The good news is that boulder slab is low-maintenance, but a little care goes a long way.
Even with careful installation, problems can pop up. Here's how to fix the most common ones:
Installing boulder slab isn't a quick weekend project, but the results are worth every minute. Whether you've transformed a backsplash with boulder slab (vintage silver) , created an accent wall with boulder slab (vintage black) , or floored a patio with boulder slab (vintage gold) , you now have a durable, beautiful surface that will age gracefully. Remember: the key to success is preparation, patience, and attention to detail. And when friends and family ask, "Who did this installation?" you can proudly say, "I did—and it's going to look great for years."
So go ahead—grab your tools, put on some music, and turn that blank wall/floor into a work of art. Your future self (and your Instagram feed) will thank you.
Recommend Products


