
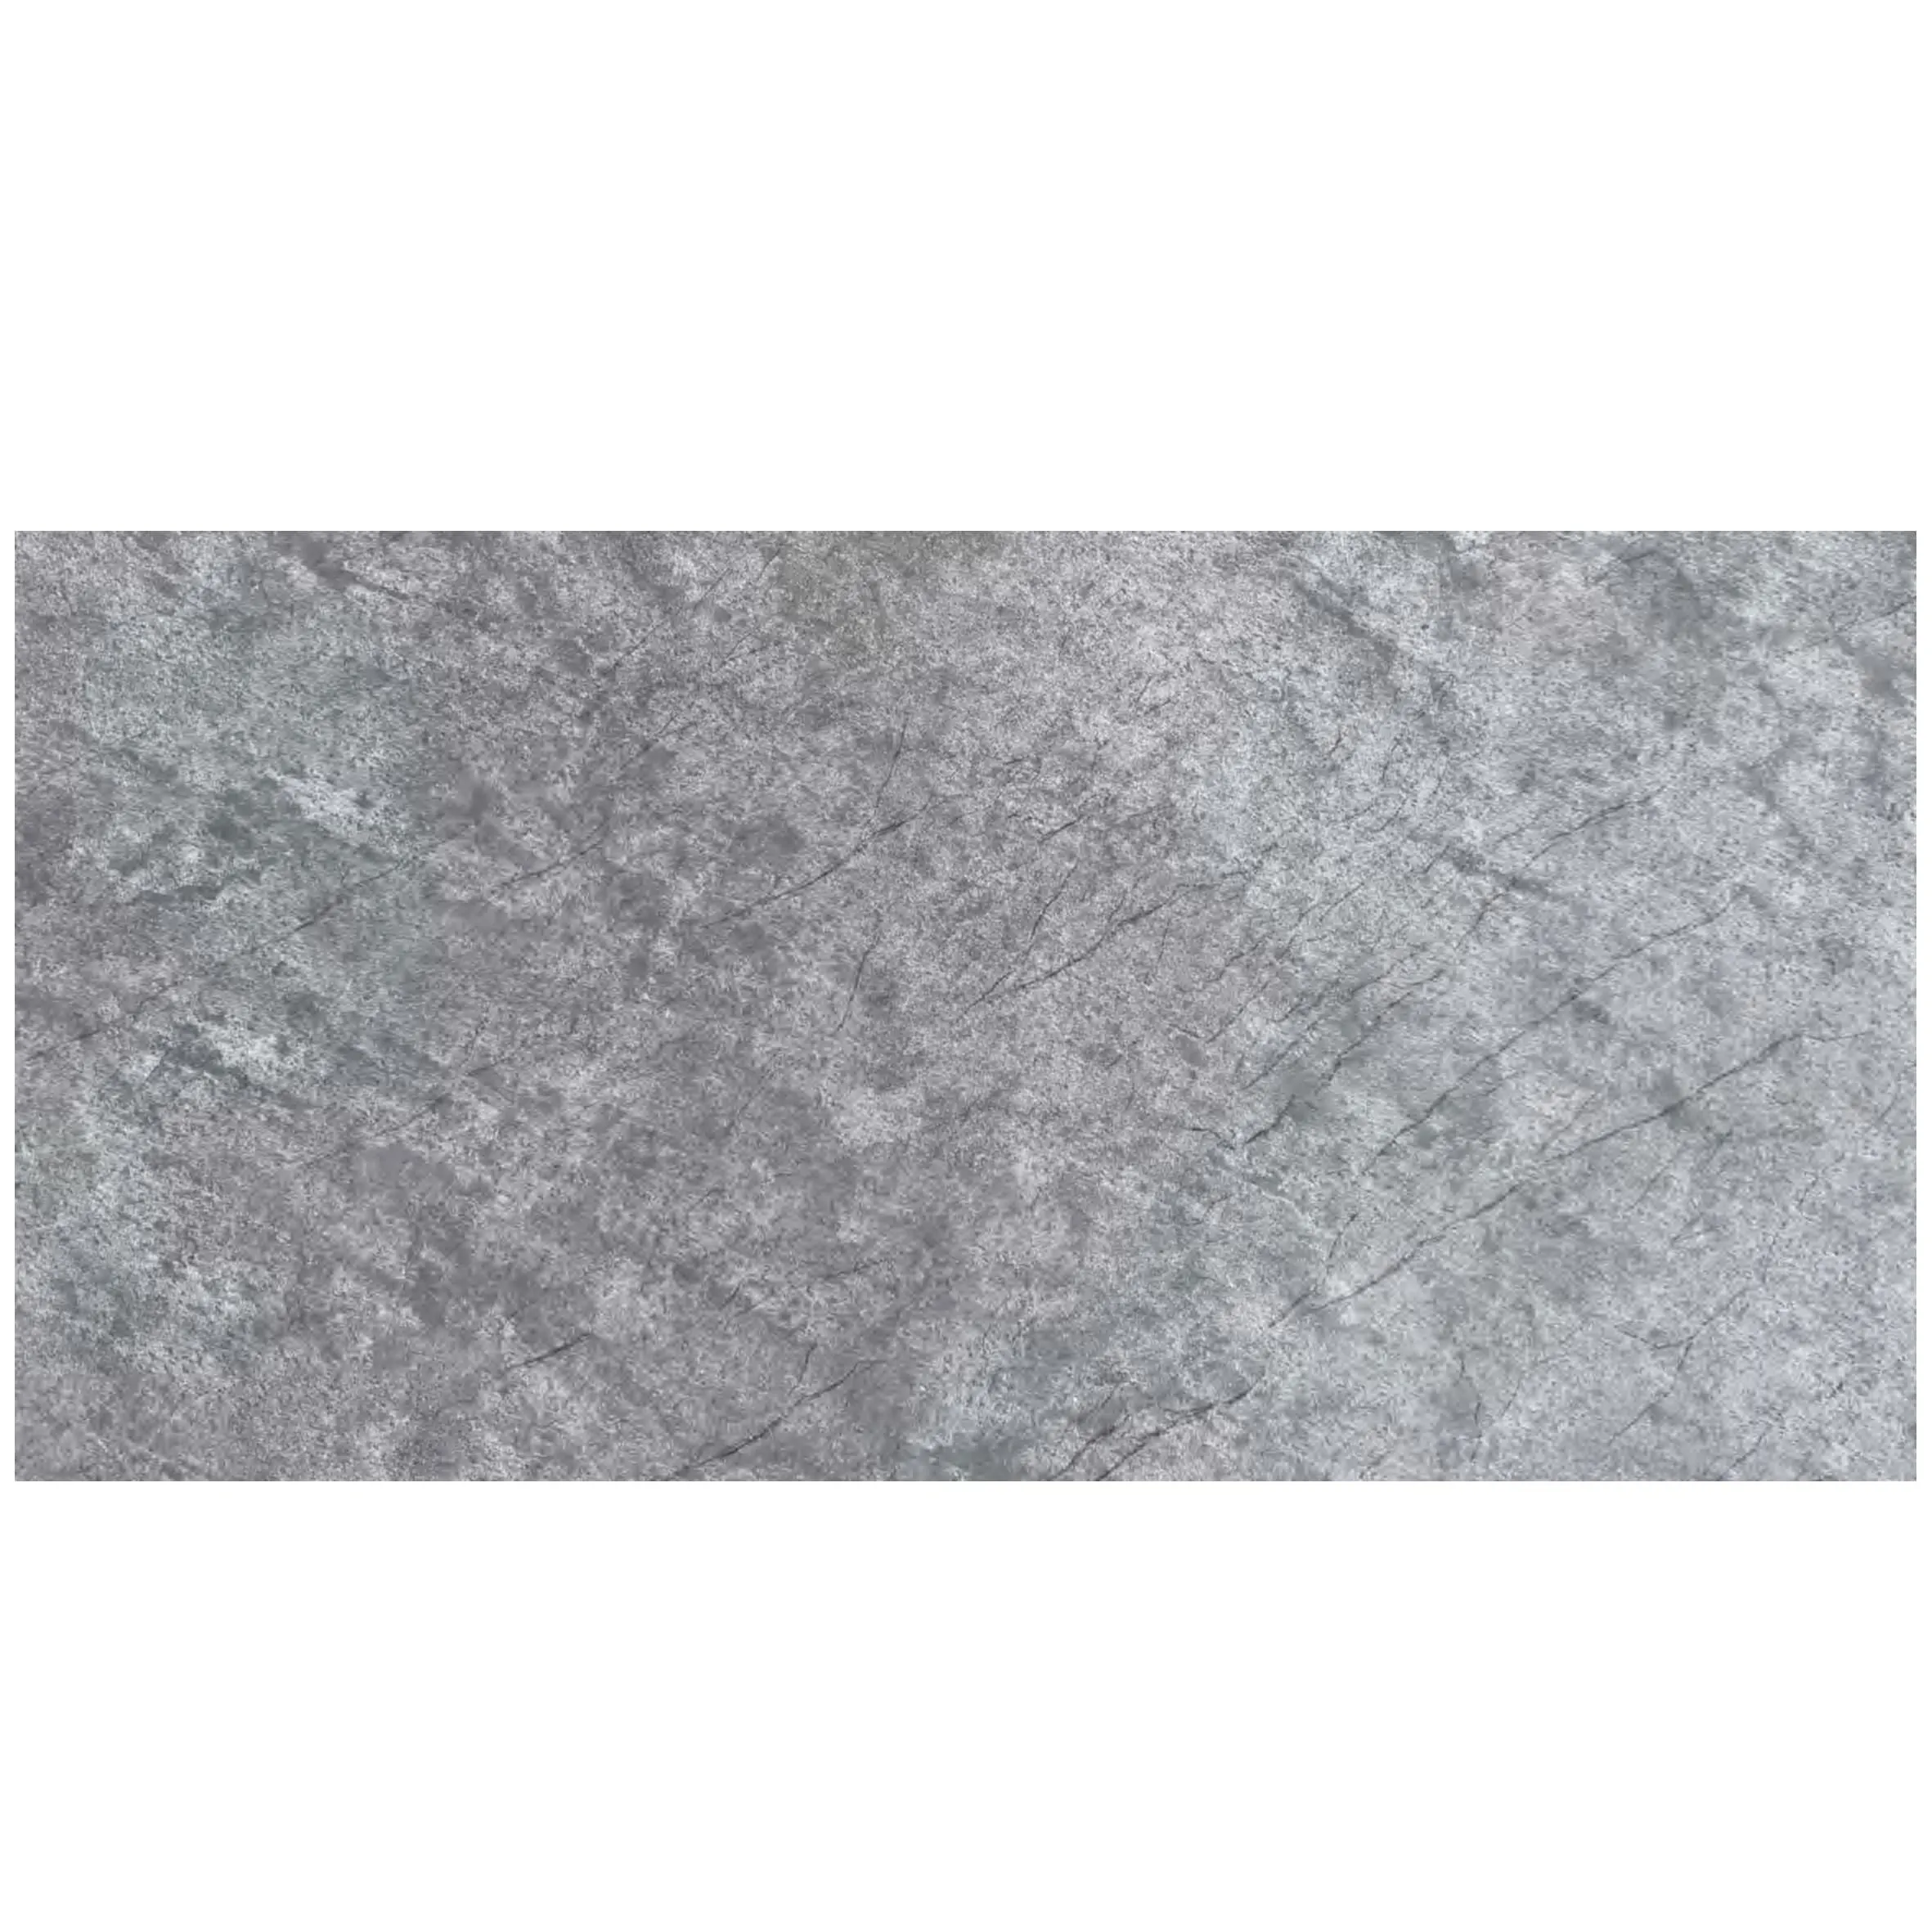
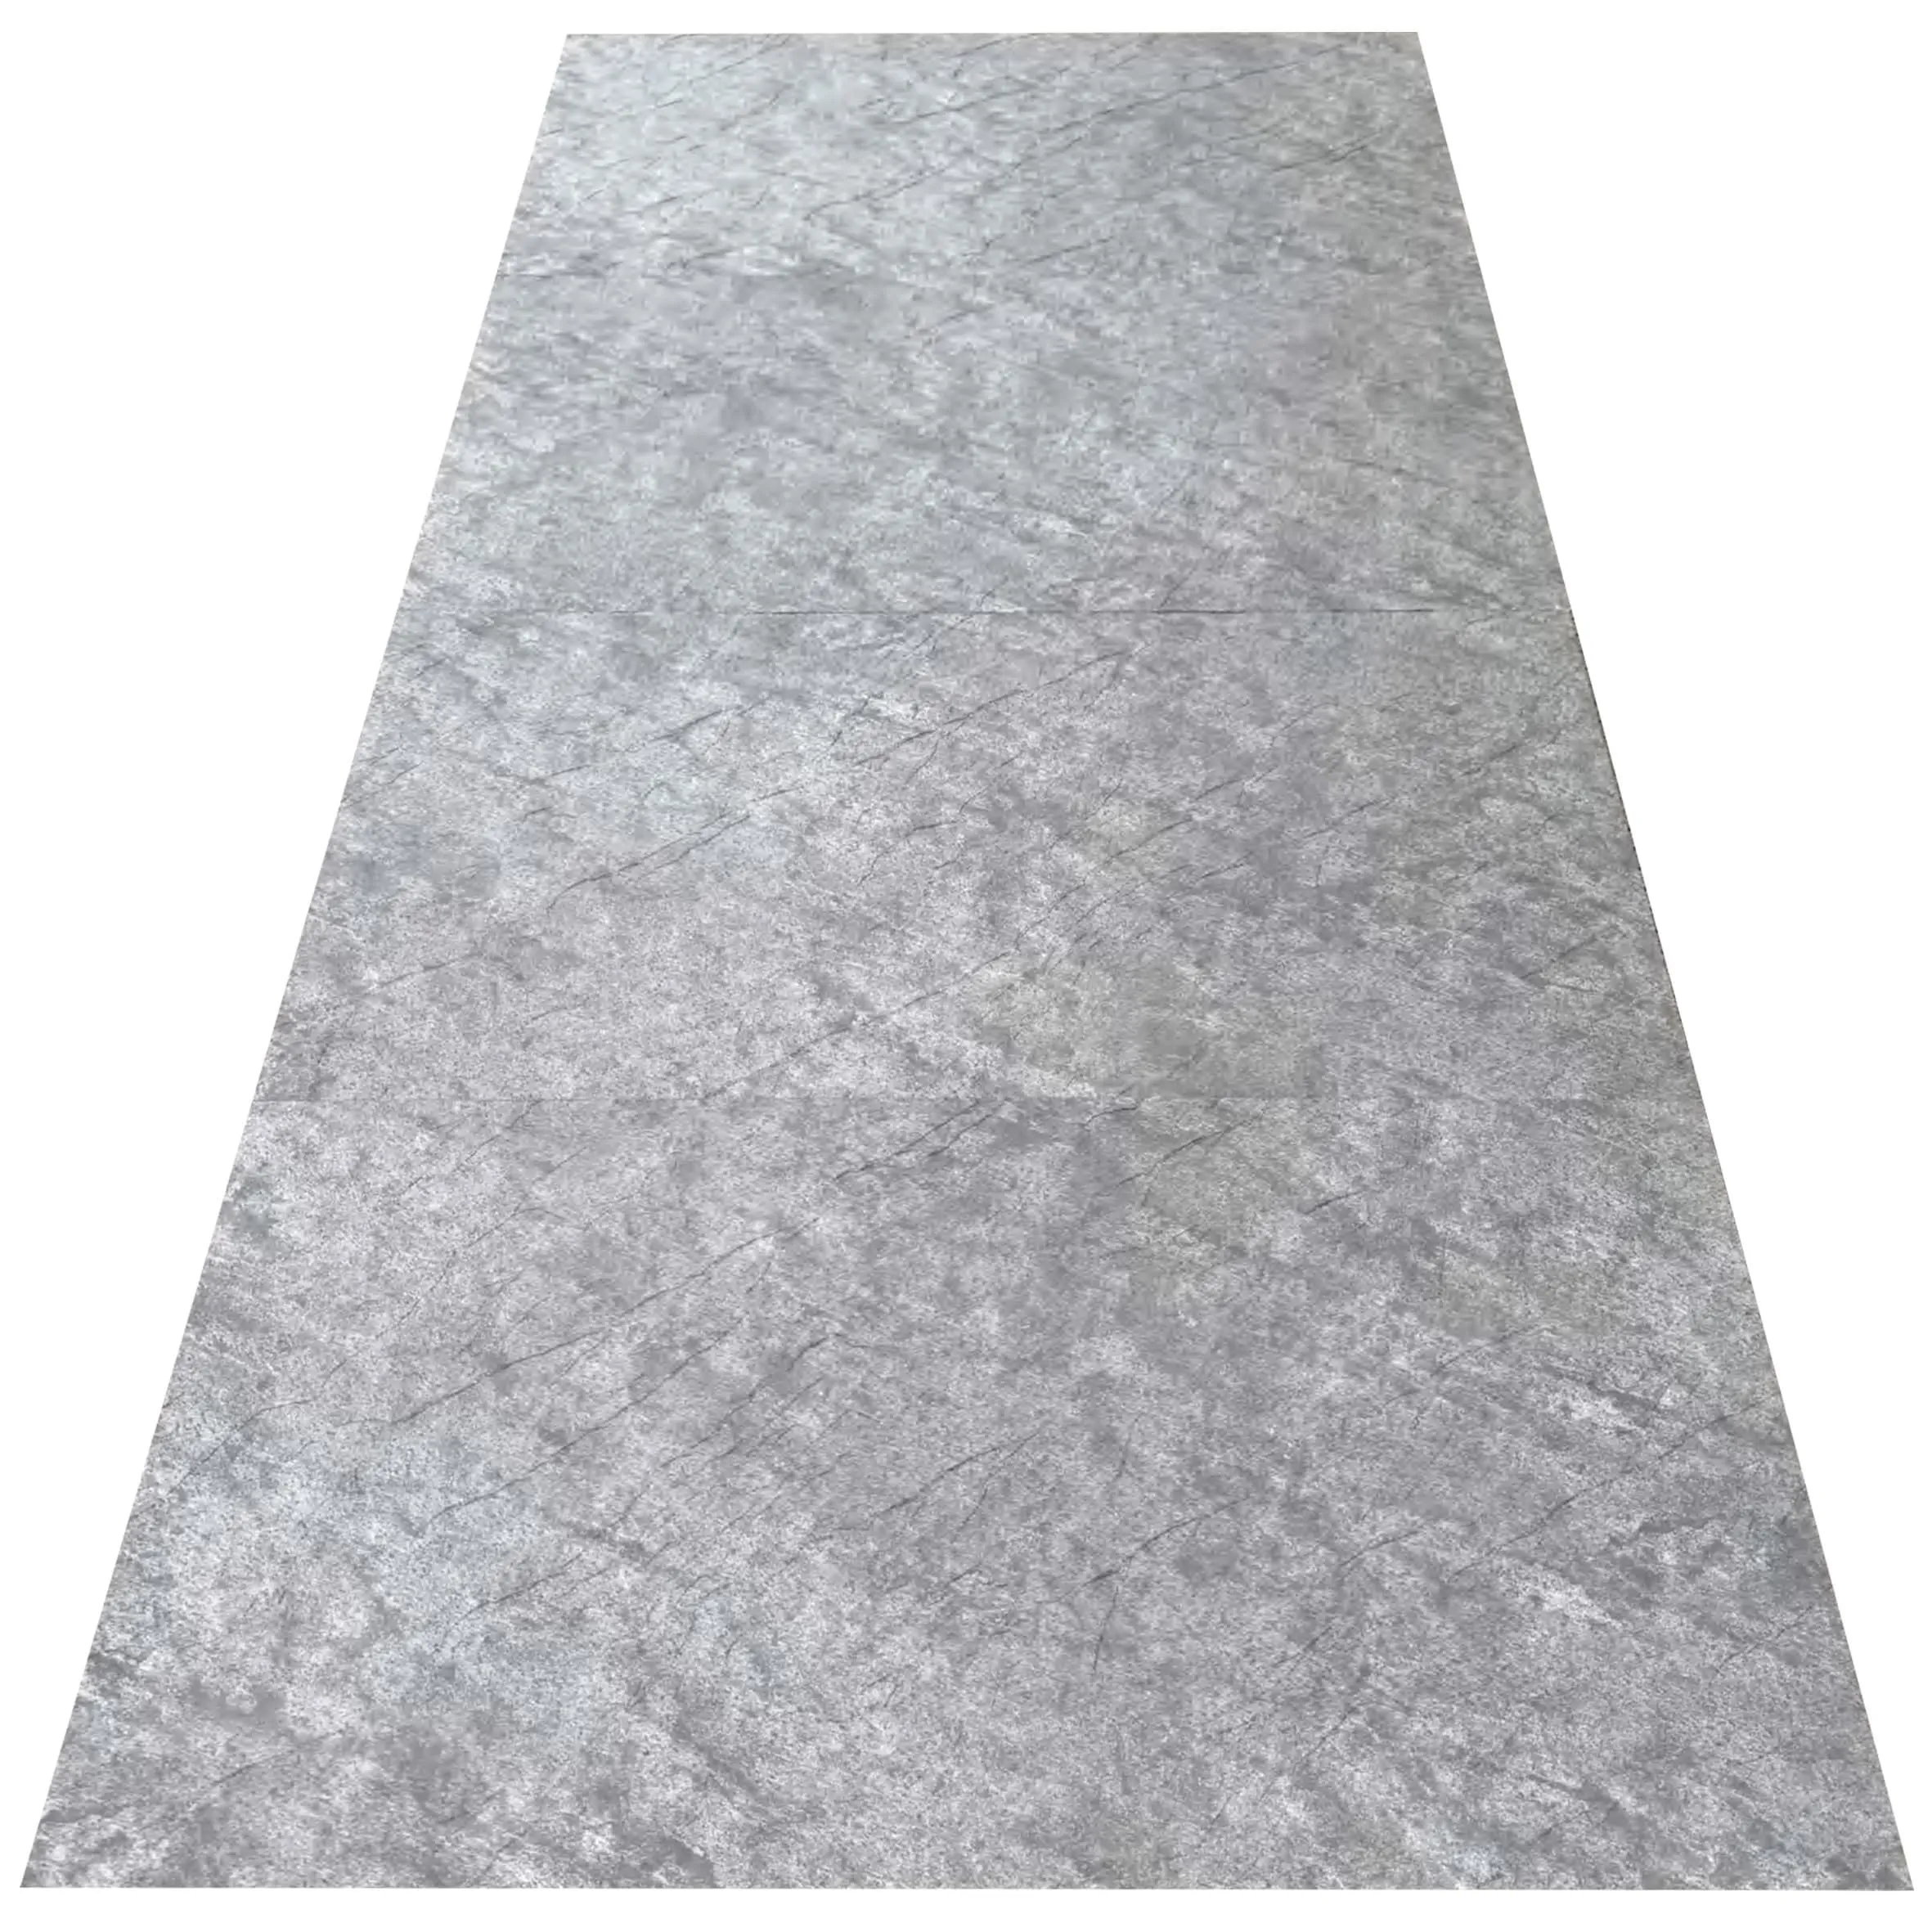
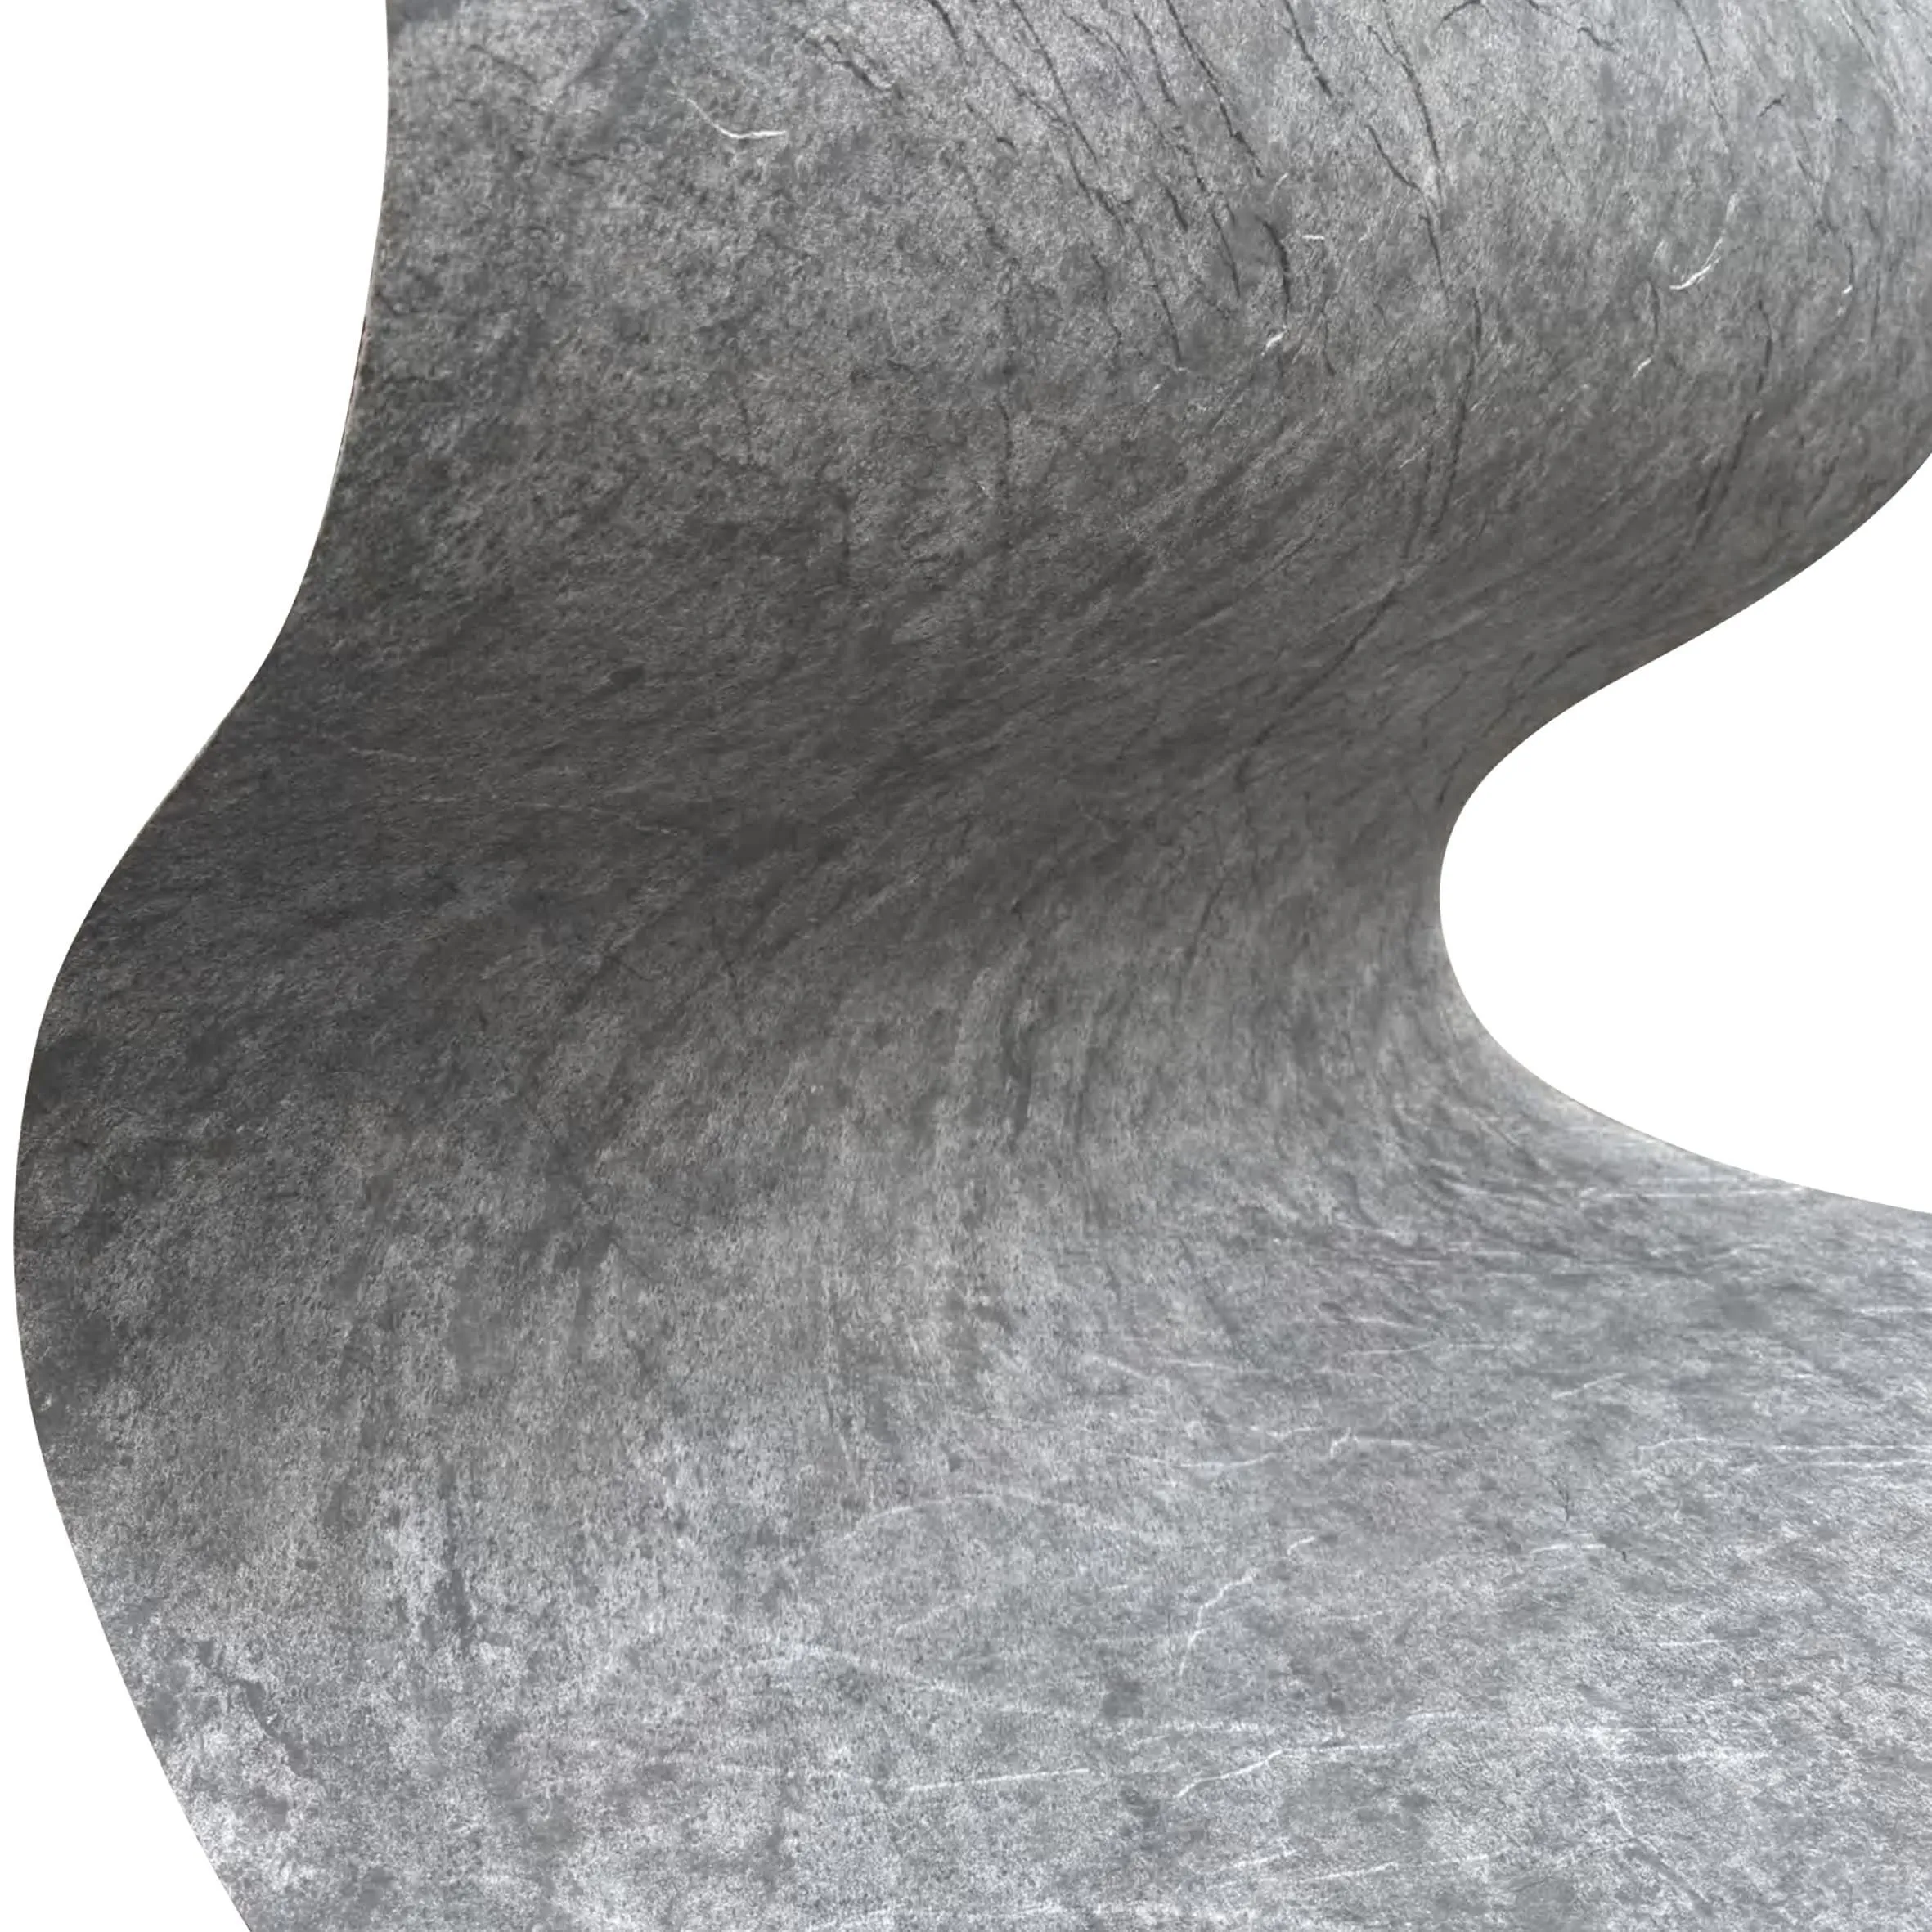
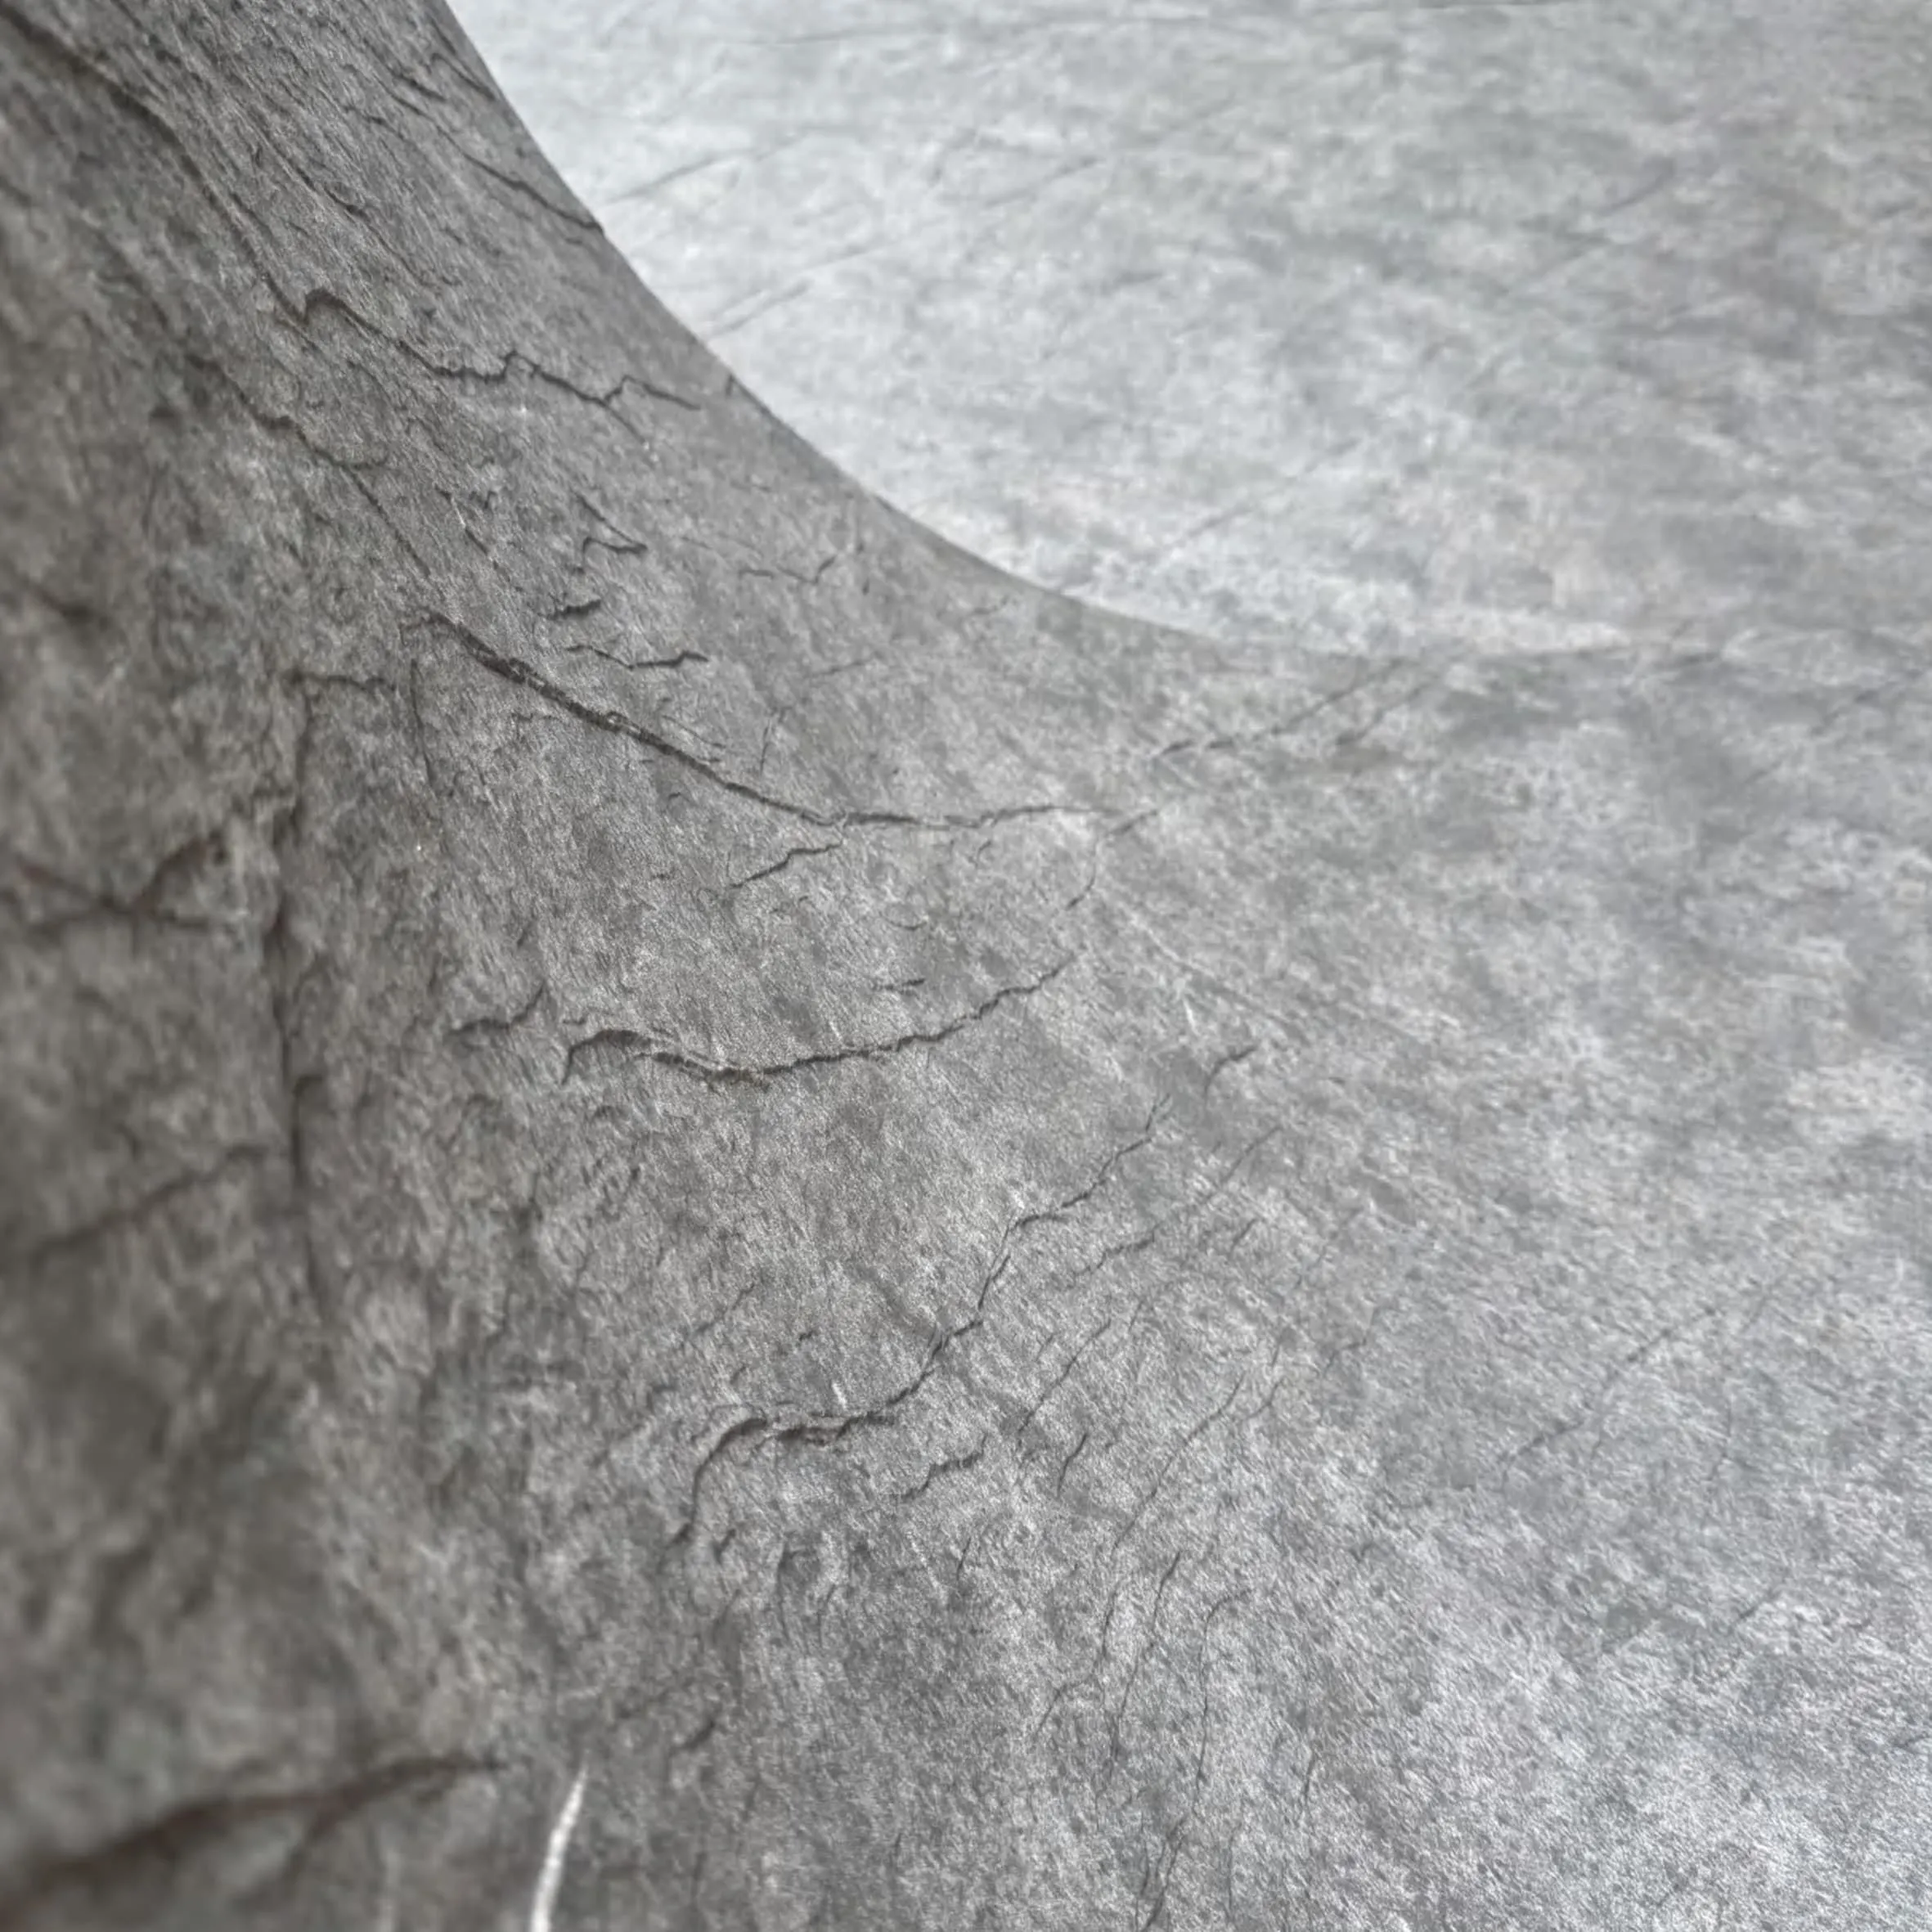
Hey fellow contractors, let's talk about something that's been turning heads on job sites lately: Glacial Slate MCM panels. If you've ever wanted to give a space that rugged, yet refined look—like a mountain range frozen in time, but with the durability to handle busy lobbies, restaurant walls, or even exterior facades—you're in the right place. At COLORIA GROUP, we've spent years perfecting these panels, and we know the difference between a botched install and a showstopper comes down to the details. We're not here to hit you with jargon; we're here to walk you through the process like we're right there on the job with you. Whether you're a veteran installer or dipping your toes into MCM (Modified Composite Material) for the first time, this guide will break down everything from prepping the site to troubleshooting those tricky moments that always seem to pop up. Let's dive in.
We've all been there: rushing to start installing panels only to realize the wall's uneven, or the materials got damaged in storage. Trust us—skipping prep is like building a house on sand. Let's avoid that.
First, walk the site. What's the substrate? Concrete? Drywall? Masonry? Each needs a slightly different approach. Glacial Slate MCM panels are flexible, but they're not magic. If the wall has cracks bigger than a hairline, fill 'em with a quality patching compound. Moisture is another enemy—grab a moisture meter. If readings are over 12%, you'll need a waterproofing membrane, especially if you're installing in a bathroom or exterior. And don't forget to check for obstructions: pipes, outlets, or that random nail someone left sticking out. Mark 'em, measure 'em, and plan around 'em now so you're not cutting panels at weird angles later.
Unpack your Glacial Slate panels, and while you're at it, check out any complementary materials you might be using—like MCM flexible stone for accents or fair-faced concrete for a contrasting wall section. COLORIA GROUP panels are rigorously tested, but shipping can be rough. Look for chips on the edges, scratches on the surface, or warped panels (yes, even MCM can warp if stored wrong). If something's off, call our support team—we'll get you replacements faster than you can say "adhesive." Also, check the batch numbers! Panels from the same batch will have consistent color, which matters if you're doing a large wall. Mixing batches? You might end up with slight shade differences that'll bug you (and the client) every time you walk by.
Store panels flat on a clean, dry surface—never leaning against a wall (they'll warp). Keep 'em away from direct sunlight, rain, or extreme temps. If you're storing outside (we don't recommend it, but we get it), cover 'em with a breathable tarp—plastic traps moisture, and moisture equals mold or warping. Oh, and keep 'em away from foot traffic! There's nothing worse than finding a boot print on a brand-new panel.
You don't need a warehouse full of tools, but having the right ones makes the job feel like a breeze. Here's your checklist:
| Tools | Why You Need 'Em | Pro Tip |
|---|---|---|
| 6-foot level | To keep panels straight—no one wants a "drunken wall" look. | Get a magnetic one; it'll stick to metal studs and free up a hand. |
| Cordless drill with masonry bits | For drilling into concrete or masonry substrates. | Use sharp bits—dull ones chip panels when you're securing fasteners. |
| Circular saw with a carbide-tipped blade | Cutting panels to size. MCM panels are tough, so skip the wood blade. | Wet-cutting is cleaner (less dust), but if you dry-cut, wear a respirator. |
| Notched trowel (1/4-inch x 1/4-inch) | Applying adhesive evenly. | Hold it at a 45-degree angle for consistent thickness. |
| Rubber mallet | Tapping panels into place without chipping 'em. | Wrap the head in a cloth to avoid leaving marks. |
| Sealant gun | For caulking joints between panels. | Get a smooth-action gun—your hand will thank you after 50 linear feet. |
Materials-wise, you'll need: Glacial Slate MCM panels, high-quality construction adhesive (we recommend polyurethane-based for exterior; acrylic for interior), matching color sealant, stainless steel fasteners (if you're using mechanical fastening in high-wind areas), and a primer (only if the substrate is porous, like unpainted drywall).
Now the fun part. We're breaking this down into 8 steps—follow 'em, and you'll have a wall that looks like it was installed by pros (because you are one).
Start by cleaning the wall. Sweep off dust, vacuum up debris, and wipe down with a damp cloth. If there's old paint or wallpaper, scrape it off—adhesive sticks to bare substrate, not flaky paint. For concrete walls, etch it lightly with a wire brush to give the adhesive something to grip. If you're using a primer (we told you about that porous substrate!), apply a thin, even coat and let it dry completely—check the primer can for dry time, but usually 2-4 hours. Pro move: Use a level to draw a horizontal reference line around the room, 1/4-inch above the floor. This is your starting point, so make sure it's dead straight. Use a chalk line for long walls—no one's hand is steady enough for that.
Before you even open the adhesive, dry fit the panels. Start at the bottom corner (left or right, your call) and lay panels out along the reference line. This is where you'll figure out if you need to cut panels for the edges. Aim to have cut panels be at least 6 inches wide—narrow strips look cheap and can crack over time. If the last panel in a row is too narrow, adjust the starting point so the cuts are split between both ends. For example, if your wall is 10 feet wide and panels are 2 feet each, you'll have 5 full panels. But if it's 10 feet 8 inches, cut 4 inches off the first and last panels instead of an 8-inch strip at the end. Trust us, symmetry matters.
Also, if you're mixing materials—say, Glacial Slate with a strip of foamed aluminium alloy board (vintage silver) for a modern accent—dry fit those, too. Mark where the transition happens with pencil lines on the wall. And don't forget to account for grout joints! Most installers leave a 1/8-inch gap between panels for sealant, so add that to your measurements.
Time to cut. If you're using a circular saw, set the blade depth to just 1/8-inch more than the panel thickness—no need to cut through the whole blade. Clamp the panel to a workbench with the cut line overhanging the edge. For straight cuts, use a guide (a straight piece of wood clamped to the panel). For curves or notches (around outlets, for example), a jigsaw with a carbide blade works best. Safety first: goggles, gloves, and a dust mask. Even MCM dust isn't great to breathe. After cutting, sand the edges lightly with 120-grit sandpaper to remove burrs—you don't want a sharp edge scratching you or the next panel.
Open the adhesive and stir it well (sediment settles!). Load the notched trowel and apply adhesive to the back of the panel in a "U" pattern—this ensures full coverage without air bubbles. For large panels (over 3x5 feet), add a few "dabs" in the center to prevent sagging. How much adhesive? You want about 80% coverage—too little, and the panel might loosen; too much, and it'll squeeze out the sides and make a mess. Check the adhesive's open time (the time you have to position the panel after applying adhesive). Most polyurethanes have a 15-20 minute open time, so work in small sections—don't glue an entire wall's worth of panels at once.
Pick up the panel (get a helper for large ones—they're lighter than stone, but still awkward) and align it with your reference line and layout marks. Gently press it into place, starting from the bottom edge and working your way up—this pushes air out from under the panel. Once it's roughly in position, use the level to check for plumb (vertical straightness) and level (horizontal). If it's off, gently tap with the rubber mallet to adjust—don't yank it, or you'll pull the adhesive off the wall. Once it's straight, apply even pressure across the entire panel—use a roller if you have one, or just press with your hands (wear gloves to avoid leaving fingerprints). Hold for 30 seconds to set the adhesive, then move to the next panel. Stagger the seams like brickwork—don't line up vertical joints in adjacent rows. It's stronger that way, and it looks better.
Most interior walls with Glacial Slate panels can rely on adhesive alone, but if you're installing in a high-traffic area (like a hotel lobby) or exterior, mechanical fastening adds peace of mind. Pre-drill holes in the panel edges (about 1 inch from the corner, 6 inches apart along the sides). Use stainless steel screws with a low-profile head—you don't want 'em sticking out. Drill into the substrate, but don't overtighten—you'll crack the panel. After driving the screw, fill the hole with a little adhesive and smooth it with a putty knife—no one needs to see the fasteners.
Wait 24 hours for the adhesive to cure, then grab the sealant. Choose a color that matches the panel—COLORIA GROUP offers custom sealant to match Glacial Slate, so no more "white caulk on gray panels" disasters. Cut the sealant tube at a 45-degree angle, load it into the gun, and run a bead along the joint. Then, take a damp finger (or a caulking tool) and smooth the bead—this pushes sealant into the gap and removes excess. Wipe away the extra with a damp cloth before it dries. For interior, a 1/8-inch bead is fine; exterior might need 1/4-inch to handle expansion/contraction from temperature changes.
Adhesive smudges? Use a solvent recommended by the adhesive manufacturer (acetone works for most, but test it on a scrap panel first!). Wipe the panels with a soft, dry cloth to remove dust. Sweep up the cutoffs and packaging—clients love seeing a clean job site, and it's the professional thing to do. Stand back, take a photo, and admire your work—you earned it.
Even with perfect prep, stuff happens. Here's how to handle the most common issues:
Problem: Panels are uneven after installation. Solution: You probably skipped the level during installation. Gently pry up the panel (if it's still within the adhesive's open time), scrape off the old adhesive, and reapply with a fresh coat, using the level to ensure it's straight. If it's already cured, you might need to remove and replace—lesson learned: check level before pressing down.
Problem: Adhesive isn't sticking. Solution: Check the substrate—was it clean? Too porous? Maybe you needed primer. If the adhesive is old (expired), that's another culprit. Scrape off the old adhesive, clean the panel and wall, and try again with fresh adhesive.
Problem: Panels chip when cutting. Solution: Dull blade. replace it with a sharp carbide-tipped blade. Also, make sure the panel is clamped tight—movement during cutting causes chips.
Glacial Slate MCM panels are low-maintenance, but a little care goes a long way. For cleaning, use mild dish soap and warm water—no abrasive sponges or bleach. Wipe spills immediately, especially acidic ones like coffee or wine, which can etch the surface over time. Every few years, inspect the sealant—if it's cracked or peeling, remove the old and reapply new. For small chips, COLORIA GROUP sells touch-up kits with matching paint—just sand the chip lightly, apply a dab of paint, and let it dry. Easy peasy.
Installing Glacial Slate MCM panels isn't rocket science, but it does take patience and attention to detail. By following these steps—prepping properly, using the right tools, and taking your time with layout and adhesion—you'll create a wall that wows clients and stands the test of time. And remember, you're not alone. COLORIA GROUP's technical support team is just a call away, and our products—from Glacial Slate to MCM flexible stone to foamed aluminium alloy board (vintage silver) accents—are designed to work together seamlessly.
So go out there, measure twice, cut once, and build something awesome. We can't wait to see what you create.
Recommend Products


