
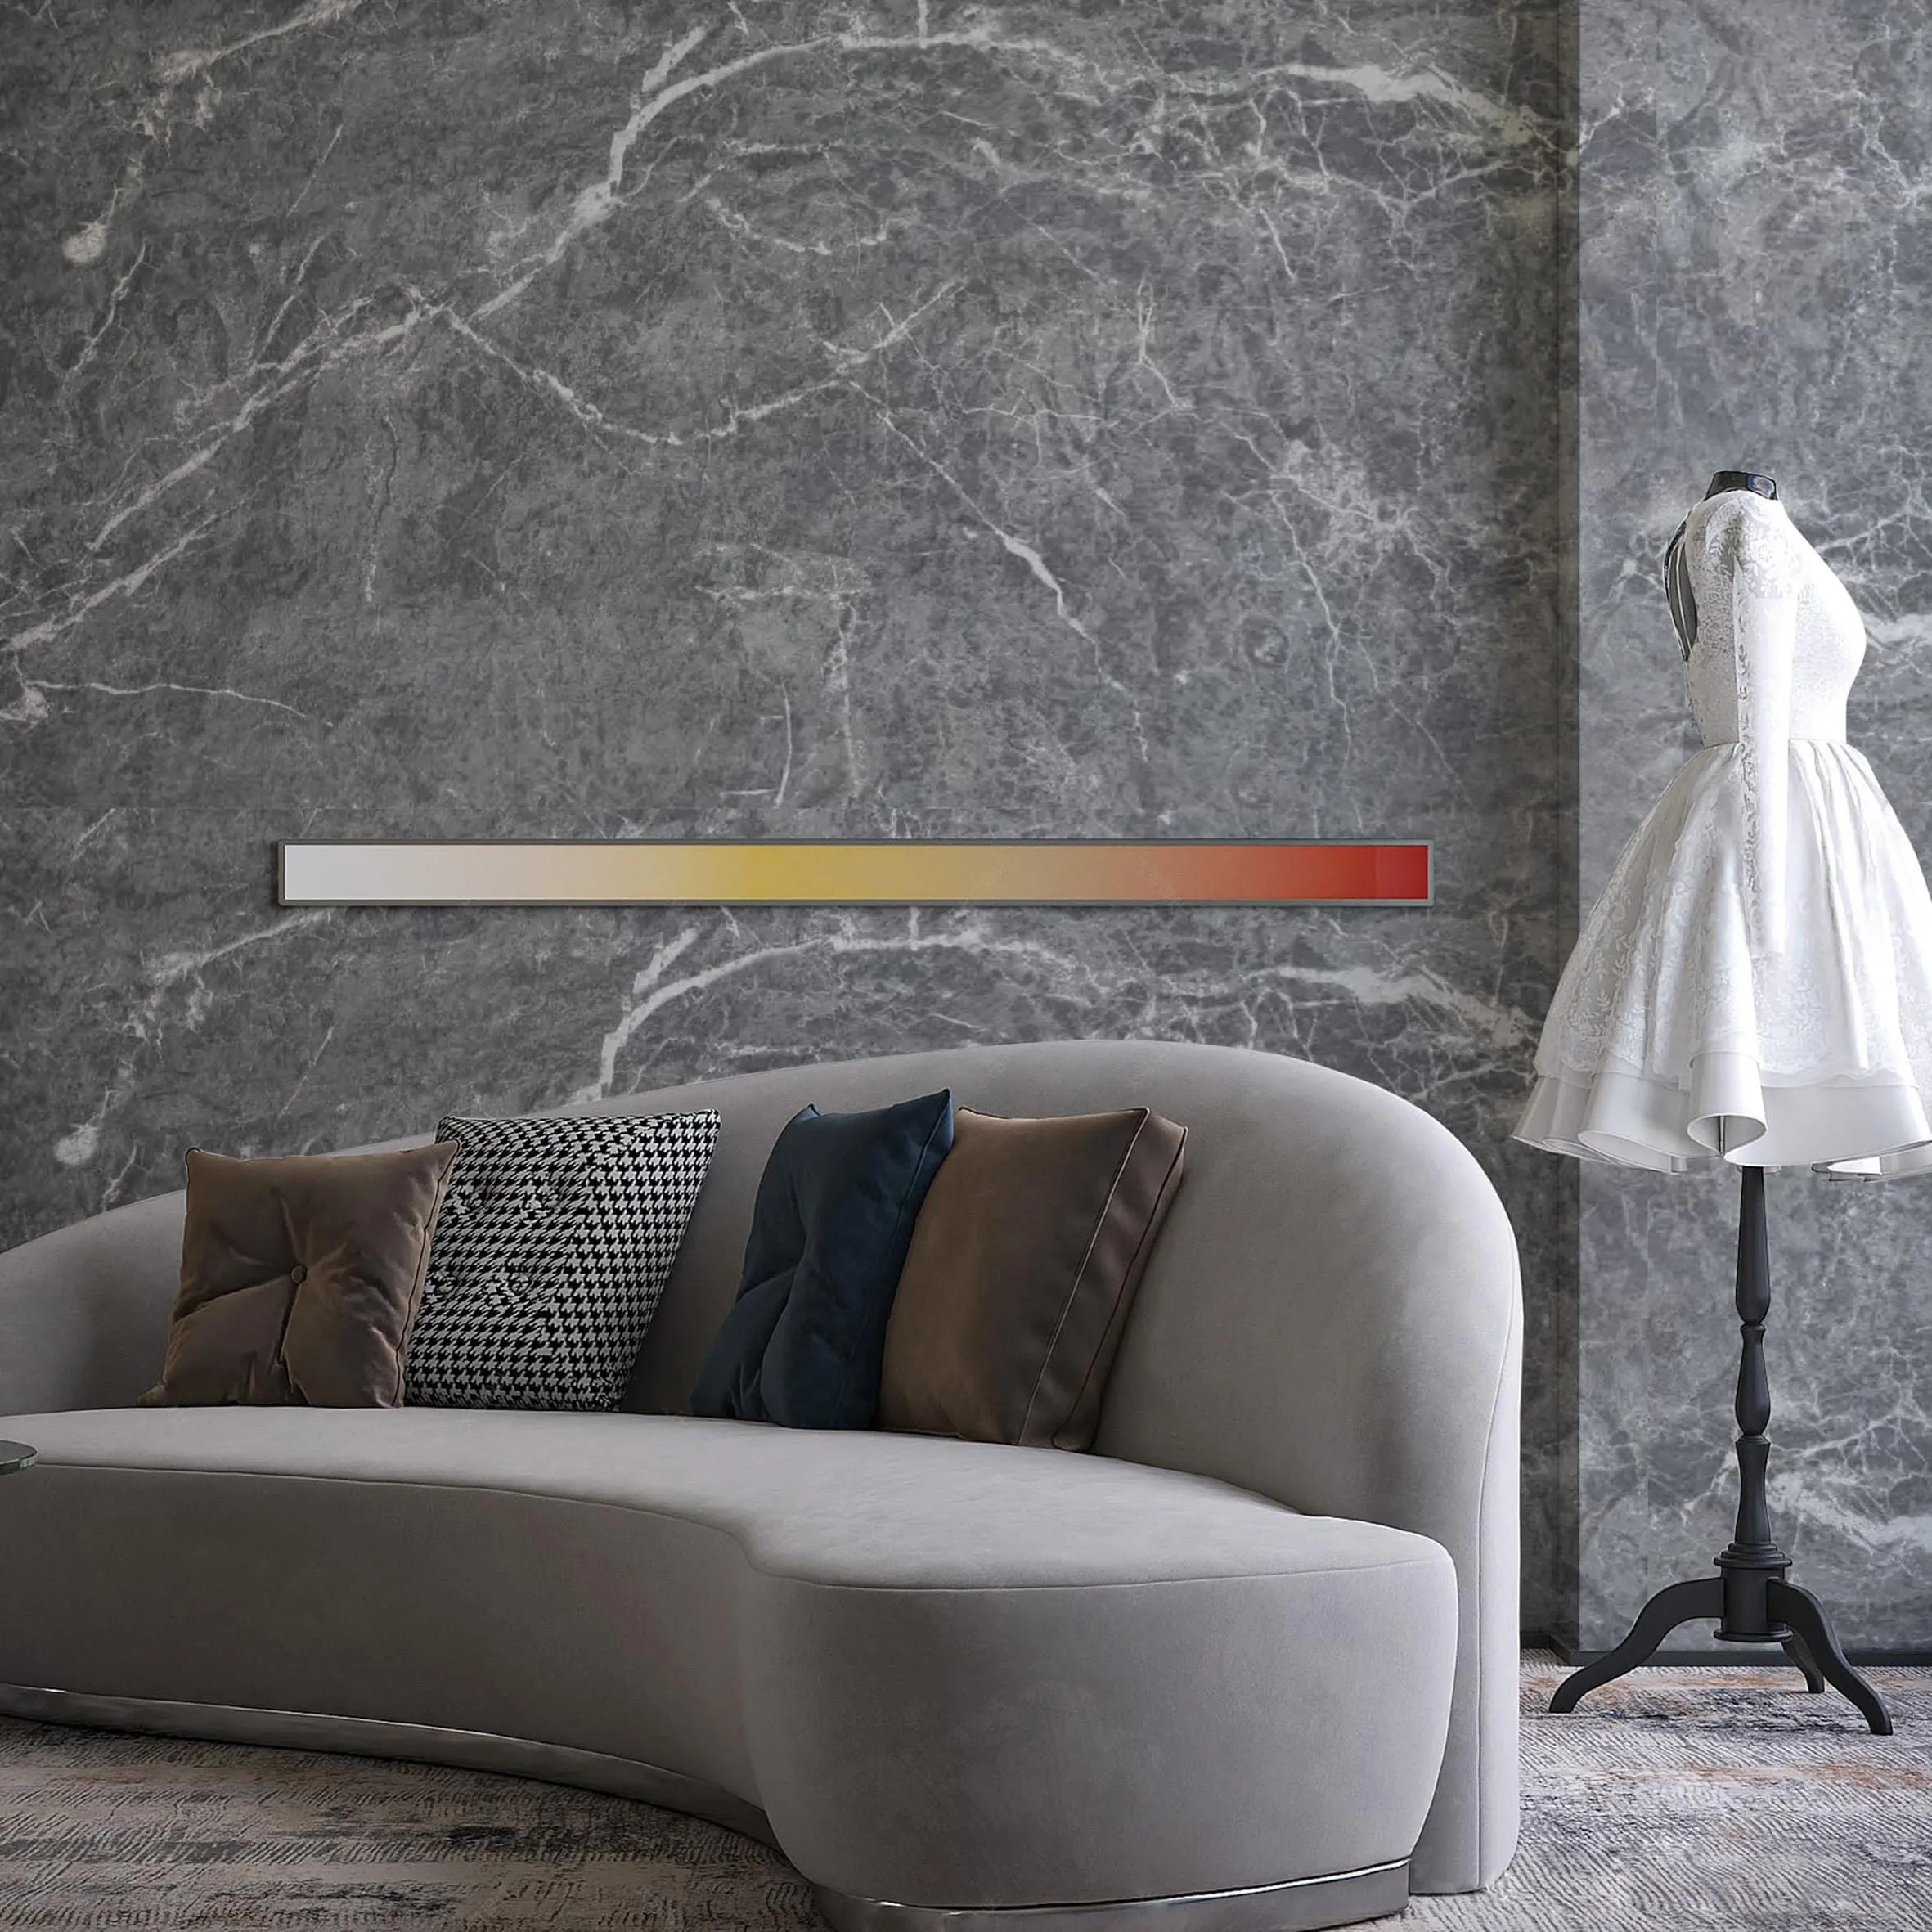
Curved surfaces in architecture have a way of softening spaces, adding flow, and turning ordinary walls into statement pieces. But here's the catch: working with curves isn't always easy—especially when you're aiming for that high-end, polished look. That's where Granite Nero Margiua-inspired MCM panels come in. With their sleek, dark elegance and surprising flexibility, these panels are a game-changer for anyone looking to elevate curved walls, columns, or arches. Today, I'm breaking down the entire process, from prep to finish, so you can tackle this project with confidence (and maybe even have a little fun along the way).
Before we dive into tools and tape measures, let's talk about why Granite Nero Margiua-inspired MCM panels are a cut above the rest for curved surfaces. Traditional stone or heavy tiles? They're rigid, brittle, and honestly, a nightmare to bend without cracking. But MCM (Modified Composite Material) panels—especially the flexible stone variants—are designed to move. Think of them as stone with a "give": they're lightweight (we're talking a fraction of the weight of natural granite), thin, and engineered to conform to gentle curves without losing their structural integrity. That's why contractors and designers alike are swapping out rigid materials for MCM flexible stone when curves are in the plan.
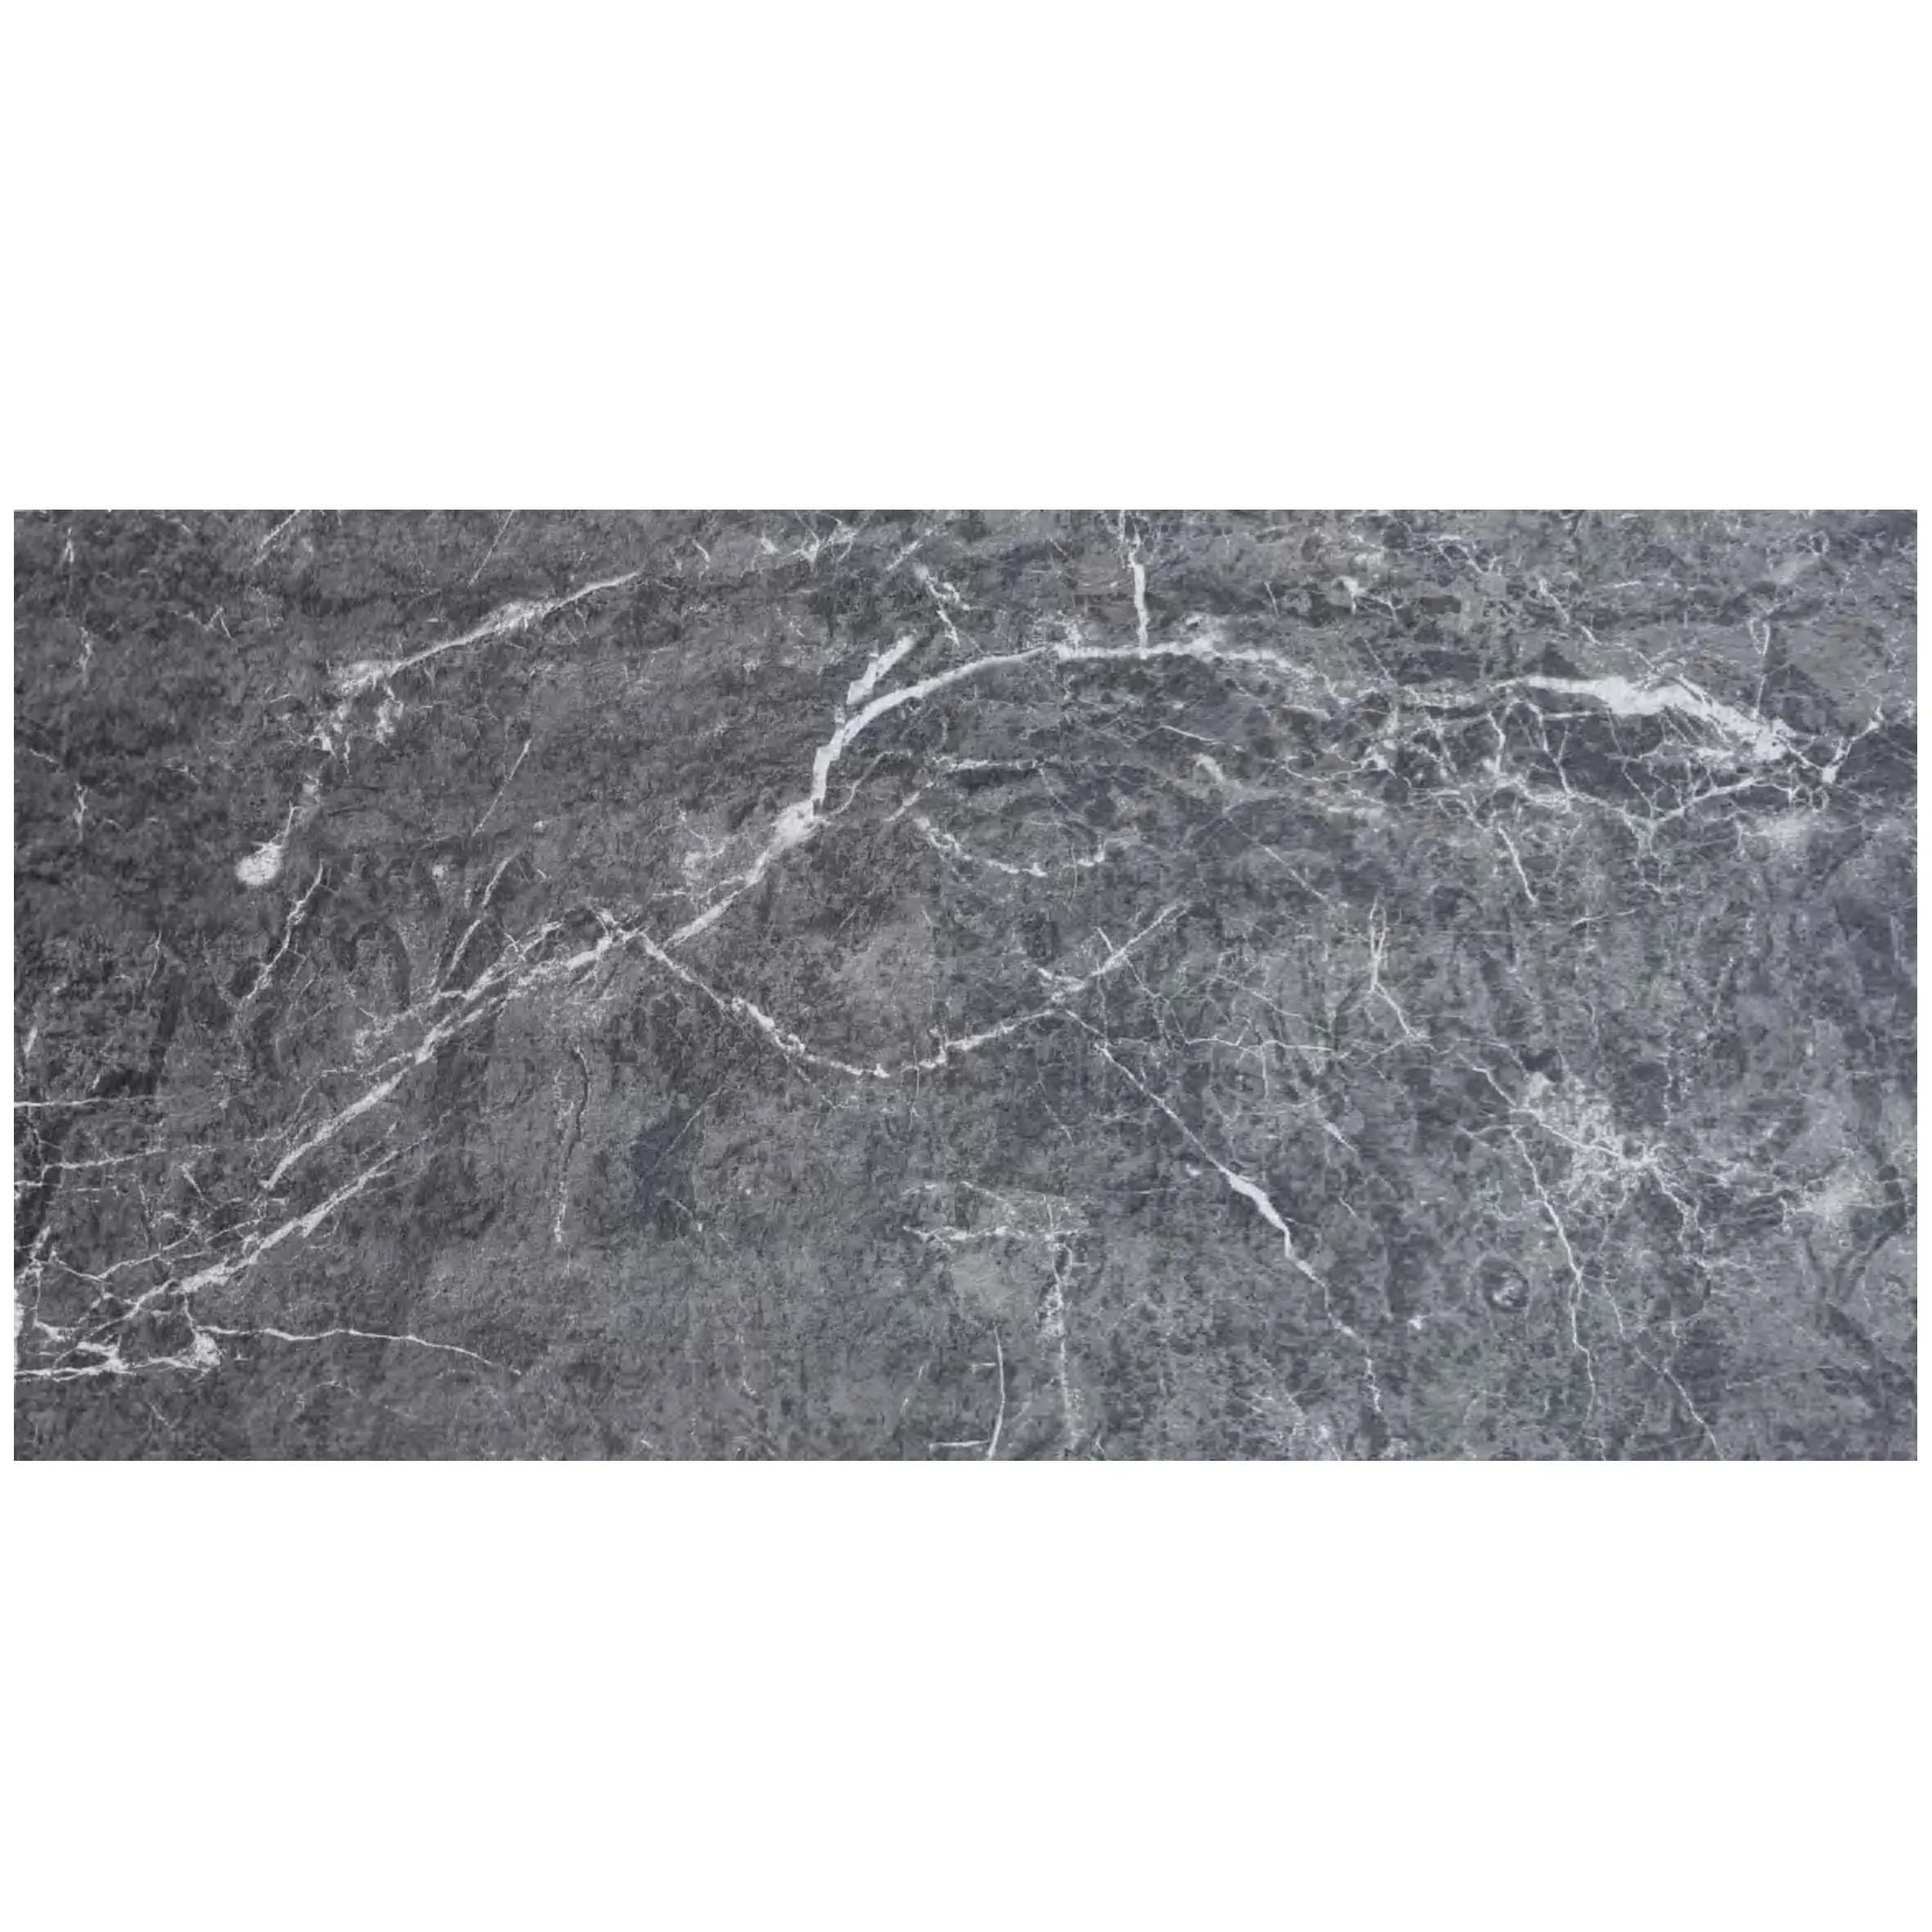
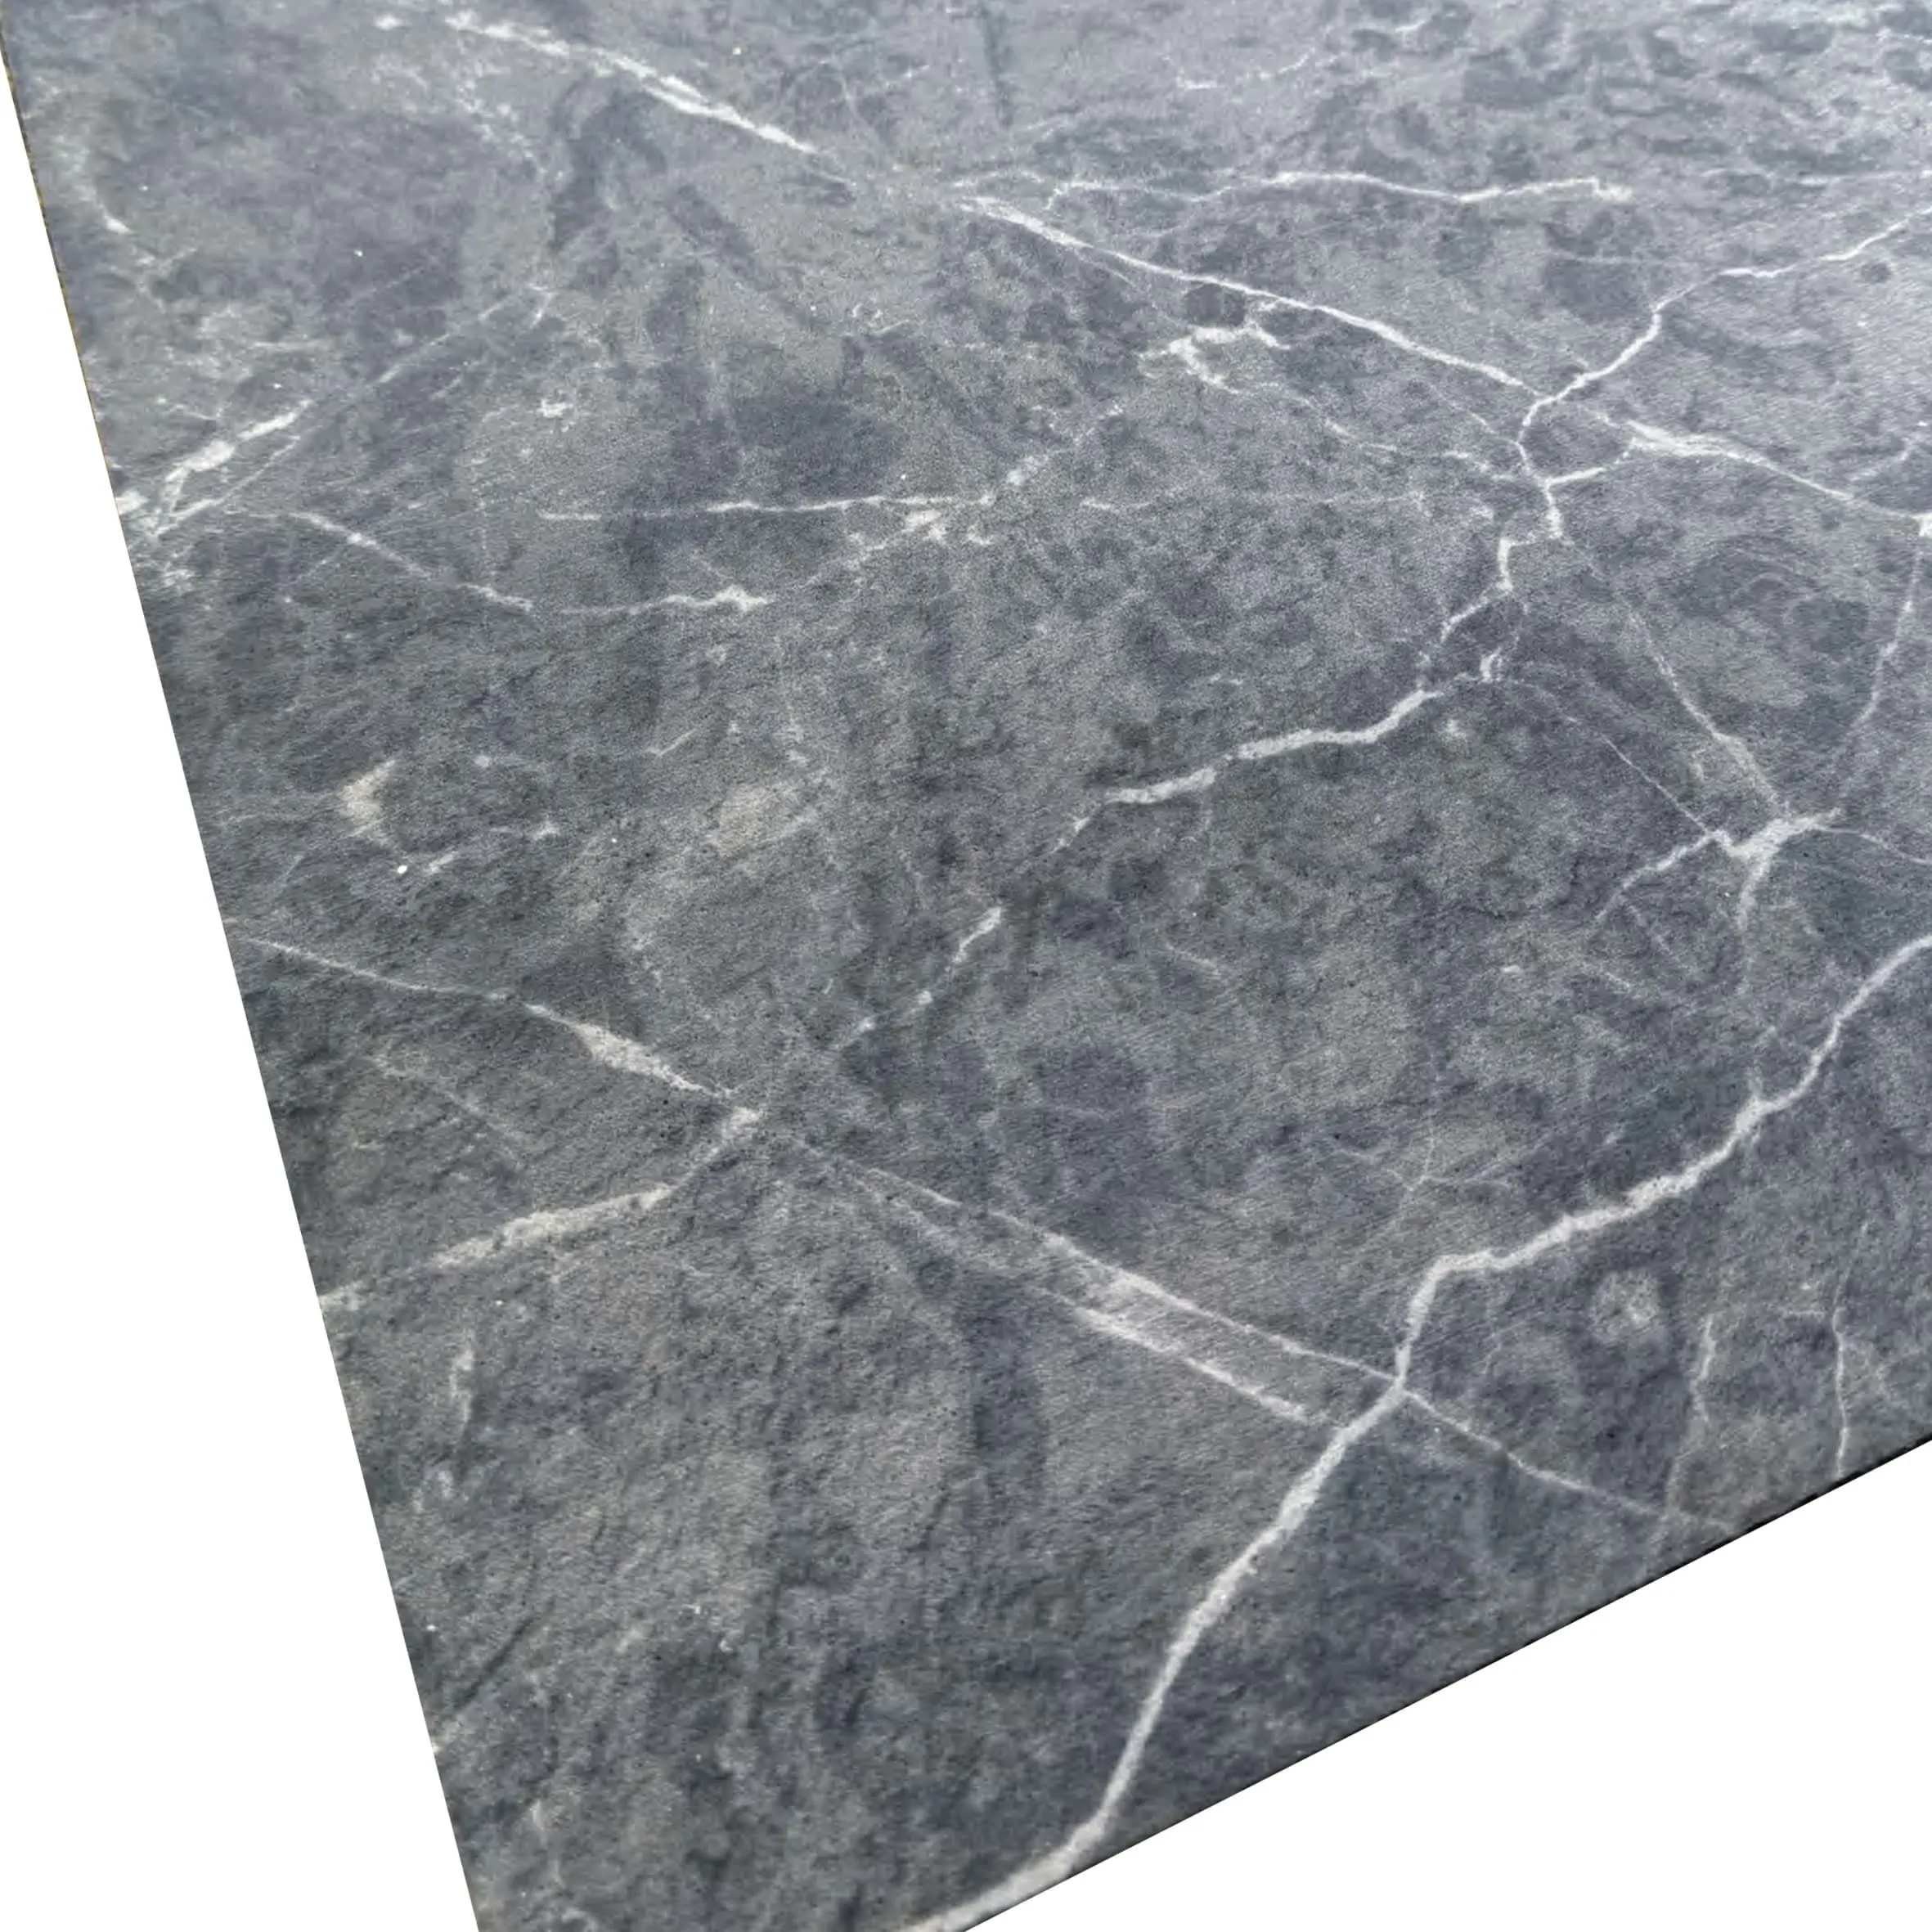
And let's not forget the aesthetics. Granite Nero Margiua is known for its deep, velvety black base with subtle flecks of silver and gray—like a starry night frozen in stone. When wrapped around a curve, that texture and depth play with light in ways flat surfaces just can't match. It's dramatic, timeless, and surprisingly versatile, whether you're designing a modern living room accent wall or a boutique hotel lobby.
I've been in this industry long enough to know: the prep work makes or breaks the project . You could have the fanciest panels on the market, but if your surface isn't ready, you'll end up with bubbles, gaps, or worse—panels that peel off six months later. Let's walk through the key steps to avoid that headache.
Start by giving your curved surface a good once-over. Is it smooth? Are there cracks, bumps, or uneven spots? Grab a level and a straightedge (a long ruler works too) to check for dips—even small ones can throw off your panel alignment. If you're working with drywall, patch any holes with spackle and sand them smooth. For concrete or masonry, fill cracks with a high-quality patching compound and let it cure completely (follow the product's instructions—rushing this is a rookie mistake).
Next, clean the surface thoroughly. Dust, grease, or even old paint can prevent the adhesive from bonding. Use a mild detergent mixed with water and a sponge, then rinse with clean water and let it dry completely. I like to wait 24 hours here—better safe than sorry. Pro tip: If the surface is porous (like concrete), consider applying a primer designed for MCM panels. It helps the adhesive grip better, especially in humid environments.
Curved surfaces aren't straight, so standard "length x width" measurements won't cut it. Grab a flexible measuring tape (the kind tailors use works great) and measure the circumference of the curve at the top, middle, and bottom—curves can sometimes be uneven, and you want to account for that. Jot down the largest measurement to ensure your panels are wide enough to cover the curve without gaps.
Then, sketch out your panel layout. Will you start at the top and work down, or from the bottom up? I prefer starting at the bottom for vertical curves—it's easier to keep panels aligned when gravity's on your side. Mark reference lines on the surface using a pencil and a level—these will be your guideposts to keep panels straight as you install. And don't forget to account for seams: stagger them like brickwork to avoid a "striped" look, which is far less polished.
Not all MCM panels are created equal for curves. While the Granite Nero Margiua line is flexible by nature, larger panels (think MCM big slab board series) might be trickier to bend on tight curves. For gentle curves (radius of 3 feet or more), big slabs work beautifully—fewer seams mean a cleaner finish. But for tighter curves (radius less than 2 feet), opt for smaller panels or even consider cutting larger panels into narrower strips. They'll conform more easily, and you'll have more control over the bend.
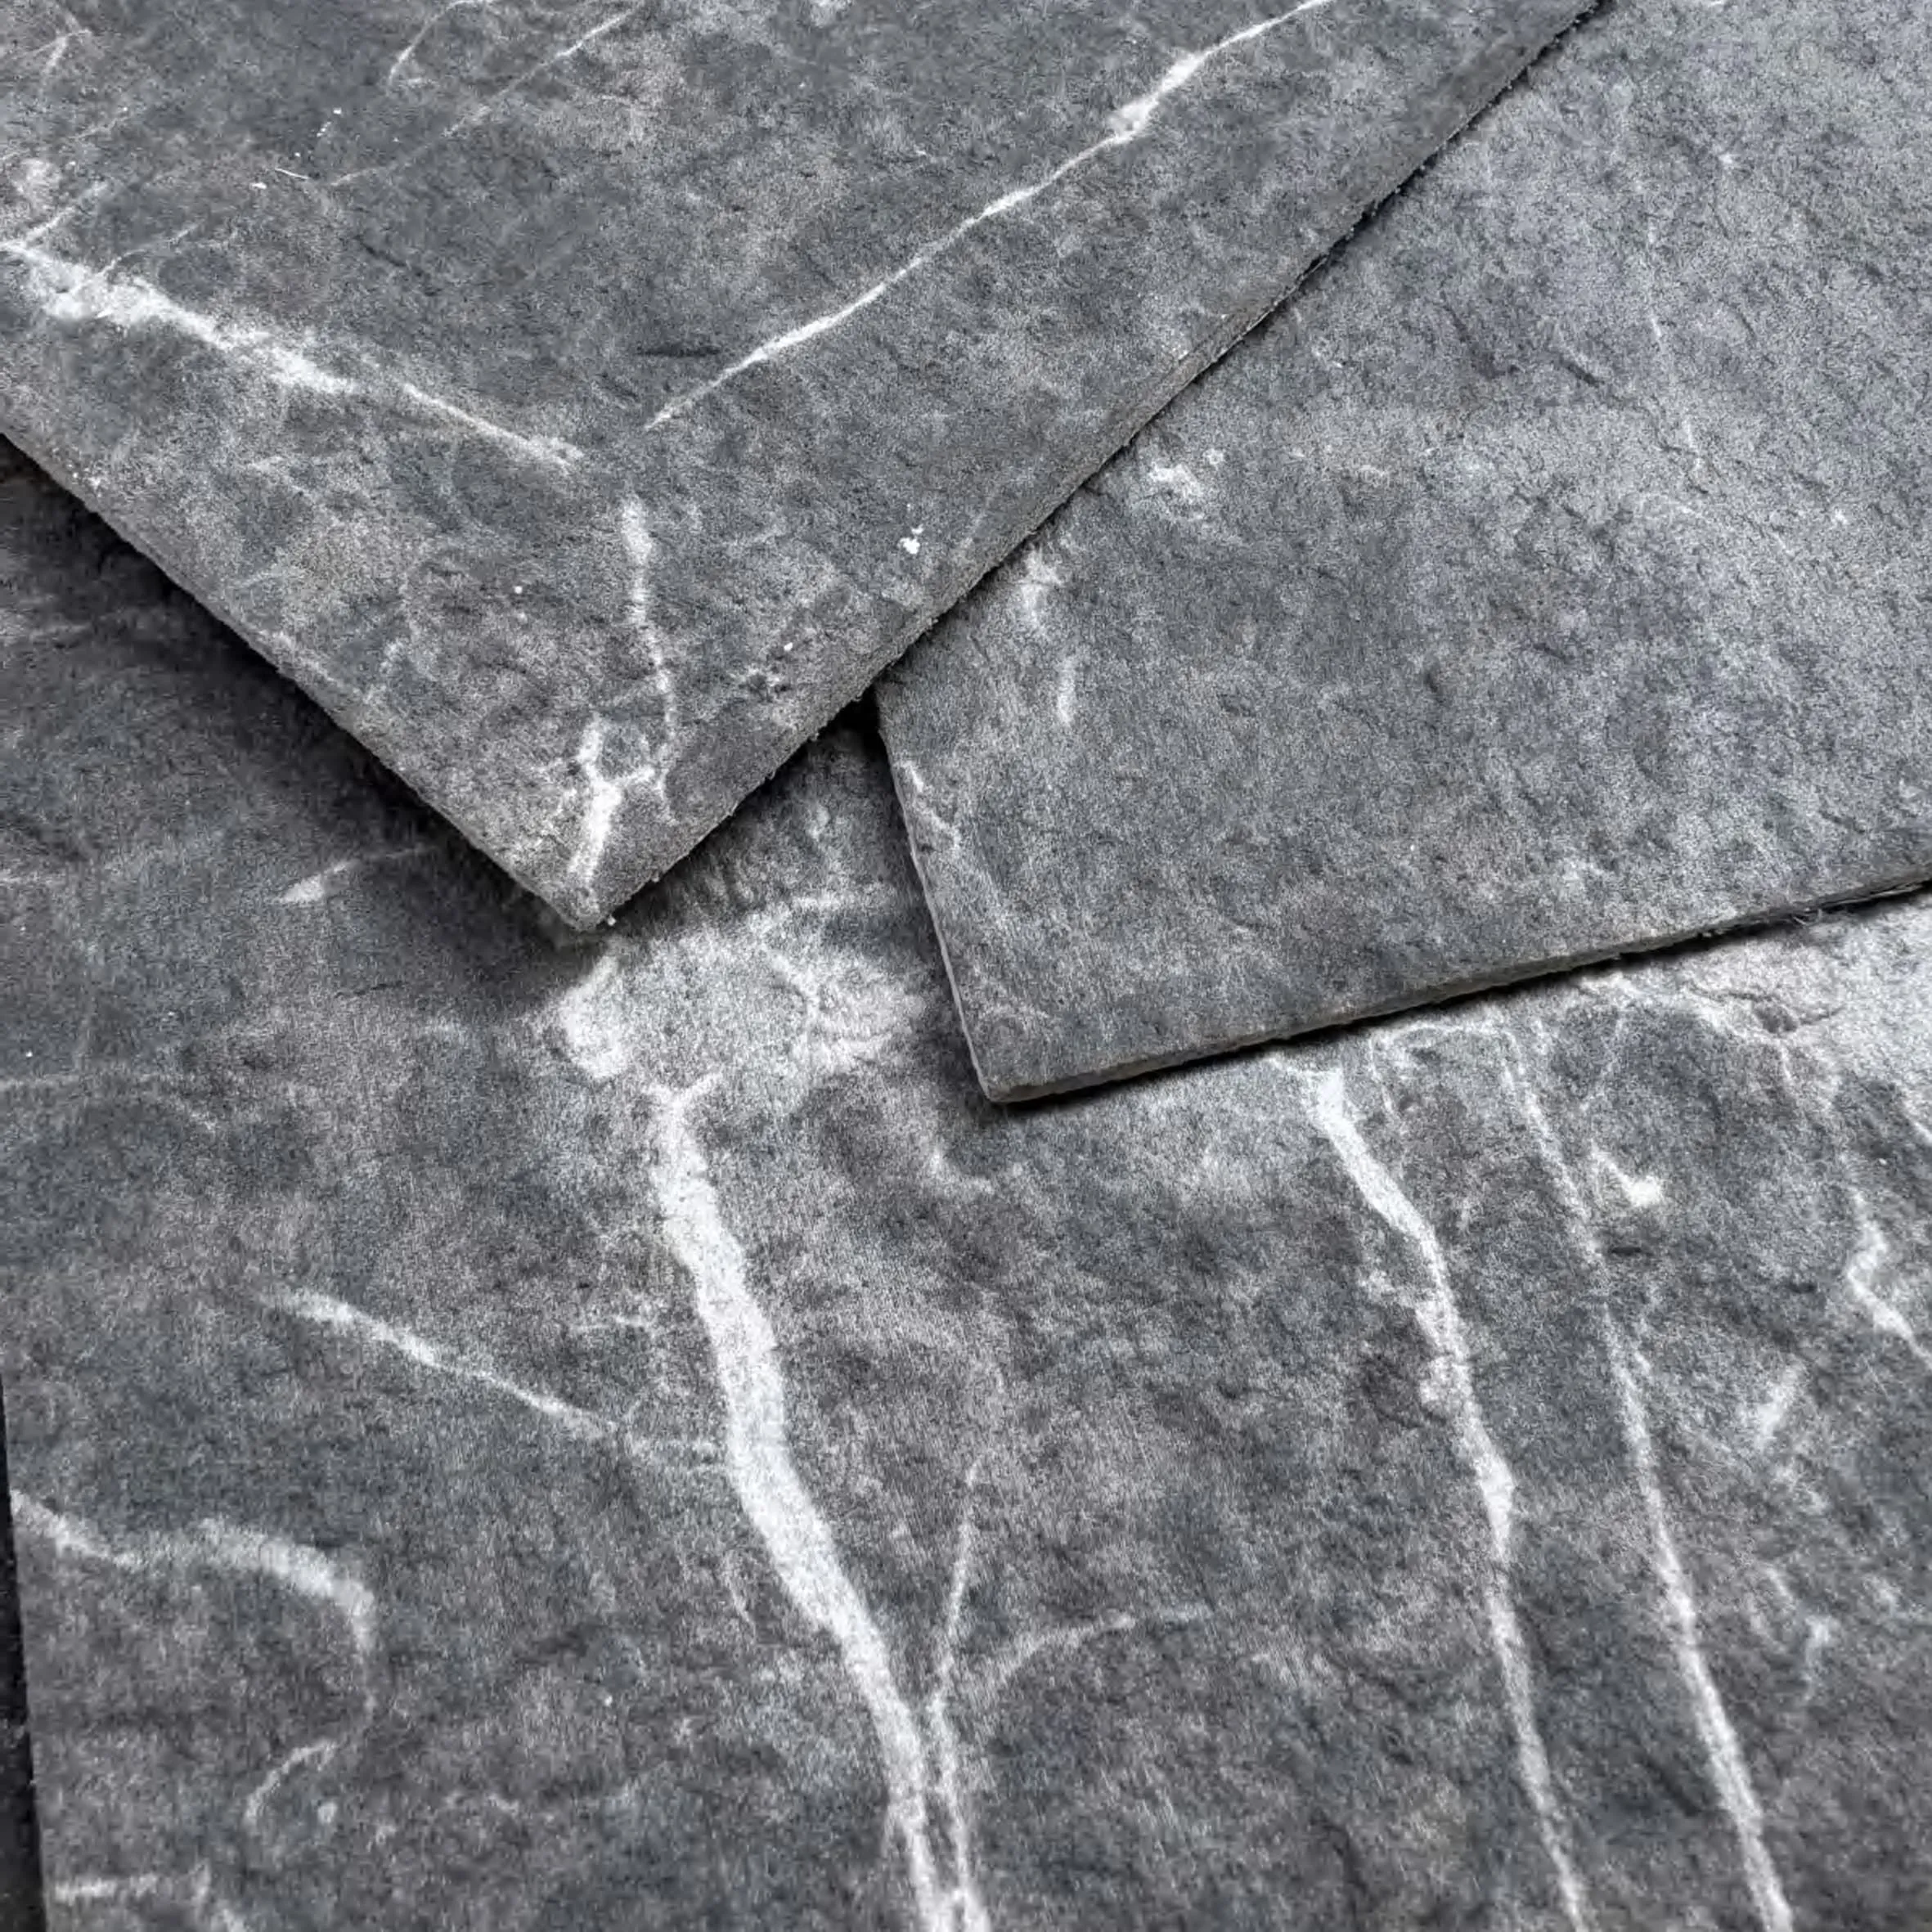
Also, check the panel thickness. Thinner MCM flexible stone panels (around 4-6mm) are more pliable than thicker ones, making them ideal for curves. Hold a panel gently and flex it—if it bends without cracking or creasing, you're good to go. If it feels stiff, it might not be the right fit for your curve.

Having the right tools on hand will make this project go from "frustrating" to "satisfying." Here's a breakdown of what I always keep in my toolbox for MCM panel installs:
| Tool/Material | Purpose | Pro Tip |
|---|---|---|
| Granite Nero Margiua MCM Panels | The star of the show—pre-cut to your measurements | Store panels flat in a dry area before installation to prevent warping. |
| High-Quality MCM Adhesive | Bonds panels to the surface; choose a flexible, waterproof formula | Look for adhesives labeled "for curved surfaces" or "MCM-compatible"—they're designed to flex with the panels. |
| Notched Trowel | Applies adhesive evenly; use a 3/16" or 1/4" notch for MCM panels | Hold the trowel at a 45-degree angle to get the perfect adhesive thickness. |
| Utility Knife with Extra Blades | Cutting panels to size; use a straightedge as a guide | Change blades often—dull blades tear panels instead of cutting cleanly. |
| Rubber Mallet | Gently taps panels into place without damaging them | Wrap the mallet head in a soft cloth to avoid scuffing the panel surface. |
| Level (2-foot and 4-foot) | Ensures panels are straight and aligned | Check level horizontally and vertically with each panel—curves can trick your eye! |
| Seam Roller | Presses seams together for a tight bond | Roll firmly but gently—too much pressure can squeeze adhesive out from under the panels. |
| Painter's Tape | Holds panels in place while adhesive dries | Use low-tack tape to avoid pulling up paint or primer when removed. |
Now for the fun part—actually installing the panels. Take your time here; rushing leads to mistakes. Let's break it down step by step.
Here's a common mistake: applying adhesive directly to the back of the panel. On curves, it's better to apply adhesive to the surface itself. Why? Because you can spread it evenly, and it gives you more time to position the panel before the adhesive sets. Use your notched trowel to spread a thin, even layer of adhesive over the area where the first panel will go—cover about 1 sq. ft. at a time (adhesive dries quickly, so work in small sections).
Hold the trowel at a 45-degree angle and drag it through the adhesive—this creates ridges that will collapse when you press the panel on, ensuring full contact. Avoid leaving gaps in the adhesive; any empty spots could lead to bubbles later.
Line up the first panel with your reference lines, making sure the bottom edge is flush with your starting point. Gently press the panel onto the adhesive, starting from the center and working outward—this pushes air bubbles out (no one wants a lumpy panel!). Use your hands to smooth the surface, then grab the rubber mallet and tap lightly across the panel to ensure full adhesion. Pay extra attention to the edges—they're the most likely to lift if not pressed firmly.
Check the panel with your level—both horizontally and vertically. If it's off, gently peel it up (adhesive has a short "open time," so you have a few minutes to adjust) and reposition. Once it's aligned, press and tap again. Secure the edges with painter's tape to hold them in place while the adhesive dries—this is especially important on curves, where gravity might try to pull panels down.
Move to the next section, applying adhesive and positioning panels one by one. Remember to stagger the seams like brickwork—if the first row starts with a full panel, the next row should start with a half-panel. This makes the install stronger and looks more professional. As you go, use the seam roller to press seams together—run it along the edge of each panel, applying gentle pressure to seal the gap.
For tight curves, you might need to flex the panel as you install it. Hold the panel at both ends and gently bend it to match the curve of the surface before pressing it onto the adhesive. Go slow—bending too quickly can cause the panel to crack. If you're using smaller strips, overlap the edges slightly (about 1/8 inch) and trim them later with a utility knife for a clean finish.
Chances are, your curved surface has obstacles—outlets, light switches, or maybe a window. Mark these on the panel before installing it (measure twice here!) and cut them out using a utility knife or a jigsaw with a fine-tooth blade (for larger cutouts). For outlets, drill a pilot hole first, then insert the jigsaw blade to start the cut. Take your time—ragged edges are hard to hide, and Granite Nero Margiua's dark color makes imperfections more noticeable.
Once all panels are installed, resist the urge to touch or clean them right away. Most MCM adhesives take 24-48 hours to fully cure (check the product label). Keep the area well-ventilated and avoid moisture during this time—no spraying water or hanging heavy objects on the panels. Leave the painter's tape on until the adhesive is fully dry; it won't damage the panels, and it ensures edges stay put.
Even with careful prep, things can go wrong. Here's how to fix the most common issues:
Your curved wall is now a work of art—let's keep it that way. MCM panels are low-maintenance, but a little care goes a long way:
Cleaning: Wipe panels with a soft, damp cloth and mild soap (avoid harsh cleaners or abrasives—they can scratch the surface). For stubborn stains (like grease), use a non-abrasive cleaner and a soft sponge, then rinse with water.
Long-term durability: MCM flexible stone is resistant to moisture, UV rays, and fading, but avoid hitting panels with sharp objects (they can chip). If you live in a high-traffic area, consider applying a clear sealant designed for MCM panels—this adds an extra layer of protection against scratches and stains.
And here's a bonus tip: Pair your Granite Nero Margiua curved wall with complementary materials like fair-faced concrete or lightweight flexible stone sheets for a layered, textured look. The contrast of dark stone and raw concrete creates a modern, industrial vibe that's seriously eye-catching.
Installing MCM panels on curved surfaces might seem intimidating at first, but with the right prep, tools, and a little patience, it's totally doable—even for DIYers. The key is to take your time, focus on surface prep, and work in small sections. When you step back and see that sleek, curved wall wrapped in Granite Nero Margiua's rich, dark texture, you'll forget all the measuring and cutting (okay, maybe not all of it, but most!).
These panels aren't just about looks—they're about transforming spaces into something memorable. A curved wall that was once plain becomes a focal point, a conversation starter, and a testament to the beauty of blending innovation (MCM technology) with timeless design (Granite Nero Margiua's classic appeal). So go ahead—grab your tools, embrace the curve, and get ready to fall in love with your space all over again.
Recommend Products


