
Bridging luxury and durability—your go-to manual for flawless installations that clients will love
As contractors, we know the struggle of balancing aesthetics with practicality. Clients want surfaces that look stunning and stand up to daily wear, whether it's a high-traffic restaurant lobby or a cozy home feature wall. Enter marble concrete board—a material that marries the timeless elegance of marble with the rugged durability of concrete. It's no wonder it's become a staple in modern design, often paired with complementary materials like fair-faced concrete for industrial chic or wood grain board for warm, organic contrast.
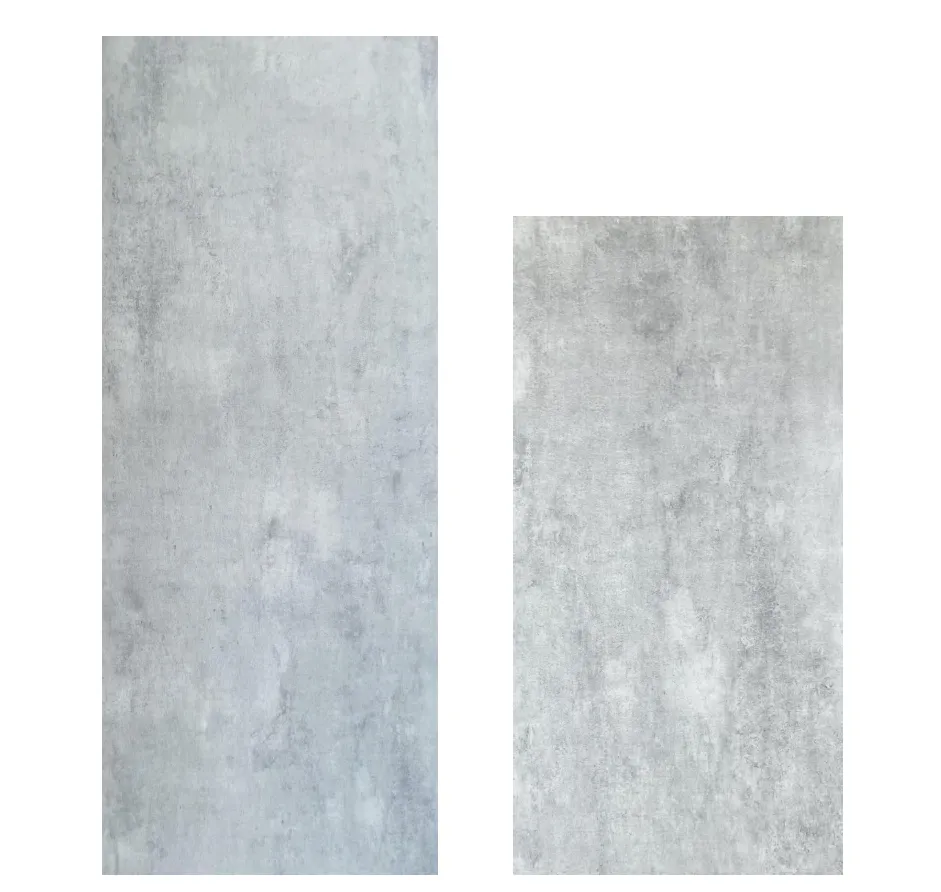
Unlike natural marble, marble concrete board is lightweight, cost-effective, and easier to install, making it a favorite for both commercial and residential projects. And when combined with accents like Bali stone or finished alongside polish concrete , it creates spaces that feel both high-end and lived-in. In this guide, we'll walk you through every step of installing marble concrete board, from prepping the substrate to adding those final touches that turn a good job into a great one.
Before you even unpack the first board, preparation is key. Rushing this stage is the #1 cause of uneven installations, cracked boards, or failed adhesion. Let's break down what you'll need and how to get ready.
Having the right tools on hand saves time and frustration. Here's a quick checklist to ensure you're prepared:
| Tools | Purpose |
|---|---|
| Measuring tape + carpenter's square | For precise measurements and straight cuts |
| 4-foot level | To ensure the substrate and installed boards are flat |
| Circular saw with diamond-tipped blade | Cutting marble concrete board (prevents chipping) |
| Notched trowel (1/4" or 1/2") | Applying adhesive evenly |
| Rubber mallet | Gently setting boards into adhesive without damaging edges |
| Grout float | Applying grout smoothly between boards |
| Sponge + bucket | Cleaning excess grout and wiping down surfaces |
| Sealer applicator (foam brush or roller) | Protecting the finished surface from stains |
Pro Tip: Always acclimate the marble concrete boards to the installation space for 24–48 hours. Sudden temperature or humidity changes can cause expansion/contraction, leading to gaps later.
The substrate—the surface you're installing onto—needs to be level, clean, and dry . Even the best boards will fail if the substrate is compromised. Here's how to check and prep:
Use your 4-foot level to scan the entire surface. Look for:
If the substrate is uneven (common with older walls or floors), apply a self-leveling compound and let it cure fully (check the product label for drying time). For fair-faced concrete substrates, lightly sand the surface to remove laitance (the powdery layer) and wipe clean with a damp cloth—this ensures the adhesive bonds properly.
Substrates like drywall, unpainted concrete, or wood grain board (if used as a backing) are porous and can suck moisture out of the adhesive, weakening the bond. Apply a latex primer and let it dry completely (usually 2–4 hours) before moving on.
Marble concrete board is more forgiving than natural stone, but precise cuts are still critical for a seamless look. Here's how to get it right:
Start by measuring the installation area from corner to corner, noting any obstacles (outlets, windows, or fixtures). Transfer these measurements to the boards using a pencil and carpenter's square—always add 1/4" to each dimension to account for expansion gaps (especially important for exterior installations).
Use a circular saw with a diamond-tipped blade (wet-cutting is optional but reduces dust). Place the board face-down on a sawhorse to minimize chipping. Slowly guide the saw along your marked line—let the blade do the work; forcing it can cause cracks. For curved cuts (e.g., around a fixture), use a jigsaw with a diamond blade.
Pro tip: If you're installing accent strips with wood grain board alongside marble concrete board, cut both materials to the same width for a cohesive look.
Choosing the right adhesive and applying it correctly is the glue (pun intended) that holds the installation together. For marble concrete board, we recommend a polymer-modified thinset adhesive—it's flexible, water-resistant, and bonds well to both the substrate and the board.
Follow the manufacturer's instructions for mixing—typically, you'll add water to the powder until it reaches a peanut butter-like consistency. Let it sit (slake) for 5–10 minutes, then stir again. Only mix as much as you can use in 30 minutes (thinset sets quickly!)
Use a notched trowel to spread the adhesive evenly over the substrate, holding the trowel at a 45-degree angle. The notch size depends on the board thickness: 1/4" notches for boards under 1/2" thick, 1/2" notches for thicker boards. This creates ridges that collapse when the board is pressed down, ensuring 100% coverage.
Work in small sections (3–4 square feet at a time) to prevent the adhesive from drying out. For vertical installations (like feature walls), apply adhesive to both the substrate and the back of the board (this is called "back-buttering") to prevent slippage.
Now comes the fun part—putting it all together. Start from the bottom corner of the installation area (for walls) or the farthest corner from the door (for floors) to avoid stepping on freshly installed boards.
Align the first board with your reference line (marked earlier) and press it firmly into the adhesive. Give it a gentle twist to ensure full contact, then use your level to check that it's plumb (vertical) and level (horizontal). Tap lightly with a rubber mallet to adjust—don't hit hard, as this can crack the board.
Add spacers (1/8" or 1/4") along the edges of the first board to create consistent grout lines. Place the next board against the spacers, repeating the pressing, twisting, and leveling process. Check every 2–3 boards with the level to ensure the row stays straight—even a small can snowball into a noticeable slant.
For feature walls, consider alternating marble concrete board with Bali stone accents. Cut the Bali stone into 6–8" strips and install them every 3–4 marble boards—this adds texture and visual interest without overwhelming the space.
Pro Tip: If a board is slightly uneven, place a scrap piece of wood over it and tap with the mallet—this distributes pressure evenly and prevents chipping.
Grout fills the gaps between boards, protects against moisture, and ties the whole look together. Here's how to do it like a pro:
Stick with neutral tones (gray, beige, or white) for a timeless look, or go bold with black or navy for contrast. For a cohesive design, match the grout to the veins in the marble concrete board—this makes the pattern pop. Avoid light grout in high-traffic areas; it stains easily (opt for epoxy grout instead of sanded grout here).
Mix the grout according to the package instructions (it should be thick enough to hold a shape). Use a rubber float to press the grout into the gaps at a 45-degree angle, working diagonally across the boards to avoid pulling grout out of the lines. Let it sit for 10–15 minutes (check the "haze time" on the label), then wipe the surface with a damp (not wet) sponge in a circular motion. Rinse the sponge frequently to avoid spreading haze.
Once the grout is fully cured (typically 24–48 hours), apply a penetrating sealer to the entire installation. This step is non-negotiable—it protects against stains from oil, water, or dirt, especially in kitchens or bathrooms. Use a foam brush to apply the sealer in thin, even coats, and let it dry for 2–3 hours between coats (most projects need 2 coats). For extra protection, add a topcoat sealer over the grout lines.
Pro tip: If you're installing near polish concrete floors, seal both surfaces with the same product to ensure uniform sheen and protection.
The final steps are all about (details)—the little things that make clients say, "Wow, this looks amazing."
Cause: Substrate wasn't level, or adhesive wasn't applied evenly. Fix: Tap down high spots with a rubber mallet (place a wood scrap over the board first). For low spots, remove the board, add more adhesive, and re-install.
Cause: Wiped too soon or used a wet sponge. Fix: Mix a grout haze remover (follow the label) and scrub gently with a non-abrasive pad.
Cause: Adhesive wasn't mixed properly or the substrate was dirty. Fix: Remove the loose board, clean the substrate, apply fresh adhesive, and re-install. Weight it down with heavy objects (like buckets of water) for 24 hours to ensure a bond.
Installing marble concrete board is more than a job—it's an opportunity to create spaces that clients will love for years. By following these steps, you'll deliver installations that are not only beautiful but built to last, whether paired with fair-faced concrete for an industrial vibe, wood grain board for warmth, or Bali stone for tropical flair.
Remember: preparation and patience are your best tools. Take the time to level the substrate, measure accurately, and seal properly, and you'll turn a routine installation into a portfolio-worthy project. Now go out there and make those walls (and floors!) shine.
Recommend Products


