

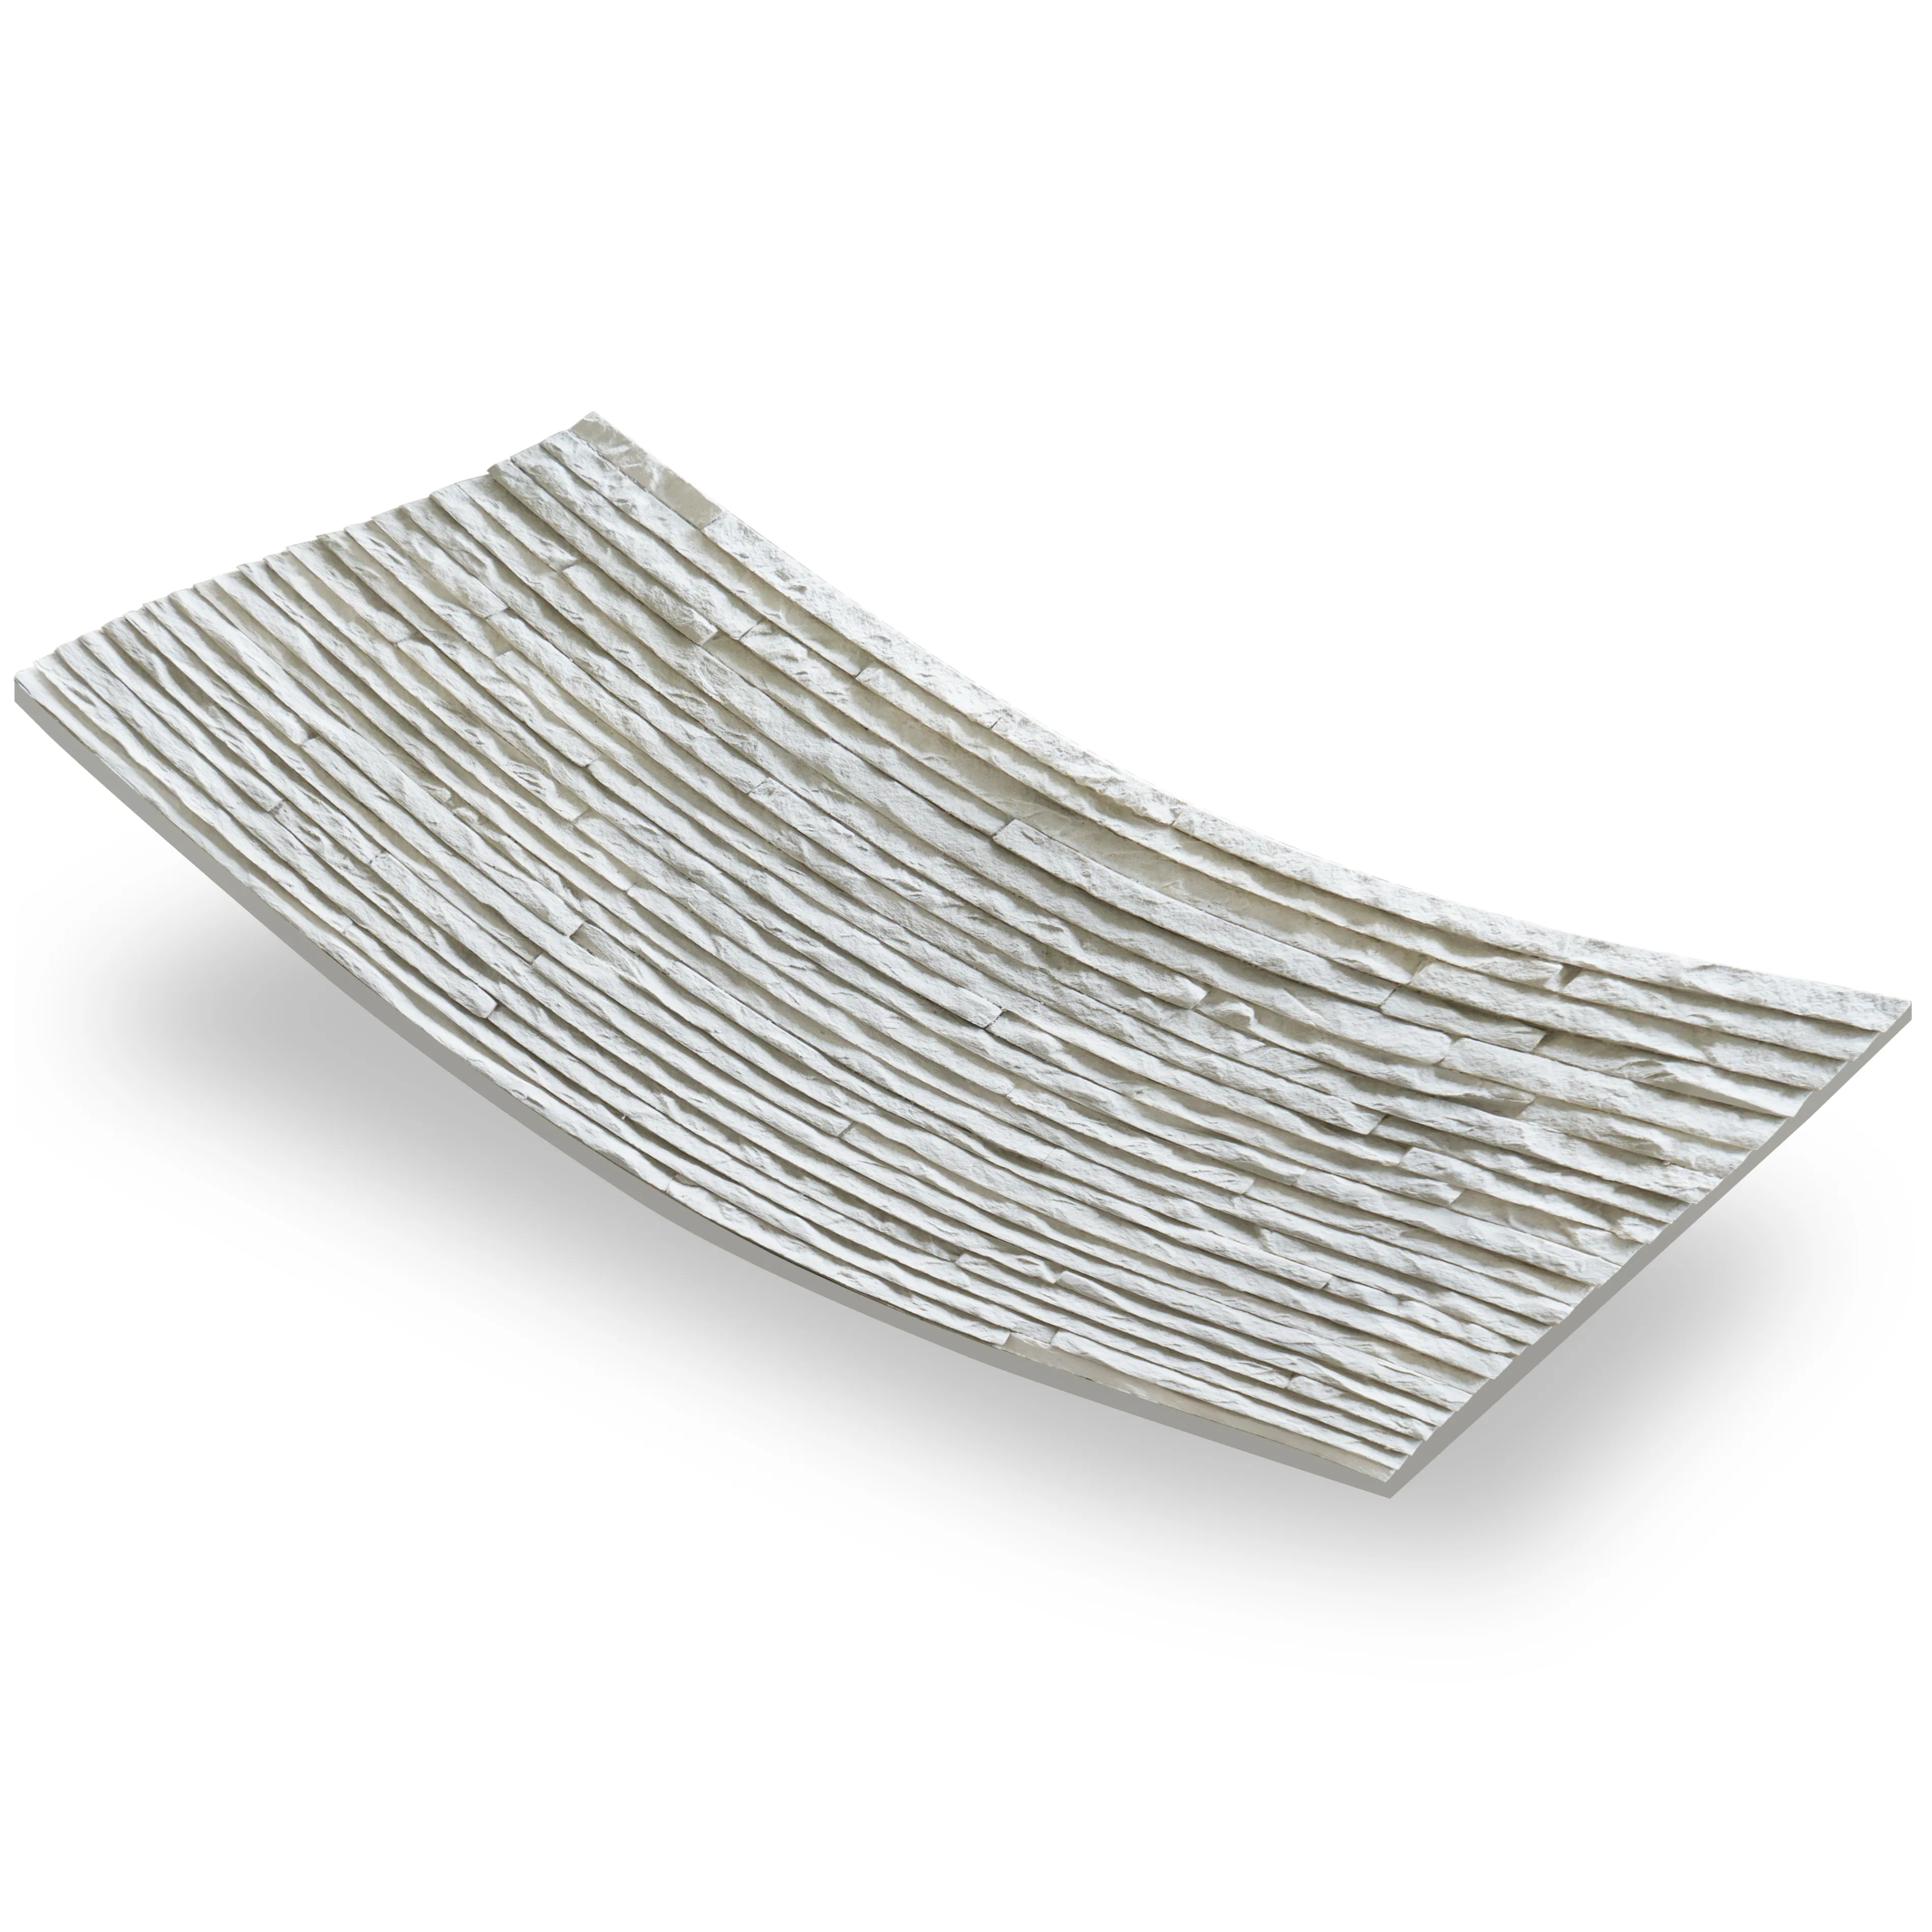
There's something uniquely satisfying about watching a plain exterior wall transform into a textured, warm masterpiece—one that feels both timeless and thoughtfully designed. If you've ever stood in front of a home or building and thought, "That stonework looks incredible," chances are it might have been MCM (Modified Composite Material) cladding. Today, we're diving into one of the most versatile and inviting options in the MCM lineup: Muretto Stone (Beige) . Soft, earthy, and brimming with understated elegance, this beige-hued stone brings the warmth of natural travertine or limestone without the heaviness or maintenance headaches. Whether you're a DIY enthusiast tackling a weekend project or a contractor aiming for a flawless finish, let's walk through how to install Muretto Stone (Beige) and turn your exterior into something that makes neighbors stop and stare.
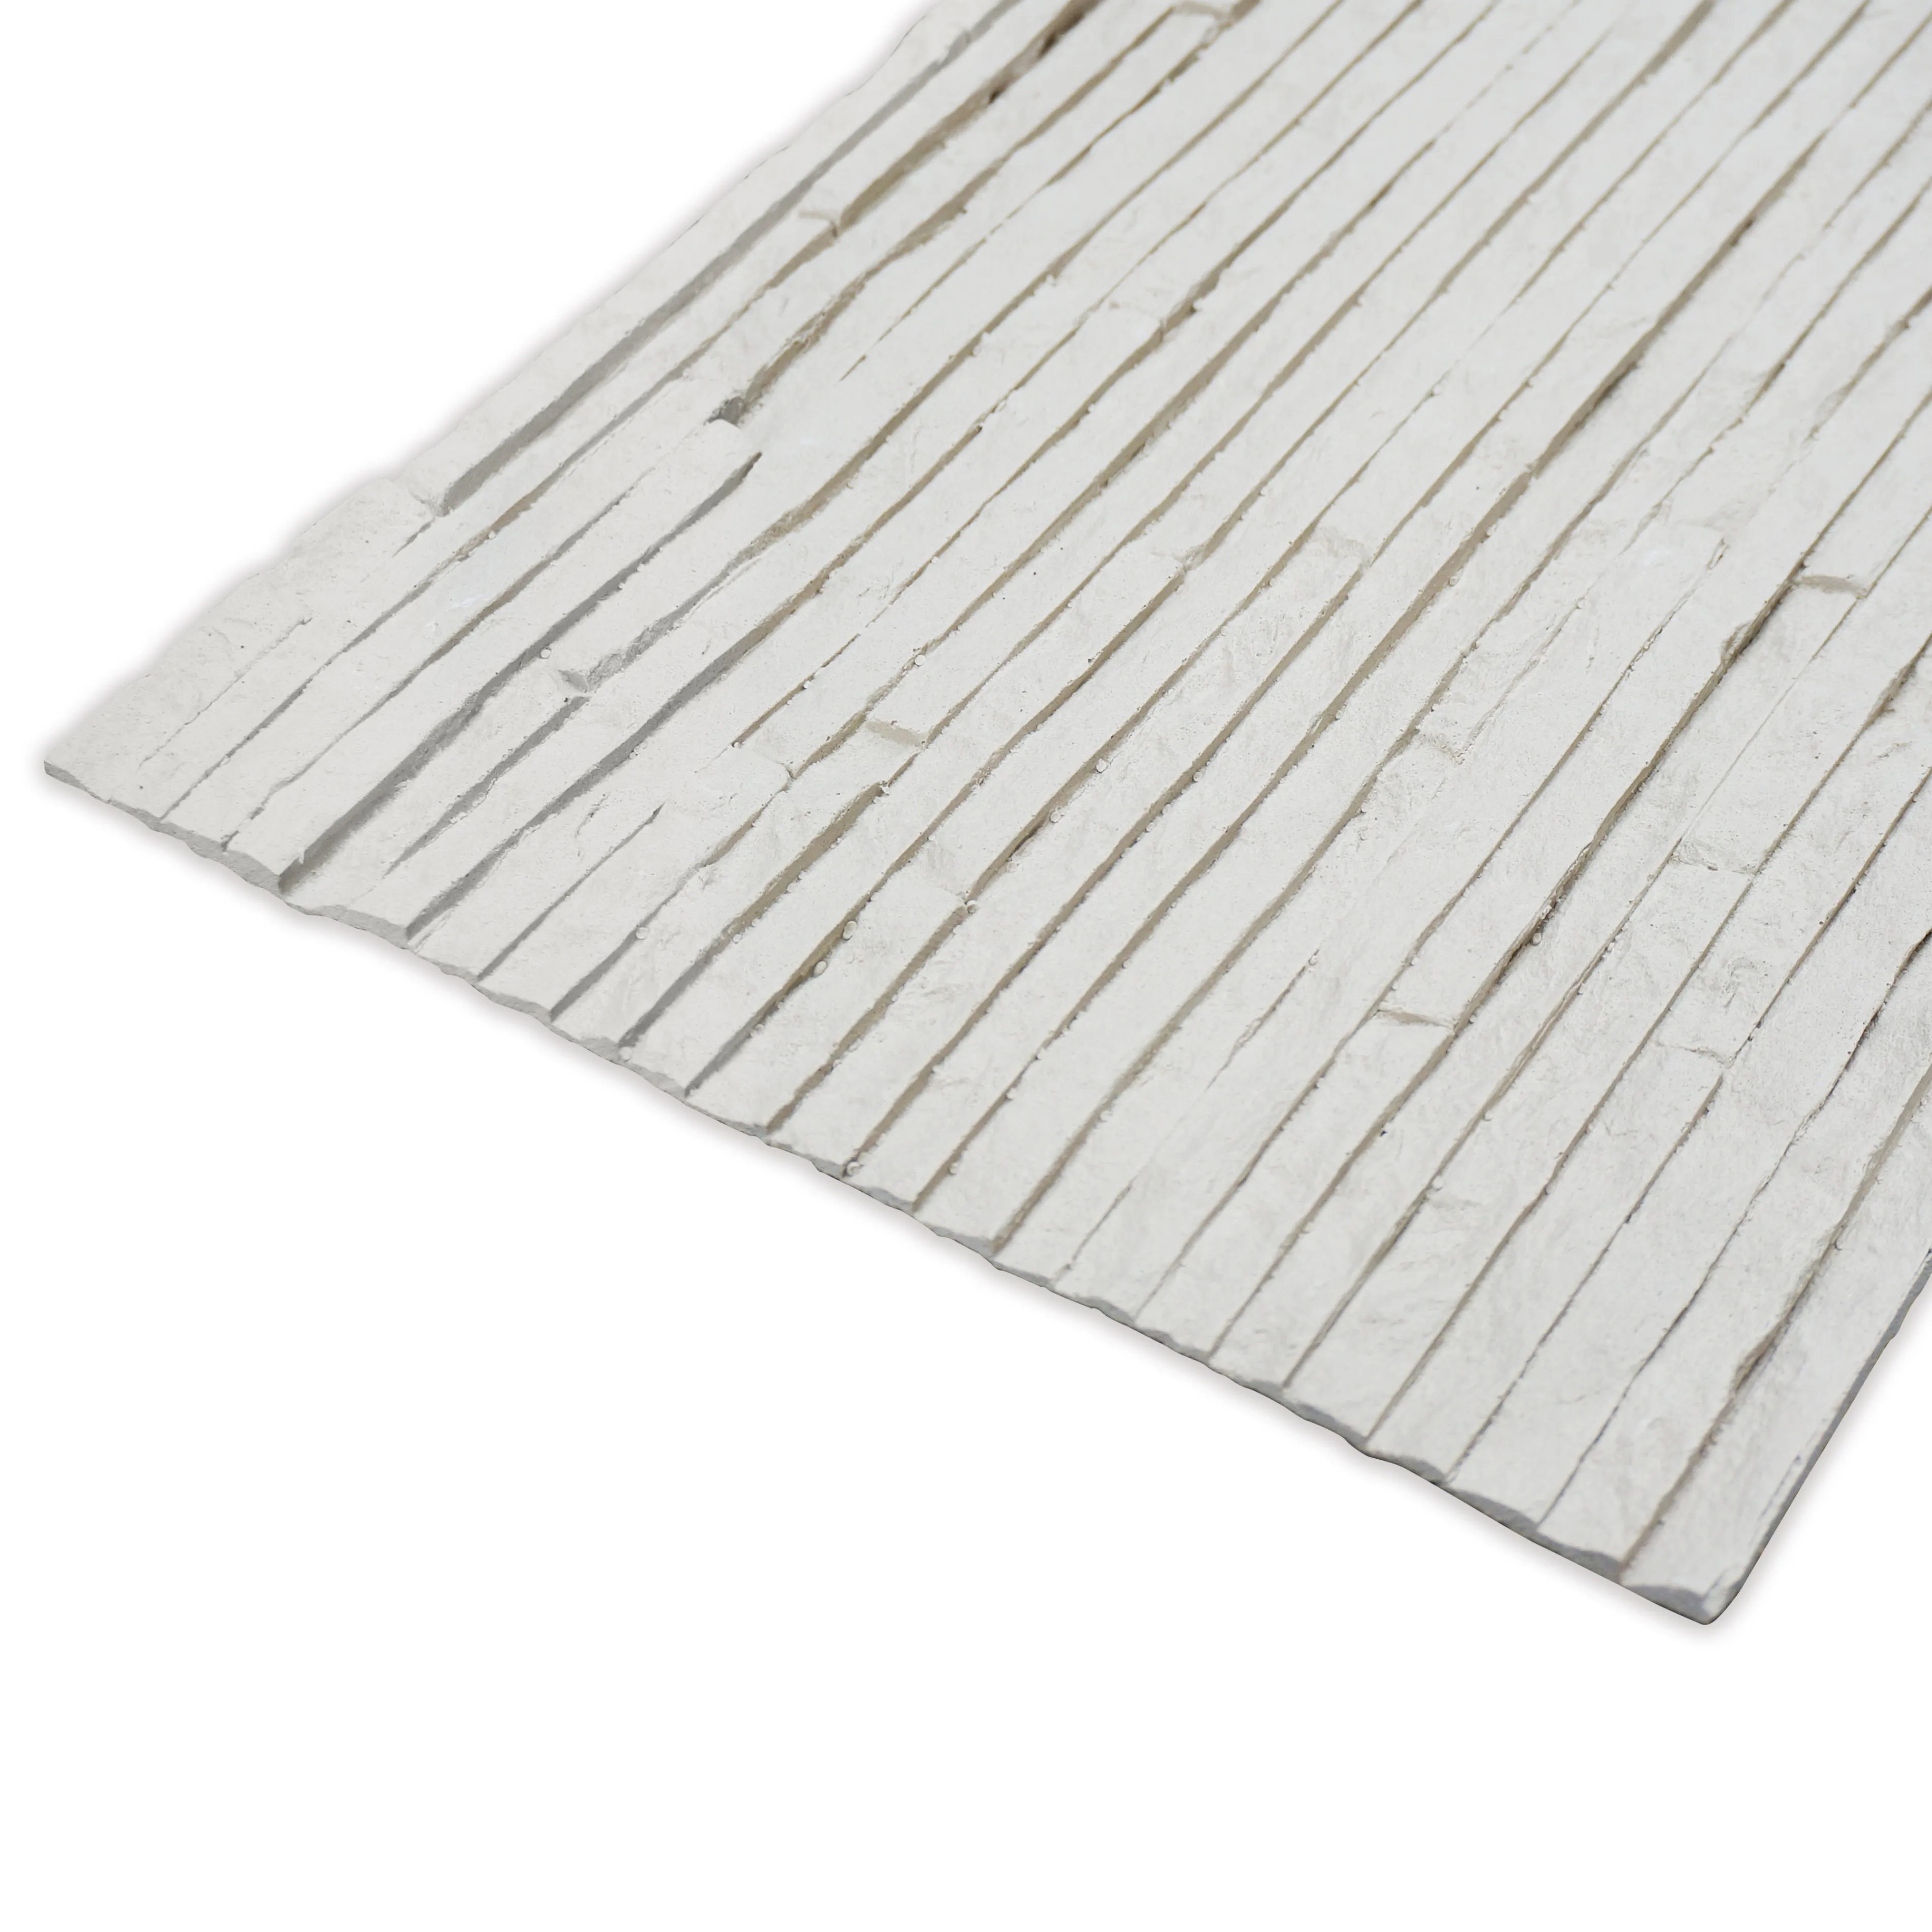
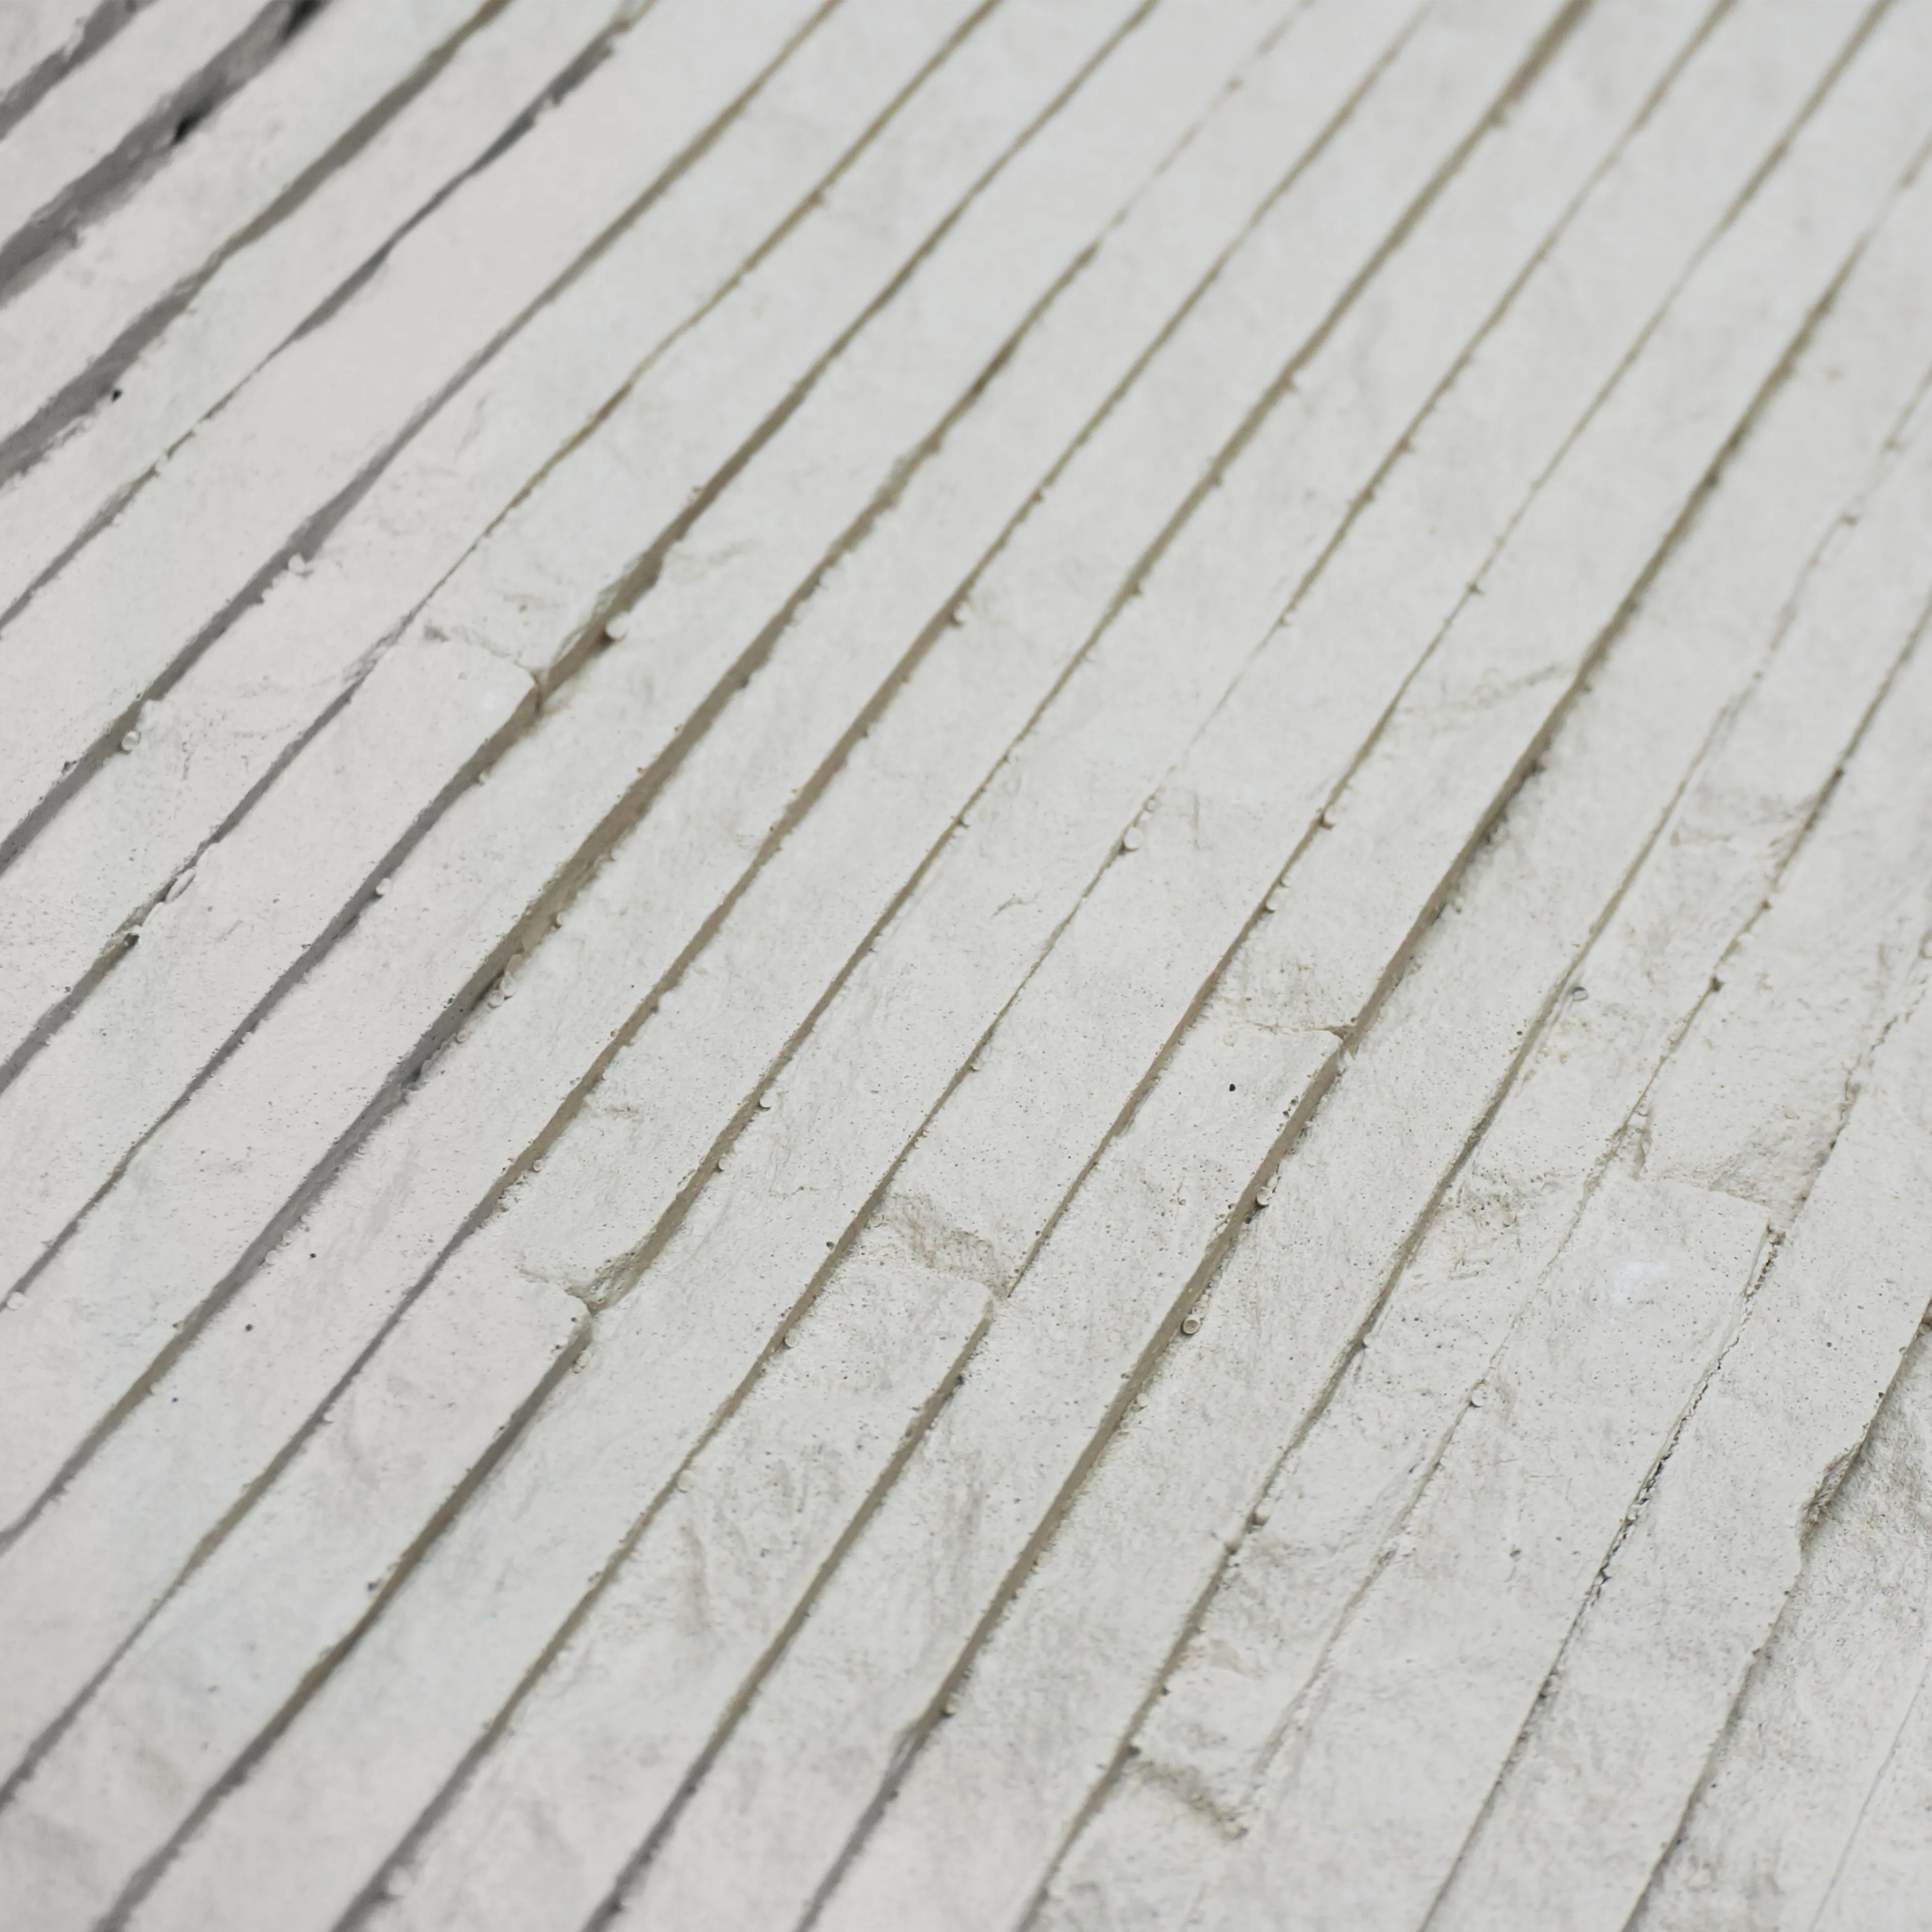
Before we grab our trowels, let's talk about why Muretto Stone (Beige) has become a favorite among designers and homeowners alike. Unlike traditional stone, which can be bulky and prone to cracking, MCM products like Muretto Stone are engineered to be lightweight—think 70% lighter than natural stone—yet surprisingly tough. That means easier handling, fewer installation helpers needed, and less stress on your wall structure. But the real magic? Its aesthetic. The beige tone isn't just "beige"—it's a nuanced blend of warm cream and soft sand, with subtle texture that catches the light differently throughout the day. In the morning, it glows with a golden hue; by afternoon, it softens into a cozy taupe; and at dusk, it takes on a warm, inviting amber. It pairs beautifully with modern black accents, rustic wood trim, or even bold pops of color (hello, potted terracotta plants!).
And let's not forget versatility. Muretto Stone (Beige) plays well with other MCM series, too. Imagine a home exterior where Muretto Stone (Beige) covers the main walls, accented with Lunar Peak Silvery around the windows for a sleek contrast, or Travertine (Starry Green) as a decorative strip for a touch of nature. It's a chameleon in the best way—equally at home on a minimalist urban townhouse or a countryside cottage.
Installing Muretto Stone (Beige) isn't just about slapping panels on the wall—it's about setting the stage for success. A little prep work now saves hours of frustration later, so let's start with the basics: assessing your wall.
Muretto Stone (Beige) adheres best to a smooth, stable substrate. Walk around your wall and look for cracks, bulges, or loose paint—these are red flags. Small cracks can be patched with a quality masonry filler, but larger damage might need professional repair. Next, check for moisture: press a piece of aluminum foil against the wall, seal the edges with tape, and leave it overnight. If the foil is damp in the morning, you've got a moisture issue (think leaky gutters or poor drainage) that needs fixing before installing. MCM cladding is water-resistant, but it's not a solution for an already wet wall!
What surfaces work best? Muretto Stone plays nice with most common substrates: fair-faced concrete , existing brick, cement board, or even properly primed wood. Avoid uneven surfaces like stucco with deep grooves—you'll need to smooth those out first with a skim coat of mortar.
You wouldn't bake a cake without a mixer, right? Installing stone cladding is no different. Here's what you'll need—keep this table handy as your "pre-flight checklist":
| Tool/Material | Purpose | Pro Tip |
|---|---|---|
| Muretto Stone (Beige) panels | The star of the show! Measure your wall area first to avoid overbuying (add 10% extra for cuts/waste). | Store panels flat in a dry area—don't stack them on their edges, as they might warp. |
| Polymer-modified adhesive (MCM-recommended) | Bonds panels to the wall. Look for a flexible adhesive to handle temperature shifts. | Avoid generic "all-purpose" adhesives—MCM-specific formulas stick better and last longer. |
| Notched trowel (6mm or 8mm) | Applies adhesive evenly to the back of panels or wall. | Hold the trowel at a 45° angle for consistent adhesive depth. |
| Rubber mallet | Gently taps panels into place without cracking them. | Wrap the mallet head in a soft cloth to avoid marring the stone's surface. |
| Measuring tape + pencil | Marks panel sizes and cutting lines. | Measure twice, cut once! Stone panels are expensive—no room for "oops". |
| Circular saw with a diamond blade | Cuts panels to size (MCM is tough, so a diamond blade is non-negotiable). | Wear safety glasses and a dust mask—cutting stone creates fine dust. |
| Level (2ft and 4ft) | Ensures panels are straight horizontally and vertically. | Use the 4ft level for long runs and the 2ft for tight corners. |
| Grout (matching or contrasting beige) | Fills gaps between panels for a polished look. | For a seamless vibe, match grout to Muretto Stone (Beige); for contrast, try a soft gray. |
| Grout float | Presses grout into gaps without scratching panels. | Choose a rubber float with a firm edge for better control. |
| Sealant (water-based, stone-safe) | Protects grout and panel edges from dirt/weather. | Opt for a matte sealant to keep the stone's natural texture—gloss can look artificial. |
| Sponge + bucket | Cleans excess grout and adhesive from panels. | Use a natural sea sponge—synthetic ones can leave lint behind. |
Now, the fun part: turning those flat beige panels into a textured wall. We'll break this down into six easy steps—take your time, and remember: patience beats speed here. Rushing leads to misaligned panels or messy grout lines, and trust us, you'll notice those mistakes every time you walk outside.
Before you even open the adhesive, do a "dry fit": lay out the Muretto Stone (Beige) panels on the ground (or a large tarp) in the pattern you want. MCM panels often have subtle variations in texture and color—this is intentional! Mixing panels from different boxes ensures a natural, non-uniform look (no "fake stone" stripes here). Start at the bottom corner of your wall and work upward, using a level to mark a straight horizontal line (this is your "baseline"). Use painter's tape to mark where each panel will go—this is like a roadmap for your installation.
Pro tip: If your wall has windows or doors, start by installing panels around these features first. It's easier to cut panels to fit around obstacles than to try to "fix" a misaligned row later. Measure the space around the window, mark the panel, and cut with your saw—slow, steady strokes for clean edges.
Adhesive application is where precision matters most. Open your MCM-recommended adhesive and stir it well (it should be thick, like peanut butter—too runny, and it'll drip; too thick, and it won't spread). Using your notched trowel, spread a thin, even layer on the back of a panel—hold the trowel at 45° and drag it across the surface to create ridges. Aim for about 80% coverage (you don't need adhesive on the very edges, as it might squeeze out when you press the panel).
Alternatively, you can "butter" the wall instead: spread adhesive directly onto the substrate in a 2ft x 2ft area, then press the panel into place. Which method is better? Walls with slight unevenness benefit from wall-buttering (the adhesive fills gaps), while flat walls work great with panel-back application. Either way, work in small sections—adhesive dries fast (15-20 minutes), so don't spread more than you can cover in that time.
Now, line up your first panel with the baseline and gently press it into place. Use a slight twisting motion to ensure the adhesive makes full contact, then tap the center and edges with your rubber mallet—this helps the panel "bed in" without cracking. Check with your level: is it straight horizontally? Vertically? If it's off, gently pull it up (within the first 5 minutes—after that, the adhesive sets) and reposition. Repeat with the next panel, leaving a 3-5mm gap between them for grout (use spacers if you're worried about consistency).
Here's a secret the pros use: stagger the joints. Like brickwork, offsetting the panels (so the seams don't line up vertically) makes the wall look more natural. For example, if your first row starts with a full panel, the second row should start with a half panel. This takes a little extra measuring, but the result is worth it—no "striped" look, just organic texture.
Once all panels are set and the adhesive has cured (check the adhesive bottle—most take 24 hours), it's time to grout. Mix your grout according to the package instructions—you want a consistency like toothpaste, not runny soup. Using your grout float, scoop up a blob and press it into the gaps at a 45° angle, working diagonally across the panels to avoid dragging grout out of the joints. Let the grout sit for 10-15 minutes (it will start to haze over the panels)—this is called "slaking," and it helps the grout set properly.
Now, grab your damp sponge and gently wipe the panels in a circular motion to remove excess grout. Rinse the sponge frequently—you don't want to spread grout around. Be careful not to press too hard, or you'll pull grout out of the joints! Let the grout cure for another 24 hours before moving to the next step.
Sealing is like putting sunscreen on your new stone wall—it protects against UV rays, dirt, and rain. Choose a water-based, breathable sealant (oil-based can trap moisture) and apply it with a small paintbrush or foam roller. Focus on the grout lines and panel edges, where water can seep in. Let it dry for 2-4 hours, then apply a second coat. Avoid sealing in direct sunlight—heat makes sealant dry too fast, leaving streaks.
Take a step back, put down your tools, and just look. That's your wall—covered in warm, textured Muretto Stone (Beige), glowing in the light. Sweep up any debris, put away your tools, and maybe snap a photo (we won't blame you for posting it on Instagram). If there are any smudges or leftover grout haze, a quick wipe with a damp cloth should fix it. You're done!
The best part about MCM cladding? It's low-maintenance. Unlike natural stone, which needs frequent sealing, Muretto Stone (Beige) only requires a little TLC to stay beautiful. Here's how:
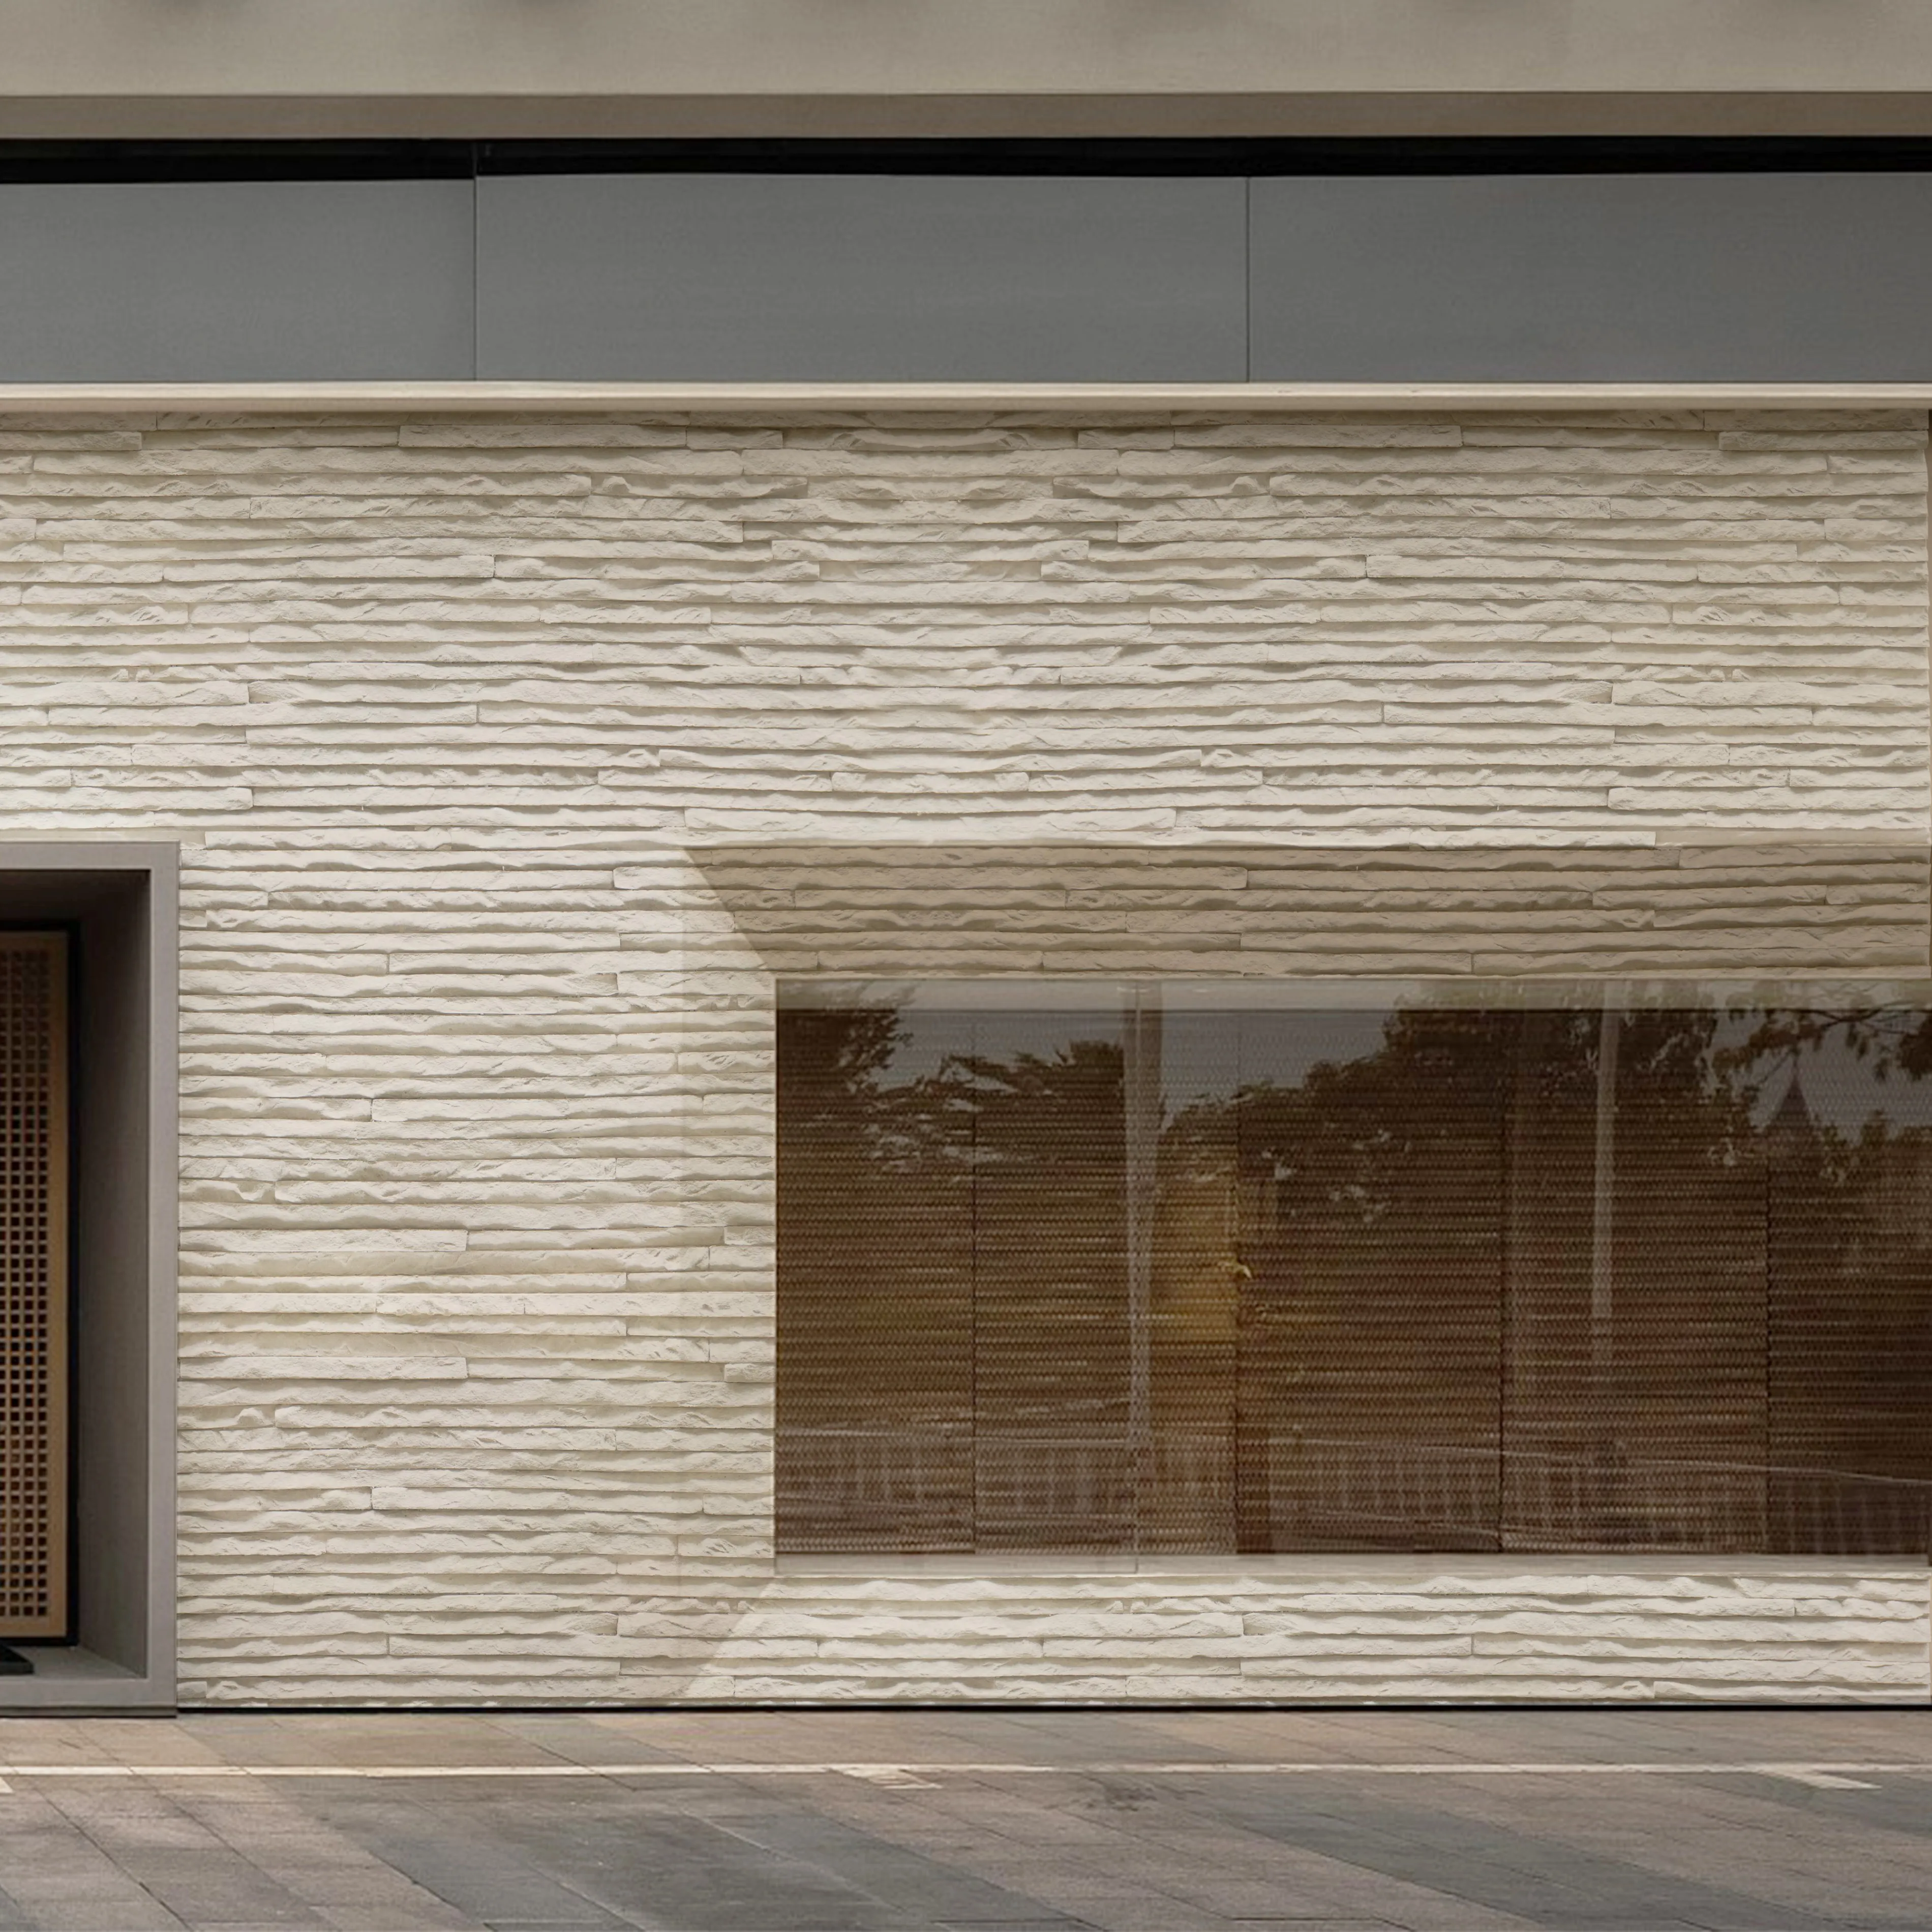
Installing Muretto Stone (Beige) isn't just about adding cladding to a wall—it's about creating a space that feels intentional. It's the way the morning light hits the textured surface and casts soft shadows, or how the beige tones complement the green of your garden. It's knowing that you chose a material that's kind to the environment (MCM uses recycled materials and reduces transportation emissions thanks to its lightweight design) and kind to your schedule (no constant sealing or repairs).
And if you ever want to switch things up? MCM cladding is easy to replace panel by panel, so you could add a stripe of Lunar Peak Golden or Travertine (Starry Blue) later for a fresh look. For now, though, enjoy the fruits of your labor. Your Muretto Stone (Beige) wall isn't just a home improvement—it's a story. And it's a pretty great one.
Recommend Products


