
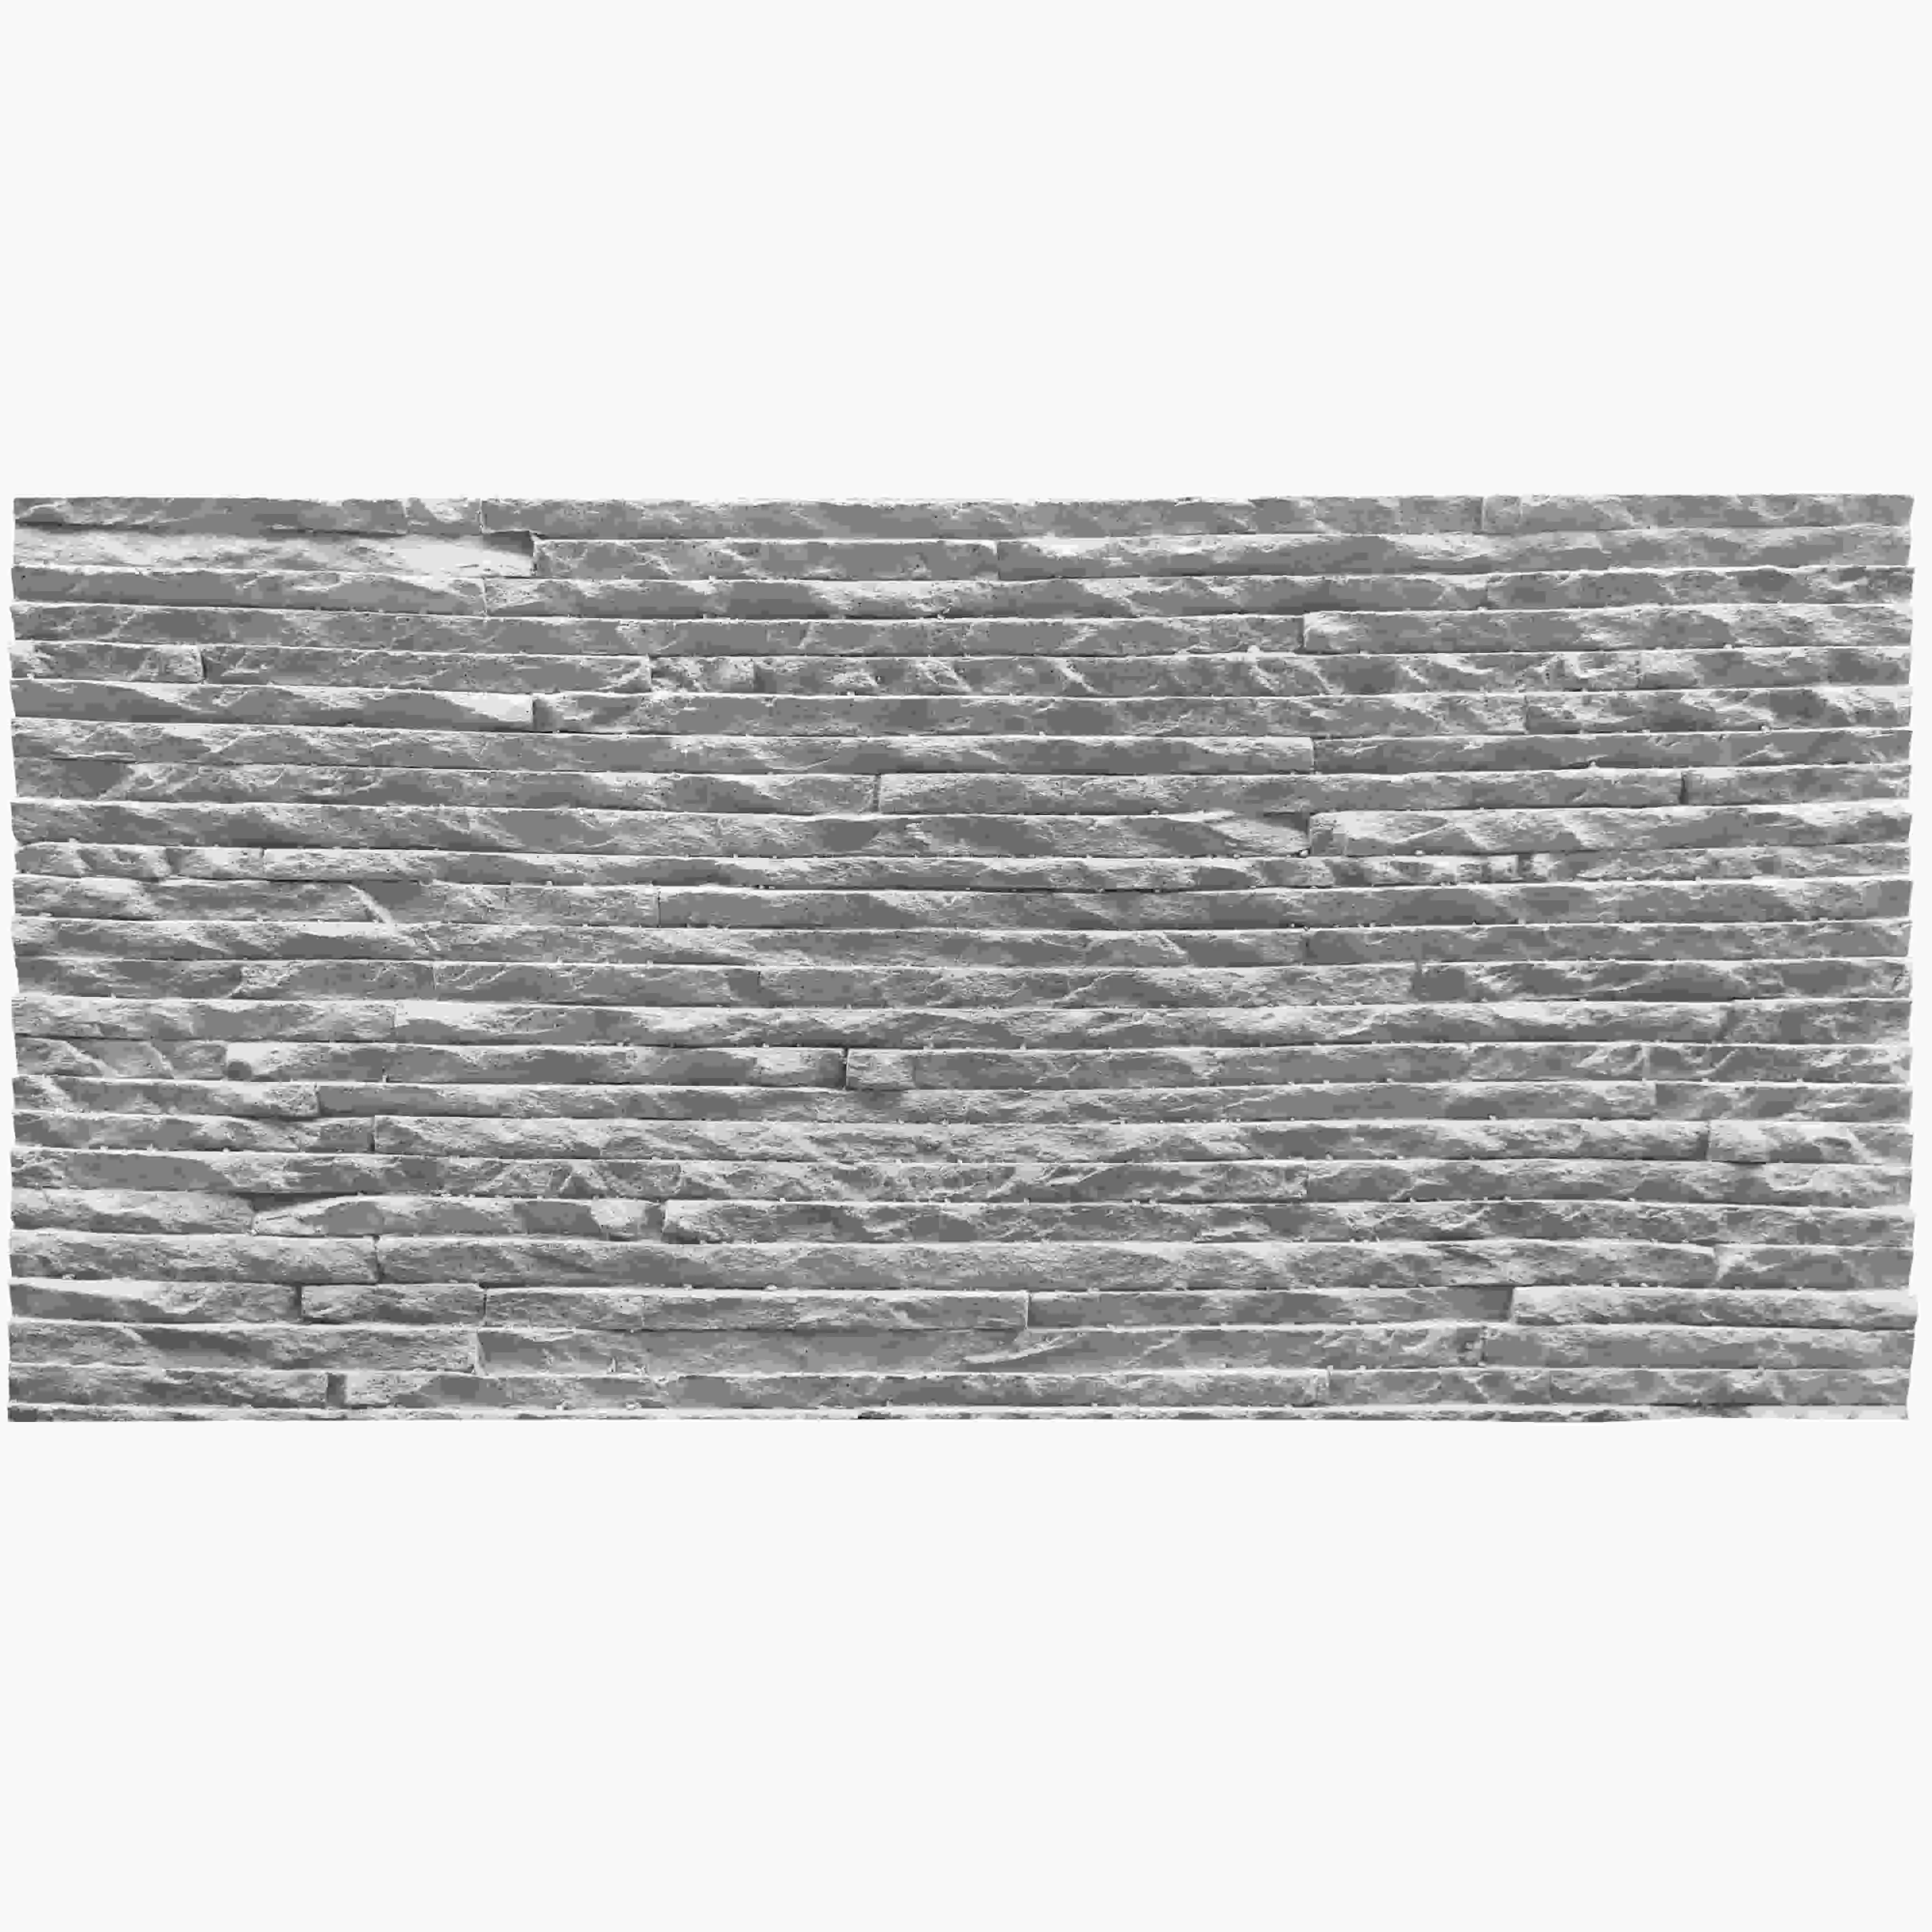
When it comes to transforming a space—whether it's the exterior of a home, the lobby of a boutique hotel, or the accent wall in a modern kitchen—cladding plays a starring role. It's not just about covering surfaces; it's about adding texture, character, and a sense of identity. Among the many materials available, Muretto stone has emerged as a favorite for its unique blend of rustic charm and contemporary versatility. And if there's one shade that's been stealing the spotlight lately, it's Muretto stone (light grey) . Soft yet sophisticated, it bridges the gap between warm earthiness and sleek minimalism, making it a go-to for designers and DIY enthusiasts alike.
But installing Muretto stone (light grey) isn't just about slapping panels on a wall. To get that polished, professional look—and ensure it lasts for years—you need the right approach. In this guide, we'll walk through everything from choosing the right materials to nailing the installation process, with tips tailored for both residential and commercial projects. Whether you're revamping your fireplace or cladding an entire office facade, let's dive in.
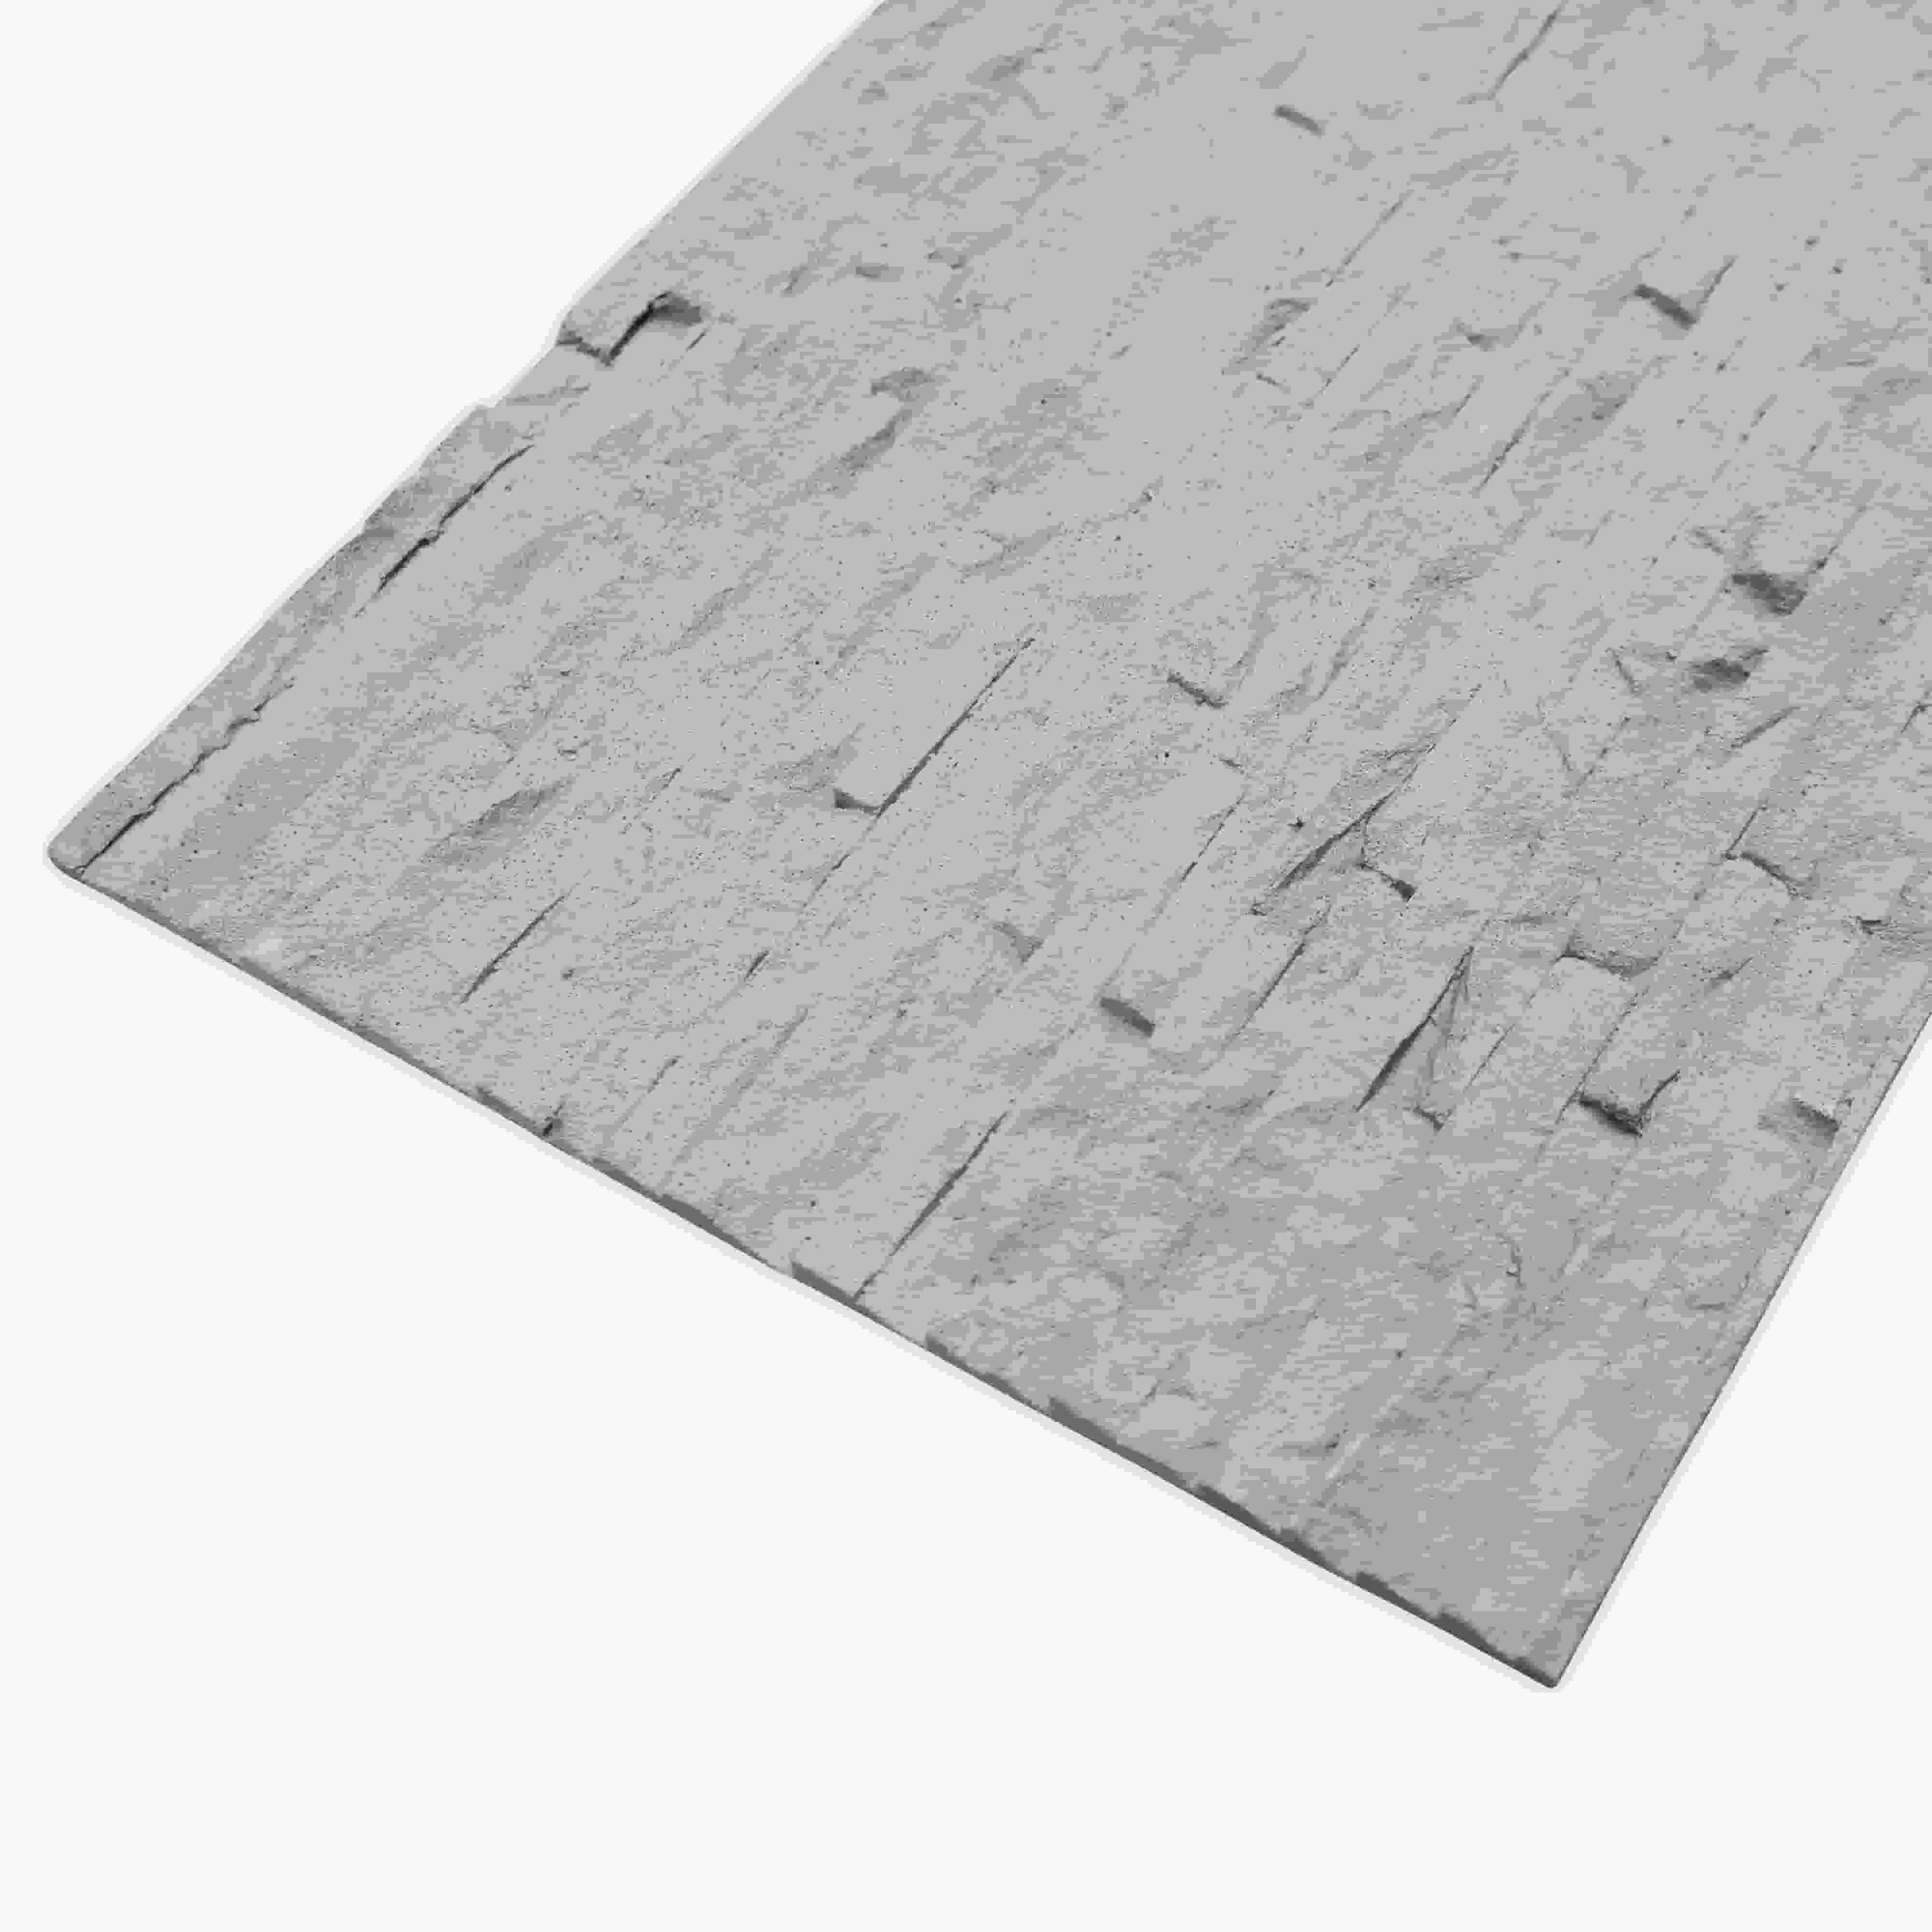
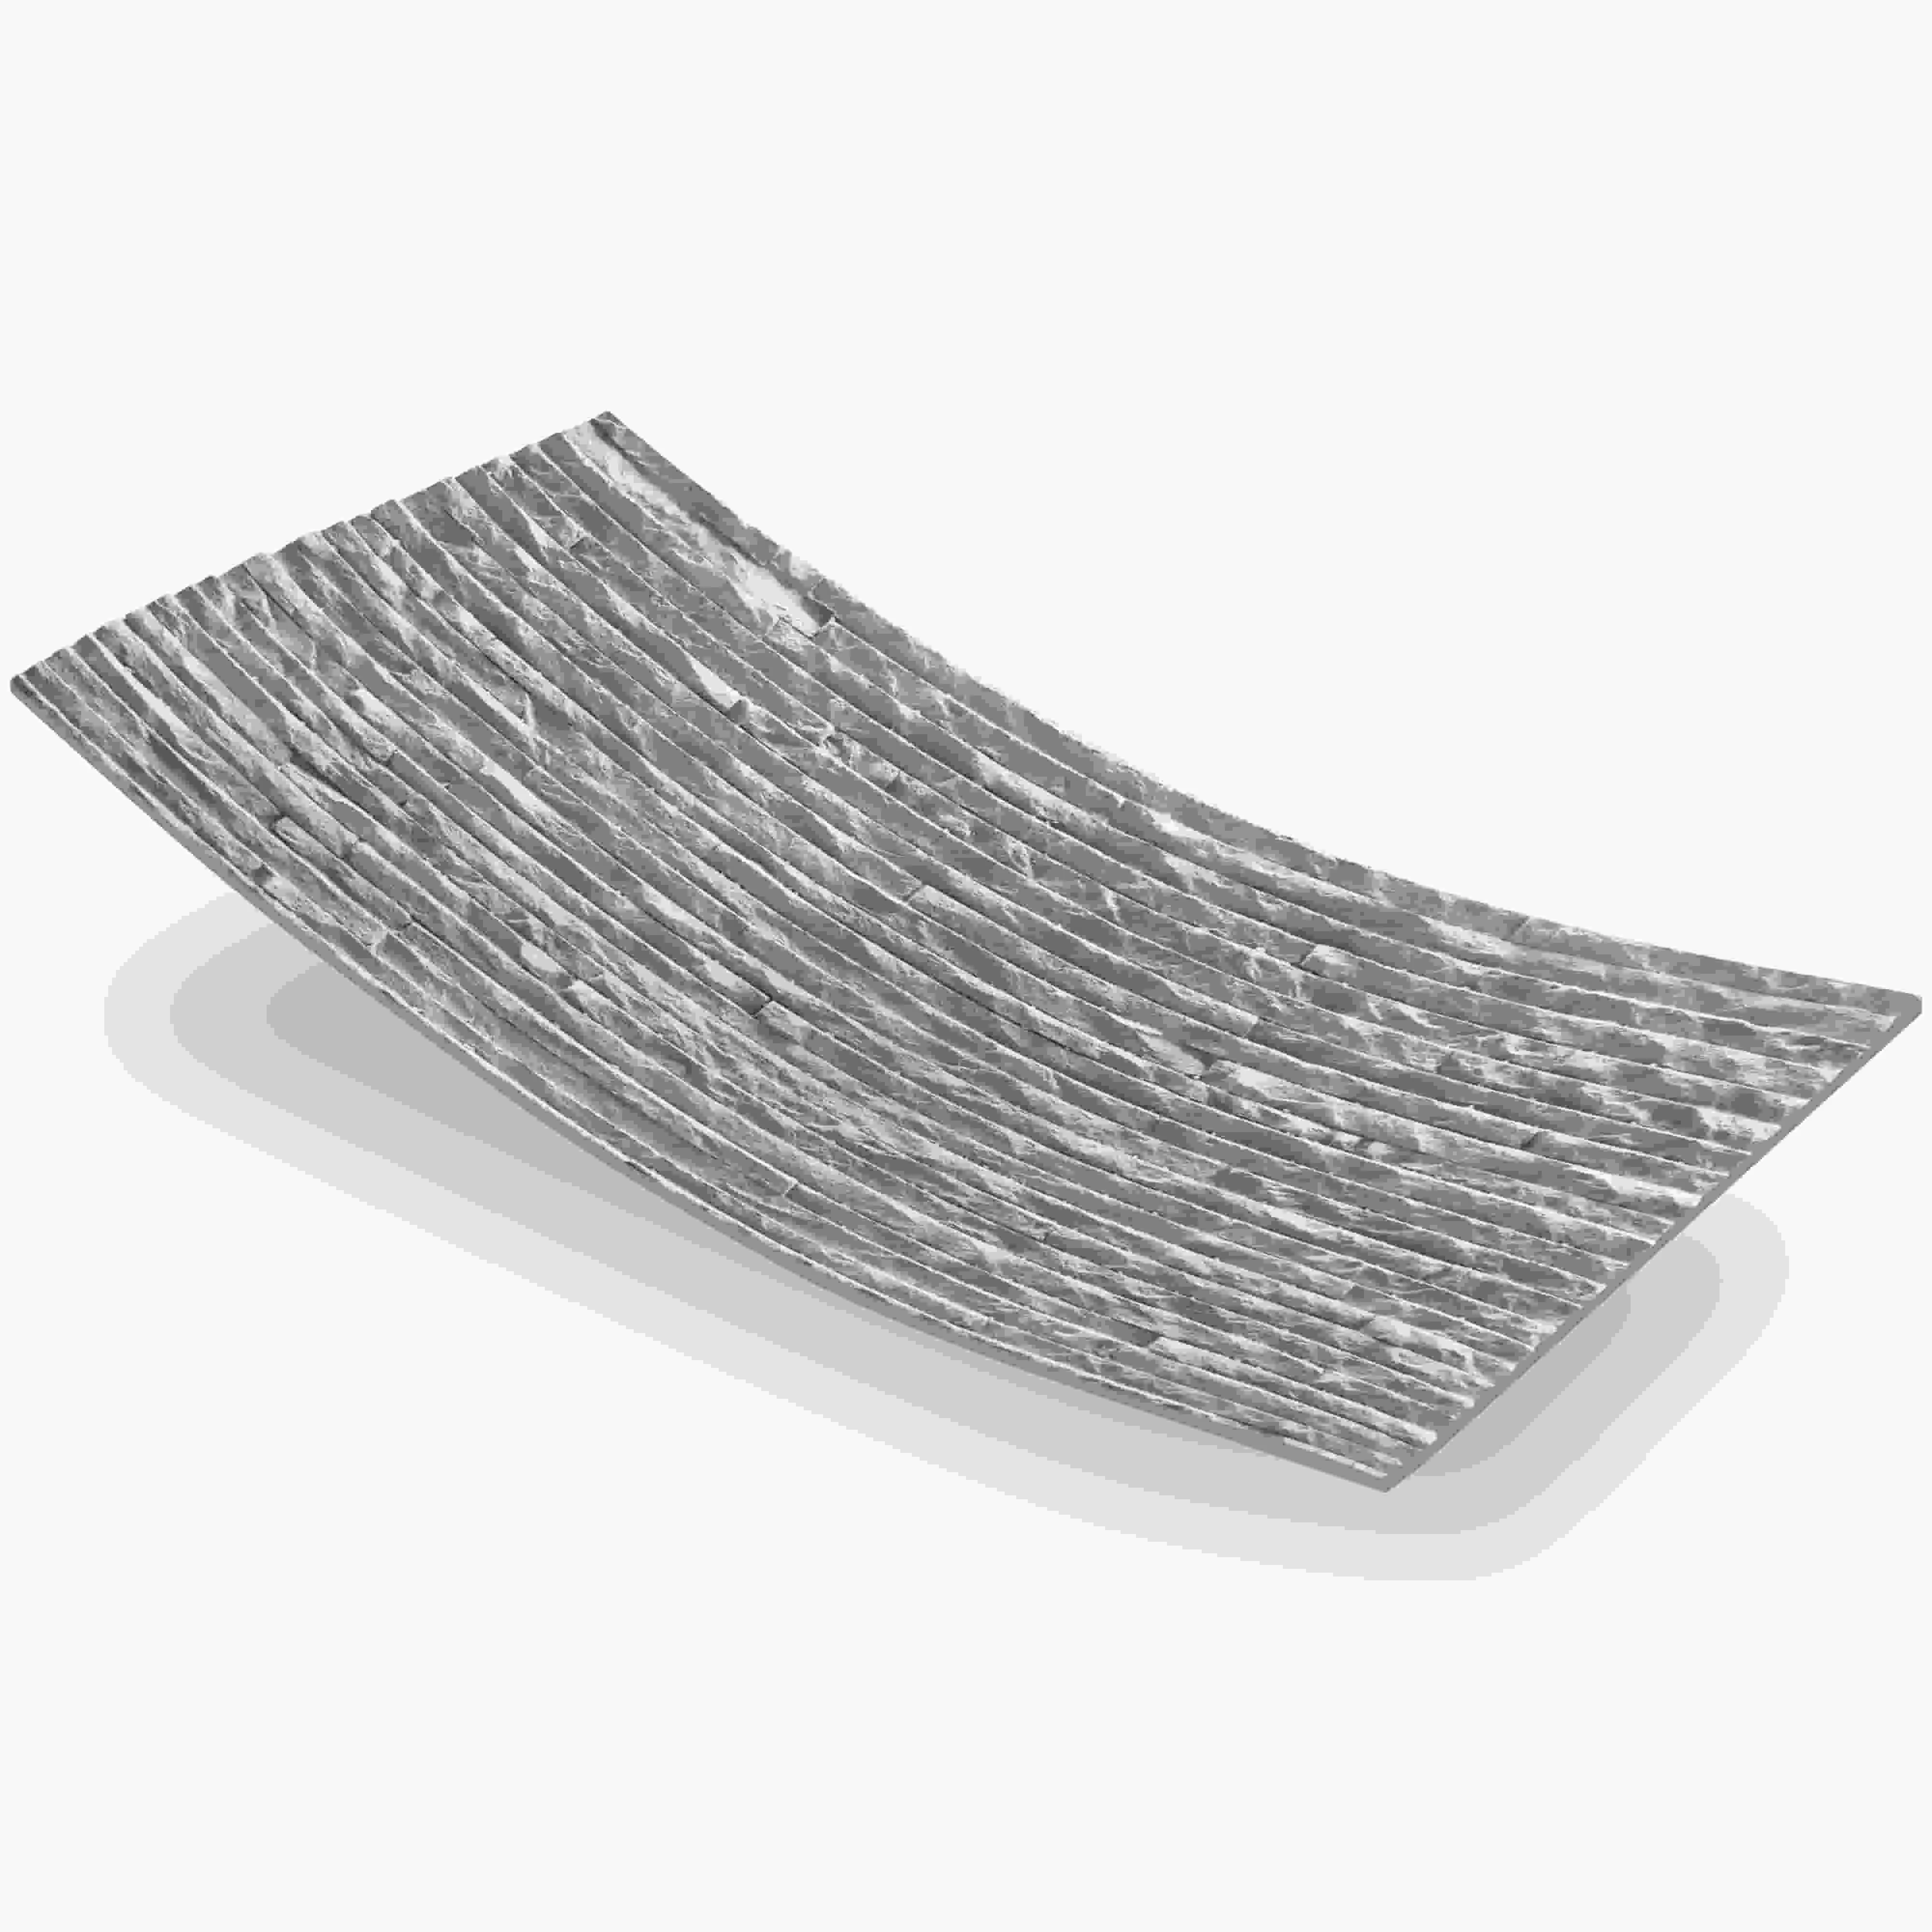
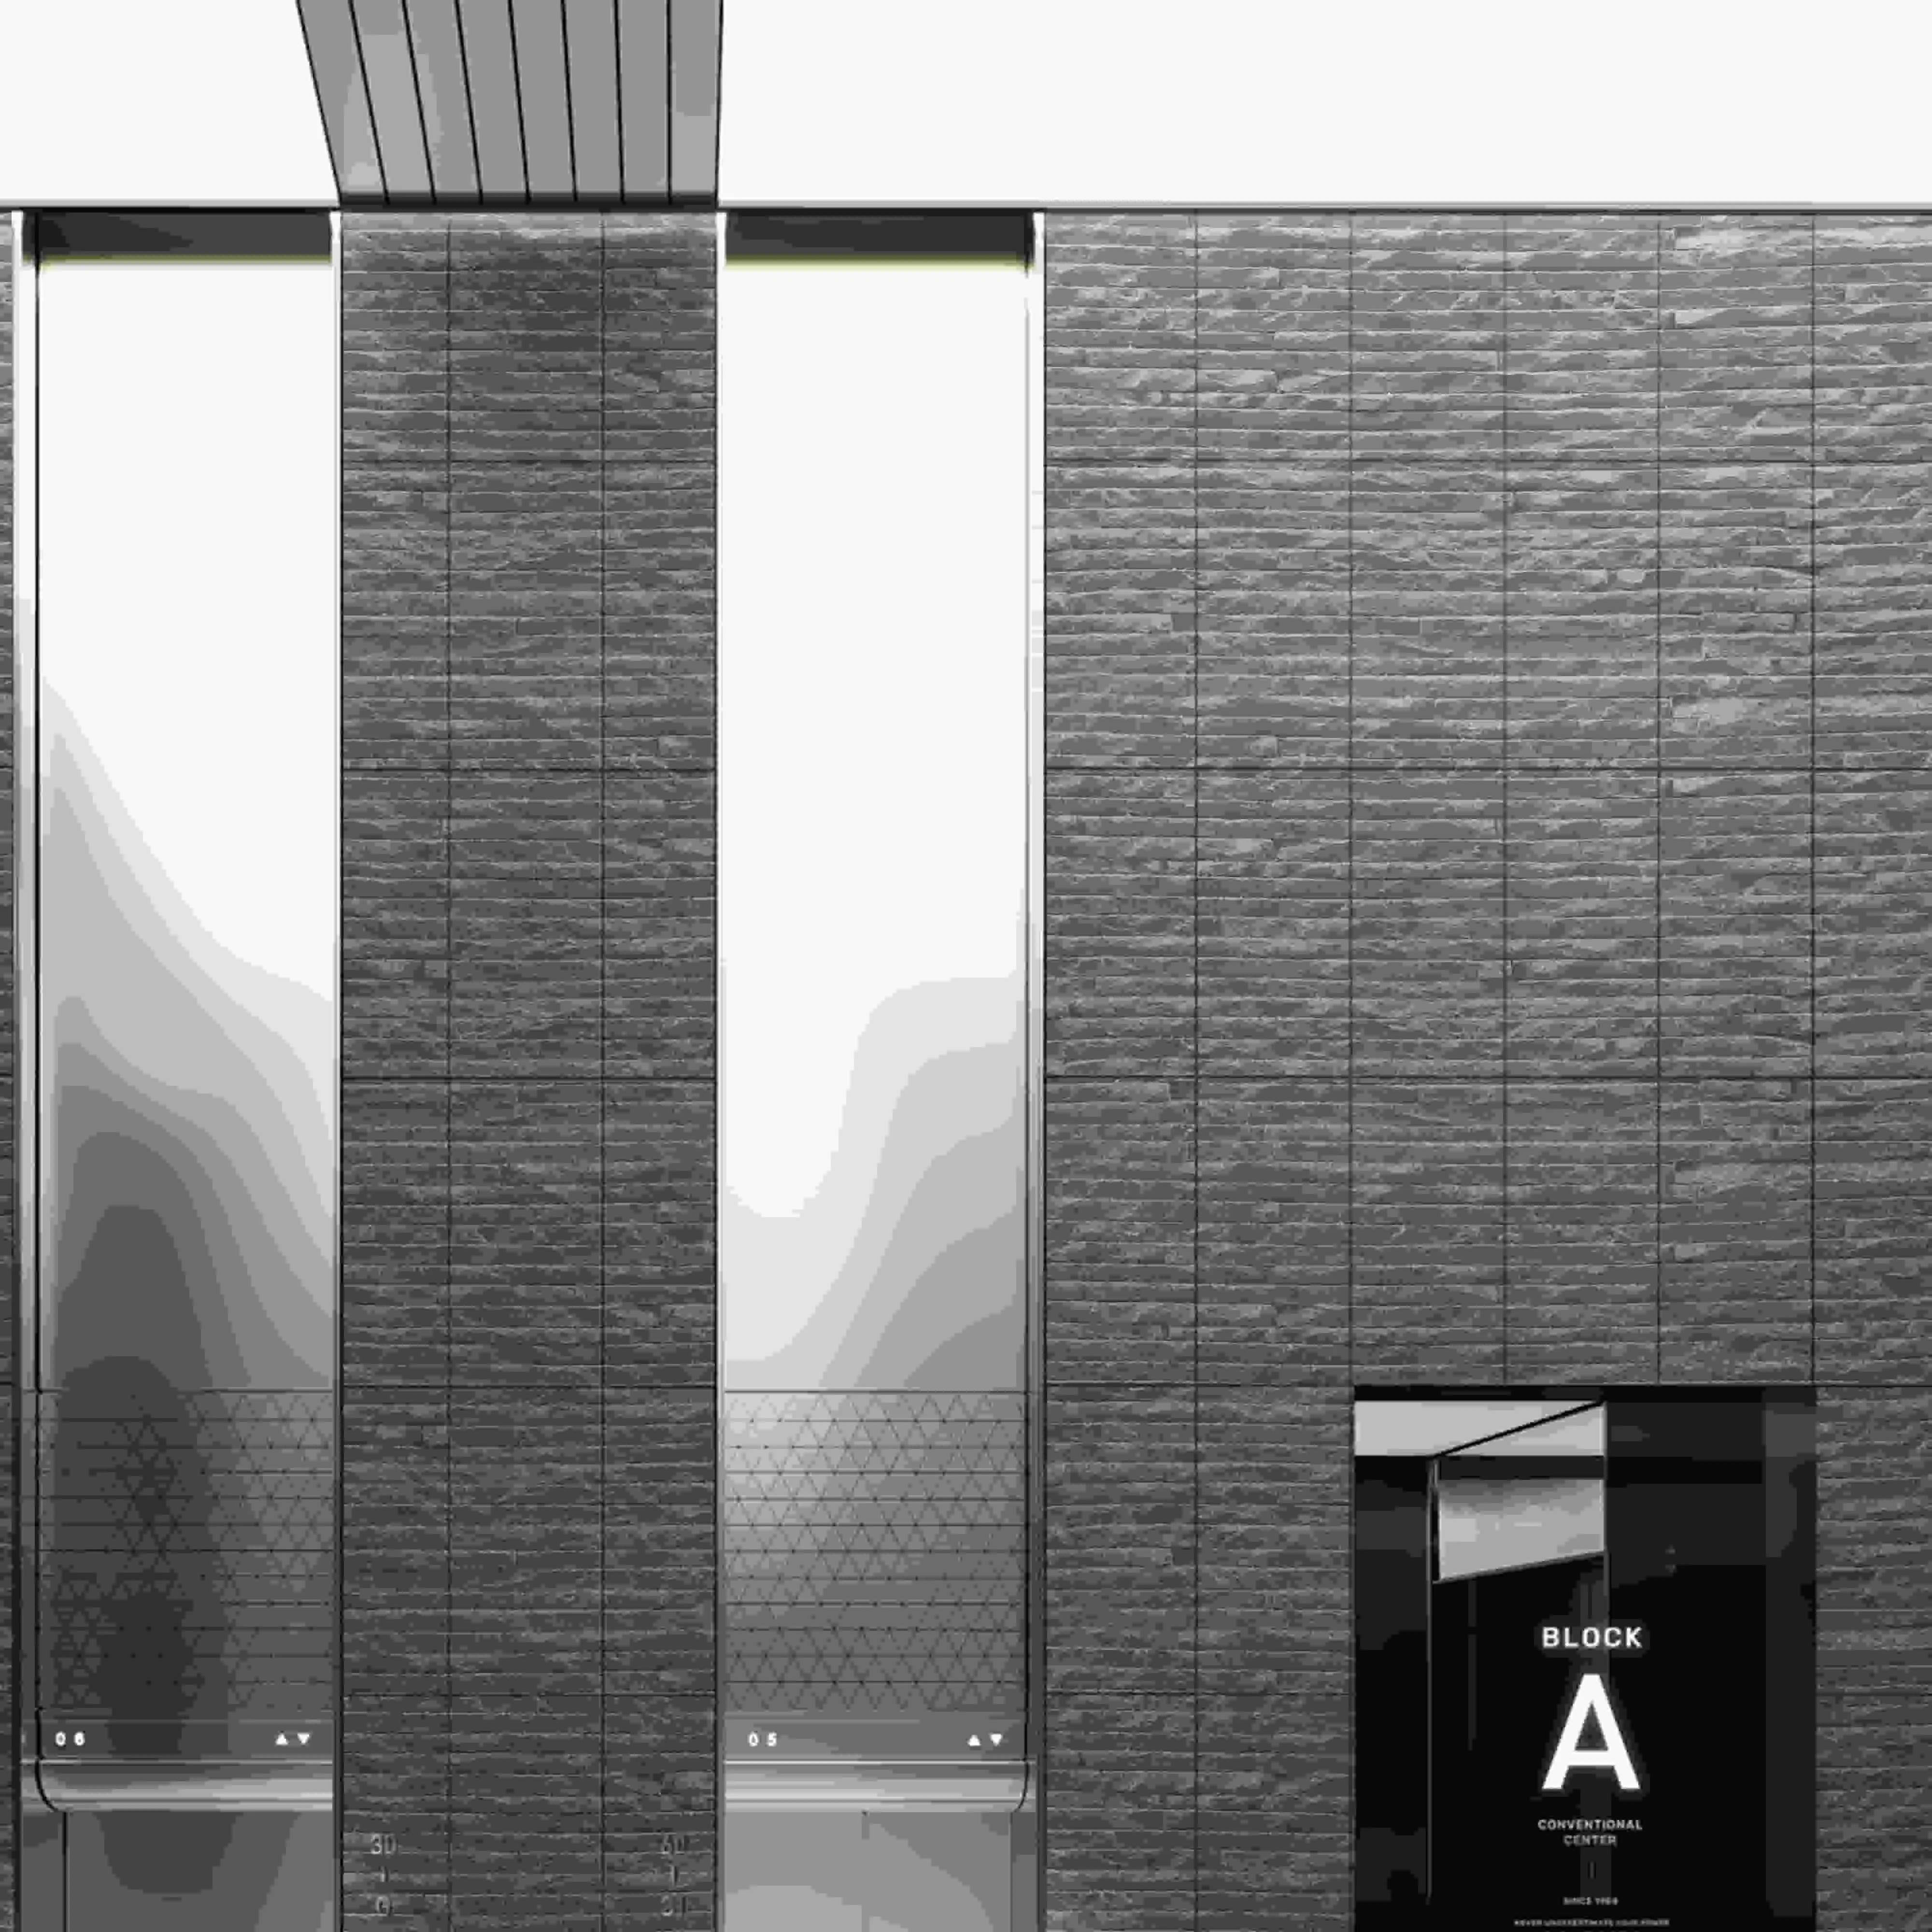
Before we grab the trowel, let's talk about what makes Muretto stone special. Hailing from a lineage of high-quality composite cladding materials, Muretto stone is engineered to mimic the look and feel of natural stone but with added benefits: it's lighter, more durable, and easier to install than traditional stone. Available in a range of hues, the three most popular variants are Muretto stone (light grey) , Muretto stone (dark grey) , and Muretto stone (beige) . Each brings its own vibe, but today, we're focusing on light grey—a neutral that's surprisingly versatile.
Light grey Muretto stone has a soft, almost ethereal quality. Its subtle texture—think gentle ridges and matte finishes—adds depth without overwhelming a space. It pairs beautifully with everything from warm wood tones to cool metal accents, and it's equally at home in a cozy cottage kitchen or a cutting-edge tech office. Unlike stark white, it won't show dust or fingerprints easily, and unlike bold colors, it won't clash with evolving decor trends. In short, it's a safe bet that feels anything but boring.
You might be wondering: with dark grey and beige options, why pick light grey? Here's the thing: light grey is a chameleon. In residential spaces, it can make small rooms feel larger and brighter—perfect for bathrooms or hallways with limited natural light. In commercial settings, it exudes professionalism and calm, which is why you'll often see it in lobbies, restaurants, and retail stores aiming for a "clean luxury" aesthetic. Dark grey, by contrast, leans industrial and bold (great for a warehouse-style loft), while beige feels warm and earthy (ideal for a Mediterranean-inspired patio). Light grey? It does it all.
Installing Muretto stone (light grey) is a mix of art and science. The secret to success? Preparation. Skipping steps here can lead to uneven panels, loose adhesion, or even water damage down the line. Let's break down the essentials.
First, gather your tools. You'll need:
As for materials, you'll need:
Here's a hard truth: even the best Muretto stone panels won't look good on a shoddy surface. Before installation day, inspect your wall (or facade) carefully. It needs to be:
Now, the fun part: putting it all together. Let's break this down into manageable steps. Take your time—rushing leads to mistakes, and Muretto stone deserves patience.
Measure twice, cut once—never truer than with cladding. Start by marking the center of your wall (both horizontally and vertically) with a pencil. This will be your reference point to ensure panels are aligned evenly. Then, using your measuring tape, map out how the panels will fit. Muretto stone panels typically come in standard sizes (e.g., 600x300mm), but you'll likely need to trim some for edges, corners, or outlets.
Pro tip: Avoid narrow "sliver" pieces at the edges. If your wall is 2.4 meters wide and panels are 600mm, you'll get 4 full panels—perfect. But if it's 2.5 meters, you'll have a 100mm sliver on one side, which looks messy. Instead, adjust the layout so the panels on both ends are at least 150mm wide. You can do this by shifting the starting point slightly—your eye won't notice the difference, but the finished look will be much cleaner.
Mortar is the glue that holds everything together, so get this right. Follow the manufacturer's instructions—different mortars have different mixing ratios, but a good rule of thumb is to add water slowly until the mortar has the consistency of peanut butter: thick enough to hold a shape, but not so dry it crumbles. Mix only as much as you can use in 30-45 minutes (mortar sets quickly!), and stir occasionally to keep it workable.
Pro tip: Use a bucket with measurements on the side to ensure consistent water-to-mix ratios. And avoid adding extra water if the mortar starts to thicken—this weakens the bond. If it's too dry, toss it and mix a fresh batch.
Start at the bottom center of your wall (this keeps panels from sliding as you work upward). Using the notched trowel, spread a 3-4mm layer of mortar over a 1-meter section of the wall. Hold the trowel at a 45-degree angle and comb the mortar with the notches—this creates ridges that help the panel adhere. Then, apply a thin layer of mortar to the back of the Muretto stone (light grey) panel (this is called "back buttering" and ensures full contact).
Press the panel firmly against the wall, wiggling it slightly to squeeze out air bubbles. Use your spirit level to check that it's plumb (vertical) and level (horizontal). If it's off, gently tap it with the rubber mallet—don't force it, as this can crack the panel. insert spacers along the edges to maintain consistent gaps (usually 2-3mm) between panels. Repeat with the next panel, working outward from the center.
Pro tip: Work in small sections—no more than 2-3 panels at a time. This prevents the mortar from drying out before you set the panels.
As you move up the wall, stagger the panels like brickwork—this adds strength and looks better. For example, if the first row starts with a full panel, the second row should start with a half-panel. This "staggered joint" prevents vertical seams from lining up, which can weaken the structure over time.
When you reach corners or obstacles (like windows or outlets), measure the space carefully, mark the panel, and cut with a utility knife. Score the panel first, then snap it along the line—Muretto stone cuts cleanly, so no need for power tools. Test the fit before applying mortar, and don't worry if it's not perfect—grout will hide small gaps.
Once all panels are set and the mortar has cured (check the mortar's instructions—usually 24-48 hours), it's time to grout. Mix the grout according to the package directions (it should be smooth and creamy, like toothpaste). Using the grout float, press the grout into the gaps at a 45-degree angle, making sure to fill them completely. Wipe off excess grout with a damp sponge, rinsing frequently to avoid smearing. Let the grout set for 15-20 minutes, then buff the panels with a dry cloth to remove haze.
Pro tip: Don't rush the grout cleanup. If you wipe too soon, you'll pull grout out of the gaps; wait too long, and it'll harden into a stubborn film. Check the grout's "open time" (how long it stays workable) and set a timer.
The final step (and one you shouldn't skip!) is sealing. Muretto stone is durable, but sealing adds a protective barrier against moisture, stains, and UV rays—especially important for exteriors or high-moisture areas like kitchens and bathrooms. Choose a water-based sealer designed for composite stone, and apply it with a paintbrush or roller in thin, even coats. Let the first coat dry completely (usually 2-4 hours), then apply a second coat for extra protection.
Pro tip: Test the sealer on a scrap panel first to ensure it doesn't darken the stone (most water-based sealers are "invisible," but better safe than sorry).
While the basic installation steps are the same, residential and commercial projects have unique considerations. Let's break them down.
In homes, Muretto stone (light grey) is often used for accent walls, fireplaces, kitchen backsplashes, or exterior facades. Since these are smaller-scale (compared to commercial), precision and aesthetics take center stage. For example:
Commercial projects—think office buildings, hotels, or retail stores—often involve larger surfaces and higher foot traffic. Here's what to prioritize:
Still torn between Muretto stone shades? Here's a quick comparison to help you decide:
| Color | Best For | Aesthetic Vibe | Complementary Materials |
|---|---|---|---|
| Muretto stone (light grey) | Living rooms, bedrooms, kitchen backsplashes, office lobbies | Modern, minimalist, bright, versatile | Fair-faced concrete, white oak, brushed nickel |
| Muretto stone (dark grey) | Commercial facades, industrial-style kitchens, accent walls | Bold, edgy, sophisticated, dramatic | Black metal, dark wood, brass |
| Muretto stone (beige) | Bathrooms, patios, Mediterranean-style homes | Warm, earthy, cozy, timeless | Terracotta, pine, copper |
Installing Muretto stone is just the start—with a little care, it will look great for decades. Here's how to maintain it:
Installing Muretto stone (light grey) takes time, patience, and a bit of elbow grease—but the payoff is huge. Imagine walking into your living room and seeing that smooth, textured accent wall, or pulling up to your home and admiring the sleek, modern facade. It's not just a surface upgrade; it's a transformation that adds value, character, and pride of ownership.
And here's the best part: with the right prep and steps, you don't need to be a pro to do it. I've seen homeowners with zero construction experience turn their fireplaces into showstoppers with Muretto light grey. Sure, there might be a few wobbly panels or smudged grout lines along the way, but that's part of the process. What matters is that you take your time, follow the steps, and don't cut corners on materials.
So, whether you're tackling a residential weekend project or planning a commercial overhaul, Muretto stone (light grey) is more than just a cladding material—it's a canvas for your vision. Go ahead, grab that trowel, and let's make something beautiful.
Recommend Products


