
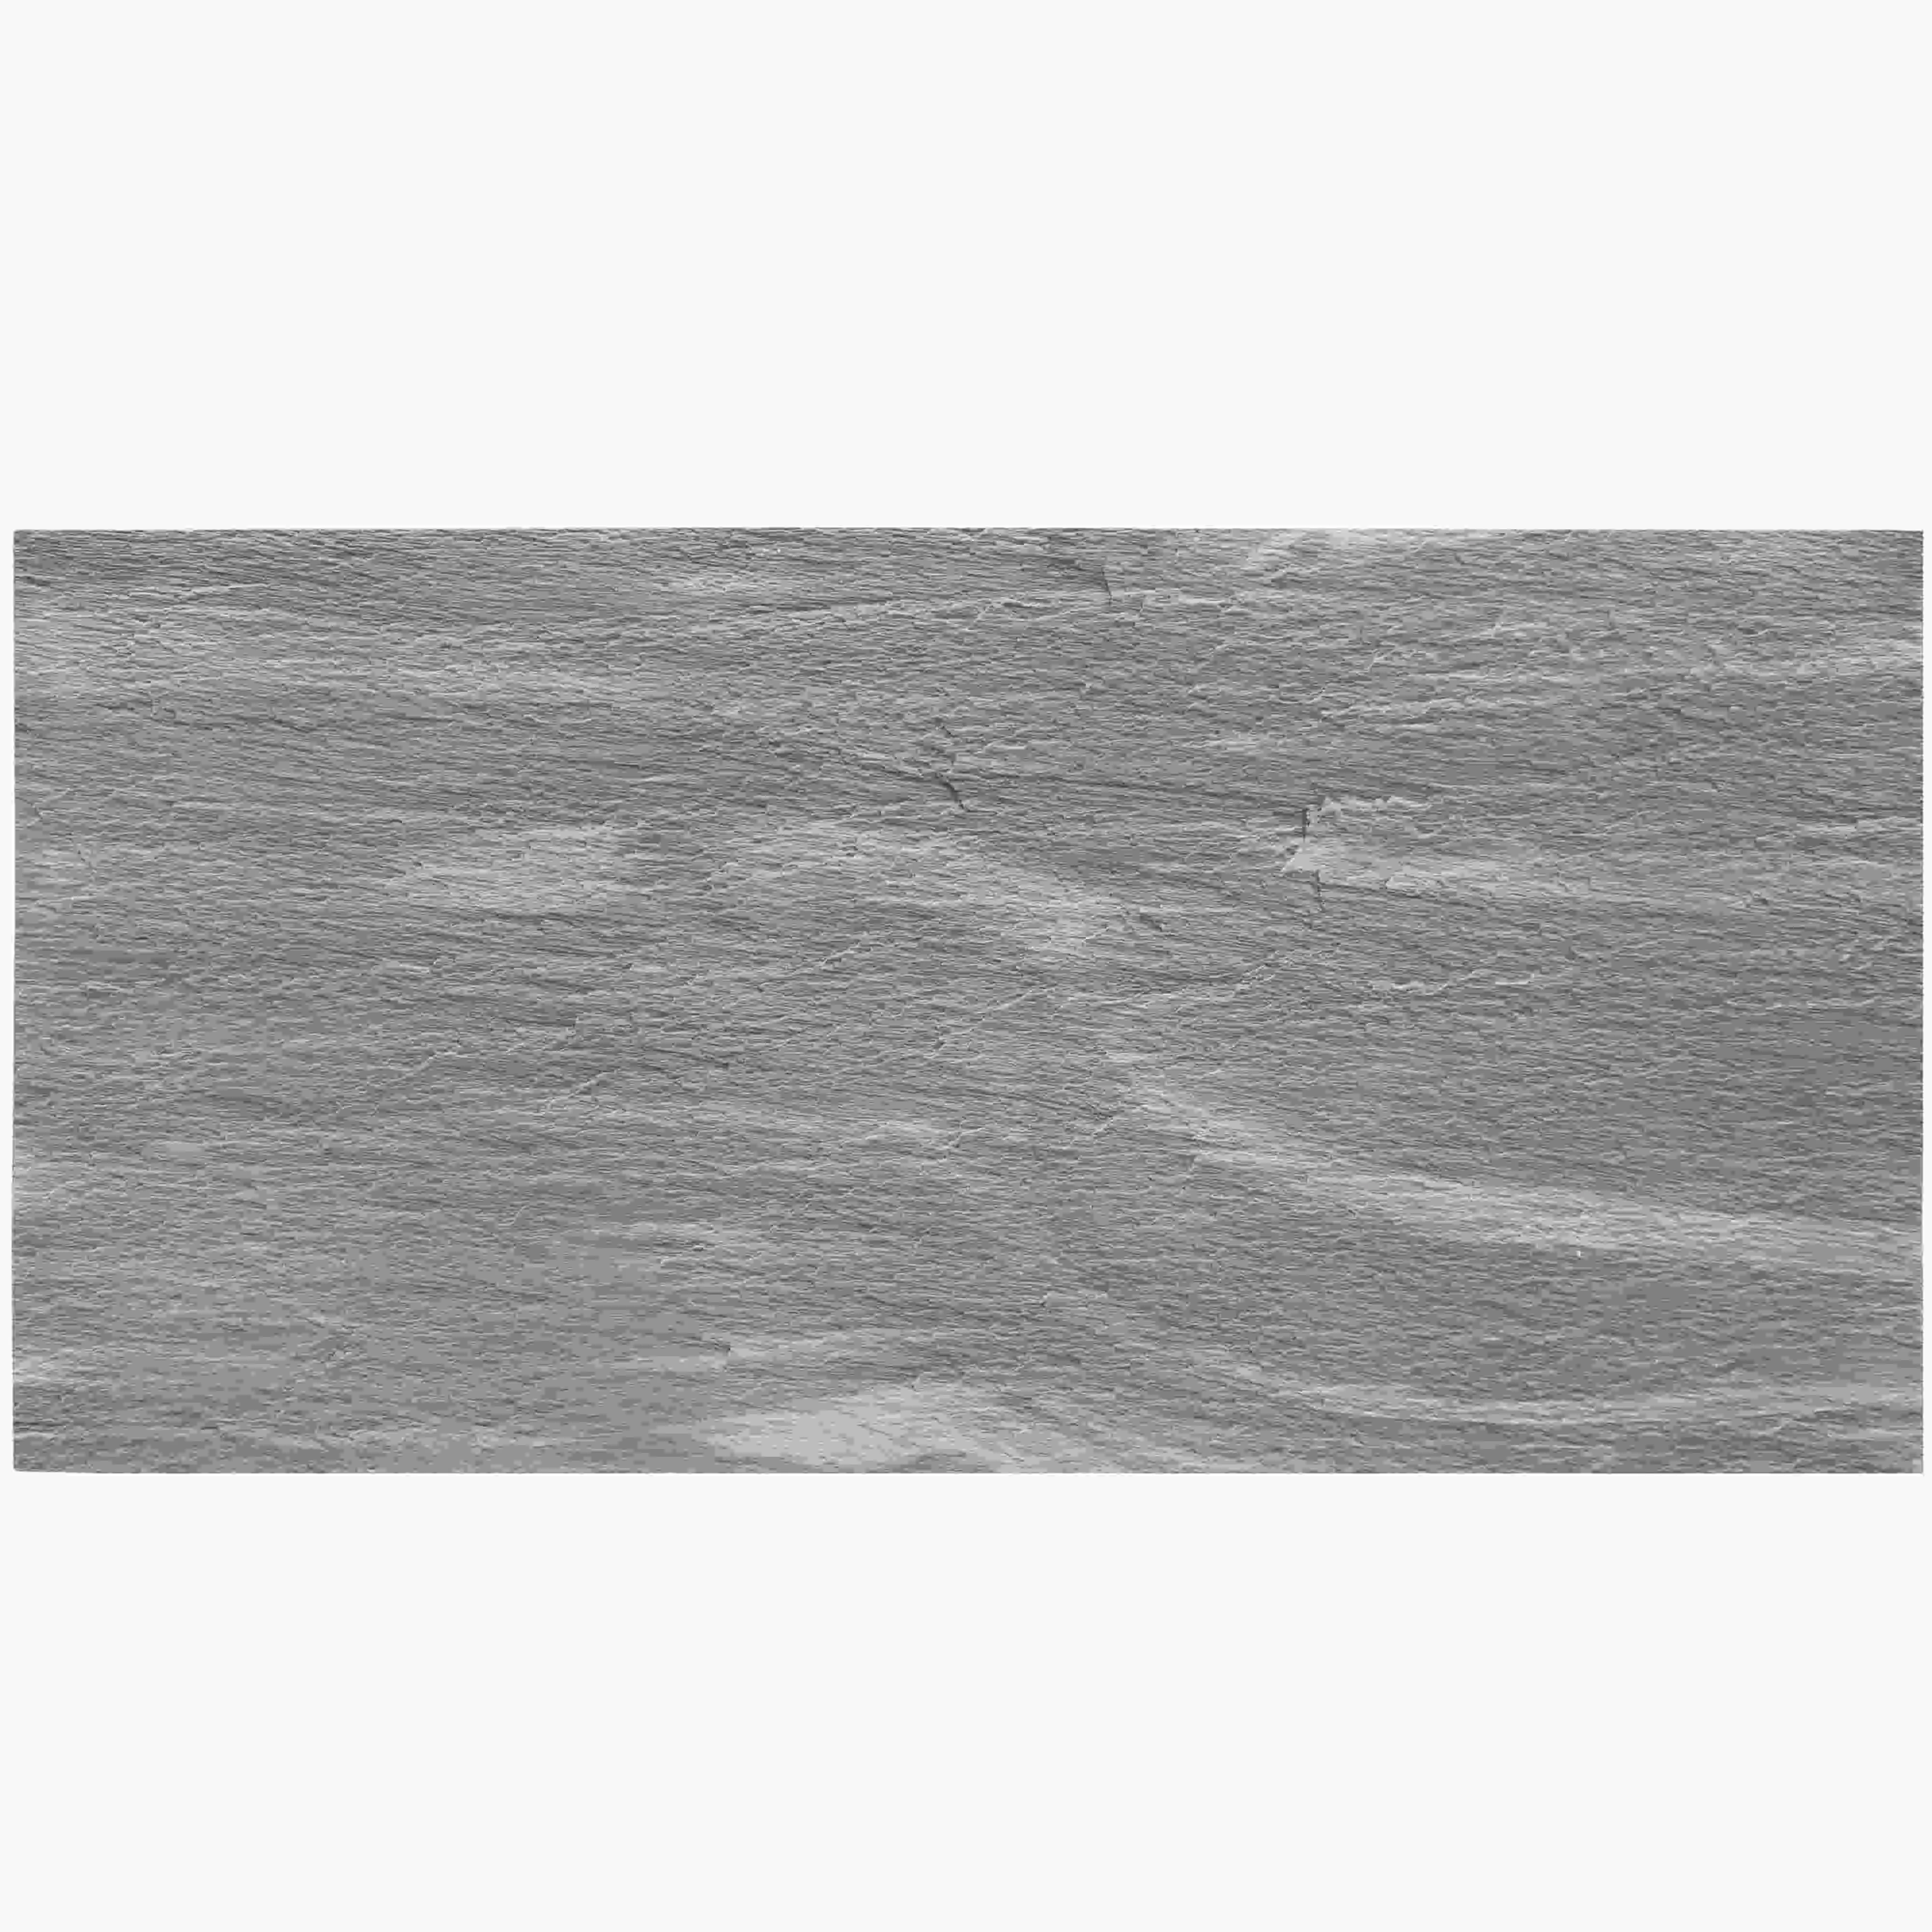
Oasis Stone Rane brings the natural beauty of stone textures to interior and exterior walls with remarkable ease of installation. As part of the MCM (Modified Clay Materials) flexible stone series, this innovative building material combines authentic stone aesthetics with lightweight, flexible properties that transform complex installation processes into straightforward DIY-friendly procedures. This comprehensive guide walks you through every step of installing Oasis Stone Rane panels, from surface preparation to final finishing touches.
Oasis Stone Rane belongs to the MCM flexible stone family developed by COLORIA GROUP. Made from modified clay materials, these panels replicate natural stone textures while weighing significantly less than traditional stone veneers. The material achieves this through a unique manufacturing process that combines mineral aggregates with polymer binders, resulting in panels that flex slightly without cracking.
Key characteristics that set Oasis Stone Rane apart include its authentic stone appearance, water resistance, fire retardancy, and ability to conform to curved surfaces. The panels measure approximately 2.5-3mm in thickness, making them easy to cut and handle during installation without specialized stone-working equipment.
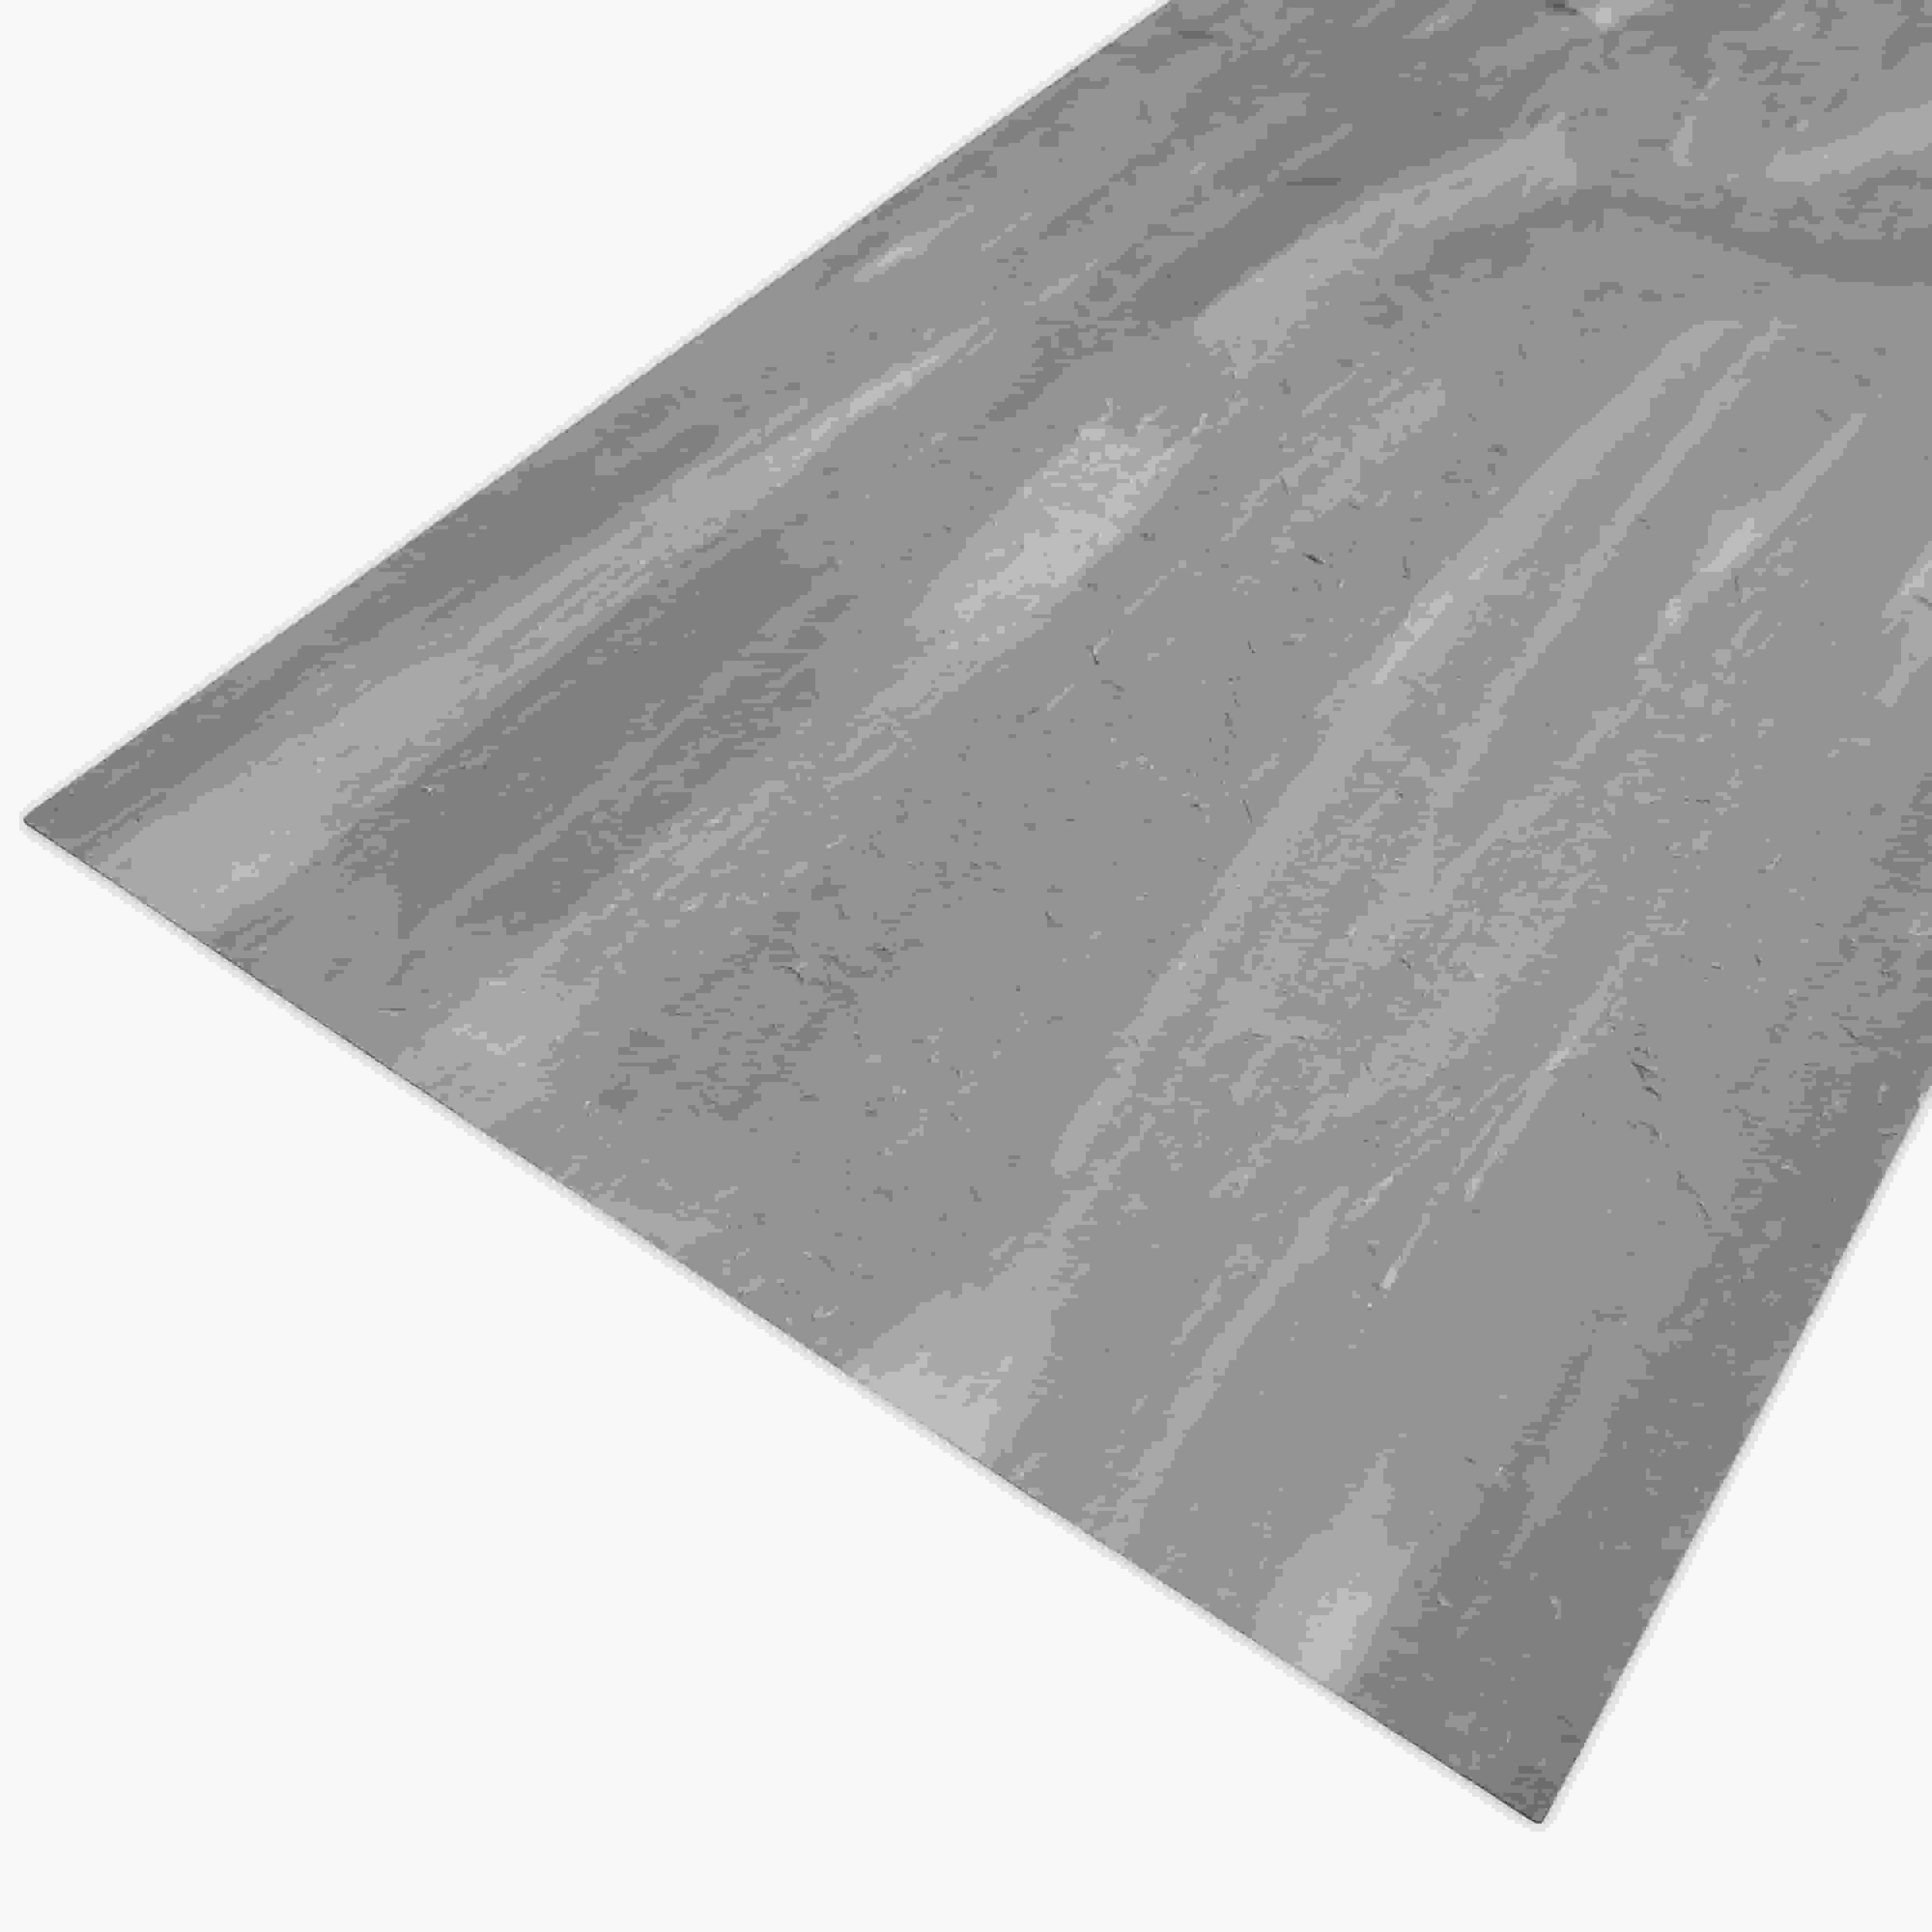
Successful installation begins with gathering the right tools and materials. Preparation ahead of time prevents interruptions during the installation process.
Selecting the correct adhesive directly impacts installation longevity. For interior applications, polymer-modified construction adhesive provides excellent bonding strength. Exterior installations demand weather-resistant formulations that accommodate temperature fluctuations and moisture exposure. Always consult adhesive manufacturer specifications to confirm compatibility with flexible stone panels.
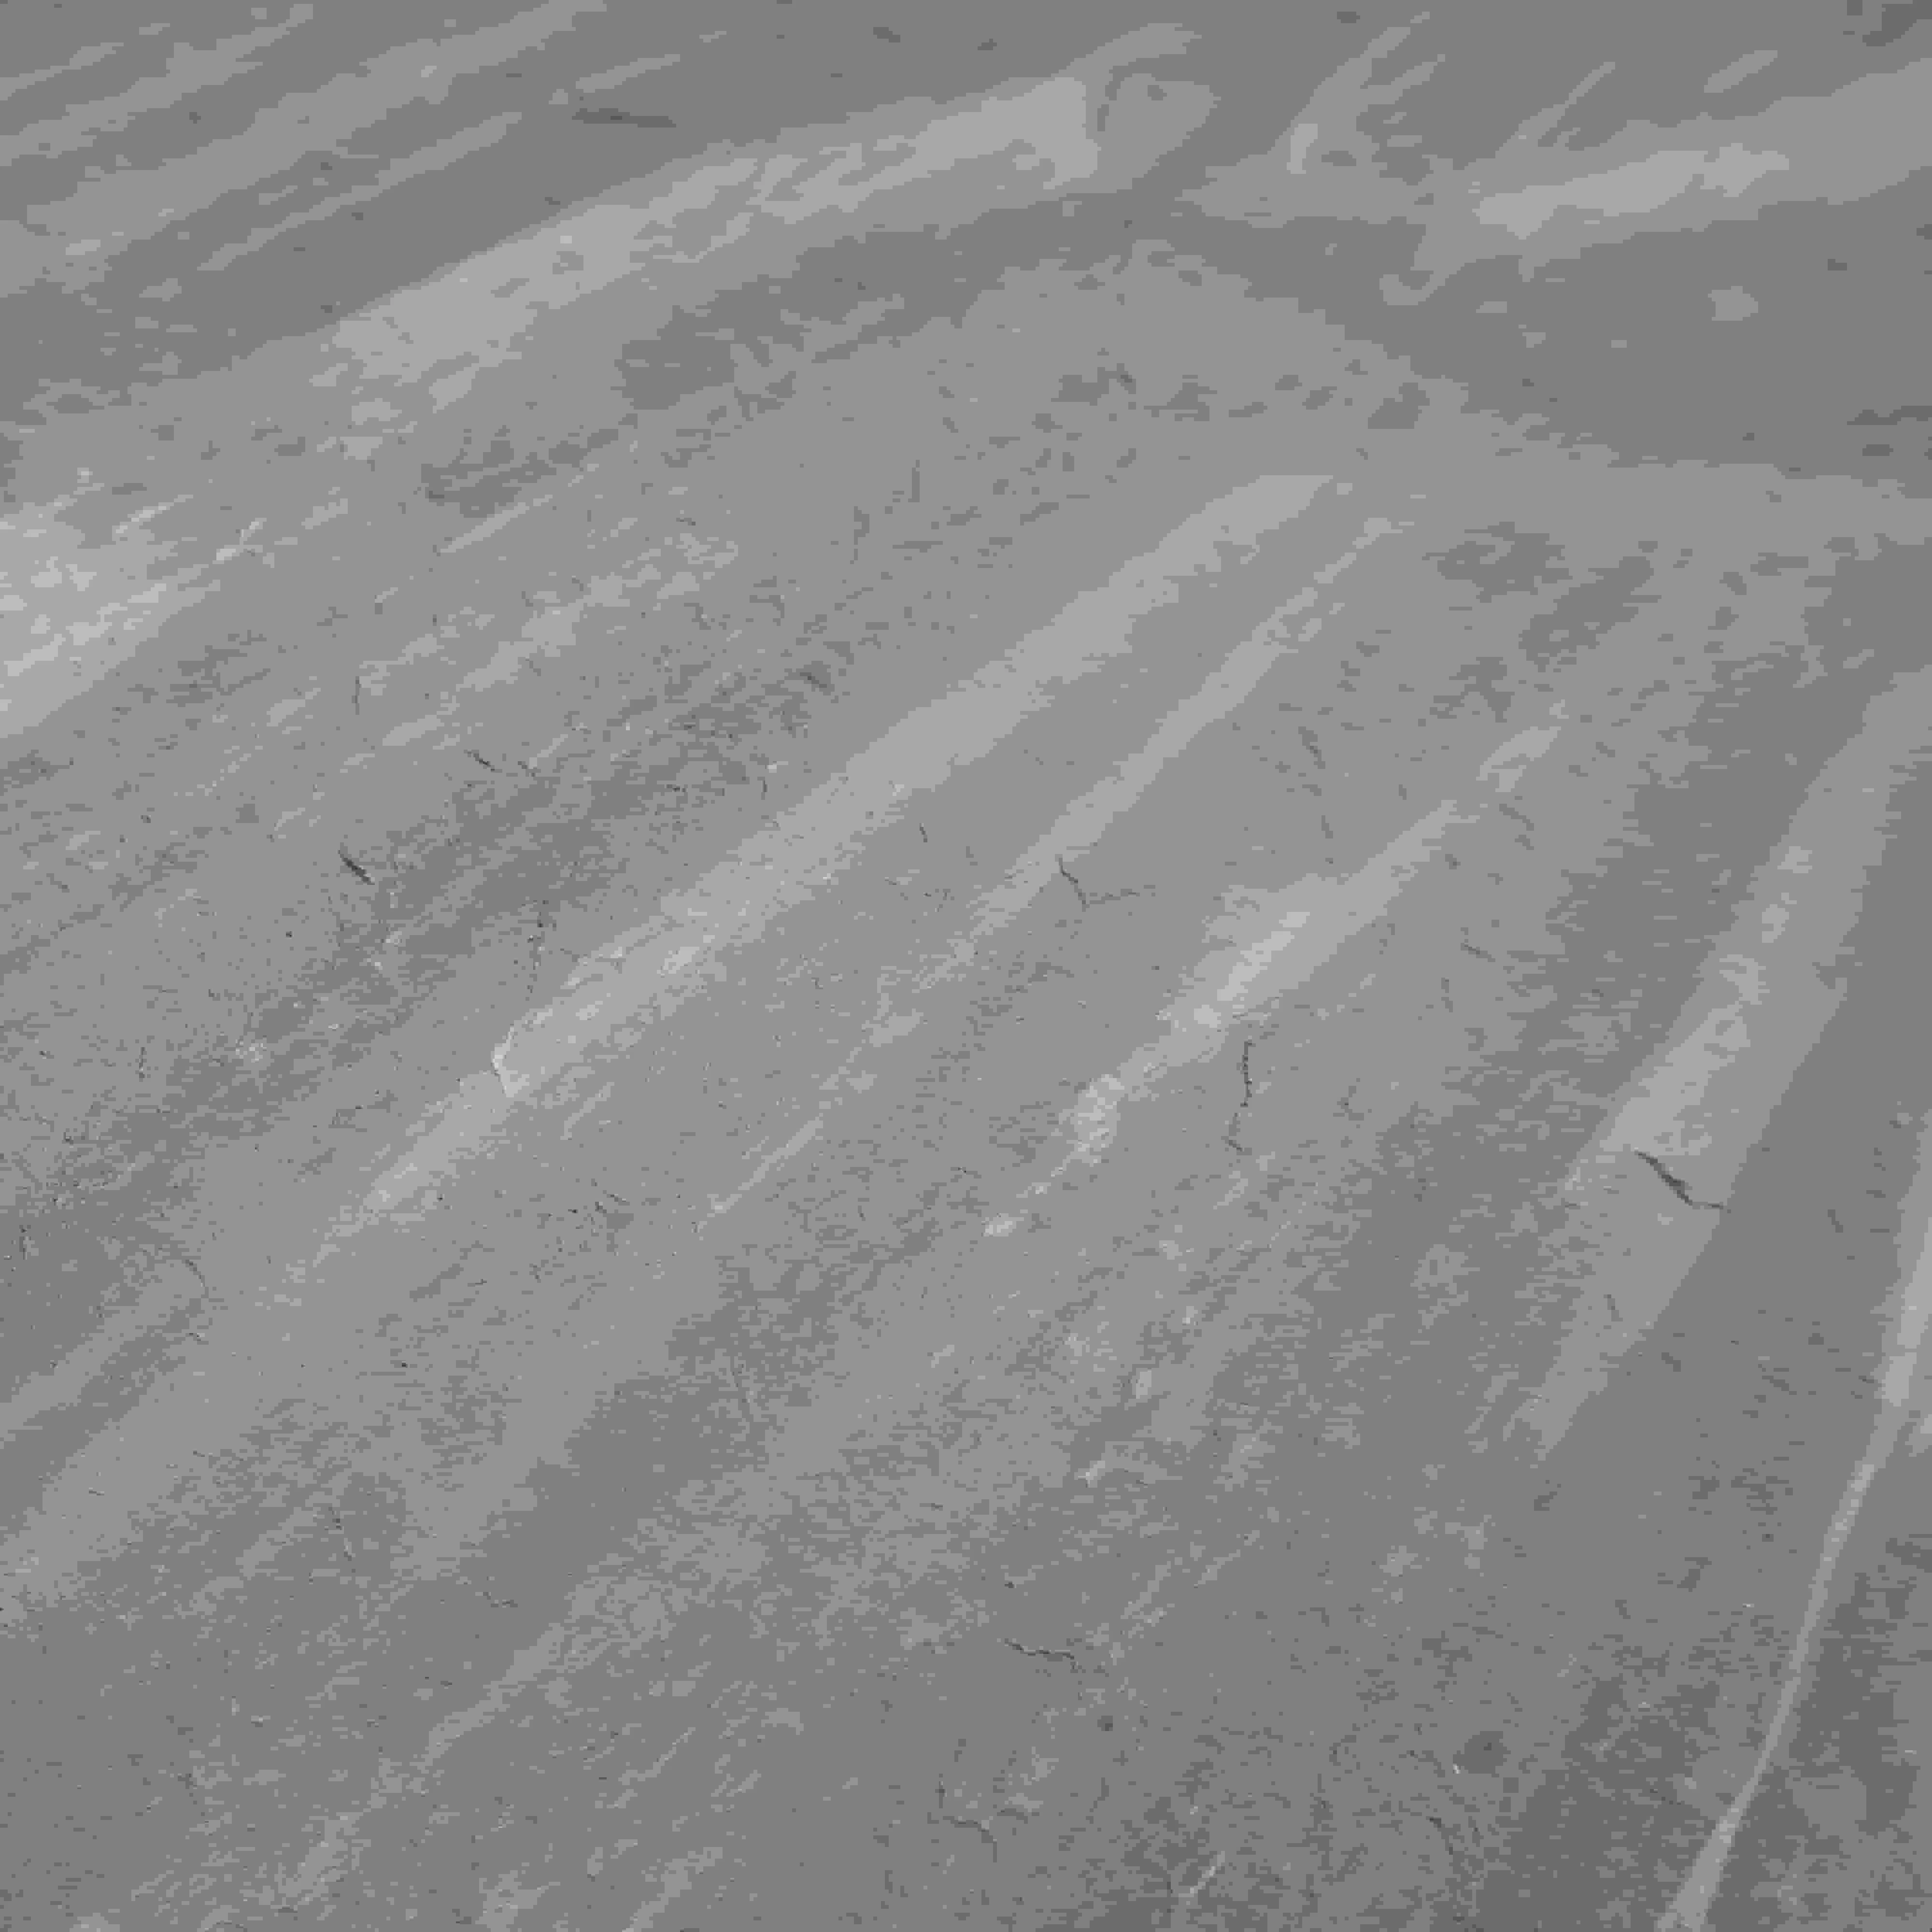
Proper surface preparation accounts for the majority of installation success. Rushing this phase leads to adhesion failures, uneven surfaces, and premature deterioration.
Oasis Stone Rane panels adhere successfully to various substrates when properly prepared:
Begin by removing all dust, oil, grease, and loose material from the substrate. Use appropriate cleaning agents for specific contaminants, then rinse and allow thorough drying. Remove any weak or peeling paint layers, as these compromise adhesive bonding. Repair cracks, holes, and damaged areas with suitable filler materials, then sand smooth. Check the entire surface with a straightedge to identify uneven areas exceeding 3mm variance, and level accordingly.
The prepared surface must be clean, dry, and structurally sound before proceeding. Moisture content should fall below 5% for optimal adhesion. In humid climates or during damp seasons, use moisture meters to verify acceptable levels.
Measure the installation area carefully and calculate the number of panels required, adding 10% extra for waste and cuts. Determine the optimal starting point, typically from a visible corner or architectural feature. Use a level to draw horizontal reference lines at regular intervals, ensuring panels align correctly across the entire surface.
Mark cutting lines on the panel back using a pencil and straightedge. Use a sharp utility knife to cut through the material, applying steady, even pressure. For intricate cuts around outlets or fixtures, score the outline multiple times before cutting through completely. Always cut panels face-up on a stable work surface to prevent chipping.
Apply adhesive using the notched trowel at approximately 3-6mm thickness. Work in manageable sections, covering no more than 1-2 square meters at a time to prevent premature drying. Ensure complete adhesive coverage across the substrate, achieving at least 90% contact area for optimal bonding. Some installers prefer back-buttering the panel for additional security on larger pieces.
Position the panel carefully against the prepared surface, aligning with reference lines. Press firmly from one edge, working across to eliminate air pockets. Avoid sliding the panel after initial contact, as this weakens the adhesive bond. Check alignment with a level and adjust immediately if necessary while the adhesive remains workable.
Use a rubber roller to press the panel surface thoroughly. Begin from the center and work toward all edges in a systematic pattern. Apply consistent pressure to ensure complete adhesive transfer and eliminate trapped air. This step significantly affects long-term adhesion performance.
Maintain consistent joint spacing between panels, typically 1-3mm for interior applications and 6-10mm for exterior installations. For exterior projects, fill joints with appropriate sealant to prevent moisture infiltration. Interior applications may use colored grout matching the panel color for seamless appearance.
Address exposed edges with matching trim pieces or sealant application. Exterior installations require sealing all edges and penetrations to prevent water entry behind the panels. Remove excess adhesive from panel faces immediately using a damp sponge, before curing begins.
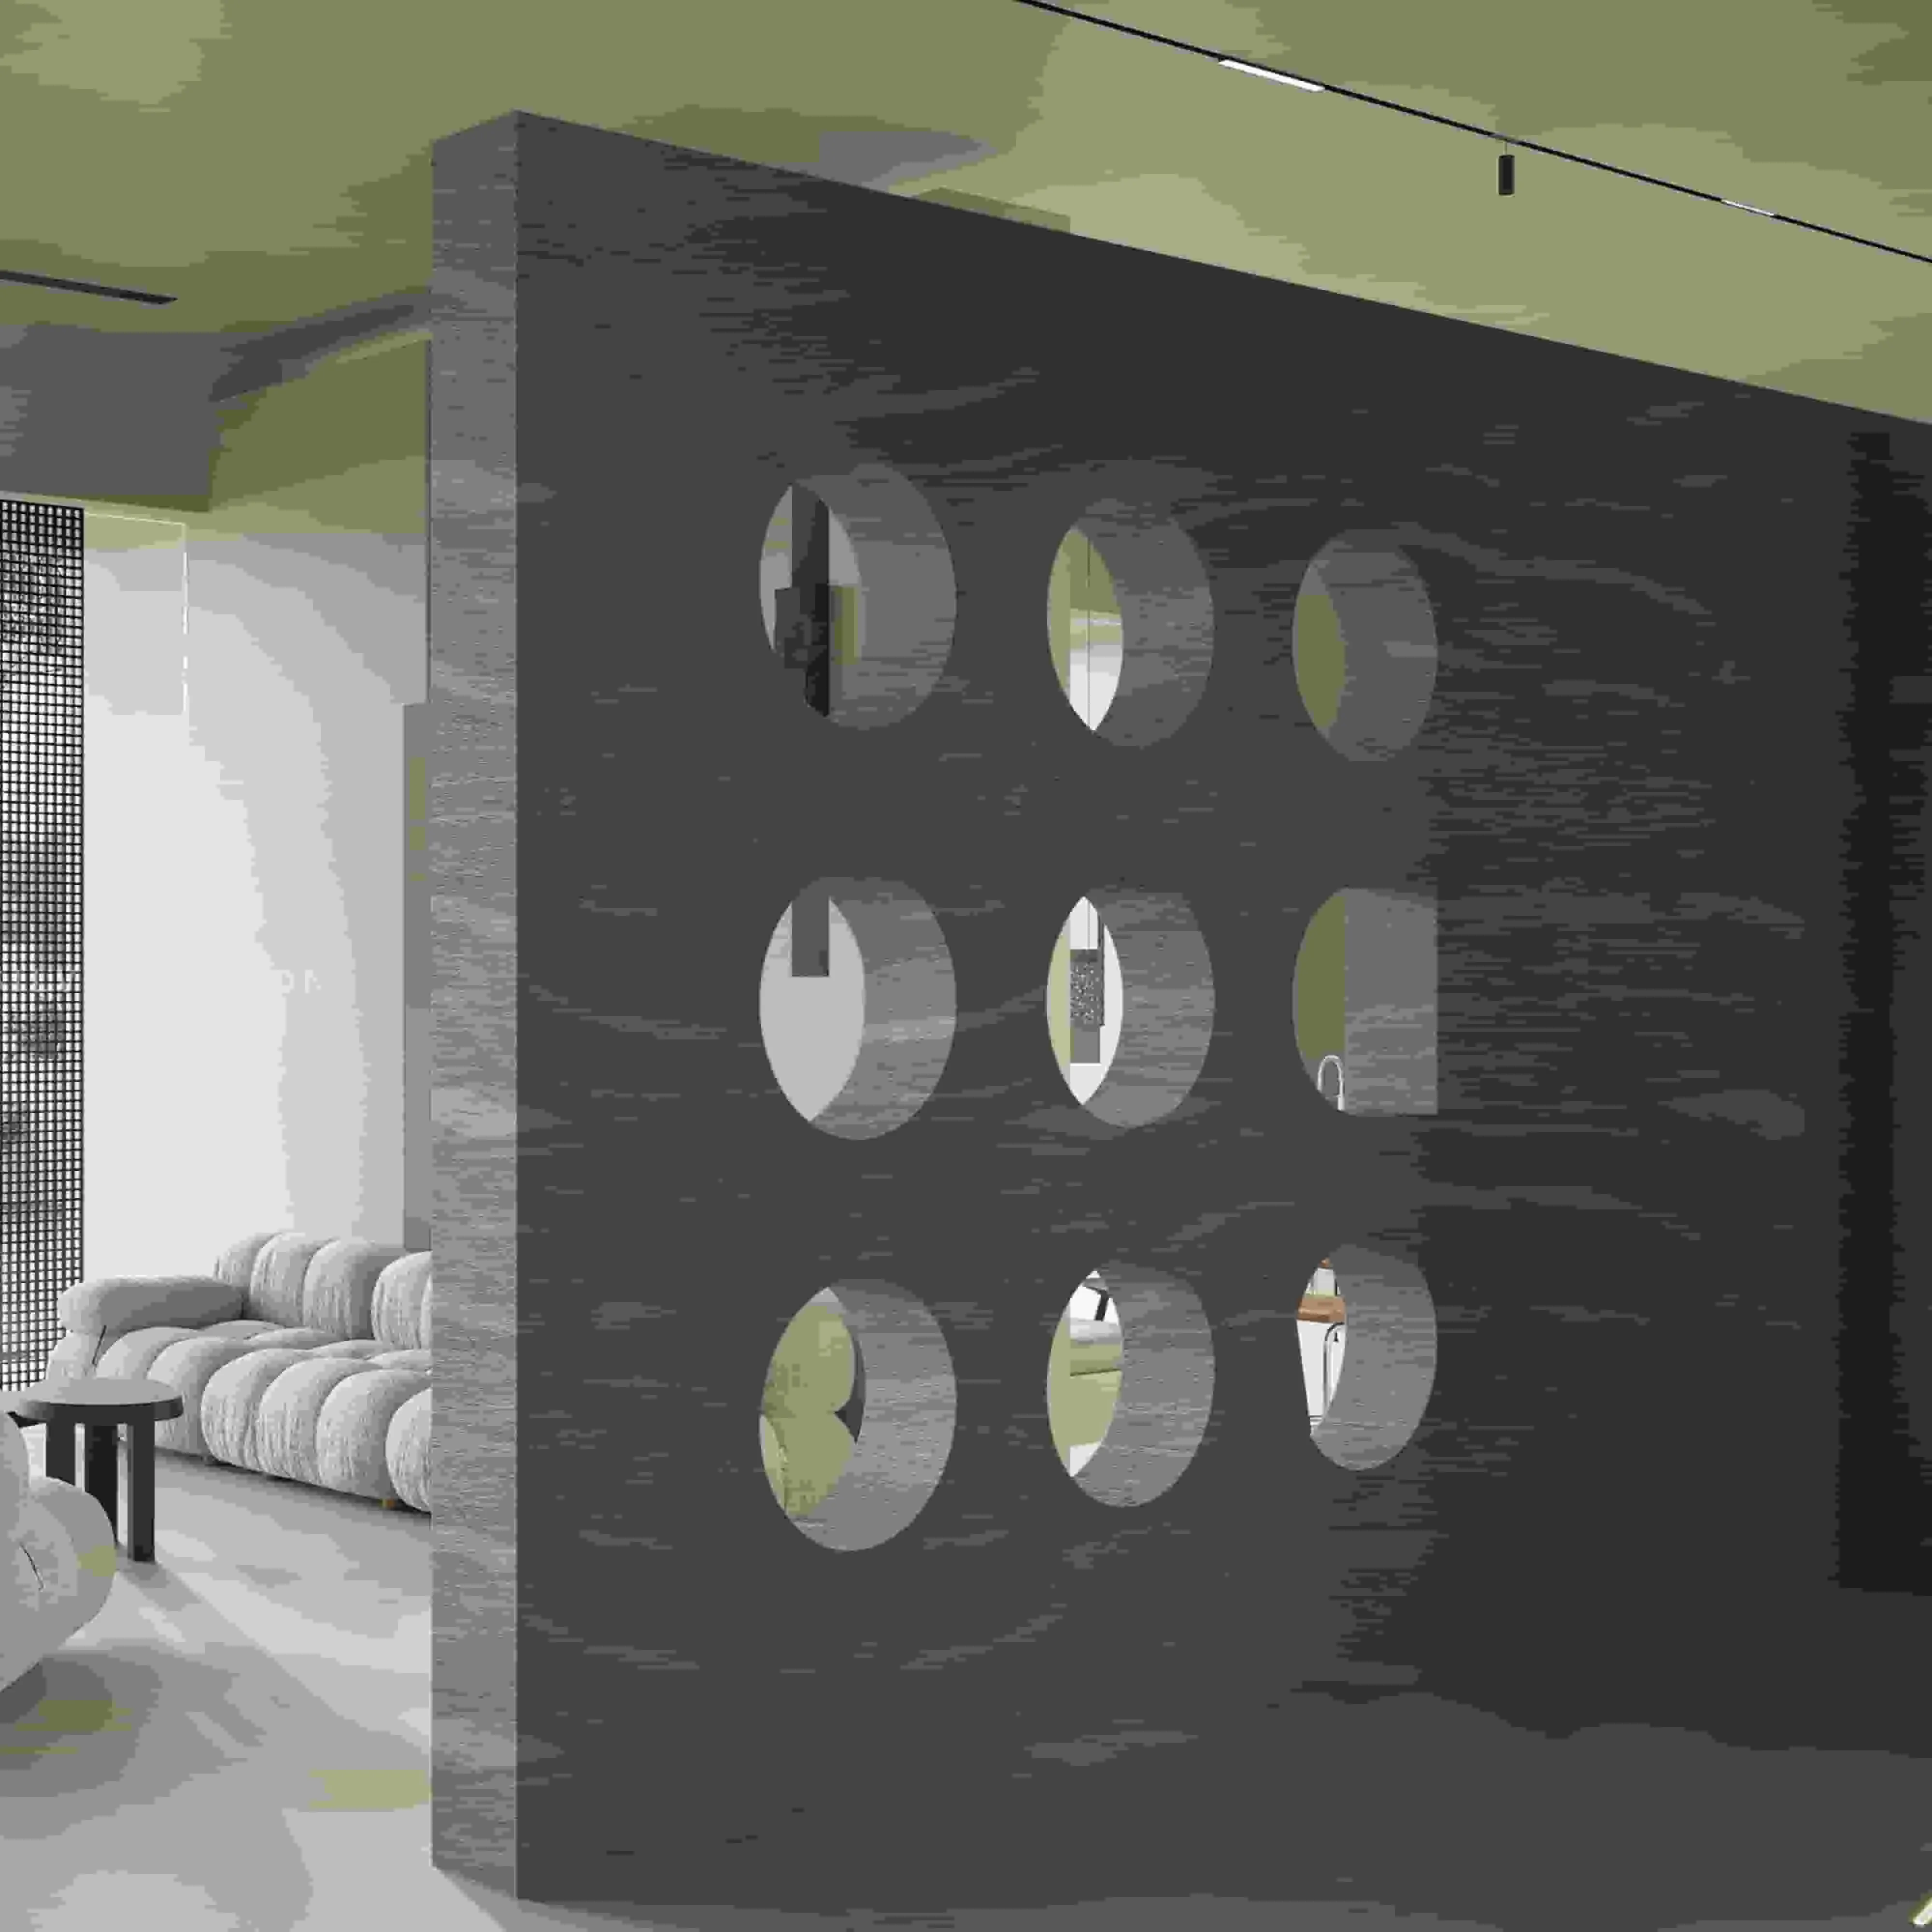
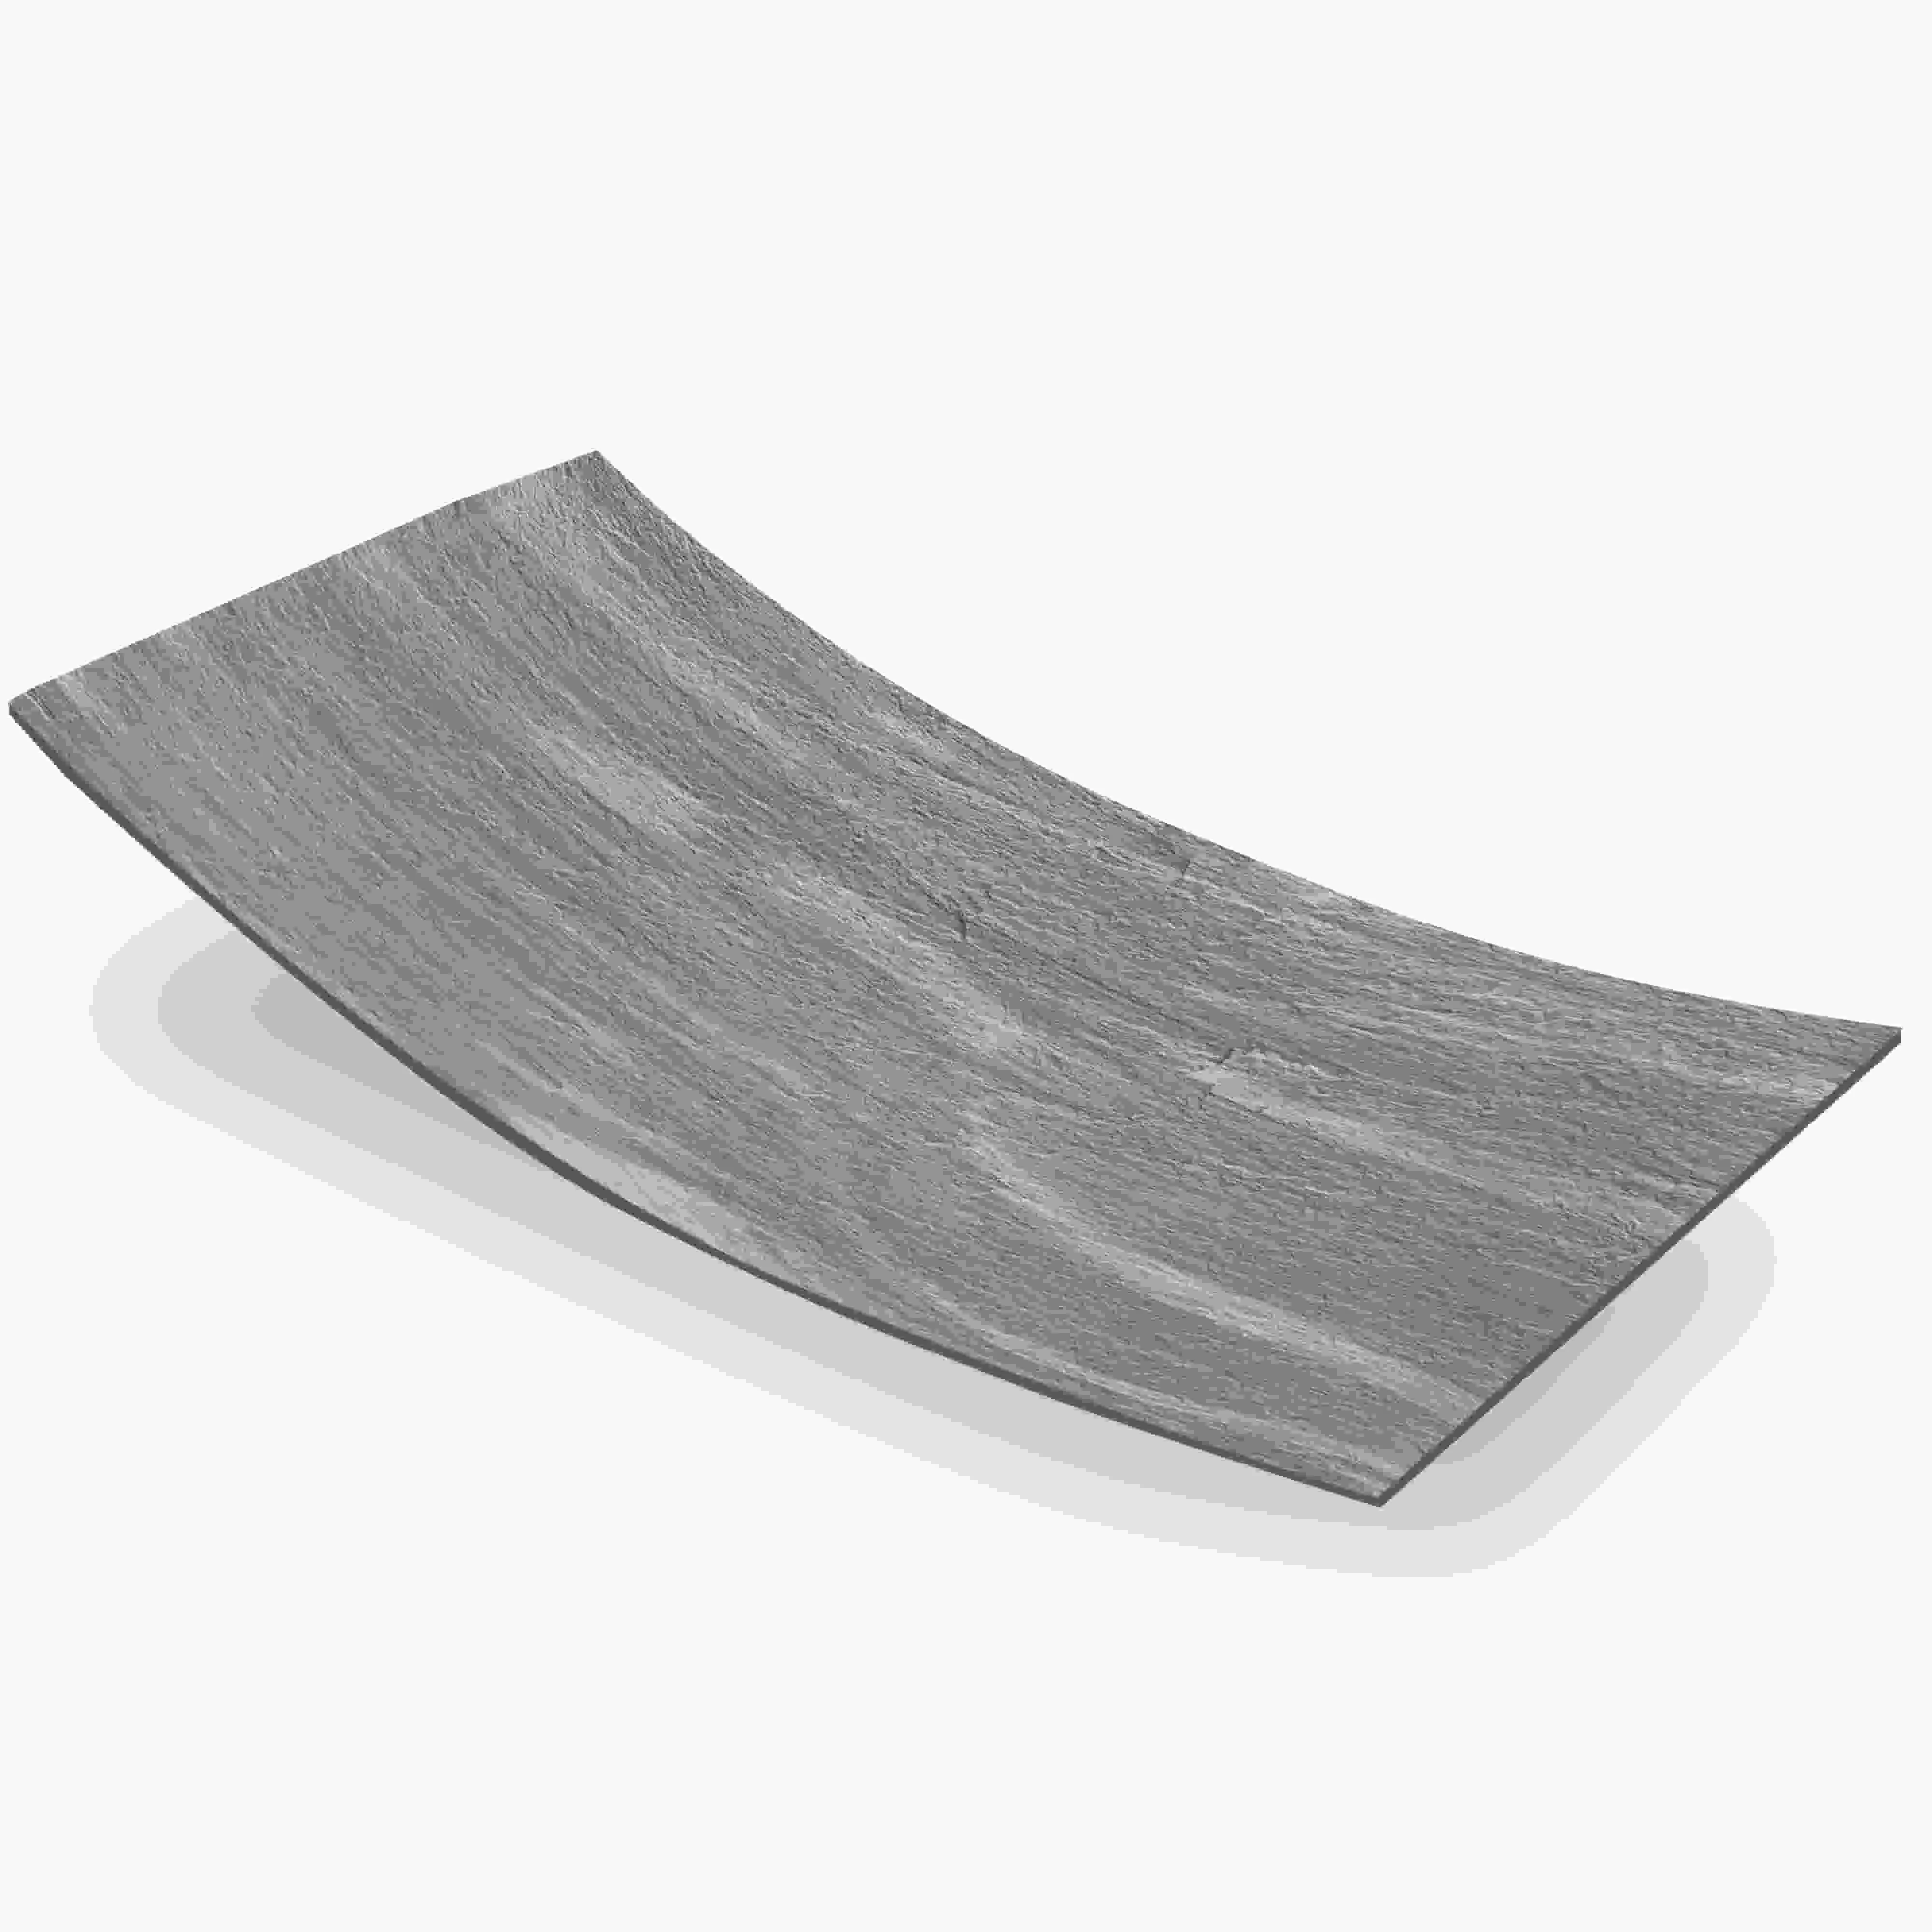
One advantage of flexible stone panels is their ability to wrap curved surfaces. For columns and curved walls, apply adhesive generously and press the panel gradually along the curve. Avoid forcing sharp bends that exceed the material's flexibility limits. Work in smaller sections for tight curves, allowing each section to set before continuing.
Outdoor installations demand additional considerations. Schedule work during favorable weather conditions, avoiding installation during rain, freezing temperatures, or extreme heat exceeding 35°C. select adhesives specifically formulated for exterior use with temperature resistance and moisture tolerance. Seal all panel edges, joints, and penetrations with weatherproof sealant. In regions with intense sun exposure, consider UV-resistant sealants for enhanced durability.
For bathrooms, showers, and pool areas, waterproofing the substrate before panel installation is essential. Apply appropriate waterproofing membrane according to manufacturer instructions, ensuring complete coverage. Use adhesives compatible with wet environments and seal all joints and edges thoroughly.
Installation failures typically result from a few common errors. Installing panels on dusty or damp surfaces prevents proper adhesion. Using adhesives not designed for flexible stone applications leads to bonding failures over time. Skipping surface preparation or applying adhesive unevenly creates weak points. Neglecting to seal exterior joints allows moisture infiltration, causing eventual detachment. Addressing each of these potential issues during installation prevents costly repairs later.
Oasis Stone Rane panels require minimal maintenance after proper installation. For routine cleaning, use water and mild detergent with a soft cloth or sponge. Avoid abrasive cleaners, wire brushes, or pressure washers that may damage the surface texture. For exterior applications, inspect joints and sealant annually, reapplying as needed to maintain moisture protection.
Allow newly installed panels to cure fully according to adhesive manufacturer recommendations before exposing them to moisture or heavy use. Most adhesives achieve initial set within 24 hours but require 7-10 days for complete curing.
As a leading provider of comprehensive interior and exterior solutions, COLORIA GROUP delivers high-quality building materials backed by technical expertise and customer support. The MCM big slab board series and related products undergo rigorous quality control to ensure consistent performance. With international presence including agents in the Middle East, COLORIA GROUP offers tailored solutions for diverse climatic conditions and project requirements.
Whether renovating residential spaces or completing commercial projects, Oasis Stone Rane provides an efficient, cost-effective alternative to traditional stone installation. The combination of authentic aesthetics, straightforward installation, and minimal maintenance makes this material an excellent choice for modern construction and renovation applications.
For project-specific guidance, technical specifications, or sample requests, contact the COLORIA GROUP team directly. Professional consultation ensures optimal material selection and installation outcomes for your specific application.
Recommend Products












