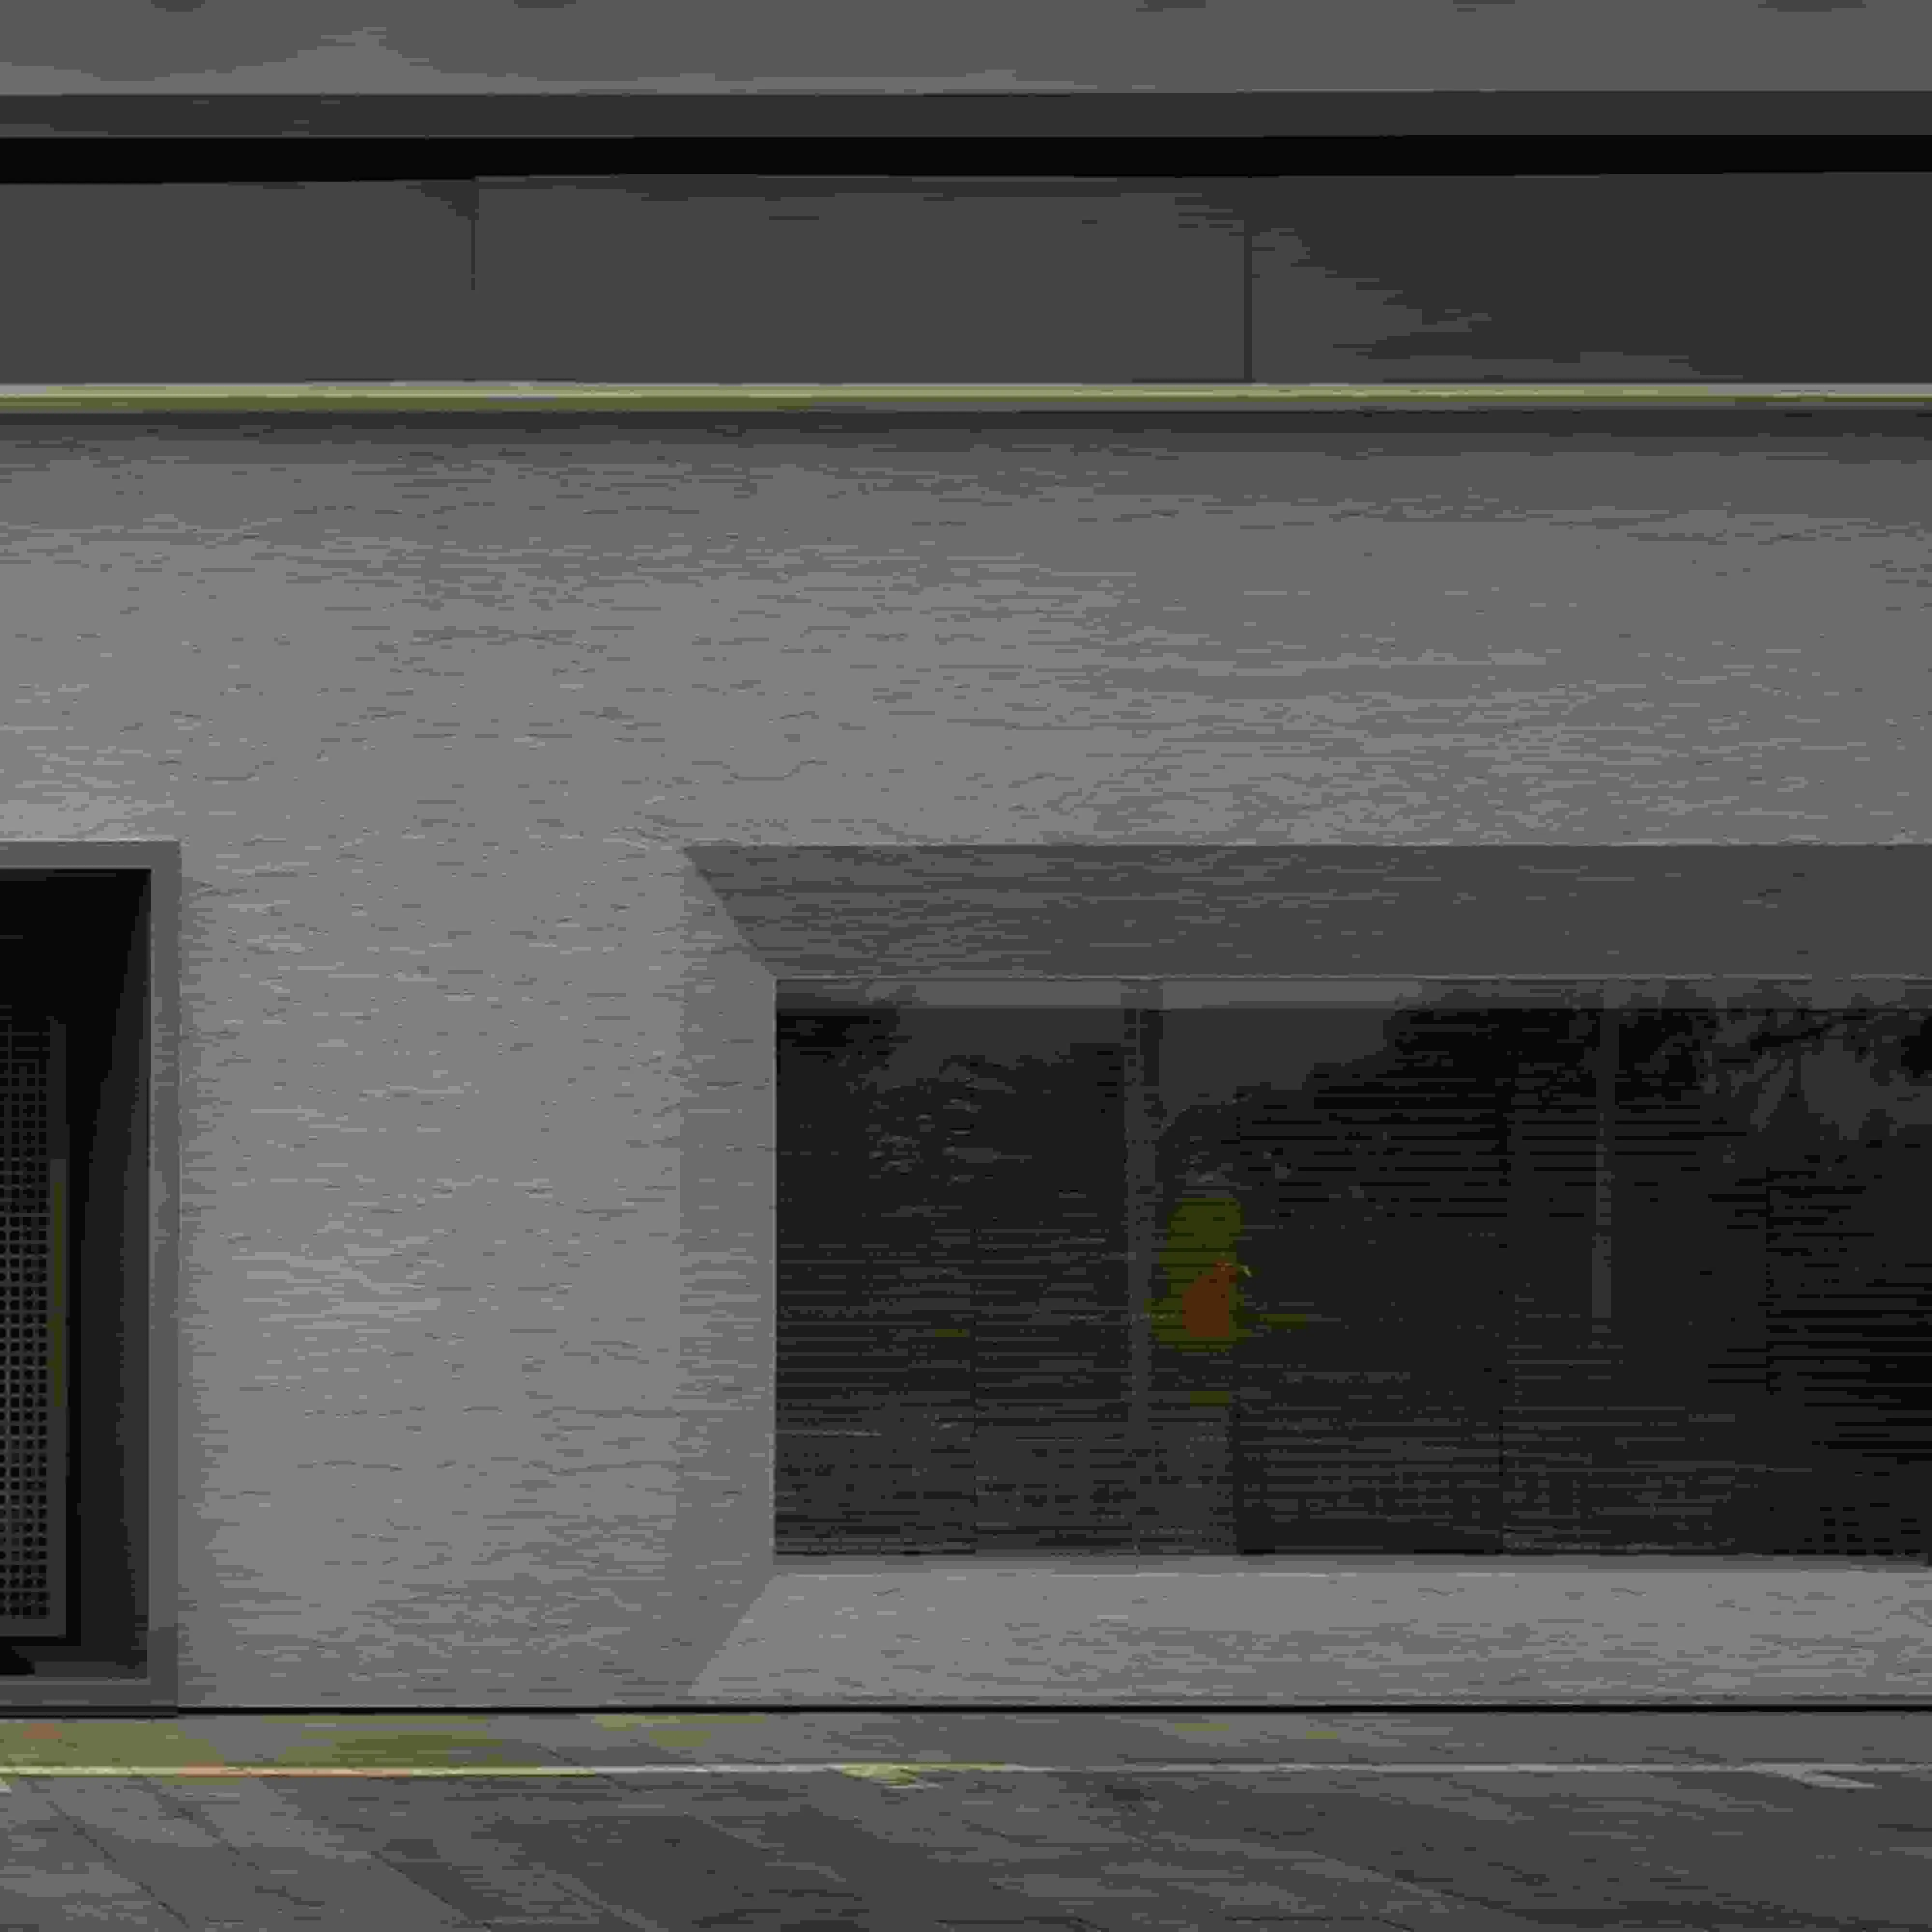
If you've ever walked into a modern café, a boutique hotel, or even a stylish home and thought, "Wow, that wall looks incredible," there's a good chance you were admiring
Oasis Stone Regular
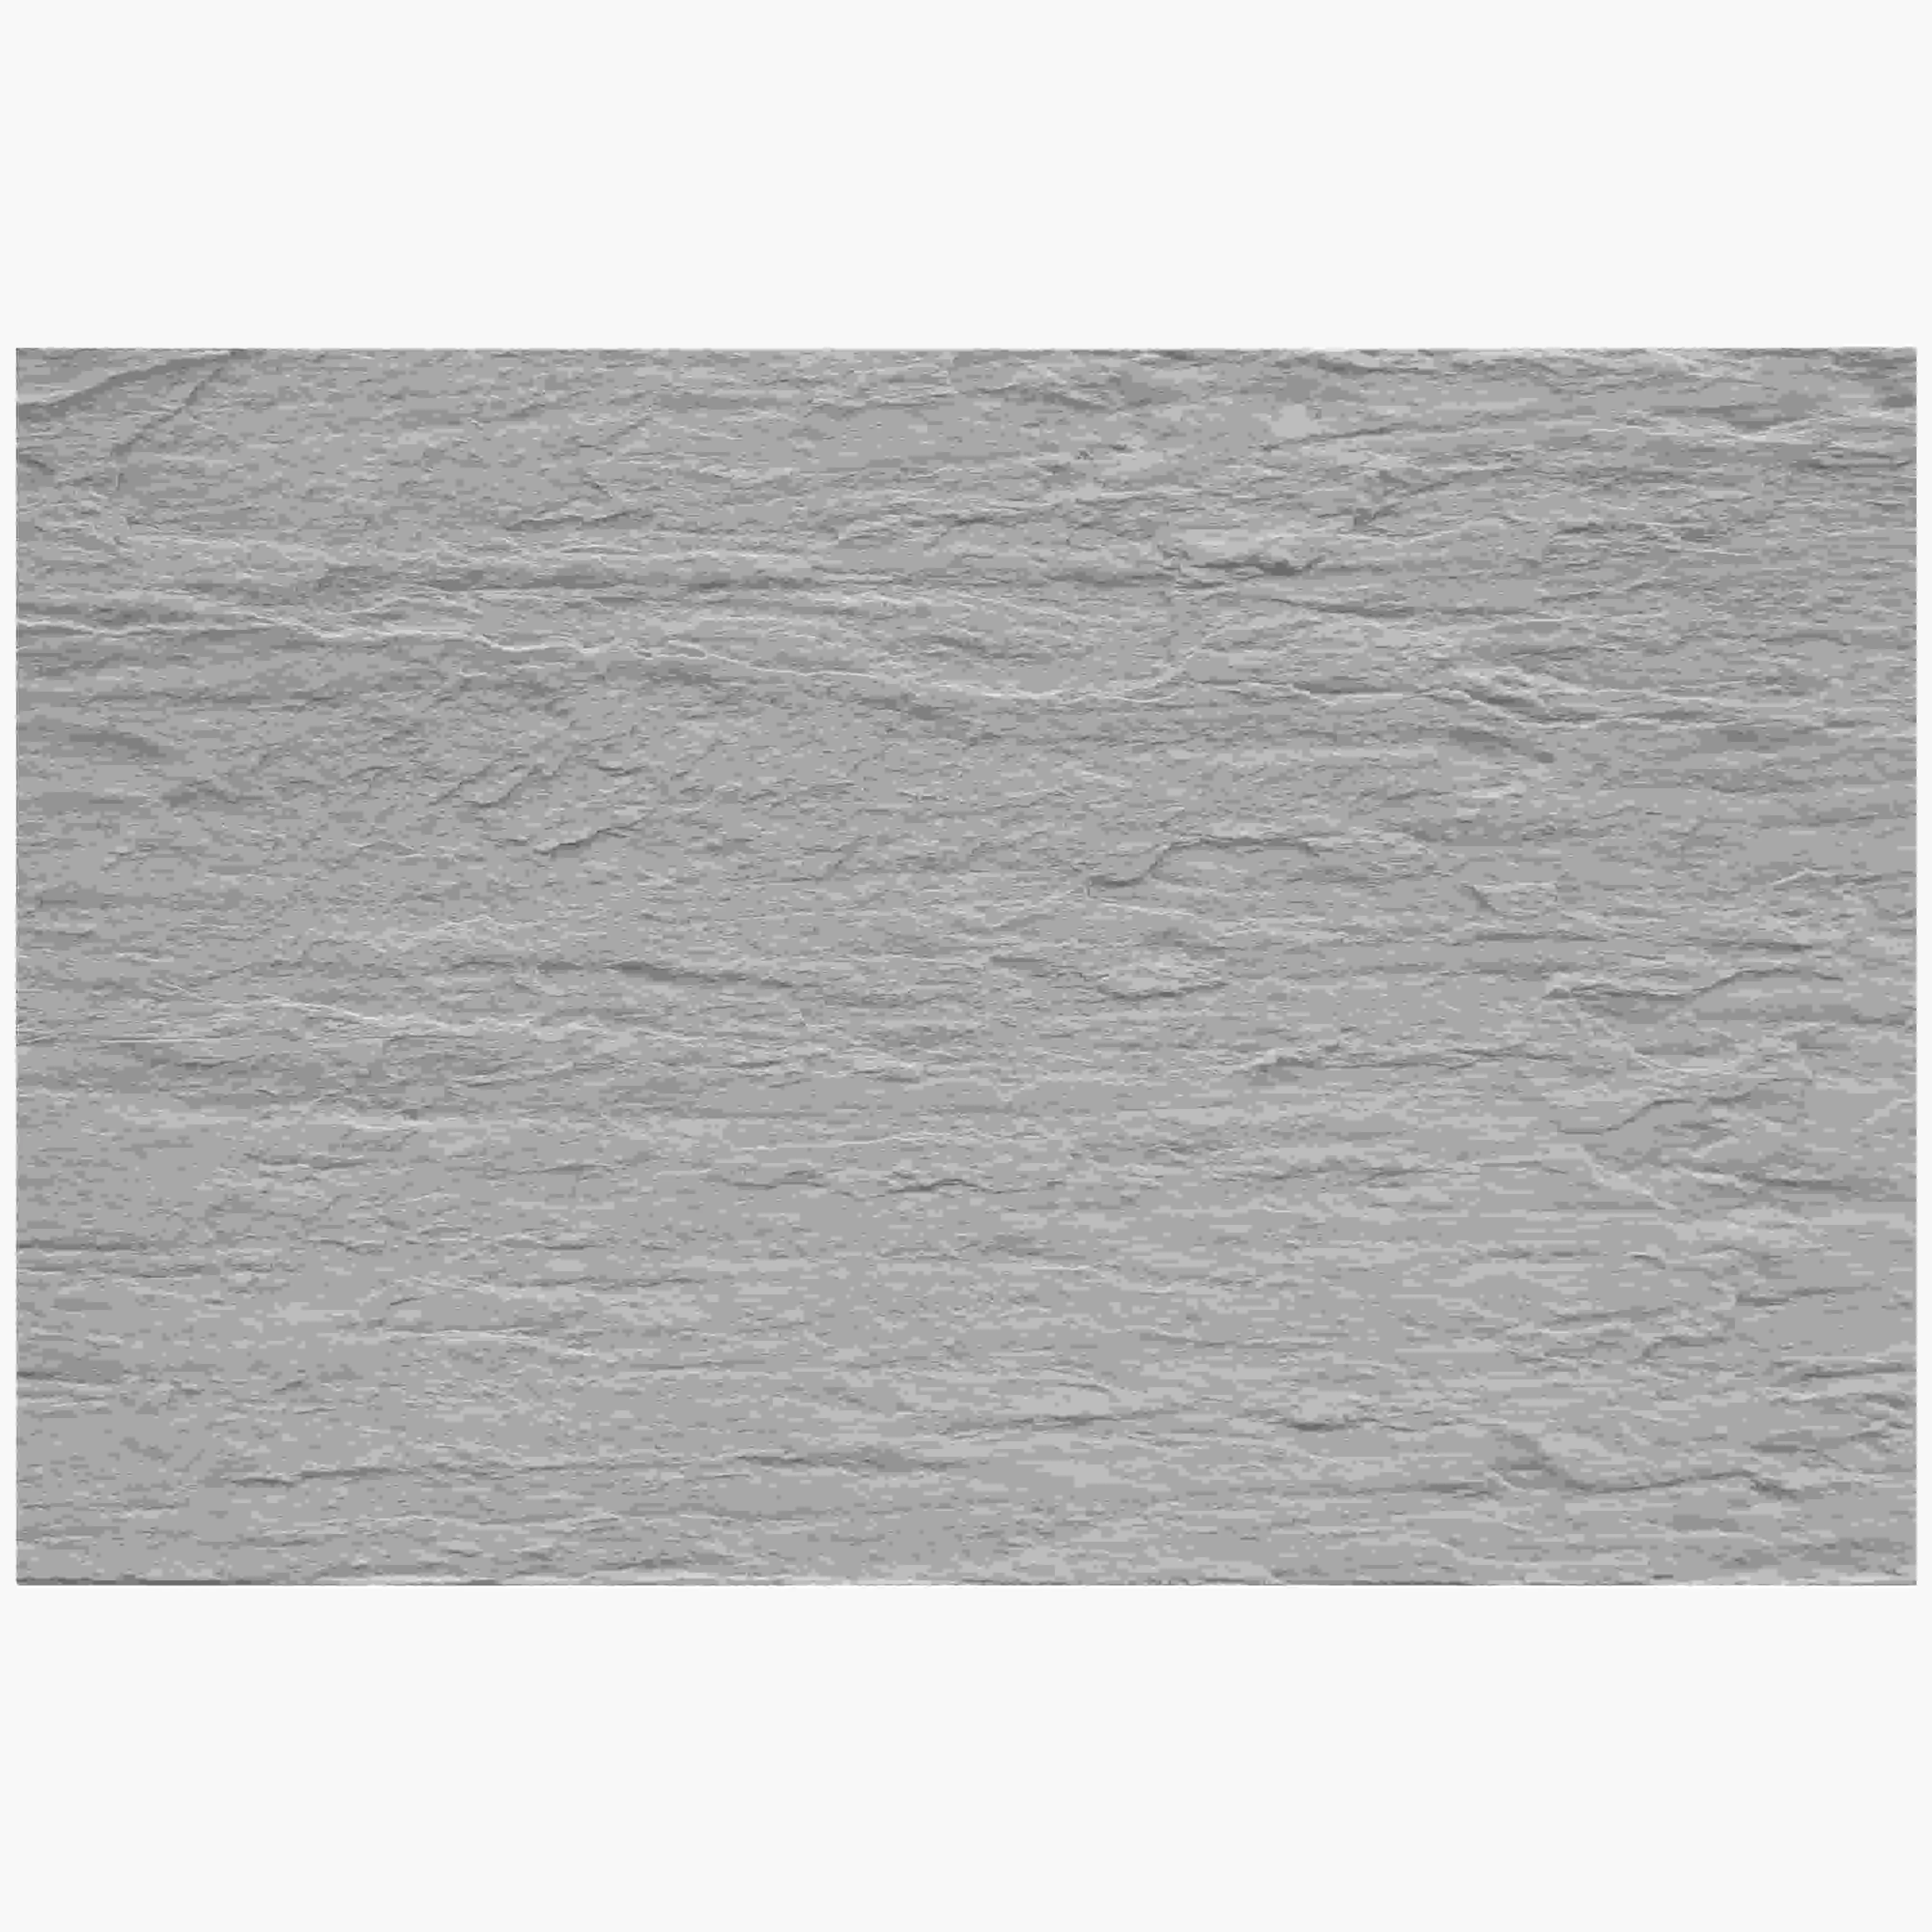
. This versatile, textured stone panel has become a favorite among designers and DIY enthusiasts alike for its ability to blend rustic charm with contemporary flair. Whether you're revamping a fireplace surround, accenting an outdoor patio, or creating a statement wall in your living room,
Oasis Stone Regular offers durability, flexibility, and that "lived-in yet polished" look that's so on-trend right now. But installing it? That's where things can get tricky—unless you have a clear, friendly guide to walk you through it. I've helped dozens of homeowners and contractors tackle this material over the years, and today, I'm breaking down the process into simple, actionable steps. Let's turn that blank wall into something extraordinary.
Before we dive into the "how," let's talk about the "why."
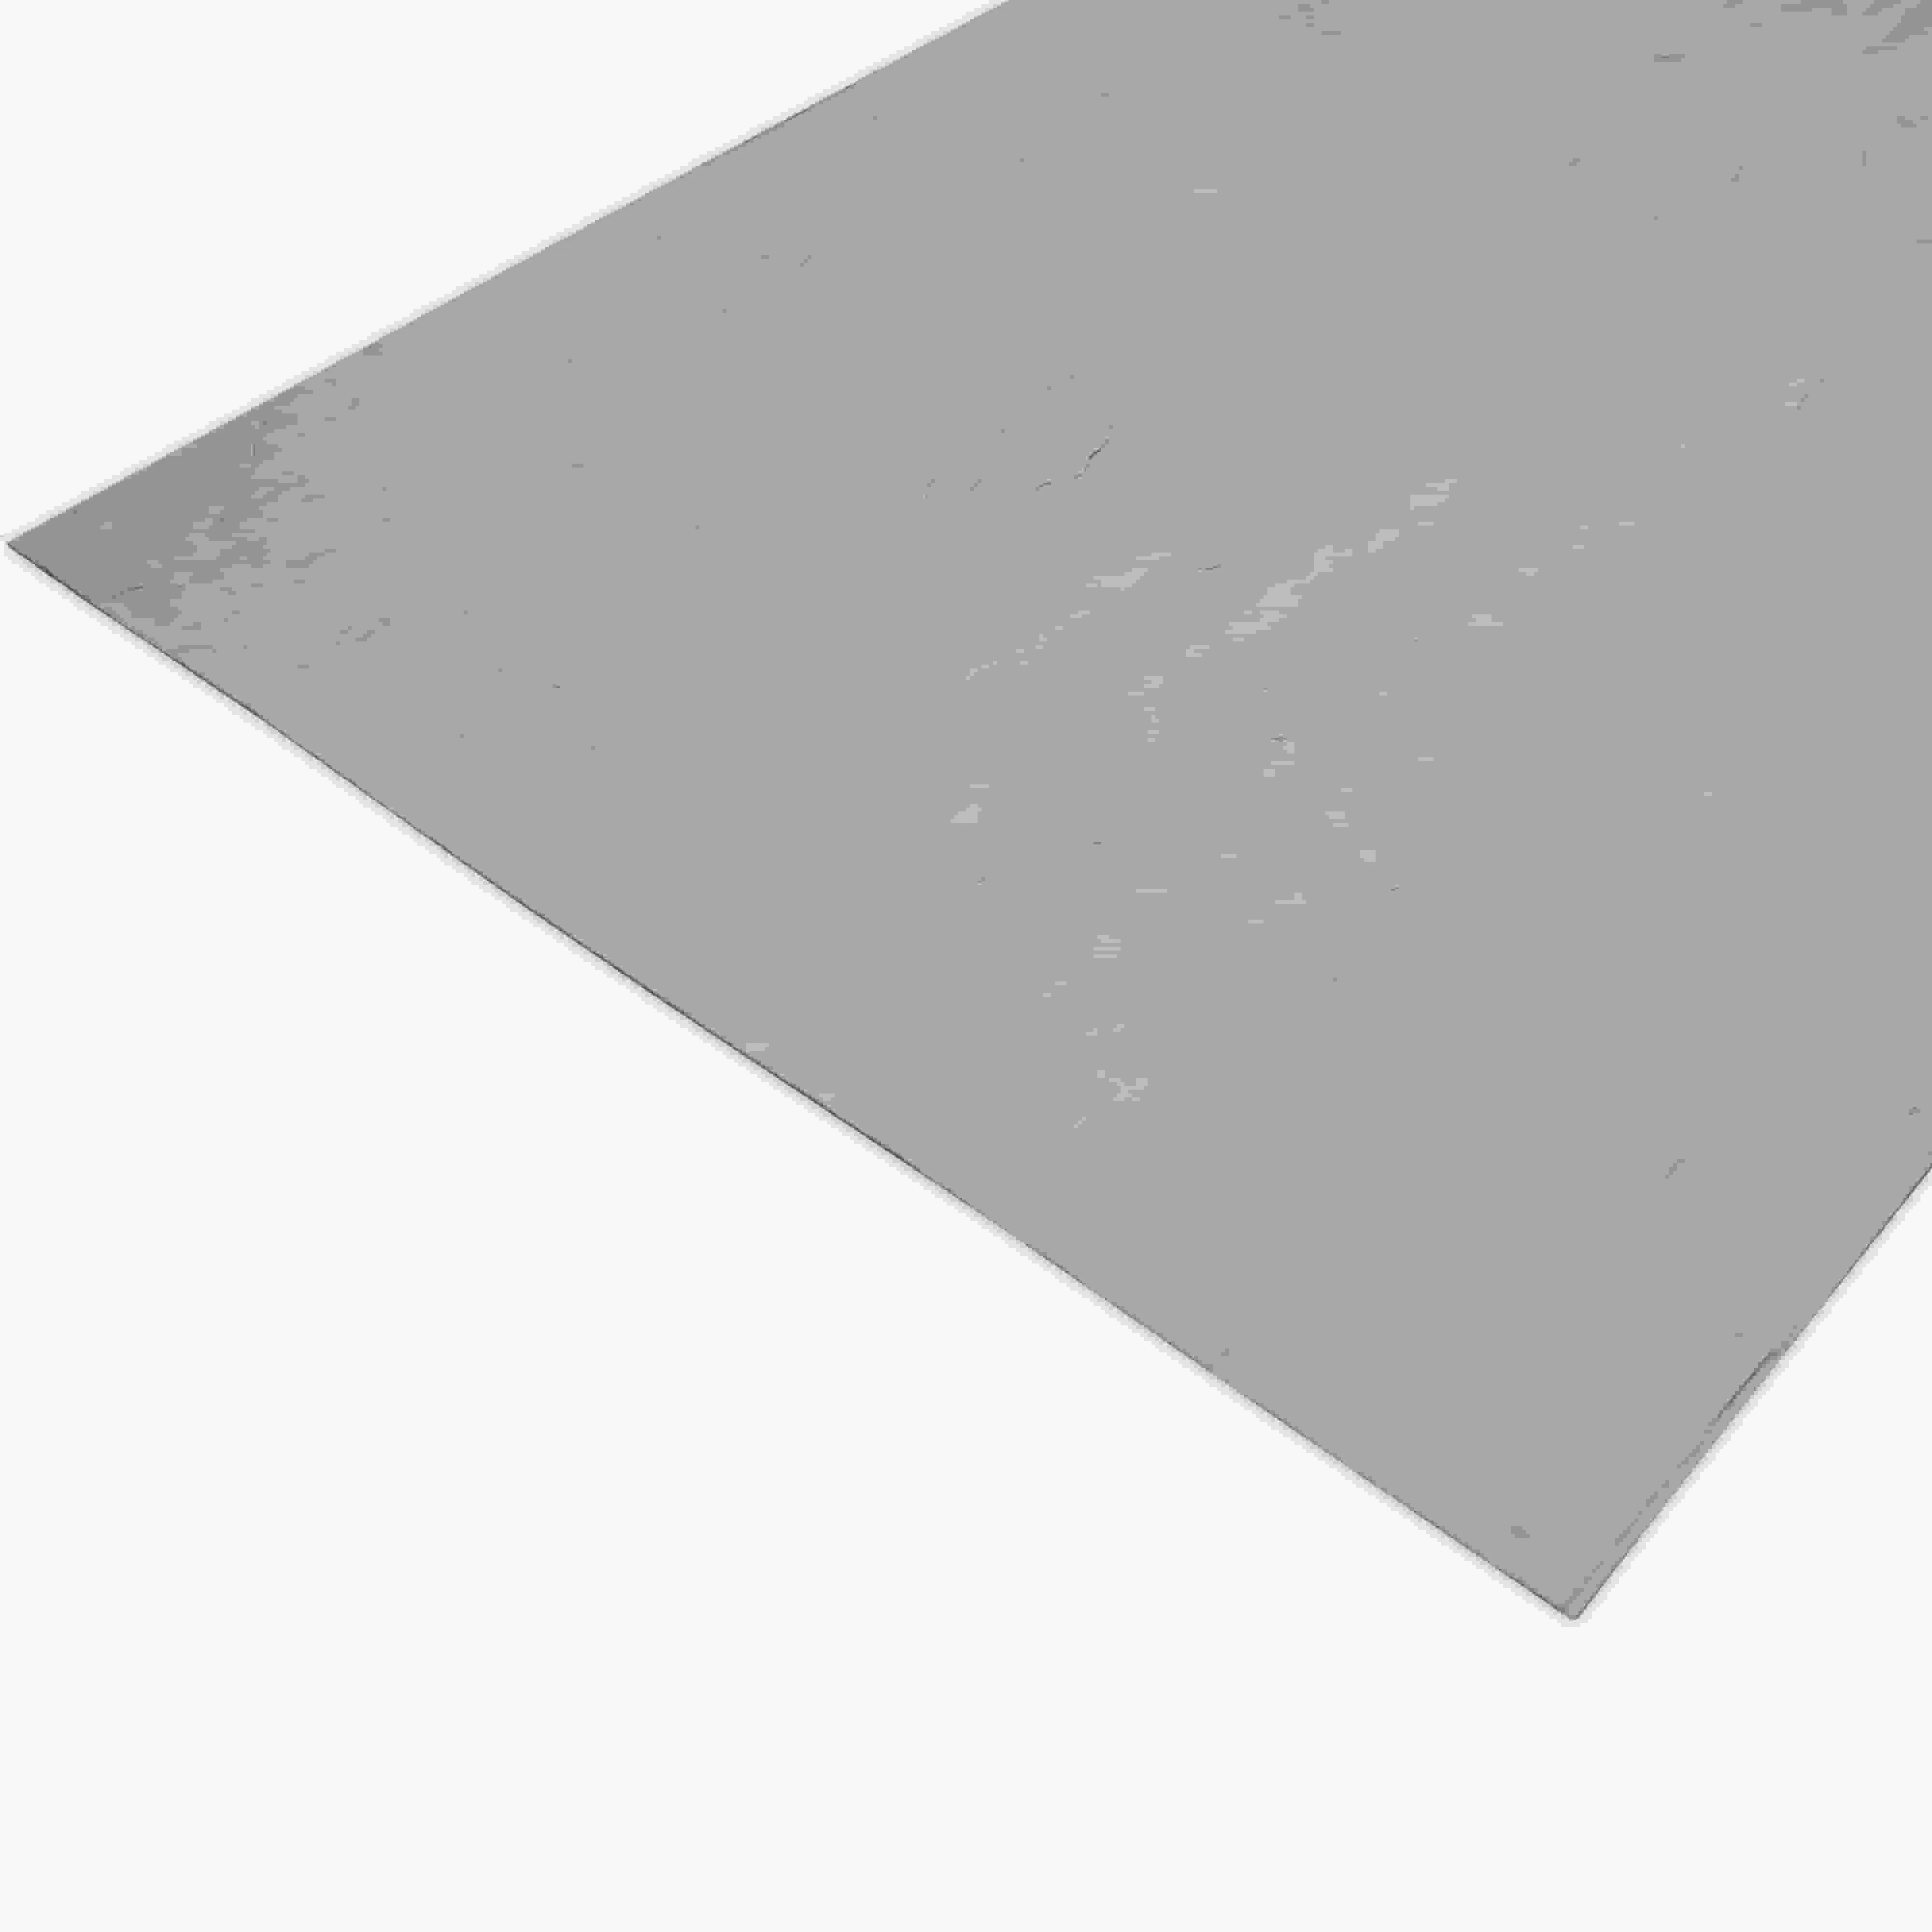
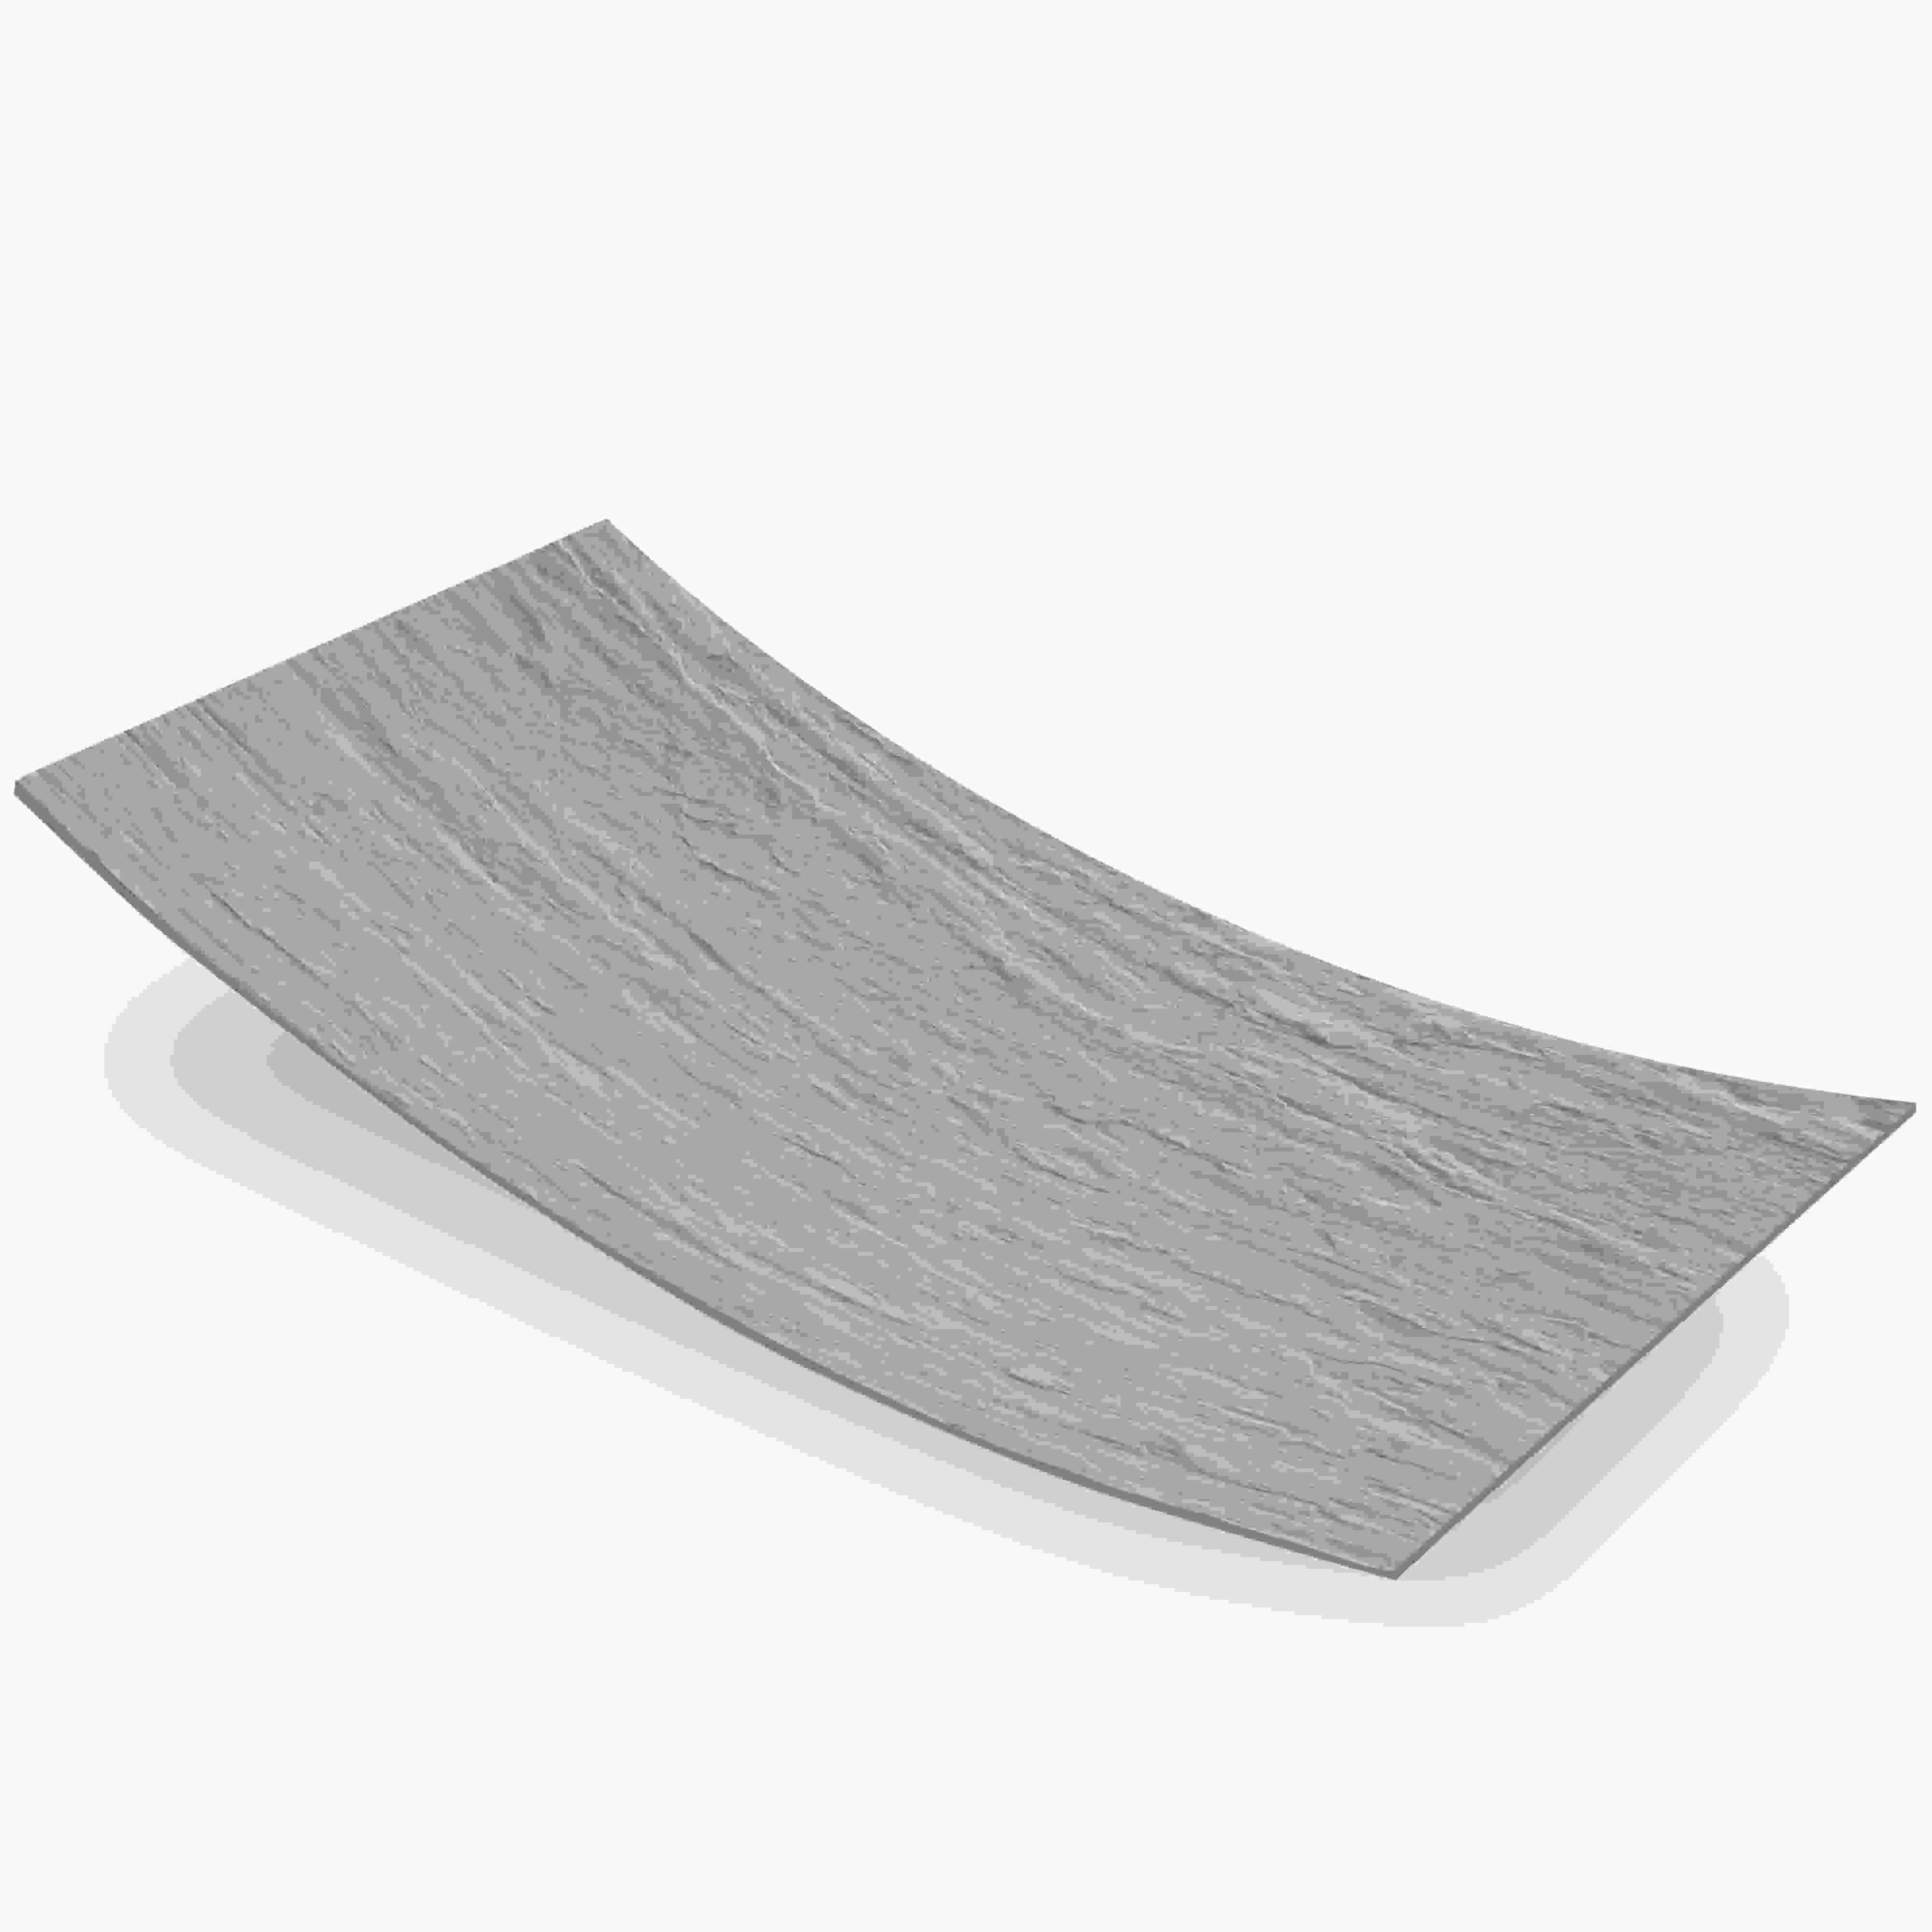
Oasis Stone Regular stands out in a crowded market of cladding materials for a few key reasons. First, it's
lightweight
—unlike traditional natural stone, which can be heavy and hard to maneuver, this panel is designed to be easy to handle, even for solo DIYers. Second, it's
flexible
—it can conform to slightly curved surfaces, making it perfect for accent walls with subtle bends or rounded fireplaces. And third, the texture? It's *alive*. With its soft, sandstone-like grains and earthy tones (think warm beiges, soft grays, and hints of terracotta), it adds depth without overwhelming a space. Plus, it pairs beautifully with other materials in the MCM lineup—like
mcm flexible stone
for a layered look or
historical pathfinders stone
for a more weathered, antique vibe. I once helped a client mix
Oasis Stone Regular with
foamed aluminium alloy board (vintage silver)
for a kitchen backsplash, and the contrast of rough stone and sleek metal? Stunning. Trust me, this material isn't just about looks—it's about making your space feel intentional.
Tools & Materials: Gather Your Arsenal
You wouldn't bake a cake without preheating the oven, right? The same goes for installing stone panels. Having the right tools on hand will save you time, frustration, and maybe even a few scraped knuckles. Here's what you'll need:
Pro Move:
Lay out all your
Oasis Stone Regular panels on the floor before installing. Mix and match panels to ensure color and texture variation looks natural—you don't want all the lightest panels clustered in one corner!

Step 1: Prep the Surface—No Cutting Corners Here
I can't stress this enough:
your stone is only as good as the surface it's attached to
. I once saw a beautiful Oasis Stone installation fail because the wall behind it was uneven—panels started popping off within months. Don't let that be you. Here's how to prep like a pro:
Check for Smoothness
Grab your 4-foot level and run it horizontally and vertically across the wall. Are there bumps? Dips? If the surface is
fair-faced concrete
(a common base for stone cladding), minor imperfections are normal, but anything more than 1/4 inch of unevenness needs fixing. Use a concrete patching compound for holes or low spots, and sand down high spots with a masonry sander. For drywall, make sure it's properly sealed and free of loose paint or wallpaper—peeling layers will cause the adhesive to fail.
Clean Like Your Installation Depends On It
Dust, grease, and even tiny bits of debris can ruin your adhesive bond. Wipe the surface with a damp cloth to remove dust, then use a degreaser (like trisodium phosphate, or TSP) if there are any oily spots (looking at you, kitchen walls near stoves). Let the surface dry completely—at least 24 hours—before moving on. I once skipped this step to "save time" and had to redo a whole section when panels slid down the wall. Lesson learned: patience = perfection.
Mark Your Guidelines
Using a pencil and painter's tape, mark a level line across the bottom of your installation area—this will be your starting point. If you're installing from floor to ceiling, start at the bottom and work up; for a partial wall (like a wainscot), start at the top of the baseboard. Also, mark vertical lines every 24 inches to ensure panels stay straight as you go. Think of these lines as your "training wheels"—they'll keep you on track when fatigue sets in.
Heads Up:
If you're installing outdoors, make sure the surface is sloped slightly (1/4 inch per foot) to allow water runoff.
Oasis Stone Regular is water-resistant, but standing water behind the panels can cause mold or mildew over time.
Step 2: Cutting the Panels—Measure Twice, Cut Once
Oasis Stone Regular panels come in standard sizes, but odds are, you'll need to trim some to fit around windows, outlets, or corners. Cutting stone can feel intimidating, but with the right blade and a steady hand, it's manageable. Here's how:
Measure, Then Measure Again
Use a tape measure to find the exact dimensions you need, then transfer those measurements to the back of the panel (the smooth, non-textured side). Add a 1/8-inch gap on all sides for grout—this might seem tiny, but it prevents panels from (: squeezing) against each other and cracking as temperatures change. I like to mark the cut line with a straightedge and pencil—no freehanding here!
Set Up Your Saw
Attach a masonry blade to your circular saw (look for one labeled "for sandstone" or "soft stone"). Set the blade depth to just slightly deeper than the panel thickness—you don't want to cut through the saw table or your workbench. Secure the panel to the workbench with clamps (use scrap wood under the clamps to avoid denting the stone). Stand to the side of the saw (not directly behind it) to avoid flying debris, and start the saw before making contact with the panel—this prevents chipping.
Make the Cut
Push the saw steadily along the marked line—don't force it. Let the blade do the work. If you need to make a curved cut (around a pipe, for example), use a jigsaw with a masonry blade. After cutting, smooth any rough edges with a sanding block or a file—sharp edges can cut fingers later, and they'll look messy once grouted.
Save the Scraps!
Small offcuts can be perfect for filling gaps in corners or around outlets. I keep a box of "stone scraps" in my workshop—they've saved me from buying extra panels more than once.
Step 3: Applying Adhesive—The "Glue" That Holds It All Together
Now comes the fun part: actually putting the stone on the wall. But first, adhesive. Not all adhesives are created equal, and with
Oasis Stone Regular, you need something that can handle its weight and texture. Here's the process:
Mix the Adhesive (If Needed)
Most polyurethane adhesives come pre-mixed, but if you're using a cement-based adhesive, follow the manufacturer's instructions for water-to-powder ratio. Mix only as much as you can use in 20-30 minutes—adhesive sets quickly, and you don't want it to harden in the bucket.
Spread the Adhesive
Dip your notched trowel into the adhesive and spread it evenly over a 2x2-foot section of the wall (don't try to cover the whole wall at once—adhesive dries fast!). Hold the trowel at a 45-degree angle and press firmly to create ridges—these ridges will collapse when you press the stone, ensuring full contact. On the back of the panel, spread a thin "scratch coat" of adhesive (this is called "back-buttering")—it helps the panel stick better, especially if the wall has minor imperfections.
Position and Press
Lift the panel (get a friend to help with larger pieces—no need to strain your back!) and align it with your guidelines. Gently press it into place, starting from the bottom and working your way up. Use your rubber mallet to tap the panel lightly—this ensures the adhesive makes full contact with the wall. Check with your level to make sure it's straight—adjust immediately if it's tilting (you have about 5-10 minutes before the adhesive sets). Repeat with the next panel, leaving a 1/8-inch gap between them for grout.
Pro tip: Stagger the joints, just like you would with brick or tile. If all the panel edges line up vertically, it creates a "striped" look that feels unnatural. Instead, offset the second row by half a panel—this adds visual interest and makes the installation stronger.
Step 4: Grouting—The Final Touch That Ties It All Together
Once all the panels are installed and the adhesive has cured (check the manufacturer's instructions—usually 24-48 hours), it's time to grout. Grout fills the gaps between panels, protects against moisture, and gives the installation a polished look. Here's how to do it right:
Choose Your Grout Color
Grout color can make or break the look. For a seamless, monochromatic vibe, match the grout to the stone's base color. For contrast, go a shade darker or lighter—just avoid bright colors unless you're going for a bold, retro look. I once used a charcoal grout with
Oasis Stone Regular's beige panels, and the depth it added was amazing.
Mix and Apply
Mix grout according to the package directions—you want a consistency like creamy peanut butter, not runny soup. Let it sit for 5 minutes (this is called "slaking") to activate the chemicals, then stir again. Use your grout float to press the grout into the gaps, holding the float at a 45-degree angle and moving diagonally across the panels to avoid dragging grout out of the joints. Work in small sections (3x3 feet) so the grout doesn't dry before you can clean it.
Clean Up
After 10-15 minutes (check the grout package for exact timing), the grout will start to haze over the panels. Take a damp (not wet) sponge and wipe in a circular motion to remove the haze. Rinse the sponge frequently in clean water—dirty water will just spread the haze. Let the grout dry for another 20 minutes, then buff the panels with a clean, dry cloth to remove any remaining film. This step is tedious, but trust me—shiny, haze-free stone is worth the extra effort.
Step 5: Finishing Touches—Seal and Protect
You're almost done! To keep your
Oasis Stone Regular looking fresh for years, apply a sealer. Sealer prevents stains (from coffee spills, cooking grease, or outdoor dirt) and enhances the stone's natural color. Choose a water-based sealer for indoor use (it dries clear and has little odor) or a solvent-based sealer for outdoors (more durable against UV rays). Apply with a paintbrush or roller, following the manufacturer's instructions, and let it dry completely before using the space.
Pro Tips for Next-Level Results
-
Accent with Other Materials:
Mix Oasis Stone Regular with
historical pathfinders stone
for a "timeworn trail" effect, or add strips of
foamed aluminium alloy board (vintage silver)
for a modern twist. I did this in a client's home office, and the combination of rough stone and sleek metal made the space feel both cozy and contemporary.
-
Light It Up:
Install LED strip lights behind the panels (in the grout gaps) for a soft, ambient glow. This works especially well with textured stones like Oasis—light plays off the ridges and creates depth.
-
Repair Chips Easily:
If a panel gets chipped, mix a little grout with clear nail polish to create a paste, then fill the chip. Let it dry, sand lightly, and seal—it's like the chip never happened.
Final Thoughts: Enjoy the Process (and the Result!)
Installing
Oasis Stone Regular isn't just about following steps—it's about creating something that reflects your style and makes your space feel like home. Take your time, ask for help when you need it, and don't stress over minor imperfections—those little "flaws" are what give the stone character. I still remember the first time I finished an Oasis Stone installation: stepping back, seeing the light hit the texture, and thinking, "I did that." You'll have that moment too. And when friends and family ask, "Who did your wall?" you can smile and say, "I did."
Now go grab your tools, put on some music, and let's make that wall unforgettable. Happy installing!