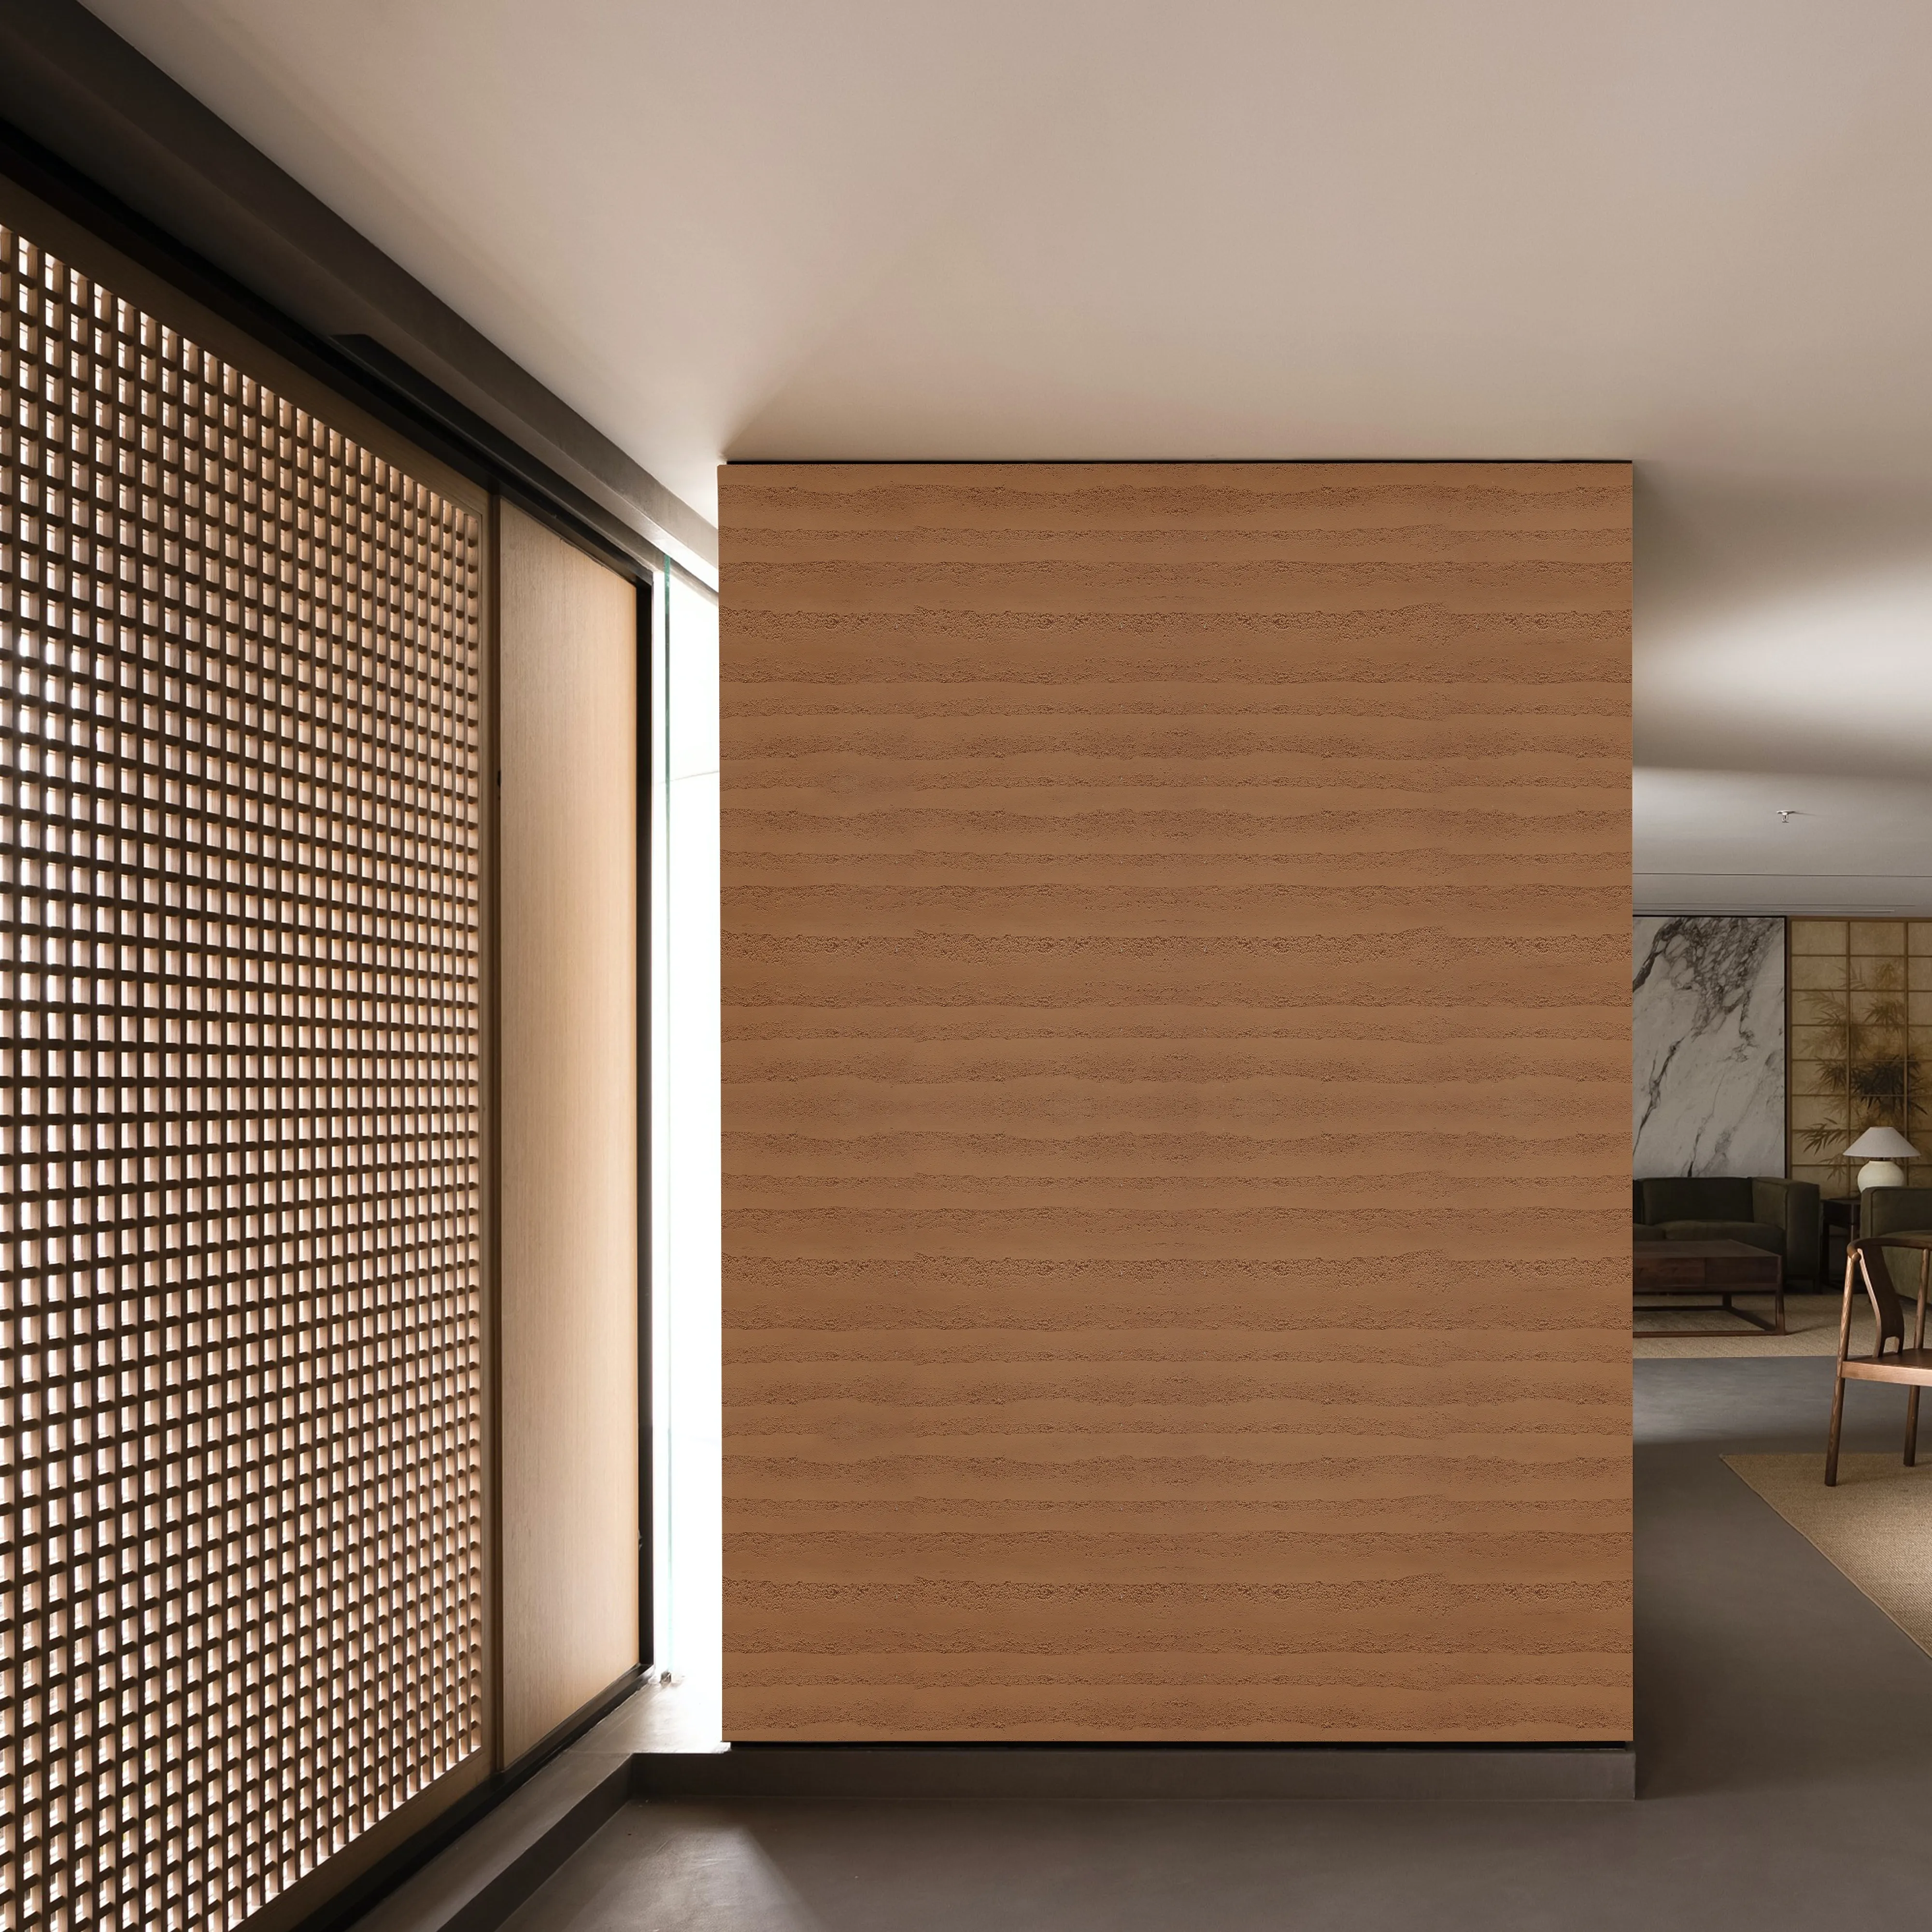
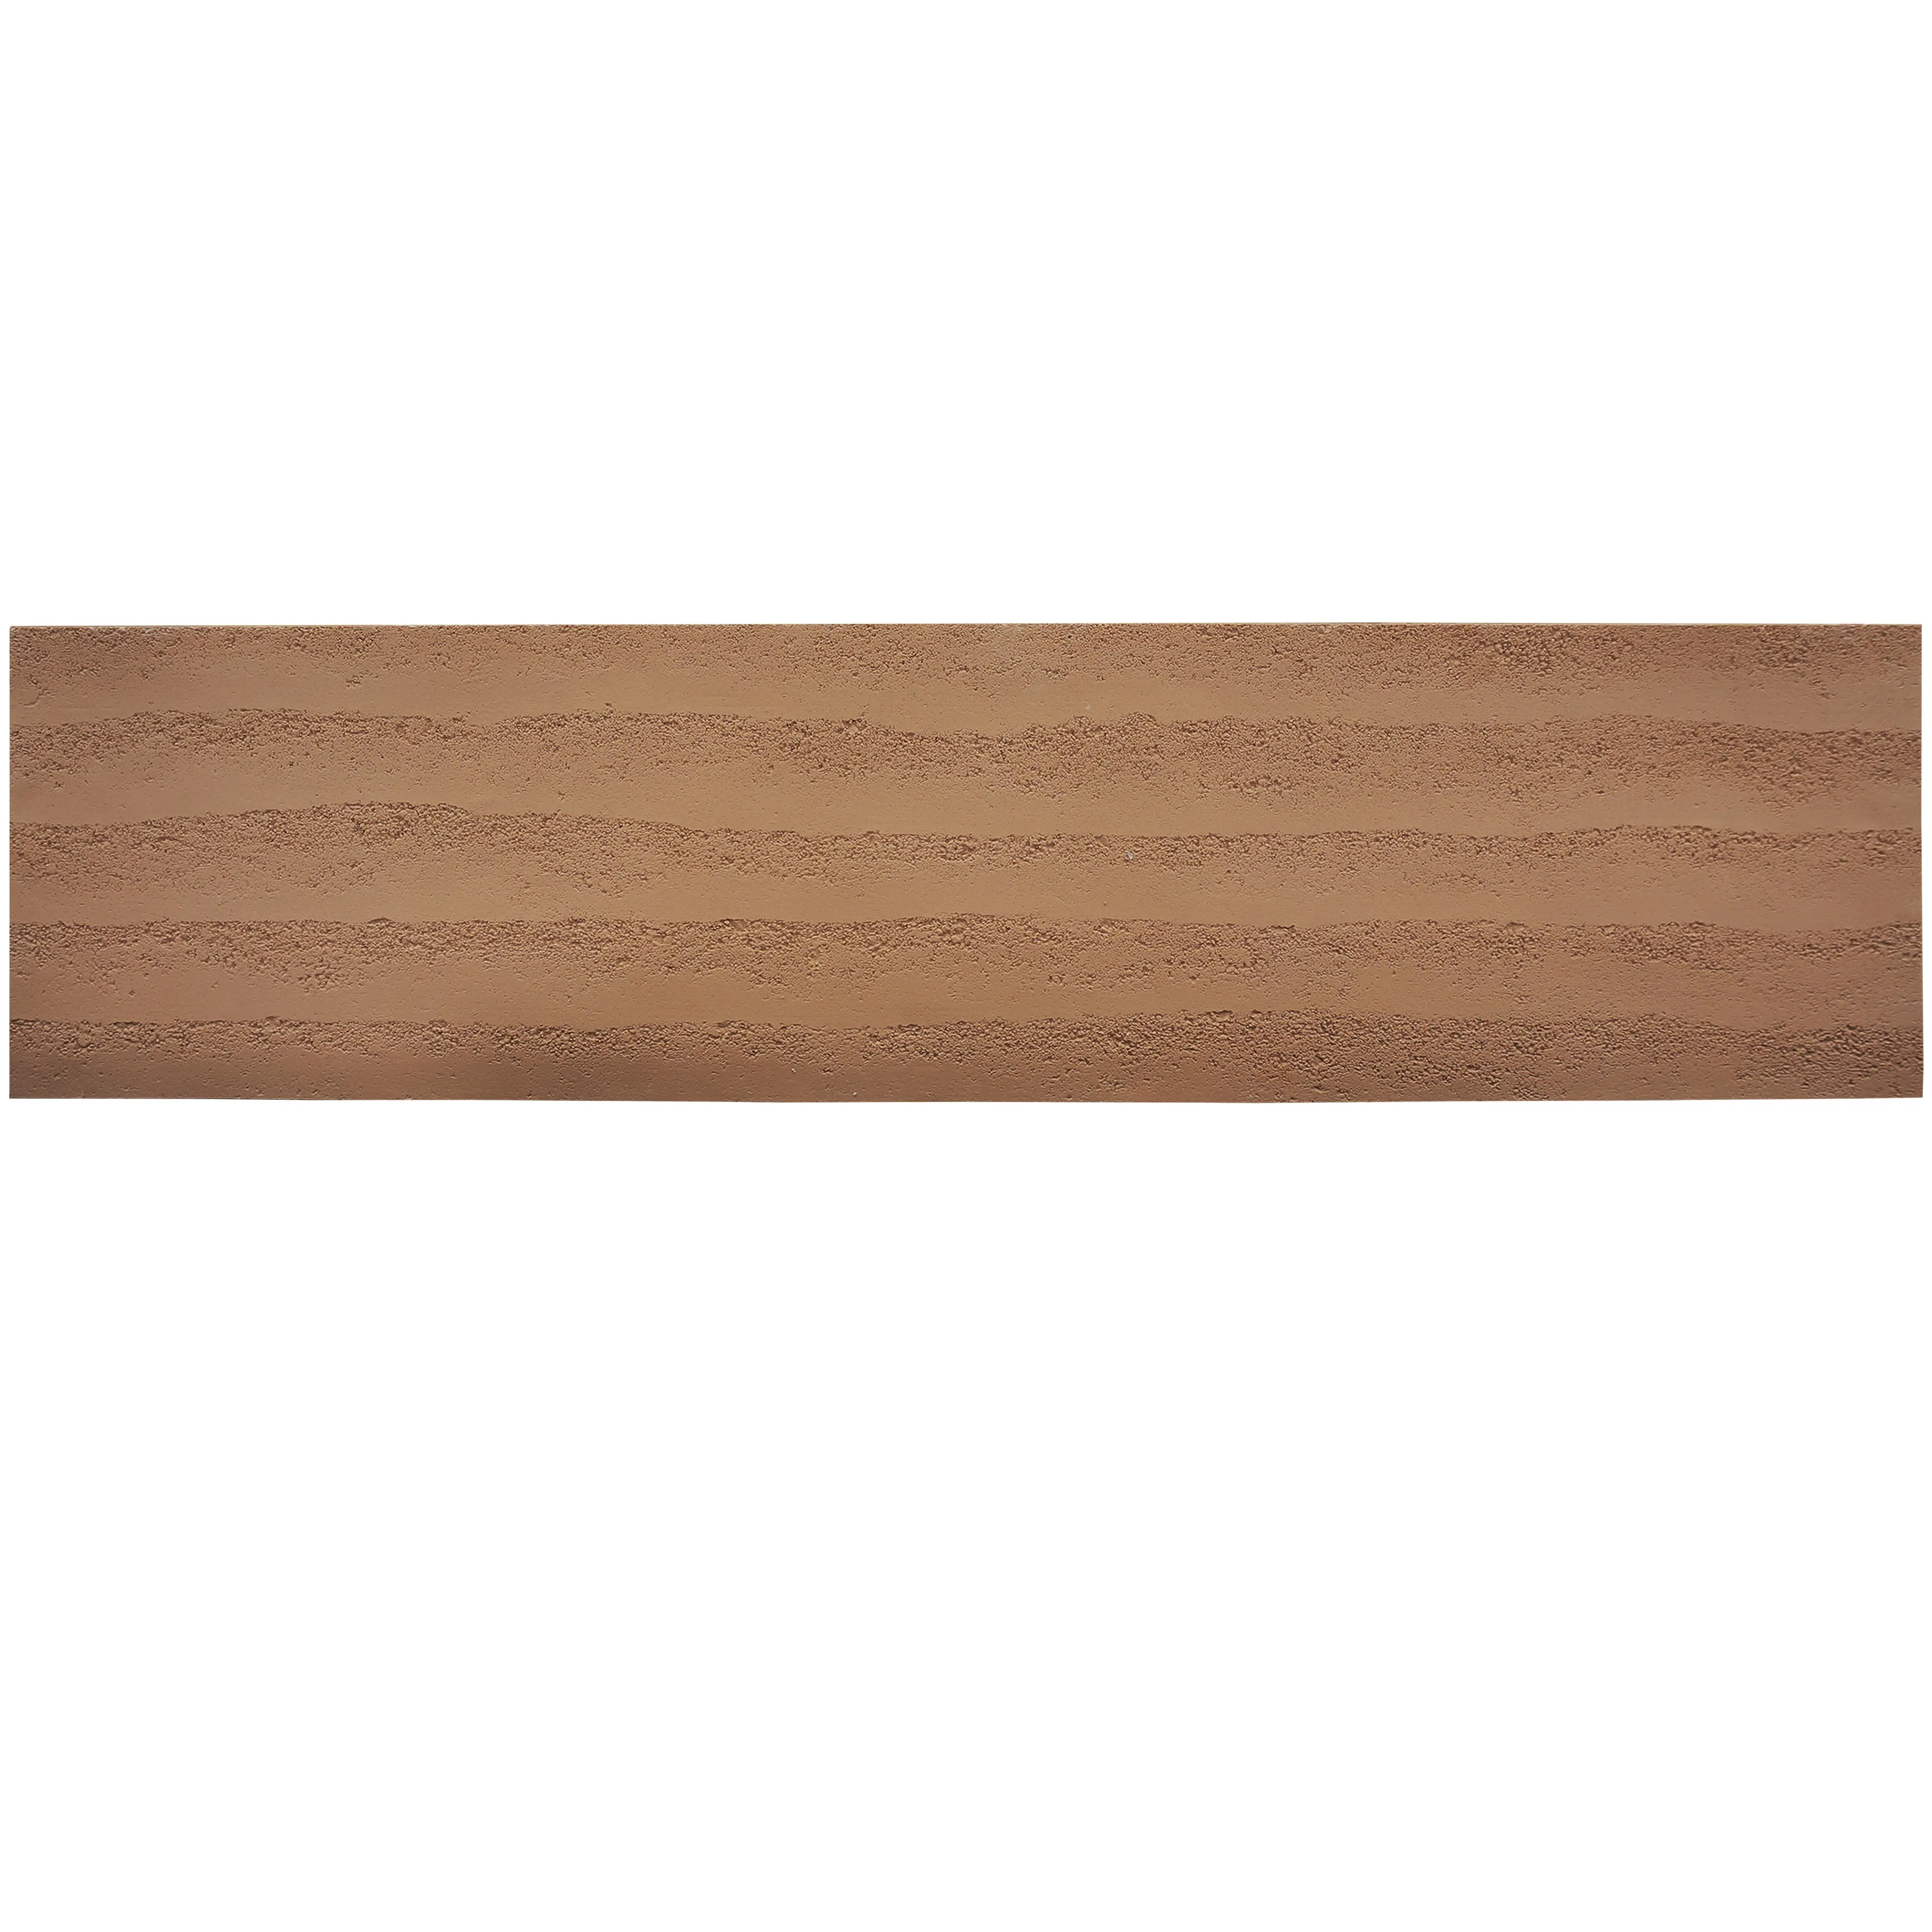
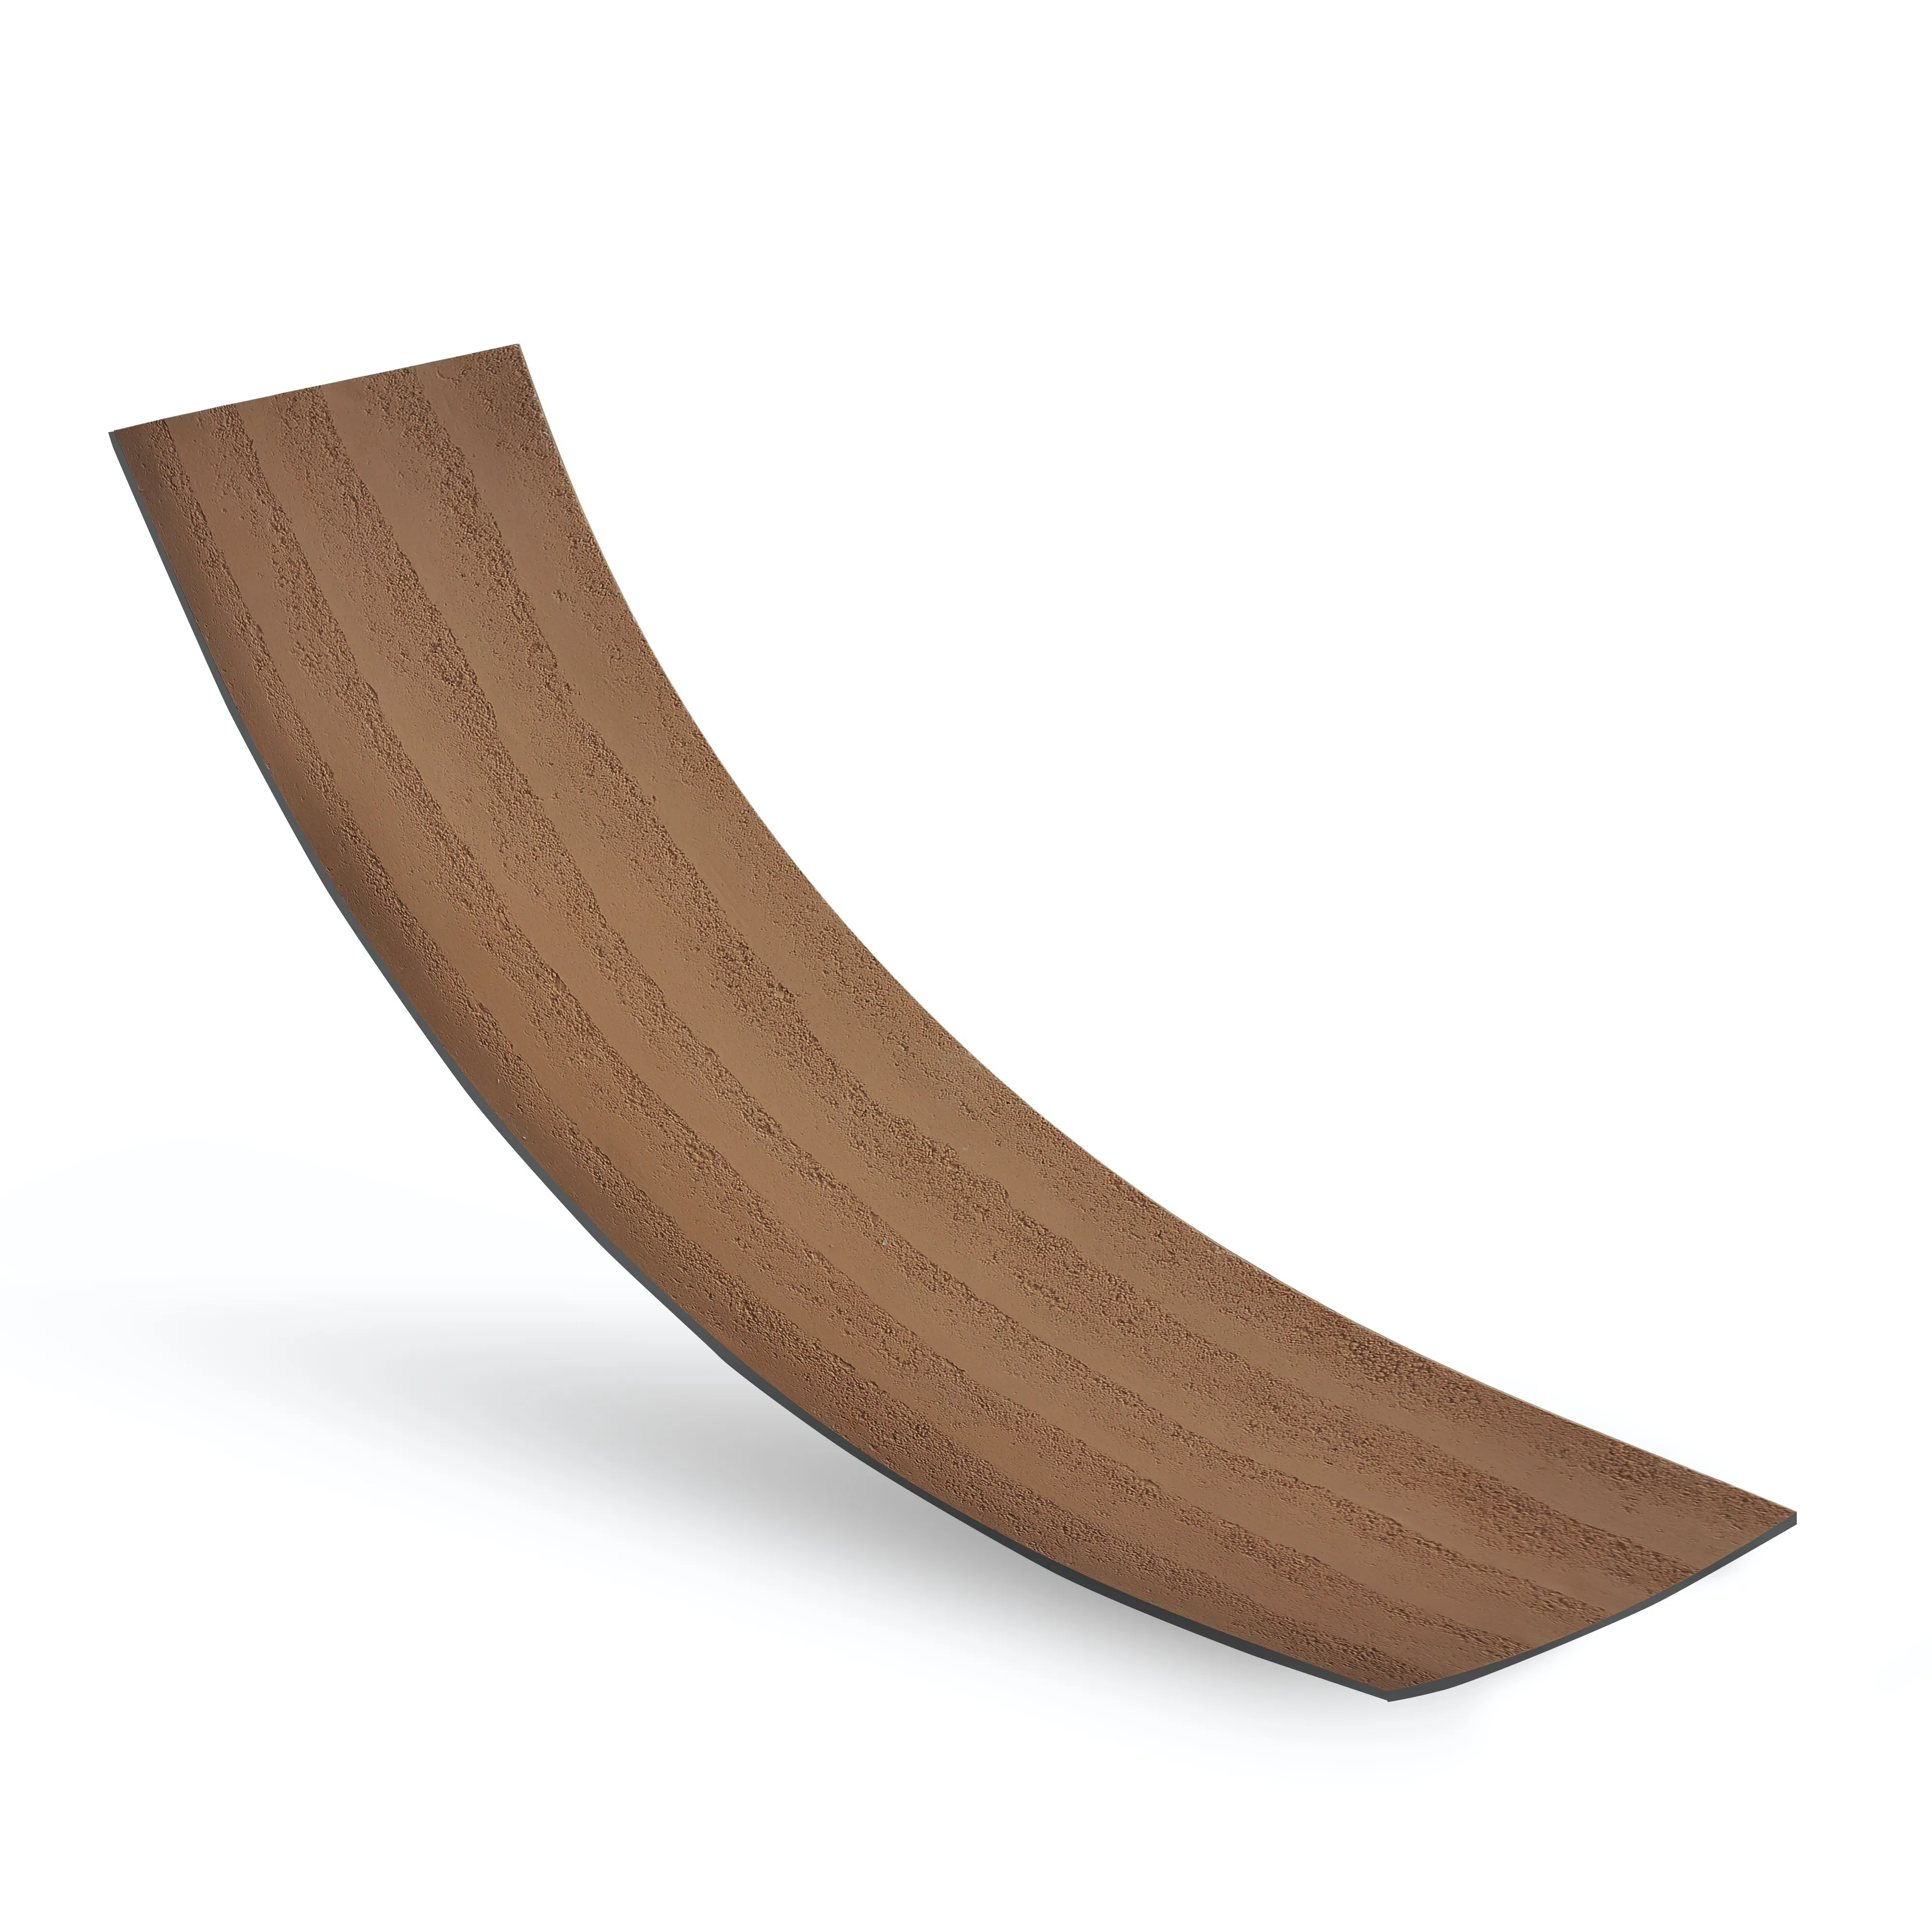
For centuries, rammed earth has stood as a testament to human ingenuity—its (hòuzhòng, thick) walls shielding civilizations from harsh climates, its earthy tones blending seamlessly with landscapes. Today, that ancient wisdom meets modern innovation in the form of rammed earth board (khaki), a material that's revolutionizing how contractors approach both commercial and residential builds. Unlike traditional rammed earth, which requires on-site mixing and ramming, these pre-fabricated panels offer the same rustic charm with the convenience of modular installation. Khaki, with its warm, sun-baked hue, has become a favorite among designers, pairing effortlessly with materials like
wood grain board
for a cozy, organic feel or
mcm flexible stone
for added texture. But what truly sets it apart is its durability: resistant to fire, mold, and pests, it's a material built to outlast trends. As contractors, you're not just installing panels—you're crafting spaces that tell a story, bridging the gap between
historical pathfinders stone
(with its echoes of ancient trade routes) and cutting-edge construction. Let's dive into how to bring this timeless material to life, step by step.
Step 1: Pre-Installation Preparation – Laying the Groundwork
Before a single panel touches the wall, preparation is key. Rammed earth board (khaki) may be resilient, but its performance hinges on a solid foundation. Think of it like baking a cake: even the finest ingredients won't shine if the pan isn't greased properly. Here's what you'll need to do:
Tools & Materials Checklist:
No contractor's toolkit is complete without the right gear. Below is a breakdown of essentials, from cutting tools to adhesives, to ensure your installation goes smoothly:
Site Inspection:
Walk the installation area with a critical eye. Is the wall flat? Use a 4-foot straightedge to check for bowing—any deviation over 1/8" in 10 feet will need to be corrected. Moisture is another enemy: test concrete walls with a moisture meter (aim for readings below 5%). If the substrate is
fair-faced concrete
, you're in luck—it's naturally porous and bonds well, but if it's painted or sealed, you'll need to sand it down to expose the raw surface. And if the wall previously held
historical pathfinders stone
, remove any loose mortar or chipped pieces—those old, uneven surfaces can throw off your panel alignment faster than a gust of wind in the desert.
Contractor Insight:
"We once installed rammed earth board (khaki) in a 1920s warehouse where the original walls were covered in peeling plaster. Instead of tearing everything down, we used a leveling compound to smooth out dips, then primed with a bonding agent. The result? The panels looked like they'd been there for decades, but with the structural integrity of new construction." – Maria Gonzalez, Lead Contractor, Heritage Builders.
Step 2: Surface Preparation – Making the Wall "Sticky-Friendly"
Now that your tools are laid out, it's time to prep the wall itself. Rammed earth board (khaki) adheres best to clean, stable surfaces—think of it as shaking hands: you wouldn't grip someone with dirty palms, right? Start by sweeping or vacuuming away dust and debris. For oil or grease stains (common in garages or commercial kitchens), use a degreaser like trisodium phosphate (TSP) and rinse thoroughly. Let the wall dry completely—at least 24 hours—before moving on.
Crack Repair:
Even small cracks can spell trouble. Fill hairline fractures with a latex caulk; for larger gaps (1/4" or wider), use a hydraulic cement mix. Smooth the repair with a putty knife and sand once dry to ensure it's flush with the wall. Remember: a bumpy substrate will lead to uneven panels, which can trap moisture and cause warping over time.
Substrate Types: How to Prep Different Surfaces
Not all walls are created equal. Here's how to adjust your prep for common substrates:
-
Fair-Faced Concrete:
Lightly sand to remove laitance (the powdery layer on new concrete), then vacuum. No primer needed—concrete's porosity is perfect for adhesive.
-
Historical Pathfinders Stone:
If you're installing khaki panels over existing stone, ensure the stone is firmly attached. Remove loose pieces, then apply a bonding primer to the stone's surface to create a uniform base.
-
Gypsum Board (Drywall):
Prime with a water-based primer to seal the paper facing. Avoid using on exterior walls—drywall isn't moisture-resistant enough for outdoor khaki installations.
Pro Move:
"I always do a 'tack test' before installing. Take a small piece of masking tape and press it firmly to the wall. If it pulls up dust when removed, the surface isn't clean enough. A quick wipe with a damp cloth (and another dry) usually fixes it." – Jake Patel, Contractor, Modern Earth Builds.
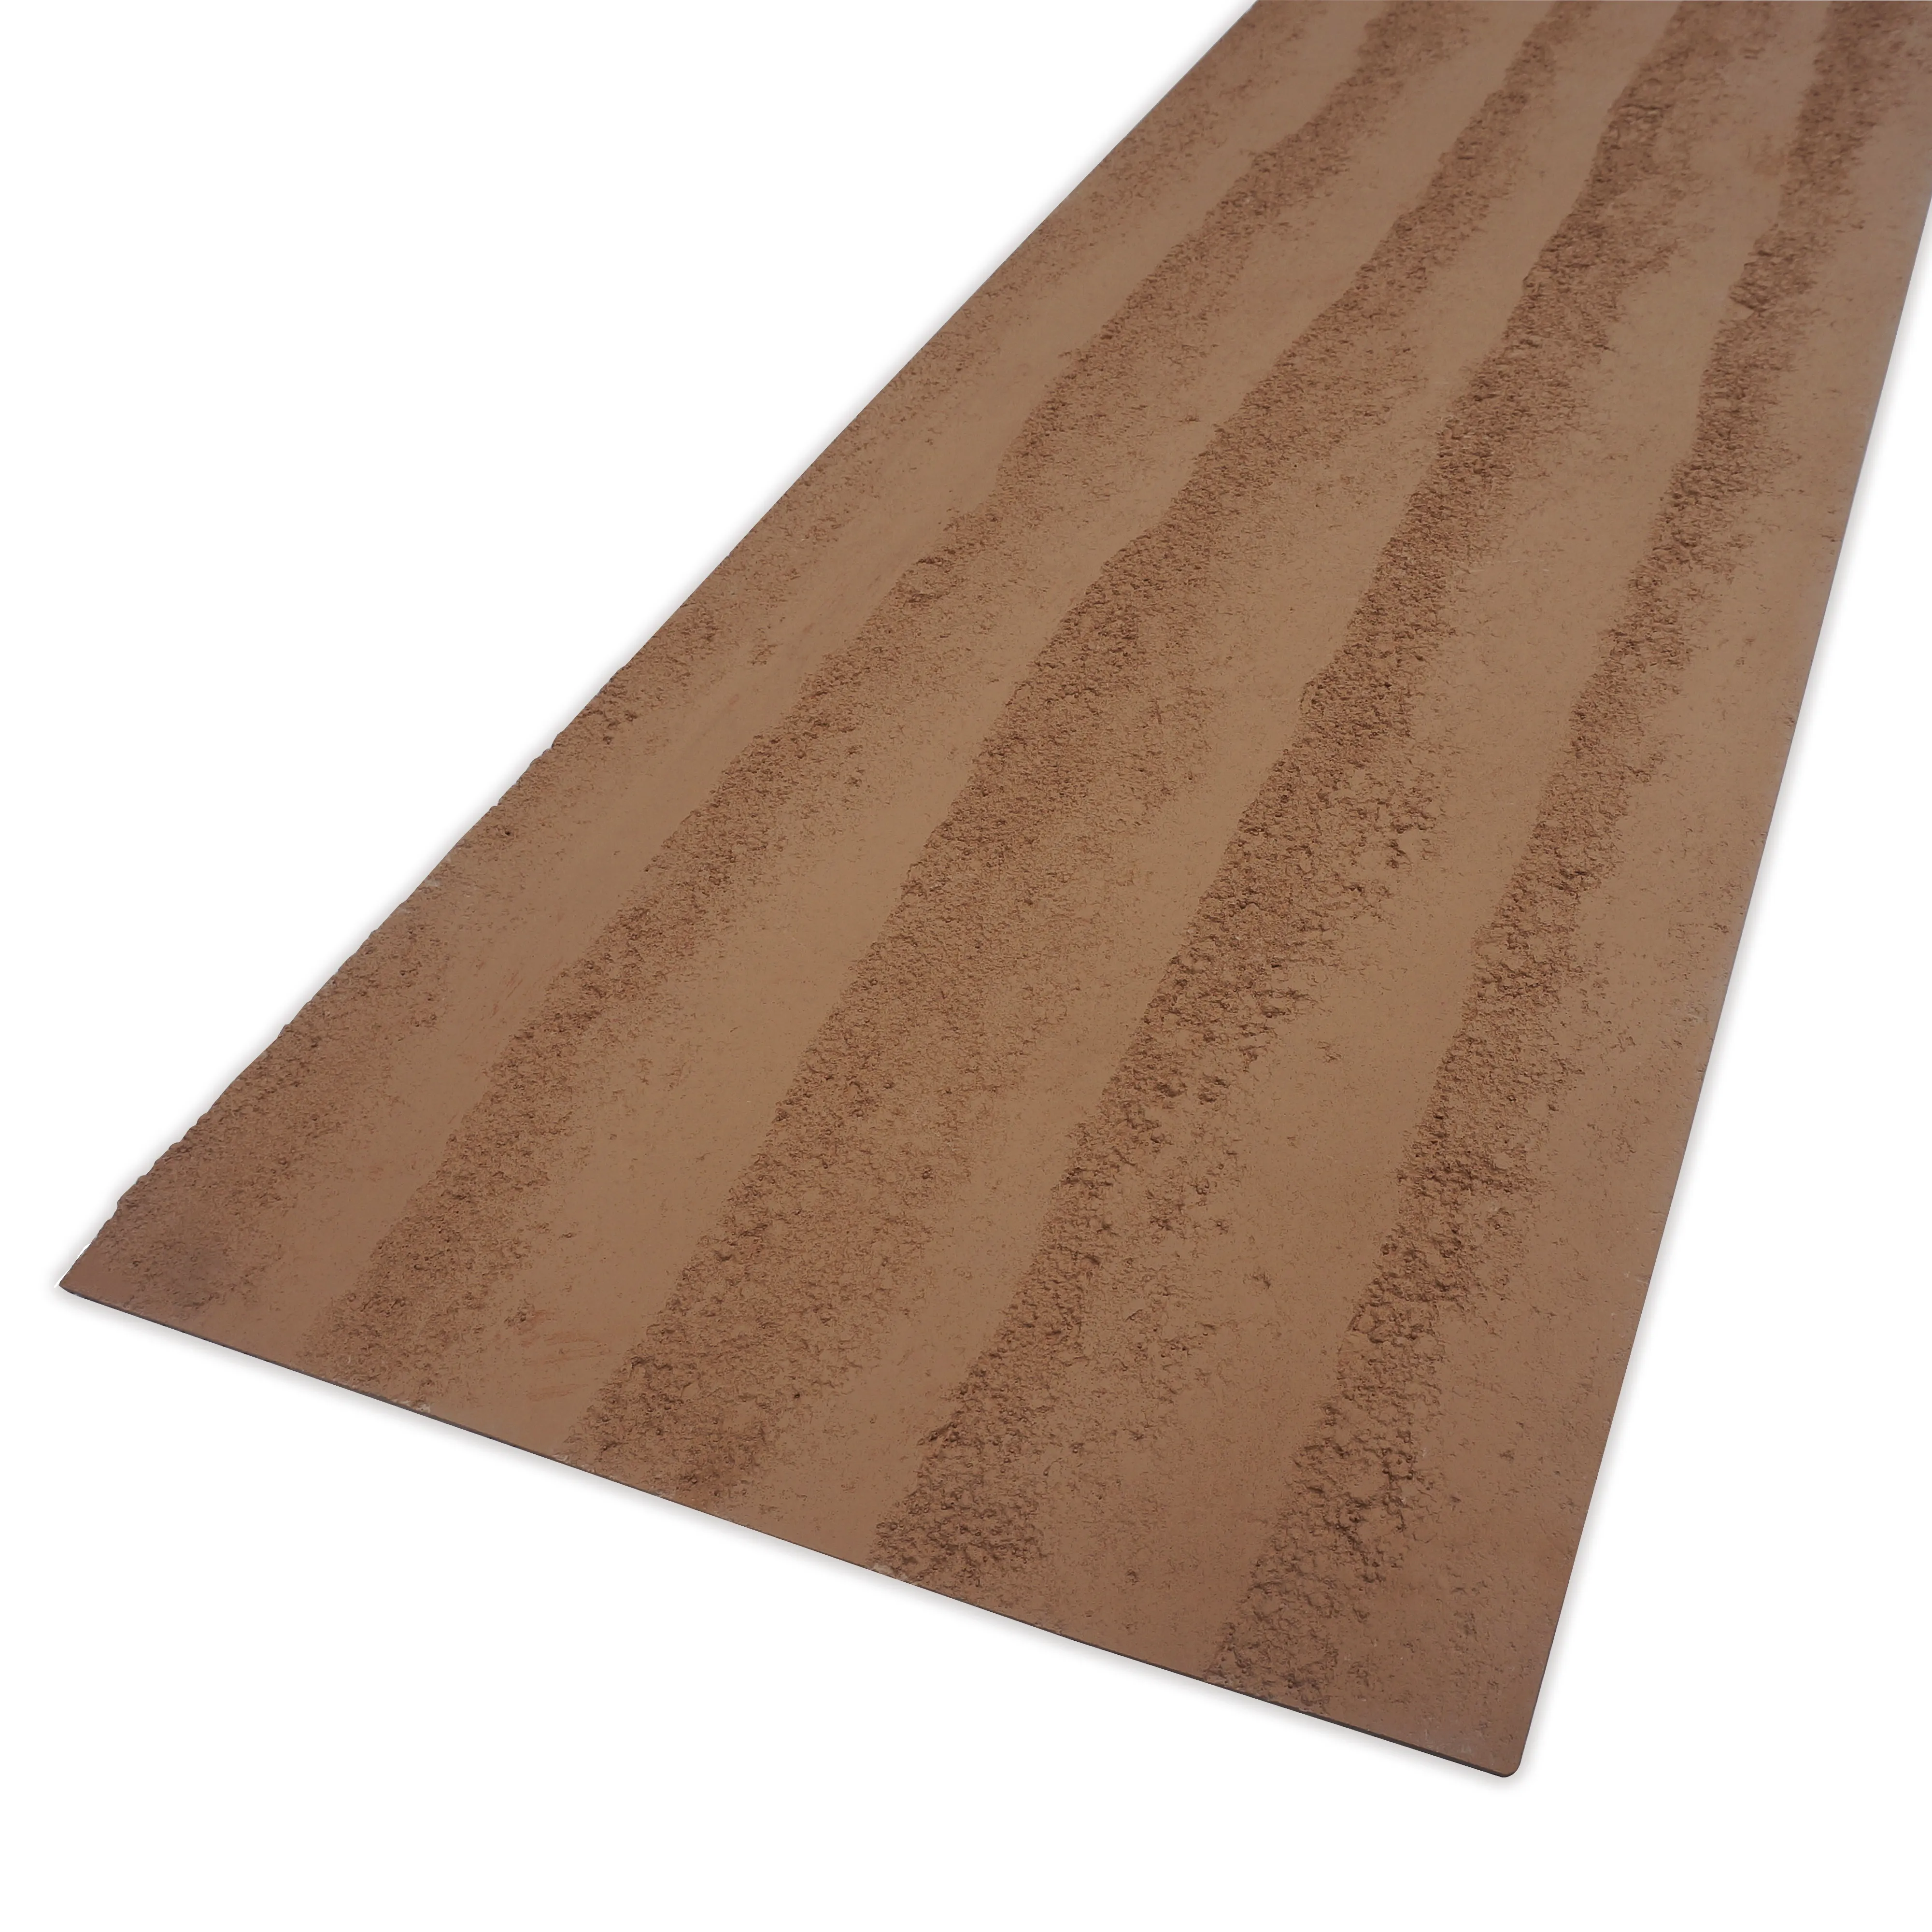
Step 3: Cutting Rammed Earth Boards – Precision is Everything
Rammed earth board (khaki) panels come in standard sizes (typically 4'x8'), but few walls are perfectly rectangular. Cutting is where art meets math—measure twice, cut once, as the old saying goes. Start by mapping out the wall on paper, noting outlets, windows, or other obstacles. For example, if you're installing around a window frame, measure the distance from the edge of the last full panel to the frame, then add 1/8" for grout space. Transfer these measurements to the khaki panel, using a straightedge and pencil to draw your cut line.
Cutting Technique:
Set your table saw to the correct depth (slightly deeper than the panel thickness) and secure the board with clamps to prevent slipping. Feed the panel slowly through the saw, keeping your hands at least 6 inches from the blade. For curved cuts (like around a circular window), use a jigsaw with a masonry blade—just go slow to avoid chipping the khaki's textured face. If you're working with
wood grain board
accents alongside the khaki panels, cut those first; their smoother surface is more forgiving, and you can use the scraps to practice your cuts before tackling the rammed earth.
Edge Treatment:
After cutting, inspect the edges. If there are rough spots, gently sand them with 120-grit sandpaper. The goal is a clean, straight edge that will align tightly with adjacent panels. Remember: the khaki color is consistent throughout the panel, so even small chips will show—take your time here.
Time-Saving Hack:
"For large installations, I create a 'cut list'—a spreadsheet with all panel dimensions. It sounds tedious, but it prevents mistakes. Last month, we installed khaki panels in a restaurant with 12 outlets; the cut list saved us from wasting 3 panels on wrong measurements." – Lisa Chen, Contractor, Earth & Edge Construction.
Step 4: Adhesive Application – The "Glue" That Holds It All Together
Now comes the moment of truth: applying the adhesive. Think of this as the "marriage" between panel and wall—strong, lasting, and not to be rushed. For rammed earth board (khaki), we recommend a polymer-modified mortar adhesive (look for brands like Laticrete or Mapei). These adhesives are designed for heavy, porous materials and offer excellent bond strength even in humid conditions.
Mixing the Adhesive:
Follow the manufacturer's instructions—typically, mix 5 parts mortar to 1 part water. Stir until it reaches the consistency of peanut butter: thick enough to hold a notch, but not so stiff that it clumps. Let it sit for 5 minutes (this is called "slaking") to activate the polymers, then stir again. Never add more water after slaking—it weakens the bond.
Applying the Adhesive:
Use a notched trowel to spread the adhesive on the wall, holding the trowel at a 45-degree angle. The notches create ridges that collapse when you press the panel, ensuring full contact. Work in small sections—about 3'x3' at a time. Adhesive has an "open time" (usually 20-30 minutes), after which it starts to skin over and won't bond properly. On hot days, work even smaller sections to beat the clock.
Back-Buttering for Extra Grip:
For large panels (over 2'x4'), "back-butter" the panel by spreading a thin layer of adhesive on the back before placing it on the wall. This ensures 100% coverage, critical for preventing hollow spots that can lead to cracking.
Weather Watch:
"Avoid installing khaki panels in temperatures below 40°F or above 90°F. Cold slows adhesive curing; heat dries it too fast. I once had to redo a section in Arizona because we installed at noon—the adhesive skinned over before we could set the panels. Now, we start at dawn!" – Mike Torres, Contractor, Desert Roots Construction.
Step 5: Panel Installation – Setting the Khaki Panels in Place
With adhesive on the wall, it's time to lift the first panel. Rammed earth board (khaki) is surprisingly lightweight for its durability—most 4'x8' panels weigh around 50 lbs—but always use a helper for large pieces. Start at the bottom left corner of the wall (or bottom right, if you're left-handed) and work your way up. This prevents panels from sliding as you go.
Aligning the First Panel:
Press the panel firmly against the adhesive, sliding it slightly from side to side to ensure the adhesive ridges collapse. Use a 2' level to check that the panel is plumb (vertical) and level (horizontal). Adjust by gently tapping with a rubber mallet—don't hit too hard, or you'll squeeze out too much adhesive. Once level, insert plastic spacers (1/8" or 1/4", depending on grout line preference) along the top and right edges to maintain consistent spacing.
Building Up Rows:
The second panel should butt against the first, with spacers between them. Check the level across both panels—even a 1/16" dip in one panel will throw off the entire row. As you move up the wall, stagger the seams like brickwork (this is called "racking") to add strength. For example, if the first row starts with a full panel, the second row should start with a half-panel. This prevents long vertical seams, which can weaken the installation.
Working Around Obstacles:
Outlets, light switches, and windows are inevitable. For outlets, measure the distance from the last full panel to the outlet box, mark the panel, and cut a hole using a hole saw or jigsaw. Test-fit the panel before applying adhesive—you want a snug fit, but leave 1/8" around the box for electrical work later.
Alignment Trick:
"I use a chalk line to snap a vertical guide down the center of the wall. Every 3-4 panels, I check against the chalk line to make sure I'm not drifting. It's saved me from installing an entire row crooked more than once!" – Sarah Kim, Contractor, Elemental Walls.
Step 6: Grouting – Finishing the Joints
Once all panels are installed and the adhesive has cured (typically 24 hours), it's time to grout. Grout isn't just for looks—it seals the joints, preventing moisture from seeping behind the panels and locking the installation together. For rammed earth board (khaki), sanded grout is best; its texture complements the panel's surface. Choose a color that enhances the khaki hue: "sahara beige" for a monochromatic look, or "terra cotta" to add warmth.
Mixing Grout:
Mix grout powder with water until it's smooth and creamy, like cake frosting. Let it slake for 5 minutes, then stir again. Avoid overmixing—it introduces air bubbles that can weaken the grout.
Applying Grout:
Use a rubber float to scoop grout onto the panels, then press it into the joints at a 45-degree angle. Work in small sections (2'x2') to prevent the grout from drying out. Hold the float almost flat against the panels to smooth the grout and remove excess. After 15-20 minutes, when the grout starts to haze, wipe the panels with a damp (not wet) sponge in a circular motion. Rinse the sponge frequently to avoid spreading haze.
Curing Grout:
Let the grout cure for 72 hours. Keep the area well-ventilated, and avoid getting it wet during this time. For outdoor installations, cover with plastic sheeting if rain is forecast—water can weaken the grout before it sets.
Grout Hack:
"To avoid scratching the khaki panels, I use a natural sea sponge instead of a synthetic one. It's gentler on the texture and leaves a softer finish on the grout lines. Plus, it's biodegradable—win-win!" – Carlos Mendez, Contractor, Green Build Solutions.
Step 7: Finishing Touches & Maintenance – Keeping Khaki Looking Its Best
Your installation is nearly done—now it's time to add the final flourishes and set your clients up for long-term success. Rammed earth board (khaki) is low-maintenance, but a little care goes a long way.
Sealing the Panels:
While khaki panels are naturally resistant to stains, sealing adds an extra layer of protection—especially in high-traffic areas like hallways or kitchens. Use a water-based penetrating sealer (look for "matte" finish to preserve the panel's natural texture). Apply with a paint roller, working in small sections, and wipe off excess after 5 minutes. Let it dry 24 hours before allowing foot traffic or cleaning.
Cleaning & Care:
For day-to-day cleaning, wipe panels with a soft cloth or feather duster. For spills, blot immediately with a damp cloth—avoid harsh cleaners like bleach or ammonia, which can discolor the khaki finish. Over time, the panels may develop a subtle patina, which many homeowners love—it adds character, like a well-worn leather jacket. If you paired khaki with
wood grain board
accents, treat those with a wood conditioner annually to keep them from drying out.
Troubleshooting Common Issues:
Even the best installations hit snags. Here's how to fix them:
-
Hollow Spots:
If you tap a panel and hear a hollow sound, inject epoxy into the joint with a syringe, then clamp until dry.
-
Grout Cracking:
Small cracks can be repaired with grout touch-up paste. For large cracks, remove old grout with a grout saw, then regrout.
-
Stains:
Oil stains can often be lifted with a paste of baking soda and water—let sit overnight, then wipe.
Final Thoughts:
Installing rammed earth board (khaki) isn't just a job—it's a craft. As contractors, you're not just building walls; you're creating spaces that honor the past (with nods to
historical pathfinders stone
) while embracing the future. The khaki hue, with its earthy warmth, has a way of making people feel at home, whether in a bustling café or a quiet living room. And when paired with materials like mcm flexible stone or wood grain board, it becomes a canvas for creativity. So take pride in your work: every precise cut, every even adhesive spread, every smooth grout line is a testament to your skill. Here's to building something that lasts—for decades, and for stories.