
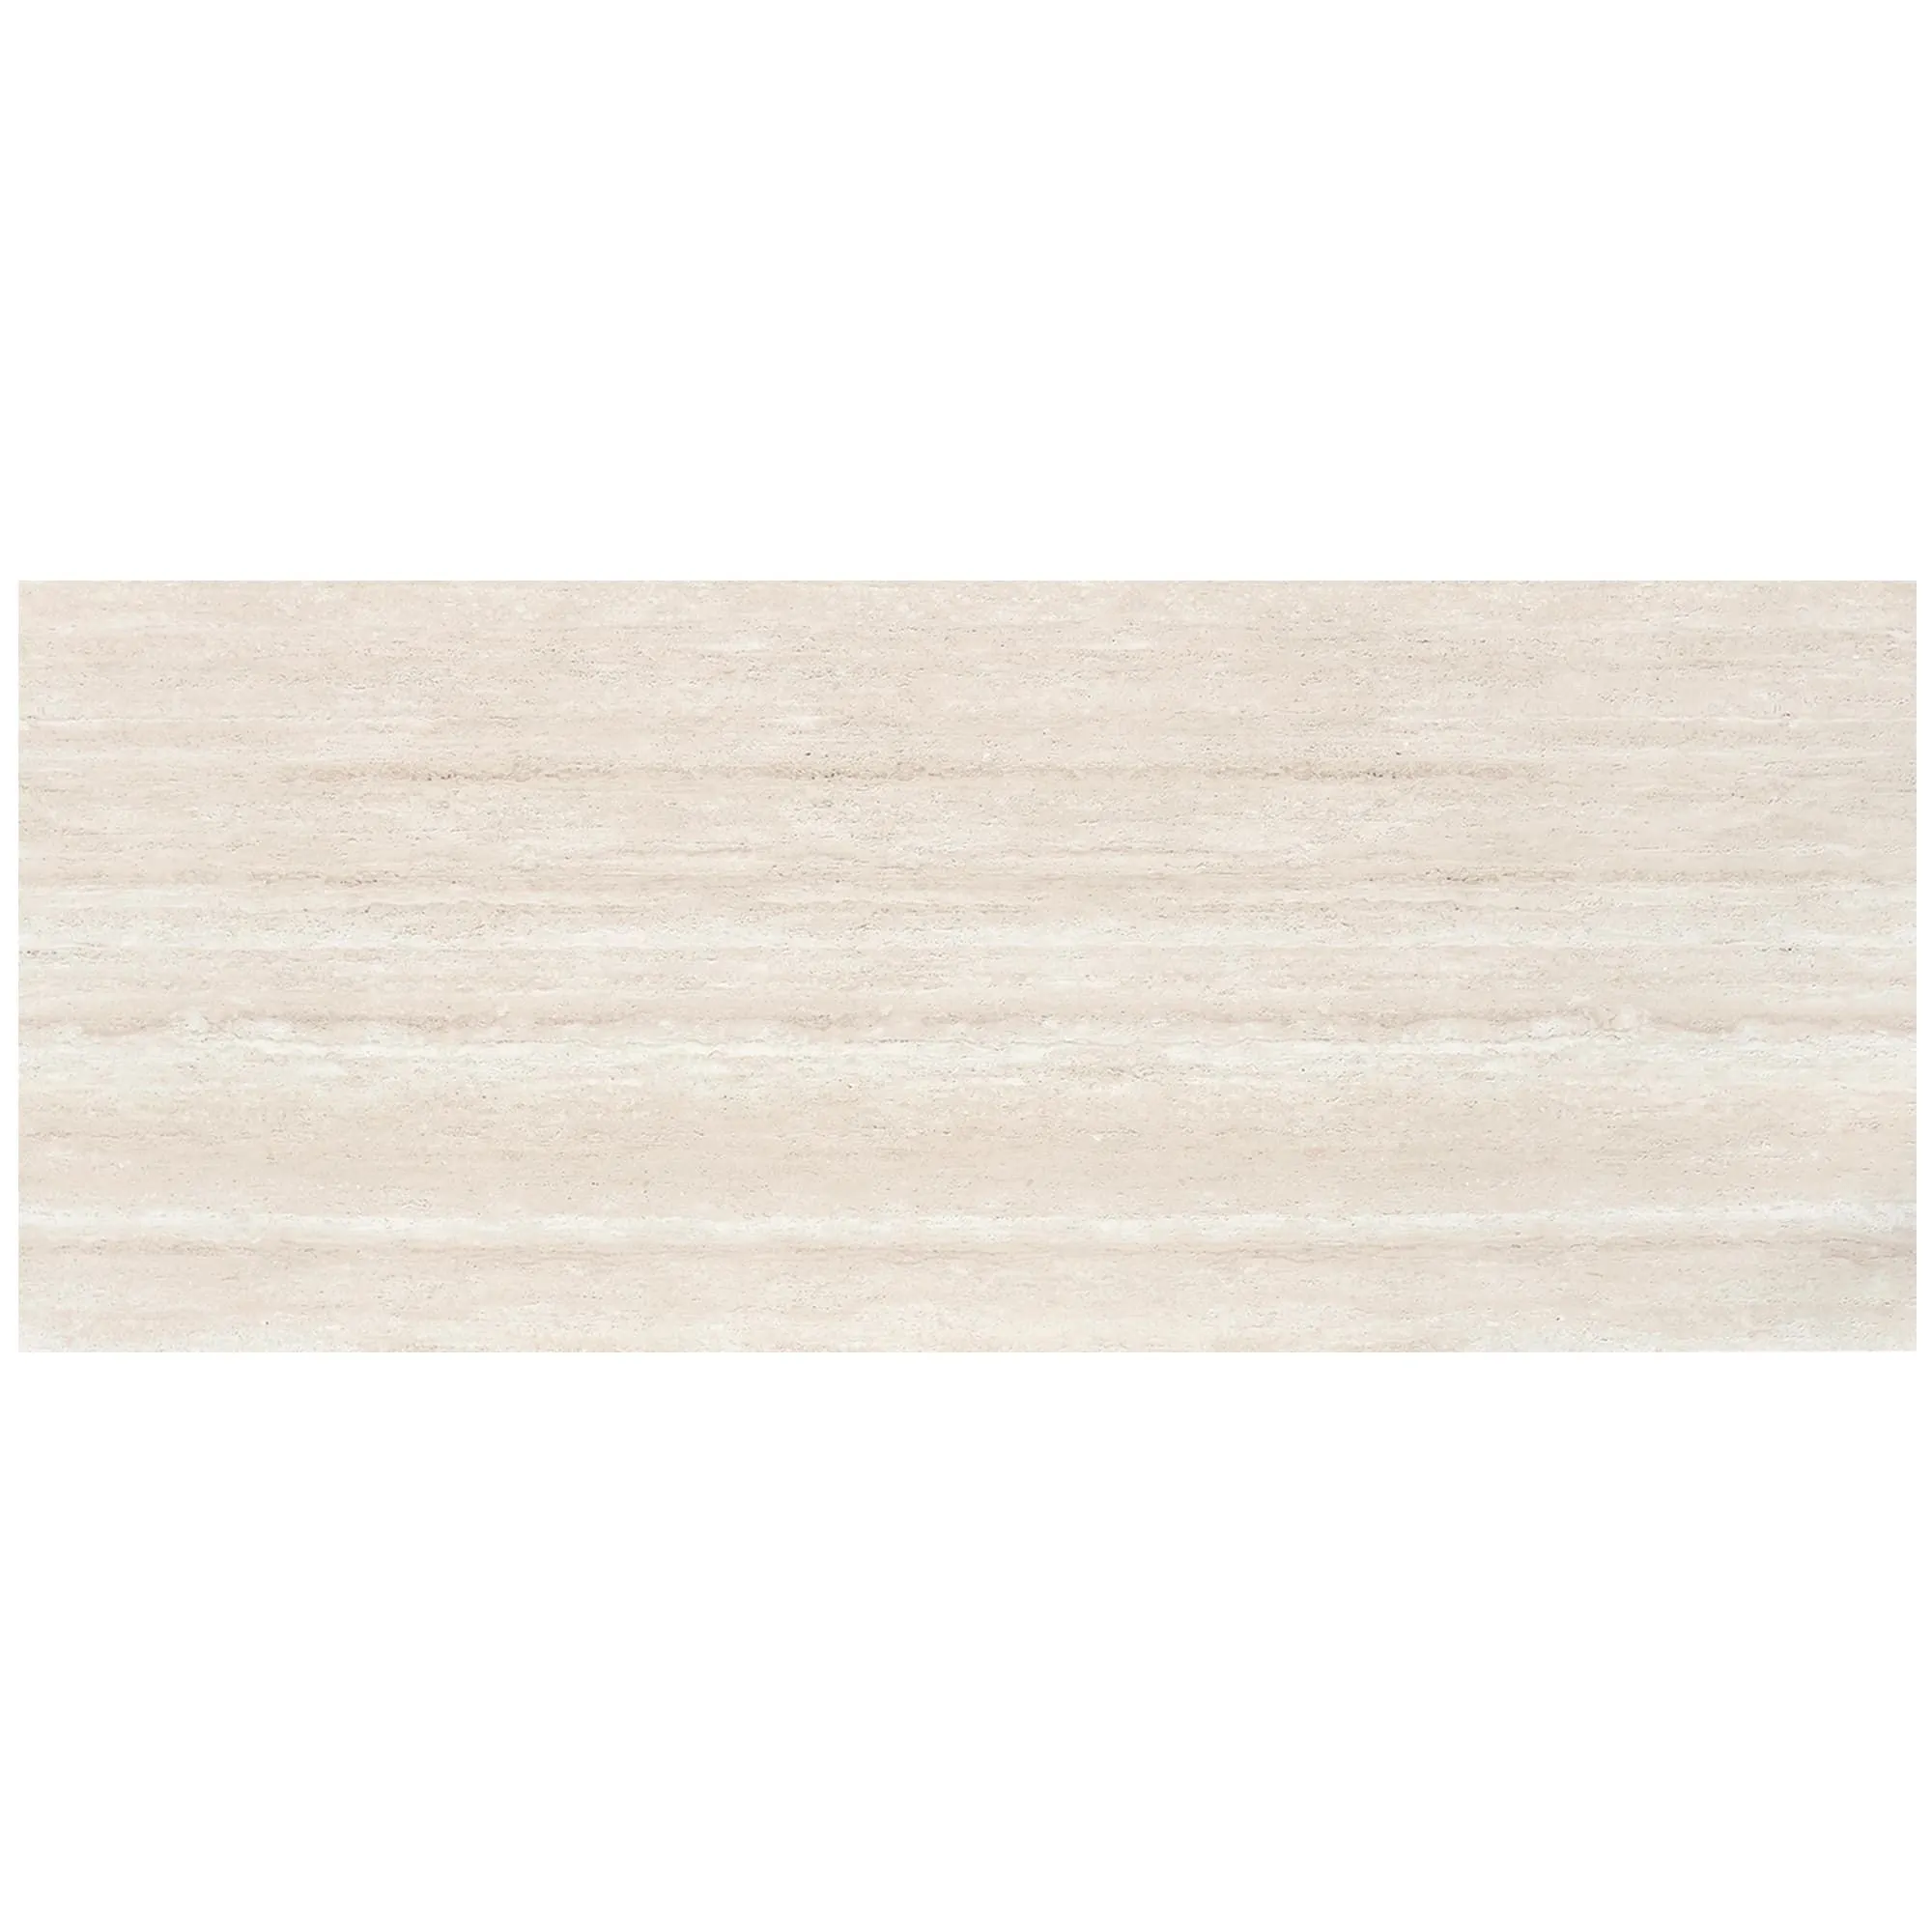
Rona Yellow is a warm-toned flexible stone panel from Coloria Group's MCM range, and installing it correctly is simpler than working with natural stone, but it still rewards careful preparation. Because the panel is a thin, flexible modified clay sheet rather than a rigid slab, the whole job comes down to three things: a sound substrate, full adhesive coverage, and patient pressing. Get those right and the yellow travertine look stays flat, tight, and even for years. This guide walks through the complete installation process step by step, from the tools you need to the final seam finish.
Rona Yellow belongs to the MCM 3D Printing Series, which means its surface texture is produced by 3D printing technology onto a flexible modified clay base. The result is a panel that carries the warm, layered tones of yellow travertine while staying light enough to handle without lifting equipment. Like other MCM flexible stone products, it bends around curves and corners, cuts with a utility knife, and installs directly onto standard building substrates. That combination makes it a practical choice for feature walls, columns, and exterior facades where real stone would be too heavy or too expensive to justify.
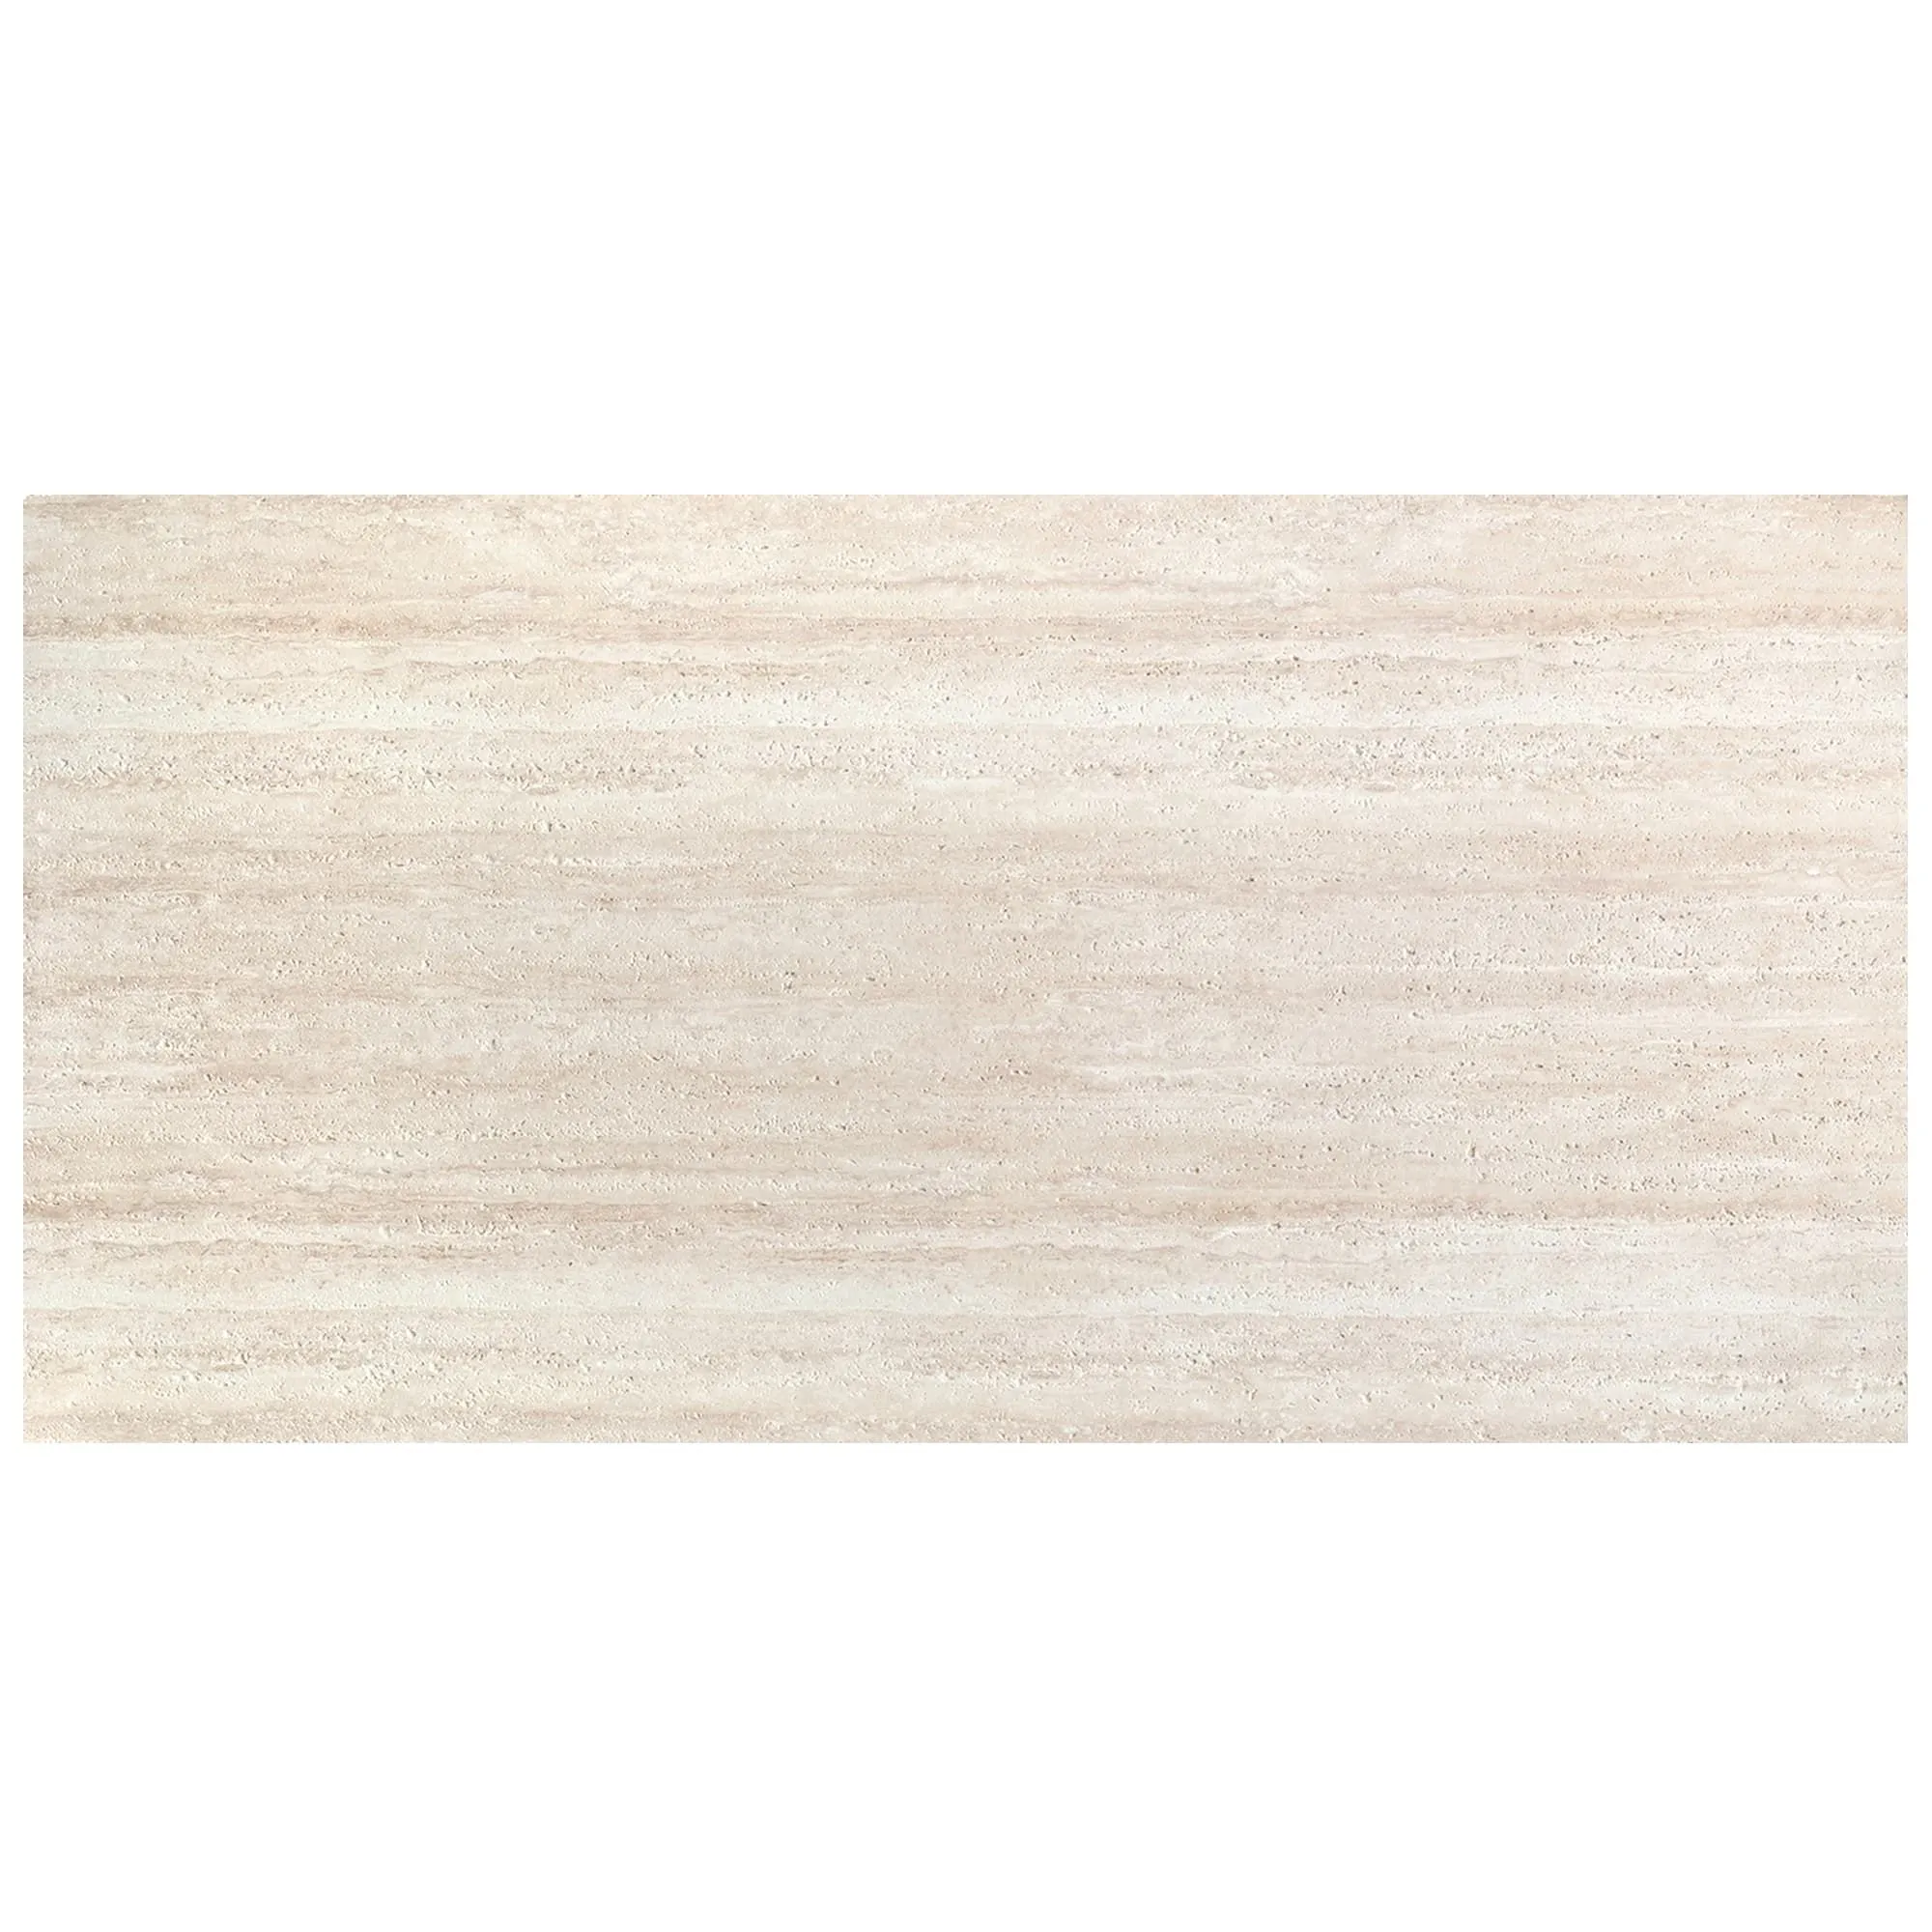
The tool list is short, and most of it is standard tiling equipment:
For exterior work you will also need a ladder or scaffold, and it is worth keeping a few spare panels on hand for cutting errors and future repairs.
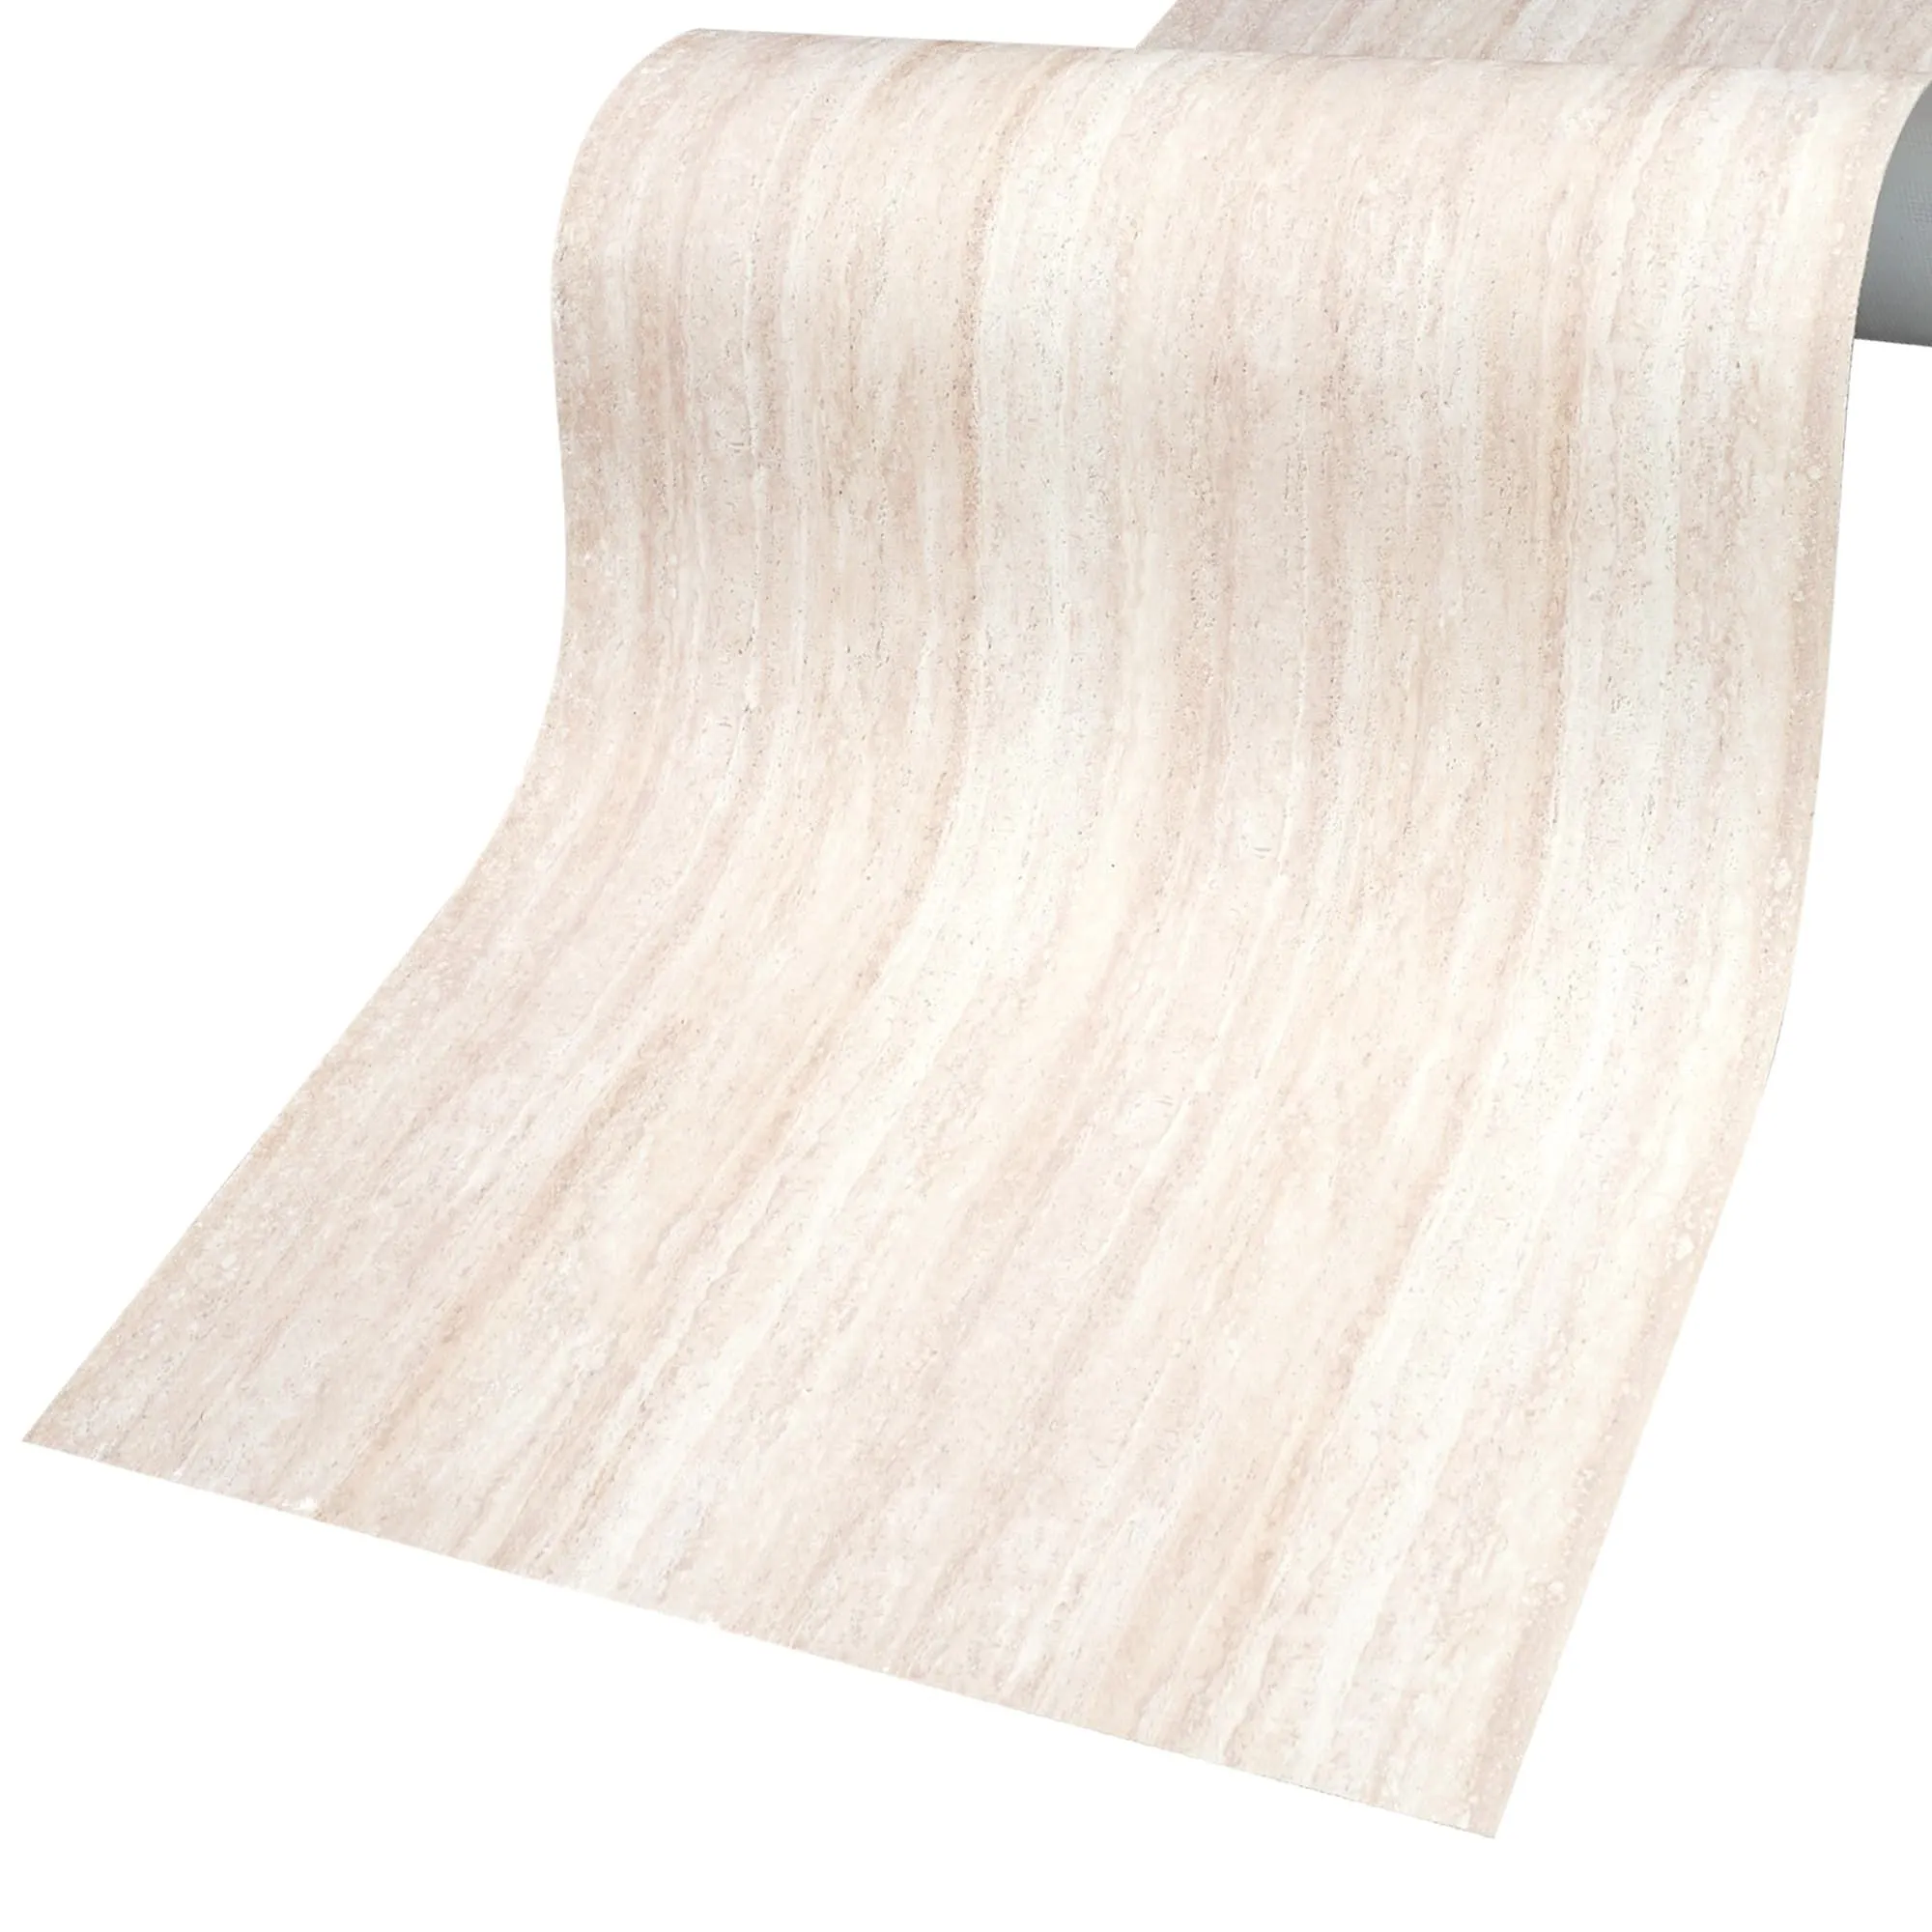
Substrate preparation is the step that decides whether the installation lasts. Flexible stone is only as good as the surface it bonds to, so check the wall before you open the first box of adhesive. The surface must be flat, clean, dry, and structurally sound. Remove loose plaster, peeling paint, dust, grease, and any oily residue. Fill cracks and hollow spots, and level obvious dips so the deviation is no more than about 2mm over a 2-meter straightedge. On highly absorbent surfaces such as porous concrete or fiber cement board, apply a wall primer first so the adhesive does not dry out too quickly. New exterior cement mortar should be left to cure for at least 15 days before installation, and the wall moisture content should be below 10%.
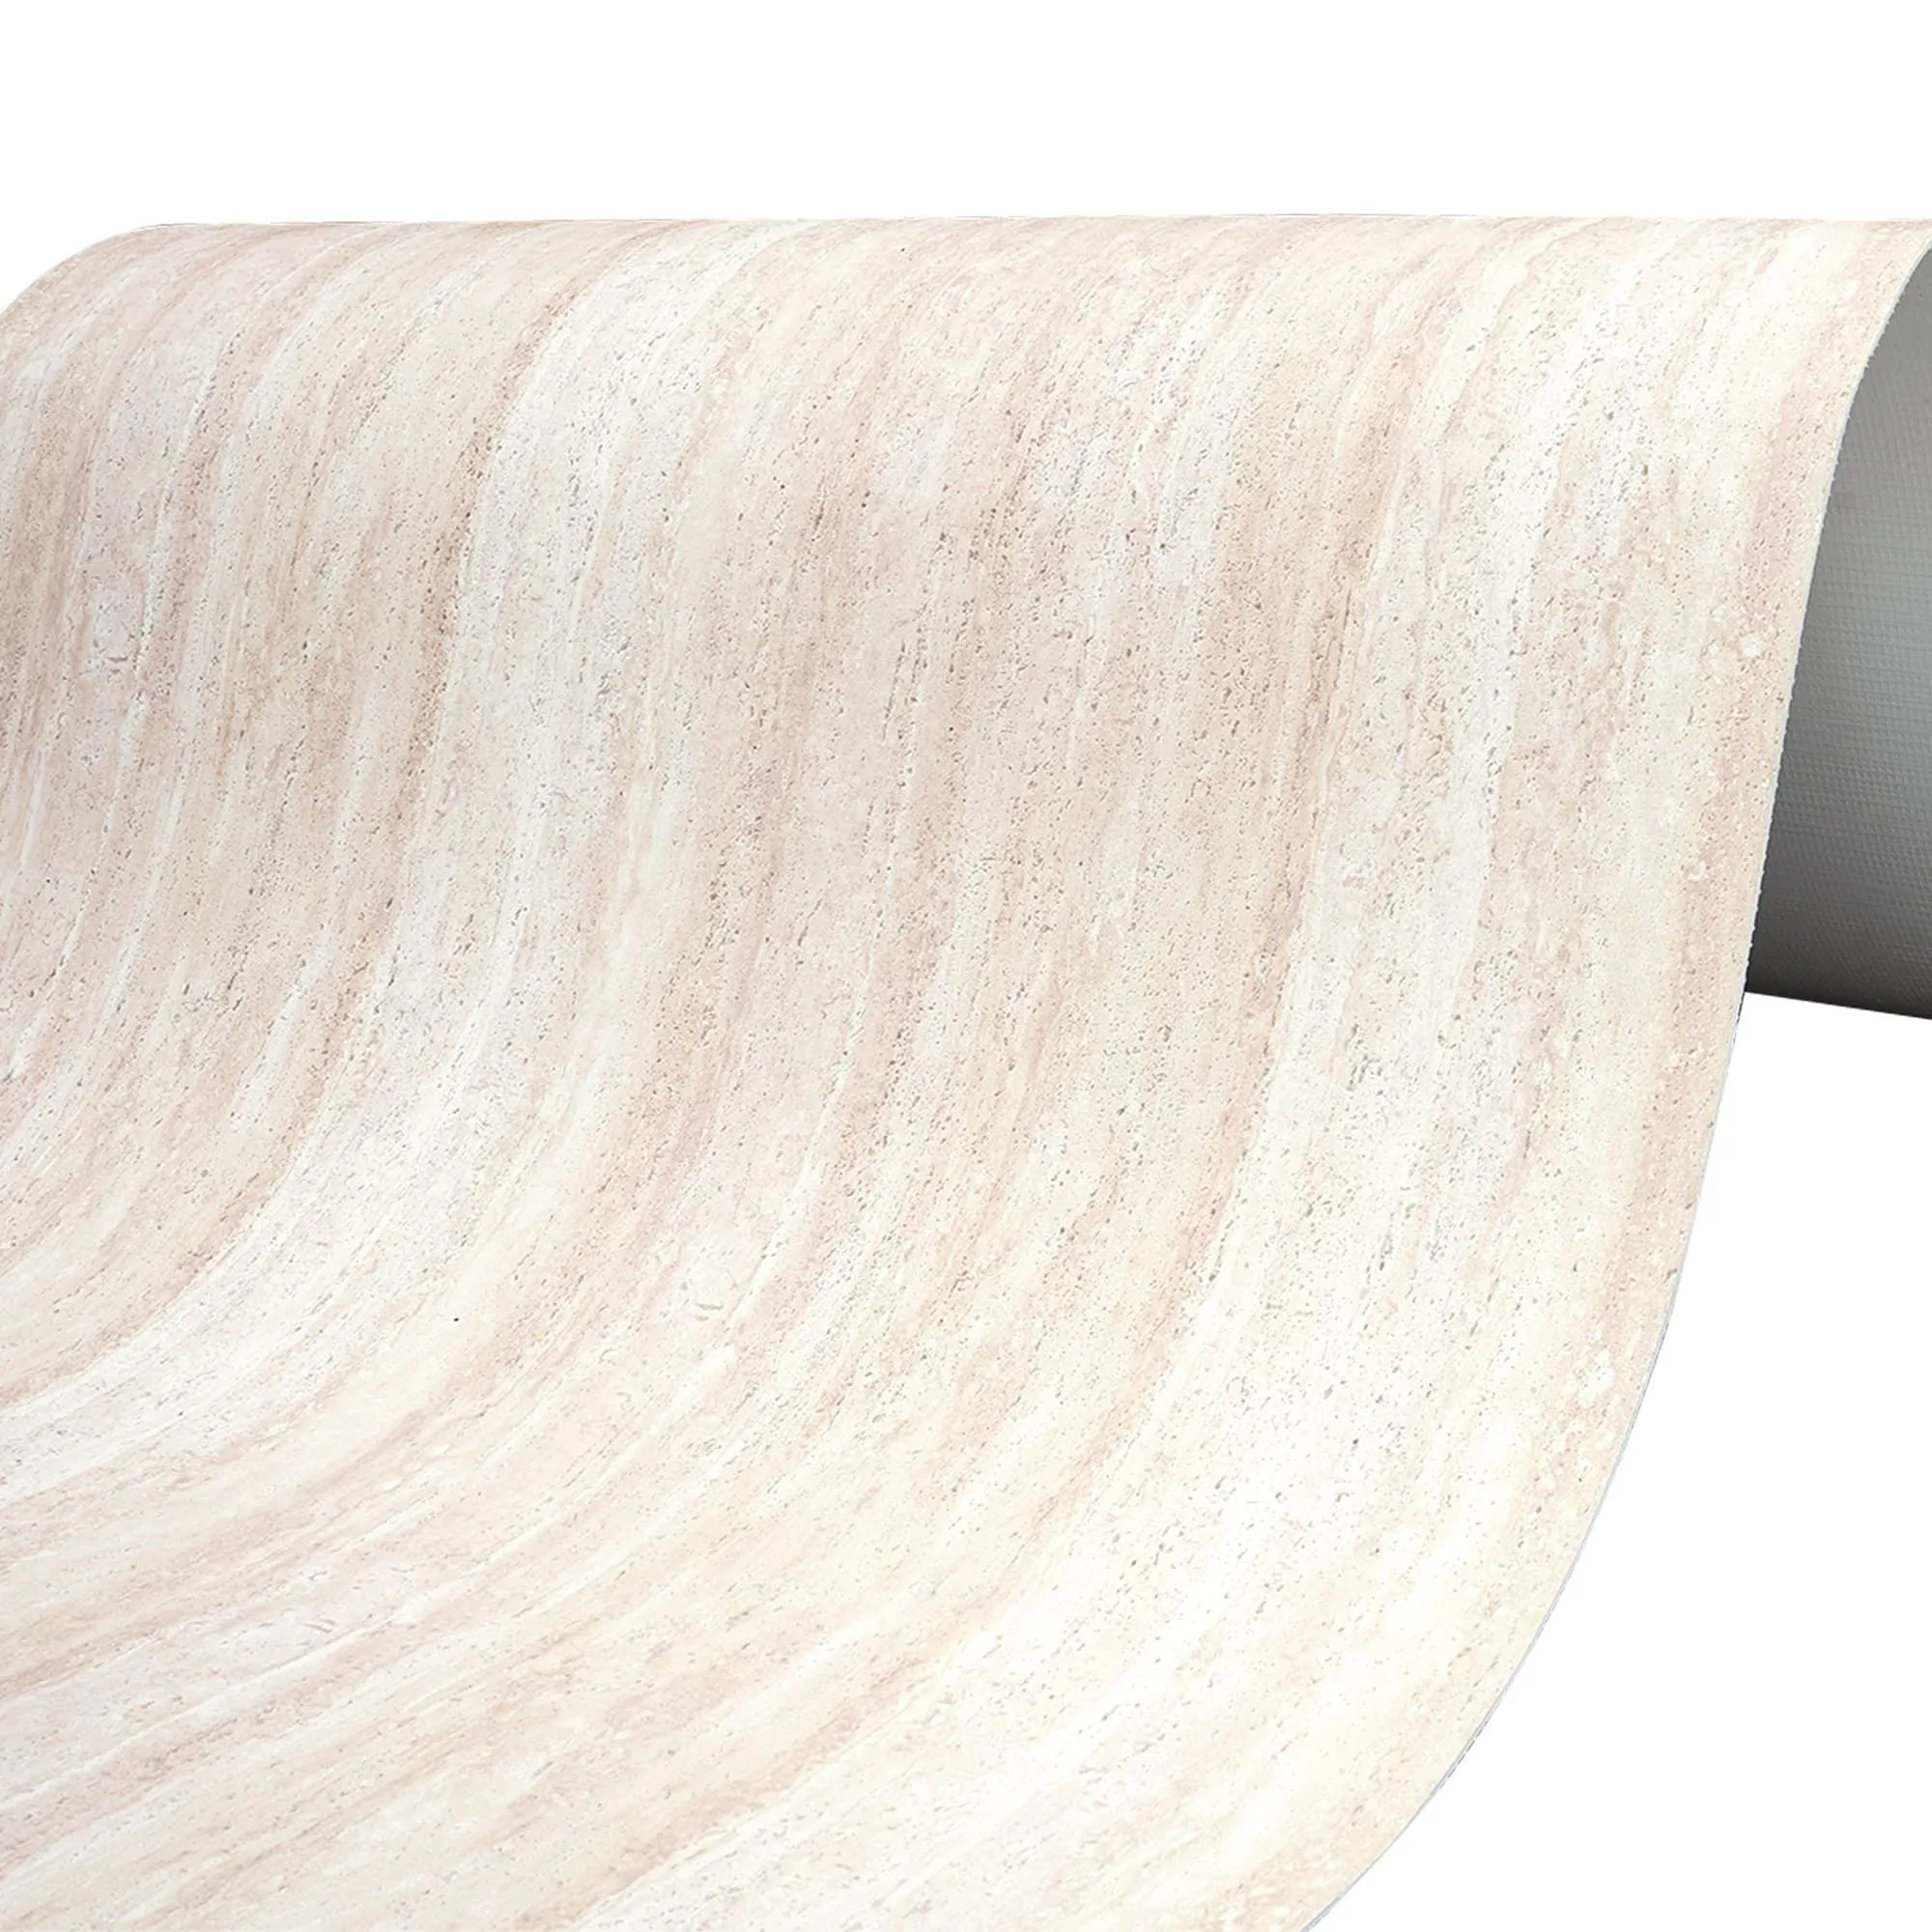
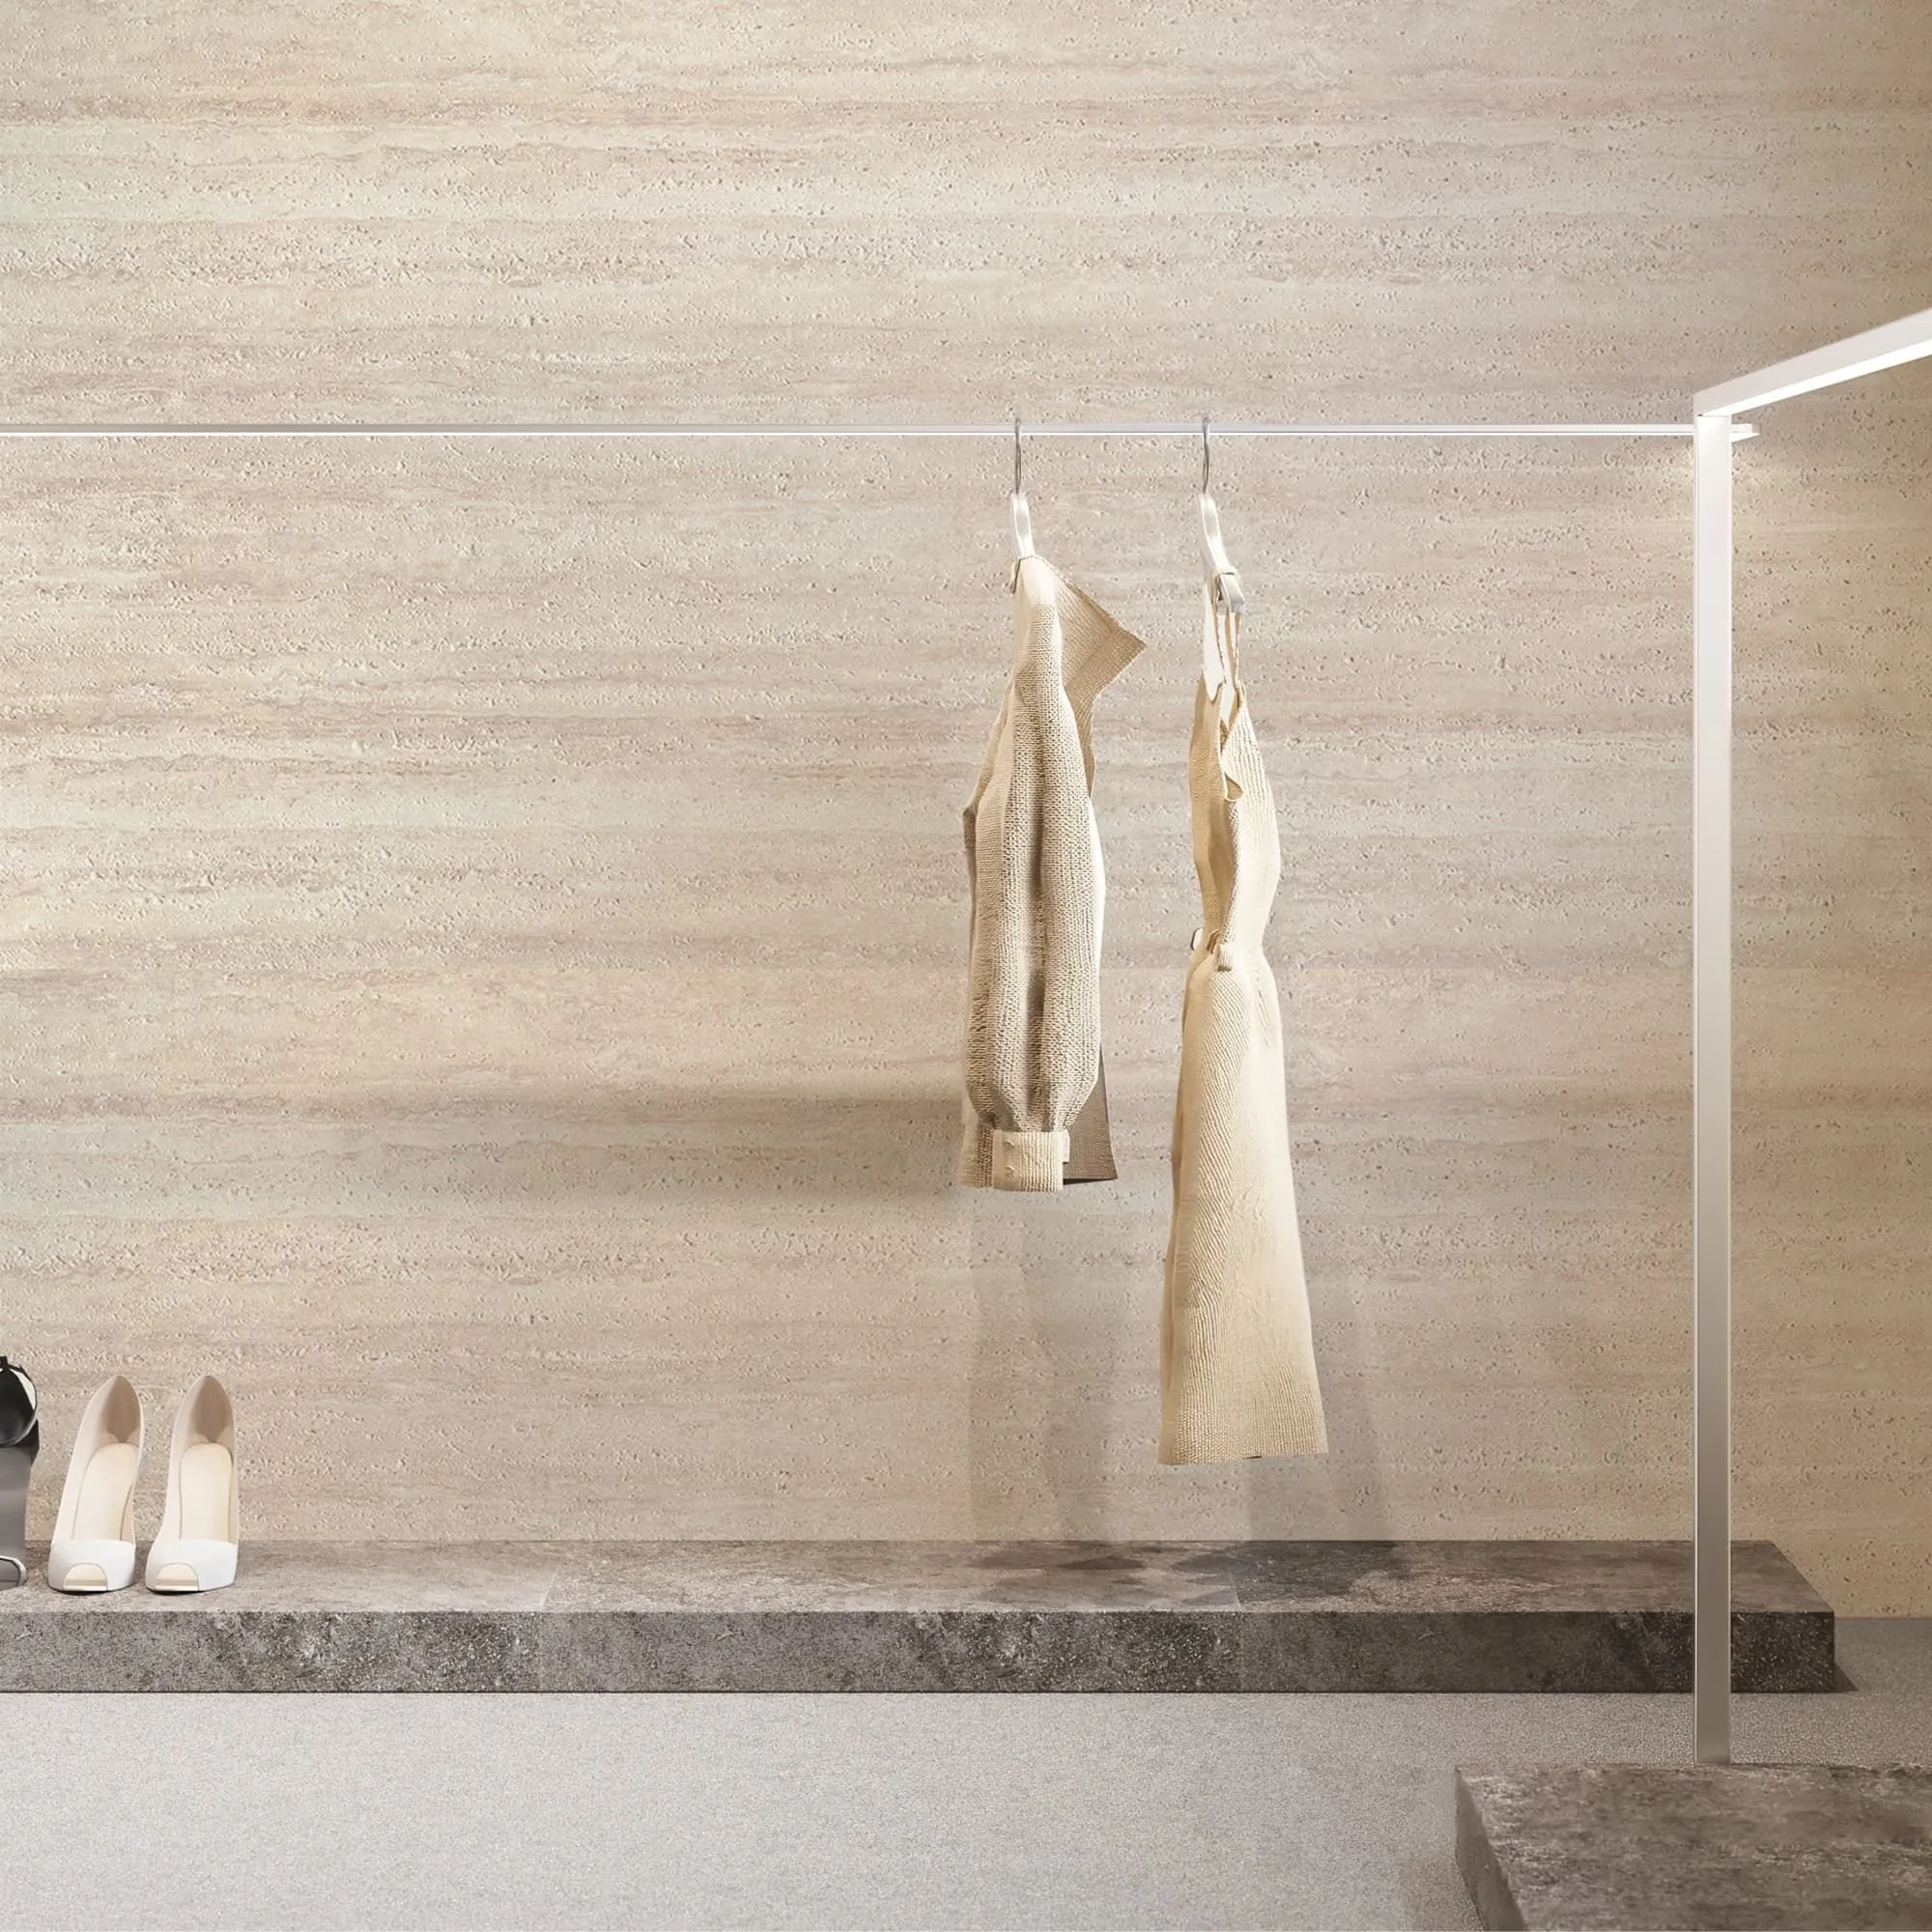
Start with a level baseline. Use a laser level to mark horizontal reference lines across the wall, and mark vertical lines at the panel width. Dry-lay a few panels on the floor first to plan the pattern, especially around corners, windows, and doors. Because Rona Yellow carries a natural stone texture, mix panels from two or three different boxes as you go. Like natural stone, there are slight color variations between batches, and blending them spreads the variation evenly across the wall instead of leaving visible patches.
Work in small areas so the adhesive does not skin over before you set the panels. Load the adhesive onto the notched trowel, press it flat against the wall to eliminate gaps, then drag it to create even grooves. Aim for a bed thickness of about 3mm. For exterior walls higher than about 3 meters, use the back-buttering method: apply a thin skim coat to the back of each panel as well as the wall. This guarantees full surface contact, which matters because exterior panels need complete coverage to stop water pooling behind the stone.
Install from the top of the wall downward so freshly placed panels are not disturbed by work above them. Align each panel to your reference lines, check it with the spirit level, then press it into the adhesive. Work from the center of the panel outward with a rubber roller or tile clapper to push out trapped air. Air pockets are the main cause of bubbling and delamination later, because trapped air expands in direct sunlight. Make any alignment adjustments immediately, before the adhesive begins to set. Wipe off any adhesive that squeezes out onto the panel face right away with a damp sponge, before it dries.
This is where flexible stone earns its name. For a seamless wrap around an outside corner, score the back of the panel along the corner line with a utility knife, cut a shallow V-groove, and fold the panel around the corner. For a sharper, more architectural edge, miter the two meeting panels at 45 degrees with a small angle grinder. On curved walls and columns, bend the panel gradually as you press it onto the adhesive, working from the center outward so it conforms without creasing. Use straps or temporary clamps on curved installations to hold the panel in full contact while the adhesive cures.
Rona Yellow cuts easily without power tools. Mark the cut line on the back of the panel, score it firmly with a sharp utility knife against a straightedge, then snap it along the scored line. Sand the cut edge smooth with fine sandpaper. For thicker textured panels, a small angle grinder with a diamond blade works well. Plan your cuts at corners and around window frames before you start, because a little layout thinking saves a lot of material.
Wait at least 24 hours after installation before filling the joints, so the adhesive has time to develop initial strength. Two finishing methods suit different design intents:
Whichever method you choose, apply masking tape along both edges of the joint first, fill it completely, and tool it to a clean profile before the mortar sets. Use good-quality tape, because cheap tape can pull at the stone surface when removed.
The adhesive needs time to reach full strength, and disturbing the panels early is one of the most common causes of failure. During the first week, do not move, bump, or press on the installed panels. Full bond strength is typically reached around day 15, after which the wall is safe for normal use. During the drying period, protect unfinished sections from direct rain, and take care when dismantling scaffolding so nothing strikes the panel face. Clean any adhesive residue from window frames and trim while the work is in progress, because dried adhesive is far harder to remove.
Once installed, Rona Yellow needs very little upkeep. The panel surface is waterproof and does not absorb water the way porous natural stone can, so it resists staining and the freeze damage that moisture causes. For exterior facades, an occasional rinse with clean water removes dust and pollution. Use only neutral, stone-safe cleaners, and avoid acidic or abrasive products, which can dull the surface. For wet areas or heavy-traffic zones, a breathable water-repellent sealer adds an extra layer of protection and is worth reapplying every few years.
Can Rona Yellow be installed over existing tiles? Only if the existing surface is flat, sound, and firmly bonded. If the old tiles are hollow or uneven, remove them and prepare the substrate properly first.
Is Rona Yellow suitable for exterior use? Yes. It is designed for both interior and exterior applications, including facades, and its flexible modified clay construction handles weather exposure well when installed with the correct exterior adhesive.
How do I cut Rona Yellow panels? Score the back with a sharp utility knife against a straightedge and snap along the line. For thicker textured panels, use a small angle grinder with a diamond blade.
Can it bend around curved walls? Yes. The panel bends around columns, arches, and corners without cracking, which is one of its main advantages over rigid stone. Bend it gradually and hold it in place while the adhesive cures.
How long does the adhesive take to cure? The panels can be handled gently after 24 hours, but full bond strength is reached around 15 days. Avoid disturbing the wall during that period.
Installing Rona Yellow is a straightforward job for any experienced tiler, and even a careful DIYer can achieve a professional result by following the sequence above. The essentials are a clean, flat, dry substrate; full adhesive coverage with a polymer-modified exterior adhesive; firm pressing with a roller to remove air; and patience during the curing period. Do those things and the warm yellow travertine texture will stay flat and even for decades. Coloria Group supplies Rona Yellow and the rest of its flexible stone range as part of a one-stop building materials package, and the team can advise on the right adhesive and joint finish for your specific project. Contact them to request samples before you commit to a full order.
Recommend Products












