

There's something about a charcoal burnt wood board that feels almost alive. Maybe it's the way the deep, smoky tones catch the light, or the subtle texture that tells a story of fire and craftsmanship. Whether it's a kitchen backsplash, a living room accent wall, or a cherished dining table top, this material isn't just about looks—it's about character. So when you notice a scratch, a chip, or a water stain marring its surface, it's more than just a blemish. It's a call to roll up your sleeves and give that board a little TLC. Repairing a charcoal burnt wood board isn't just about fixing damage; it's about preserving the unique personality that makes it yours. Let's walk through how to do it right, step by step.
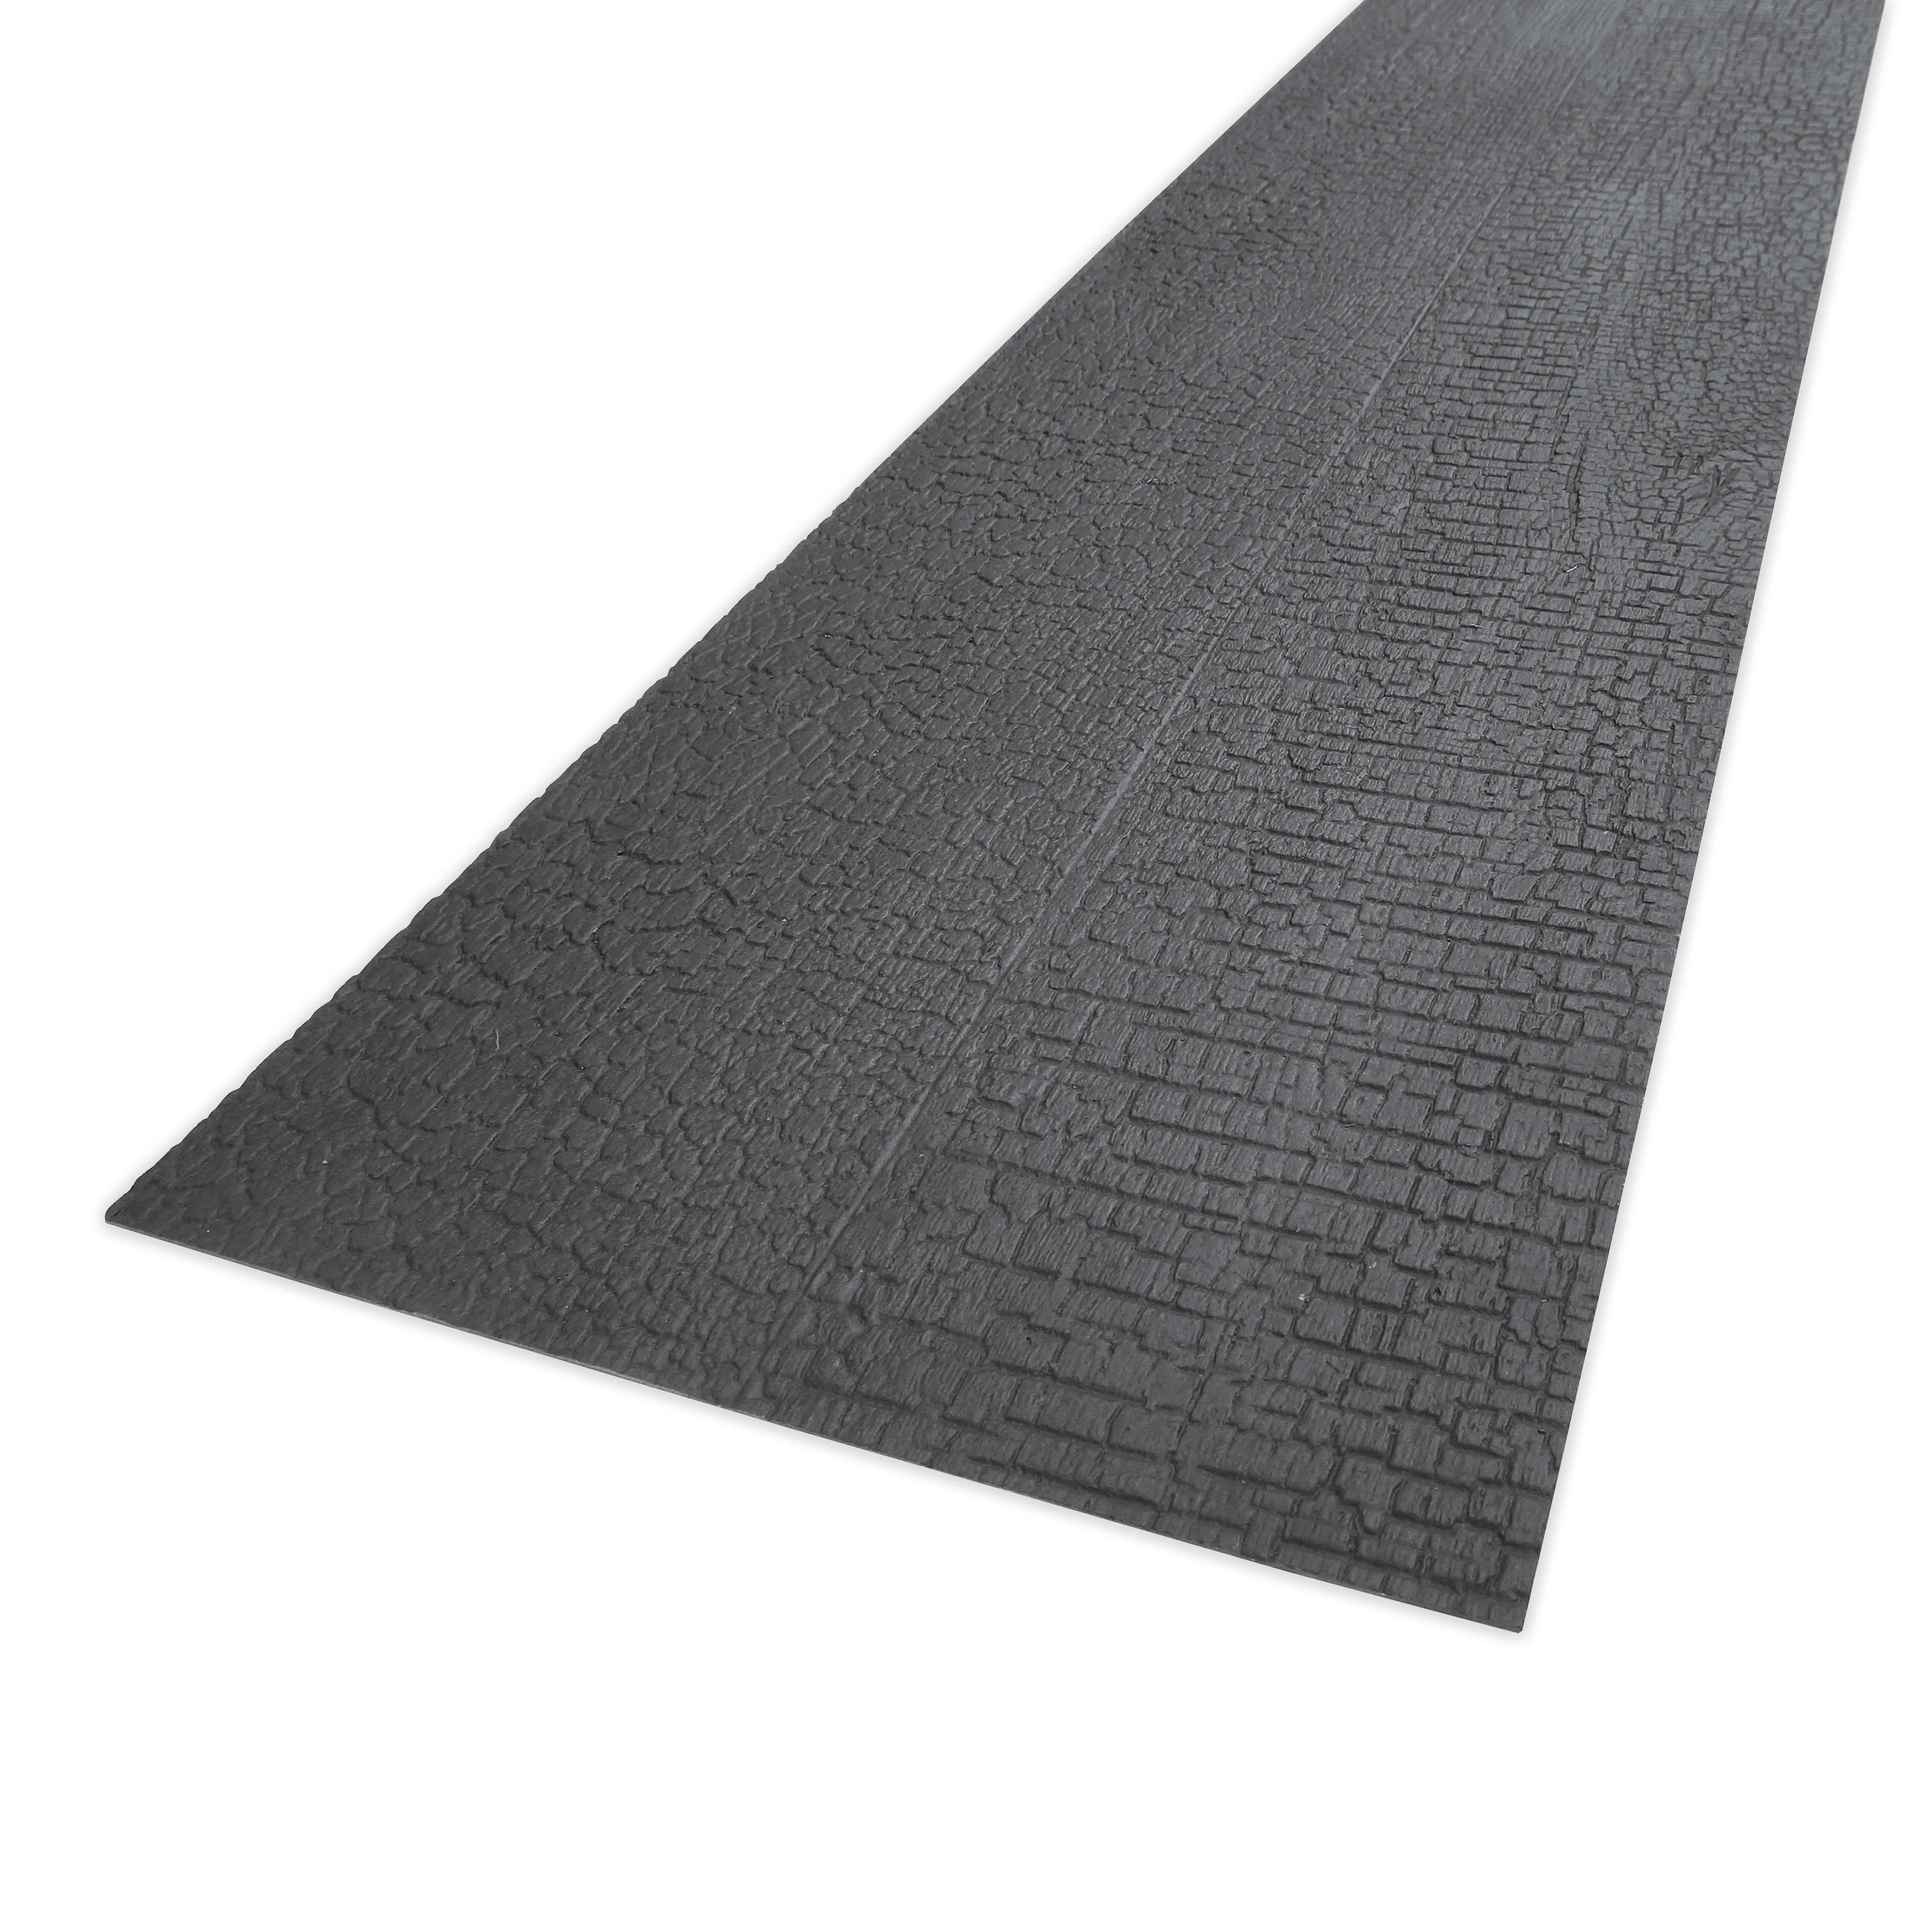
Before diving into repairs, let's talk about what makes this material special. Charcoal burnt wood—often called "shou sugi ban" in traditional Japanese techniques—gets its distinct look from controlled charring. The wood is burned, then brushed to reveal layers of texture, and sealed to protect against rot and pests. This process gives it that rich, almost three-dimensional appearance, with blacks, browns, and even hints of amber depending on the wood type and burning depth. That uniqueness is why repairing it requires a gentle touch—you don't want to erase its history, just patch up the rough spots.
Unlike a plain pine board or even a stained oak slab, charcoal burnt wood has a surface that's both delicate and durable. The charred layer is thin, so deep scratches can go beyond the "burnt" part and into the raw wood underneath. On the flip side, the sealant (usually a clear oil or wax) helps repel water—until it wears thin, leaving the wood vulnerable to stains. So the first step in any repair is figuring out what kind of damage you're dealing with.
Not all damage is created equal. A tiny scratch from a wayward kitchen knife is a world away from a water ring that's seeped into the wood grain. Let's break down the most common issues and how to spot them:
| Damage Type | Signs to Look For | Repair Approach |
|---|---|---|
| Surface Scratches | Shallow, thin marks that don't catch your fingernail when you run it over. They might look lighter than the surrounding area. | Light sanding + touch-up stain |
| Deep Gouges | Deeper marks that your fingernail does catch on. May expose raw, unburnt wood. | Wood filler + sanding + stain matching |
| Water Stains | Cloudy, white spots (surface moisture) or dark, discolored areas (water seeped into wood). | Baking soda paste (surface) or wood bleach (deep) + refinishing |
| Charring Flaws | Peeling or flaking charred layers, often from impact or harsh cleaning. | Stabilizing remaining char + touch-up burning (for pros) or filler + stain |
Pro tip: Grab a flashlight and angle it across the board's surface. The light will make even tiny scratches or dents stand out, so you won't miss anything. It's like giving your board a "damage" (that's Chinese for "checkup"—old habit!).
You don't need a fancy woodworking shop to fix this. Chances are, you've got half these tools in your garage or kitchen drawer. Here's your shopping (or scavenging) list:
Pro Move: If you're nervous about matching the stain, buy a small sample size first. Test it on the back of the board or a hidden corner—charcoal burnt wood can absorb stain unpredictably, so better safe than sorry!
Now, let's get to the good stuff. We'll walk through each damage type with simple, actionable steps. Remember: Go slow. Rushing leads to mistakes, and this board's worth the patience.
What you're fixing: Those tiny, hairline scratches that show up when you drag a plate or a book across the board. They're shallow, so we just need to blend them into the surrounding charred surface.
Step 1: Clean the area. Wipe the scratch with a damp rag to remove dust or grease. Let it dry completely—moisture and sandpaper don't mix.
Step 2: Sand gently. Take the 220-grit sandpaper (the finer one) and sand along the grain of the wood. Use light pressure—you're not trying to remove the char, just smooth the scratch's edges. Imagine you're petting a cat: firm but gentle.
Step 3: Apply stain. Dip a clean rag into the charcoal stain, then blot off the excess (less is more here!). Lightly dab the stain over the sanded area, feathering it out into the surrounding wood. Let it sit for 5 minutes, then wipe off any excess with a dry rag.
Step 4: Seal it. Once the stain is dry (about 24 hours), apply a thin coat of sealant with a clean rag. Let it dry according to the bottle's instructions, then buff lightly with 220-grit sandpaper. Add a second coat if you want extra protection.
What you're fixing: Those nasty dents or chips where you can see raw, unburnt wood. These need filler to rebuild the surface before we stain.
Step 1: Prep the gouge. Use the 120-grit sandpaper to rough up the edges of the gouge. This helps the wood filler stick better. Vacuum up the dust, then wipe with a damp rag.
Step 2: Fill 'er up. Scoop a tiny bit of wood filler onto the putty knife. Press the filler into the gouge, overfilling slightly (it shrinks as it dries). Smooth the surface with the knife, following the wood grain. Let it dry completely—check the filler's package for time (usually 2-4 hours).
Step 3: Sand the filler. Once dry, use 120-grit sandpaper to sand the filler down to the level of the board. Then switch to 220-grit to make it super smooth. Run your finger over it—if it feels bumpy, sand a bit more. If it's too low, add another thin layer of filler and repeat.
Step 4: Stain and seal (like the scratch method). Since the filler is porous, you might need 2 coats of stain to match the surrounding charred wood. Test on a scrap piece of filler first to see how it absorbs the color.
What you're fixing: White, cloudy spots (surface moisture) or dark, blotchy areas (water that's seeped into the wood fibers). Charcoal burnt wood is sealed, but if the sealant wears thin, water can sneak in.
For white spots (surface moisture): Mix equal parts baking soda and water to make a paste. Rub it onto the stain with a soft cloth, following the wood grain. Let it sit for 5 minutes, then wipe off. Repeat if needed—this usually works for fresh stains.
For dark stains (deep moisture): You'll need wood bleach (oxalic acid-based, not chlorine bleach!). Follow the package instructions—wear gloves and work in a well-ventilated area. Apply the bleach with a brush, let it sit 10-15 minutes, then neutralize with water. Once dry, sand lightly with 220-grit, then stain and seal as usual.
What you're fixing: Flaking or peeling charred wood, often from impact (like dropping a heavy pot) or using a harsh cleaner. The goal here is to stabilize the remaining char and hide the missing bits.
Step 1: Remove loose char. Gently scrape off any peeling bits with a putty knife—don't yank, or you'll take off more char than you need to. Vacuum the dust.
Step 2: Fill small gaps with stainable wood filler. If the peeled area is tiny (less than ¼ inch), skip the filler and just sand the edges smooth. For larger areas, apply filler as you did with deep gouges, then sand.
Step 3: Touch up with stain and seal. Here's a trick: Mix a tiny bit of black acrylic paint into your charcoal stain to darken it slightly. The charred layer is darker than the stained wood underneath, so this helps mimic that depth. Apply, seal, and you're done.
Even the best repair can stand out if the finish doesn't match. Here's how to blend it into the rest of the board:
Blend the stain: When applying stain, always feather it out beyond the repair area. For example, if you're fixing a scratch in the middle of the board, stain a 2-inch radius around the scratch. This softens the edge between "repaired" and "original."
Match the sheen: If the rest of the board has a matte finish, don't use satin sealant on the repair. Check the original sealant type—tung oil leaves a more natural, slightly dull finish, while polyurethane is a bit shinier. Stick to what's already there.
Embrace imperfection: Charcoal burnt wood is all about character, so a tiny, slightly darker spot won't ruin the look. In fact, it'll add to the board's story—"Oh, that's where I dropped that mug last winter." Perfection is overrated, anyway.
Now that your board is fixed, let's keep it that way. A little maintenance goes a long way:
Repairing a charcoal burnt wood board isn't just about fixing a material—it's about preserving a piece of your home's personality. These boards aren't mass-produced; they're made to age, to show wear, and to tell stories. By taking the time to sand, fill, stain, and seal, you're not just saving money—you're honoring the craftsmanship that went into creating it.
So the next time you spot a scratch or a chip, don't panic. Grab your sandpaper, your stain, and a little patience. That board's been through a lot—charred by fire, sealed with care, and now, repaired with love. It'll thank you by sticking around for years to come, looking even more beautiful with every passing story.
Recommend Products


