

It was a sunny Saturday morning when I first noticed it—a hairline crack snaking through the Muretto stone (beige) wall in my backyard. That wall, with its warm, earthy tones and subtle texture, had always been the pride of my outdoor space. It held potted herbs, framed the patio where we host summer barbecues, and even survived the chaos of my kids' soccer practice. But now, that tiny crack felt like a scratch on a favorite painting. If you've ever stared at a damaged piece of stone and thought, "What do I do now?"—you're not alone. Let's walk through this together.
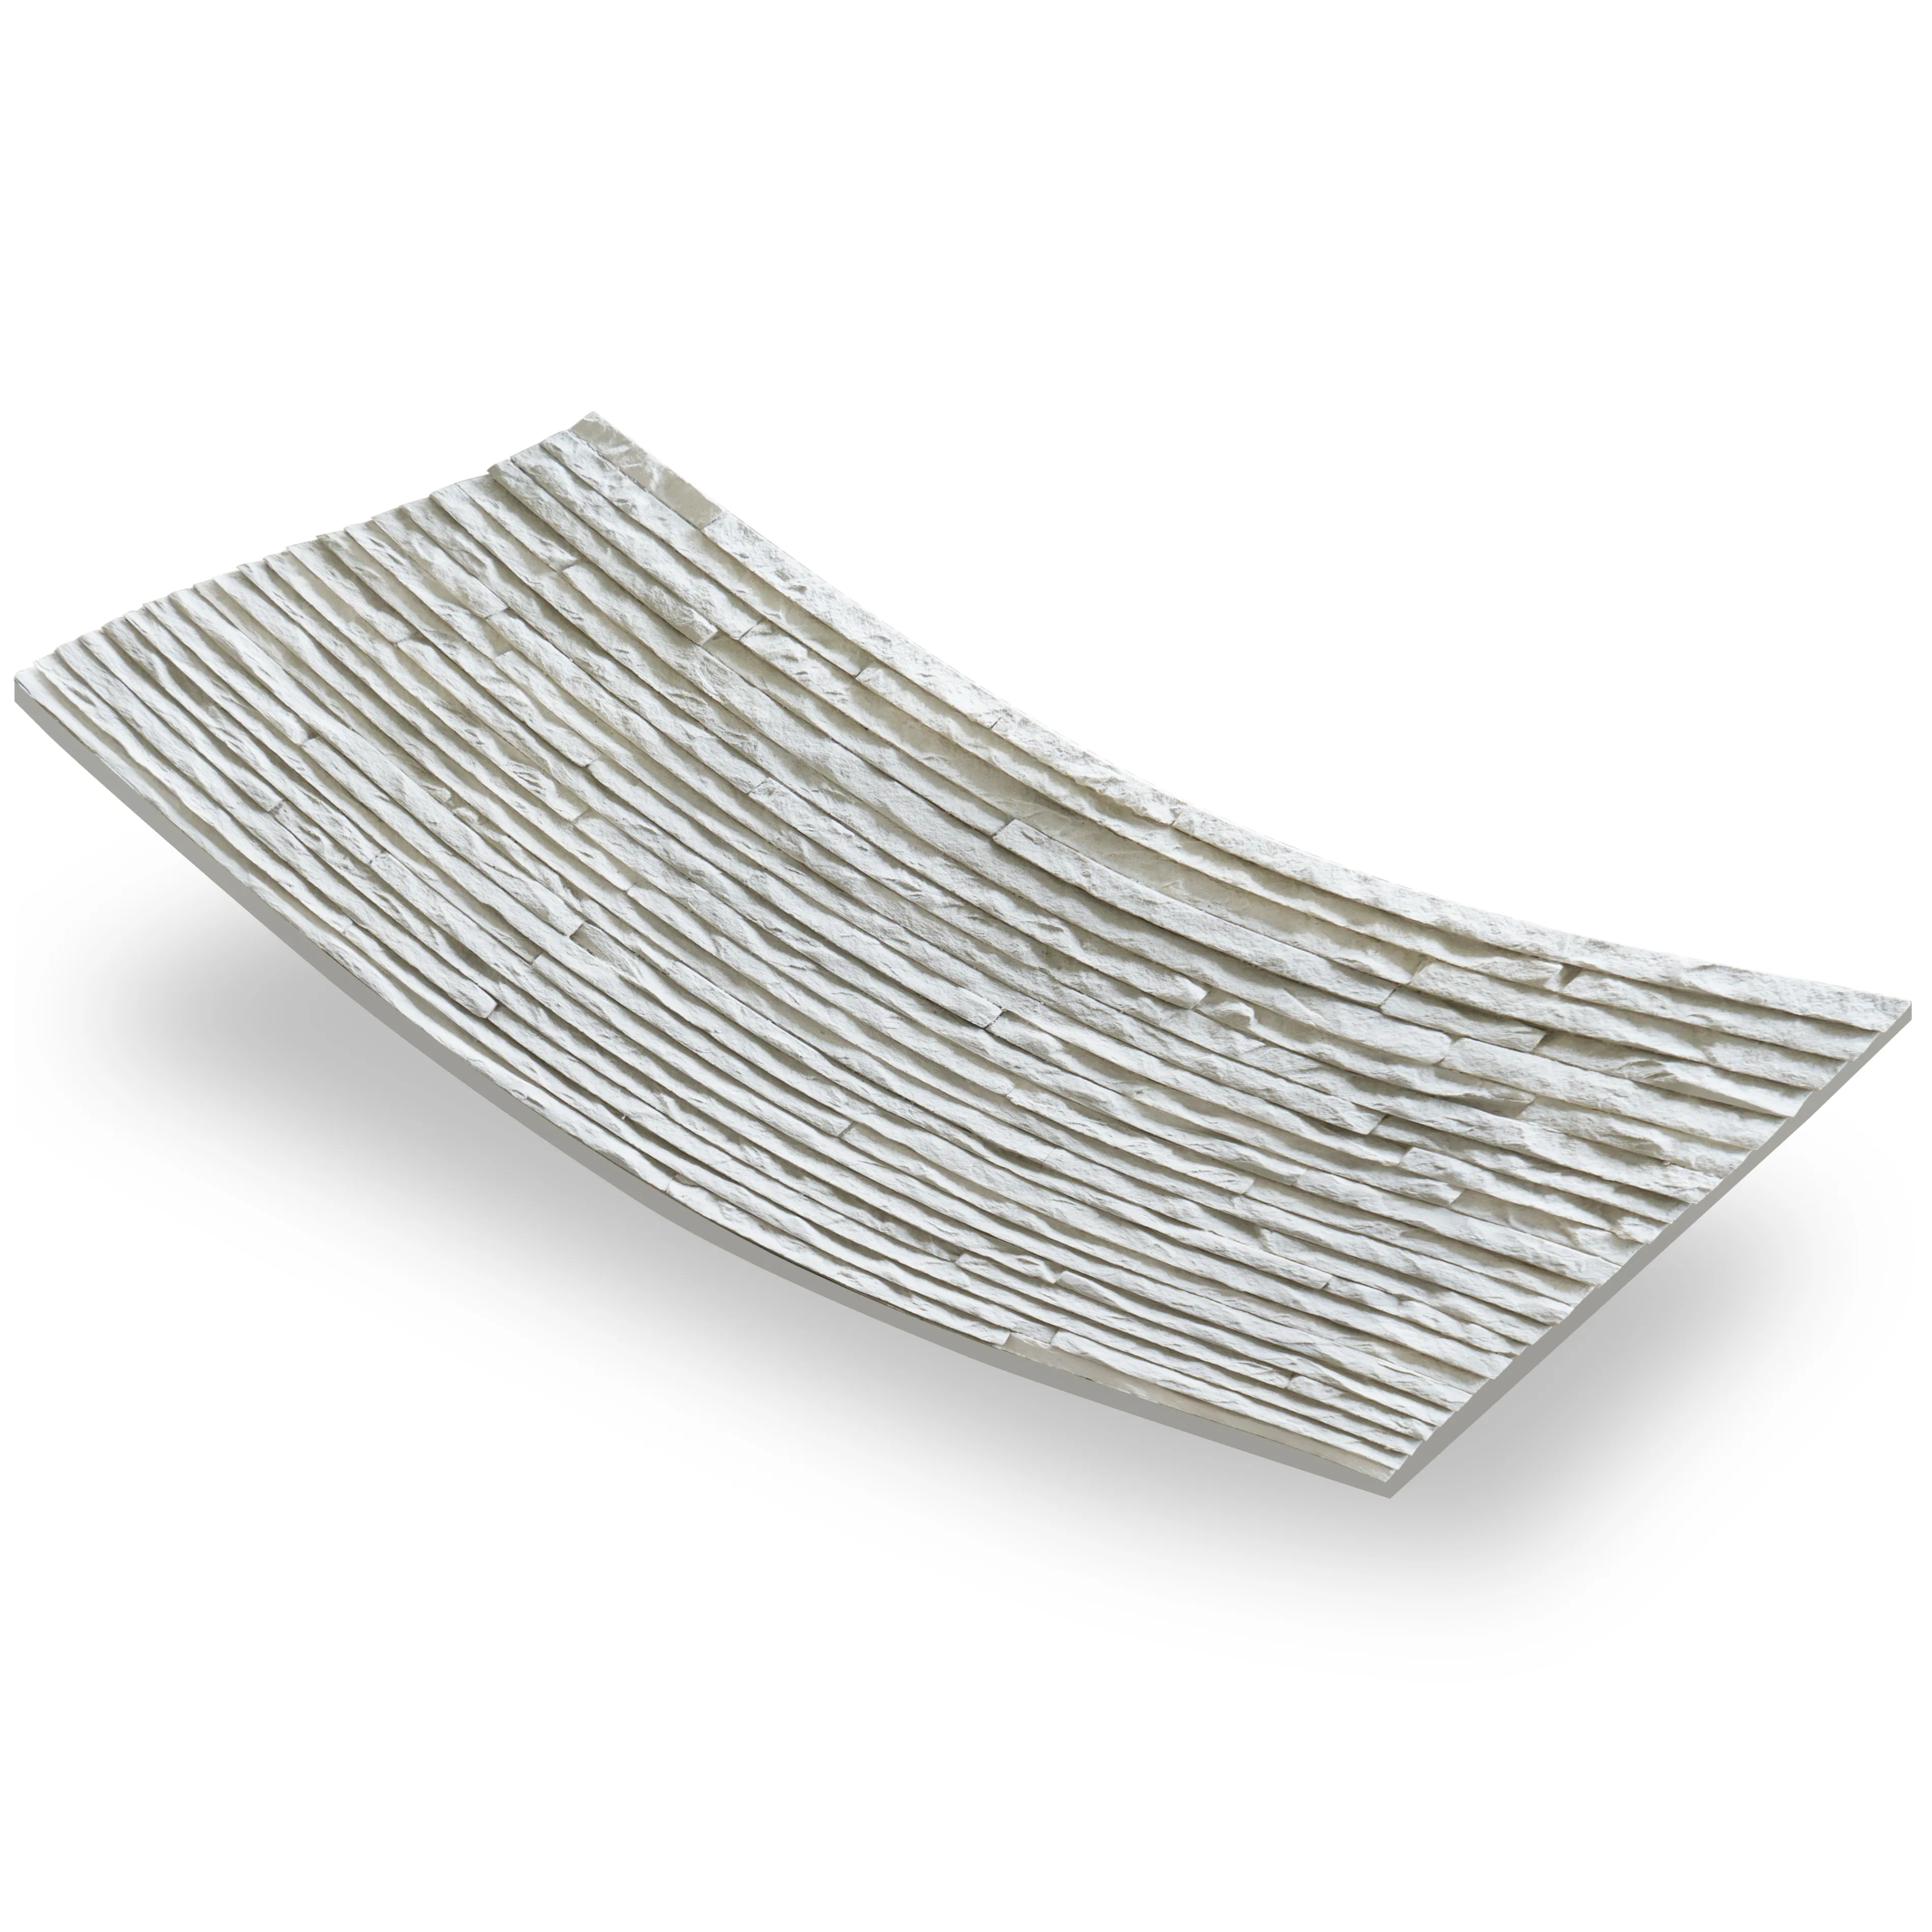
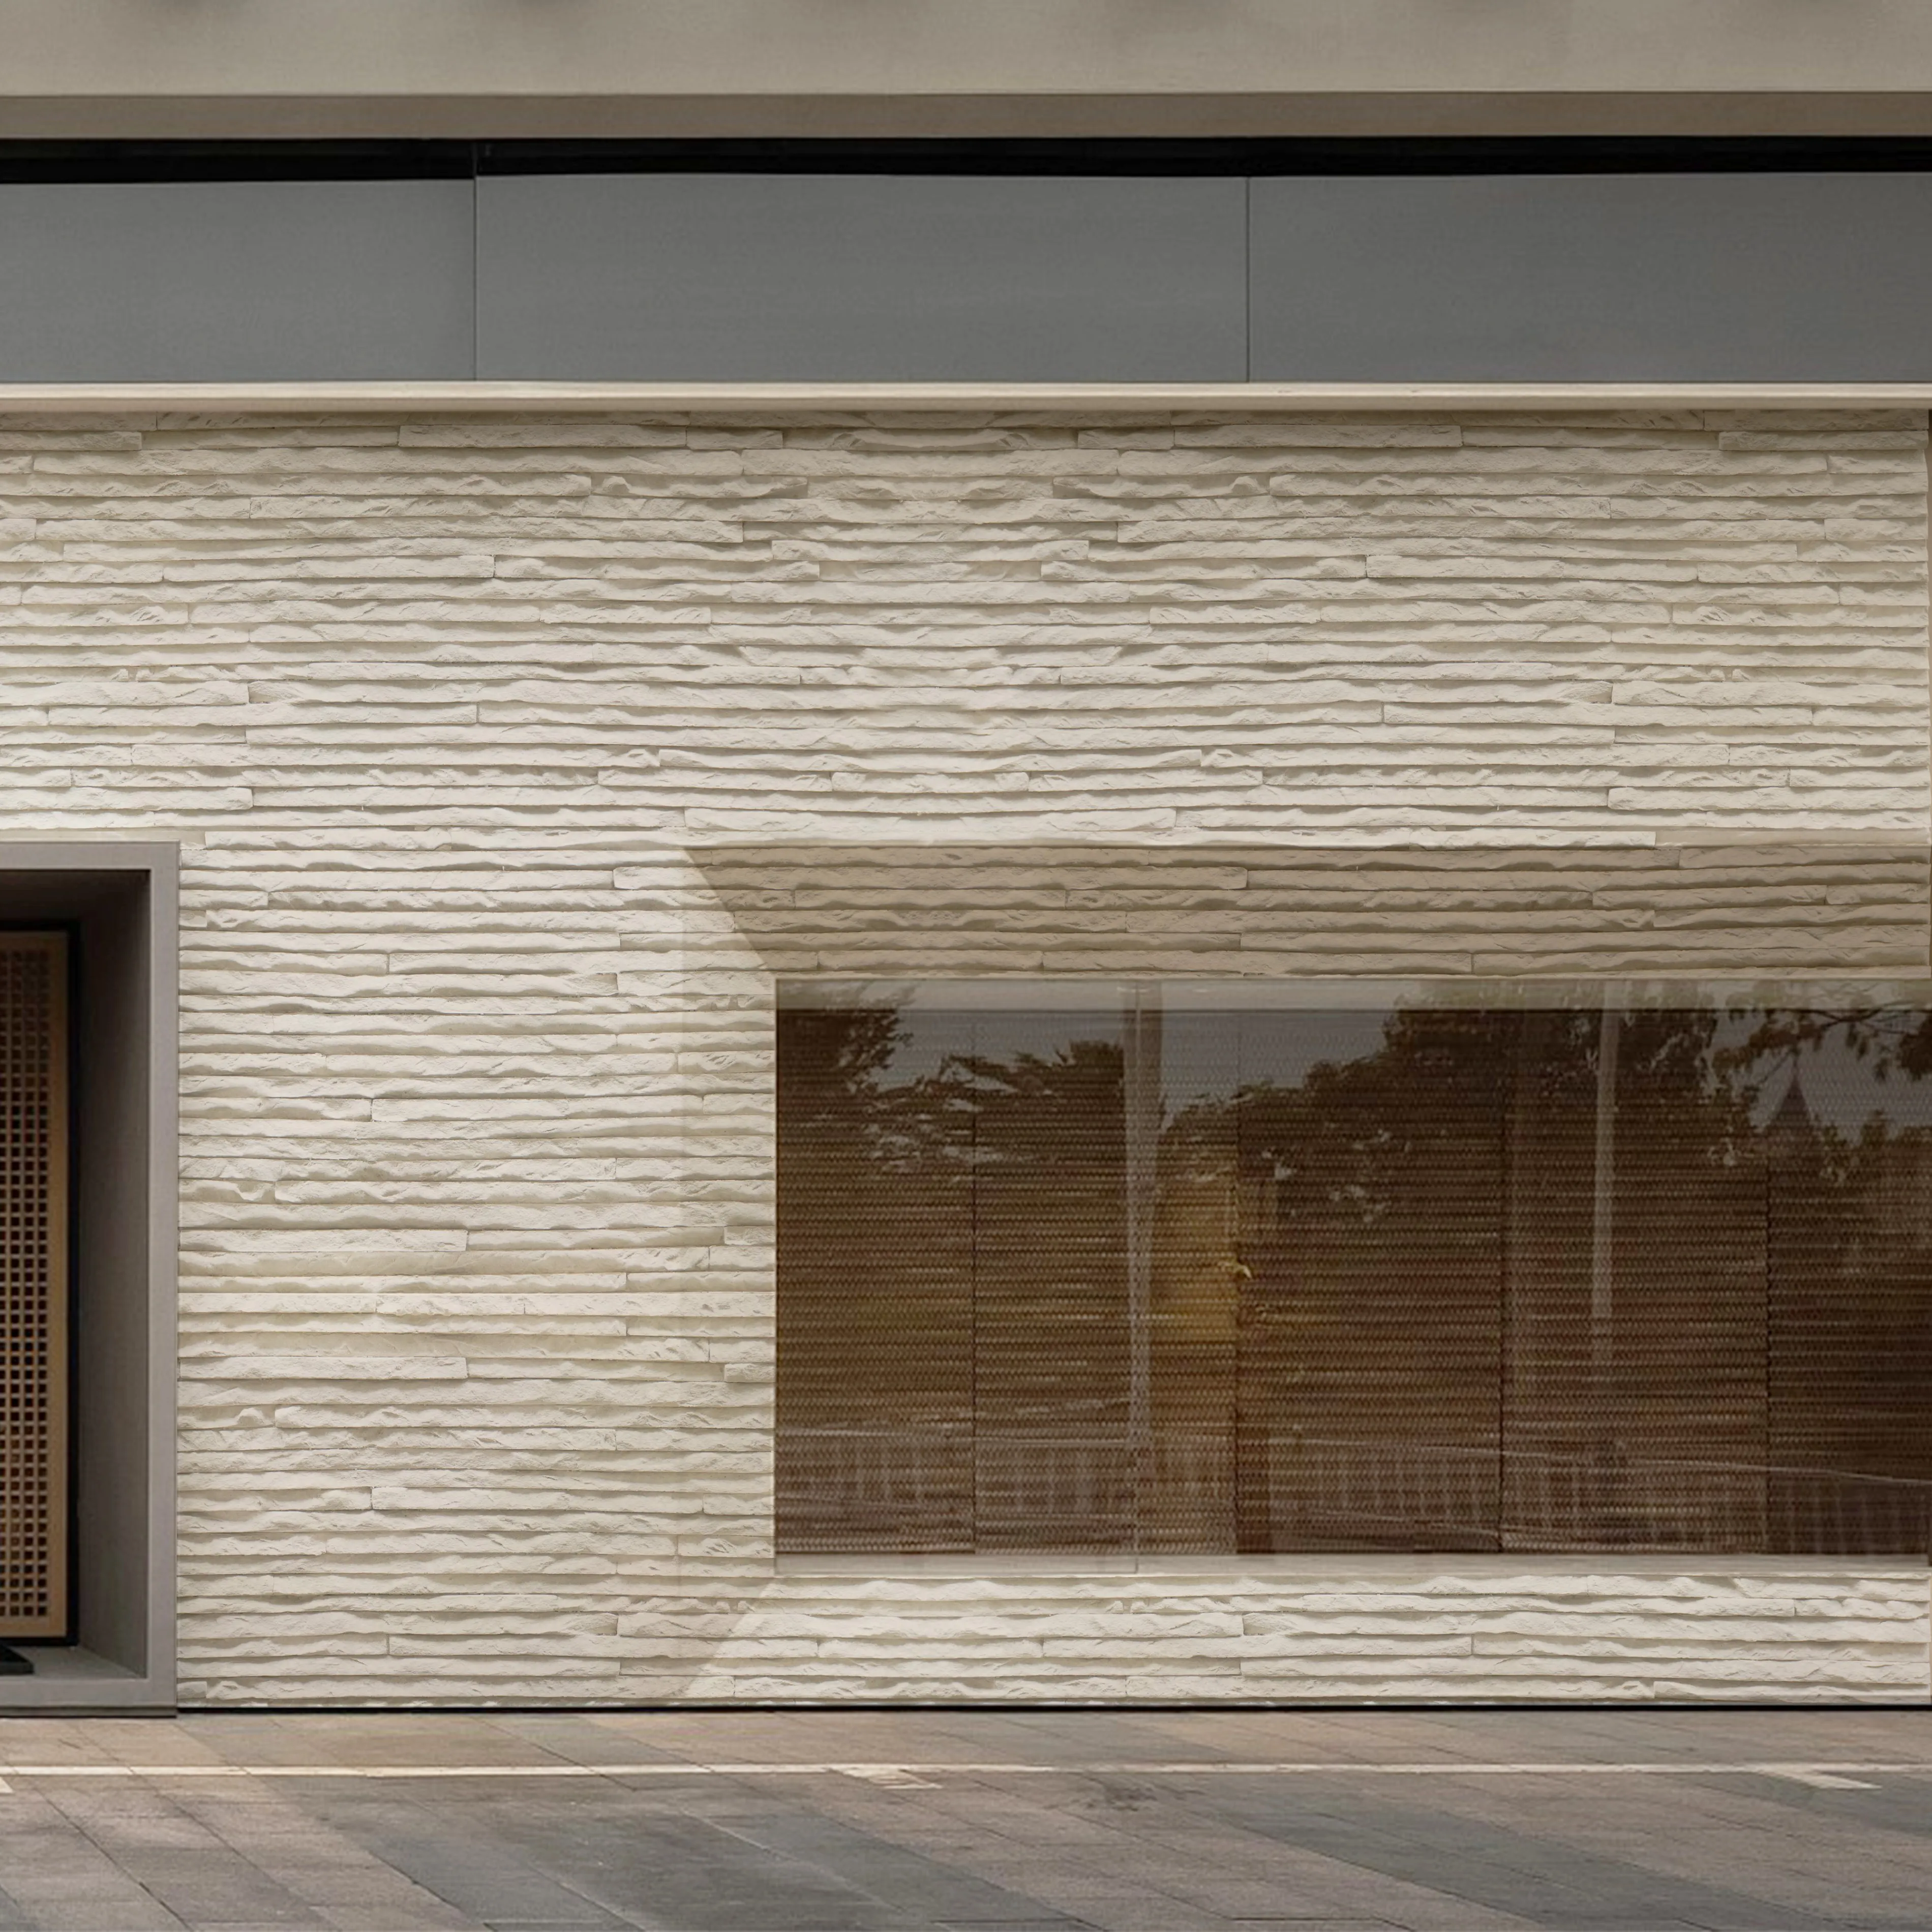
First, let's talk about why you might have fallen for Muretto stone (beige) in the first place. Its soft, sandy hue—reminiscent of sun-warmed beaches or aged parchment—adds warmth to any space without overwhelming it. Unlike sleek marble or glossy granite, Muretto stone has a gentle, lived-in texture: tiny pits, subtle veining, and a matte finish that feels like it's been touched by time. It's the kind of stone that doesn't just "decorate"—it tells a story. You'll find it in cozy kitchen backsplashes, rustic outdoor fireplaces, and even boutique hotel lobbies, where its understated elegance lets other design elements shine.
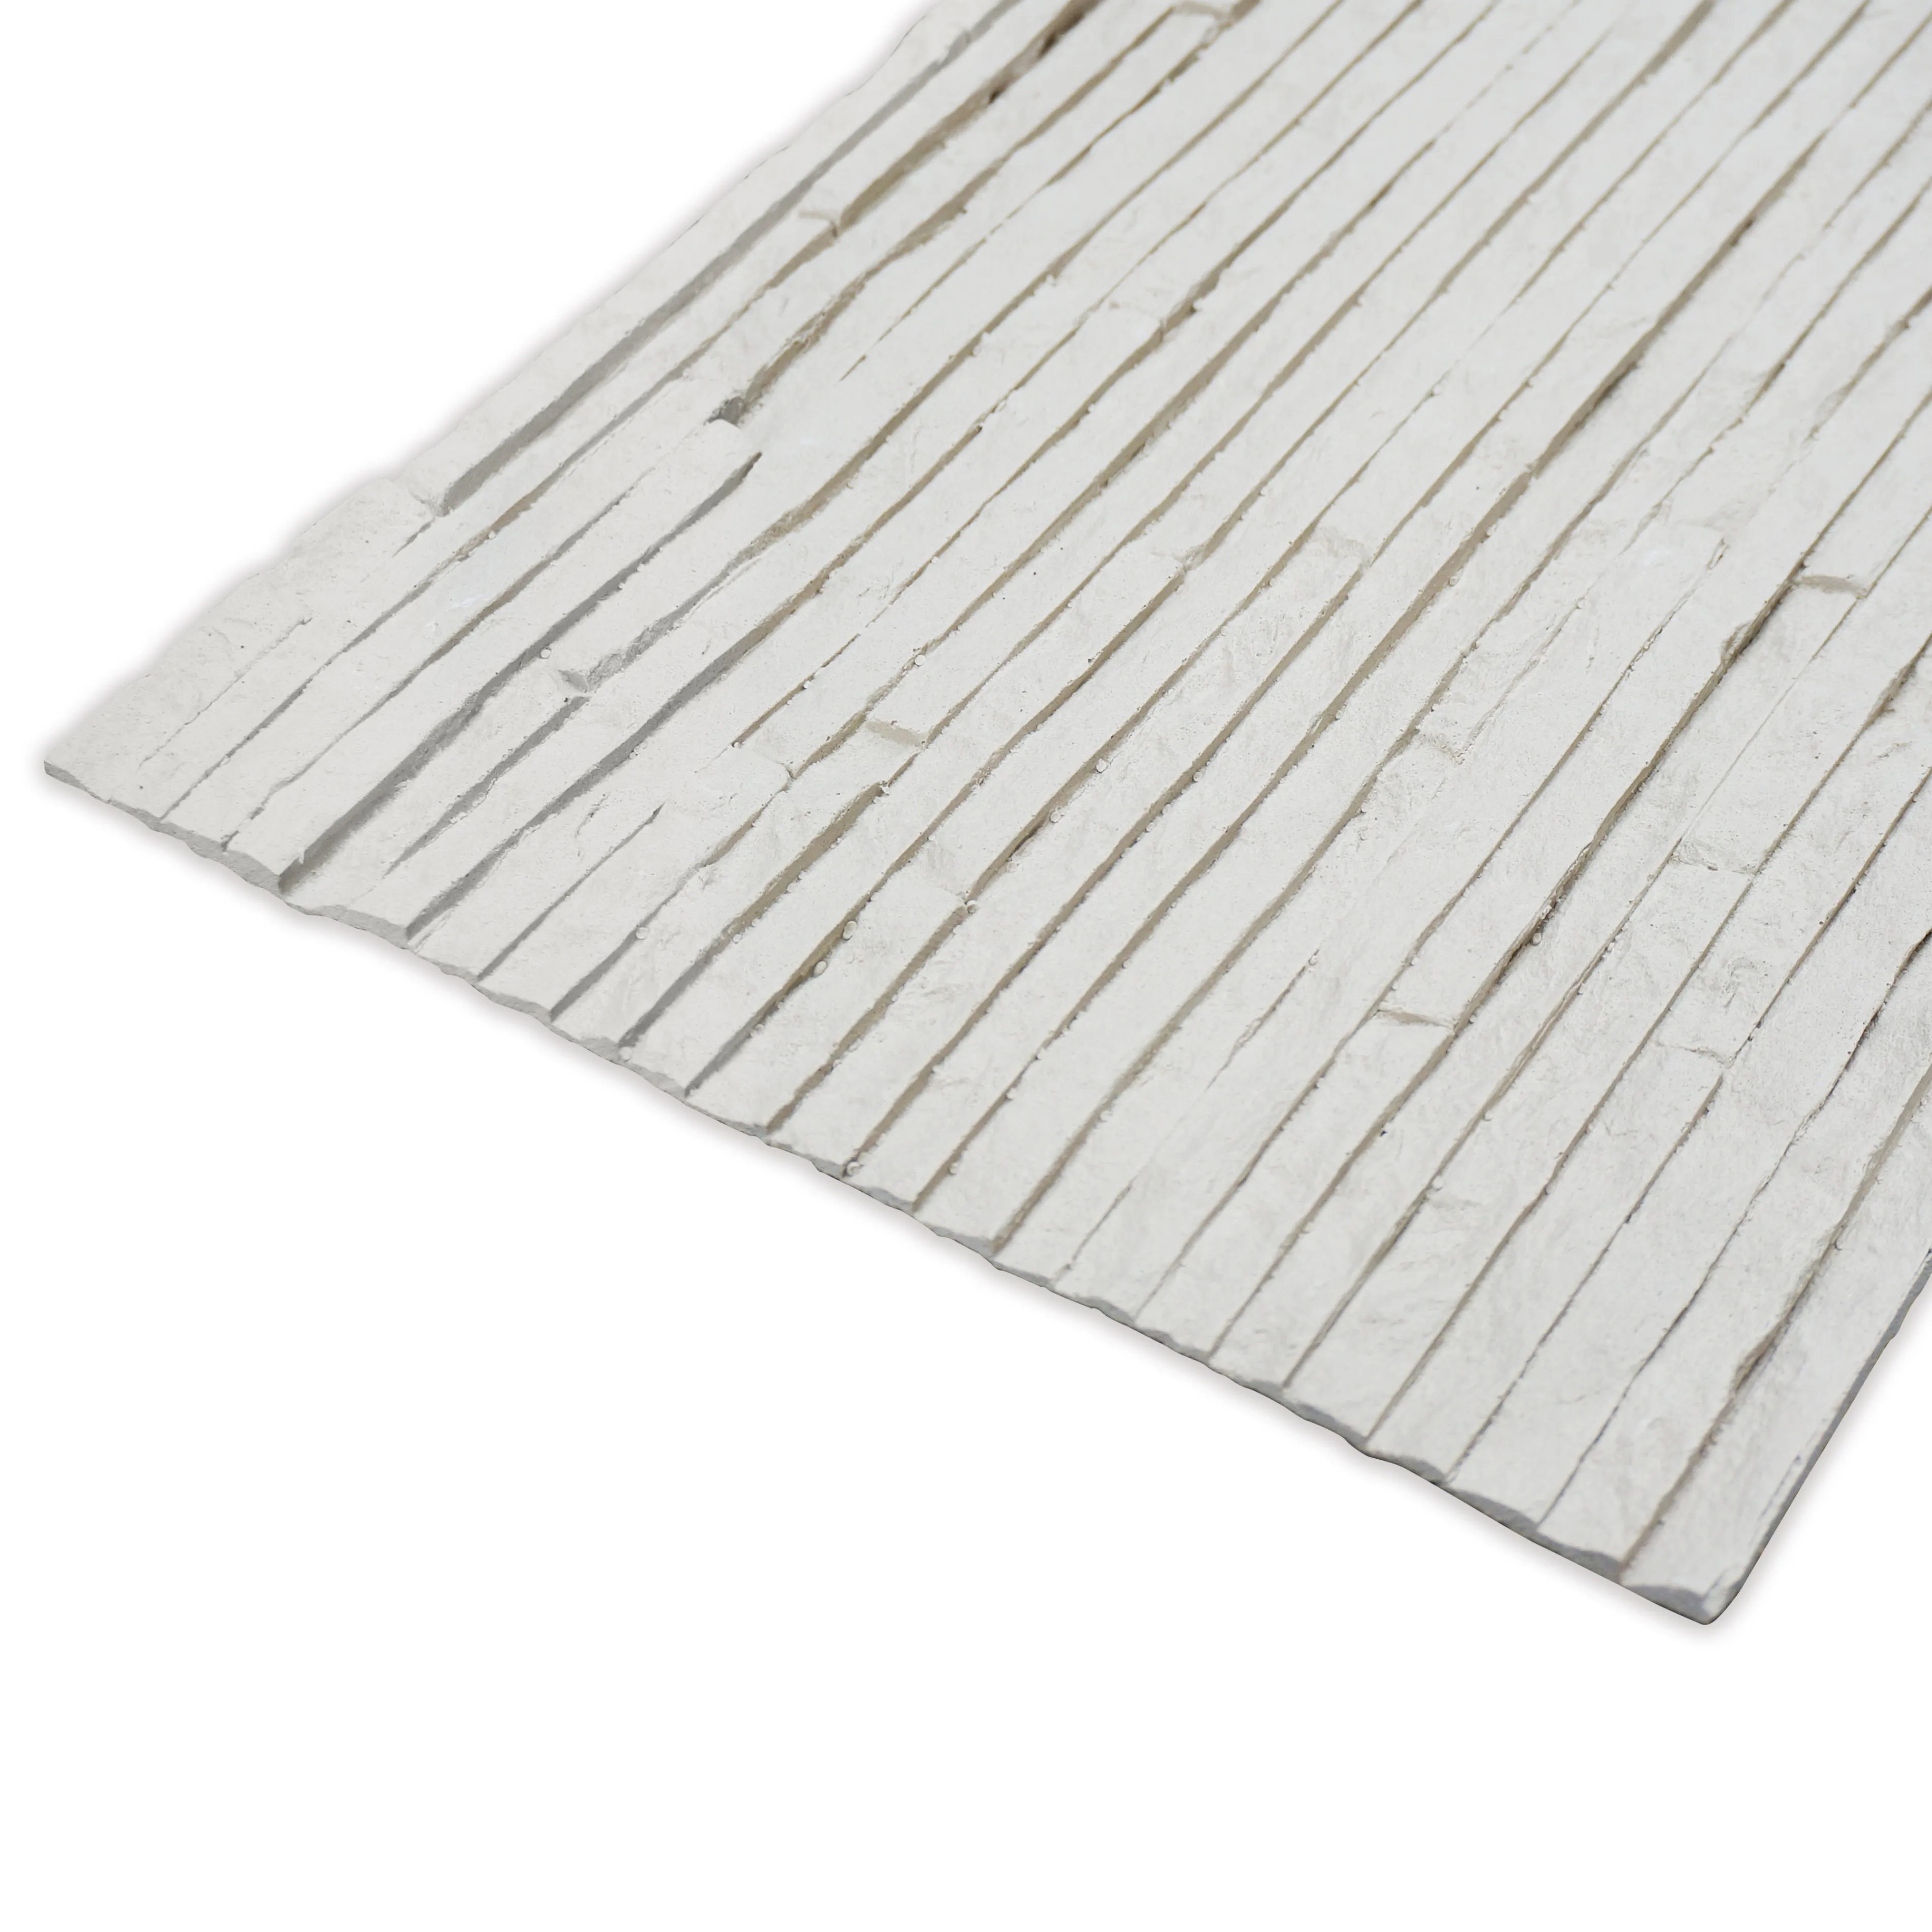
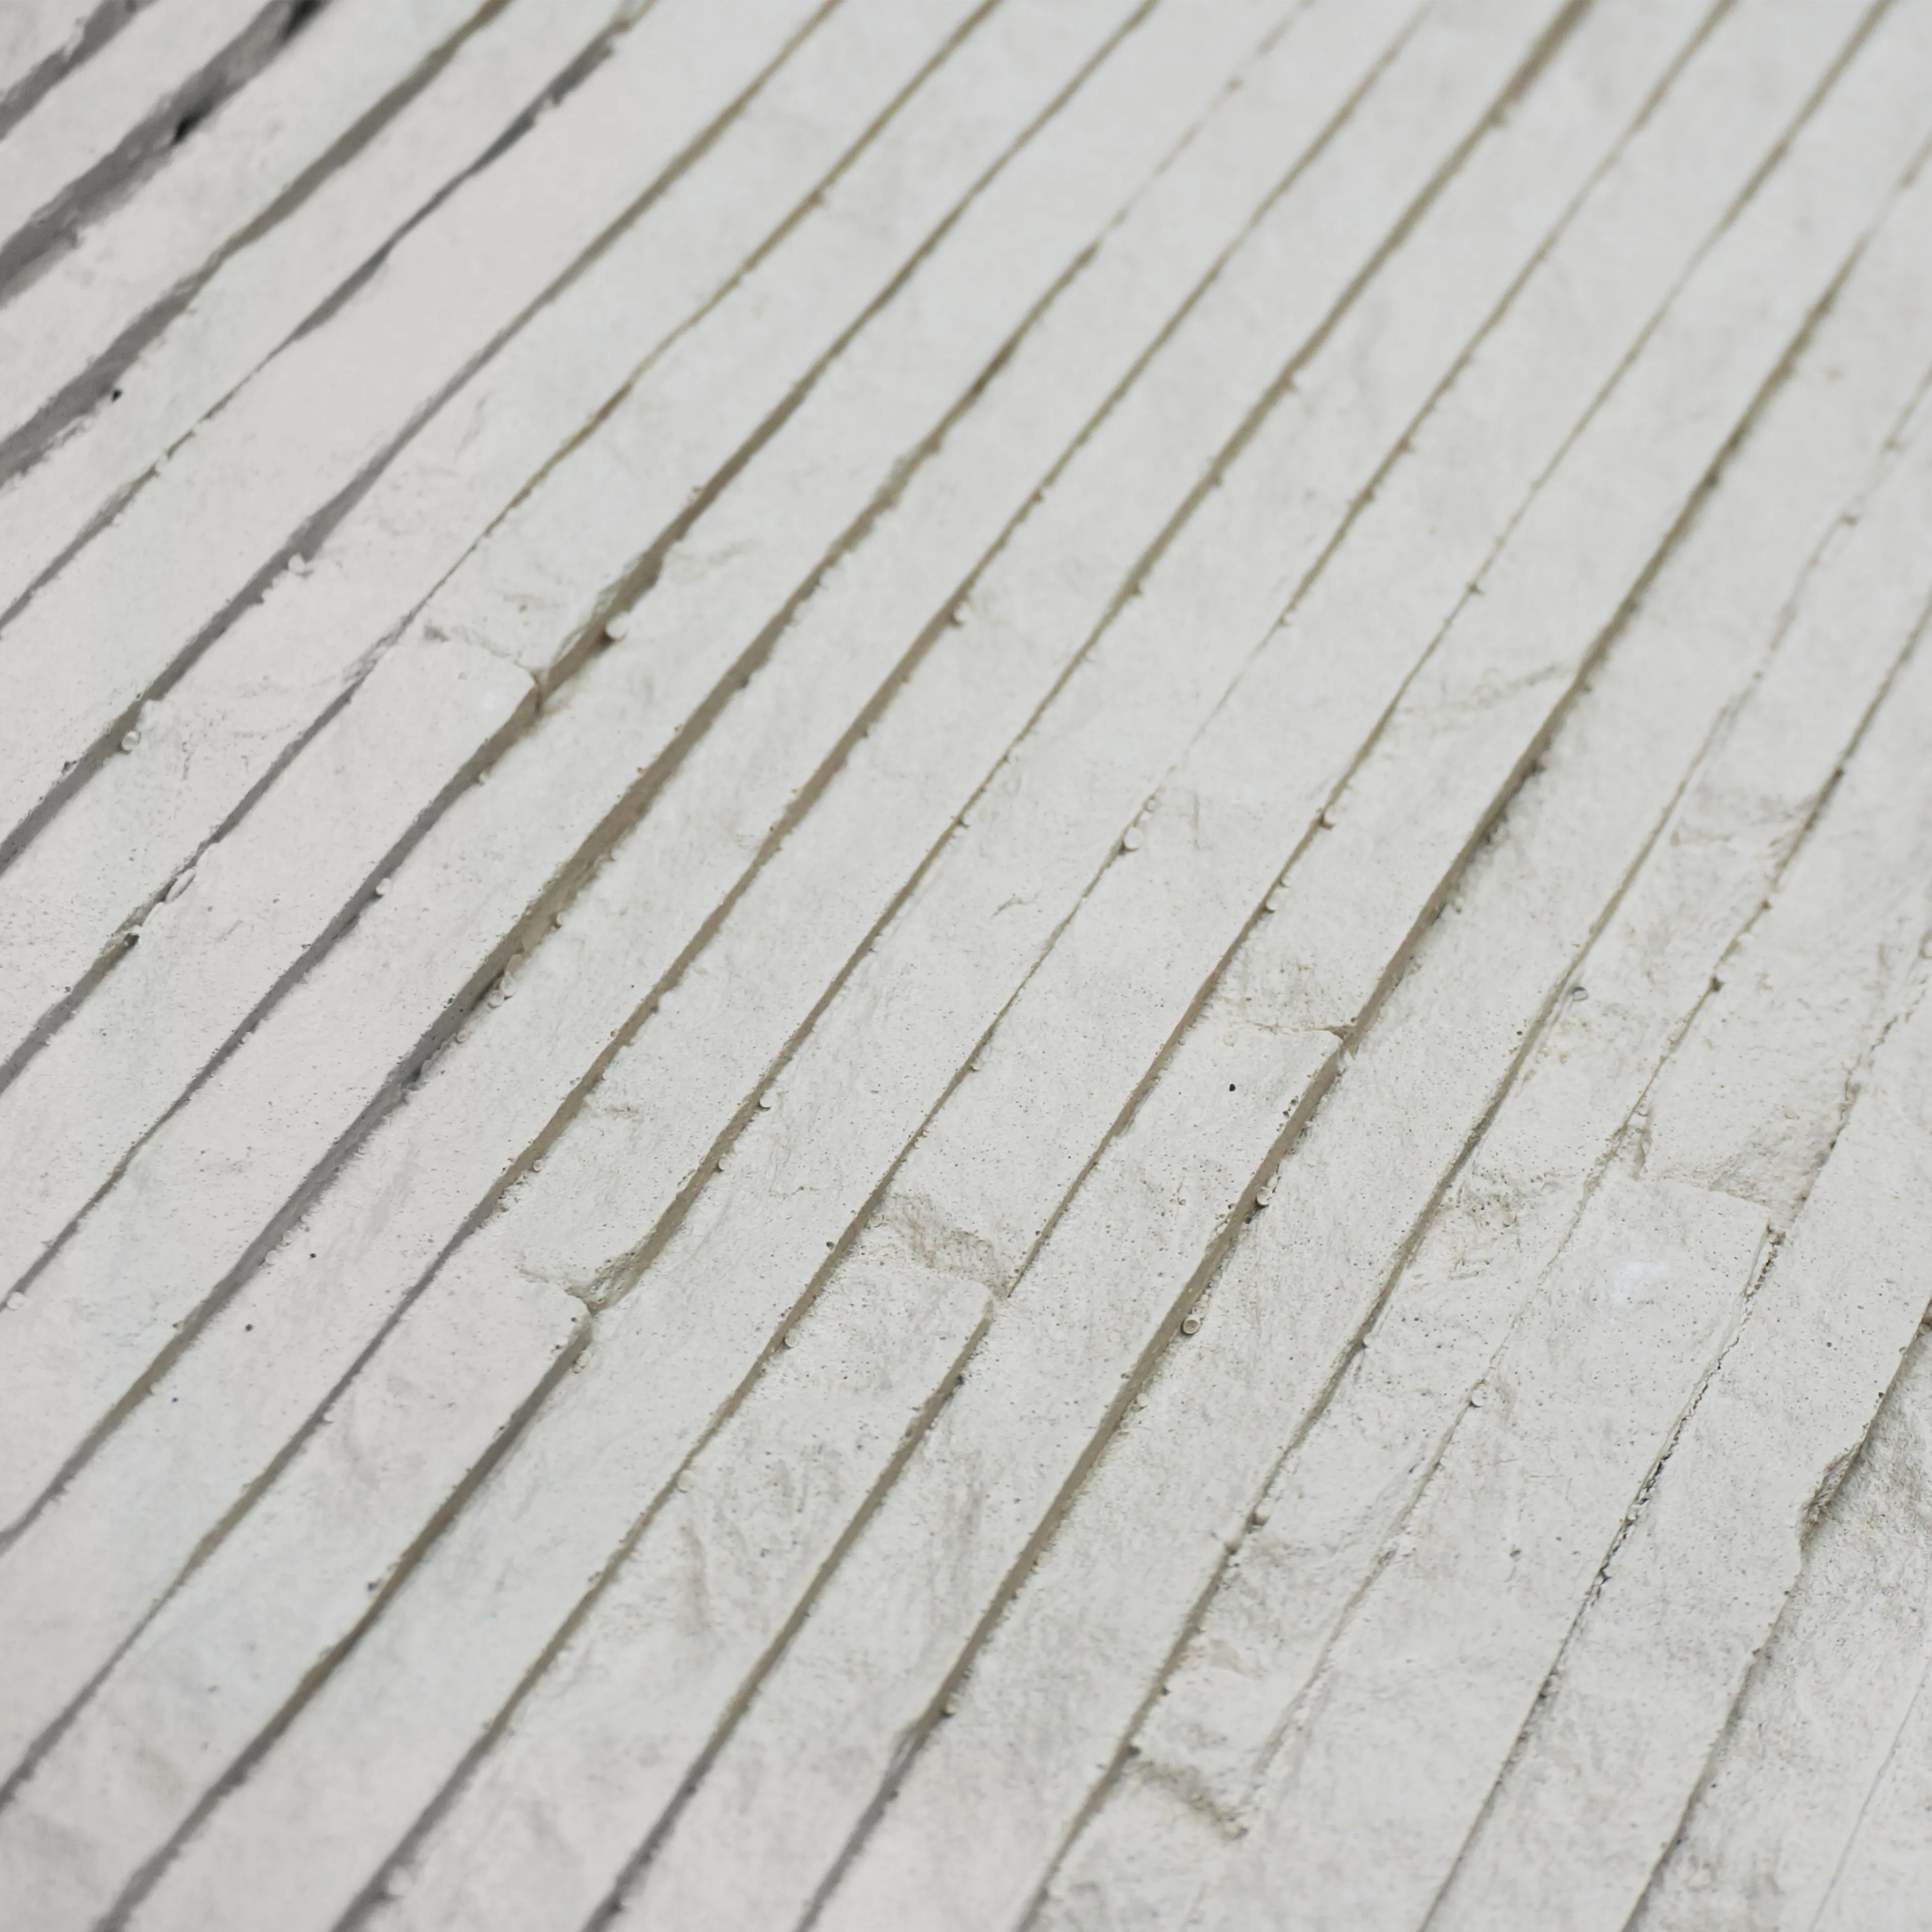
But here's the thing: that same porous, textured surface that makes it charming also makes it vulnerable. Think of it like a sponge—great at absorbing character, but also prone to soaking up moisture, dirt, and the wear and tear of daily life. And when damage happens? It's not just a blemish; it's a threat to the stone's integrity. Let's break down why your Muretto stone (beige) might be acting up.
Let's start with the obvious culprits. If your Muretto stone is outdoors, Mother Nature is probably the main suspect. Rainwater seeps into tiny pores, and when temperatures drop below freezing, that water expands—like a mini ice bomb inside the stone. Over time, this freeze-thaw cycle can weaken the structure, leading to cracks. Then there's UV radiation: that bright summer sun might make your patio look lovely, but it can fade the stone's color, turning that rich beige into a washed-out version of itself.
Indoors, the threats are sneakier. Ever placed a hot pot directly on a Muretto stone countertop? The sudden heat can cause thermal shock, leading to tiny fractures. Or maybe your kids decided to use the stone wall as a backdrop for their soccer practice (guilty). A stray ball or a wayward toy truck can chip the edge, leaving a jagged spot that catches your eye every time you walk by.
Moisture is another silent enemy. Bathrooms or kitchens with poor ventilation can trap steam, which seeps into the stone and encourages mold or mildew. Even something as simple as a leaky faucet near a Muretto stone backsplash can lead to discoloration over time. And let's not forget age—like all things, stone wears down. If your home is older, the mortar holding the Muretto stones together might be crumbling, making the whole structure wobbly.
Okay, so you've identified the problem—a small chip, a hairline crack, or a minor stain. Before you panic and call the pros, let's see if this is a job you can handle yourself. DIY stone repair isn't about being a master craftsman; it's about patience, the right tools, and a little trial and error. Let's walk through the steps, like we're chatting over a cup of coffee.
Think of this as prepping for a craft project. You'll need:
Pro tip: If you're dealing with a stain (like coffee or wine), start with a pH-neutral cleaner (avoid vinegar or bleach—they can etch the stone!). Mix a little dish soap with warm water, gently scrub with a soft brush, and rinse. For oil-based stains, try a poultice: mix baking soda with water to make a paste, apply to the stain, cover with plastic wrap, and let sit overnight. The baking soda should draw out the oil.
This is the most important step—skipping it is like painting a wall without sanding first. Use the soft brush to clean the damaged area thoroughly. If there's loose stone or crumbling mortar, gently tap it with the chisel and hammer to remove it. You want a clean, slightly rough surface so the new mortar can "grab" onto something. Think of it like roughing up a canvas before painting—adhesion is key.
Once the area is clean, dampen it with a sponge (don't soak it—just a light mist). This helps the mortar bond better; dry stone sucks moisture out of mortar too quickly, making it weak. Then, apply masking tape around the damaged spot to protect the surrounding stone from accidental mortar smudges. Trust me, cleanup is way easier with tape.
Now, mix your lime mortar according to the package instructions—usually, it's a 3:1 ratio of sand to lime, plus water until it's the consistency of thick peanut butter. Add a pinch of that Muretto stone (beige) dust to the mix, stirring until the color matches the stone as closely as possible. It doesn't have to be perfect—stone is naturally varied, and a little difference adds character.
Using a putty knife or your fingers (wear gloves!), press the mortar into the crack or chip. Fill it slightly above the surface—mortar shrinks as it dries. Then, use the edge of the putty knife to smooth the mortar, mimicking the texture of the surrounding Muretto stone. If the stone has a rough surface, gently press a brush into the wet mortar to replicate that texture. This is where the "art" comes in—take your time, and don't stress if it looks a little messy at first.
I know—you want to admire your handiwork right away. But patience is key here. Let the mortar dry for at least 24 hours (longer if it's humid). Resist the urge to touch it or clean it too soon. Once it's dry, gently brush away any excess mortar with a soft brush. If there are smudges, dampen a sponge and wipe them away—just don't scrub, or you might loosen the repair.
And that's it! For small chips or cracks, this should do the trick. My friend Lisa did this for a chip in her Muretto stone patio last summer. She said, "It's not invisible, but unless you're inches away, you can't tell. And honestly? I kind of like that it has a little 'story' now."
Now, let's be real: not all damage is a DIY project. There are times when rolling up your sleeves will do more harm than good. Think of it like fixing a car—you can change a tire, but you probably shouldn't rebuild the engine. Here are the red flags that mean it's time to call a professional stone mason:
If you see large cracks (wider than a credit card), or if the stone is bulging, leaning, or crumbling in sections, this isn't just a cosmetic issue—it could be a sign the structure is unstable. For example, if your Muretto stone retaining wall is bowing, that could mean the soil behind it is pushing too hard, and a collapse is possible. Professionals can assess if the damage is superficial or if there's a deeper problem (like rotting wood supports or poor drainage) that needs fixing first.
If your home is a historic property, or if the Muretto stone (beige) is part of a unique design (like a custom fireplace or a heritage-listed facade), DIY repairs could actually decrease its value. Historic stonework often uses traditional techniques and materials (like lime mortar mixed with horsehair—yes, really!) that modern hardware stores don't sell. Professionals who specialize in historic preservation know how to match materials and methods to keep the stone's character intact.
We've all been there: you try to fix something, and it only gets worse. Maybe the mortar you used crumbled, or the color is way off, or you accidentally chipped more stone while trying to repair the first chip. It's okay to admit defeat! Professionals have seen it all, and they can undo DIY mistakes without making things worse. My neighbor tried to fill a large crack in his Muretto stone wall with cement (big no-no—cement is too rigid for Muretto stone), and it cracked again within months. A pro came in, removed the cement, and used lime mortar instead—it's been holding strong for two years now.
If the damaged area is front and center—like the focal wall in your living room—you'll want the repair to be nearly invisible. Professionals have access to specialized materials, like custom-dyed mortars or stone dust from the same quarry where your Muretto stone was sourced. They can also use techniques like "patching with stone fragments" (gluing small pieces of matching stone into the damaged area) for a seamless look. For example, if you have a rare travertine (beige) accent wall, a pro can track down the exact shade and texture to make the repair blend in.
Still on the fence? Let's compare the two options side by side. Think of this as your "repair decision cheat sheet."
| Aspect | DIY Repair | Professional Repair |
|---|---|---|
| Cost | $50–$150 (supplies only). Cheaper upfront, but risk of redo costs if it fails. | $200–$800+ (depends on damage size and location). More expensive, but reliable results. |
| Time | A few hours to a weekend (including drying time). | 1–3 days (professionals work faster and have better tools). |
| Skill Level Needed | Beginner-friendly for small, cosmetic issues. No prior experience needed, just patience. | Years of training. Professionals know stone types, mortar mixes, and structural repair. |
| Best For | Small chips, hairline cracks, minor stains, or if you enjoy DIY projects. | Large cracks, structural damage, historic stone, or if you want a flawless finish. |
Whether you went DIY or pro, the work isn't done once the repair is dry. To keep your Muretto stone (beige) looking its best, a little maintenance goes a long way. Here are my go-to tips:
At the end of the day, repairing Muretto stone (beige) isn't just about fixing a crack or a chip—it's about preserving a piece of your home's story. Whether you mix mortar in your garage or trust a pro to handle the heavy lifting, you're investing in the beauty and longevity of a material that will outlive us all. And isn't that something? A stone that will one day tell the story of how you cared for it, of the summer barbecues, the rainy afternoons, and the little repairs that kept it standing.
So take a deep breath. You've got this. And if you ever doubt yourself? Remember: even the most beautiful stone has a few flaws—and that's what makes it perfect.
Recommend Products


