
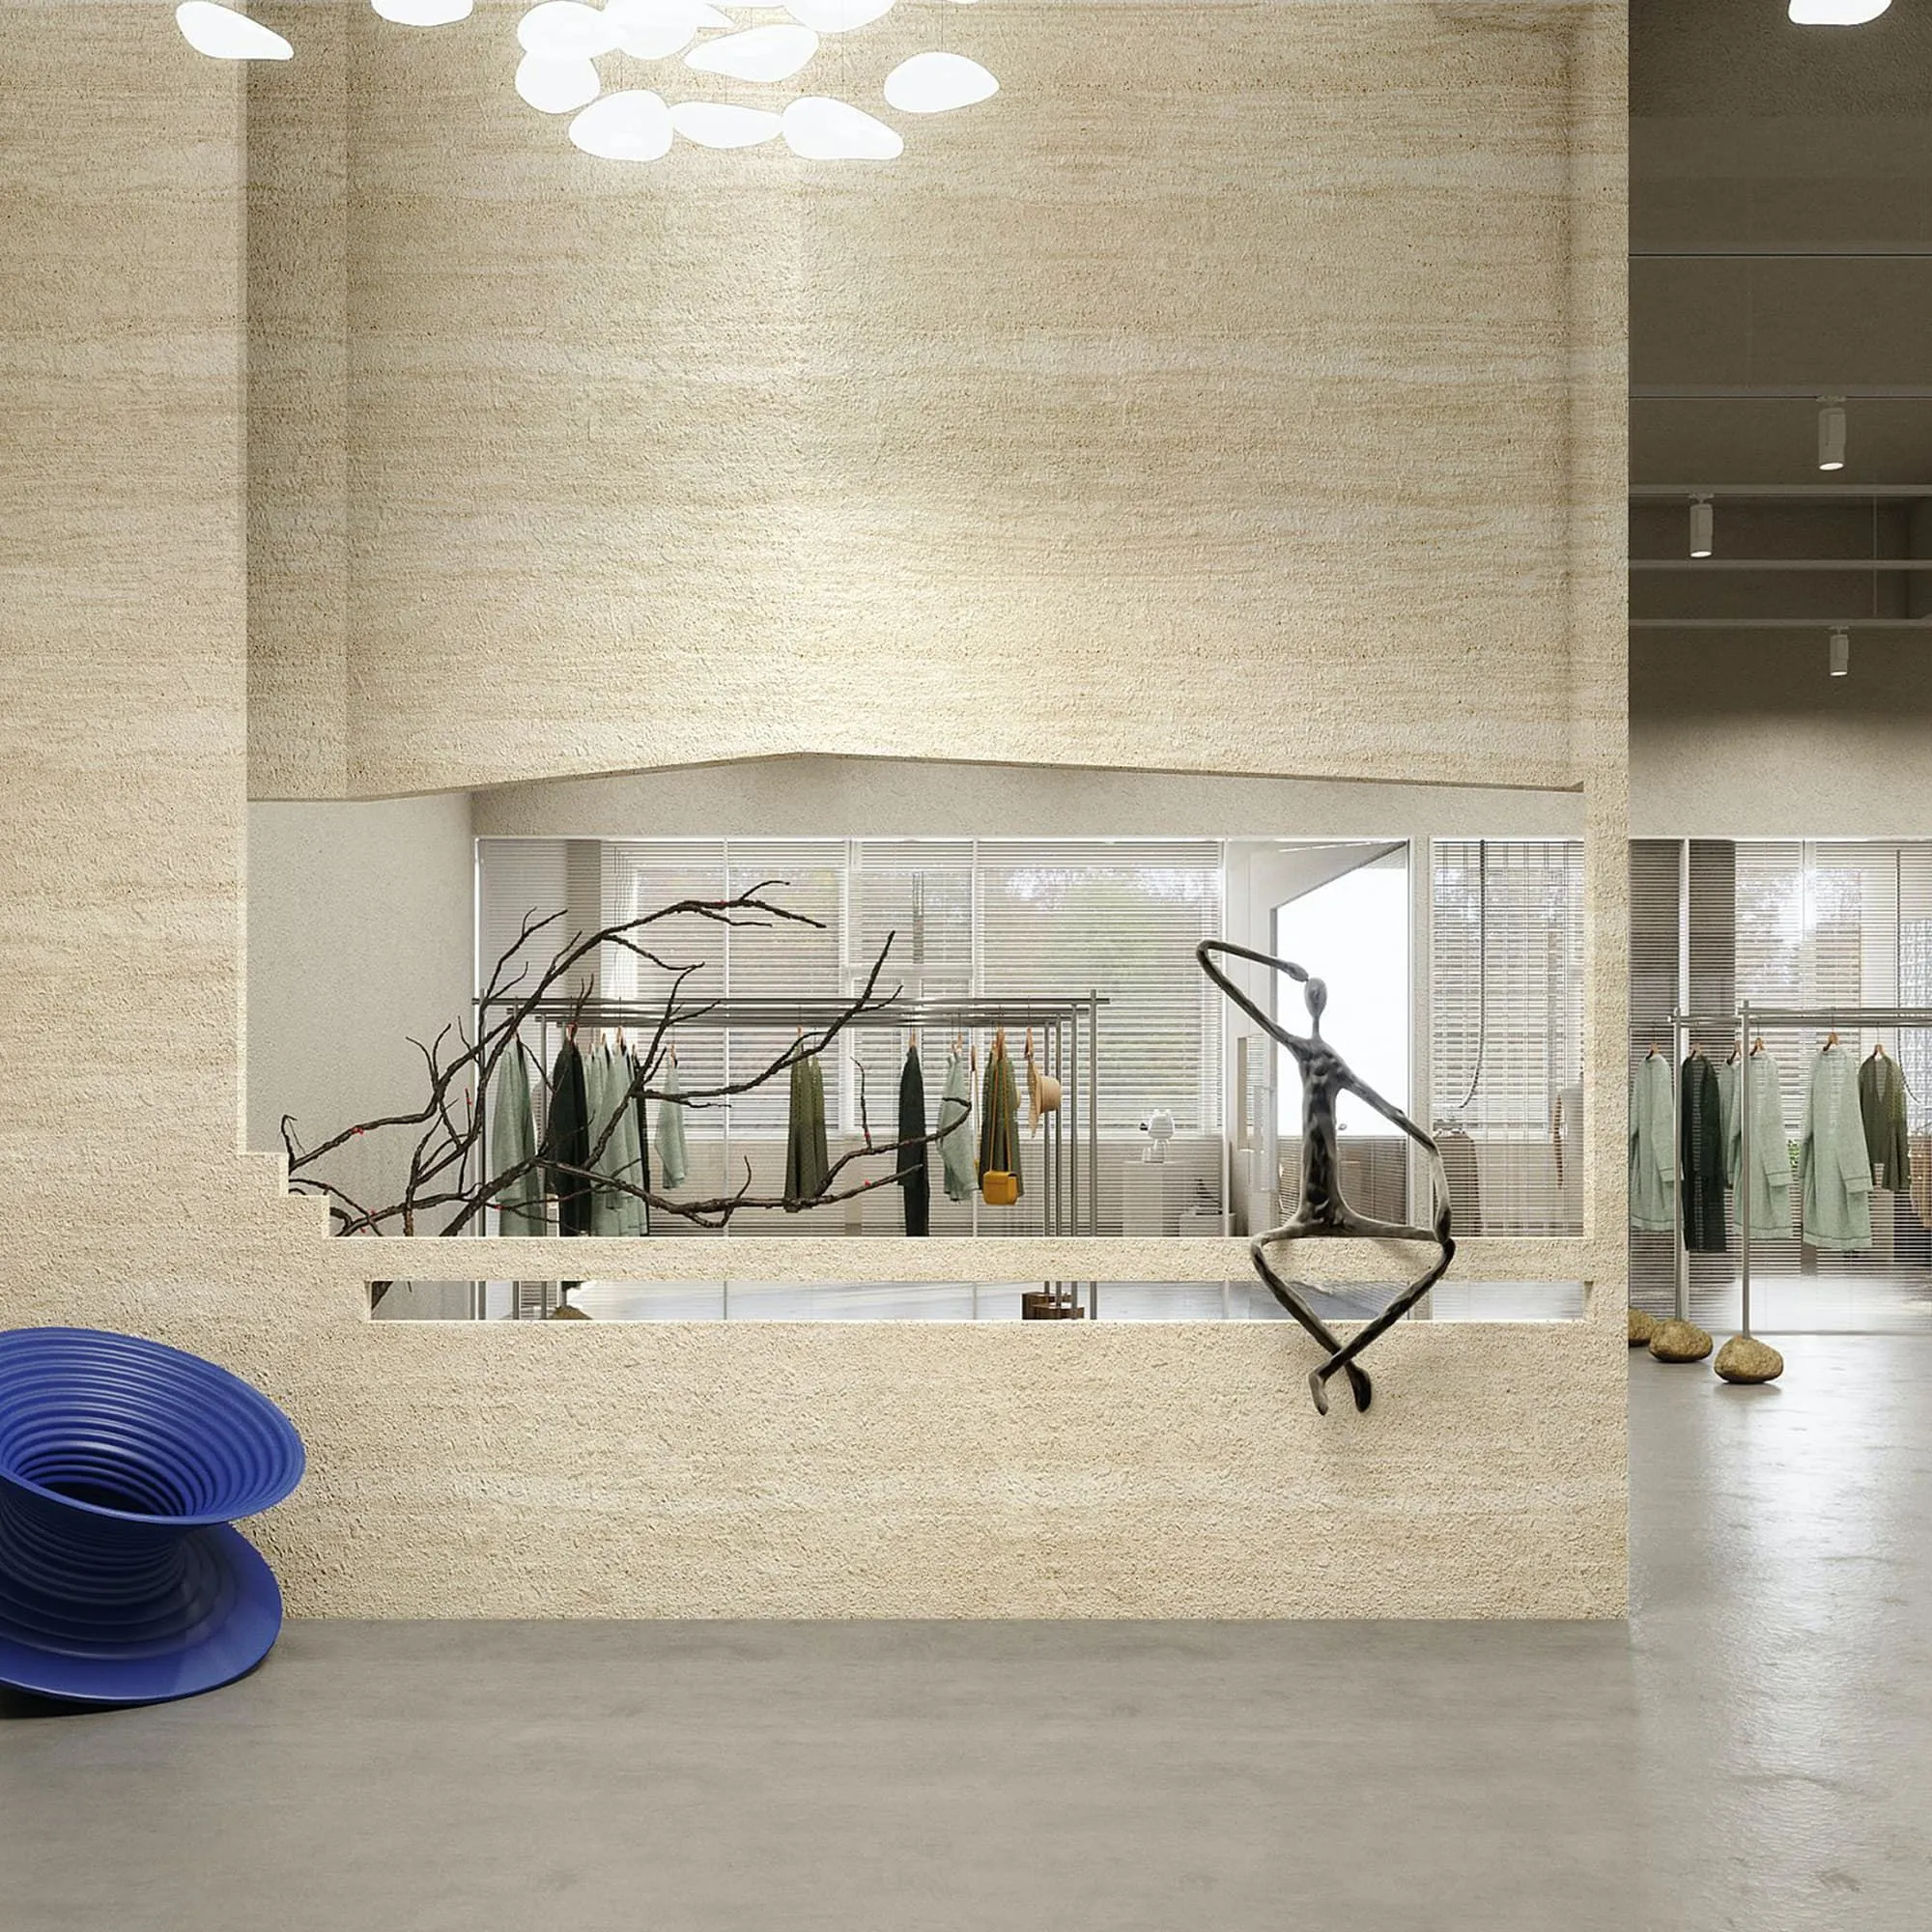
There's something about MCM Wood Line Panels that turns a plain wall into a storyteller. Maybe it's the way their wood grain board finish mimics the warmth of aged oak, or how they catch the light to reveal subtle textures—either way, they're more than just building materials. They're the quiet backdrop to family dinners, morning coffees, and lazy Sunday afternoons. But even the sturdiest panels aren't immune to life's little accidents: a wayward chair leg, a dropped tool, or a playful pet's scratch can leave behind chips or scuffs that nag at you every time you glance their way. The good news? You don't need to replace an entire panel over a tiny flaw. With a little patience and the right approach, you can restore their beauty yourself. Let's dive in.
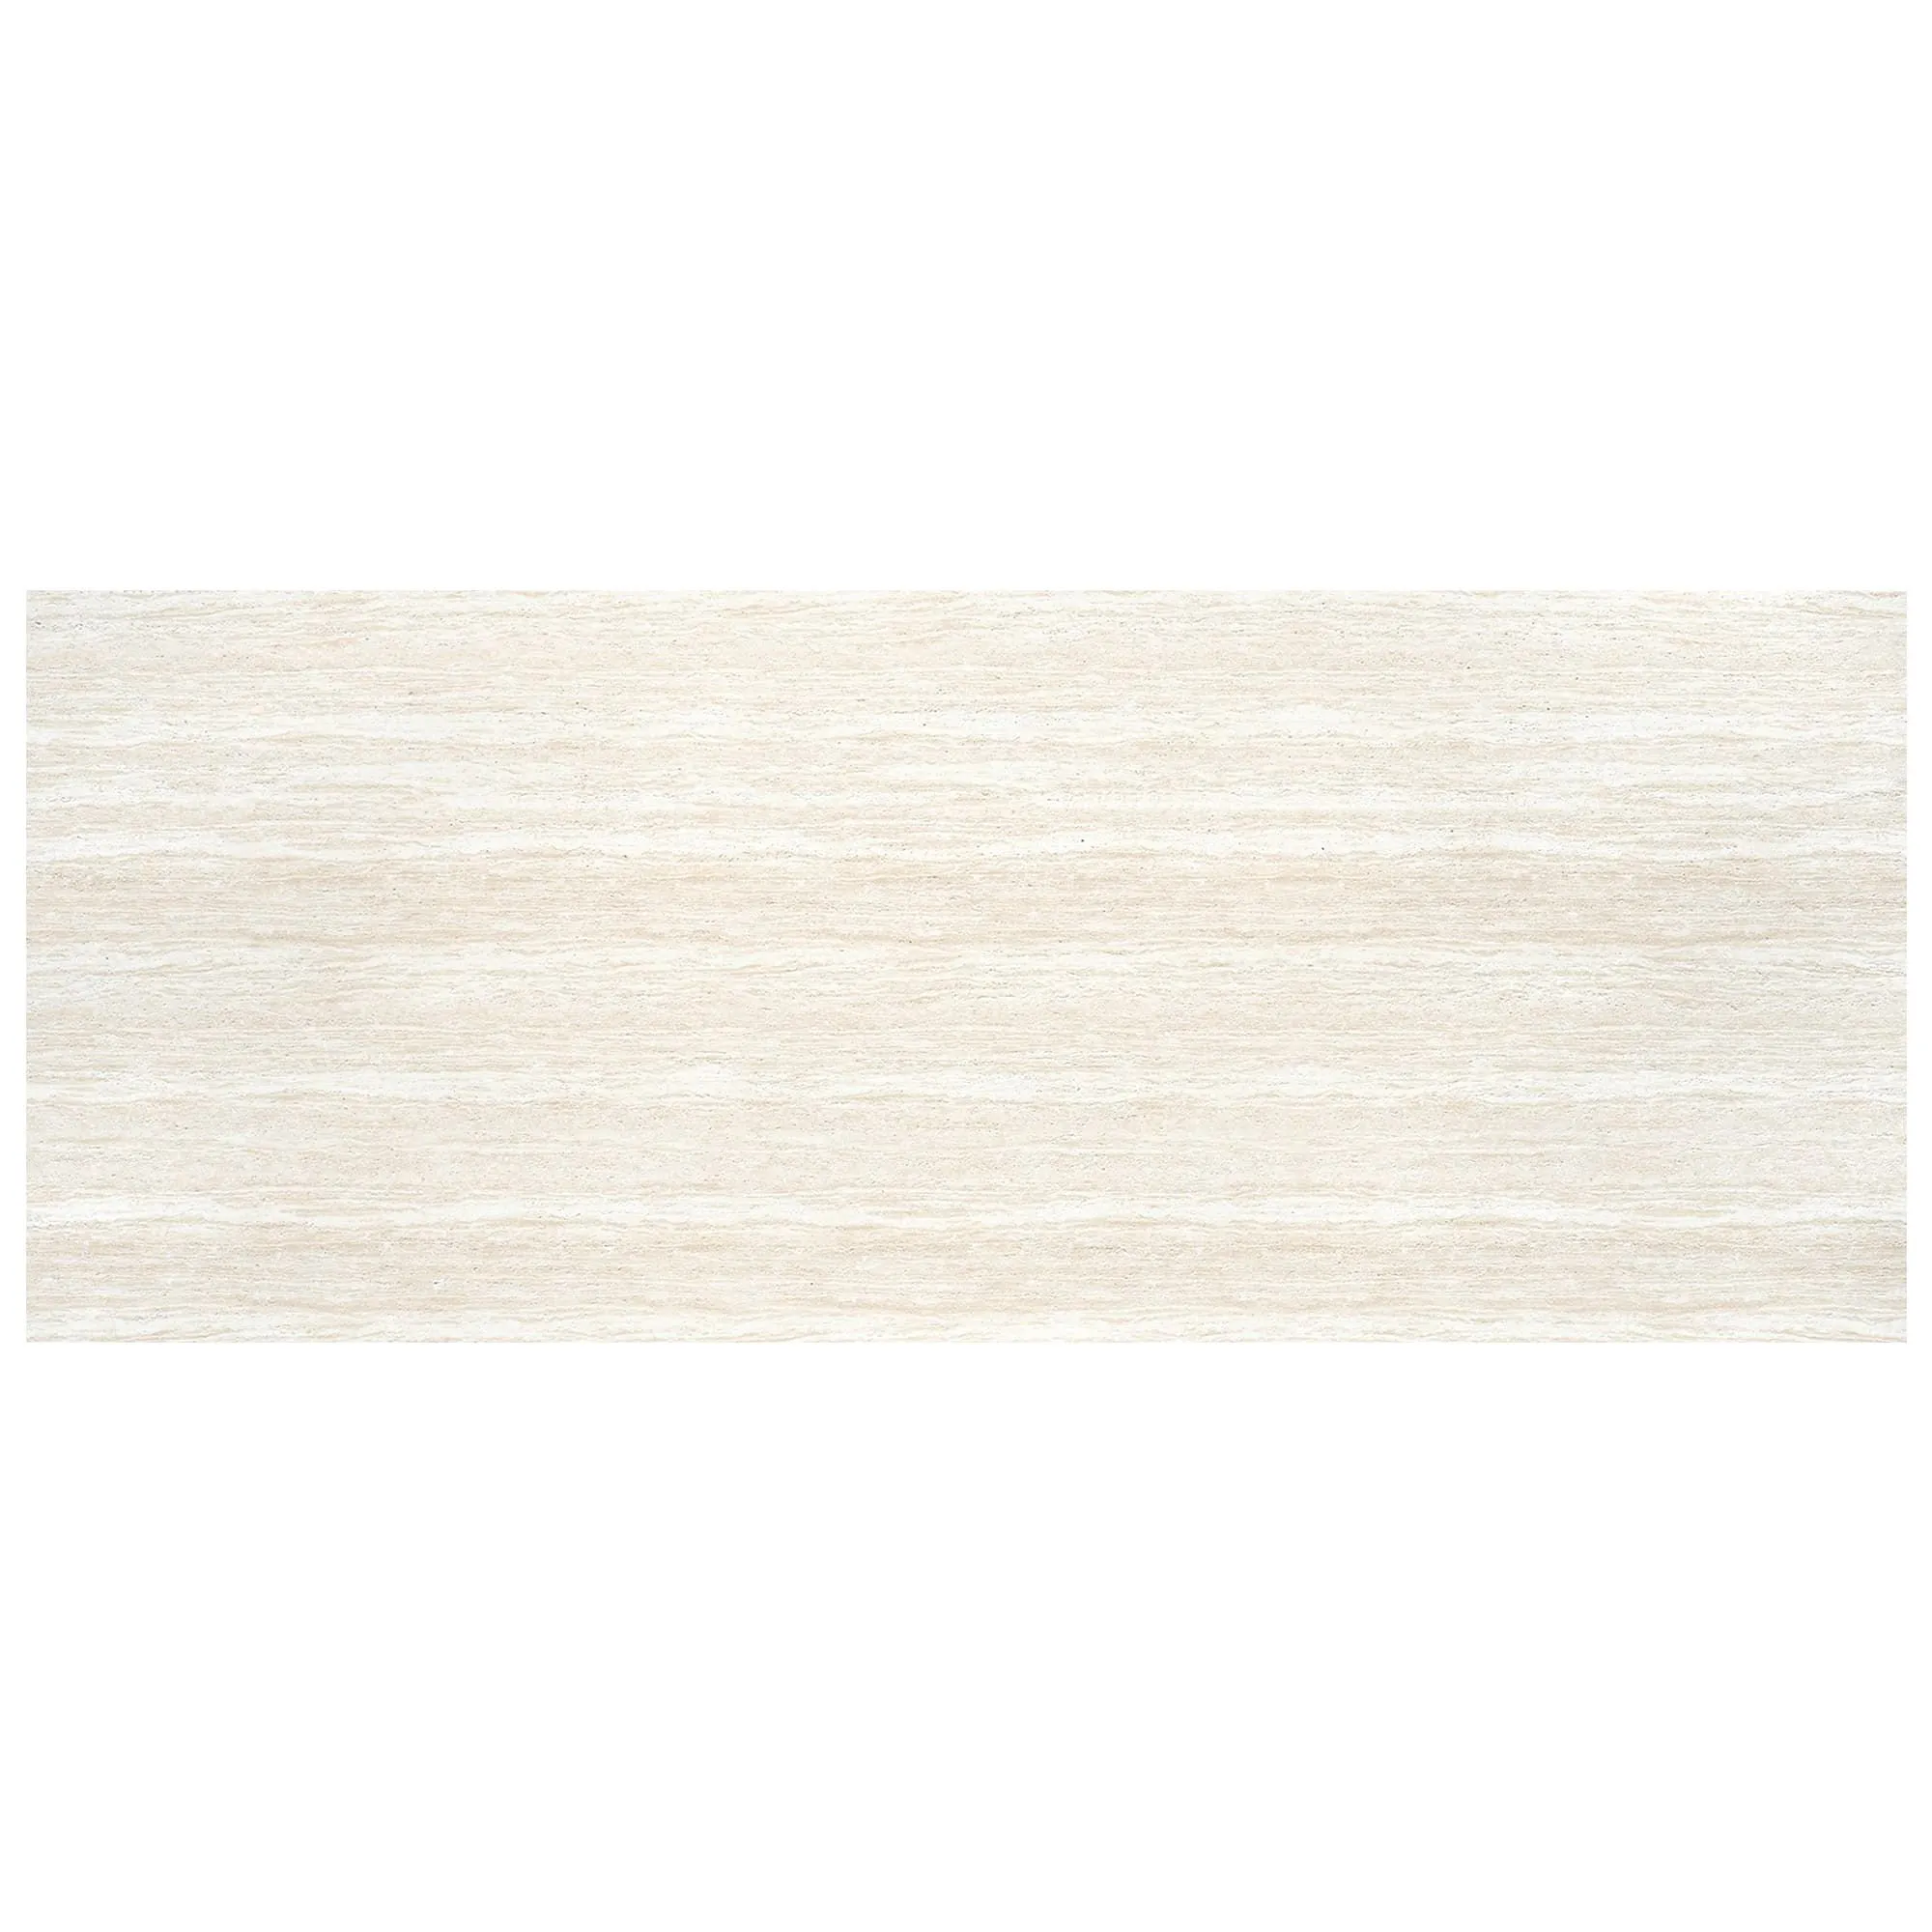
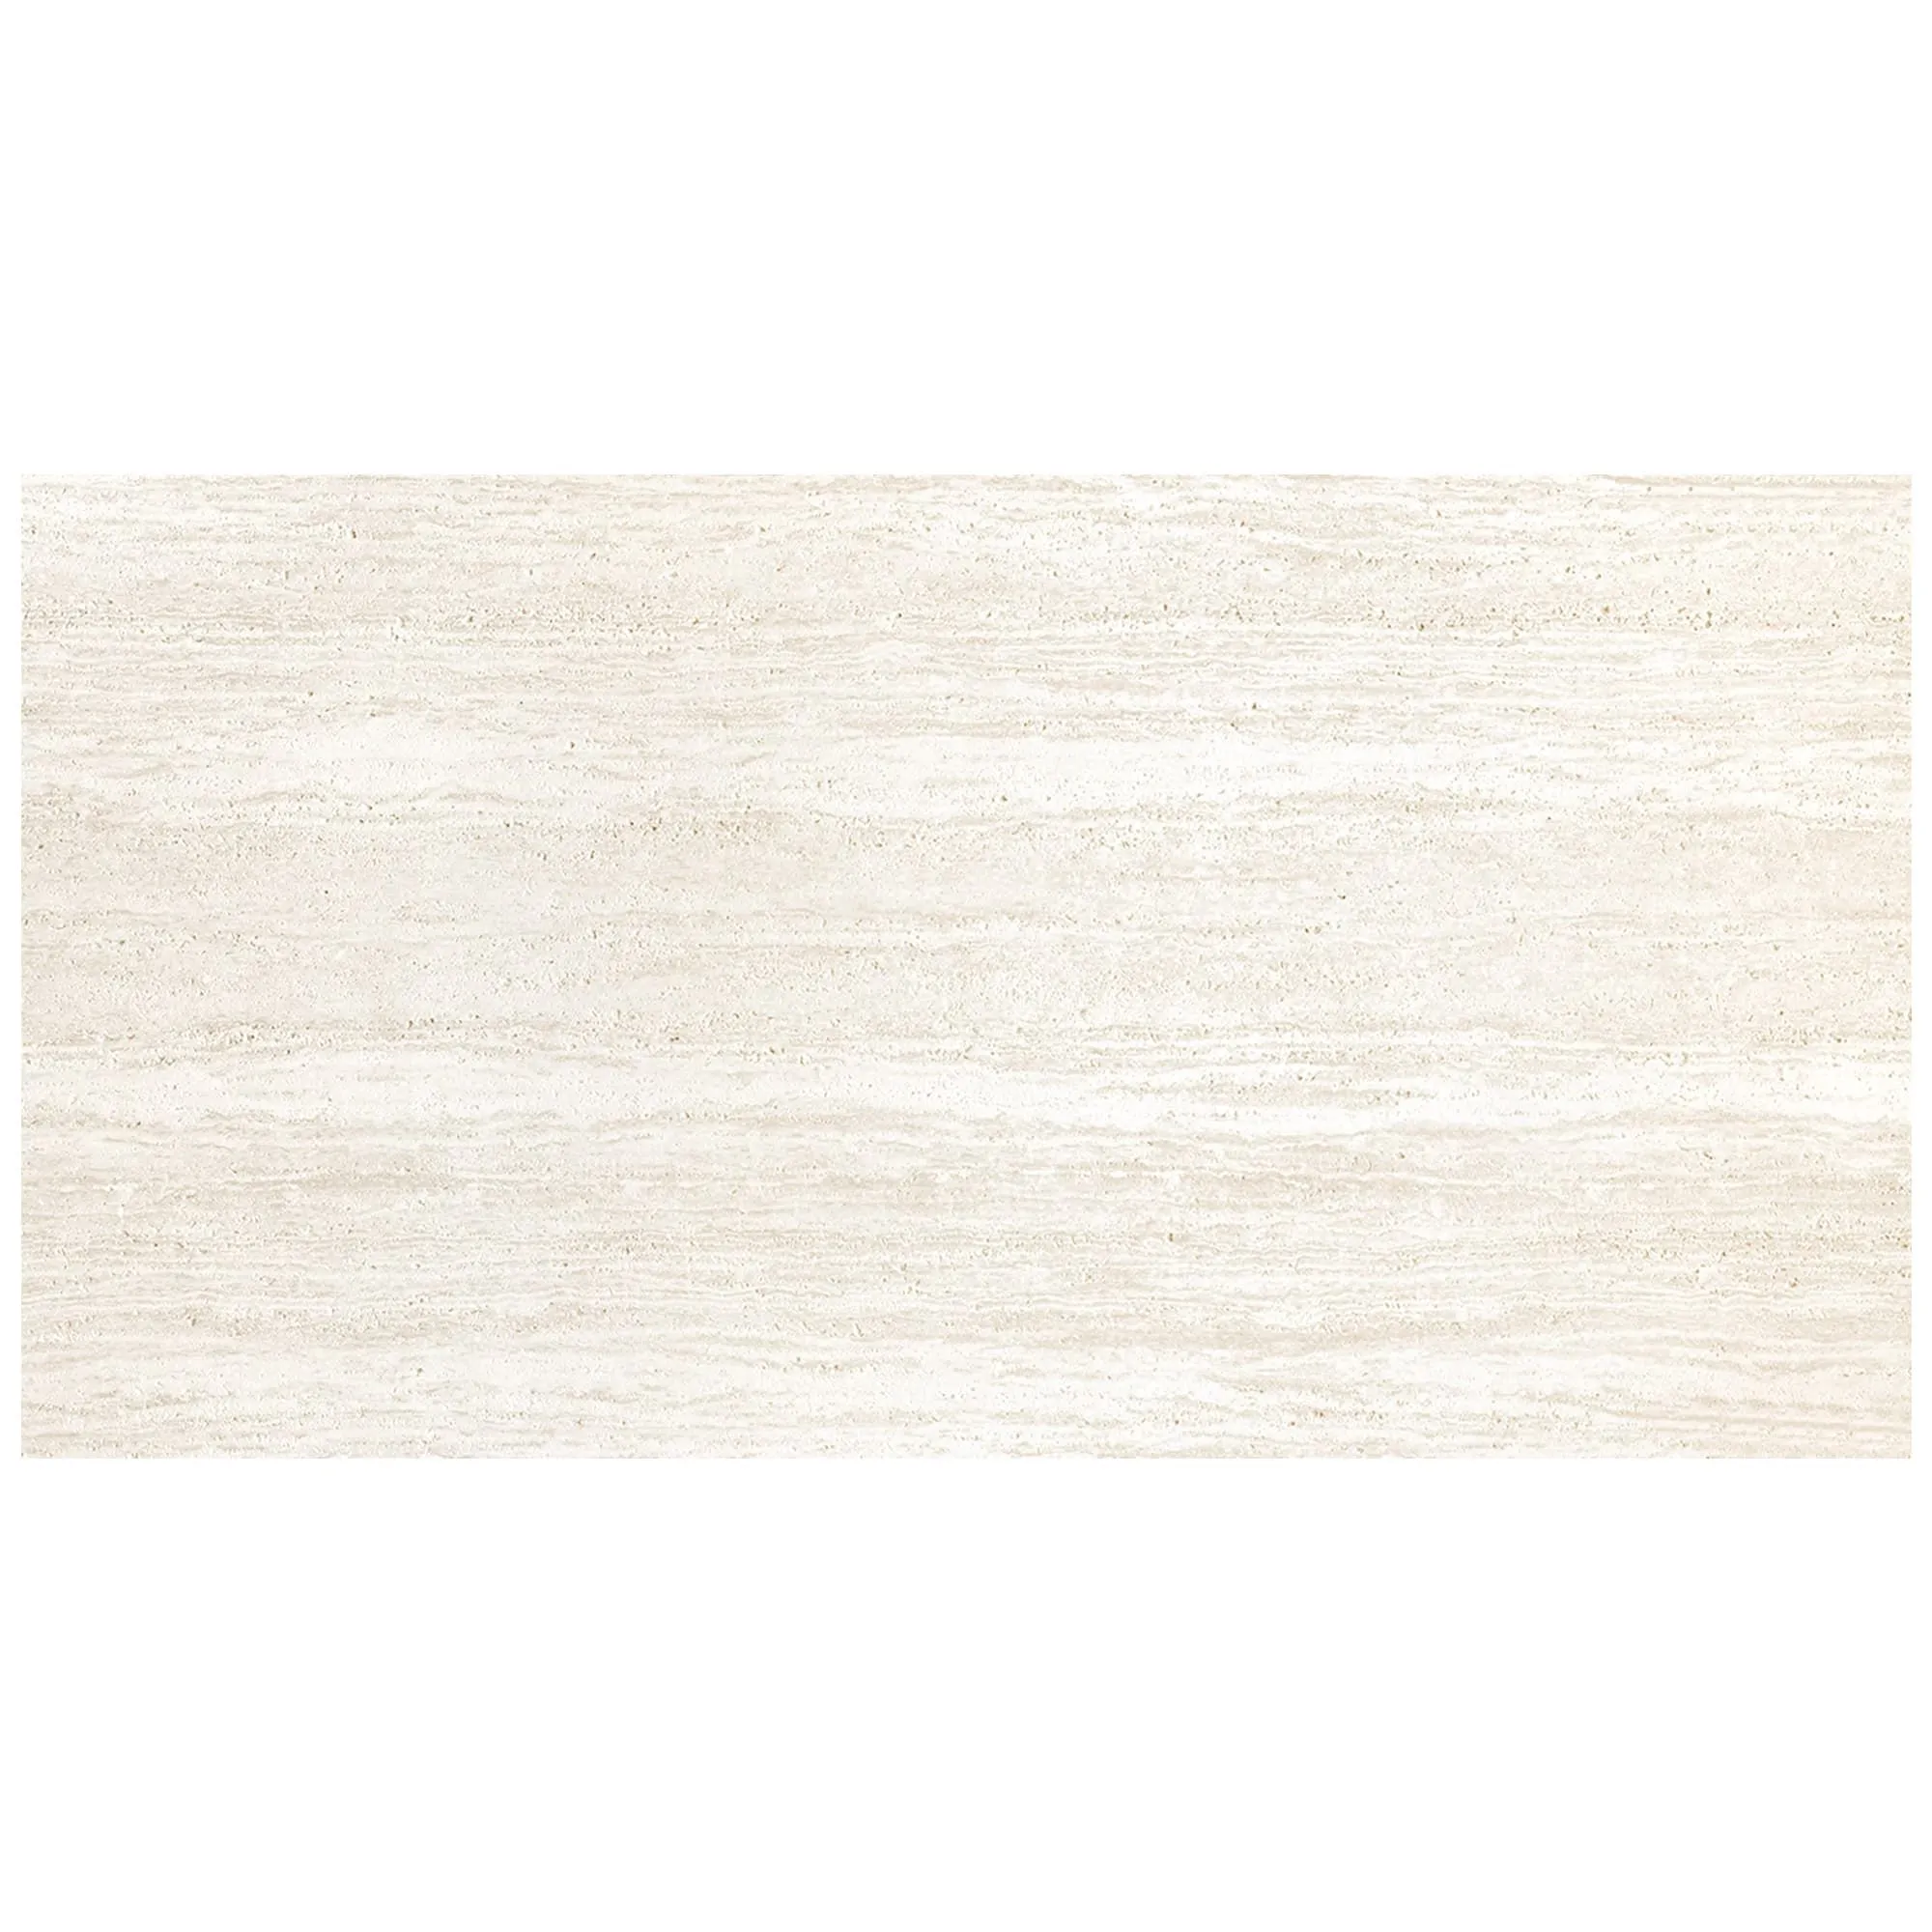
Before grabbing the glue and sandpaper, it helps to understand what you're working with. MCM Wood Line Panels are crafted from modified composite materials, designed to be lightweight, durable, and surprisingly flexible—think of them as the practical cousin of solid wood. Unlike traditional planks, they often blend wood fibers with resins or even hints of MCM flexible stone, making them resistant to warping but still vulnerable to surface damage. Their wood grain detail is usually a printed or embossed layer, which means repairs need to match both color and texture to avoid standing out. Keep this in mind: the goal isn't just to "cover up" a chip, but to make it disappear into the panel's natural pattern.
No need for fancy equipment here—chances are, your garage or kitchen drawer already has what you need. Here's a quick checklist to make sure you're prepared:
| Tool/Material | Why You Need It |
|---|---|
| Microfiber cloth | To clean dust and debris from the damaged area—no grit left behind! |
| Fine-grit sandpaper (220 or 320 grit) | To smooth rough edges around chips and prep the surface for filler. |
| Wood filler (color-matched to your panel) | Look for a water-based filler with a putty-like consistency—avoid heavy-duty wood glue, which can shrink or darken. |
| Putty knife (small, flexible) | For applying filler smoothly without leaving tool marks. |
| Stain marker or wood tint | To blend the repaired area with the panel's wood grain board color. |
| Clear polyurethane sealer (matte or satin) | To protect the repair and match the panel's original sheen. |
| Small paintbrush (1/4 inch) | For applying sealer precisely without smudging. |
Pro Tip: If you're unsure about the filler color, test it on a hidden corner of the panel first. Let it dry completely—colors can shift as they set!
Chips are the most noticeable flaws—those small, often triangular chunks missing from edges or corners. They happen when something hard (a ladder, a toy, a rogue soccer ball) slams into the panel with enough force to dislodge material. Here's how to patch them:
Start by cleaning the chip with a microfiber cloth dampened with water (avoid harsh cleaners—they can damage the panel's finish). If there are loose splinters around the edges, gently sand them with 320-grit sandpaper until the area feels smooth to the touch. The goal is to create a clean, slightly rough surface so the filler can "grab" onto the panel.
Take a pea-sized amount of wood filler on your putty knife and press it firmly into the chip. Overfill slightly—filler shrinks as it dries, so a little extra ensures you won't end up with a sunken spot. Use the flat edge of the knife to scrape away excess filler, following the panel's contour. If your panel has a textured wood grain, lightly press a toothpick or the tip of the knife into the wet filler to mimic those grooves—this step makes all the difference in how natural the repair looks later.
Check the filler's instructions for drying time (usually 2-4 hours). Resist the urge to rush this—damp filler sands poorly and can gum up your sandpaper. Once dry, gently sand the area with 220-grit sandpaper, using circular motions, until it's flush with the panel. Wipe away dust with a clean cloth.
Now for the tricky part: color matching. If your panel has a uniform wood tone, a stain marker in "natural oak" or "walnut" might do the trick. For panels with varied wood grain board patterns (think light streaks against dark), dab a tiny bit of tint onto a cotton swab and test it on the filler. Build color slowly—you can always add more, but removing excess is tough. Let the tint dry, then compare it to the surrounding area in natural light (artificial light can distort colors).
Once the color matches, apply a thin coat of clear polyurethane sealer with your small brush. This protects the repair from moisture and wear, and helps blend the sheen with the rest of the panel. Let it dry overnight, and if needed, add a second coat for extra durability.

Scratches come in all shapes—light surface scuffs that only show in certain light, or deeper grooves that catch your nail when you run it over them. The fix depends on how severe they are.
These are the easiest to handle. Start by cleaning the scratch with a damp cloth. Then, grab a furniture polish that matches your panel's finish (matte or satin). Apply a small amount to a soft cloth and rub it into the scratch using circular motions. The polish's oils can swell the wood fibers, making the scratch less visible. Let it sit for 10 minutes, then buff away excess with a clean cloth. For extra oomph, try a walnut: rub the inside of a walnut shell over the scratch, then wipe with a cloth—the natural oils often work wonders on wood-toned panels.
Deeper scratches need a bit more love. Follow the same prep steps as with chips: clean the area and sand lightly to smooth any rough edges. Then, apply a thin line of wood filler into the scratch using the tip of your putty knife. Wipe away excess with a damp cloth, let it dry, and sand flush. Stain and seal as you would for a chip, but take extra care to match the wood grain direction when applying tint—scratches often run along the grain, so your repair should too.
They say an ounce of prevention is worth a pound of cure, and that's especially true for MCM Wood Line Panels. Here are a few simple habits to keep them chip and scratch-free:
Most chips and scratches are DIY-friendly, but there are times to admit defeat (temporarily). If the damage covers more than 2-3 inches, or if the panel's core material (not just the surface layer) is cracked, it might be better to replace the section. Similarly, if you've tried staining and the color still looks off, a professional with access to custom color-matching tools can save you frustration. Think of it this way: there's no shame in asking for help when the result matters most.
Repairing MCM Wood Line Panels isn't just about fixing a flaw—it's about preserving the little moments they frame. When you sand that filler smooth or buff away a scratch, you're not just doing a DIY project; you're caring for the space that holds your memories. And the best part? When you step back and realize you can barely spot where the damage was, that pride? That's the real reward. So grab your tools, take your time, and let those panels get back to doing what they do best: making your home feel like home .
Recommend Products


