
There's something about the way sunlight hits Travertine (Vintage Silver) that makes it feel like a bridge between nature and design. I've stood in countless backyards where this stone turns a simple patio into an outdoor sanctuary—its soft silver tones catching the light, its natural veining telling stories of time. But here's the thing no one tells you when you fall for its beauty: without proper sealing, that same stone can lose its luster faster than a summer storm fades a sunset. Exterior spaces face rain, snow, UV rays, and even the occasional rogue barbecue sauce spill, and travertine? It's porous, like a sponge waiting to soak up trouble. Sealing isn't just maintenance—it's how you protect the heart of your outdoor design. Let's dive into how to do it right, so your Travertine (Vintage Silver) stays as stunning as the day it was installed.
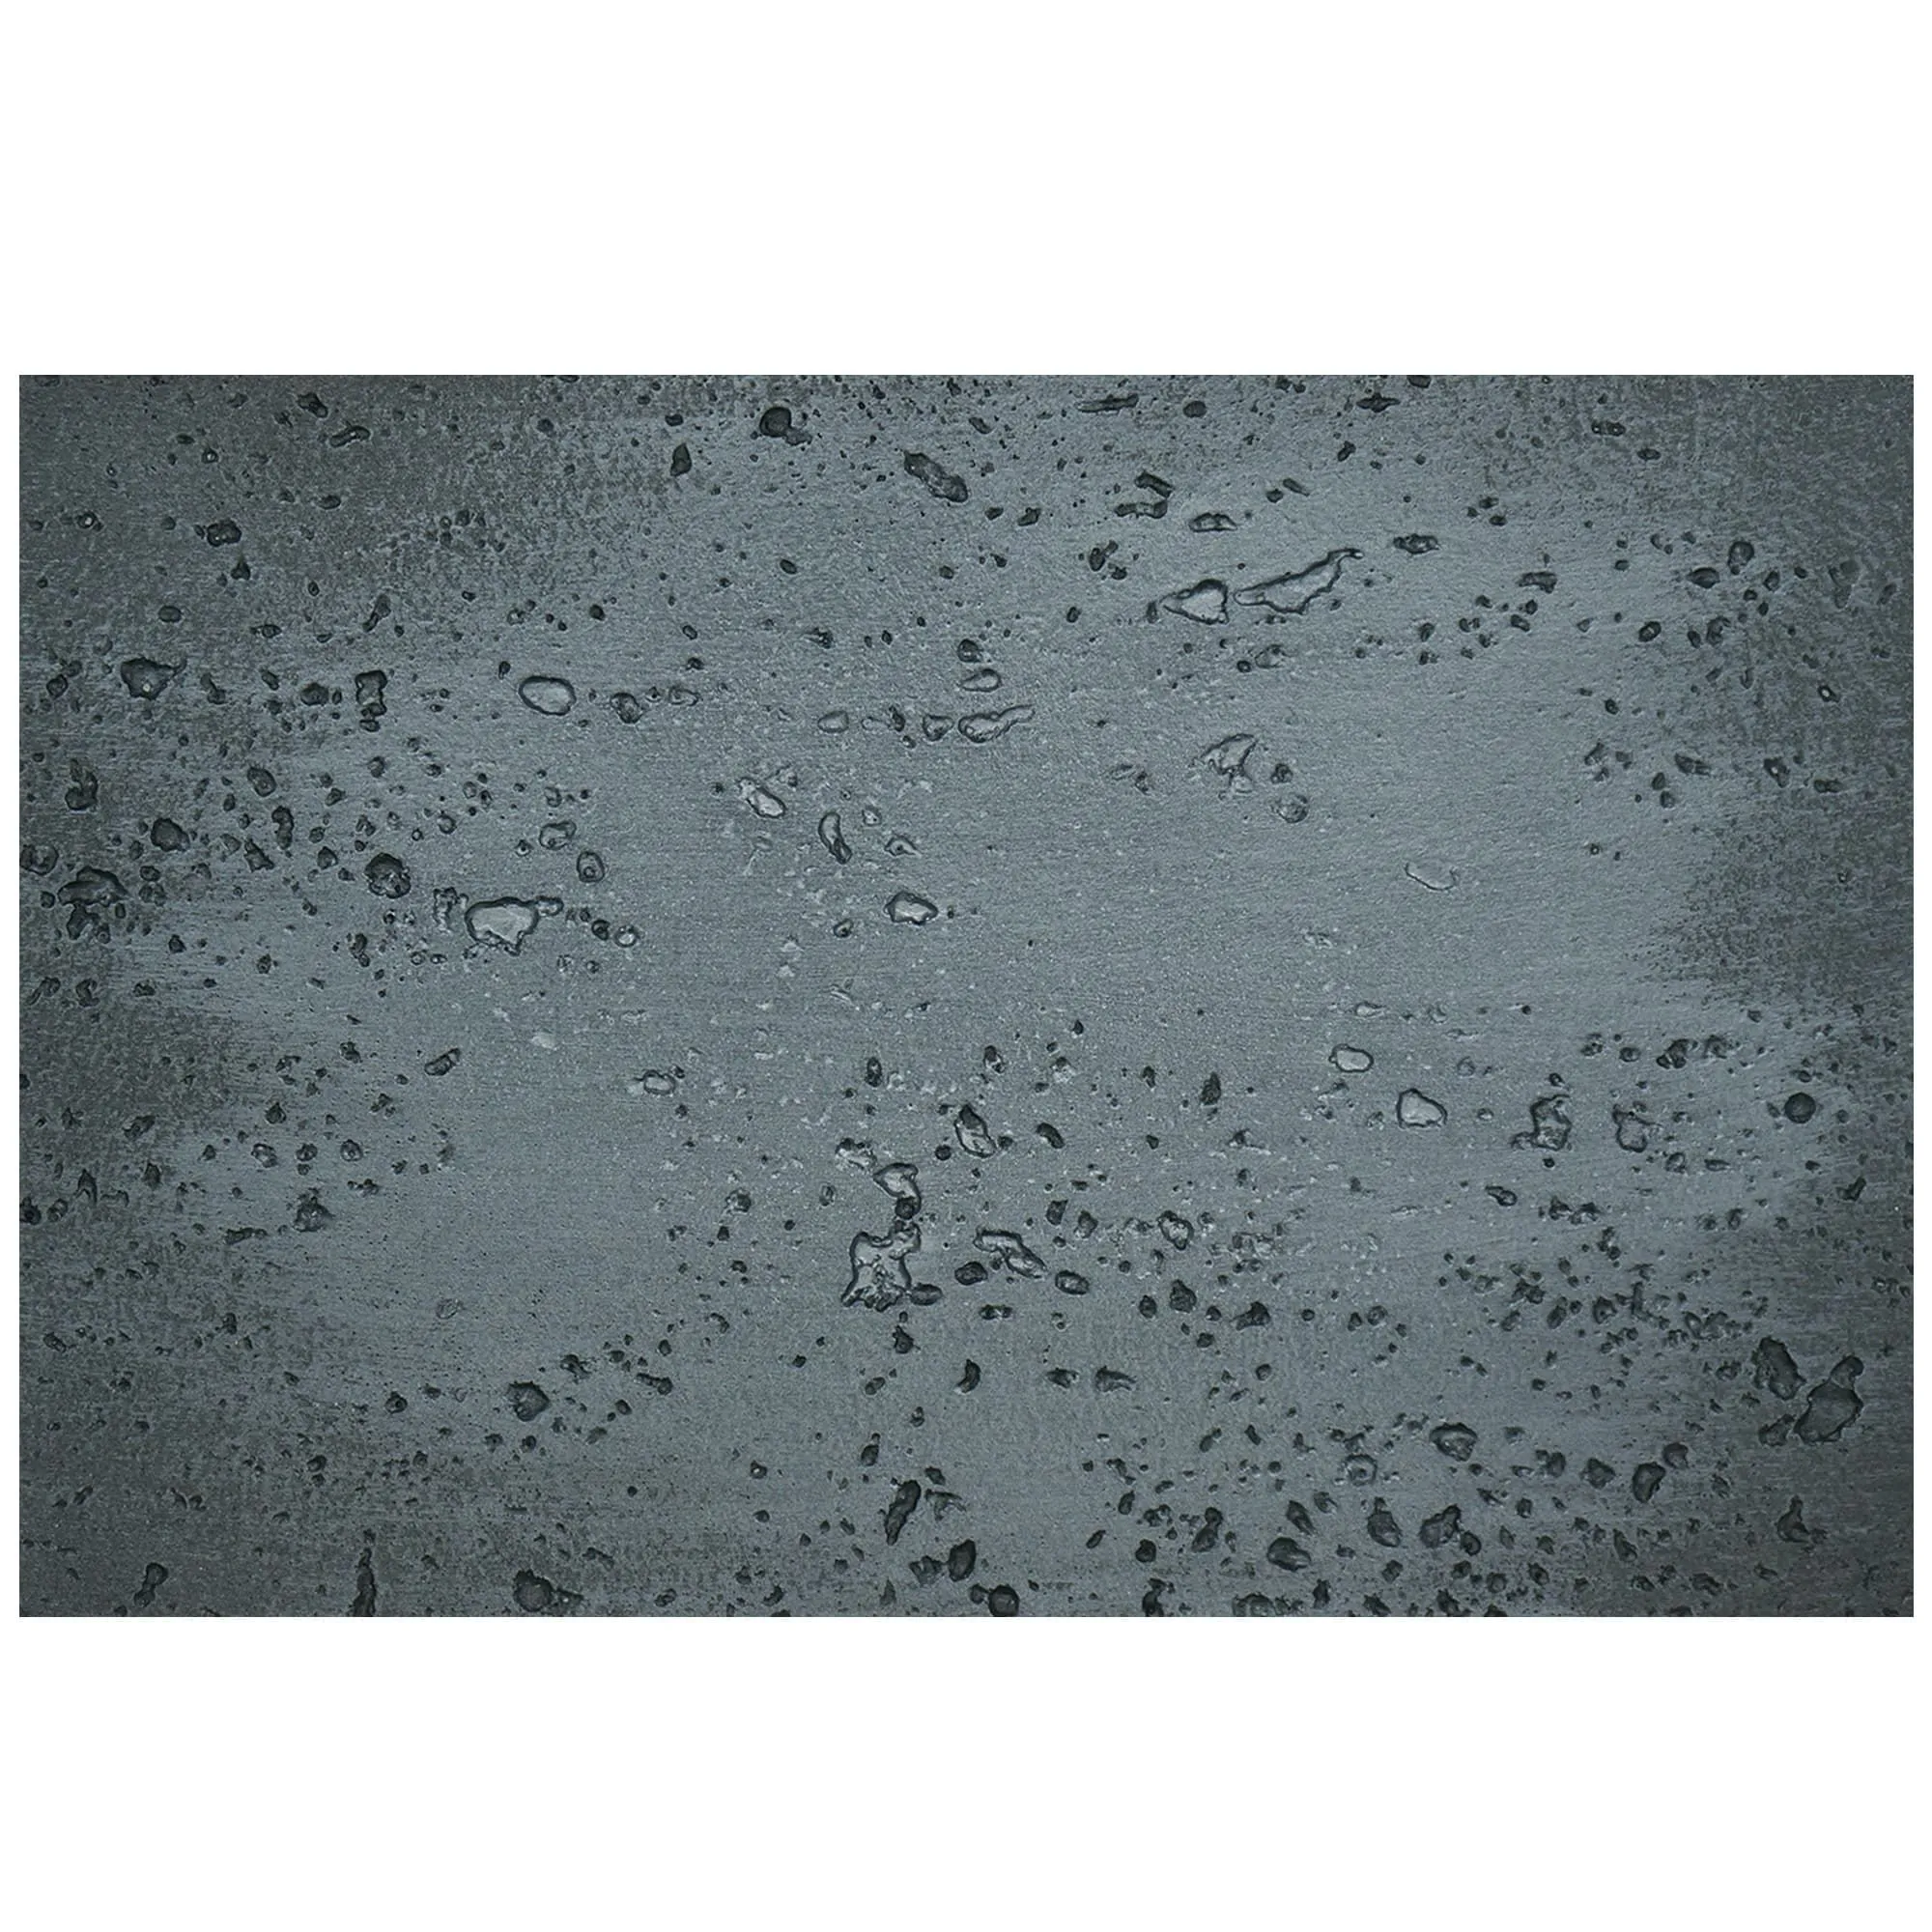
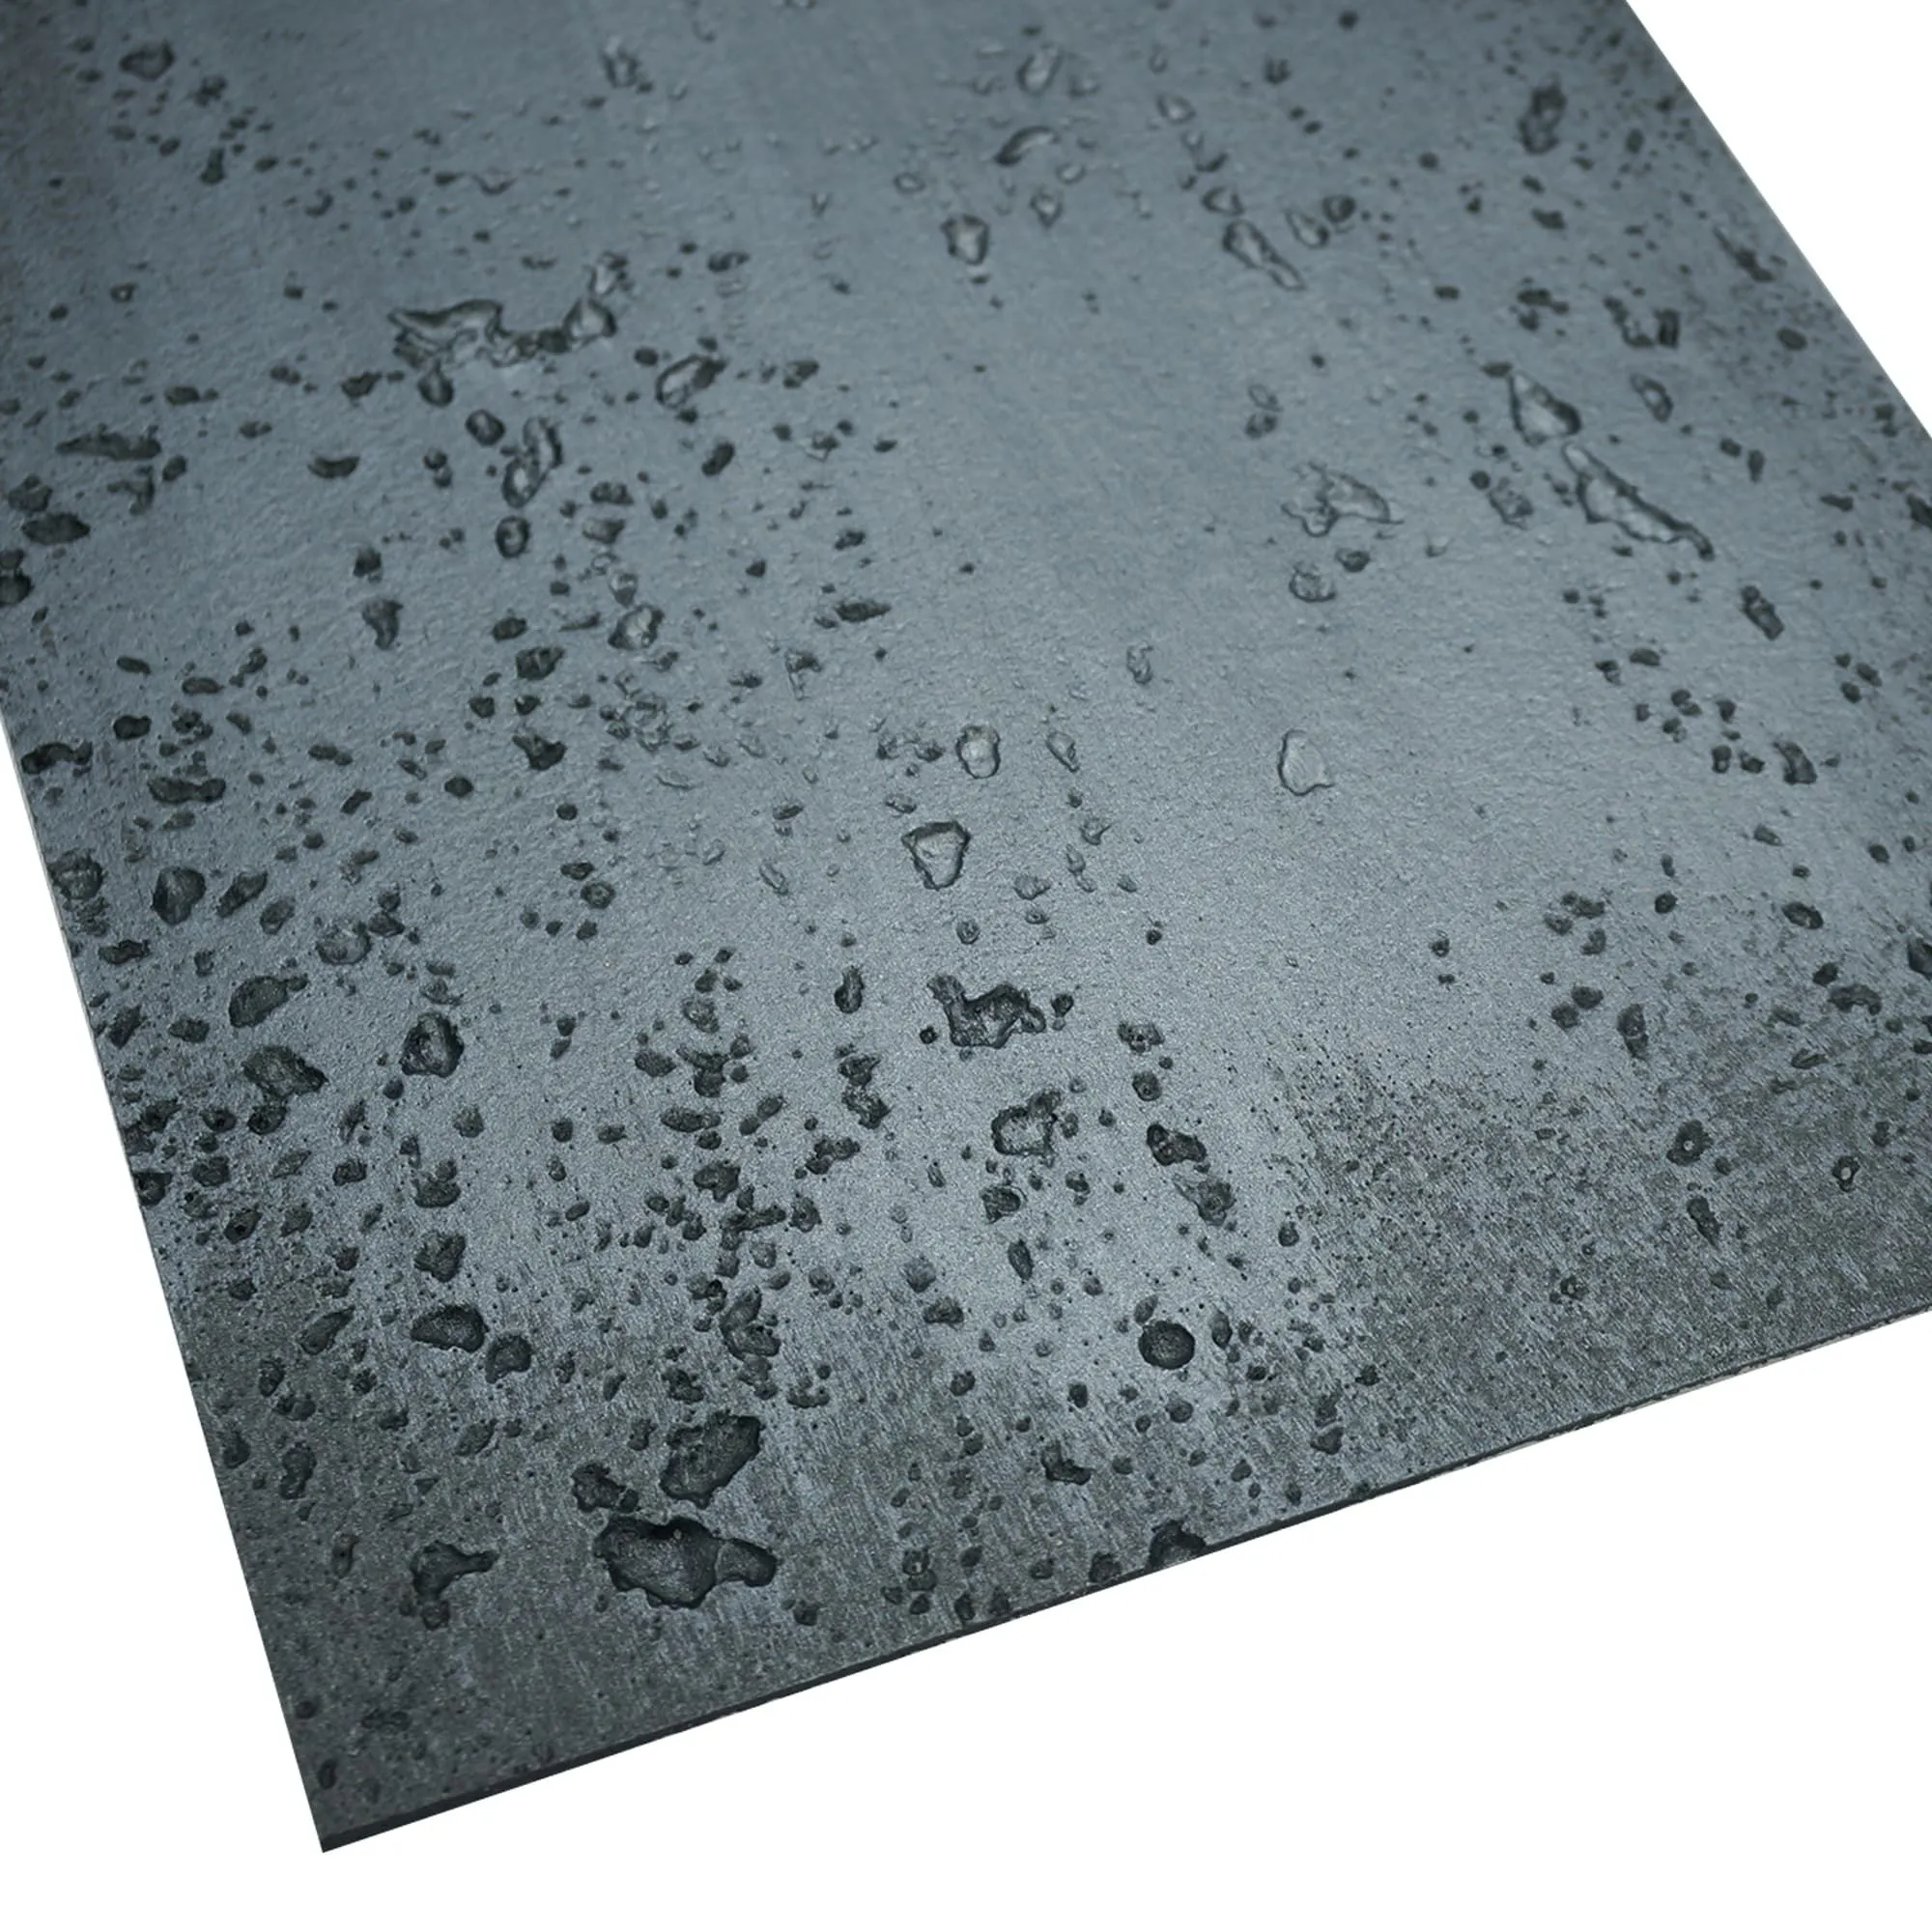
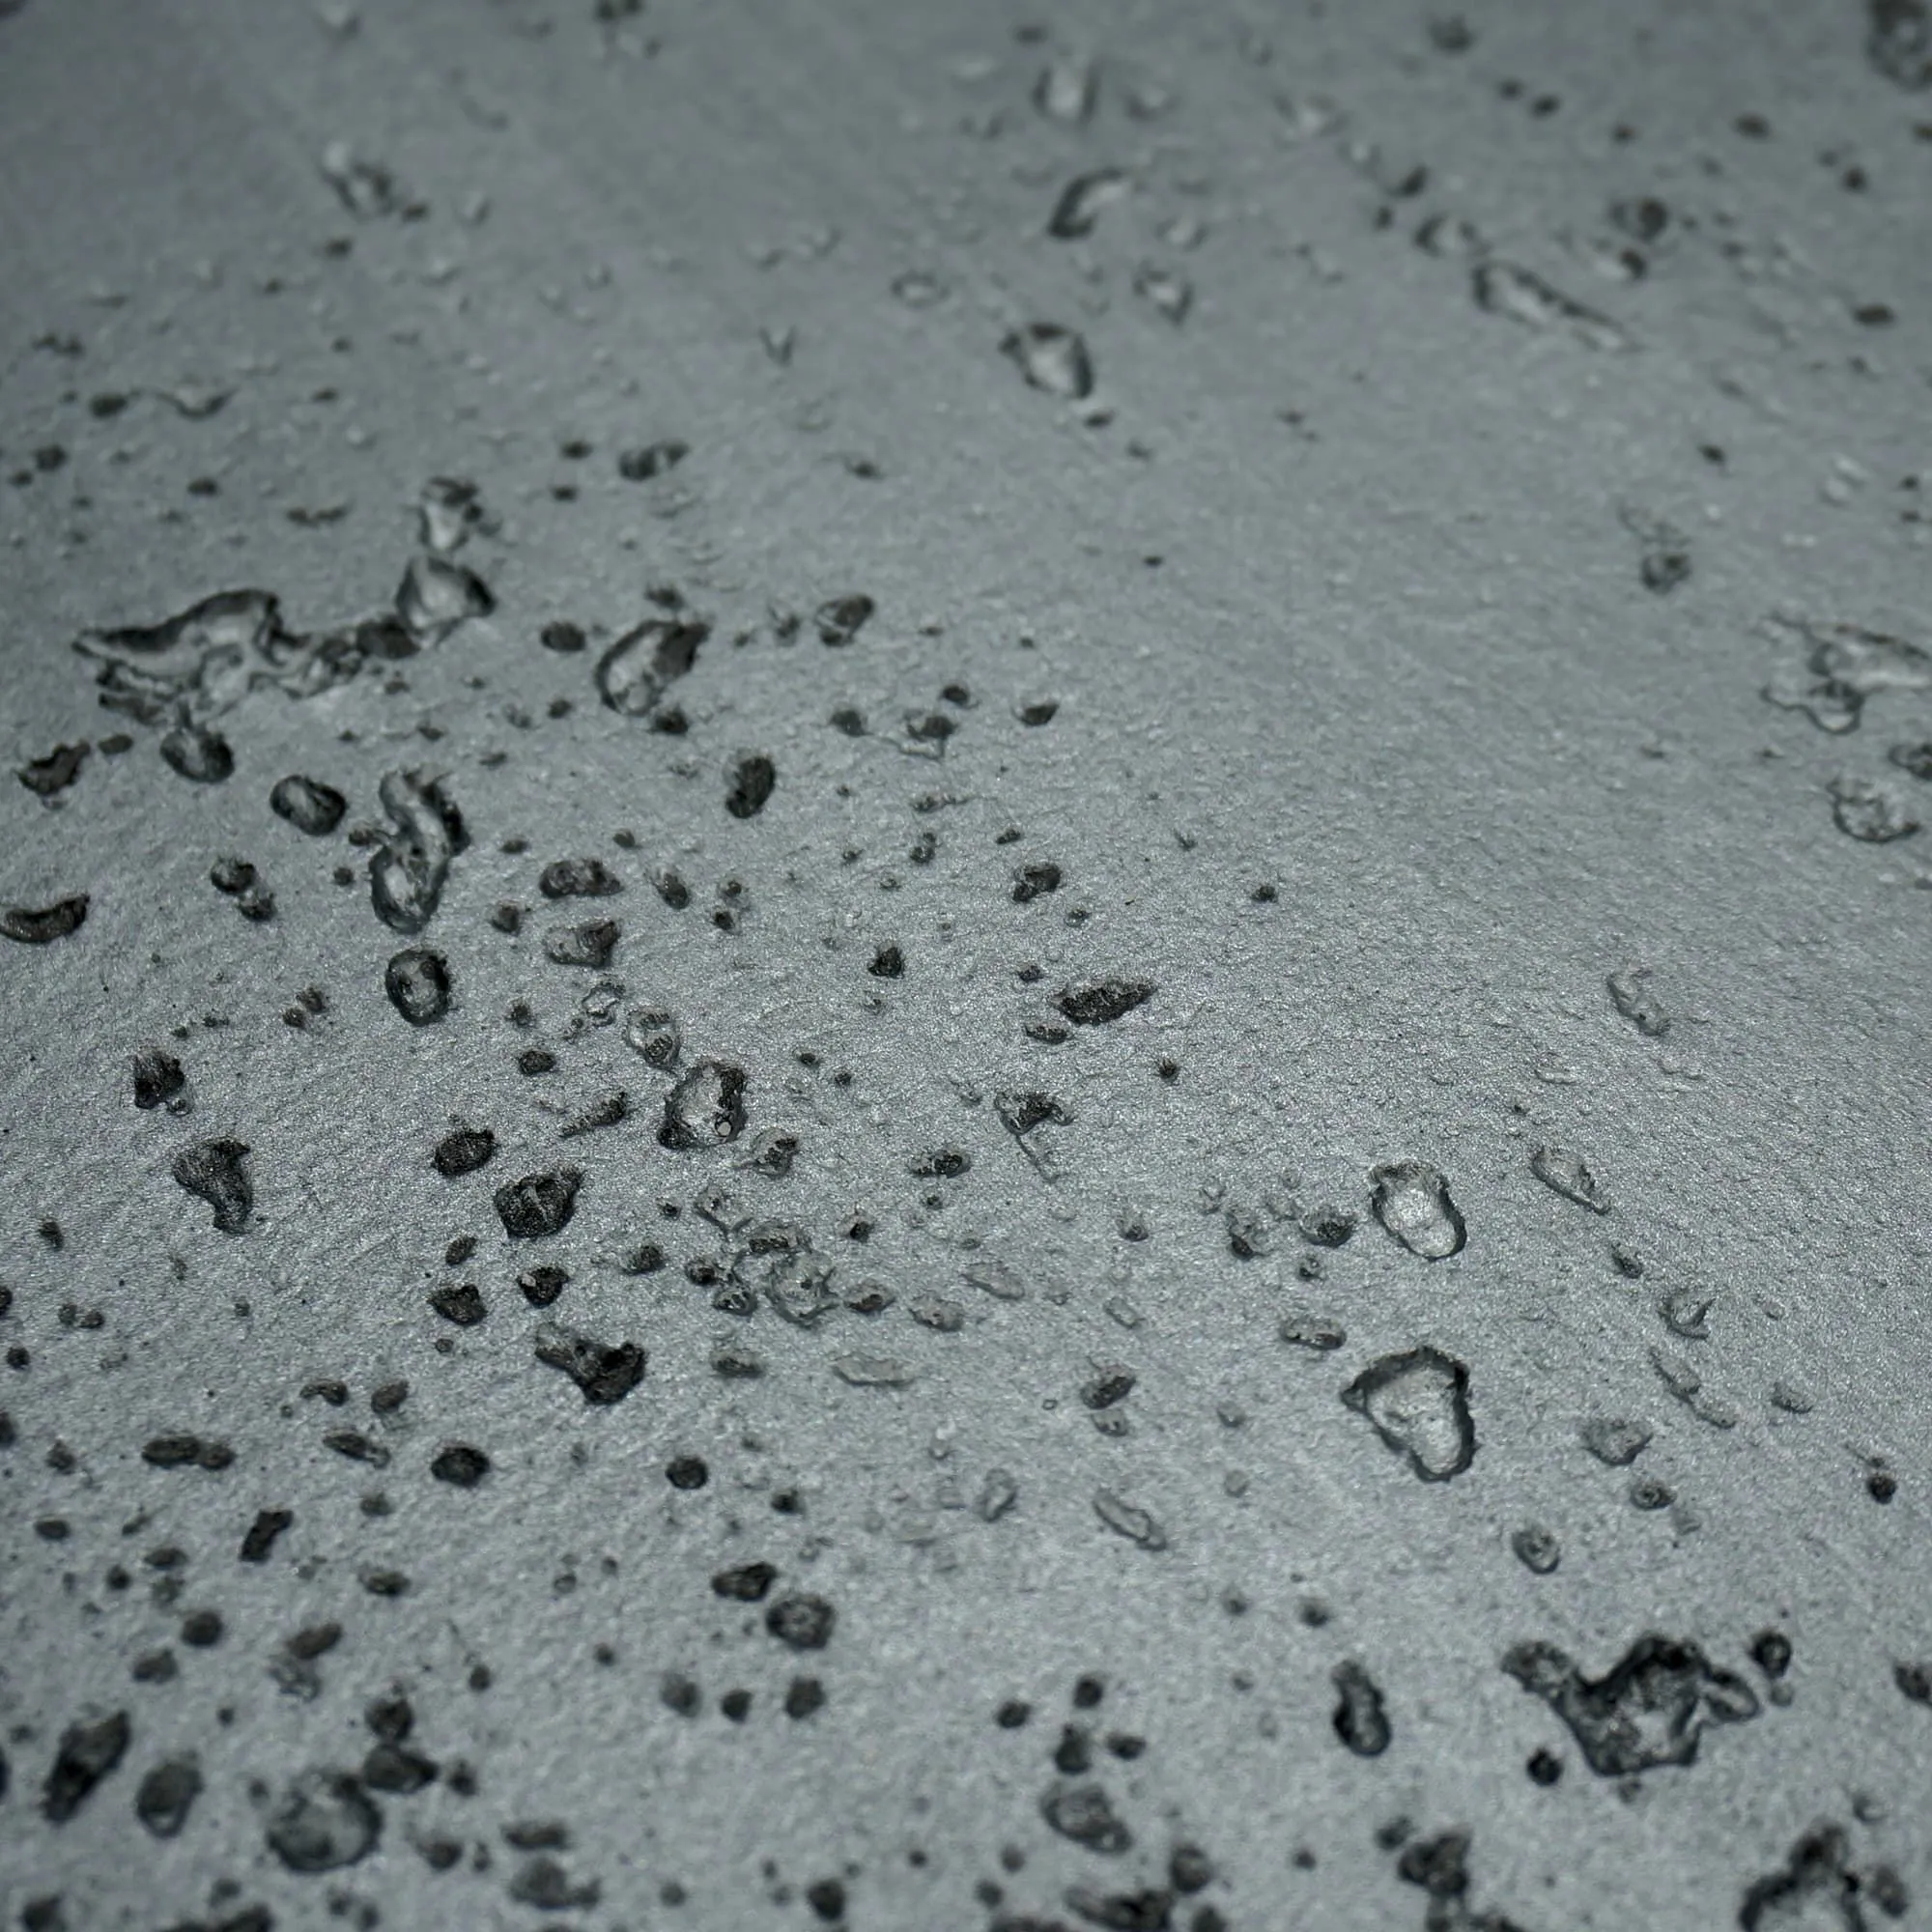
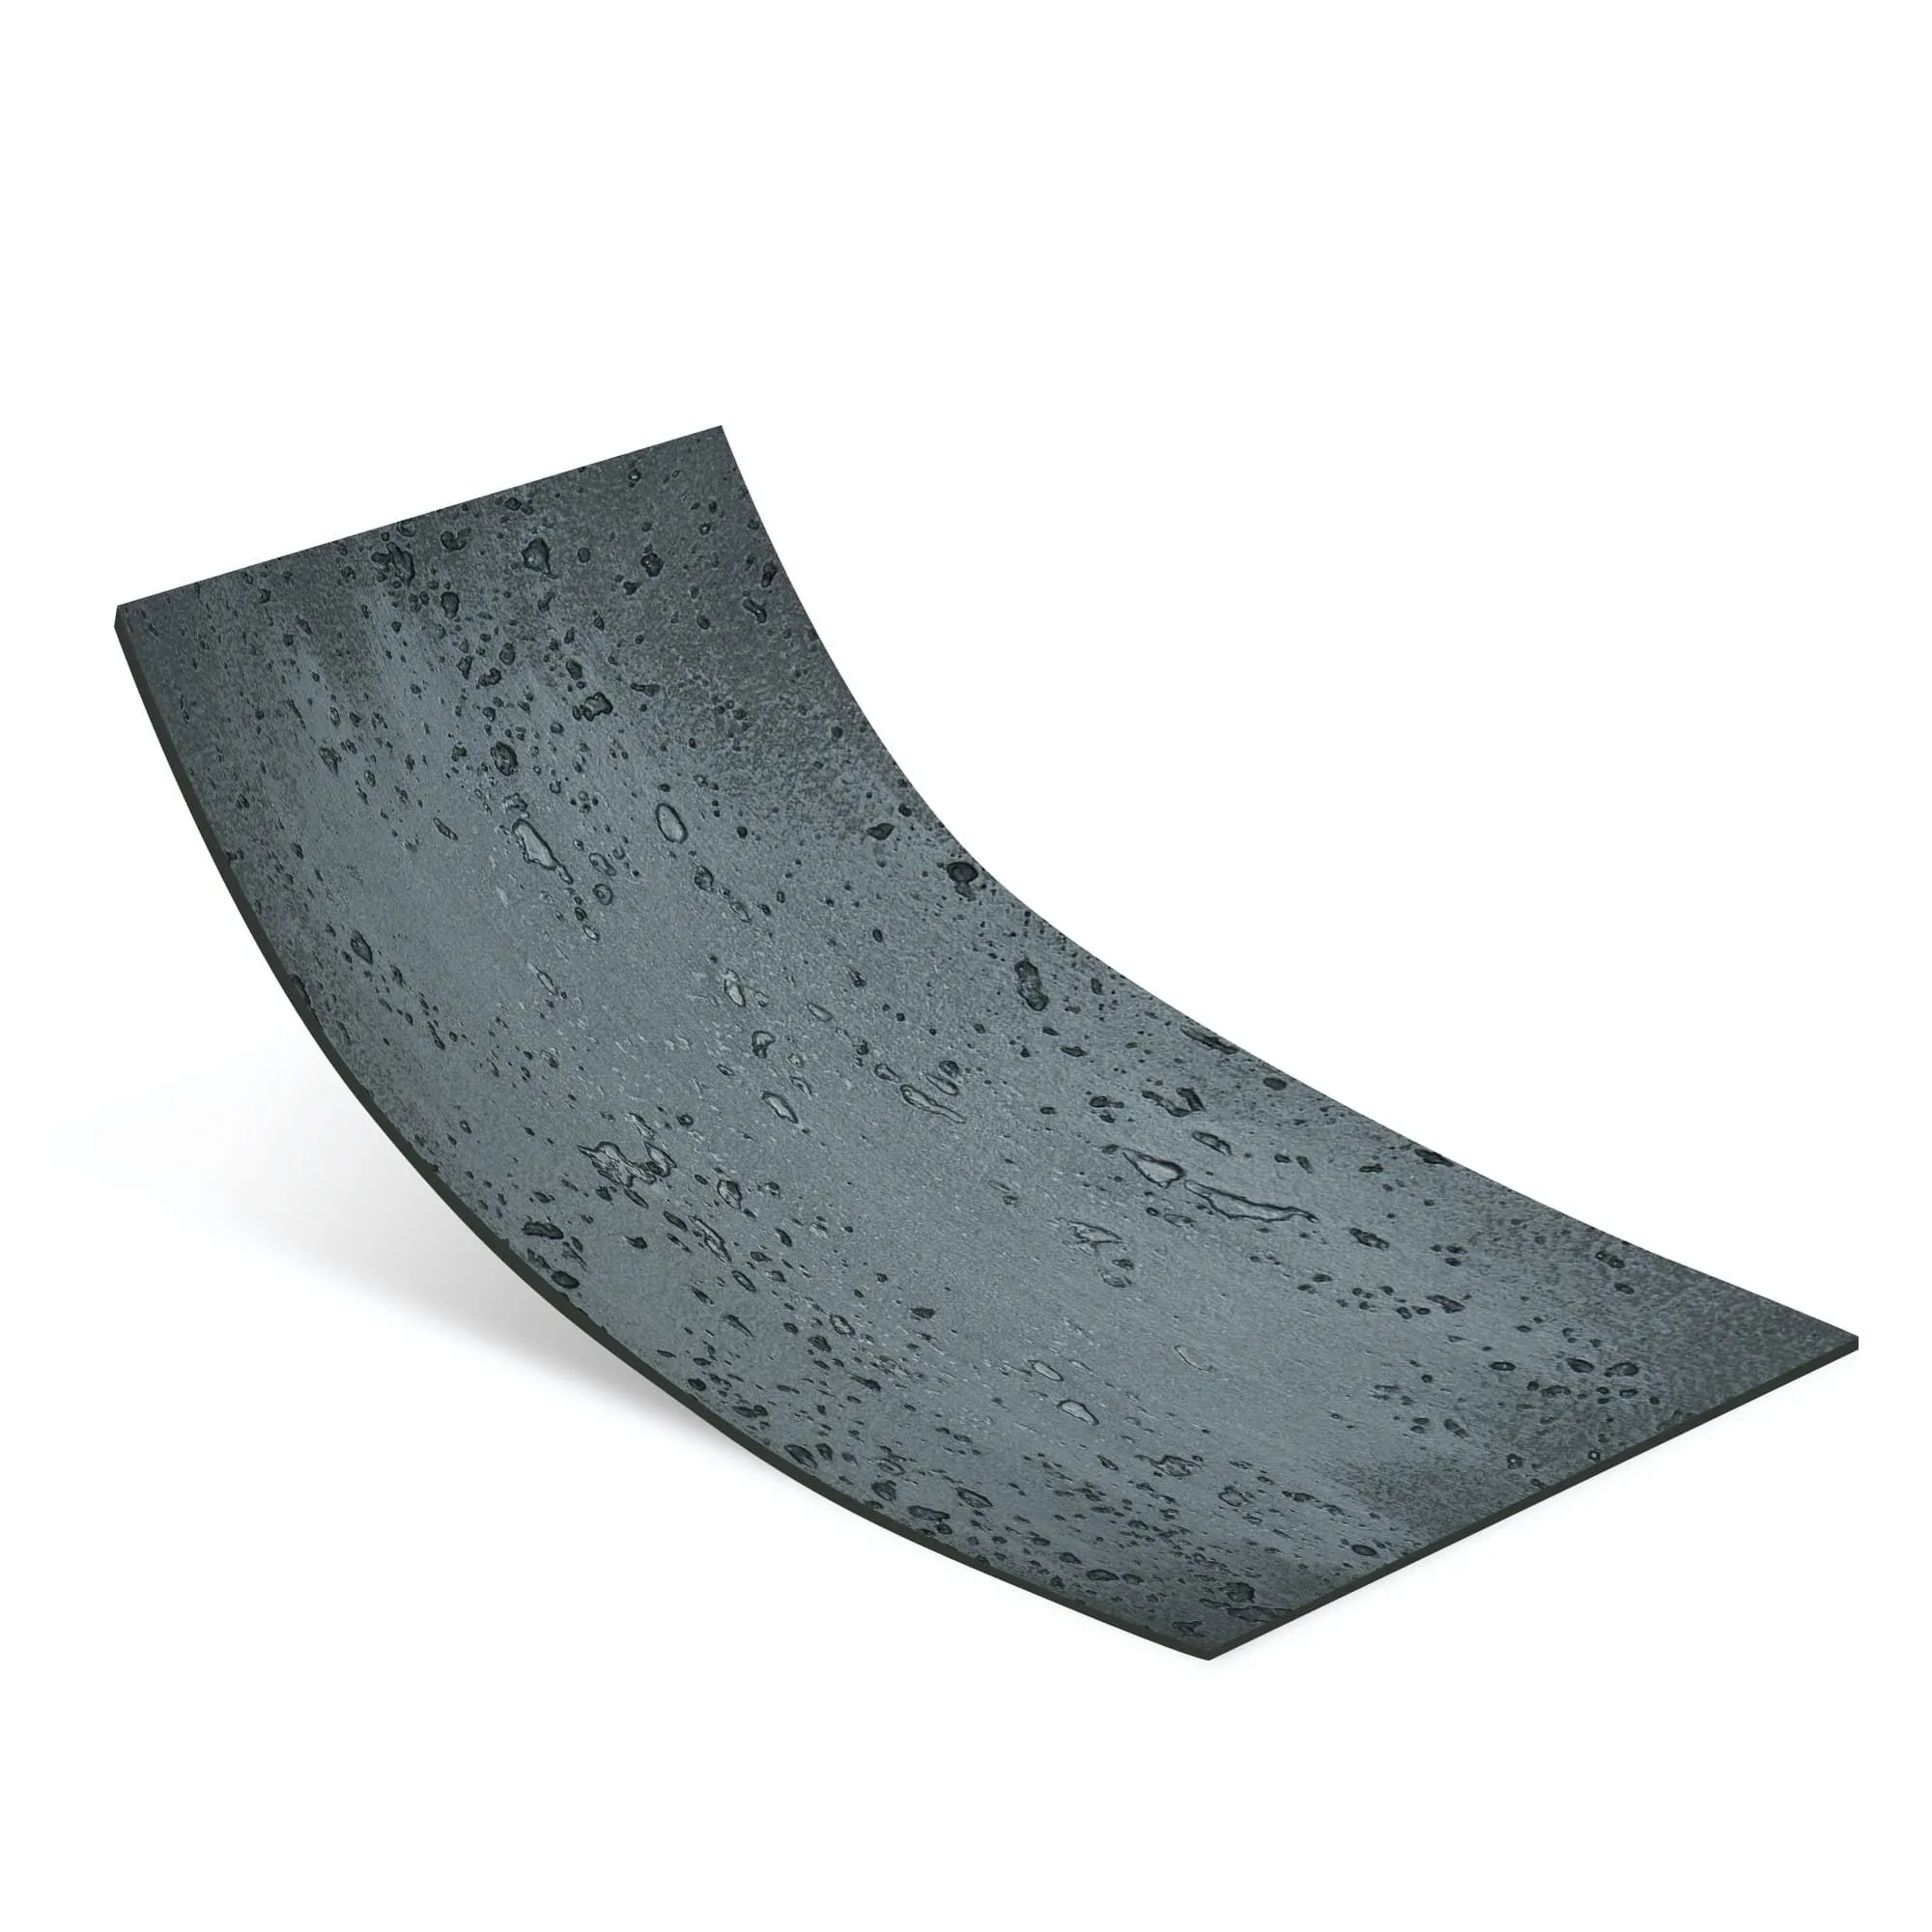
First, let's get intimate with the stone itself. Travertine (Vintage Silver) isn't just another pretty face—it's a type of limestone formed by mineral-rich hot springs, which gives it those signature holes and channels (called "vugs") that make each slab unique. The "vintage silver" finish? It's a subtle, brushed treatment that softens the stone's natural texture, adding a hint of modern elegance without overshadowing its organic roots. Think of it as nature's own artwork, with a matte sheen that complements everything from sleek modern homes to cozy cottage exteriors.
But that porosity? That's both its charm and its Achilles' heel. Unlike dense materials like fair-faced concrete, which repels water more easily, travertine's tiny pores act like a magnet for moisture, dirt, and stains. Left unsealed, rainwater seeps in, freezing and expanding in winter to crack the stone. UV rays fade its silver hue, turning it dull. Even something as harmless as bird droppings or fallen leaves can leave permanent marks if they sit too long. I once visited a client who'd skipped sealing, and their once-gorgeous travertine walkway looked like it had aged 20 years in 2—stained, pitted, and robbed of its glow. Don't let that be you.
Sealing is only as good as the surface it's applied to. You wouldn't paint a dirty wall, right? The same logic applies here. Prepping travertine is all about stripping away the old to make space for the new. Here's how to do it like a pro:
Start by sweeping or blowing away loose dirt and debris. Then, grab a pressure washer—but go easy! Travertine is softer than granite, so use a low-pressure setting (around 1,500 PSI) and a fan nozzle to avoid etching the stone. Mix a mild, pH-neutral detergent (avoid bleach or acidic cleaners—they'll eat into the stone) with warm water, and scrub gently with a soft-bristle brush, focusing on stained areas. For mildew or algae, add a splash of white vinegar to the mix (test a small hidden spot first to ensure it doesn't discolor the stone). Rinse thoroughly, and let the surface dry completely—this can take 24 to 48 hours, depending on humidity. Pro tip: Check for moisture by placing a plastic bag over the stone; if condensation forms underneath after an hour, it's still damp. Wait longer—rushing this step is how sealers end up cloudy or peeling.
Travertine's natural holes are part of its charm, but large cracks or deep vugs can trap water and weaken the stone. Use a travertine-specific filler (look for one that matches the vintage silver tone) to patch small cracks. For those iconic holes, you can either leave them unfilled for a rustic look or fill them with the same filler for a smoother finish—just be consistent! Let the filler dry according to the product instructions (usually 24 hours), then sand it gently with fine-grit sandpaper to blend it into the stone. This step ensures your sealer bonds evenly, without gaps where moisture can sneak in.
If you're re-sealing an existing travertine surface, you'll need to strip off the old, worn sealer first. Use a sealer remover designed for natural stone—apply it with a brush, let it sit (check the label for timing), then scrub and rinse. This is tedious, but trust me: applying new sealer over old, patchy sealer is like putting a band-aid over a wound that needs stitches. It won't hold.
Now comes the big question: what sealer should you use? Walk into any home improvement store, and you'll be overwhelmed by options. Let's simplify. There are two main types: penetrating sealers and topical sealers. Here's how to pick the best one for your Travertine (Vintage Silver):
| Sealer Type | How It Works | Pros | Cons | Best For |
|---|---|---|---|---|
| Penetrating Sealer | Absorbs into the stone's pores, creating a barrier from within. | Breathable (lets moisture escape), doesn't change the stone's appearance, long-lasting (2-5 years). | Requires multiple coats, less protection against heavy stains. | Exterior travertine (patios, walkways, facades)—especially in rainy or humid climates. |
| Topical Sealer | Forms a protective film on the stone's surface. | High-gloss or satin finish options, stronger stain resistance. | Can peel or yellow over time, traps moisture (risk of cracking), needs reapplication every 1-2 years. | Indoor travertine (floors, countertops) or low-traffic exterior areas where appearance is prioritized over longevity. |
For exterior Travertine (Vintage Silver), I almost always recommend a penetrating sealer—specifically a water-based silicone or fluoropolymer formula. Why? Because it preserves the stone's natural look (no glossy sheen to hide that vintage silver texture) and lets the stone "breathe," preventing moisture from getting trapped and causing damage. Look for labels that say "impregnating" or "penetrating," and check that they're rated for exterior use. Avoid solvent-based sealers if you can—they're harsher, smell stronger, and can sometimes darken the stone (a big no-no for that subtle vintage silver hue).
Pro tip: Test the sealer on a small, hidden area of your travertine first. Apply a little, let it dry, and check for discoloration. If it darkens the stone too much, try a different brand. You want the sealer to protect, not alter, the stone's beauty.
Okay, you've prepped the stone, picked your sealer—now it's time to seal. This isn't a job to rush. Set aside a full day (preferably when the forecast is clear for 48 hours—rain during curing is a disaster). Here's how to do it:
You'll need: the sealer, a clean roller (with a ¼-inch nap for smooth application), a paint tray, a small brush (for edges and tight spots), and lint-free rags. Avoid sponge applicators—they can leave streaks.
Pour the sealer into the paint tray. Dip the roller, and apply a thin, even coat to the travertine, working in small sections (about 3x3 feet). Move the roller in overlapping strokes to avoid missed spots. For the edges (like where the travertine meets the house or a flower bed), use the small brush—precision matters here. Let the sealer sit for 5-10 minutes to absorb into the pores. If you see puddles or areas where the sealer isn't soaking in, wipe them up with a rag—excess sealer dries sticky and cloudy.
Wait 2-4 hours (check the sealer's instructions—some need longer). The stone should feel dry to the touch, but still slightly tacky. Apply a second coat the same way as the first—thin and even. This second coat is your insurance policy, filling any pores the first coat missed. Again, wipe up excess after 5-10 minutes.
Now, walk away. Let the sealer cure for at least 24 hours (some need 48). Keep foot traffic off the area, and resist the urge to hose it down or set furniture on it. I once had a client who couldn't wait and placed a grill on their newly sealed patio—let's just say the sealer left a permanent "grill outline" that still makes me cringe. Trust the process.
Sealing isn't a "set it and forget it" deal. Think of it like a sunscreen—you reapply after swimming, right? Travertine needs the same attention. Here's how to keep it looking fresh:
How do you know when it's time? Do the "water test." Pour a small amount of water on the stone—if it beads up, the sealer is still working. If it soaks in immediately, grab the sealer. High-traffic areas (like a patio that hosts weekly barbecues) might need resealing every 1-2 years; low-traffic spots (like a facade) can go 3-5. And if you live in a harsh climate (heavy rain, snow, or intense sun), err on the side of sooner.
Stick to mild, pH-neutral cleaners (look for "stone-safe" labels) and a soft brush or mop. Avoid vinegar, bleach, or abrasive cleaners—they'll break down the sealer and etch the stone. Sweep regularly to prevent dirt from grinding into the pores, and wipe up spills (wine, oil, ketchup—you name it) immediately. The longer a stain sits, the harder it is to remove, even with a sealer.
Keep an eye out for signs the sealer is failing: dark spots that don't dry, dull patches, or stains that won't come out. Catching these early means you can spot-seal small areas instead of resealing the entire surface. And if you notice cracks or chips in the stone itself? Fix them ASAP with travertine filler—damaged areas are even more porous and prone to water damage.
Don't panic—sealing mishaps happen to the best of us. Here's how to fix common issues:
This is usually from excess sealer that wasn't wiped up. While the sealer is still tacky, wipe the area with a damp rag. If it's already dry, try buffing with a clean, dry rag—sometimes friction can remove the haze. If that doesn't work, use a sealer stripper (gently!) and start over on that spot.
Streaks happen when the sealer is applied too thick or when the roller is overloaded. Sand the area lightly with fine-grit sandpaper, clean it, and apply a thin, even coat of sealer. Next time, work in smaller sections and keep the roller moving—no stopping mid-stroke.
This is usually a prep issue—either the stone wasn't clean, or old sealer was left behind. You'll need to strip the peeling sealer, clean the area thoroughly, and reseal. Annoying? Yes. But better than letting the stone get damaged.
Sealing Travertine (Vintage Silver) isn't just about protecting stone—it's about protecting moments. The morning coffee on the patio, the summer dinners under the stars, the kids chasing fireflies across the walkway. Those moments deserve a backdrop that feels alive, not worn down. I've had clients tell me, years later, that their sealed travertine still gets compliments—that it's the first thing guests mention when they walk into the backyard. That's the magic of doing it right.
And here's a little secret: travertine isn't the only stone that benefits from this care. Materials like flexible stone cladding panels or even lime stone(beige) have their own sealing needs, but travertine's porosity makes it extra special. Treat it with respect, and it'll reward you with decades of beauty.
So grab your sealer, roll up your sleeves, and give your Travertine (Vintage Silver) the protection it deserves. Your future self—and your outdoor space—will thank you.
Recommend Products


