

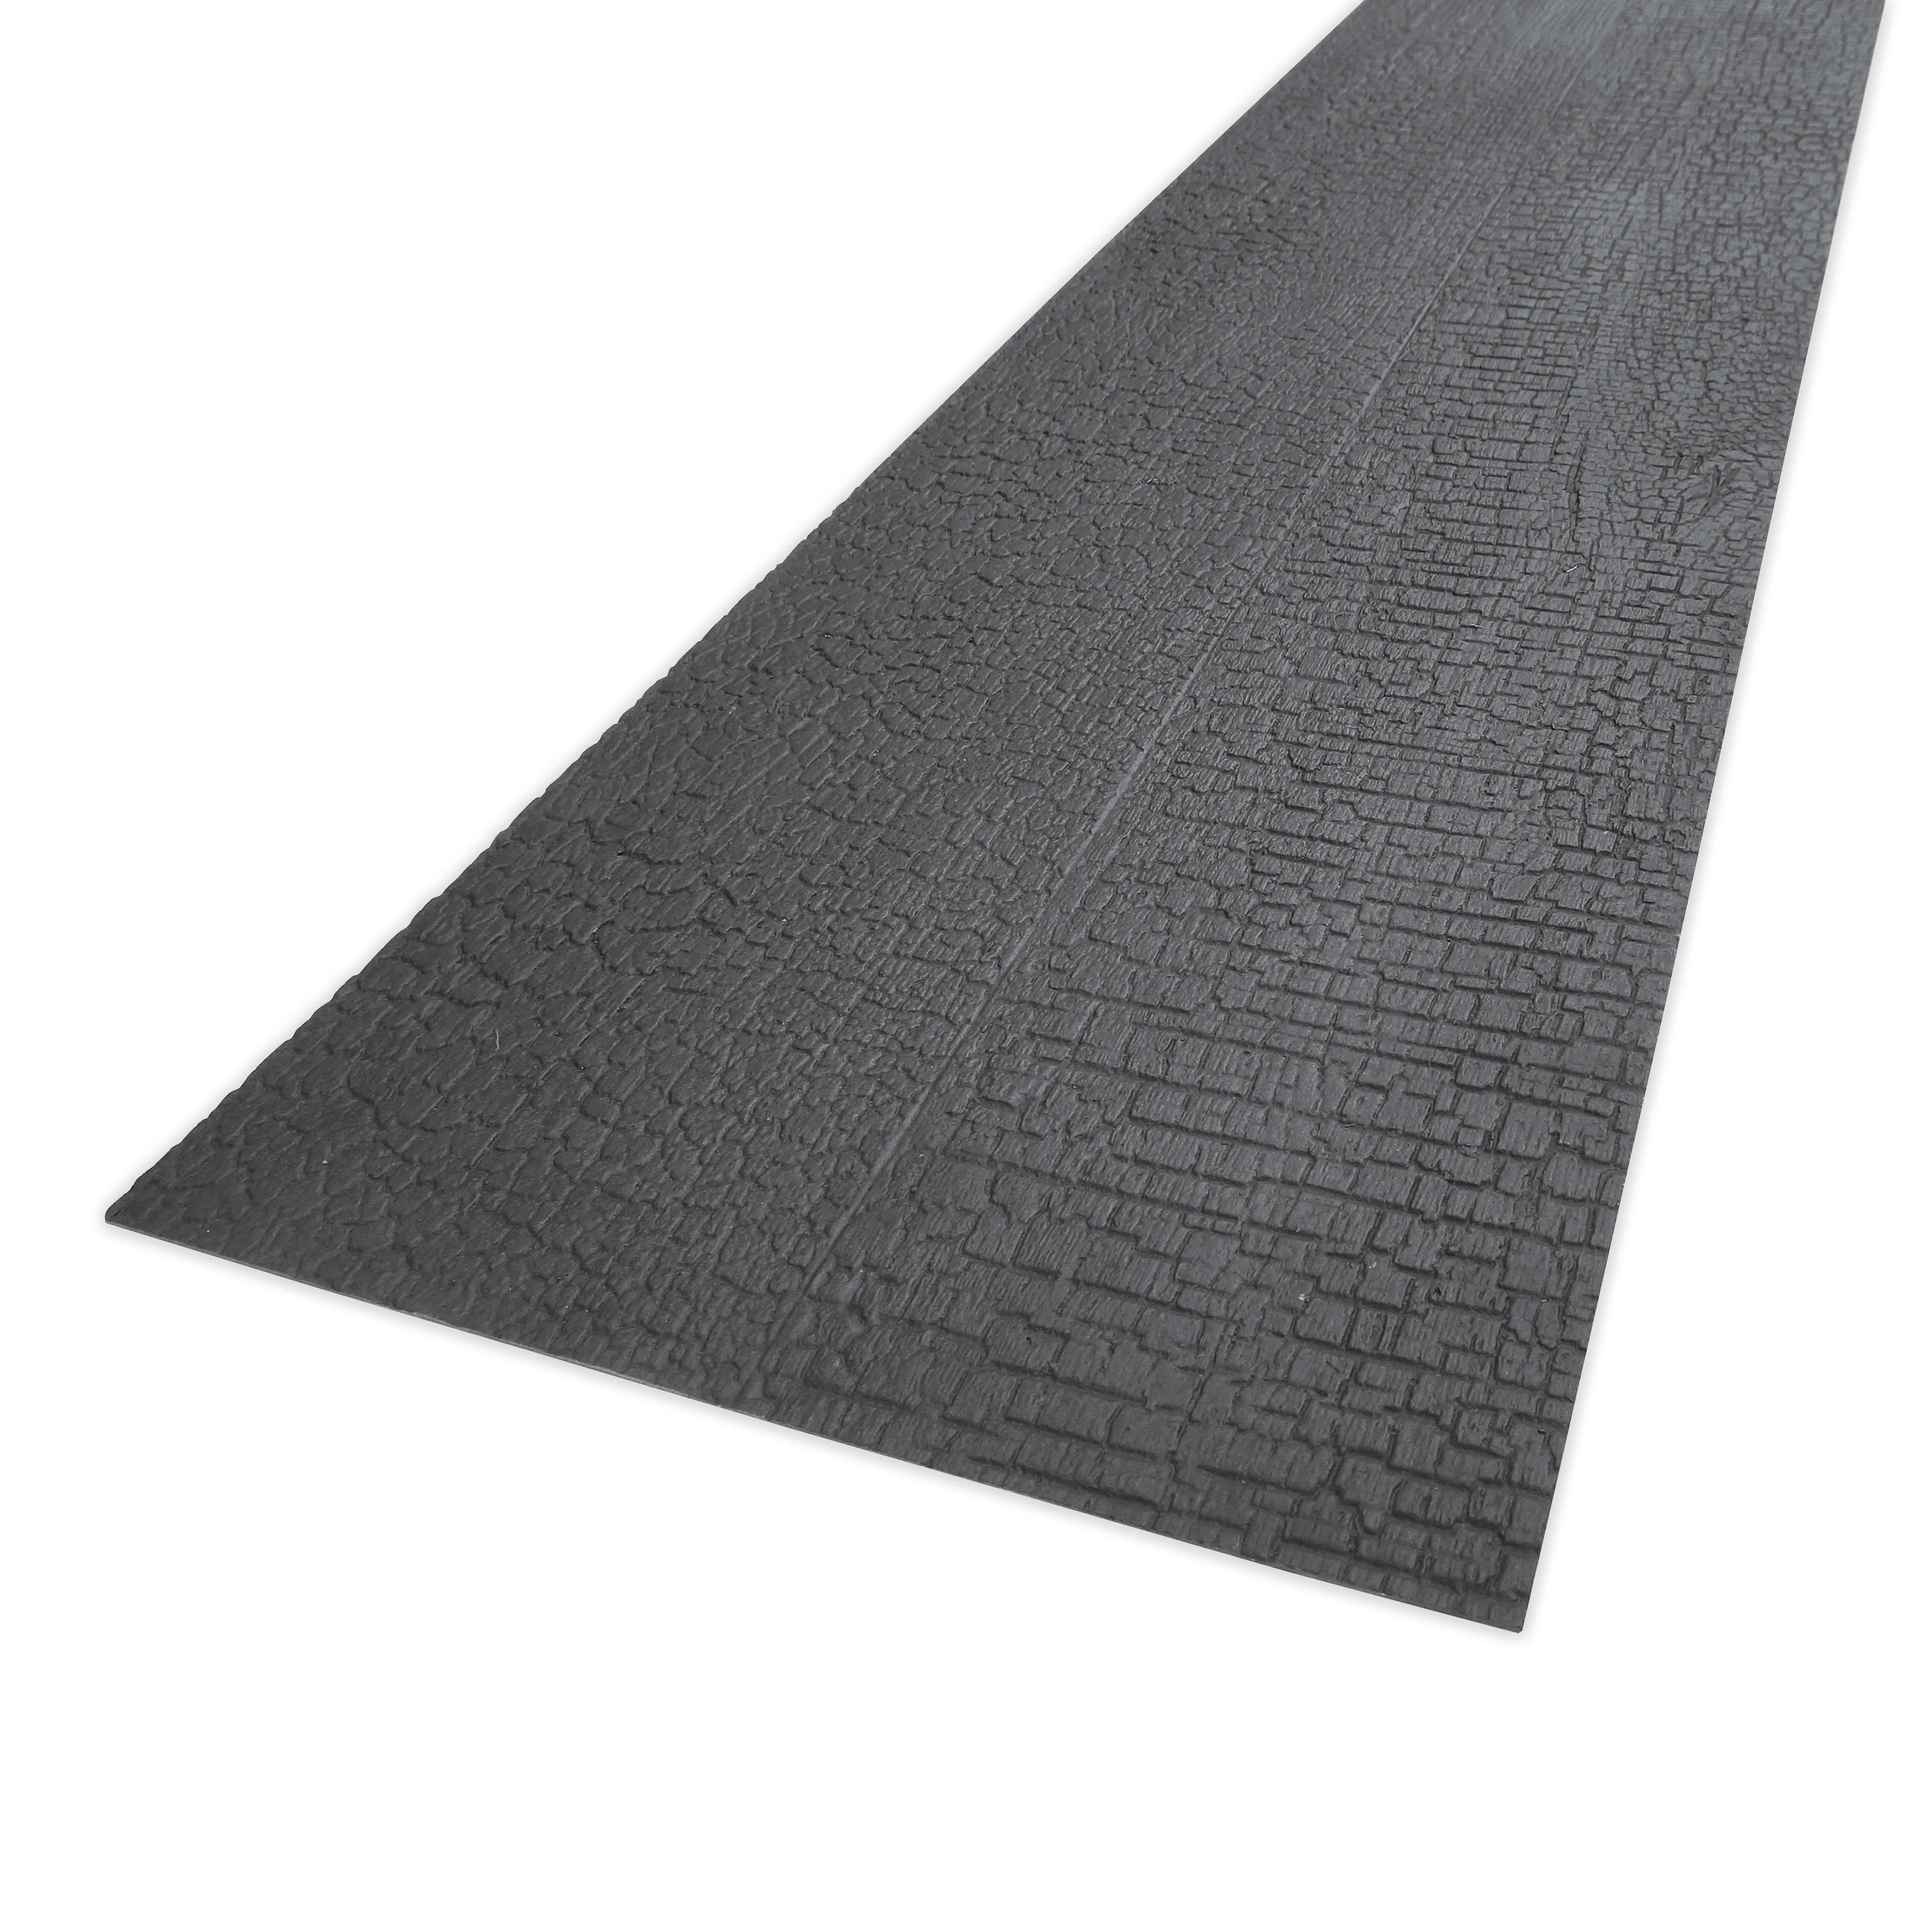
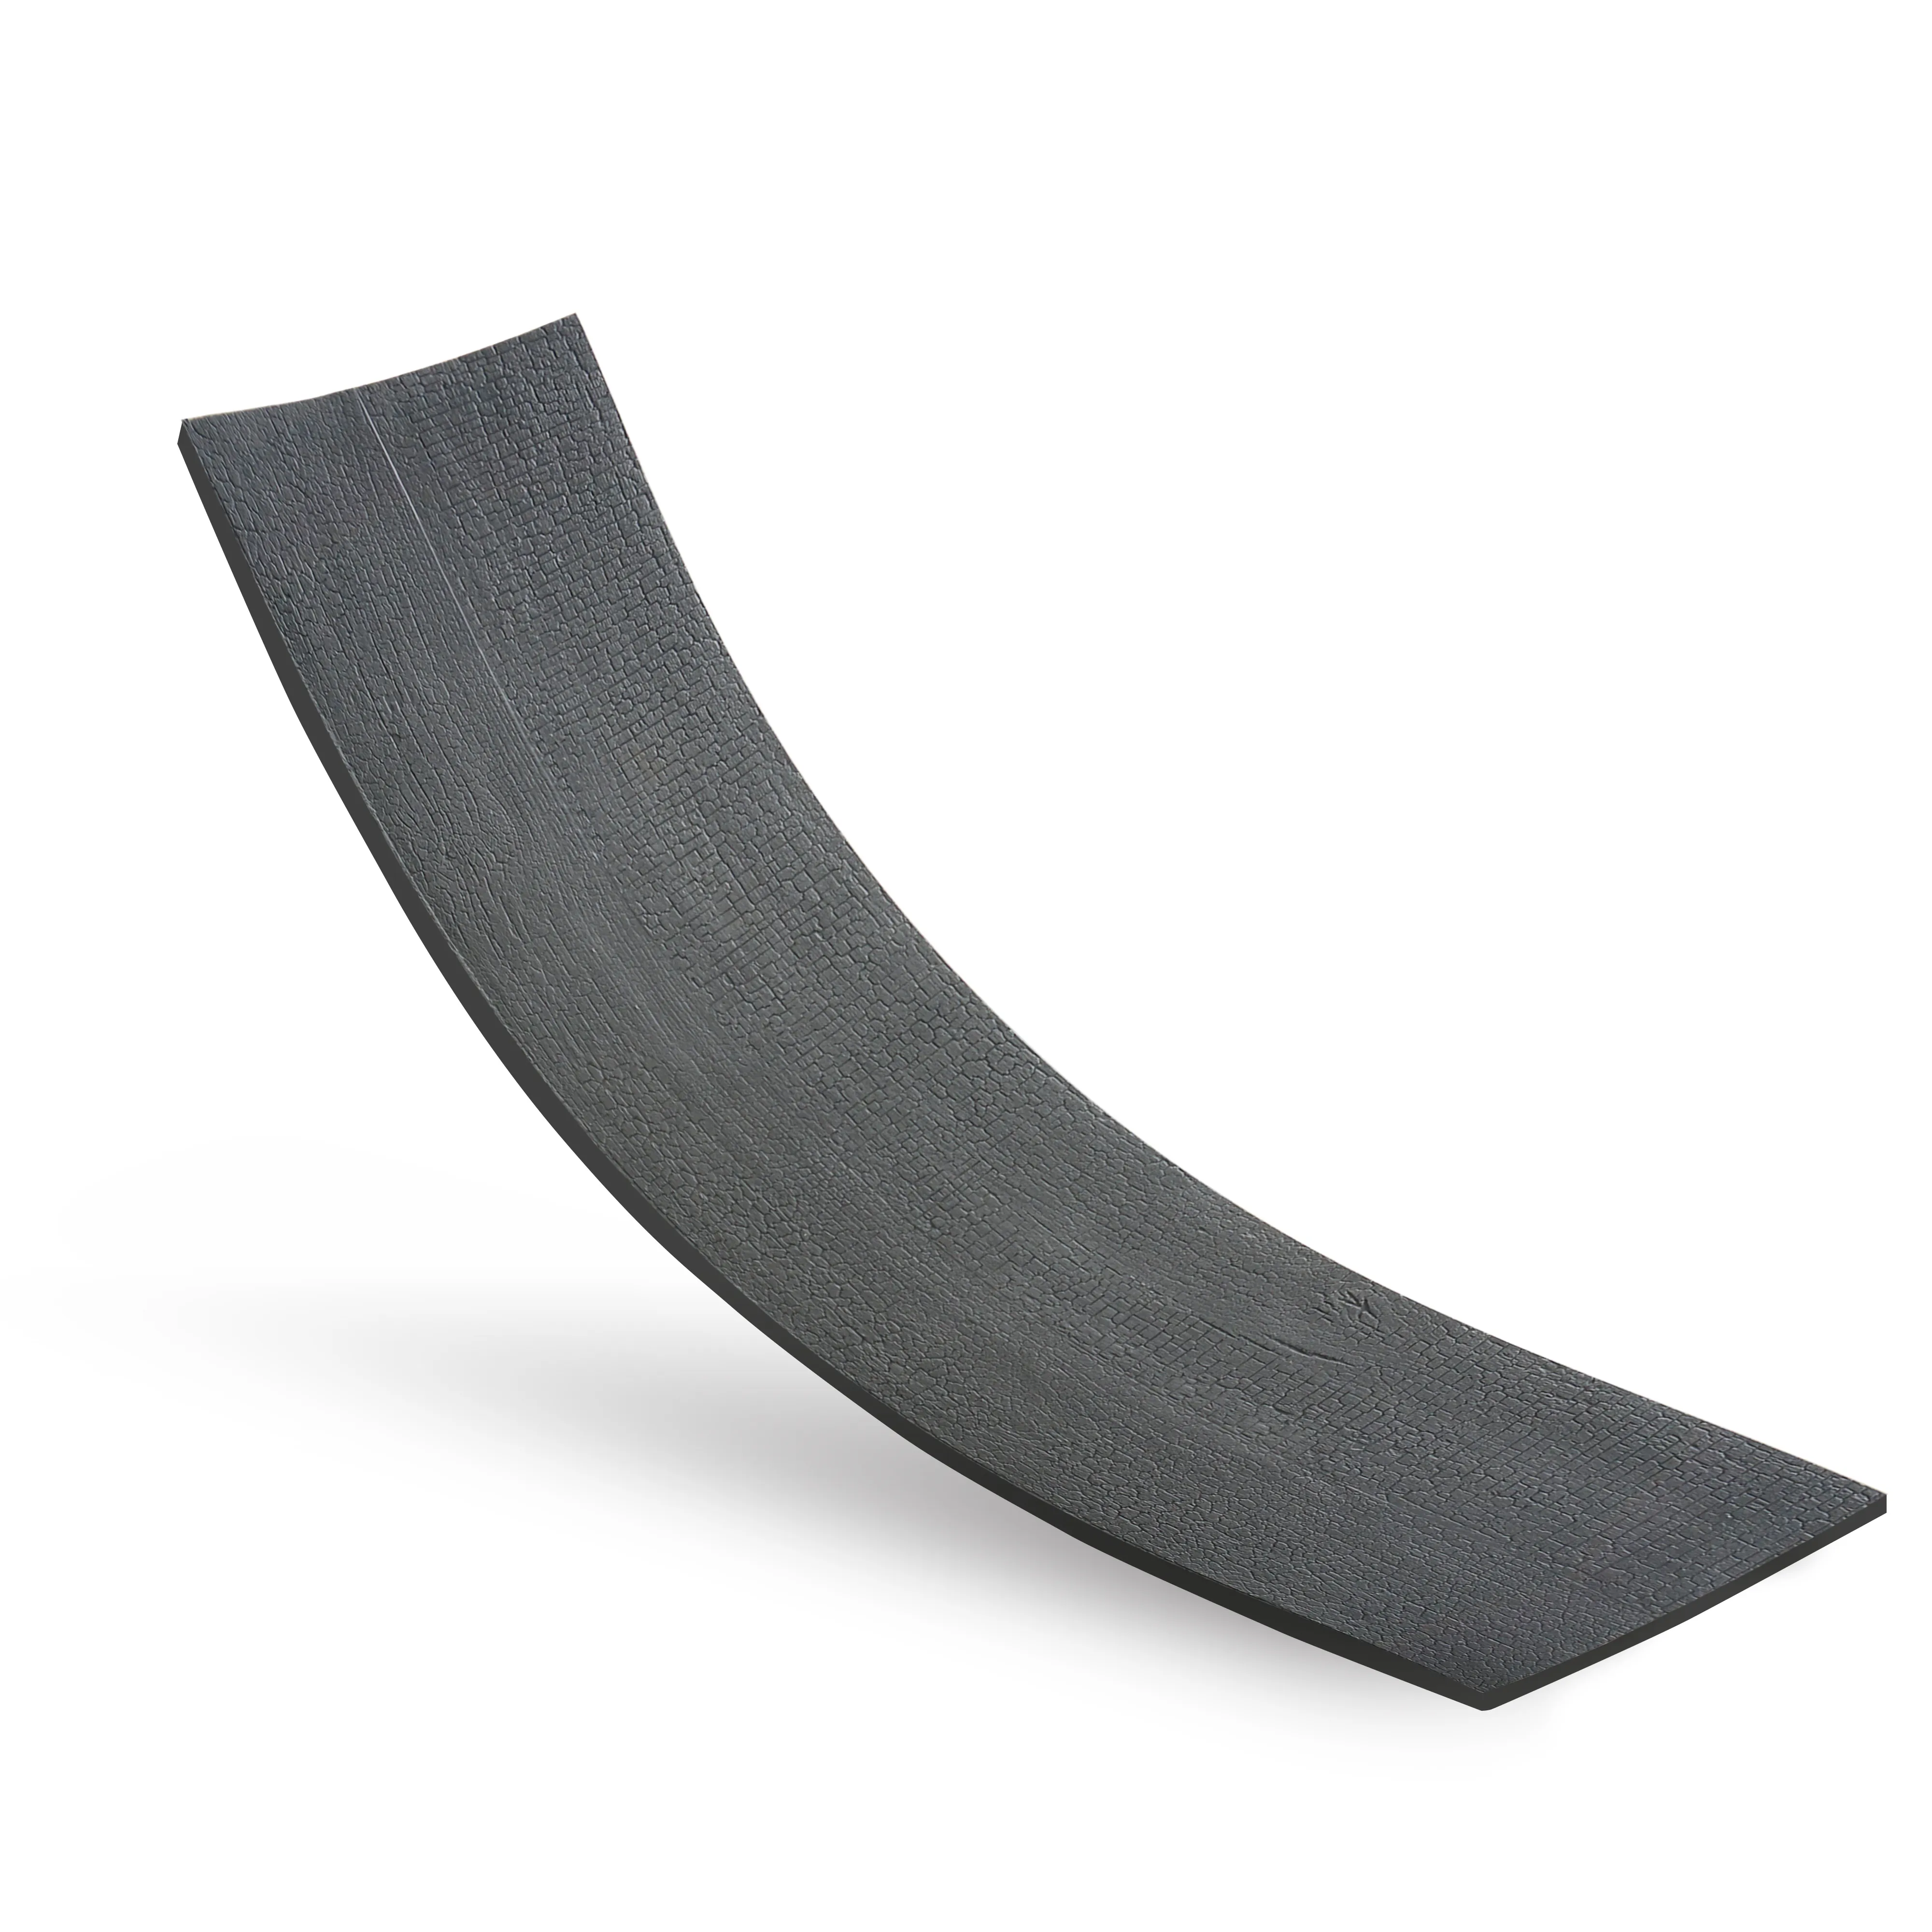
Imagine stepping into a newly renovated café, your eyes drawn to the stunning accent wall made of charcoal burnt wood boards. The deep, smoky hues and textured grain feel both rustic and modern, like a piece of art you can touch. Now, picture running your hand along the surface—smooth, sturdy, and seemingly perfect. But beneath that beauty lies a hidden factor that could make or break how long those boards stay looking that way: their pH level.
You might be thinking, "pH? Isn't that just for pools or science class?" Trust me, I thought the same until I started working with wood materials professionally. pH is essentially a measure of how acidic or alkaline a substance is, ranging from 0 (super acidic, like battery acid) to 14 (super alkaline, like drain cleaner). Neutral is 7, right in the middle. For charcoal burnt wood boards, this number isn't just a statistic—it's a window into how the wood will behave over time.
Here's why it matters: If your boards are too acidic (below 6), they might react with water or cleaning products, causing discoloration or even eating away at protective finishes. Too alkaline (above 8), and they could release minerals that stain walls or irritate skin with frequent contact. The sweet spot? A neutral to slightly acidic pH (6.0 to 7.5)—this keeps the wood stable, durable, and compatible with most sealants and environments.
The best part? You don't need a lab coat or expensive equipment to figure this out. With a few simple tools you can find at home or the hardware store, you'll be testing pH like a pro in no time. In this guide, we'll walk through four easy DIY methods to test your charcoal burnt wood boards, compare results with other materials like wood grain board and fair-faced concrete, troubleshoot common issues, and answer all your burning questions. Let's get started!
pH test strips are the workhorses of home pH testing—and for good reason. They're cheap, easy to use, and available at most pharmacies, garden centers, or online for $5 to $15 a pack. Think of them as the "instant read" option—perfect if you need results fast or are testing multiple boards.
1. Prep the wood surface. Start by cleaning the board with a dry microfiber cloth to remove dust or dirt. Now, here's a key step: charcoal burnt wood has a charred outer layer that might have a different pH than the inner wood. To get the "real" pH, gently sand a small, inconspicuous area (like the back or bottom edge) with sandpaper until you see fresh, unburnt wood. This is like peeling back a curtain to reveal the wood's true nature.
2. Collect a sample (or test directly). You have two options here:
3. Apply the water to the test strip. If doing a surface test, press the test strip firmly against the dampened area for 2 seconds. For the solution test, use the dropper to place 2-3 drops of the wood-water mixture onto the strip. Avoid touching the strip with your fingers—oil from your skin can mess up the results!
4. Wait and match the color. Check the test strip package for the recommended waiting time (usually 15-60 seconds). Then, hold the strip next to the color chart provided. The chart will have colors corresponding to pH levels—for example, bright red might mean pH 4 (acidic), while blue could be pH 9 (alkaline). Find the closest match, and that's your pH reading!
If you want to skip the guesswork of color charts, a digital pH meter is worth the investment. These handy devices look like small thermometers with a metal probe and give you a numerical pH reading (e.g., 6.7) instead of a color. They're more accurate (±0.1 pH) and great if you plan to test other materials—like comparing your charcoal burnt wood board to a wood grain board for a shelving project, or checking the pH of fair-faced concrete for your patio.
1. Calibrate the meter first (critical!). Digital meters lose accuracy over time, so calibration is non-negotiable. Fill two small cups with the pH 7.01 and 4.01 buffer solutions. Turn on the meter, and follow the instructions to calibrate with pH 7.01 first—usually, you dip the probe in the solution, press "calibrate," and wait for it to beep. Then repeat with pH 4.01. Think of it like tuning a guitar—you wouldn't play without tuning, right? Same here.
2. Prepare your wood sample. Sand a small area to expose fresh wood, then either:
3. Take the reading. For surface testing, gently press the probe against the dampened wood, making sure the metal tip is fully in contact with the water. For solution testing, dip the probe into the wood-water mixture. Stir slowly for 10 seconds (this helps the probe get an accurate reading), then wait for the number on the screen to stabilize (usually 15-30 seconds). Record the number—it's that easy!
4. Clean the probe. After testing, rinse the probe with distilled water and pat dry with the lint-free cloth. Never wipe it—this can scratch the sensitive membrane. Store the meter in its case to keep it protected.
I bought my first digital meter last year when I was helping a client choose between charcoal burnt wood boards and fair-faced concrete for their restaurant walls. The concrete tested at pH 9.2 (alkaline), while the wood was 6.8 (neutral). Knowing that helped us recommend a barrier between them to prevent the concrete's alkalinity from reacting with the wood—saved the client from potential staining down the line!
Ever wished you could test pH with stuff you already have in your pantry? Enter baking soda and white vinegar—the dynamic duo of kitchen chemistry. This method is qualitative (it tells you if the wood is acidic or alkaline, not the exact number), but it's fun, free, and perfect for kids or anyone who loves a good science demo.
1. Prep the wood. Sand a small area to fresh wood and wipe away dust with the cloth. You want a clean, dry surface for the reaction.
2. Test with vinegar first. Vinegar is acidic (pH 2.4), so it will fizz if the wood is alkaline (basic). drop 2-3 drops of vinegar onto the sanded area and wait 30 seconds. If you see tiny bubbles or fizzing, congratulations—your wood is alkaline (pH >7).
3. Test with baking soda next. Baking soda is alkaline (pH 8.3), so it will fizz if the wood is acidic. Wipe the vinegar off with a damp cloth and let the area dry completely. Then, sprinkle a pinch of baking soda onto the sanded spot and add 2-3 drops of water (to activate the baking soda). If it fizzes, your wood is acidic (pH <7).
4. Interpret the results. No fizz with either? Your wood is neutral (pH 6.5-7.5)—ideal! Fizz with both? That's rare, but it means the wood has both acidic and alkaline compounds (maybe from minerals in the wood). In that case, use test strips or a meter for a precise reading.
I tried this with my neighbor's wood grain board last month—she was convinced it was "ruined" because the finish was peeling. We sanded a spot, dropped vinegar, and nothing happened. Then baking soda and water—tiny bubbles! Turns out her board was slightly acidic (pH 6.0), which was reacting with her water-based sealant. A quick switch to an acid-resistant sealant fixed the problem. Who knew kitchen supplies could solve home renovation mysteries?
For the eco-warriors or anyone who loves natural solutions, red cabbage is a surprisingly effective pH indicator. Its vibrant purple pigment, called anthocyanin, changes color based on pH—nature's own test strip! It's not as precise as a meter, but it's fun, uses ingredients you can eat, and works great for teaching kids about science.
1. Make the indicator solution. Place the chopped cabbage in the pot and cover with boiling water. Let it steep for 20 minutes, stirring occasionally—the water will turn a deep purple. Strain out the cabbage, collecting the liquid in the bowl. This is your indicator! It will keep in the fridge for up to a week, or freeze in ice cube trays for later use (pop one out when you need it).
2. Prep the wood sample. Sand a small area to fresh wood, clean with a dry cloth, and either:
3. Watch the color change! The purple liquid will shift hues based on pH:
My 8-year-old nephew helped me test this once, and he still talks about "the magic cabbage water." We tested his play table (painted wood) and my charcoal burnt board—his table turned pink (acidic, from the paint), while my board stayed purple (neutral). He now asks to "test the pH of everything," including his cereal milk. Science wins!
With four methods to pick from, you might be wondering which is right for you. Let's break down the pros, cons, and best uses in this handy table:
| Method | Cost | Accuracy | Time to Results | Best For | Pros | Cons |
|---|---|---|---|---|---|---|
| pH Test Strips | $5-$15 | Moderate (±0.5 pH) | 15-60 seconds | Beginners, quick tests, tight budgets | Cheap, easy, no calibration needed | Color matching can be tricky; strips expire |
| Digital pH Meter | $20-$50 | High (±0.1 pH) | 15-30 seconds (plus calibration time) | Precision needs, multiple materials (e.g., testing fair-faced concrete too) | Most accurate, numerical results, reusable | Requires calibration; initial cost higher |
| Baking Soda/Vinegar | $0 (pantry items) | Low (qualitative only) | 1-2 minutes | Quick checks, teaching kids, no tools available | Free, uses household items, fun reaction | No exact pH number; only tells acidic/alkaline/neutral |
| Red Cabbage Indicator | $1-$3 (cabbage cost) | Low-Moderate (±1 pH) | 20+ minutes (steeping time) | Eco-friendly projects, natural DIYers, educational use | Natural, non-toxic, fun for kids | Time-consuming; less precise; indicator expires quickly |
For most homeowners, pH test strips or a digital meter are the best bets. Strips are perfect for a one-time test or if you're on a budget. A digital meter is worth the splurge if you're a DIY enthusiast, designer, or plan to test other materials (like comparing charcoal burnt wood to wood grain board for a furniture project). The baking soda/vinegar method is great for a quick check, and red cabbage is ideal for teaching or natural living.
So you've run the test, but the numbers aren't adding up. One strip says pH 5, another says 7, and the digital meter reads 6.2. Before you throw in the towel, know that inconsistent results are common—and usually fixable. Let's troubleshoot the most likely culprits:
Dust, oil from your hands, or leftover sealant can throw off results. Fix: Sand the area thoroughly (deeper than you think—charred wood can have a thin outer layer) and clean with distilled water. Let it dry completely before testing again.
Tap water has minerals (like calcium or chlorine) that can alter pH. Fix: Always use distilled water—you can buy it at the grocery store for $1-$2 a gallon, or boil tap water and let it cool (boiling removes most minerals).
Old strips lose their reactivity. Fix: Check the expiration date on the package. If it's expired, toss them and buy new ones—fresh strips are key for accurate results.
An uncalibrated meter is like a clock that's 30 minutes fast—useless. Fix: Calibrate before every use, especially if the meter hasn't been used in a month or more. Most meters come with calibration solutions; don't skip this step!
Wood is a natural material, so pH can vary between knots, sapwood, and heartwood. Fix: Test 4-5 different areas (edges, center, near knots) and average the results. Ignore outliers (e.g., one pH 4 result when others are 6-7—probably a knot or mineral deposit).
Curious how your charcoal burnt wood board's pH stacks up against other popular building materials? Let's take a look at two common ones: wood grain board and fair-faced concrete.
Wood grain board (like plywood or solid wood with a visible grain pattern) is usually neutral to slightly acidic (pH 6.0-7.0), depending on the wood species. Oak, for example, is slightly acidic (pH 5.5-6.5), while pine is more neutral (pH 6.0-7.0). Charcoal burnt wood, on the other hand, tends to be more acidic on the surface (thanks to the charring process, which releases organic acids) but neutral in the core. This means if you're using both in a project (say, burnt wood shelves with a wood grain board backing), you'll want to seal the burnt wood first to prevent its surface acidity from reacting with the wood grain board's finish.
Fair-faced concrete (unfinished, raw concrete) is famously alkaline—new concrete can have a pH of 12-13 (like ammonia!), which drops to 9-10 as it cures over time. This high alkalinity can leach calcium hydroxide, a white, powdery substance that can stain wood or react with acidic materials. If you're pairing fair-faced concrete with charcoal burnt wood (e.g., a concrete countertop with a burnt wood backsplash), keep them separated by a silicone caulk or barrier. Over time, the concrete will neutralize, but it's best to be cautious for the first year.
Understanding these differences helps you plan for compatibility. For example, I once worked on a restaurant where the designer paired acidic burnt wood with alkaline concrete without a barrier. Within six months, the wood had developed white stains from the concrete's calcium hydroxide. A simple silicone seal between them would have prevented the issue!
A: Once is enough for new boards, but retest if you notice changes: discoloration, warping, or if you apply a new treatment (like stain or paint). For outdoor boards (decks, fences), test annually—rain, snow, and sun can alter pH over time.
A: Aim for 6.0-7.5 (slightly acidic to neutral). This range minimizes degradation, reaction with finishes, and health risks (highly alkaline wood can irritate skin).
A: Yes! For acidic wood (pH <6), apply a lime-based sealant (lime is alkaline) to neutralize it. For alkaline wood (pH >8), wipe with a solution of 1 part white vinegar to 4 parts water (test a small area first to avoid discoloration). Always seal the wood after adjusting pH to lock in the new level.
A: Absolutely! The charred outer layer is more acidic (from burnt wood sugars), while the inner wood is closer to neutral. If you're testing for the "core" pH, sand deeper (1/8 inch or more) to bypass the charred layer.
A: It's optional, but still helpful. Even decorative boards can react with wall paint or adjacent materials if their pH is extreme. Plus, knowing the pH helps you choose the right cleaner—acidic wood needs a neutral cleaner, while alkaline wood can handle mild soap and water.
Testing the pH of your charcoal burnt wood board might seem like a small step, but it's a powerful way to ensure your investment lasts. By knowing whether your wood is acidic, alkaline, or neutral, you can choose the right sealants, cleaners, and companion materials (like avoiding pairing it with fair-faced concrete without a barrier). You'll save time, money, and frustration, and enjoy your beautiful wood boards for years to come.
Remember, you don't need to be a scientist—just grab some test strips, a digital meter, or even a head of red cabbage, and get started. And if you test other materials too—like that wood grain board you've been eyeing for shelves—you'll become a more informed, confident DIYer or homeowner.
So go ahead—test those boards, embrace the science, and let your charcoal burnt wood's balanced pH be the secret to its long-lasting beauty. Happy testing!
Recommend Products


