
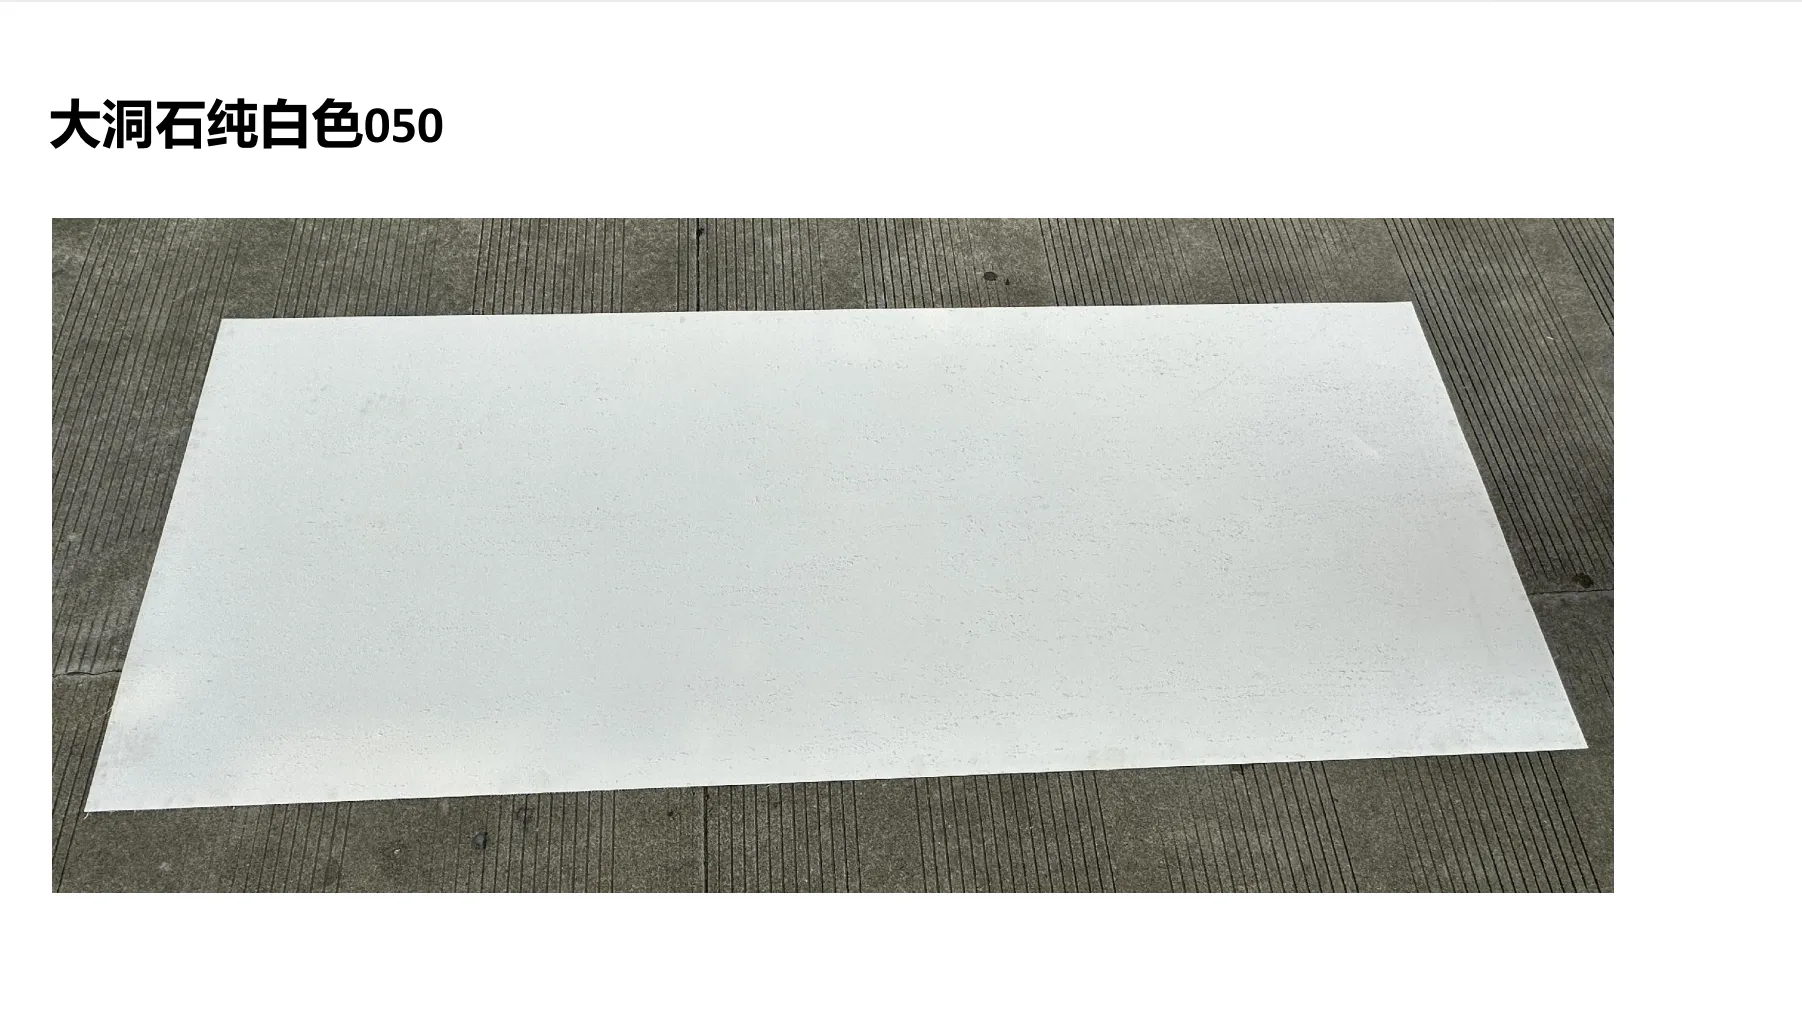
If you've been in the construction game for a while, you know the struggle: finding materials that don't just check the boxes for durability and cost, but also make clients stop and say, "Wow, that's different." Enter Huge Travertine from MCM's mcm big slab board series —a game-changer that's been turning heads in both commercial and high-end residential projects. What makes it stand out? It's not just the grand, natural stone aesthetic; it's the fact that this is mcm flexible stone at its finest. Lightweight enough to cut installation time by 30% compared to traditional stone slabs, yet tough enough to withstand harsh weather, heavy foot traffic, and even the occasional construction mishap.
I recently worked with an architect in Barcelona who used Huge Travertine (specifically the travertine (starry green) variant) for a boutique hotel facade. "We wanted something that felt organic but modern," she told me. "The flexibility meant we could curve the panels around the building's unique angles without cracking—something natural travertine would've never allowed." That's the magic of MCM's modified composite materials: they marry the beauty of stone with the practicality of modern engineering.
But here's the thing: even the best materials fail if installed poorly. In this guide, I'm breaking down everything contractors and architects need to know to nail the installation—from prepping the substrate to troubleshooting common headaches. Whether you're a seasoned pro or new to MCM products, these tips will save you time, money, and a few gray hairs. Let's dive in.
You wouldn't build a house without leveling the foundation, right? The same logic applies here. Pre-installation prep is where most projects go off the rails, so let's get this step right.
Huge Travertine panels bond best to smooth, stable substrates. The most common options? Fair-faced concrete , cement backer board, or properly primed drywall (for interior use). Before you even unbox a single panel, grab a straightedge and check for:
Huge Travertine panels come in standard sizes (1200x2400mm is most popular), but custom cuts are available. Here's a pro move: create a detailed layout plan with exact measurements, including cutouts for windows, doors, or fixtures. I once had a contractor skip this step and end up with 12 panels that were 2cm too short for a ceiling installation—costly mistake. Use digital tools like AutoCAD or even a simple sketch app to map it out. And don't forget to account for grout lines! A 3mm gap is standard for Huge Travertine, but adjust based on the panel design (some, like the starry green variant, have textured edges that need extra space).
| Tool | Purpose | Pro Tip |
|---|---|---|
| Laser Level (50m range) | Ensures panels are aligned horizontally/vertically | Invest in a self-leveling model—worth every penny for large walls. |
| Notched Trowel (10mm x 10mm) | Applies adhesive evenly to substrate | Use a U-notched trowel for fair-faced concrete; V-notched for uneven surfaces. |
| Circular Saw with Diamond Blade | Cuts panels to size (wear eye/ear protection!) | Set blade speed to 3,500 RPM to avoid chipping the surface. |
| Rubber Mallet | Taps panels into place without cracking | Wrap the head in a microfiber cloth to prevent scuffing the finish. |
| Grout Float | Applies grout evenly between panels | Use a soft rubber float for textured panels like travertine (starry green) to avoid damaging the surface. |
When the panels arrive, resist the urge to start sticking them up immediately. Lay them out flat on a clean surface (use plywood to protect the finish) and inspect each one. Look for:
Now that you're prepped, let's walk through the installation process. I've broken it down into 6 steps, each with actionable tips I've learned from overseeing over 50 MCM projects.
Huge Travertine panels come wrapped in protective foam and cardboard. Peel off the packaging slowly—sharp tools can scratch the surface. If you're working in a dusty area (looking at you, renovation sites), keep the panels covered until you're ready to install. I once saw a crew leave panels uncovered overnight, and dust settled into the porous texture of the travertine (starry green)—it took hours to clean, and the client noticed the dull spots.
Dry fitting is non-negotiable. Lay the panels on the substrate exactly as they'll be installed, using spacers to mimic grout lines. This is your last chance to adjust for:
Once you're happy with the layout, mark the edges of each panel on the substrate with a pencil. This acts as your guide during the actual installation.
MCM recommends using their proprietary flexible adhesive (order it with the panels—third-party adhesives can void the warranty). Here's how to apply it right:
Lift the panel (use two people for 1200x2400mm slabs—they're lightweight, but awkward) and align it with your pencil marks. Gently press it into the adhesive, then use the rubber mallet to tap the center and edges—this ensures full contact with the substrate. Check the level immediately: if it's off by more than 1mm, lift and reposition. Once aligned, secure the panel with temporary tape (painter's tape works) along the top edge to prevent sliding while the adhesive cures (24 hours for interior, 48 for exterior).
After the adhesive has cured, it's time to grout. For Huge Travertine, use a sanded grout in a color that complements the panel (MCM offers custom grout shades to match their travertine lines). Mix the grout to a "peanut butter" consistency, then apply with the float, holding it at a 45-degree angle to push the grout into the gaps. Let it set for 15 minutes, then wipe away excess with a damp sponge (use circular motions to avoid dragging grout out of the lines).
Pro move: For the travertine (starry green) panels, use a grout release agent before grouting. The textured surface can trap grout, and the release makes cleanup a breeze.
Once the grout is dry to the touch (about 2 hours), buff the panels with a dry microfiber cloth to remove haze. Avoid using harsh cleaners—MCM recommends a 50/50 mix of water and white vinegar for stubborn spots. Let the entire installation cure for 72 hours before exposing it to heavy use or water (for exterior projects, cover with a tarp if rain is in the forecast).
Even with perfect prep, issues pop up. Here are the most common problems and how to solve them:
Cause: Substrate not flat, or panels shifted during adhesive curing. Solution: If caught within the first hour, lift the panel, sand down the high spot on the substrate, and reapply adhesive. If cured, use a belt sander with fine-grit paper (220 grit) to gently level the seam—test on a scrap panel first to avoid damaging the finish.
Cause: Too much adhesive applied, or panel pressed too hard. Solution: Wipe excess immediately with a damp cloth (don't let it dry!). If it dries, scrape gently with a plastic putty knife—metal blades will scratch the travertine.
Cause: Panels from different production batches. Solution: Always order panels from the same batch (check the batch number on the packaging). If you're stuck with mismatched panels, install them in areas with less light (e.g., under eaves) where the difference is less noticeable.
Huge Travertine is low-maintenance, but a little care goes a long way. Here's what I tell clients:
Compare this to fair-faced concrete, which often requires sealing every 6 months and is prone to staining. One contractor I know switched to Huge Travertine for a mall renovation specifically because "the maintenance crew was complaining about the concrete floors—now they love how easy it is to keep clean."
Installing Huge Travertine isn't rocket science, but it does require attention to detail. By prepping the substrate, dry fitting, and following the adhesive and grouting steps, you'll end up with an installation that looks seamless and lasts for decades. And remember: MCM's technical support team is there to help—don't hesitate to call or email with questions (I've bugged them more than once, and they're always happy to walk through a tricky step).
Whether you're using the starry green travertine for a statement wall or the classic beige variant for a minimalist facade, this material has the power to transform spaces. As one contractor put it after finishing a restaurant project: "The client thought we spent twice as much as we did—they couldn't believe it was flexible stone. That's the win we're all after."
So go ahead—take the leap. With the right prep and these tips, your next Huge Travertine installation will be the one that makes your portfolio stand out. And if you need a sounding board for your layout plan? Feel free to reach out—I'm always up for geeking out over stone and construction hacks.
Recommend Products


