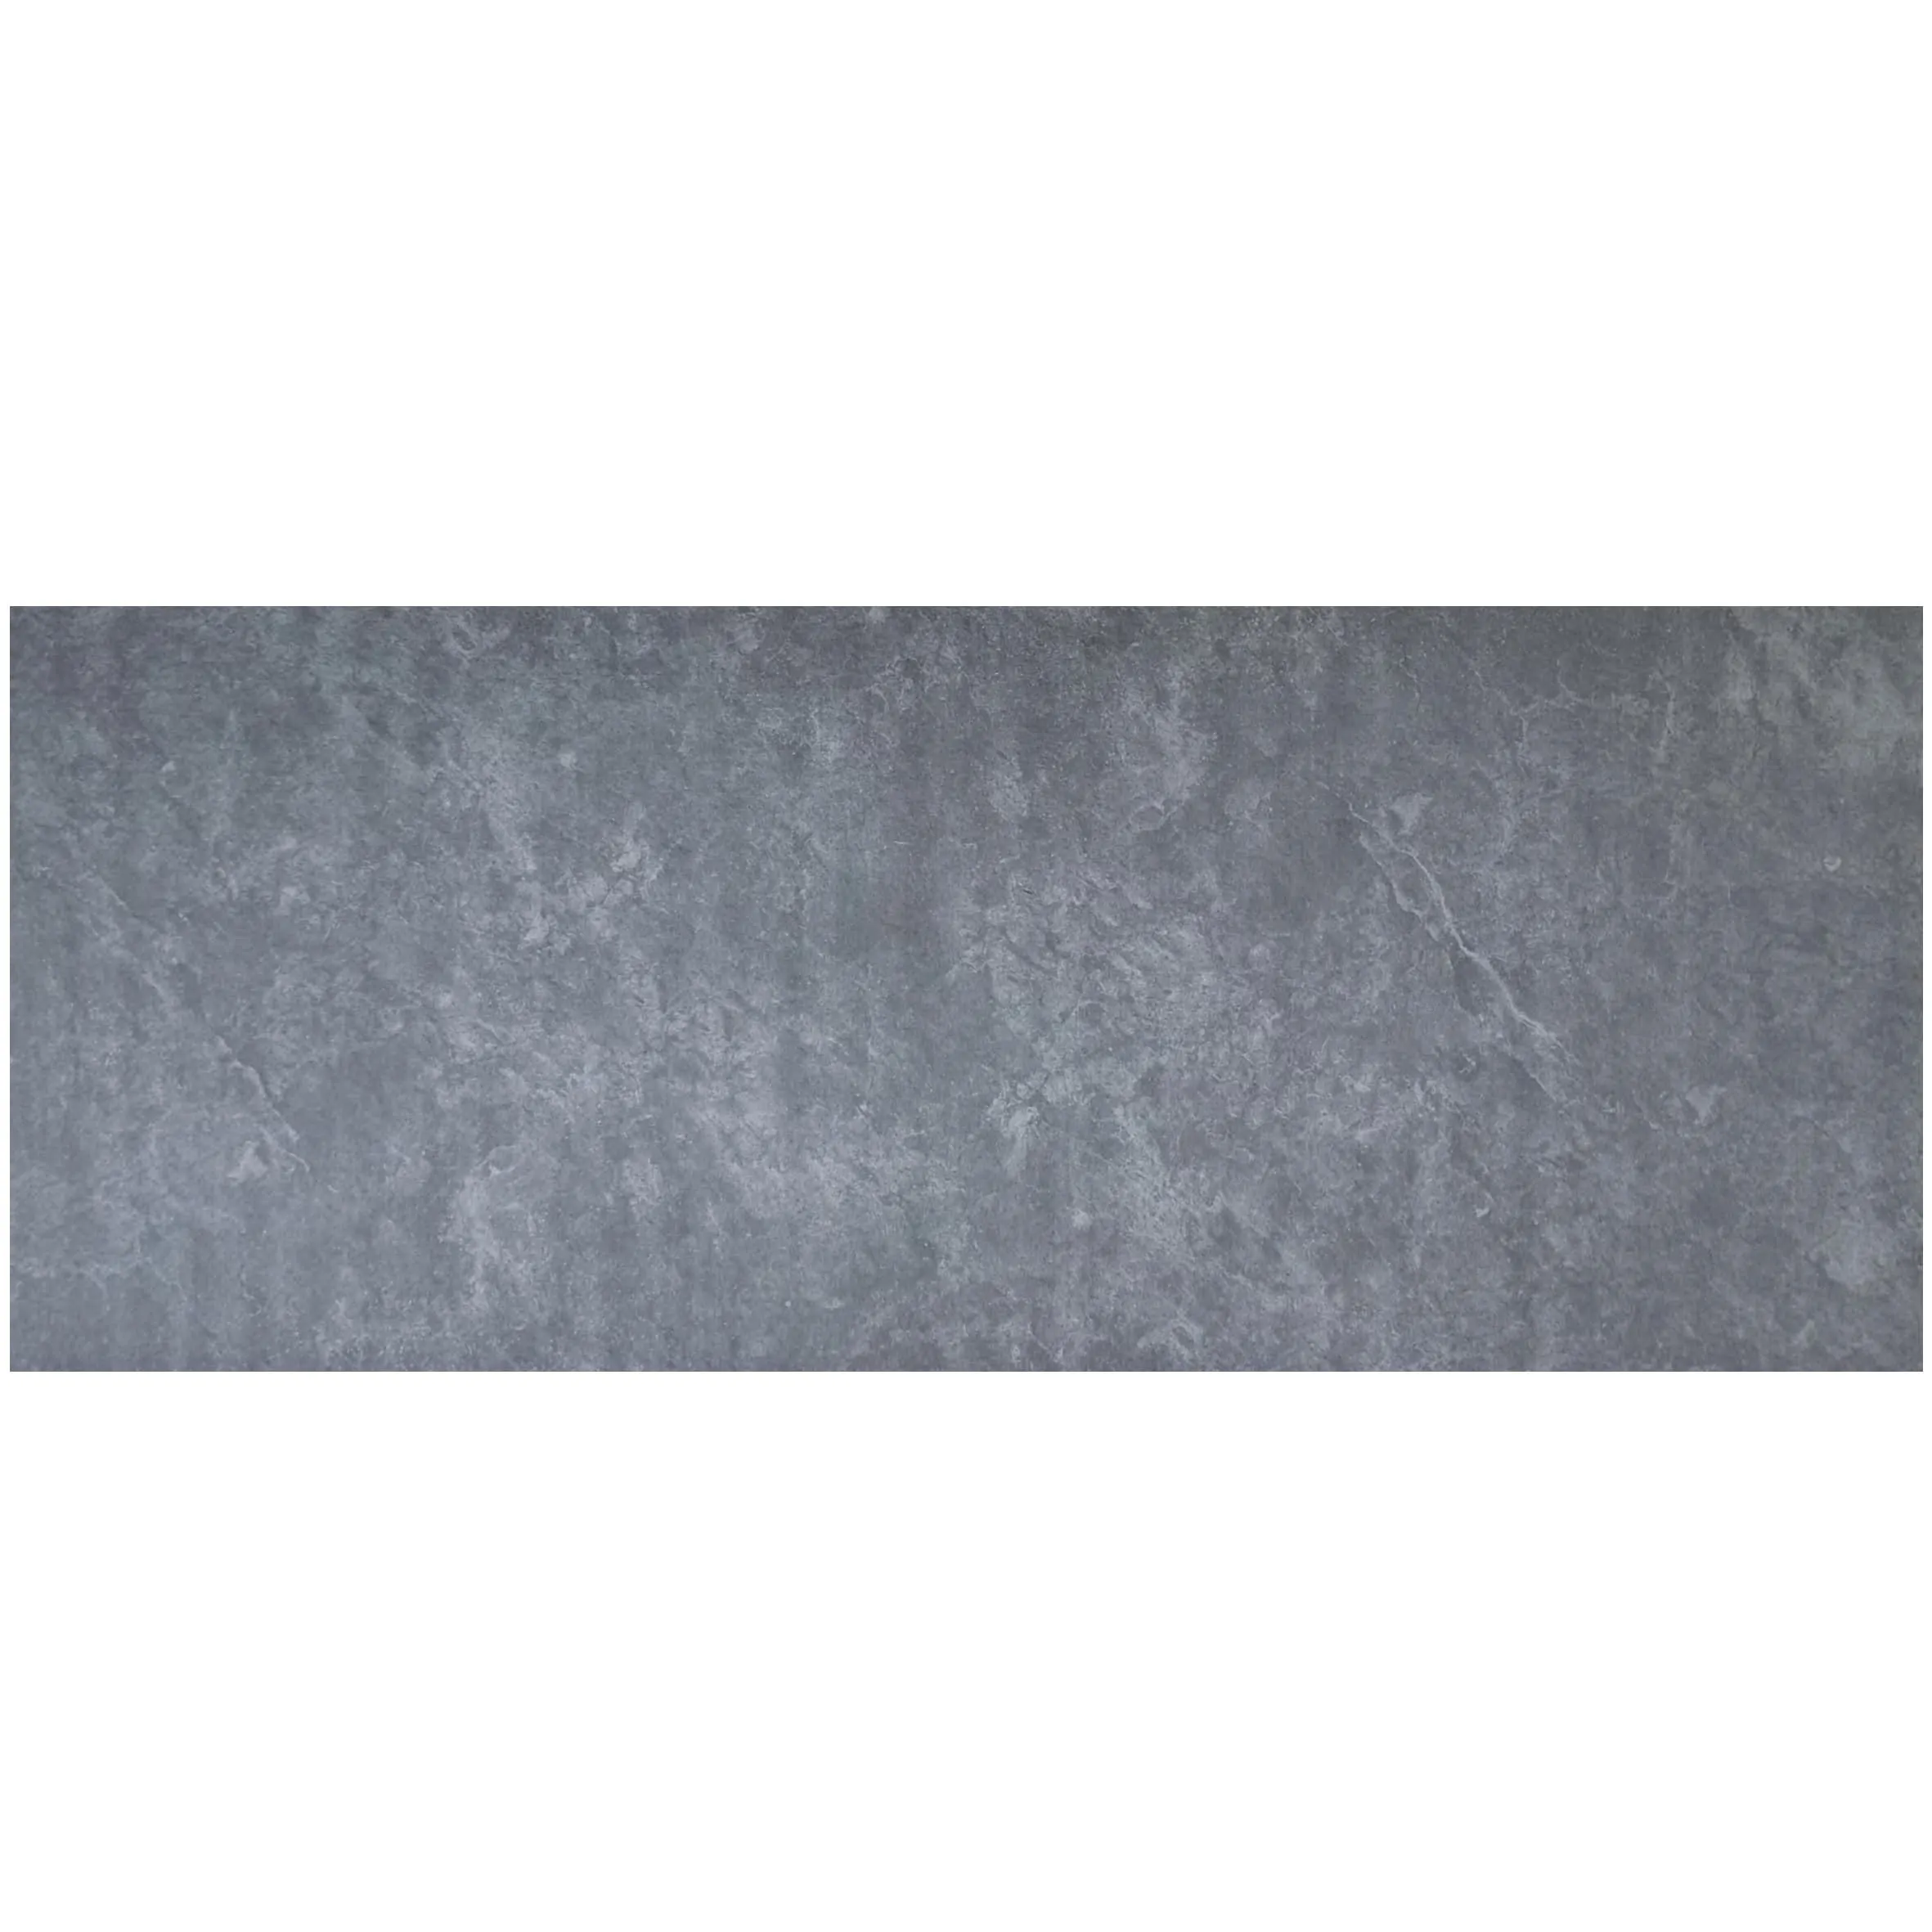
Every space tells a story, and the materials we choose write its most vivid chapters. When it comes to blending luxury with practicality, few options rival
Marble Interstellar Gray
MCM panels. Part of the innovative
MCM big slab board series
, these panels capture the depth and sophistication of natural marble while offering the flexibility and durability that modern construction demands. Whether you're revamping a commercial lobby, designing a high-end residential interior, or adding character to an exterior facade, mastering the installation of these panels is key to unlocking their full potential. In this guide, we'll walk through every step—from pre-installation prep to finishing touches—with a focus on best practices that ensure your project not only looks stunning but stands the test of time. And because MCM technology is all about adaptability, we'll also touch on how these practices align with other popular materials like
MCM flexible stone
and even complementary substrates such as
fair-faced concrete
.
1. Pre-Installation: Laying the Groundwork for Success
The secret to a flawless installation lies in preparation. Rushing this phase is one of the most common mistakes, and it can lead to uneven panels, adhesive failure, or premature wear. Let's break down the critical steps to ensure your substrate and panels are ready for installation.
1.1 Substrate Preparation: The Foundation Matters
Marble Interstellar Gray MCM panels perform best on clean, flat, and stable surfaces. While they're compatible with a range of substrates—including drywall, plywood, and metal—one of the most popular choices for a modern, industrial-chic look is
fair-faced concrete
. Here's how to prep it (and other substrates) correctly:
-
Clean the Surface:
Use a pressure washer or stiff-bristle brush to remove dirt, dust, oil, or debris. For fair-faced concrete, pay extra attention to efflorescence (white, powdery deposits) as it can weaken adhesion. A mild acid wash (10% vinegar solution) works well to neutralize it—just rinse thoroughly afterward.
-
Check for Flatness:
Use a 4-foot level to assess the substrate. Deviations greater than 3mm over 2 meters need correction. For minor unevenness, a self-leveling compound is ideal. For larger dips or cracks, fill with a polymer-modified mortar and sand smooth once dry.
-
Moisture Testing:
Excess moisture in substrates like concrete can cause adhesive failure. Use a moisture meter to check levels—aim for less than 5% for concrete. If levels are high, apply a moisture barrier primer before proceeding.
-
Prime if Needed:
Porous substrates (like untreated drywall or some concrete) benefit from a primer to seal pores and improve adhesion. Look for a water-based acrylic primer compatible with MCM adhesives—avoid oil-based products, which can interfere with bonding.
1.2 Inspecting Your MCM Panels: Quality Check Before Installation
MCM flexible stone
panels are engineered for durability, but proper handling and inspection before installation are still crucial. Here's what to look for when unboxing your Marble Interstellar Gray panels:
-
Check for Damage:
Inspect each panel for cracks, chips, or delamination (separation of the stone veneer from the backing). MCM panels are flexible, but rough handling during shipping can cause edge damage. Set aside any damaged panels for return or cutting into smaller pieces (if the damage is minor).
-
Color Consistency:
Natural stone varies, and Marble Interstellar Gray is no exception—it features subtle veining and depth that make each panel unique. Lay out panels in the installation area first to ensure the color gradient flows naturally. Mixing panels from different batches can sometimes lead to slight shade differences, so keep batch numbers consistent if possible.
-
Measure Dimensions:
The
MCM big slab board series
is known for its generous panel sizes (often 1200x600mm or larger), which minimize seams and create a seamless look. Verify that each panel matches the specified dimensions—even a 1mm discrepancy can add up over a large surface.
-
Test Flexibility:
Gently bend a corner of a panel to ensure the backing is intact. MCM flexible stone should flex without cracking, a feature that makes it ideal for curved surfaces or substrates with minor movement (like wood frames).
1.3 Gathering Tools and Materials: What You'll Need
Having the right tools on hand streamlines the installation process and reduces errors. Here's a checklist tailored to Marble Interstellar Gray MCM panels:
-
Measuring Tools:
Tape measure (at least 5m), carpenter's square, level (2ft and 4ft), and a pencil for marking.
-
Cutting Tools:
A circular saw with a diamond-tipped blade (for straight cuts) or an angle grinder with a masonry blade (for curves or notches). For precision, a wet saw can reduce dust and prevent chipping—especially important for visible edges.
-
Adhesive Application:
Notched trowel (6mm x 6mm for flat substrates; 8mm x 8mm for slightly uneven surfaces), adhesive mixer (a drill attachment works well), and a putty knife for cleaning excess.
-
Panel Handling:
Suction cups (to lift large panels without straining), clamps (for securing panels during adhesive curing), and a rubber mallet (for gentle tapping to set panels in place).
-
Grouting and Finishing:
Grout float, (for cleaning grout residue), and a sealant applicator (foam brush or spray bottle) for the final protective coat.
-
Safety Gear:
Safety glasses, dust mask, work gloves, and knee pads (for floor installations).
Pro Tip:
Always test your adhesive on a scrap panel and substrate before starting. Apply a small amount, let it cure for 24 hours, then pull the panel away—if the adhesive remains stuck to both the panel and substrate (a "cohesive failure"), it's suitable. If it peels cleanly (an "adhesive failure"), try a different adhesive.

2. Installation: Step-by-Step for a Seamless Finish
With prep work done, it's time to install. This phase requires patience and precision, but breaking it into steps makes it manageable. We'll focus on a standard wall installation, but many of these steps apply to floors or exteriors with minor adjustments.
2.1 Marking the Layout: Plan Before You Stick
Start by marking the installation area with reference lines. Use a level to draw a horizontal baseline (the bottom edge of the first row) and a vertical plumb line (the starting point for the first panel). This ensures panels align correctly both horizontally and vertically. For large surfaces, consider creating a grid: measure the width of the wall and divide by the panel width (plus grout gap) to determine how many panels fit. If the final panel is less than 50mm wide, adjust the starting point to center the layout—narrow strips at the edges look unprofessional.
For example, if your wall is 4800mm wide and panels are 1200mm with a 3mm grout gap, you'll fit 4 panels (4 x 1200 = 4800mm) with no narrow strips. But if the wall is 4900mm, 4 panels would leave 100mm—better to shift the starting line by 50mm, resulting in two 50mm strips on either side (which are easier to hide or incorporate into design features).
2.2 Cutting Panels: Precision is Key
Marble Interstellar Gray MCM panels cut cleanly, but using the right technique prevents chipping. For straight cuts:
-
Mark the cut line with a pencil and straightedge.
-
Place the panel face-down on a stable surface (use a sacrificial board to protect the workbench).
-
Set the circular saw to a depth slightly more than the panel thickness (typically 8-10mm for MCM panels).
-
Cut slowly, letting the blade do the work—forcing it can cause chipping. For a smoother edge, score the face with a utility knife first along the cut line.
For curved cuts or cutouts (like around outlets), use an angle grinder with a diamond blade. Start with a pilot hole, then carefully follow the marked line. Always wear eye and ear protection—grinding stone creates sparks and noise!
2.3 Applying Adhesive: The Bond That Lasts
Choosing the right adhesive is critical. For interior walls, a polymer-modified thinset mortar works well. For exteriors or areas with high moisture (like bathrooms), use a waterproof, flexible adhesive (look for products labeled "suitable for MCM panels"). Here's how to apply it:
-
Mix Adhesive:
Follow the manufacturer's instructions—too much water weakens the bond, too little makes it hard to spread. Aim for a creamy consistency that holds a notch when the trowel is lifted.
-
Apply to Substrate:
Use the notched trowel to spread adhesive evenly over the substrate, holding the trowel at a 45-degree angle. Cover an area no larger than what you can install in 20-30 minutes (adhesive sets quickly in warm weather).
-
Back Buttering (Optional):
For extra adhesion, apply a thin layer of adhesive to the back of the panel (called "back buttering"). This is especially useful for porous substrates or when installing over
fair-faced concrete
, which can absorb moisture from the adhesive.
2.4 Installing Panels: From First to Last
Start from the bottom row and work upward, using the baseline as a guide. This prevents panels from sliding as adhesive sets.
-
Align the first panel with the vertical plumb line and baseline.
-
Press firmly to ensure full contact with the adhesive—use a rubber mallet to tap gently, starting from the center and moving outward to release air bubbles.
-
Check with a level to ensure the panel is plumb and level. Adjust immediately if it's off—once adhesive sets, moving it is nearly impossible.
-
Install the next panel, leaving a 3mm gap for grout (use plastic spacers to maintain consistency).
-
Stagger seams in adjacent rows (like brickwork) for strength and visual appeal. For example, if the first row starts with a full panel, the second row should start with a half-panel.
Pro Tip:
For large installations, have a helper hold panels in place while you check alignment.
MCM big slab board series panels are lighter than natural stone, but their size can make solo handling tricky—safety first!
2.5 Grouting and Finishing: The Final Touches
Grouting not only fills gaps but also protects edges and enhances the panel's appearance. Wait 24 hours after installation for the adhesive to set before grouting.
-
Choose Grout Color:
For a seamless look, match the grout to the panel's veins (Marble Interstellar Gray pairs well with light gray or charcoal grout). For contrast, try a white grout to highlight the veining.
-
Apply Grout:
Use a rubber float to press grout into the gaps, holding the float at a 45-degree angle. Work in small sections (1-2m²) to prevent grout from drying on the panel surface.
-
Clean Excess Grout:
After 10-15 minutes (when grout is firm but not dry), wipe the panels with a damp sponge in a circular motion. Rinse the sponge frequently to avoid smearing. Let the grout cure for 72 hours before sealing.
-
Seal the Surface:
While MCM panels are stain-resistant, sealing adds an extra layer of protection—especially in high-traffic areas. Use a water-based stone sealer, applying with a foam brush and wiping off excess after 5 minutes. Let dry completely before using the space.

2. Comparing Installation Practices: Marble Interstellar Gray vs. Other MCM Materials
To put these steps in context, let's compare installation best practices for Marble Interstellar Gray with another popular option:
wood grain board
(a warm, textured alternative often used in residential interiors). This table highlights key differences and similarities, helping you adapt techniques when working with multiple MCM materials.
|
Installation Step
|
Marble Interstellar Gray MCM Panels
|
Wood Grain Board MCM Panels
|
|
Substrate Prep
|
Requires flat, clean surface; compatible with fair-faced concrete, drywall, plywood.
|
Similar to marble, but wood grain panels may need additional sealing if installed in high-moisture areas.
|
|
Adhesive Type
|
Polymer-modified thinset (interior); waterproof flexible adhesive (exterior/moist areas).
|
Same as marble, but some installers prefer a slightly more flexible adhesive to accommodate wood-like expansion/contraction.
|
|
Cutting Technique
|
Diamond blade; score face first to prevent chipping.
|
Carbide-tipped blade works well; less risk of chipping due to wood-like texture.
|
|
Grouting
|
Required; use grout color to complement veining.
|
Optional—some designs use "butt joints" (no grout) for a seamless wood look; if grouting, match to wood tone.
|
|
Sealing
|
Recommended (stone sealer) for stain resistance.
|
Essential (wood sealer) to prevent fading and moisture damage, especially for exteriors.
|

Once installed, Marble Interstellar Gray MCM panels are low-maintenance, but a little care goes a long way:
-
Daily Cleaning:
Wipe with a soft, damp cloth to remove dust. For deeper cleaning, use a mild, pH-neutral soap (avoid harsh chemicals like bleach or ammonia, which can etch the surface).
-
Stain Removal:
Treat spills immediately—blot (don't rub) with a clean cloth. For oil-based stains, apply a paste of baking soda and water, let sit for 10 minutes, then wipe away.
-
Re-Sealing:
Interior panels need sealing every 2-3 years; exteriors every 1-2 years (or as soon as water no longer beads on the surface).
-
Avoid Heavy Impact:
While durable, MCM panels can chip if hit with heavy objects. Use furniture pads to protect walls from chairs or tables.

4. Why MCM Panels Stand Out: The Big Picture
As part of the
MCM big slab board series
, Marble Interstellar Gray panels represent the future of building materials. Unlike natural marble, which is heavy, brittle, and expensive to install, MCM panels are lightweight (reducing structural load), flexible (adapting to substrate movement), and cost-effective (no need for specialized installers or heavy equipment). And when paired with other
MCM flexible stone
products—like rustic
wood grain board
or sleek
fair-faced concrete
—they offer endless design possibilities. Whether you're aiming for a minimalist, industrial vibe or a classic, luxurious feel, MCM technology lets you achieve the look you want without compromising on performance.
Conclusion: Crafting Spaces That Inspire
Installing Marble Interstellar Gray MCM panels is more than a construction task—it's an act of design. By following these best practices, you're not just attaching panels to a wall; you're creating a foundation for beauty, durability, and functionality. From prepping the substrate to sealing the final panel, each step plays a role in ensuring your project exceeds expectations. And as you work, remember that MCM panels are designed to adapt—whether you're working with the
MCM big slab board series
,
MCM flexible stone
, or pairing with materials like
fair-faced concrete
, the principles of preparation, precision, and care remain the same. So take your time, trust the process, and enjoy the transformation—because when done right, Marble Interstellar Gray MCM panels don't just decorate spaces; they elevate them into something unforgettable.