
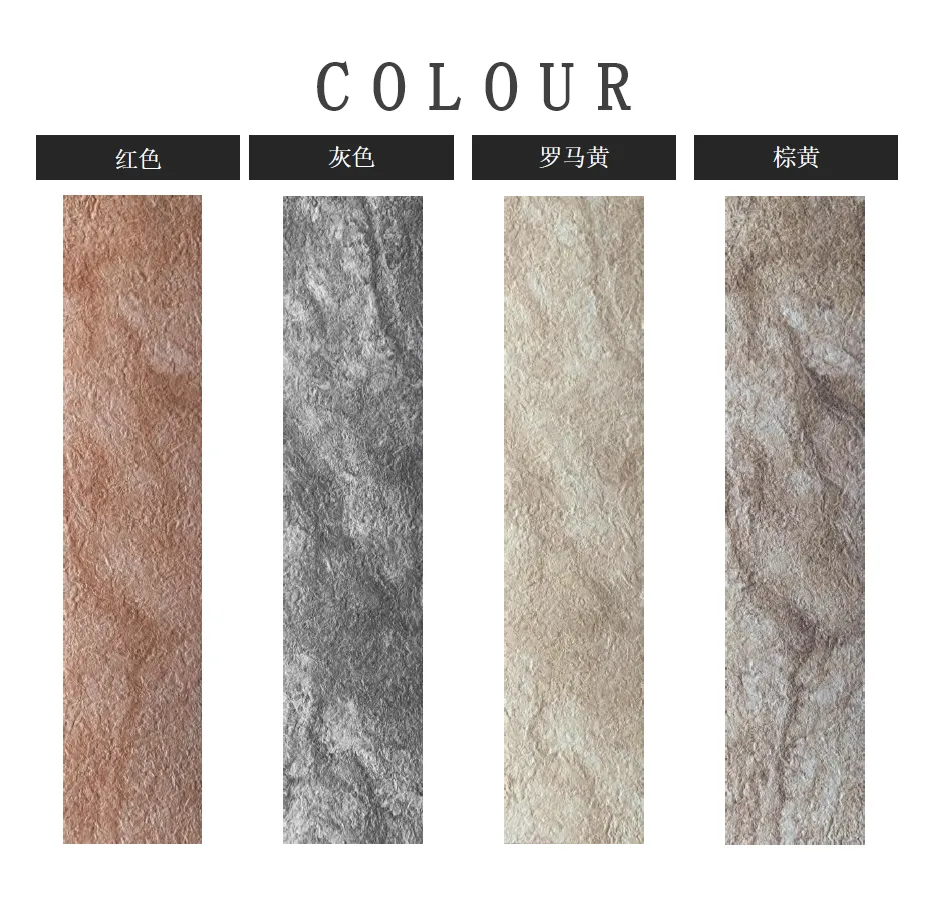
Let's start with the basics. Rock cut dolomitic stone cladding isn't just another building material—it's a way to bring the raw, unfiltered beauty of nature into your space. Quarried from dolomite rock formations, each slab is carefully cut to (keep) the look of stone that's been shaped by time, weather, and human hands. Think of it as nature's artwork: deep, tactile grooves that catch the light, subtle shifts in color from soft greys to warm claybanks, and a finish that feels both rugged and refined. Unlike polished marble or sleek granite portoro, this cladding doesn't shout—it whispers, inviting you to reach out and touch its texture.
Why choose it? For starters, durability. Dolomitic stone is tough, resistant to scratches, and stands up to moisture better than many natural stones (looking at you, travertine). But more than that, it adds soul. Whether you're cladding a fireplace, an accent wall, or an outdoor patio, it turns ordinary surfaces into stories. I've seen it transform a plain living room into a mountain lodge vibe, or a boring bathroom into a spa-like retreat. It's the kind of material that makes guests pause and say, "Wow, what is this?"
Here's the truth: installation success starts long before you pick up a trowel. Rushing prep work is like baking a cake without preheating the oven—you'll end up with a mess. Let's break it down into simple, doable steps.
Rock cut dolomitic stone isn't light, so your wall needs to be strong enough to hold it. Grab a hammer and gently tap the surface. If it sounds hollow, there might be loose paint, drywall, or old plaster hiding underneath. Scrape that off with a putty knife—no need for fancy tools here. For exterior walls, check for cracks or water damage. If you're working with brick or concrete, you're golden. If it's drywall, you might need to add a cement backer board for extra support (trust me, your future self will thank you).
Measure the height and width of your cladding area with a tape measure. Write it down—no "I'll remember" nonsense. Then, add 10% to that number. Why? Because stones break, cuts go wrong, and you'll need extras for corners or edges. I once helped a friend install this cladding, and we ran out of stone with just one row left. Cue a panic run to the supplier and a two-day delay. Learn from our mistake.
You don't need to be a pro to install this cladding, but having the right tools makes it feel like a breeze. Here's what you'll need:
| Tool/Material | Why You Need It |
|---|---|
| Tape measure & pencil | For marking where each stone goes (no guessing!) |
| 4-foot level | To keep stones straight—crooked cladding is a sad cladding |
| Notched trowel (1/2 inch) | Spreads adhesive evenly (thin-set mortar works best here) |
| Wet saw with diamond blade | For cutting stones to size (rent one if you don't own it—worth every penny) |
| Adhesive (polymer-modified thin-set) | Sticks stones to the wall—go for a high-strength formula |
| Grout (sanded, matching your stone color) | Fills gaps between stones—choose a shade that blends, not clashes |
| Sealer (stone-specific) | Protects against stains and moisture (mandatory for kitchens/bathrooms) |
| Sponge & bucket | For cleaning excess grout (have extra sponges—they get gross fast) |
Pro Tip: Lay out your stones on the floor first! This is called "dry fitting," and it's a game-changer. Mix and match sizes and colors to create a natural look—no two stones should line up perfectly (nature isn't that neat). Swap out any pieces that look too similar, and mark where cuts will go. It saves you from surprises later.
Now for the fun part! Grab your tools, put on some music, and let's turn that wall into something amazing. I'll walk you through each step like we're doing it together.
Take your level and draw a straight horizontal line near the bottom of the wall—this is your starting point. Use a pencil, not a pen (erasers are your friend). If you're cladding an entire wall, draw vertical lines every 2-3 feet to keep rows straight. Think of these lines as your roadmap—they'll keep you from veering off course.
Follow the adhesive instructions—different brands have different ratios, but a good rule of thumb is "peanut butter consistency." Too runny, and stones will slide; too thick, and they won't stick. Mix small batches—adhesive dries fast, and you don't want to waste it. I usually mix enough for 3-4 stones at a time.
Use the notched side of your trowel to spread adhesive on the wall, covering a 2x2 foot area (any bigger, and it'll dry before you place the stones). Hold the trowel at a 45-degree angle—this creates ridges that grip the stone. Don't skimp here! A thin layer might save time now, but stones will pop off later. Trust me, I've fixed enough "quick jobs" to know.
Pick up a stone, apply a thin layer of adhesive to the back (this is called "back buttering"), and press it onto the wall. Wiggle it slightly to ensure good contact—you should see a little adhesive squeeze out the sides (that's a good sign!). Check with your level—no leaning allowed! Use spacers (small plastic wedges) between stones to keep gaps even (usually 1/4 inch). Continue laying stones, working from the bottom up and staggering joints (like brickwork)—this makes the wall stronger and looks more natural.
Sooner or later, you'll hit a corner or a socket that needs a custom cut. Grab your wet saw, mark the stone with a pencil, and cut slowly. Wear safety glasses—water and stone dust fly everywhere! If you're nervous about cutting, practice on a scrap piece first. Remember: it's okay if the cut isn't perfect—grout will hide small mistakes, and imperfection is part of the charm (nature isn't perfect, after all).
Wait 24 hours for the adhesive to dry—no peeking! Then mix your grout (again, peanut butter consistency) and spread it over the stones with a rubber float, holding it at a 45-degree angle. Push grout into the gaps, making sure they're fully filled. Let it sit for 15-20 minutes, then wipe off excess with a damp sponge. Rinse the sponge often—dirty water leaves streaks. This part is messy, but trust me, clean grout lines make all the difference.
Let the grout dry for 48 hours, then apply sealer with a paintbrush or roller. Work in small sections, and wipe off excess with a cloth after 5 minutes. Sealer protects against coffee spills, kids' sticky fingers, and outdoor rain. For high-moisture areas like bathrooms, do two coats. And don't skip this step—unsealed stone stains easily, and you'll kick yourself later when that red wine glass tips over.
You're almost there! Now it's time to make your cladding shine. Grab a dry cloth and buff away any remaining sealer residue—this brings out the stone's natural color. Step back and inspect: are there any loose stones? Any grout gaps? Fix them now before they bug you forever.
Want to take it to the next level? Pair your rock cut dolomitic stone with complementary materials. For a modern look, add fair-faced concrete accents—its smooth, industrial vibe contrasts beautifully with the stone's texture. Or mix in rough granite stone (medium grey) for a layered, earthy feel. I once saw a project where they combined it with bamboo mat board, and the result was like a tropical mountain lodge—unexpected, but totally stunning.
Good news: rock cut dolomitic stone is low-maintenance. Wipe up spills with a damp cloth—no harsh chemicals needed (mild soap and water work fine). Every 2-3 years, reapply sealer to keep it protected. For outdoor cladding, hose it down occasionally to remove dirt. And if you notice a chip? Don't panic! Small chips can be filled with matching grout or a stone repair kit. Remember, this stone is meant to age gracefully—those little nicks and patinas only add to its character, like a well-loved book with dog-eared pages.
Installing rock cut dolomitic stone cladding isn't about being a pro—it's about patience, attention to detail, and a little bit of creativity. When you step back and see that finished wall, rough and beautiful and uniquely yours, you'll forget about the sore knees or the messy grout. You'll remember the first stone you placed, the way the light hits the grooves at sunset, and the pride of saying, "I did this myself."
So go ahead—grab your trowel, put on those work gloves, and let the stone guide you. Nature's been creating beauty for millions of years; now it's your turn to bring a piece of that into the world. Your wall (and your future self) will thank you.
Recommend Products


