

There's something undeniably magical about the contrast between cold, hard concrete and the warm, organic texture of wood. Now, imagine amplifying that magic with charcoal burnt wood board—its surface kissed by flame, each grain darkened to a rich, smoky hue, yet still retaining the natural character that makes wood so inviting. Whether you're revamping a commercial space, sprucing up a home office, or adding depth to a living room accent wall, installing charcoal burnt wood board on concrete is a project that blends craftsmanship with creativity. But like any DIY endeavor, success lies in the details: preparation, patience, and a little know-how. Let's dive into the best practices to turn that blank concrete wall into a statement piece that tells a story.
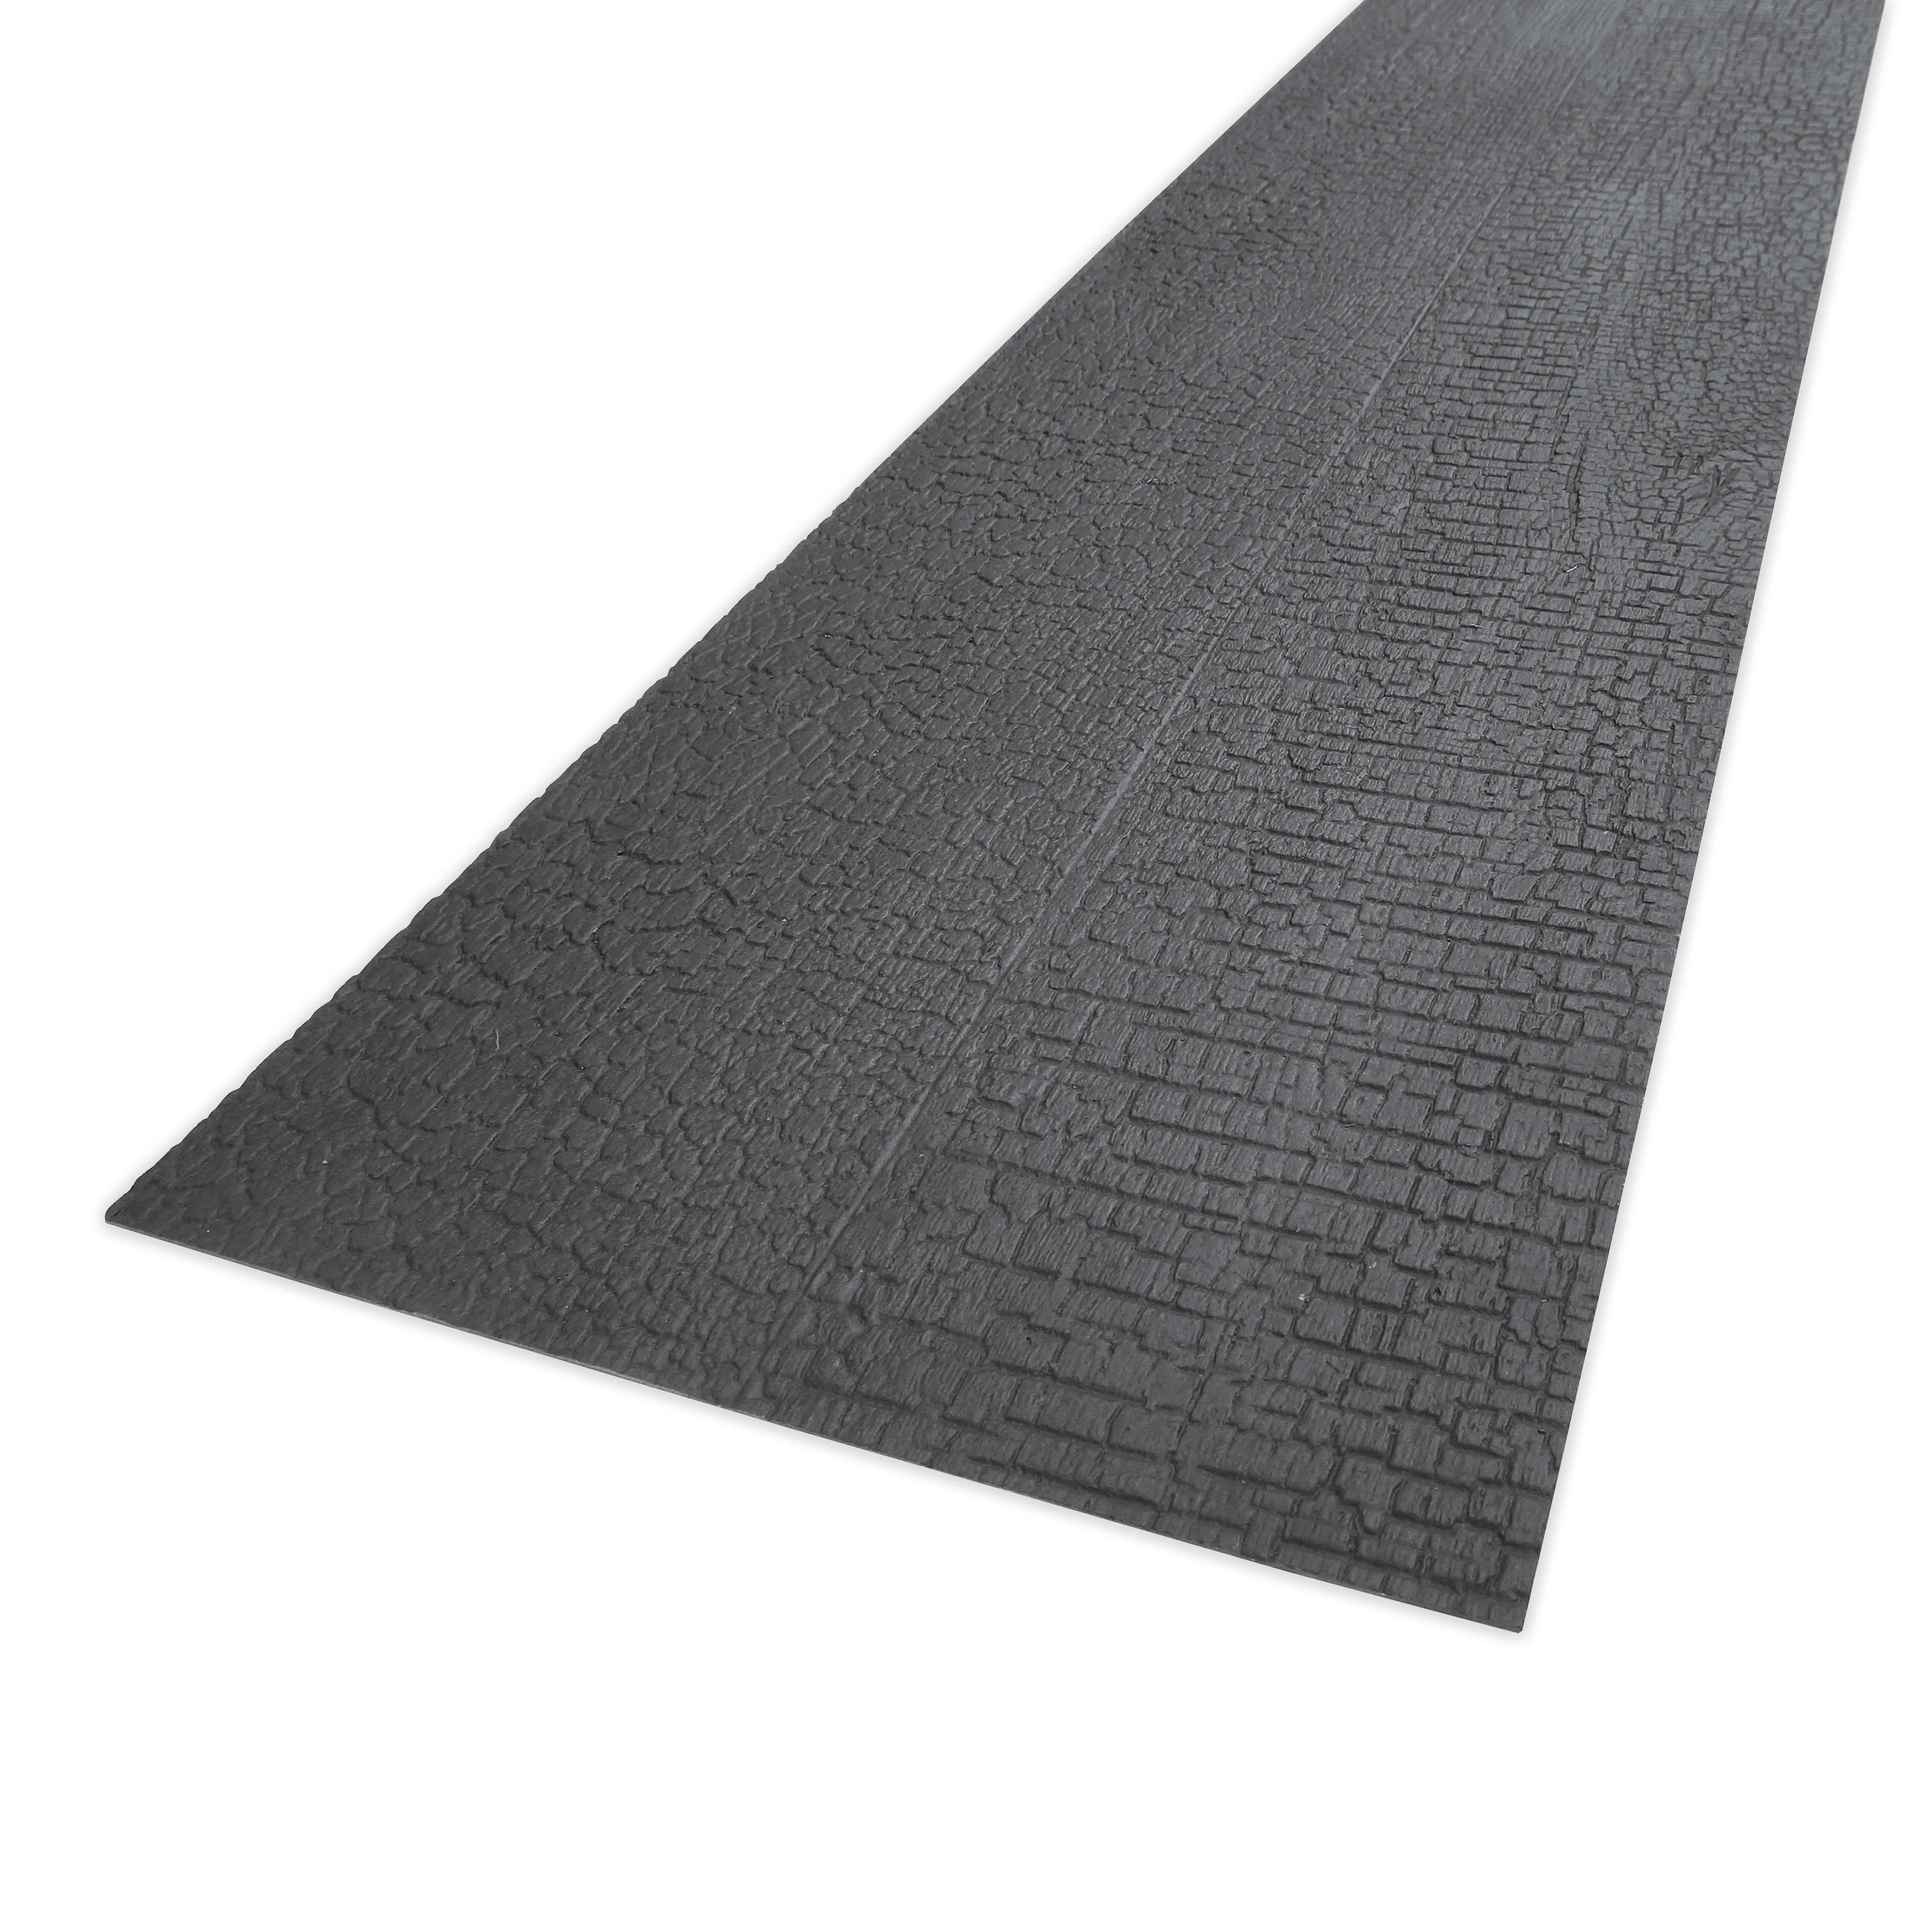
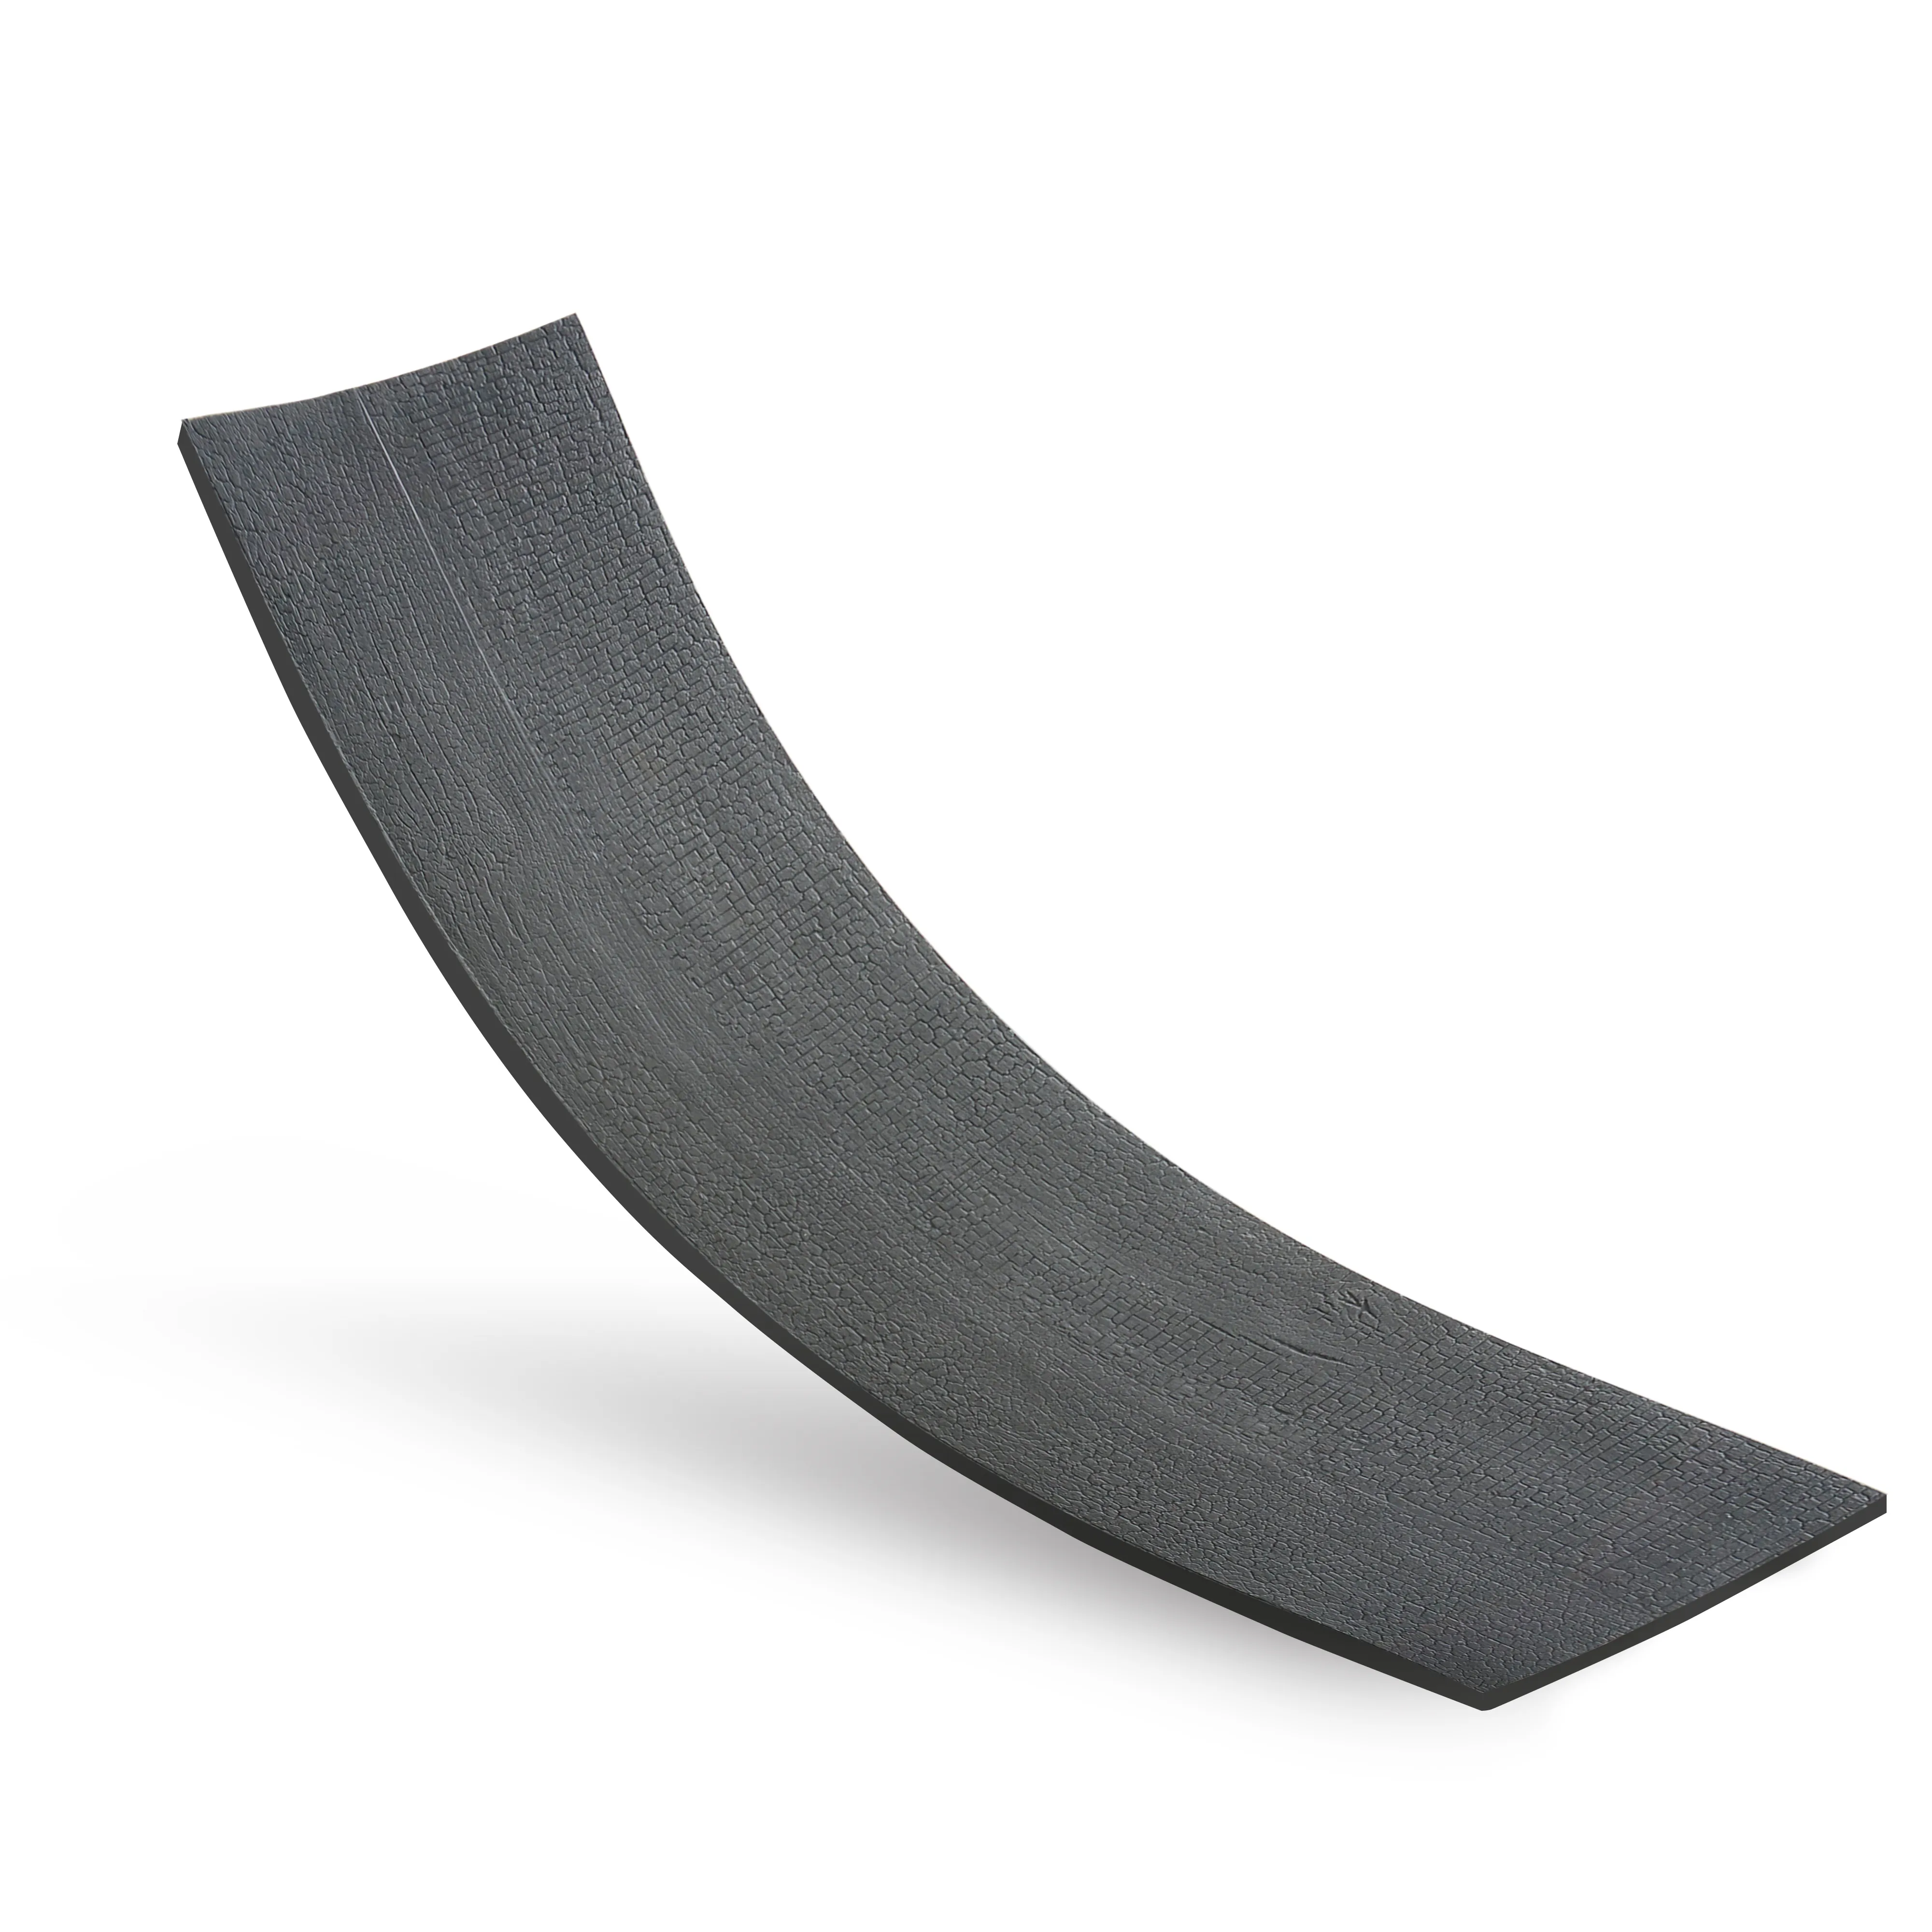
First, let's get to know the star of the show. Charcoal burnt wood board—also known as shou sugi ban, a traditional Japanese technique—isn't just about aesthetics. The charring process (typically done with a torch) creates a protective layer that shields the wood from rot, insects, and even fire. That means your wall won't just look good; it'll stand up to the test of time, too. The texture varies, too: some boards have a deeply grooved, almost alligator-skin finish, while others are smoother, with subtle charred streaks that catch the light. When paired with concrete—a material celebrated for its raw, industrial charm—this wood becomes more than cladding; it's a dialogue between nature and man-made, past and present.
But not all charcoal burnt wood boards are created equal. Look for sustainably sourced hardwoods like cedar or cypress; their natural oils enhance the charring process, resulting in a more durable, visually striking finish. Avoid softwoods like pine—they burn too quickly, leading to uneven charring and weaker protection. And don't forget to check the thickness: 1/2-inch to 3/4-inch boards work best for wall cladding, striking a balance between sturdiness and ease of installation.
Here's a truth no one tells you: 80% of a successful installation is prep work. Skip this step, and you'll be dealing with warped boards, peeling adhesive, or worse, down the line. Let's break it down.
Concrete walls might look solid, but they're often hiding surprises. Grab a flashlight and run your hand over the surface—feel for bumps, cracks, or uneven areas. A small crack (less than 1/8-inch wide) is manageable with a concrete patching compound, but larger gaps or crumbling sections need more attention. If the wall feels damp, address the moisture issue first—charcoal burnt wood is resistant to rot, but prolonged exposure to water will still cause problems. Use a moisture meter to check levels; anything above 5% means you need to seal the wall with a waterproofing primer before proceeding.
Concrete collects dust, dirt, and even grease over time, and all of that will sabotage your adhesive. Start by sweeping the wall with a stiff-bristled brush to loosen debris, then wipe it down with a damp microfiber cloth. For stubborn spots (like old paint splatters), mix a solution of warm water and mild dish soap, scrub gently, and rinse. Let the wall dry completely—at least 24 hours—before moving on. Trust me, rushing this step is how you end up with boards that pop off mid-project.
You wouldn't build a house with a hammer and a prayer, and the same goes for this project. Here's a breakdown of the essentials:
| Tool | Purpose | Pro Tip |
|---|---|---|
| Measuring tape & pencil | Marking board dimensions and placement | Use a carpenter's pencil for darker, more visible marks on concrete. |
| Circular saw or miter saw | Cutting boards to size | Use a blade designed for hardwood to avoid splintering the charred surface. |
| Level (2-foot and 4-foot) | Ensuring boards are straight horizontally and vertically | Check level after every 2-3 boards—even a 1/4-inch tilt will snowball. |
| Construction adhesive (polyurethane-based) | Securing boards to concrete | Opt for a low-VOC formula if installing indoors—no one wants toxic fumes. |
| Concrete screws & drill | Extra support for heavier boards | Pre-drill holes in the boards first to prevent splitting; match screw length to board thickness + 1 inch (for concrete penetration). |
| Rubber mallet | Gently tapping boards into place | Wrap the mallet head in a cloth to avoid damaging the charred finish. |
Now, the fun part—turning those prep steps into a tangible wall. Let's walk through the process, one board at a time.
Start by finding the wall's center point—this will be your anchor. Measure the width of the wall, divide by two, and mark a vertical line with a pencil and level. Then, decide on your board orientation: horizontal for a calming, expansive feel, or vertical for height and drama. For horizontal installation, measure the height of your boards and mark horizontal lines every X inches (accounting for a 1/8-inch gap between boards to allow for expansion). Vertical installation is similar, but mark vertical lines for each board's edge.
Pro move: Dry-fit the boards first. Lay them out on the floor or against the wall to check for pattern consistency—you don't want a wonky grain line throwing off the whole look. Swap out boards if needed to ensure the charring patterns flow naturally.
Measure twice, cut once—that old carpenter's adage exists for a reason. Use your circular saw to trim boards to the marked lengths, keeping the blade steady to avoid jagged edges. If you're cutting angles (for corners or around outlets), a miter saw will give cleaner results. After cutting, lightly sand the edges with 120-grit sandpaper to smooth any splinters—be gentle, though; you don't want to sand off the charred layer.
Now, let's get those boards on the wall. Start with the first row (or column, for vertical installation) and work your way up. Apply a 1/4-inch bead of construction adhesive to the back of the board, keeping it 1 inch from the edges and spaced 6 inches apart—this ensures full contact with the concrete. Press the board firmly against the wall, aligning it with your marked lines, and hold for 30 seconds to set the adhesive. For extra security (especially for larger boards), drive a concrete screw into each corner and one in the center—countersink the screws slightly so they sit flush with the wood surface.
Remember the 1/8-inch gap between boards? Use a spacer (a small piece of cardboard or a popsicle stick works) to maintain consistency. This gap prevents warping as the wood expands and contracts with humidity changes. Trust me, a little space now saves you from buckled boards later.
Once all boards are installed, let the adhesive cure for 24-48 hours (check the product label for exact time). Then, fill any screw holes with wood filler that matches the charred color—most hardware stores carry "black" or "charcoal" options. Let the filler dry, then sand lightly with 220-grit sandpaper to blend it into the board. Finally, wipe down the entire wall with a dry microfiber cloth to remove dust and debris, and step back—you've just transformed a blank concrete wall into a work of art.
Charcoal burnt wood board is a showstopper on its own, but pairing it with complementary materials can take your space from "nice" to "unforgettable." Here are a few of my favorite combinations, inspired by real projects I've consulted on:
For a cohesive, nature-meets-industry vibe, team your charcoal burnt wood board with wood concrete board on adjacent surfaces (think a fireplace surround or a accent wall nearby). Wood concrete board blends wood fibers with concrete, creating a material that's both sturdy and organic. The wood tones in the concrete complement the charred wood, while the concrete base ties back to your main wall—no visual disconnect, just smooth, intentional design.
Add texture with rough granite stone accents. A small section of rough granite (medium grey or dark grey works best) next to your wood-clad wall adds depth and contrast—the jagged, natural edges of the granite play off the smooth, charred wood, creating a dynamic, layered look. Try using it as a backsplash behind a floating shelf or as a trim piece along the base of the wall.
Travertine (beige) is like the neutral MVP of design—it softens bold elements without fading into the background. Use it as a border around your charcoal burnt wood board, or intersperse small travertine tiles between wood boards for a subtle, earthy pattern. The beige tones warm up the concrete and charred wood, making the space feel inviting rather than stark.
Why fight the concrete? Lean into it by leaving adjacent walls as fair-faced concrete. The raw, unpolished surface complements the wood's organic texture, creating an industrial-rustic vibe that's both modern and timeless. Add a few potted plants or a woven rug to soften the (yìnglǎng—stiff) edges, and you've got a space that feels curated, not cold.
Charcoal burnt wood board is low-maintenance, but it's not no-maintenance. Here's how to keep it looking fresh for years:
Even with perfect prep, hiccups happen. Here's how to fix them:
If a board starts to bow, it's usually due to moisture or improper spacing. Remove the board, check for dampness in the wall (seal if needed), then re-install with a slightly larger gap (up to 1/4 inch) and add extra screws along the warped edge to hold it flat.
Boards peeling off? Chances are the wall wasn't clean, or the adhesive was applied too thinly. Remove the board, clean the wall and board back with rubbing alcohol, then re-apply a thicker bead of adhesive (1/2 inch) and secure with extra screws while it dries.
If the wall is noticeably uneven, use shims (small pieces of wood) behind the boards to level them out. Place shims at the adhesive points, and trim any excess shim after the adhesive dries.
Installing charcoal burnt wood board on concrete is more than a DIY project—it's a chance to infuse your space with personality, warmth, and a little bit of fire. With the right prep, tools, and patience, that blank concrete wall can become the heart of your home or office—a conversation starter, a backdrop for memories, and a testament to the beauty of blending nature and industry.
So grab your measuring tape, fire up the saw, and let's get to work. The wall of your dreams isn't just out there—it's in your hands, waiting to be brought to life, one charred board at a time.
Recommend Products


