Hello, fellow contractors and construction professionals! Today, we're diving deep into a topic that's becoming increasingly popular in modern architecture: achieving that stunning
fair-faced concrete look. But we're not just talking about traditional concrete; we're focusing on how you can master this aesthetic using
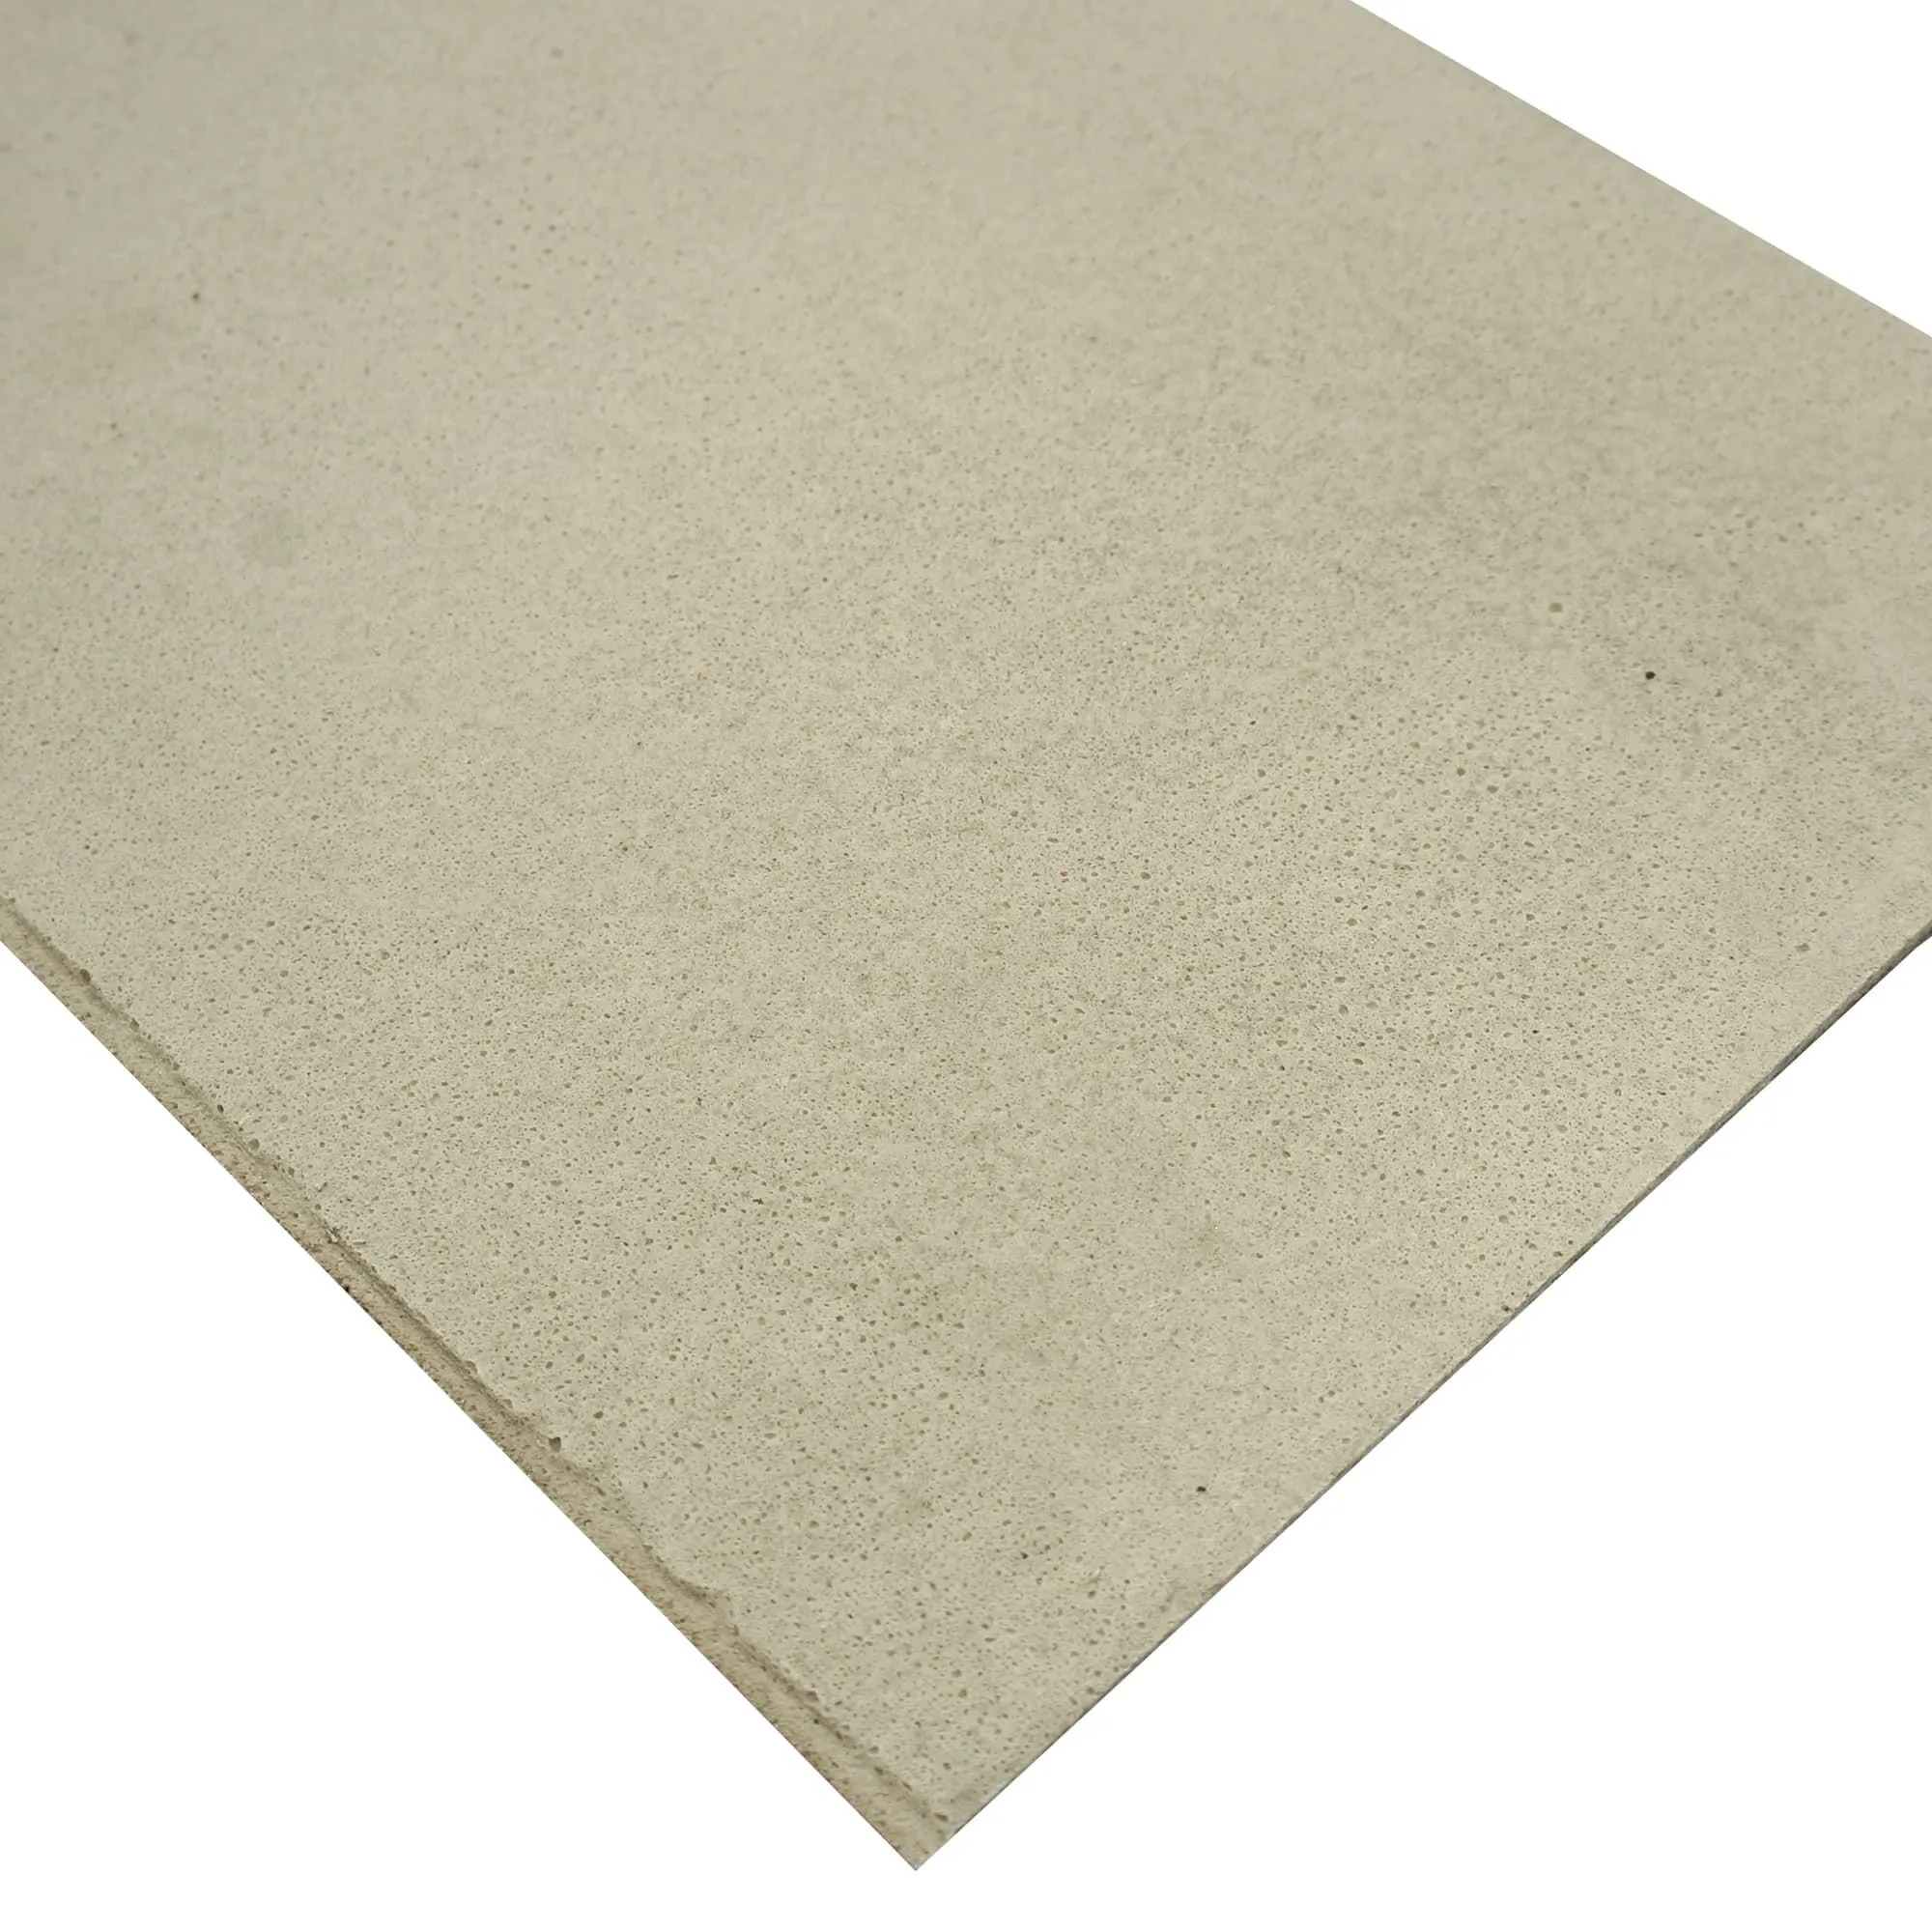
COLORIA GROUP's MCM Big Slab Board Series
. These aren't your typical heavy, cumbersome concrete panels. We're talking about a game-changer – a
Modified Cementitious Material
that brings the beauty and durability of concrete with far greater flexibility and ease of installation. If you've been looking for a way to deliver high-quality, aesthetically pleasing concrete finishes without the usual headaches, you're in the right place.
At
COLORIA GROUP
, we pride ourselves on being a
one-stop solution provider
for architectural materials, and our MCM products are a testament to that commitment. We understand the challenges you face on site, from logistics to precise application, and our materials are designed to simplify these processes while delivering exceptional results. Let's walk through the essential steps and considerations for successfully installing
fair-faced concrete panels using our innovative MCM Big Slabs.
Understanding MCM Big Slabs: The Foundation of Your Project
Before we get to the "how-to," let's quickly recap what makes our
MCM Big Slab Board Series
so special. Unlike traditional concrete, MCM is an eco-friendly, lightweight material made from natural minerals and recycled aggregates, bound by a polymer that gives it incredible flexibility and strength. This means you get the authentic look and feel of concrete without the weight, the extensive curing times, or the complex structural requirements. It's truly a leap forward for both interior and exterior applications.
Lightweight:
Significantly reduces structural load, easing handling and installation.
Flexible:
Can be adapted to curved surfaces, offering design versatility.
Durable:
Resistant to weathering, UV, fire, and impact.
Eco-friendly:
Produced with minimal energy consumption and waste, aligning with green building standards.
Authentic Aesthetic:
Replicates the natural texture and imperfections of real concrete beautifully.
Pre-Installation Checklist: Get Everything in Order
A successful installation always starts with meticulous planning. Skipping this step is a recipe for trouble down the line. Here's what you need to prepare:
1. Site Assessment and Preparation
Substrate Inspection:
The surface where the MCM Big Slabs will be installed must be clean, dry, sound, and free from any loose materials, dust, oil, or grease. For exterior applications, ensure proper waterproofing and drainage are in place.
Flatness and Levelness:
While MCM is flexible, an even substrate is crucial for a smooth, professional finish, especially with large format panels. Minor irregularities might be accommodated, but significant deviations need to be addressed beforehand.
Temperature and Humidity:
Check the manufacturer's recommendations for ideal installation temperatures and humidity levels. Extreme conditions can affect adhesive performance and panel behavior.
Scaffolding/Access Equipment:
Ensure all necessary safety equipment and access platforms are ready and secure, especially for elevated or large-scale projects.
2. Material Handling and Storage
Unpacking:
Unpack MCM Big Slabs carefully to avoid damage. Lay them flat on a clean, level surface.
Acclimatization:
Allow the panels to acclimatize to the site conditions for at least 24-48 hours before installation. This helps prevent warping or movement after application.
Storage:
Store panels indoors or under a protective cover, away from direct sunlight, moisture, or extreme temperatures. Avoid stacking them vertically for extended periods without proper support.
3. Tool and Adhesive Selection
Having the right tools and the correct adhesive is non-negotiable.
Cutting Tools:
A circular saw with a diamond blade or a good quality utility knife can be used for cutting MCM. Always use appropriate safety gear (gloves, eye protection, dust mask).
Adhesive:
COLORIA GROUP
will recommend specific, high-performance, flexible polymer-modified cementitious adhesives or specialized elastic adhesives that are compatible with MCM. This is crucial for long-term adhesion and accommodating thermal expansion/contraction.
Trowels:
Use notched trowels (e.g., 6x6mm or 8x8mm, depending on panel size and substrate) to ensure even adhesive spread.
Rollers/Pressure Tools:
A rubber roller or a pressure plate for ensuring full contact and expelling air bubbles.
Measuring and Marking Tools:
Measuring tapes, levels, plumb lines, chalk lines, and pencils for precise layout.
Grout/Sealant:
Compatible joint sealant or grout if joints are required.
The Installation Process: Step-by-Step Excellence
Now, let's get down to the actual work. Remember, patience and precision are key to achieving that flawless
fair-faced concrete look.
Step 1: Layout and Planning
Dry Lay:
If possible, perform a dry lay of the panels to visualize the final arrangement, especially for patterns or unique cuts. This helps minimize waste and ensures optimal aesthetic flow.
Establish Reference Lines:
Using levels and plumb lines, mark precise horizontal and vertical reference lines on the substrate. Start from the most visible or critical point of the wall, often the center or a corner.
Joint Spacing:
Decide on the joint spacing (if any). For a monolithic concrete look, panels can be installed with minimal, tight joints. For a panelized look, consistent wider joints are needed.
Step 2: Cutting and Trimming
Straight Cuts:
Use a circular saw with a fine-tooth diamond blade for clean, straight cuts. Support the panel firmly to prevent vibration.
Curved/Complex Cuts:
For more intricate shapes, a jig saw with a specialized blade or even a sturdy utility knife for thinner panels can be effective.
Edge Finishing:
After cutting, you might want to lightly sand or smooth the cut edges for a polished look, though often the natural edge is desired for the concrete aesthetic.
Step 3: Adhesive Application
This is where the magic happens – ensuring strong, lasting adhesion.
Mix Adhesive:
Prepare the adhesive according to the manufacturer's instructions. Consistency is vital – too thin, and it won't bond; too thick, and it's hard to spread.
Substrate Application:
Apply the adhesive to the back of the
MCM Big Slab Board Series
using a notched trowel. Ensure full coverage, typically 80-100%, to prevent hollow spots which can lead to panel failure or acoustic issues.
"Back-buttering" (Optional but Recommended):
For very large slabs or challenging substrates, applying a thin layer of adhesive to the substrate as well (in the same direction as the panel application) can enhance bond strength.
Step 4: Panel Placement
Positioning:
Carefully lift and position the MCM panel onto the prepared substrate, aligning it with your reference lines and ensuring proper joint spacing.
Pressing:
Firmly press the panel into the adhesive, working from the center outwards to eliminate any trapped air bubbles. Use a rubber roller or a flat pressure tool to achieve uniform contact.
Checking Level/Plumb:
Immediately check the panel's level and plumb using a spirit level. Make any necessary adjustments while the adhesive is still workable.
Excess Adhesive:
Promptly clean any excess adhesive that squeezes out from the joints or edges before it cures.
Step 5: Joint Treatment and Finishing
The treatment of joints significantly impacts the final aesthetic.
Tight Joints:
For a near-seamless look, ensure panels are installed closely. Any minimal gaps can be filled with a matching sealant or left as a subtle feature.
Open Joints:
If you're going for a panelized look, maintain consistent joint width using spacers. Joints can be left open, or filled with a flexible, UV-resistant sealant that complements the MCM color.
Curing:
Allow the adhesive to cure fully according to the manufacturer's instructions before applying any heavy loads, scrubbing, or performing subsequent steps.
Cleaning:
Once cured, perform a final cleaning of the surface to remove any residual dust or marks.
Beyond Installation: Maintenance and Longevity
One of the great advantages of using MCM is its inherent durability and low maintenance. However, a little care goes a long way in preserving that stunning
fair-faced concrete look.
Routine Cleaning:
For most applications, a simple wash with water and a mild, pH-neutral detergent is sufficient. Avoid harsh chemicals or abrasive cleaning tools.
Inspections:
Periodically inspect joints and panel surfaces for any signs of wear or damage, especially in high-traffic or exposed areas.
Sealing (Optional):
While MCM is inherently resistant, a breathable sealer can offer added protection against staining, particularly for high-exposure areas or when a specific finish (e.g., wet look) is desired. Consult
COLORIA GROUP
for recommended sealing products.
Why Choose COLORIA GROUP's MCM for Your Projects?
Choosing the right material partner is as crucial as the installation technique itself. At
COLORIA GROUP
, we don't just sell products; we offer comprehensive solutions. Our
MCM Big Slab Board Series
is not just another material; it's an investment in quality, sustainability, and design flexibility.
Decades of Expertise:
With decades of industry experience, we understand the nuances of building materials and architectural finishes. We apply this knowledge to innovate and deliver superior products.
Global Reach, Local Support:
While our business spans the global market, with a strong presence through agencies in places like Saudi Arabia, we ensure that you receive localized support, timely delivery, and expert advice for your specific project needs.
Customization:
Need a specific shade, texture, or size? Our
MCM Project Board Series
and
MCM 3D Printing Series
mean we can tailor solutions to meet even the most demanding design specifications. This customization extends the creative possibilities for fair-faced concrete aesthetics.
Sustainability at Core:
Our commitment to green and environmentally friendly products is unwavering. Using our MCM materials contributes to your project's sustainability goals.
Troubleshooting Common Issues
Even with the best planning, issues can arise. Here are some quick fixes for common problems:
|
Issue
|
Possible Cause
|
Solution
|
|
Panels lifting/debonding
|
Insufficient adhesive, poor substrate prep, incorrect adhesive type, air bubbles.
|
Remove panel, clean surfaces, reapply correct adhesive with full coverage, ensure firm pressing.
|
|
Uneven joints
|
Inconsistent spacing, panels not plumb/level, substrate uneven.
|
Ensure proper layout and reference lines. Use spacers for consistent joints. Address substrate issues pre-installation.
|
|
Discoloration/Stains
|
Improper cleaning, exposure to harsh chemicals, water ingress.
|
Clean with mild detergent. For stubborn stains, consult
COLORIA GROUP
for specific cleaning agents. Consider sealing for prevention.
|
|
Cracking (rare for MCM)
|
Extreme structural movement, severe impact, improper installation over unstable substrate.
|
Assess structural integrity. Repair with compatible MCM patch filler or replace panel if damage is extensive.
|
Conclusion: Elevate Your Projects with MCM Big Slabs
Installing
fair-faced concrete panels using
COLORIA GROUP's MCM Big Slab Board Series
is an efficient, sustainable, and aesthetically superior alternative to traditional methods. By following these guidelines, you can ensure a professional, durable, and visually stunning finish that will impress clients and stand the test of time. Our
MCM Flexible Stone
and other series also offer incredible versatility for different design needs.
We are dedicated to supporting contractors like you in bringing innovative and high-quality designs to life. Whether it's for a residential facade or a large-scale commercial development, our
MCM(Modified Cementitious Material) series products
provide the perfect balance of form, function, and environmental responsibility. We're here to help you achieve architectural excellence, one stunning concrete panel at a time. Let's build together!