
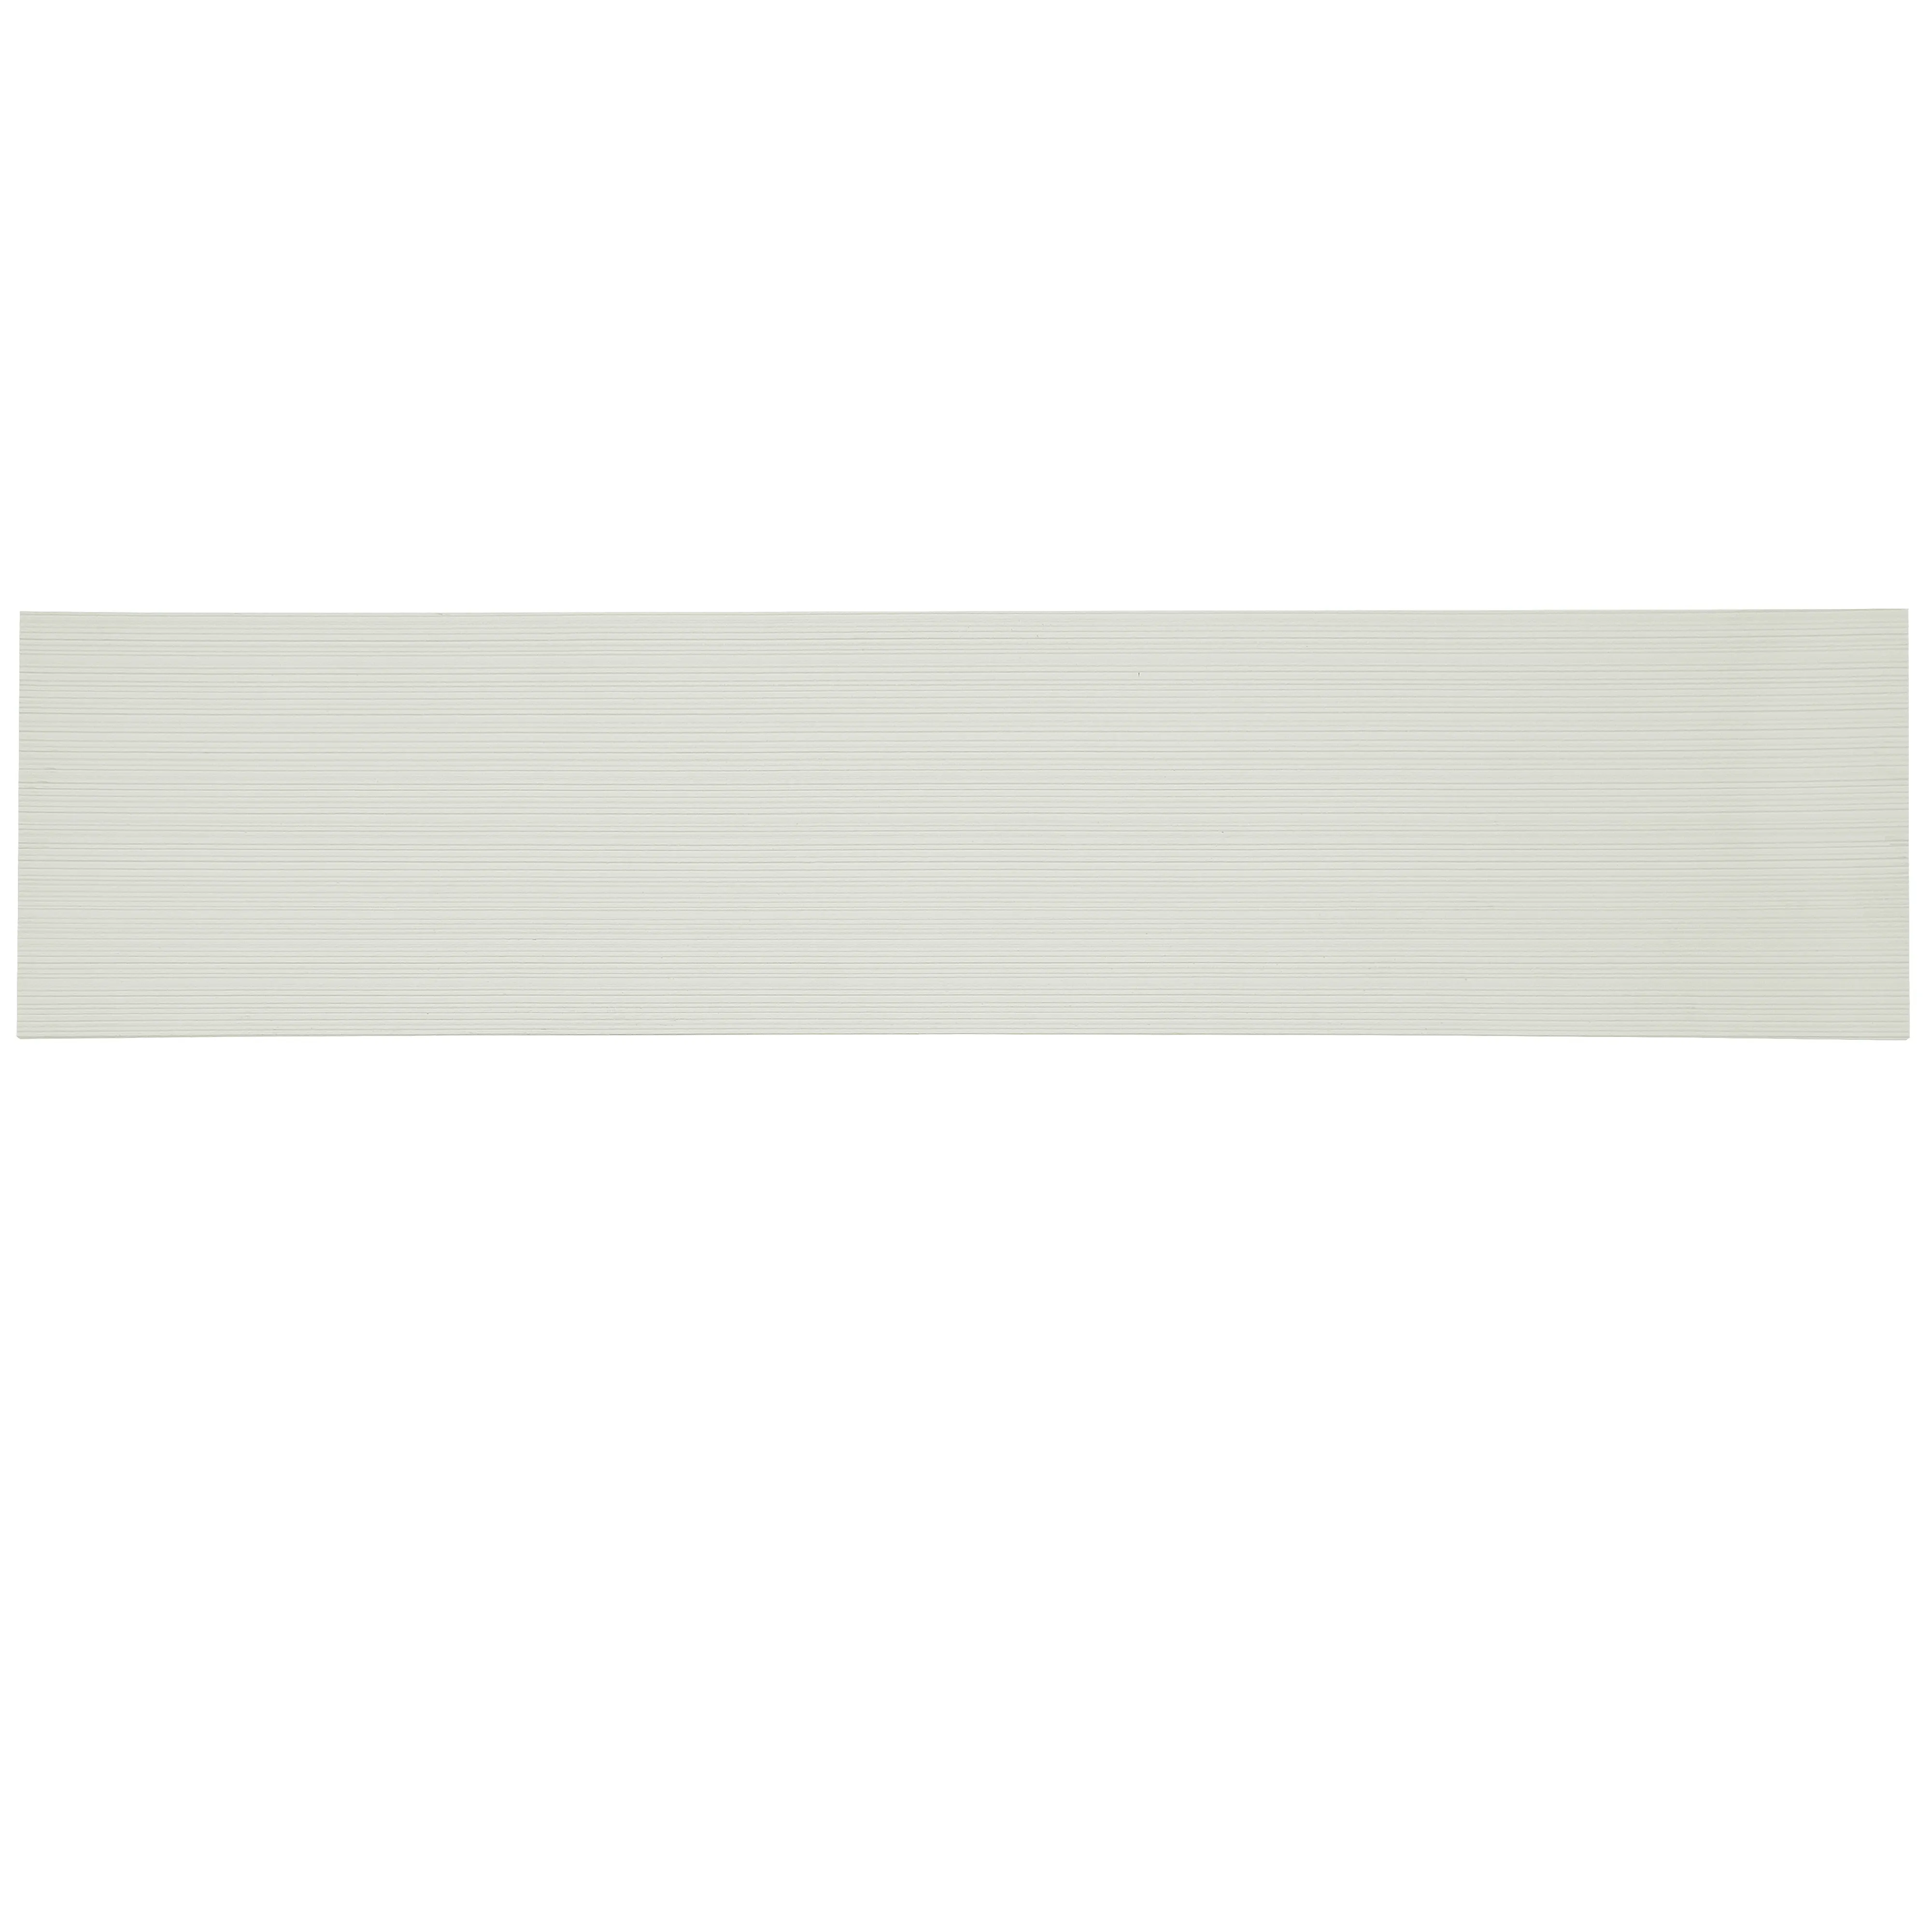
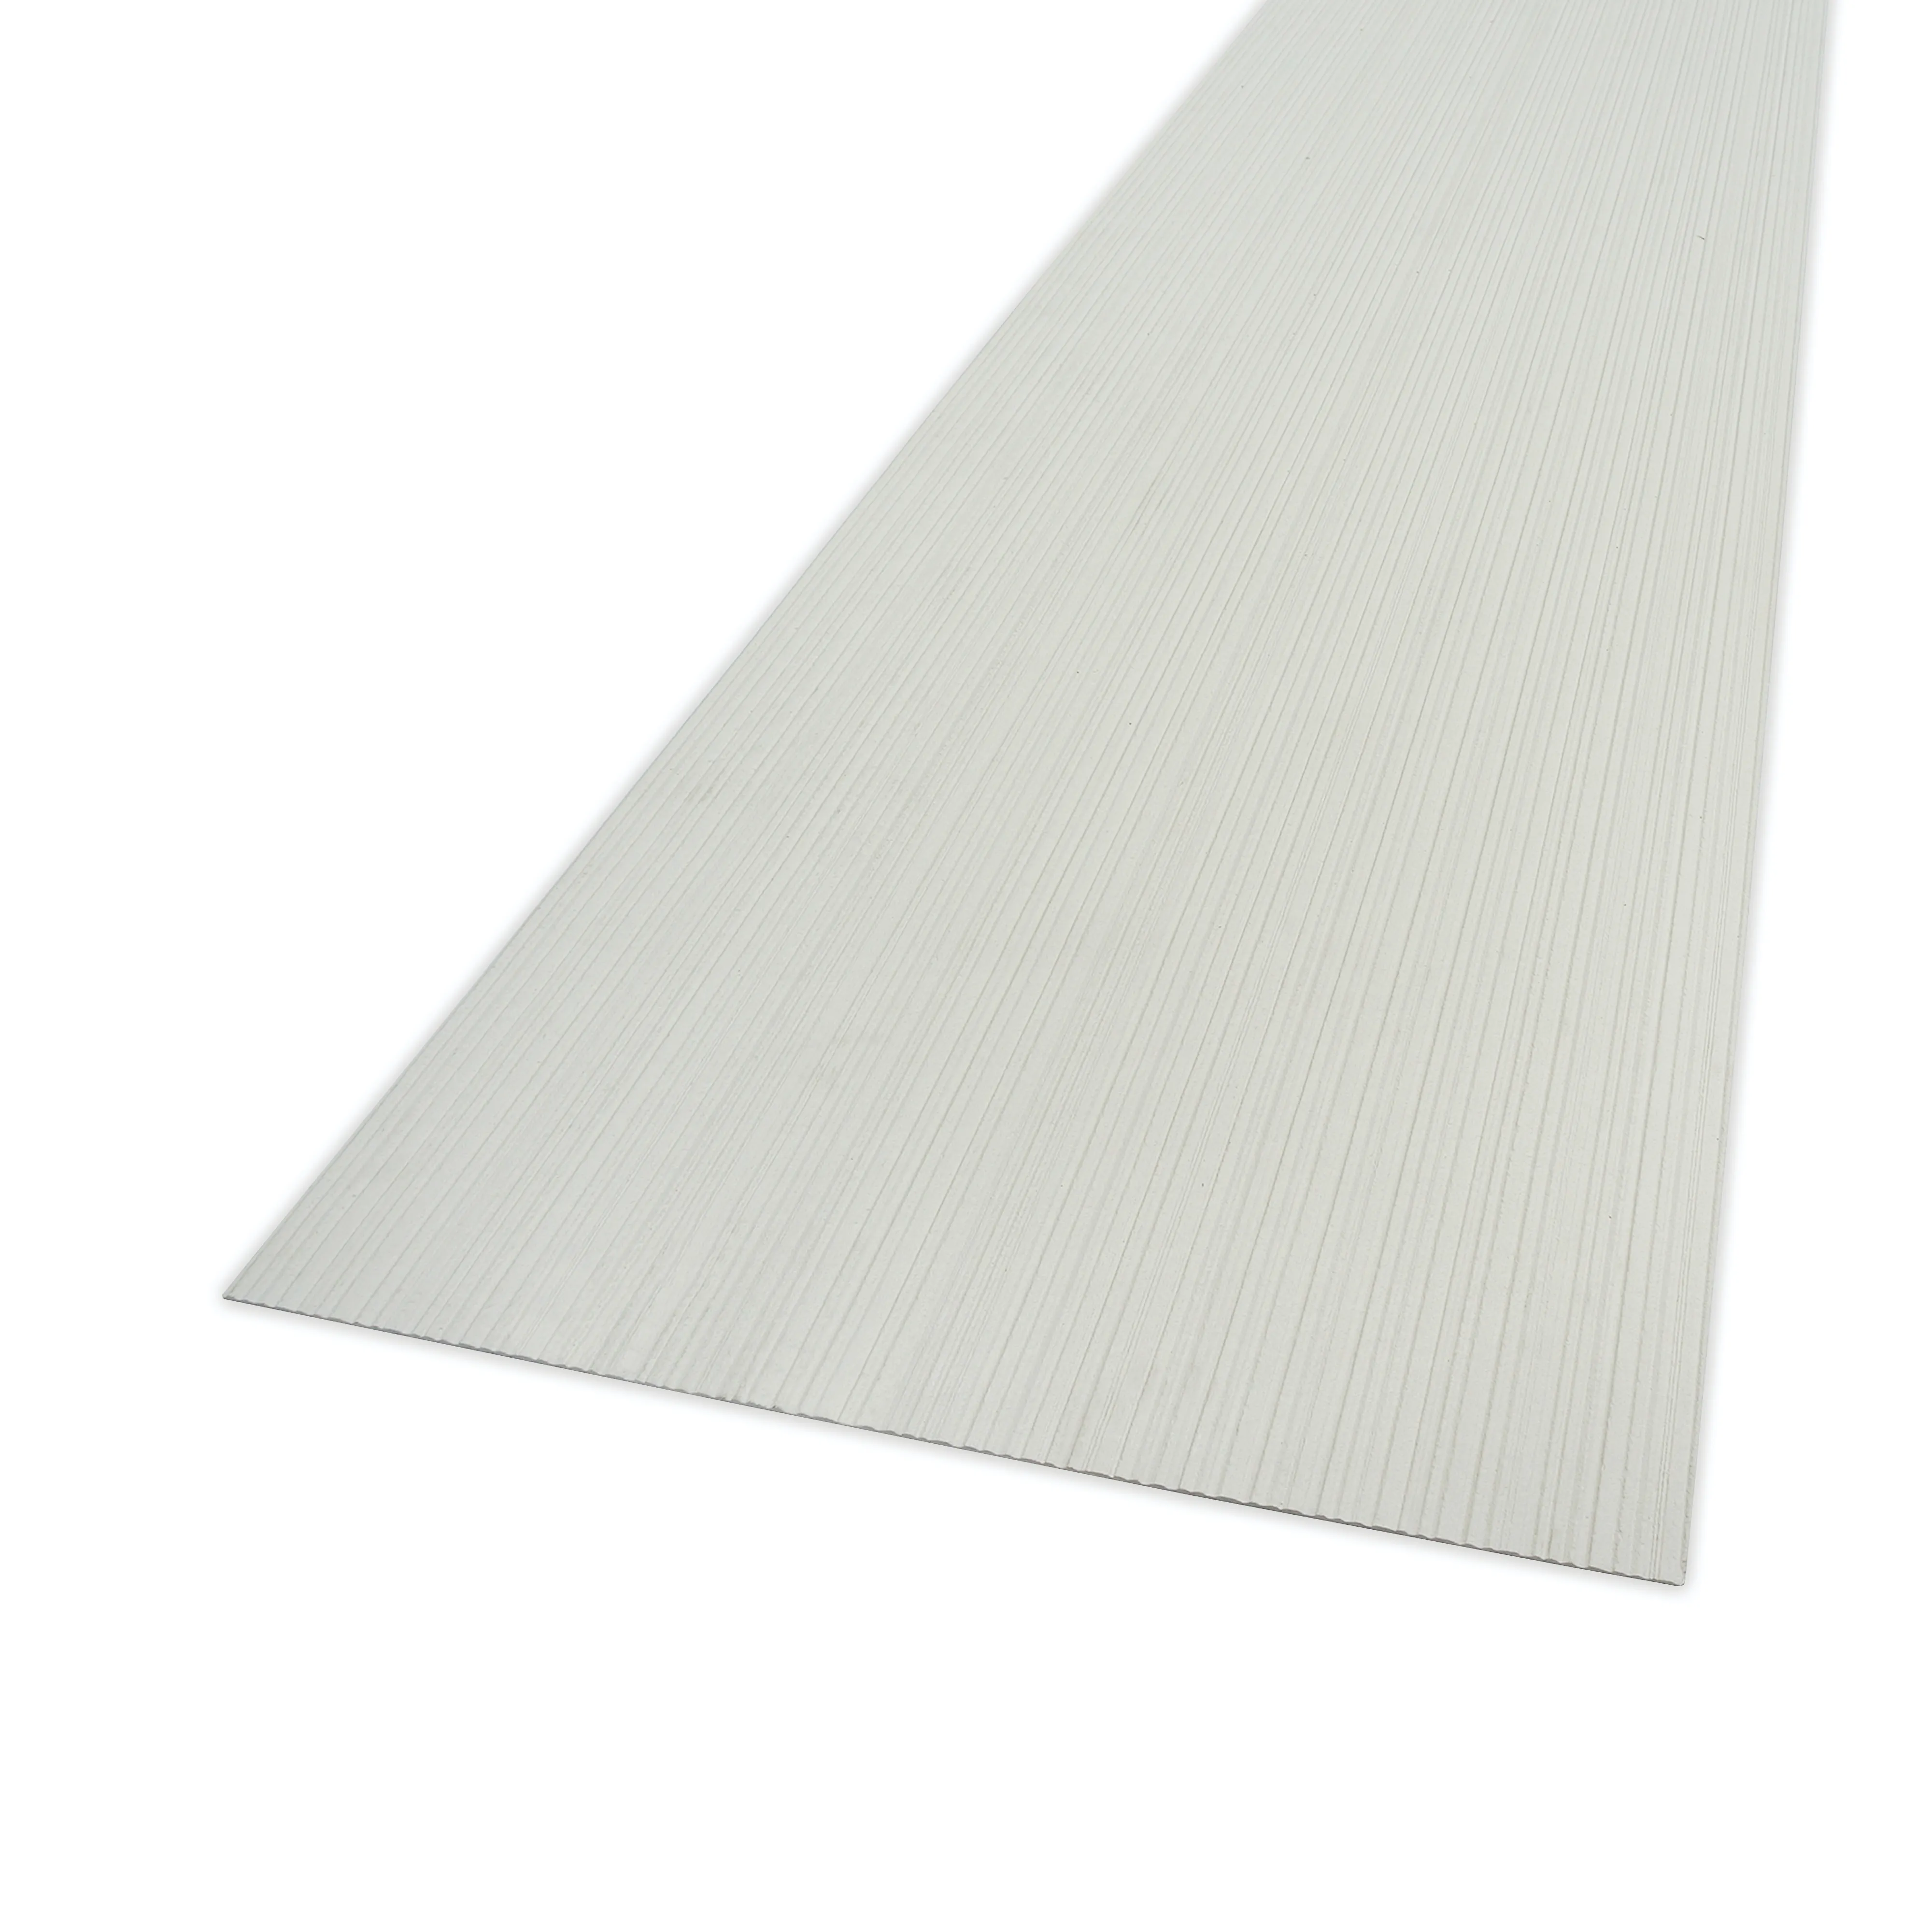
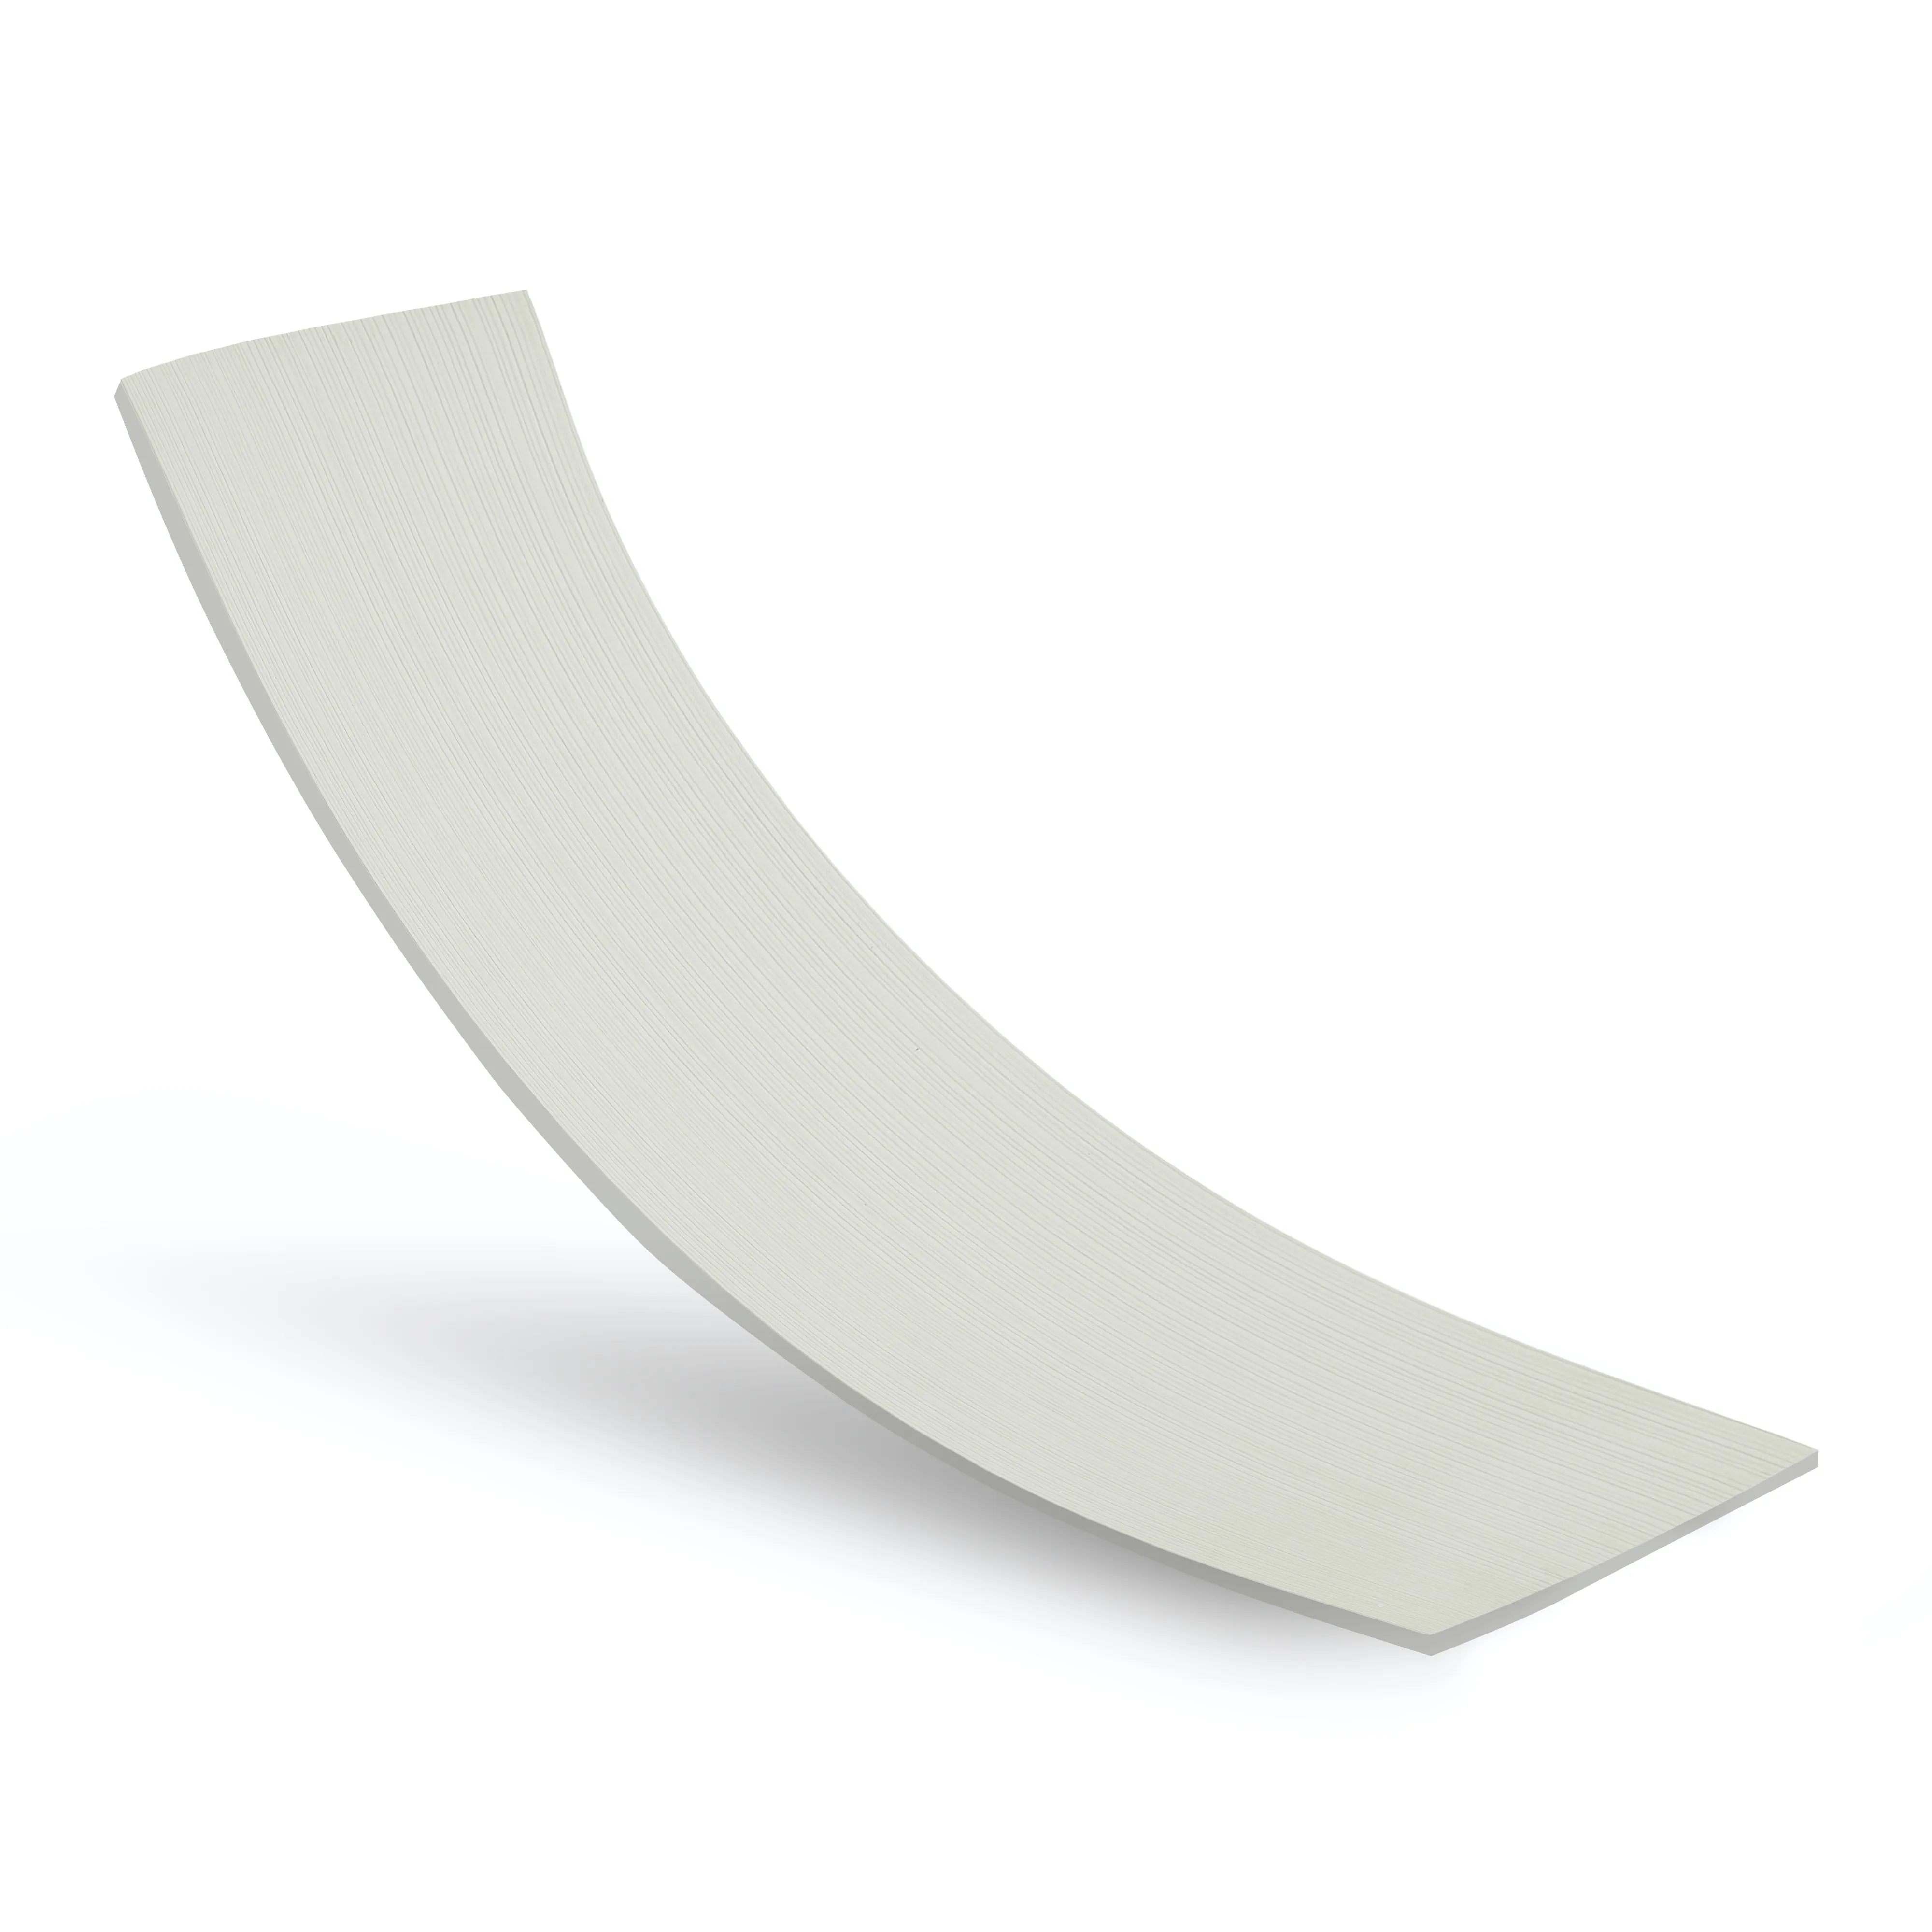
If you've ever walked into a space and thought, "Wow, that wall feels alive," chances are it was clad in a material that marries texture, durability, and artistry. Enter Fine Line Stone (White) —a star in the MCM flexible stone family that's been turning heads in architectural circles. MCM (Modified Composite Material) cladding has revolutionized how we think about building exteriors and interiors, offering the look of natural stone without the weight or fragility. And within this versatile category, Fine Line Stone (White) shines for its delicate, linear veining that mimics the soft flow of marble but with the flexibility to adapt to curved surfaces, tricky corners, and bold design visions.
Whether you're revamping a commercial lobby, sprucing up a residential accent wall, or adding depth to a hospitality space, installing Fine Line Stone (White) can elevate your project from "nice" to "unforgettable." But like any craft, success lies in the details—prep work, precision, and a little insider know-how. In this guide, we'll walk through every step of the process, from pre-installation checks to post-finishing touches, ensuring your cladding project is not just seamless, but also built to last.
Before you even unbox your first panel of Fine Line Stone (White), there's work to be done. Think of it like baking a cake—skipping the prep steps (greasing the pan, preheating the oven) might not ruin it, but it'll make the end result messier and less satisfying. Here's what you need to focus on:
MCM panels, including Fine Line Stone (White), thrive on stable, clean substrates. The most common options are fair-faced concrete , drywall, or cement backer boards. Start by checking for cracks, bulges, or unevenness. Run a straightedge across the surface—any gaps wider than 3mm need to be filled with a high-quality leveling compound. If you're working with fair-faced concrete, ensure it's cured (at least 28 days) and free of dust, oil, or. A quick test: sprinkle water on the surface. If it beads up, there's residue; if it soaks in, you're good to go.
Nothing kills momentum like realizing you're short on panels halfway through installation. Start by measuring your wall area, then add a 10% buffer for cuts, mistakes, or future repairs. Fine Line Stone (White) panels typically come in standard sizes (e.g., 1200x600mm), but don't assume—check the specs from your supplier. Along with the panels, you'll need:
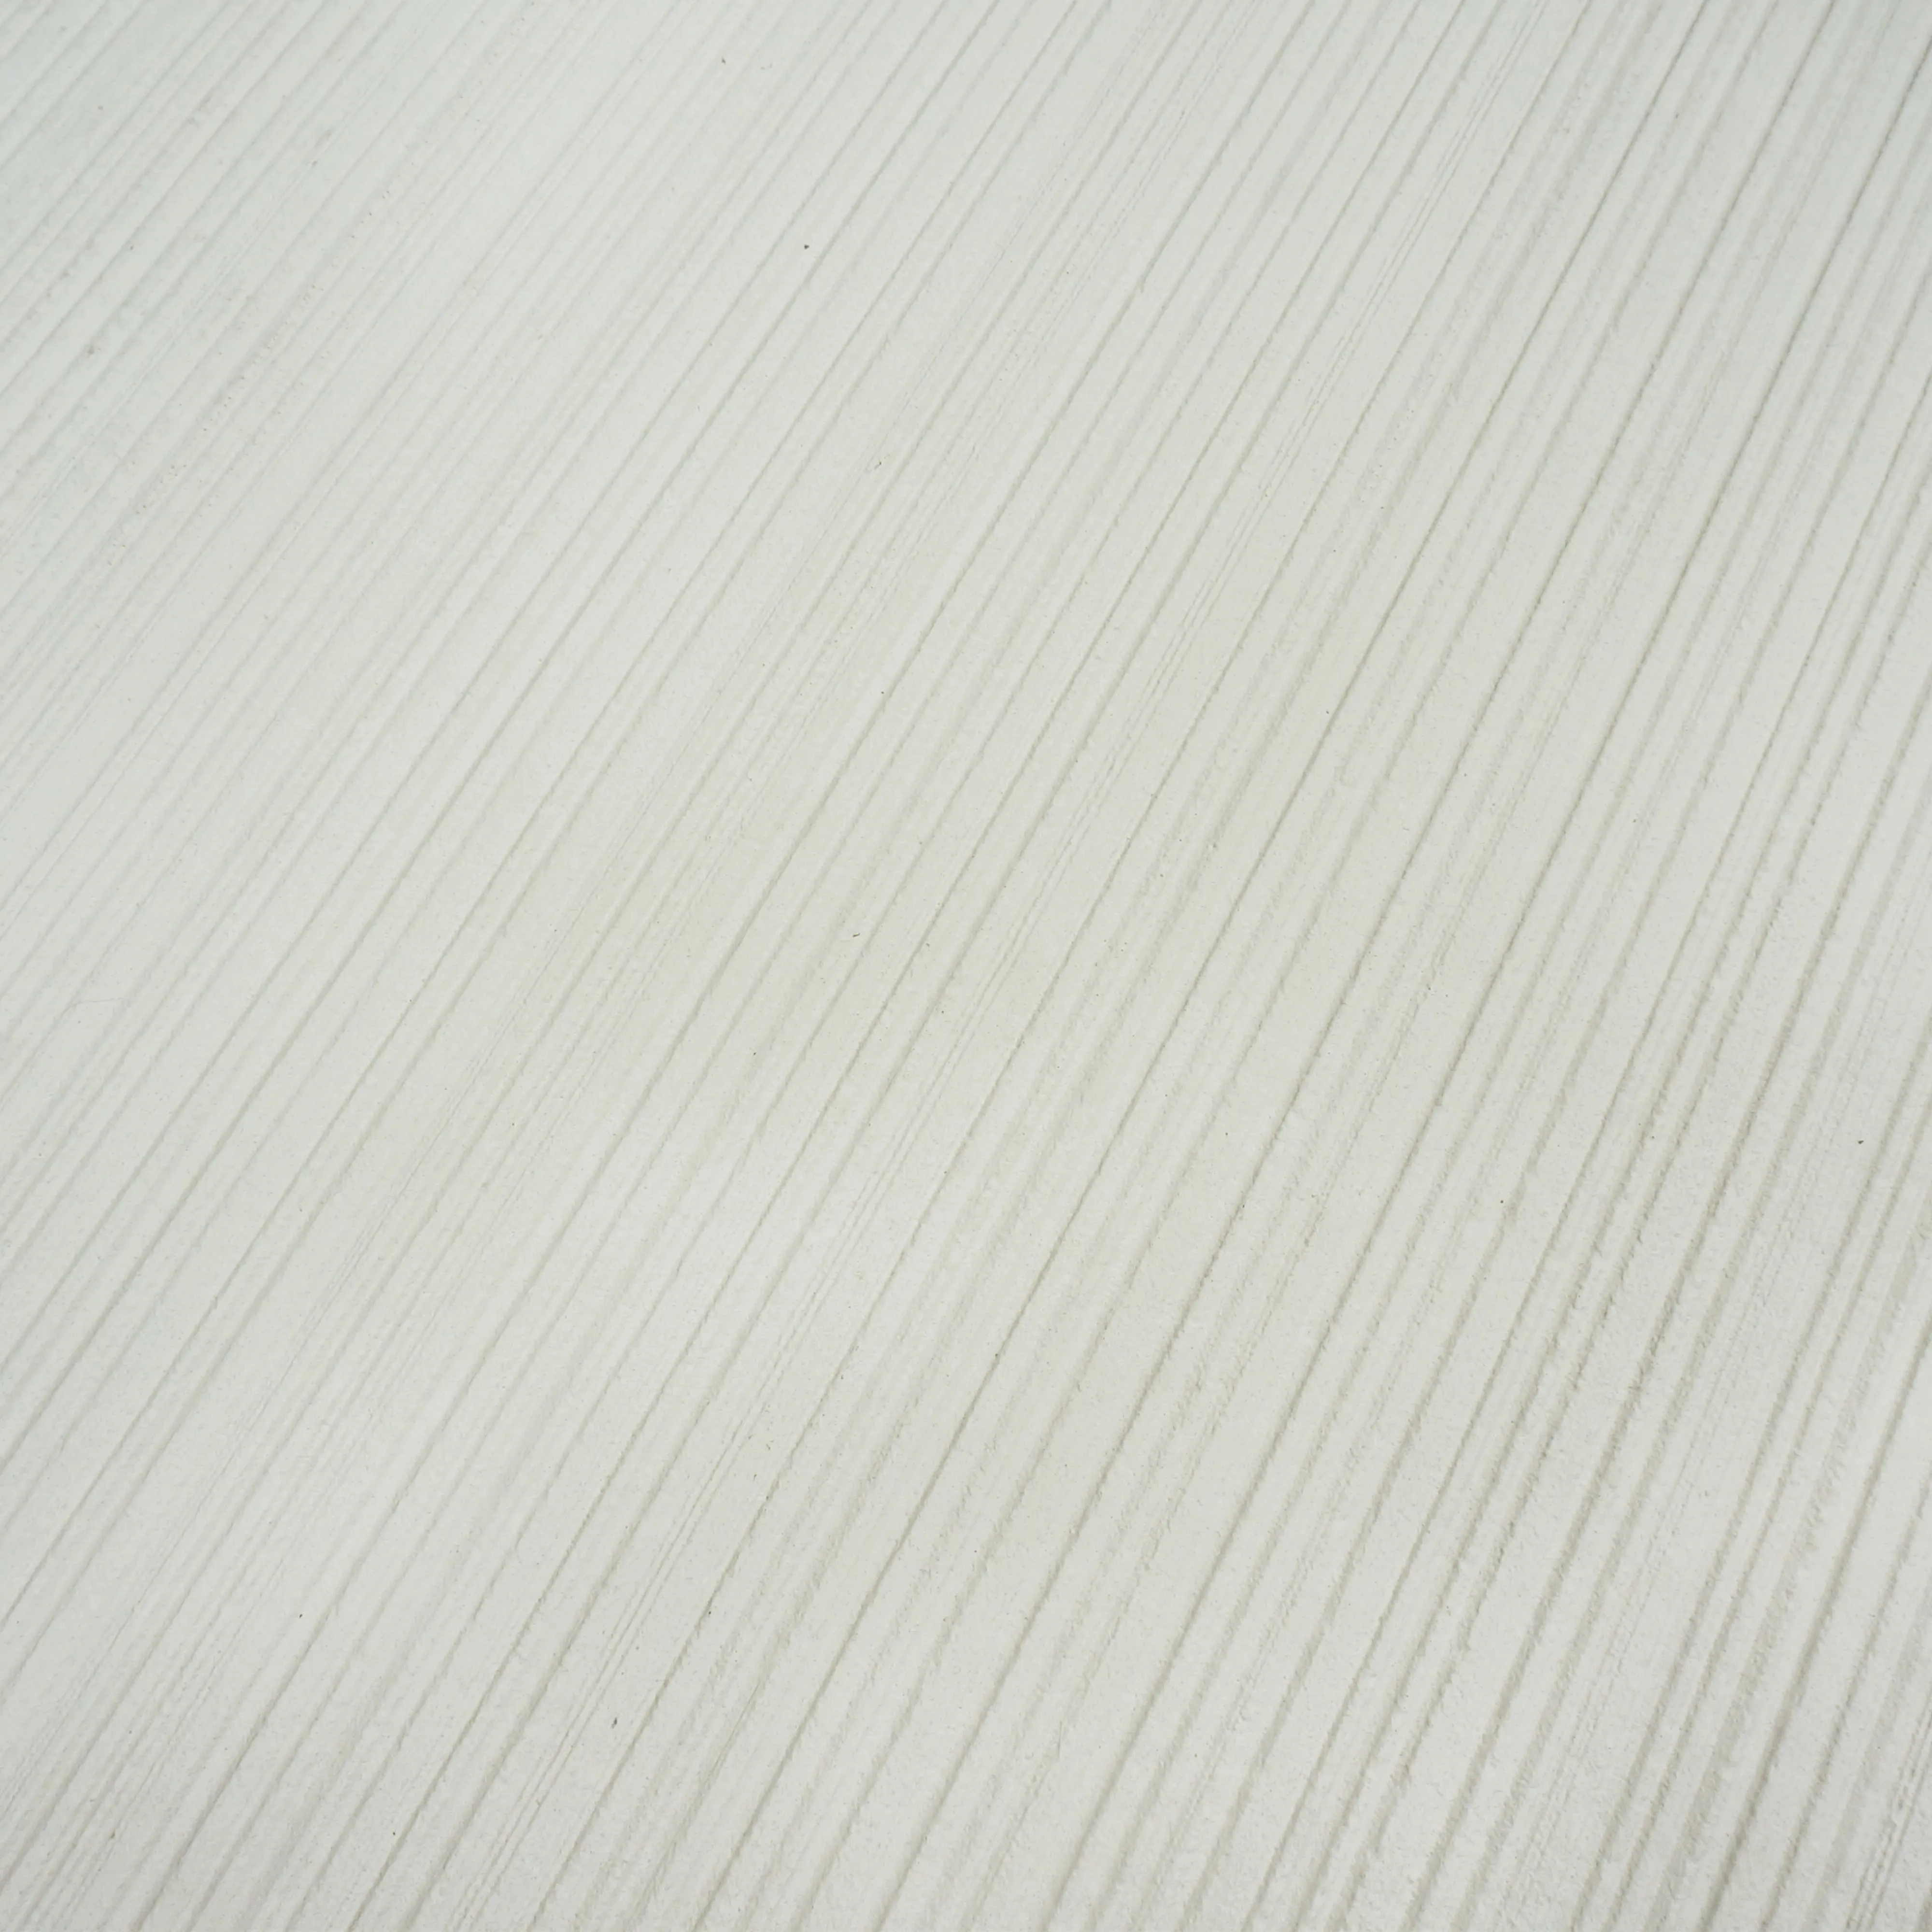
This step is non-negotiable, especially with a stone like Fine Line Stone (White), where the veining tells a visual story. Lay out panels on the floor first, arranging them to match the flow of the veins—you don't want a random vein suddenly pointing upward when the rest flow downward. Mark the wall with chalk lines, using a plumb bob to ensure vertical alignment. If you're working around windows, doors, or outlets, measure twice (or three times!) and cut panels to size before applying adhesive. Trust us: dry fitting saves you from cutting a panel too short and staring at a gap you can't fix.
Now comes the hands-on part. Take a deep breath, put on some gloves (adhesive is tough to get off skin), and let's dive in. We'll break this down into manageable steps, so even if you're new to MCM cladding, you'll feel confident.
Start by mixing your adhesive according to the manufacturer's instructions—too runny, and it'll slide; too thick, and it won't spread evenly. Use a notched trowel to apply adhesive to the back of the panel, holding the trowel at a 45-degree angle to create ridges. Cover 80-90% of the panel's back (edges included!) to prevent air bubbles. For vertical installations, start at the bottom and work your way up—this prevents panels from sliding down as the adhesive sets.
Align the first panel with your chalk lines, then press firmly from the center outward to squeeze out excess adhesive. Use the rubber mallet to tap gently—this ensures full contact without cracking the panel. Check with the spirit level: both vertically and horizontally. If it's off, gently pry up the panel (within 10 minutes of placement, before the adhesive sets) and readjust. insert spacers between panels to maintain consistent grout lines—this is where that 2-3mm gap comes in.
Even with careful planning, you'll need to cut panels for edges, corners, or obstacles. For straight cuts, use the wet tile saw—keep the blade cool with water to avoid chipping the stone's surface. For curves or notches (like around an outlet), mark the cut line with a pencil, then use a jigsaw with a masonry blade. Go slow, and sand the edges with fine-grit sandpaper afterward to smooth any roughness.
Wait 24 hours for the adhesive to cure, then remove the spacers. Mix grout to a "peanut butter" consistency—too wet, and it'll shrink; too dry, and it won't fill gaps. Apply with a rubber float, holding it at a 45-degree angle to push grout into the lines. Let it set for 15-20 minutes, then wipe excess with a damp sponge (not wet—you don't want to wash out the grout). Buff with a dry cloth once fully dry (24-48 hours) to remove haze.
| Tool | Purpose | Pro Tip |
|---|---|---|
| Notched Trowel (6mm) | Applying adhesive evenly to panel backs | Always hold at 45 degrees—ridges ensure proper adhesion. |
| Wet Tile Saw | Straight cuts on panels | Use a diamond blade and keep water flowing to prevent chipping. |
| Rubber Mallet | Tapping panels into place | Wrap the mallet in a cloth to avoid scratching the stone surface. |
| Spacers (2-3mm) | Maintaining even grout lines | Use "T" spacers for corners to keep both vertical and horizontal lines straight. |
Even with careful planning, hiccups happen. Here's how to fix the most common problems:
If you notice a bubble after setting a panel, don't panic! Poke a small hole in the center with a needle, then inject a tiny amount of adhesive with a syringe. Press down firmly and wipe away excess. Let it cure, and the bubble will disappear.
If grout dries with low spots, mix a small batch of grout (slightly wetter than before) and press into the gaps with a finger. Wipe clean with a damp sponge—no one will ever notice the touch-up.
MCM stones like Fine Line Stone (White) are made in batches, and slight color variations are normal (they add character!). To minimize this, open all boxes at once and mix panels from different batches during installation—this blends any subtle differences.
Fine Line Stone (White) is a team player—it pairs beautifully with other MCM materials to create depth and contrast. Here are a few design ideas to spark inspiration:
The cool, linear veining of Fine Line Stone (White) balances the warmth of wood grain board perfectly. Try a half-wall: stone on the bottom, wood grain on top, separated by a thin metal trim. It's a timeless combo that works in kitchens, bedrooms, or home offices.
For a nature-inspired space, pair Fine Line Stone (White) with rammed earth board (matcha green) . The stone's crisp white acts as a backdrop, while the earthy green adds organic texture—think a living room accent wall where the two materials meet at a diagonal for visual interest.
Want a sleek, industrial vibe? Mix Fine Line Stone (White) with foamed aluminium alloy board (vintage silver) . Use the aluminium for geometric shapes (like a rectangular inset) and the stone for the surrounding wall. The metallic sheen complements the stone's subtle luster, creating a space that feels both modern and inviting.
The beauty of MCM cladding is that it's low-maintenance, but a little care goes a long way. For Fine Line Stone (White):
Installing Fine Line Stone (White) is more than just a construction task—it's about bringing a vision to life. With the right prep, tools, and a little patience, you'll create a space that feels intentional, durable, and uniquely yours. Remember: the beauty of MCM cladding is its versatility. Whether you're going for minimalist elegance, rustic charm, or industrial edge, Fine Line Stone (White) is a canvas waiting for your creativity.
So grab your trowel, put on that work playlist, and get started. When you step back and admire the finished wall—smooth, seamless, and glowing with the soft veining of Fine Line Stone (White)—you'll know it was worth every minute.
Recommend Products


