As a contractor, you're constantly seeking innovative materials that not only meet stringent performance demands but also elevate the aesthetic appeal of your projects. In today's dynamic architectural landscape, the choice of facade and interior finishes can be a significant differentiator. This comprehensive guide from COLORIA GROUP is designed to equip you with the essential knowledge and practical steps for flawlessly installing MCM Wave Panels, ensuring your next project stands out with unparalleled design and durability.
COLORIA GROUP, a leading one-stop solution provider in architectural materials, understands the challenges and opportunities you face. Our expertise, honed over decades in the industry, particularly with a strong presence in regions like Saudi Arabia, positions us to deliver exceptional value. We specialize in high-quality interior and exterior decoration materials, and our MCM (Modified Cementitious Material) products, including the visually striking Wave Panels, are at the forefront of sustainable and customizable building solutions.
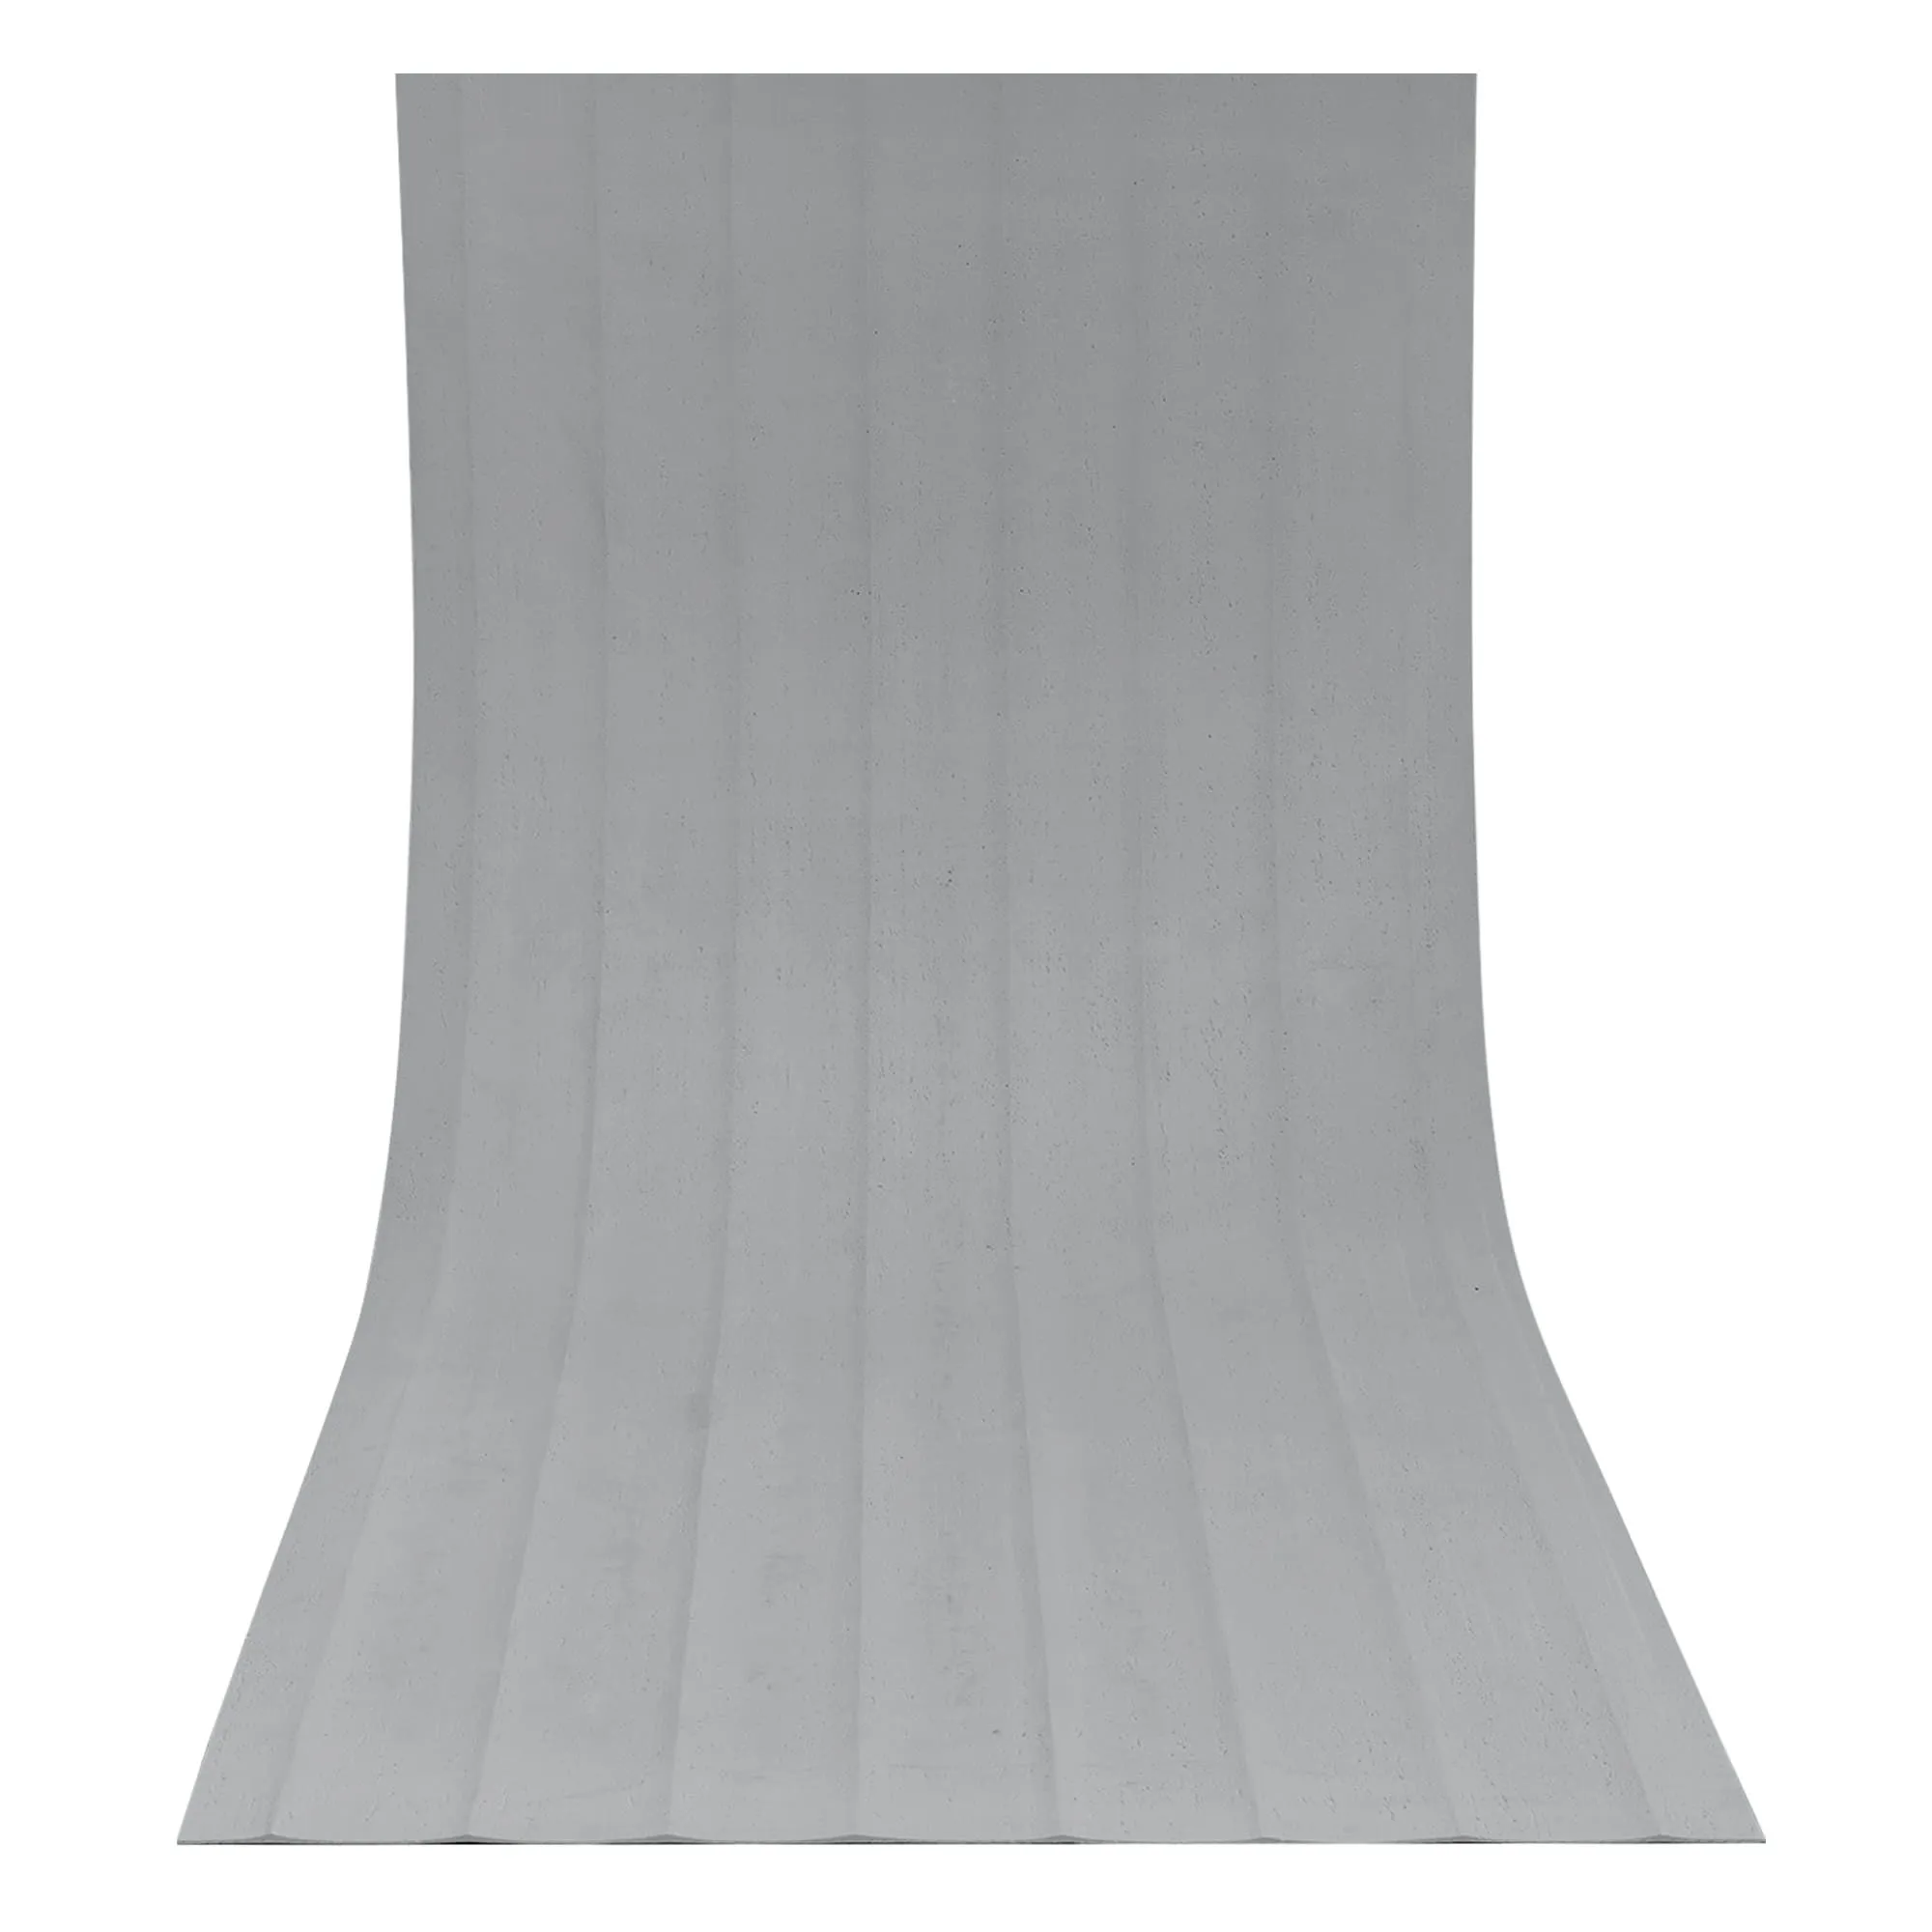
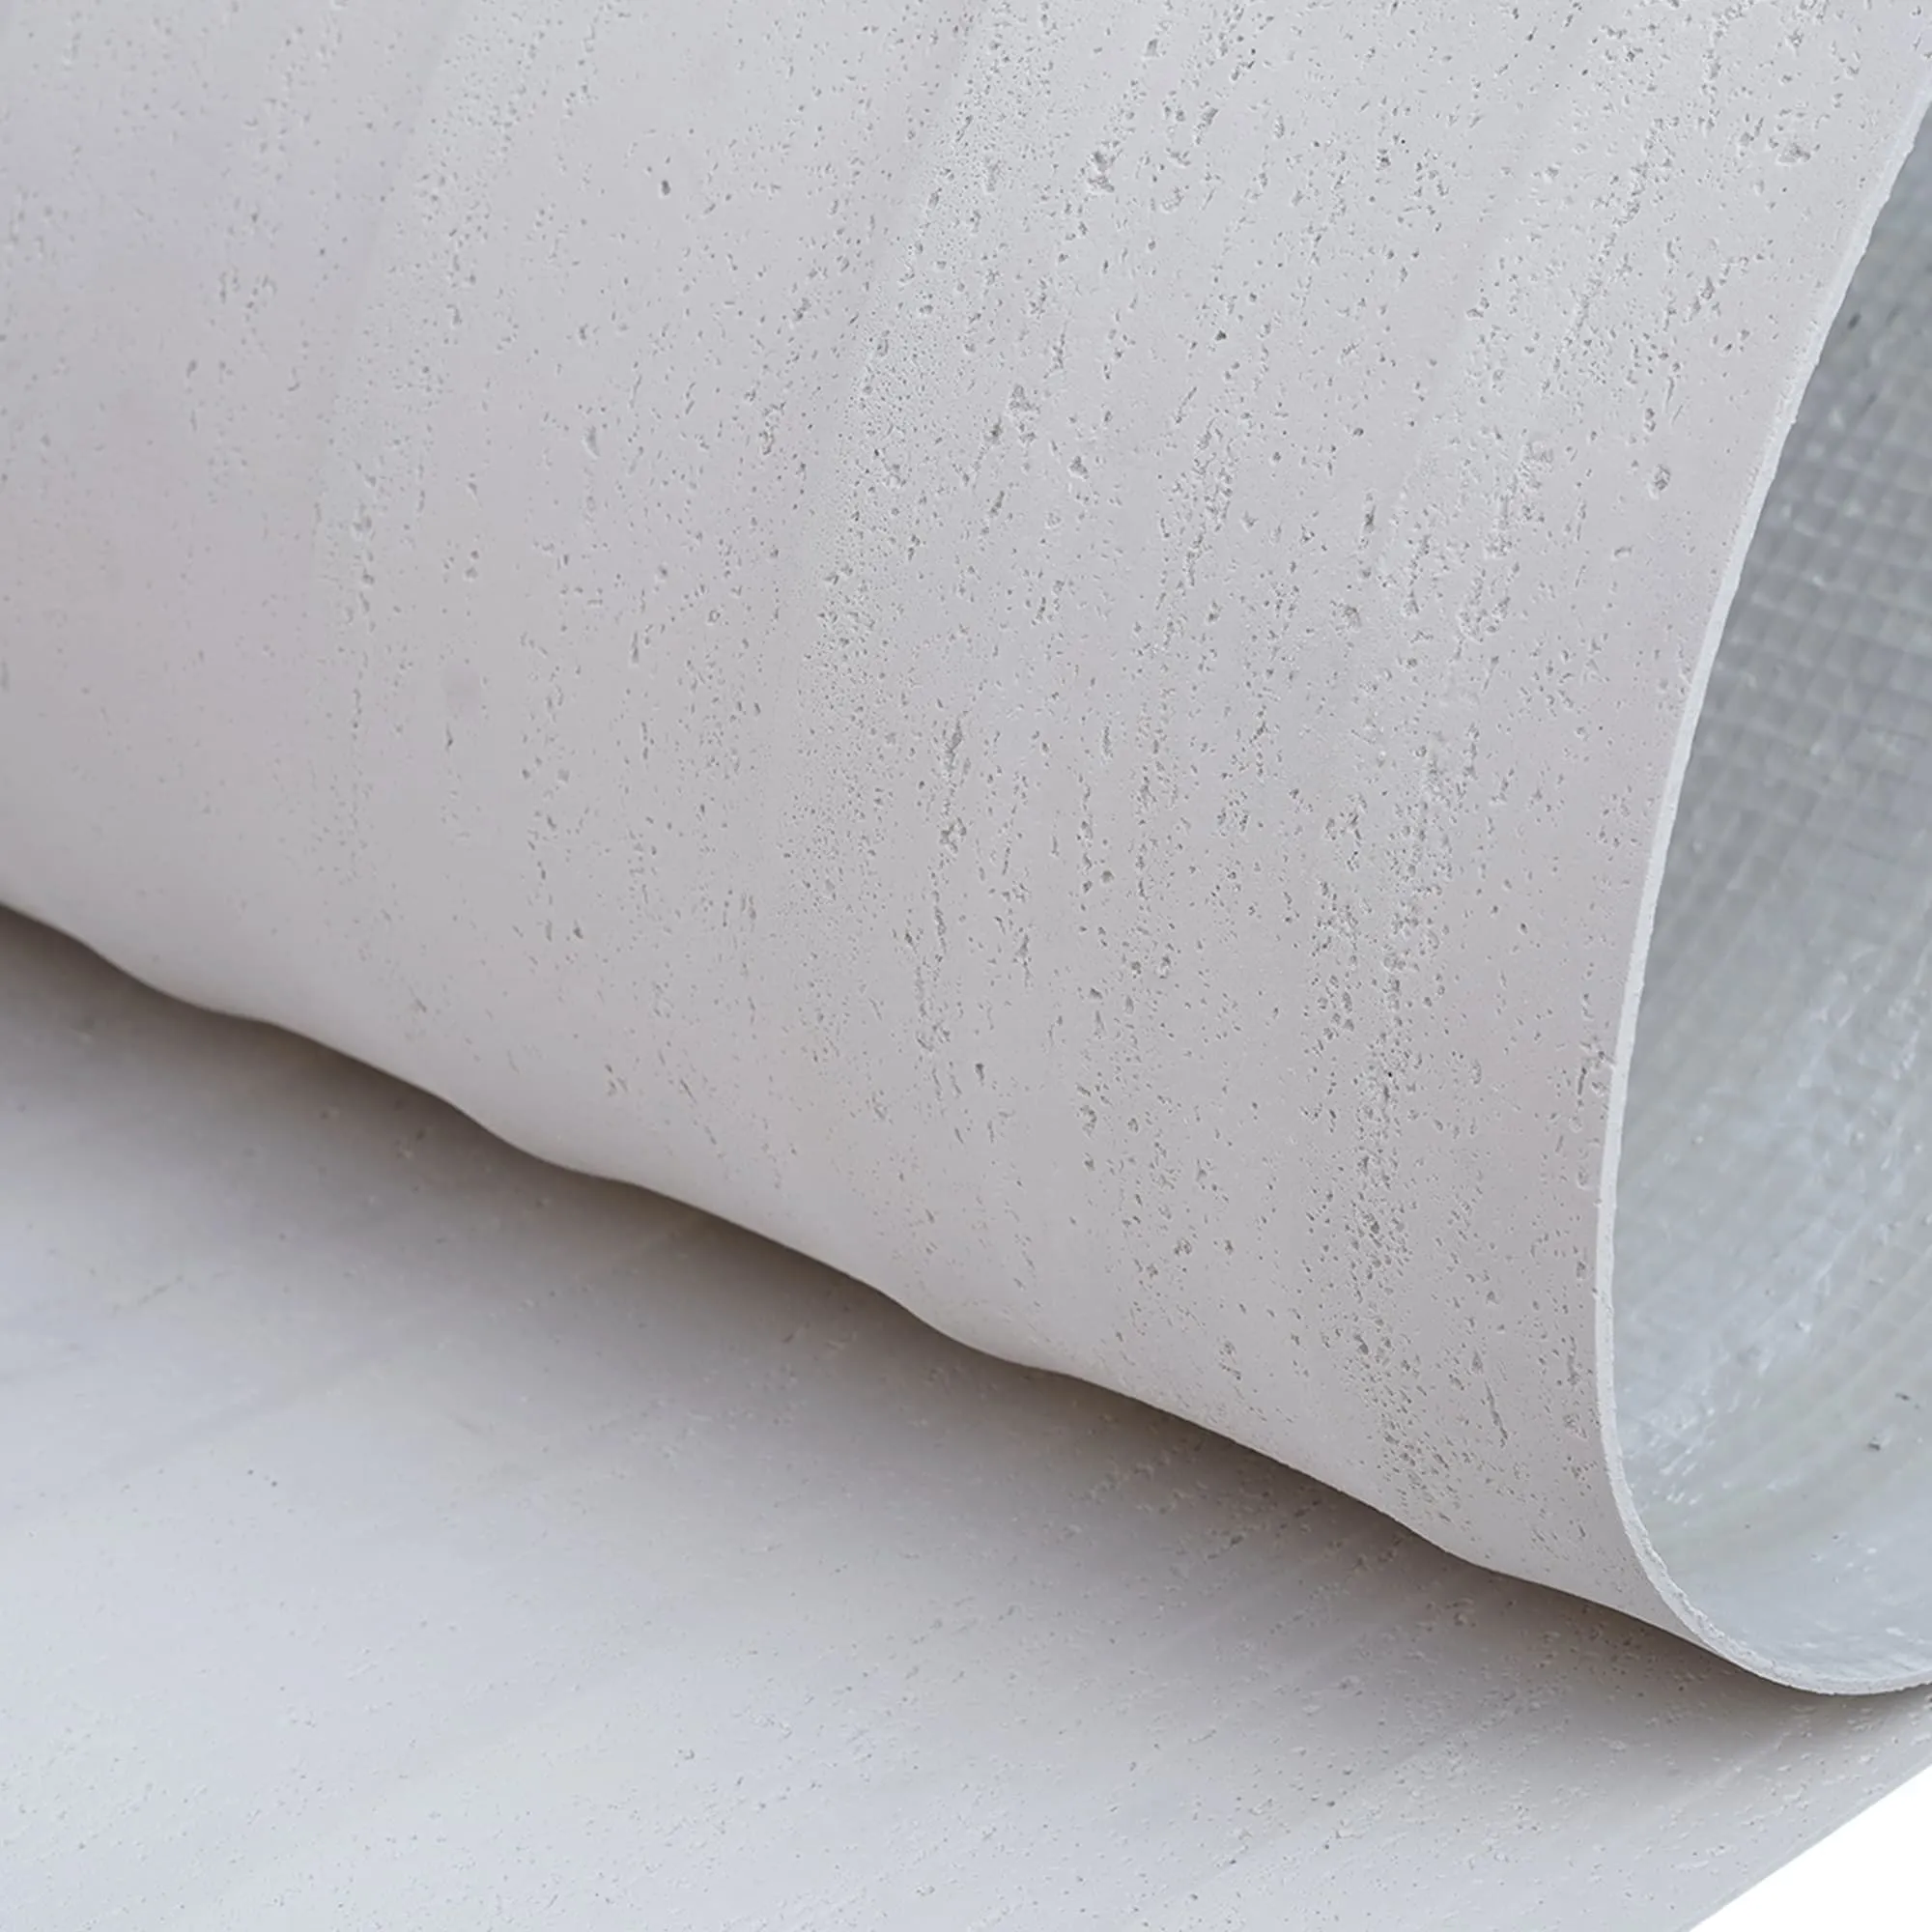
MCM Wave Panels offer a unique blend of structural integrity and artistic freedom. Their three-dimensional profiles bring depth and character to any surface, transforming ordinary walls into captivating design statements. Whether you're working on residential and commercial projects, the versatility of these panels allows for endless creative possibilities. Let's delve into the world of MCM Wave Panels and master their installation.
Part 1: Understanding MCM Wave Panels – The COLORIA GROUP Advantage
Before we embark on the installation process, it's crucial to grasp what makes MCM Wave Panels such an exceptional choice for modern construction. Developed from our advanced Modified Cementitious Material technology, these panels represent a significant leap forward in architectural surfacing.
What is MCM (Modified Cementitious Material)?
MCM is an innovative material derived from natural aggregates, recycled materials, and polymer binders. Unlike traditional ceramic tiles or heavy stone, MCM is incredibly lightweight, flexible, and eco-friendly. It mimics the look and feel of various natural materials like stone, brick, wood, and in the case of Wave Panels, offers dynamic textured surfaces without their inherent drawbacks.
Key Benefits of COLORIA GROUP's MCM Wave Panels:
-
Exceptional Durability:
Despite their flexibility and light weight, MCM Wave Panels are incredibly robust. They offer excellent resistance to weathering, UV radiation, impact, and abrasion, making them ideal for both interior and exterior applications. They won't crack, chip, or fade easily, ensuring a long-lasting, pristine finish.
-
Superior Flexibility:
The inherent flexibility of MCM allows these panels to be applied to curved surfaces, expanding design possibilities that are difficult or impossible with rigid materials. This is particularly advantageous for complex architectural forms found in modern residential and commercial projects.
-
Lightweight Nature:
Being significantly lighter than traditional materials means reduced structural load on buildings, simplifying installation, lowering transportation costs, and potentially reducing the need for heavy-duty support structures. This also translates to faster and more efficient on-site handling.
-
Green and Environmentally Friendly Features:
COLORIA GROUP is committed to sustainability. Our MCM products are manufactured using natural mineral powders and recycled waste, minimizing environmental impact. The production process consumes less energy and water compared to conventional building materials, and the panels themselves are recyclable and non-toxic, contributing to healthier indoor air quality.
-
Outstanding Aesthetic Appeal:
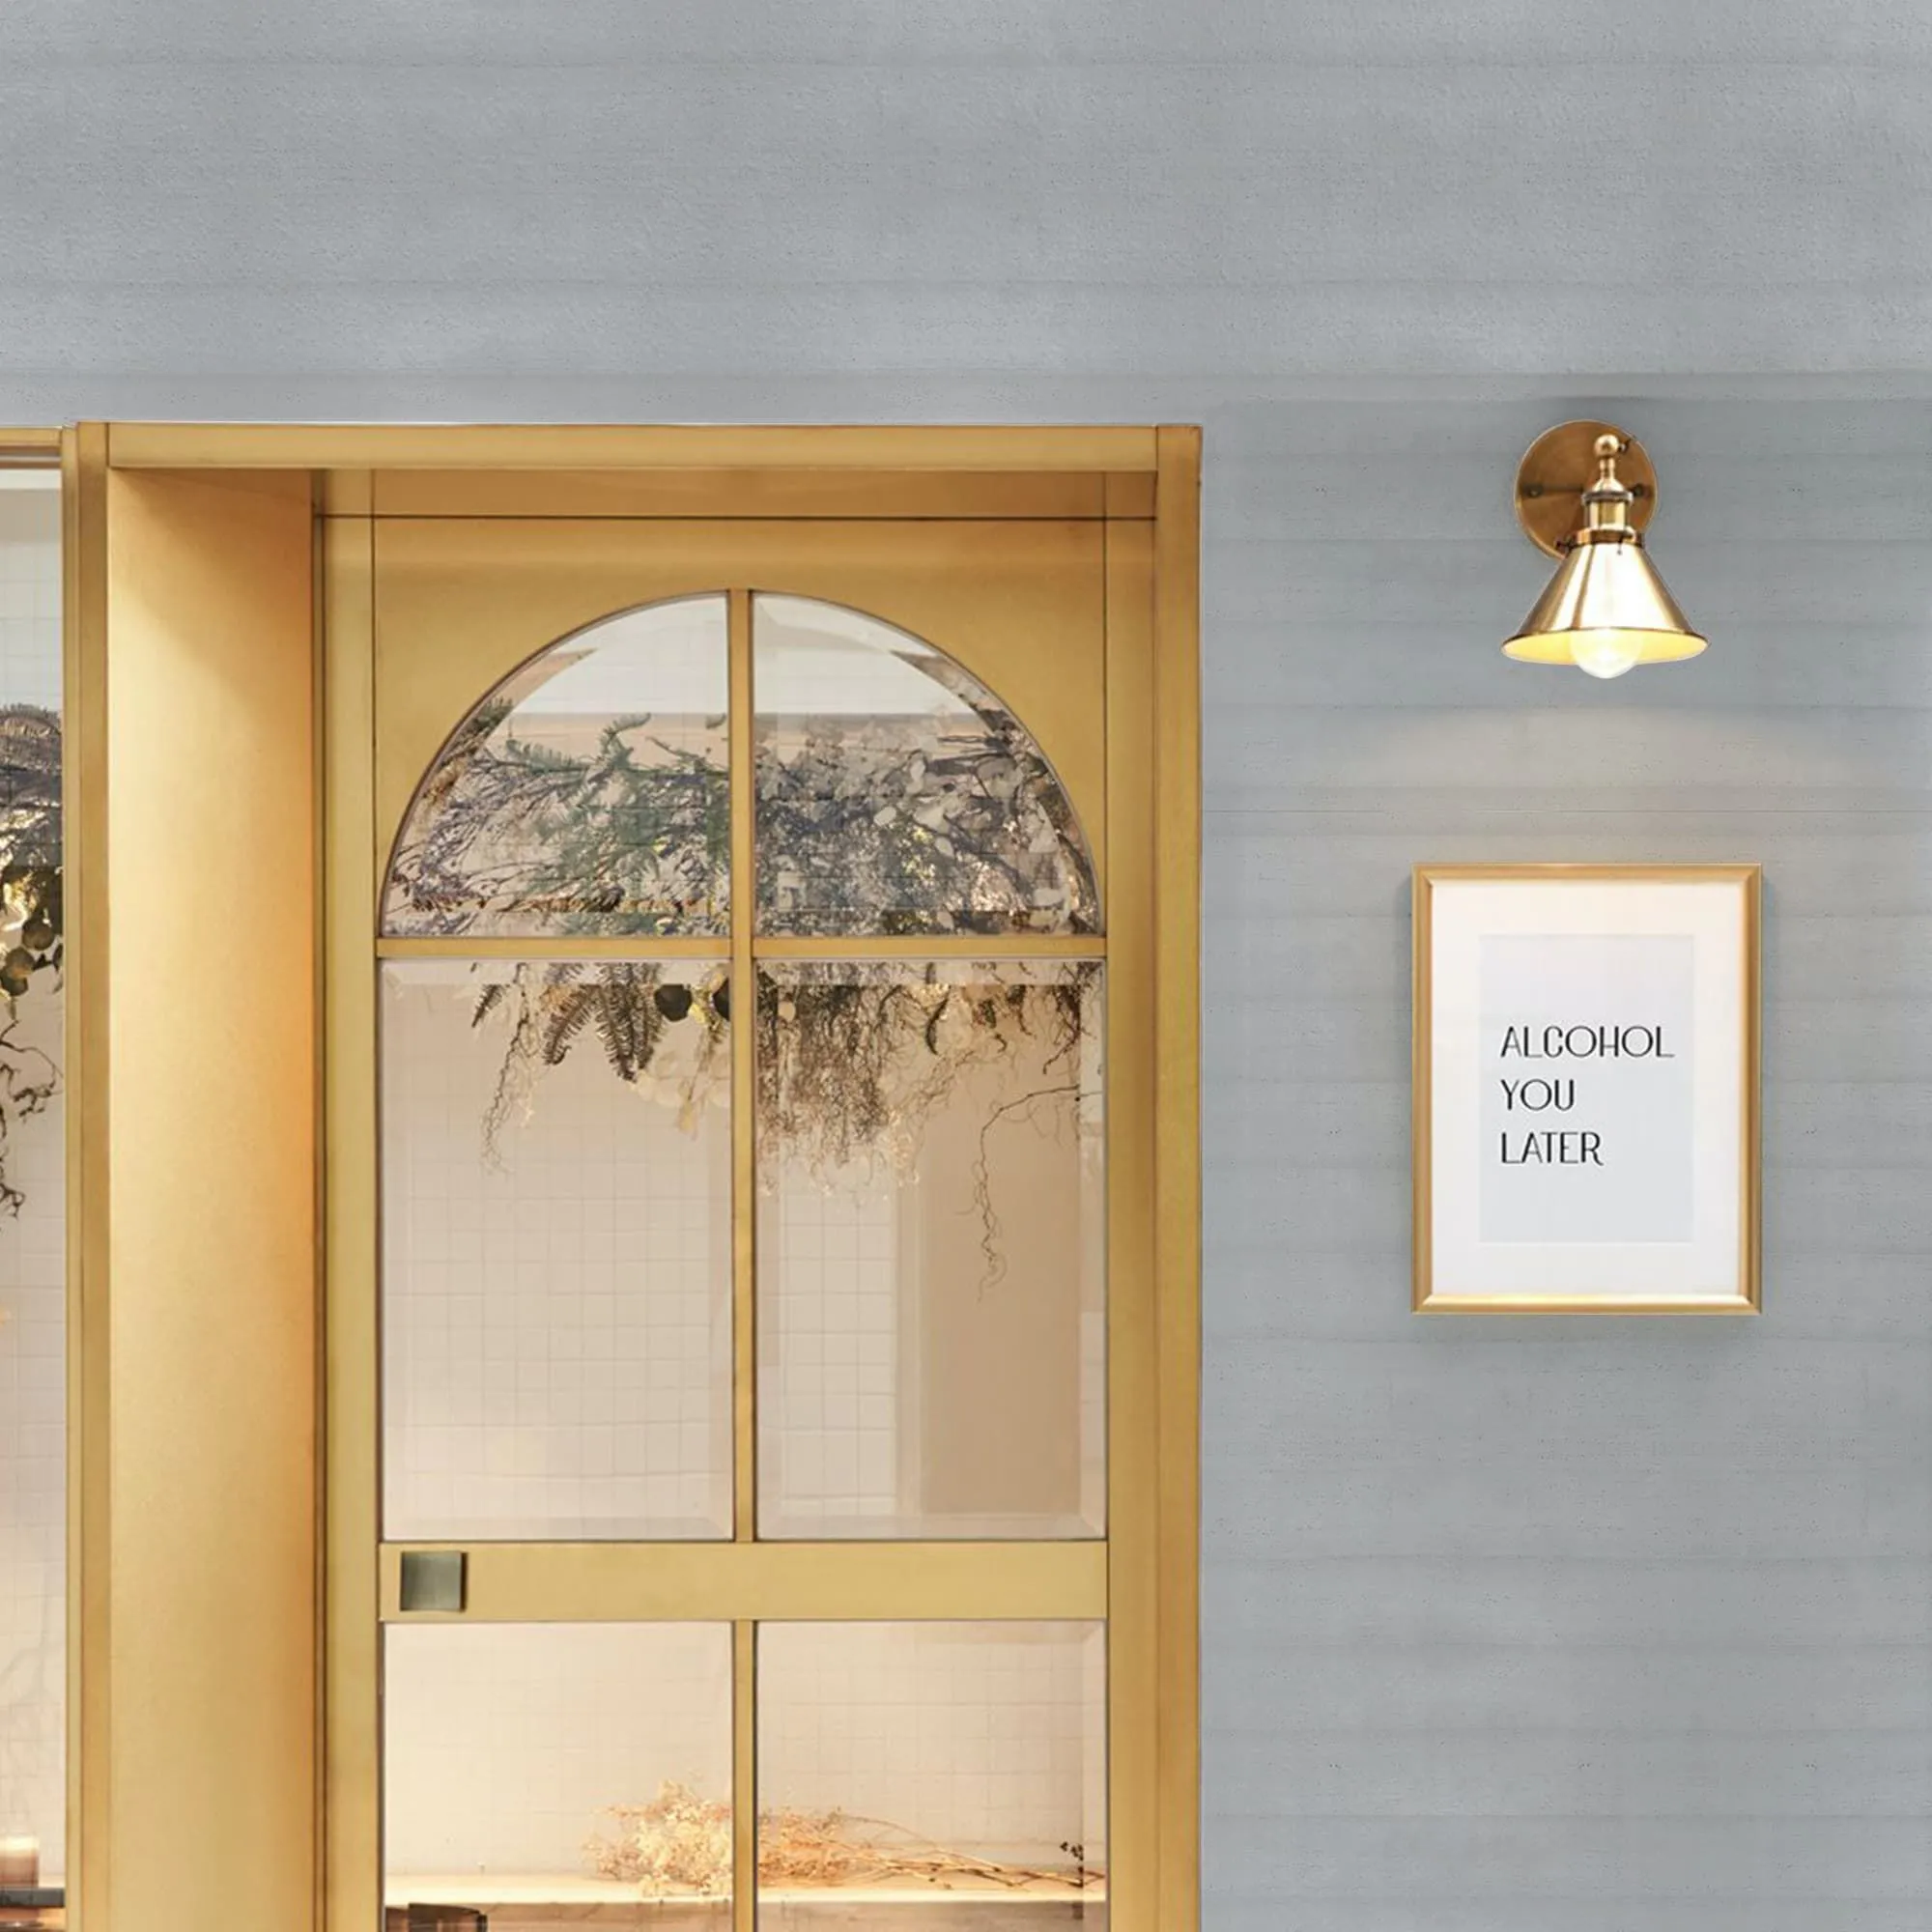
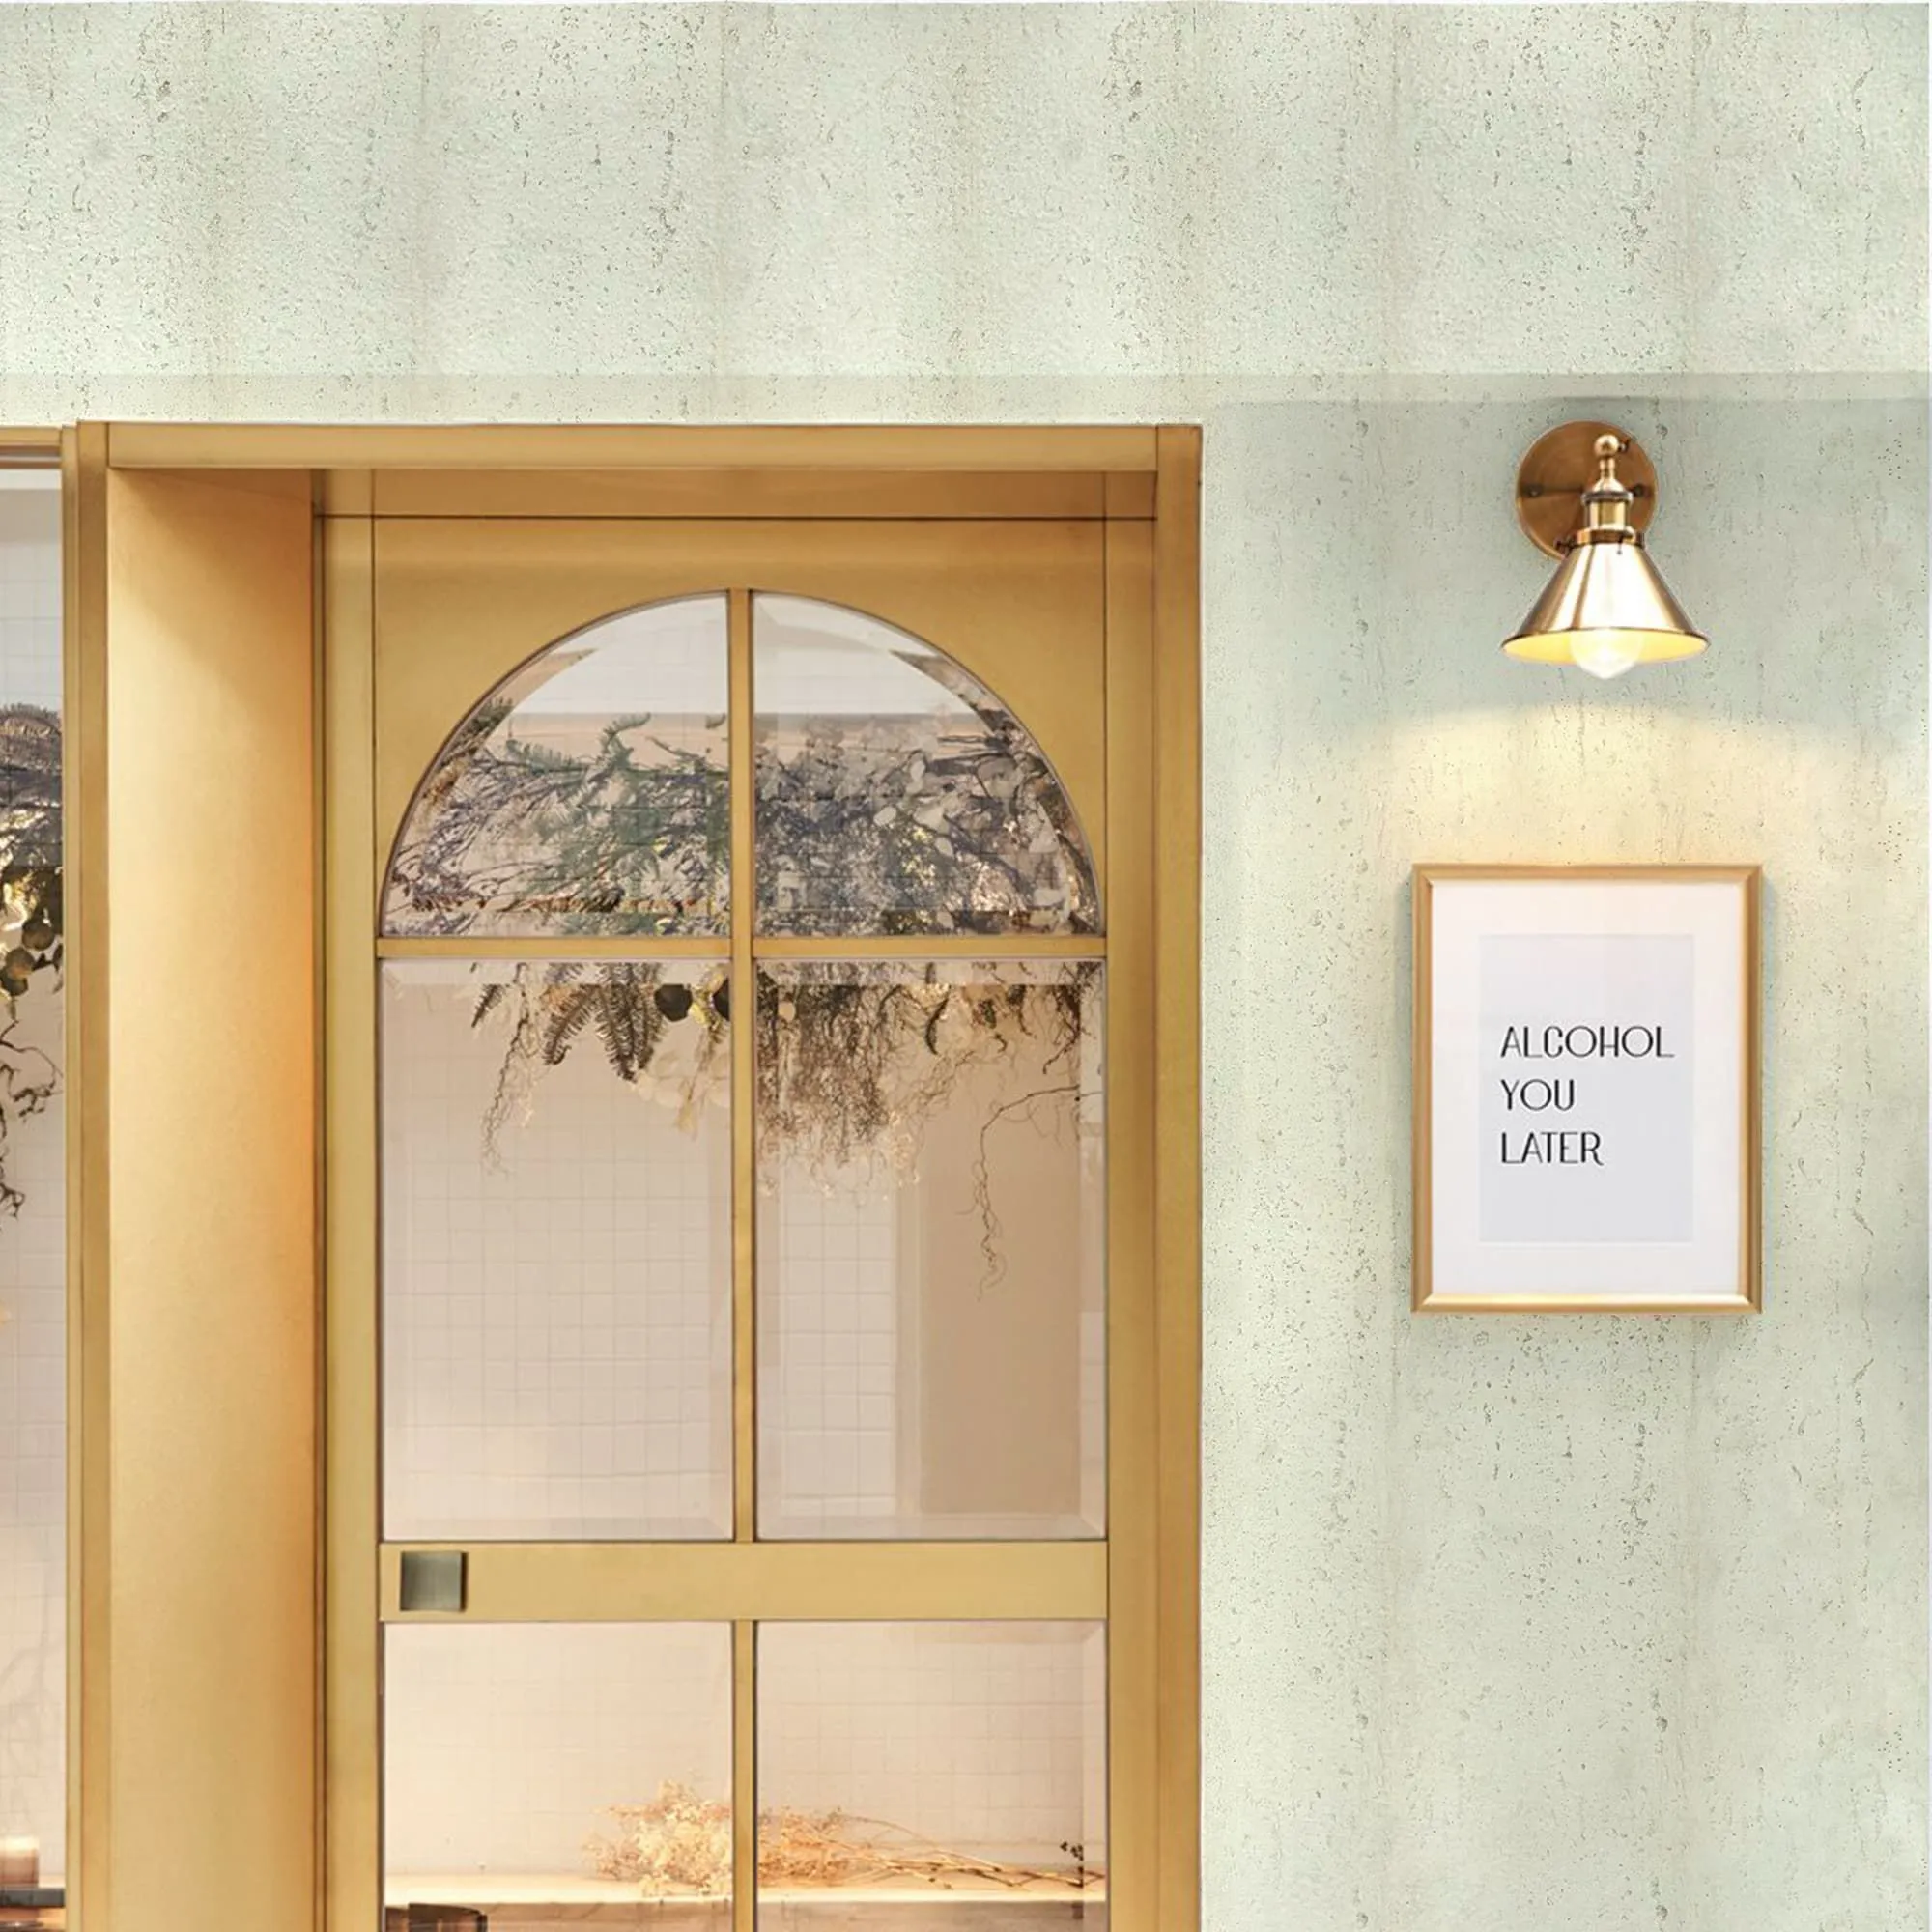
Wave Panels, by their very design, add a dynamic, three-dimensional element to any surface. They create captivating light and shadow effects that change throughout the day, bringing walls to life. The ability for customization in color, texture, and wave pattern allows for unique architectural expressions.
-
Ease of Installation:
Their lightweight and flexible properties, combined with thoughtful design, make MCM Wave Panels significantly easier and faster to install than heavier, more brittle alternatives. This translates directly to labor cost savings and quicker project completion times for contractors.
-
Fire Resistance:
MCM products typically exhibit excellent fire-resistant properties, contributing to enhanced building safety. This is a critical factor for many building codes and a strong selling point for clients.
Part 2: Pre-Installation Checklist – Preparing for Success
Thorough preparation is the cornerstone of any successful installation. Neglecting this phase can lead to costly rework and compromised panel performance. Follow these steps meticulously to ensure a smooth and efficient process.
2.1 Site Assessment and Substrate Preparation
The condition of the substrate is paramount for the longevity and aesthetics of the MCM Wave Panels.
-
Surface Cleanliness:
The substrate must be completely free of dust, dirt, grease, oil, loose paint, and any other contaminants. Use appropriate cleaning methods (brushing, washing, degreasing) to achieve a pristine surface.
-
Surface Flatness and Levelness:
While MCM Wave Panels offer some flexibility, significant undulations can compromise adhesion and the visual uniformity of the wave pattern. The substrate should be as flat and plumb as possible. For minor imperfections (up to 3-5mm over 2 meters), a leveling compound might suffice. For larger discrepancies, structural repairs or additional backing boards may be necessary.
-
Substrate Material Compatibility:
MCM Wave Panels can be applied to a variety of substrates, including concrete, cement render, plasterboard, fiber cement board, plywood, and existing tile surfaces (after proper preparation). Ensure the substrate is sound and stable.
-
Moisture Content:
For new concrete or render, ensure adequate curing time to allow moisture to evaporate. Substrates should be dry before adhesive application. A moisture meter can confirm acceptable levels. Excessive moisture can lead to adhesion failure.
-
Priming:
Depending on the substrate's porosity and condition, a suitable primer is often recommended or required. Priming improves adhesion, reduces substrate absorption, and creates a uniform bonding surface. Consult COLORIA GROUP's technical data sheets for specific primer recommendations.
-
Environmental Conditions:
Ensure the ambient temperature and humidity are within the recommended range specified by the adhesive manufacturer and COLORIA GROUP (typically between 5°C and 35°C, and relative humidity below 85%). Avoid installation in direct sunlight or during extreme weather conditions for exterior applications.
2.2 Material Handling and Storage
Proper handling and storage are critical to maintaining the integrity of the panels before installation.
-
Unpacking:
Carefully unpack panels upon arrival. Inspect for any transit damage immediately. Report any issues to COLORIA GROUP promptly.
-
Storage Location:
Store panels in a clean, dry, well-ventilated area, away from direct sunlight, extreme temperatures, and sources of moisture. Protect them from physical damage.
-
Flat Storage:
Always store panels flat on a clean, level surface to prevent warping or deformation, especially with the unique wave profiles. If stacking, use appropriate spacers or interleaving materials.
-
Acclimatization:
Allow panels to acclimatize to the installation environment for at least 24-48 hours prior to installation. This helps them adjust to the ambient temperature and humidity, minimizing potential expansion or contraction post-installation.
2.3 Tools and Equipment Required
Having the right tools on hand will streamline the installation process.
|
Category
|
Item
|
Purpose
|
|
Measurement & Marking
|
Tape Measure
|
Accurate dimensions
|
|
|
Spirit Level / Laser Level
|
Ensuring straight lines and plumb surfaces
|
|
|
Chalk Line / Marking Pencil
|
Layout marking
|
|
Cutting & Shaping
|
Utility Knife / Snips
|
For precise cutting of panels
|
|
|
Saw (Jigsaw, Circular Saw with fine-tooth blade)
|
For more complex cuts or larger quantities (use dust extraction)
|
|
|
Sanding Block / Fine Sandpaper
|
Smoothing cut edges
|
|
Adhesive Application
|
Trowel (notched, recommended size from adhesive supplier)
|
Spreading adhesive evenly
|
|
|
Adhesive Mixer (drill attachment)
|
Ensuring consistent adhesive mix
|
|
|
Caulking Gun
|
For sealants and joint fillers
|
|
Installation Aids
|
Rubber Mallet
|
Gently tapping panels into place for good adhesion
|
|
|
Pressure Roller
|
Ensuring full contact between panel and adhesive
|
|
|
Spacers / Wedges
|
Maintaining consistent joint gaps
|
|
|
Clamps (for edge finishing)
|
Holding trims in place during curing
|
|
Cleaning & Safety
|
Cleaning Cloths / Sponges
|
Wiping excess adhesive
|
|
|
Buckets of Water
|
For cleaning tools and hands
|
|
|
Personal Protective Equipment (PPE)
|
Gloves, safety glasses, dust mask, ear protection
|
2.4 Safety Protocols
Safety should always be the top priority on any job site.
-
PPE:
Always wear appropriate personal protective equipment, including safety glasses, gloves, and a dust mask, especially when cutting panels or mixing adhesives.
-
Ventilation:
Ensure adequate ventilation, particularly when working with adhesives, primers, and sealants.
-
Tool Safety:
Use power tools according to manufacturer's instructions. Keep cutting areas clear and stable.
-
Ladder/Scaffolding Safety:
For elevated installations, ensure ladders or scaffolding are stable and correctly set up.
-
Material Handling:
While MCM panels are lightweight, use proper lifting techniques to avoid strain, especially when moving large quantities or oversized panels.
Part 3: Step-by-Step Installation Guide for MCM Wave Panels
With thorough preparation complete, we can now proceed with the hands-on installation. This section details the process from layout to finishing touches.
3.1 Surface Preparation (Detailed)
Reiterating and expanding on previous points, as this is critical:
-
Cleaning:
Thoroughly clean the substrate. For dusty surfaces, a broom followed by a damp cloth or industrial vacuum is effective. For oily stains, specialized degreasers may be necessary. Allow to dry completely.
-
Repair & Leveling:
Fill any cracks, holes, or significant depressions in the substrate with appropriate patching compounds. Skim coat if necessary to achieve a smooth, flat surface. Remember, the goal is a surface variation of no more than 3mm over a 2-meter span for optimal adhesion and aesthetics of the wave pattern.
-
Priming:
Apply the recommended primer evenly to the prepared substrate using a roller or brush. Ensure full coverage. Allow the primer to dry completely according to the manufacturer's instructions before proceeding. This step is non-negotiable for porous or inconsistent substrates, as it creates a uniform surface tension and enhances bond strength.
3.2 Layout and Planning – The Art of the Wave
The distinctive wave pattern of MCM Wave Panels requires careful layout planning to achieve a harmonious and intended aesthetic.
-
Measure the Area:
Accurately measure the height and width of the installation area.
-
Dry Layout (Critical for Wave Panels):
-
Before applying any adhesive, conduct a dry layout. Lay out the full panels on the floor or a large flat surface to determine the best arrangement.
-
Understand the Wave Direction:
Wave panels often have a specific direction. Decide whether the waves will run horizontally, vertically, or in a more complex pattern. Consistency is key for a polished look.
-
Minimize Cuts:
Plan your starting point to minimize cuts and waste. Often, starting from a prominent corner or the center of a wall works best, working outwards.
-
Symmetry:
If the wall is a focal point, consider centering the design to ensure symmetrical cuts at both ends.
-
Joint Alignment:
Decide on the desired joint size. For MCM panels, tight joints (1-3mm) are common to create a seamless look, but wider joints can be used for a more defined grid. Maintain consistency.
-
Marking Guidelines:
-
Using a laser level or a spirit level and chalk line, mark a plumb vertical line and a level horizontal line on the wall. These will serve as your primary reference lines for the first panel.
-
If installing from the bottom up, mark the height of the first row. If from the center, mark the center point.
-
Cutting Panels:
-
MCM Wave Panels can be cut with a sharp utility knife, often requiring multiple passes to score and snap. For thicker panels or intricate cuts, a jigsaw or circular saw with a fine-tooth blade is recommended.
-
Always cut panels from the decorative face to minimize chipping.
-
After cutting, gently sand the edges smooth to remove any burrs.
3.3 Adhesive Application – The Right Bond
The choice and correct application of adhesive are vital for long-term panel stability.
-
Adhesive Selection:
Use a high-quality, flexible cementitious adhesive or polymer-modified tile adhesive recommended by COLORIA GROUP or a reputable adhesive manufacturer for MCM products and the specific substrate. Ensure it is suitable for both interior/exterior use as required.
-
Mixing Adhesive:
Mix the adhesive strictly according to the manufacturer's instructions. Use a drill with a paddle mixer attachment to ensure a consistent, lump-free consistency. Allow it to "slake" (rest) for the recommended time before a final remix.
-
Trowel Size:
Use a notched trowel with the recommended notch size (e.g., 6x6mm or 8x8mm) to ensure adequate adhesive coverage. The goal is to achieve near 100% back coverage on the panel.
-
Application Technique:
-
Apply adhesive to the substrate using the flat side of the trowel, then comb it with the notched side to create uniform ridges. Work in small sections, no larger than what can be covered with panels within the adhesive's open time.
-
For exterior applications or high-traffic areas, consider "back-buttering" the back of the MCM panel with a thin, even layer of adhesive using the flat side of the trowel, in addition to applying it to the substrate. This ensures maximum adhesion, especially for panels with deeper wave profiles.
3.4 Panel Installation – Bringing the Waves to Life
This is where the wave patterns begin to take shape on your wall.
-
Placement:
Carefully align the first panel with your marked guidelines. Press it firmly into the adhesive.
-
Securing:
Use a rubber mallet to gently tap the entire surface of the panel, ensuring full contact with the adhesive. Work from the center outwards to push out any trapped air.
-
Joint Spacing:
insert appropriate spacers (1-3mm is typical for a tight MCM joint) between panels to maintain consistent joint lines. These are crucial for a professional finish and to accommodate minor thermal expansion/contraction.
-
Continuity of Pattern:
Pay close attention to the continuity of the wave pattern from one panel to the next. Slight adjustments may be needed to ensure the waves flow seamlessly across the surface, especially when dealing with panels that have an irregular or non-repeating pattern.
-
Check for Level & Plumb:
Periodically check panels with your level to ensure they remain perfectly aligned, both horizontally and vertically.
-
Remove Excess Adhesive:
Immediately clean any adhesive that oozes out from between the joints or gets onto the panel surface. Use a damp sponge or cloth before the adhesive cures. Once cured, it's much harder to remove without damaging the panel.
-
Working in Sections:
Continue installing panels in a methodical manner, row by row or column by column, adhering to your planned layout.
3.5 Joint Treatment – Sealing the Design
Proper joint treatment protects the installation and enhances its visual appeal.
-
Grouting (Optional/Specific):
For exterior applications or where water resistance is critical, the joints may need to be grouted. Use a flexible, weather-resistant grout specifically designed for exterior use. Ensure the grout color complements the MCM panels.
-
Sealing (Common):
For interior applications, and often for exterior where a seamless look is desired without visible grout lines, the small gaps between panels can be filled with a high-quality, paintable acrylic or silicone sealant that matches the panel color or is clear. This provides a clean finish and protects against moisture penetration.
-
Application:
Apply the chosen joint filler/sealant using a caulking gun. Smooth the bead immediately with a wet finger, trowel, or specialized tool to achieve a clean, flush finish with the panel surface.
-
Clean-up:
Wipe away any excess sealant or grout from the panel surface promptly before it cures.
3.6 Edge Finishing and Trims
Neat edges and transitions are crucial for a professional, high-end look.
-
Mitered Corners:
For exterior corners, panels can be mitered at a 45-degree angle to create a sharp, seamless corner. This requires precise cutting.
-
Edge Trims:
Alternatively, use compatible edge trims (metal, PVC, or composite) that can provide a clean finish, protect edges, and accommodate expansion. COLORIA GROUP can advise on suitable trim options for residential and commercial projects.
-
Transitions:
At transitions to other materials (e.g., plasterboard, windows, doors), ensure a clean, professional joint. This might involve a sealant bead or a trim piece.
3.7 Cleaning and Curing
-
Final Clean-up:
Once all panels are installed and joints treated, perform a final clean-up of the entire installed surface. Remove any remaining adhesive residue, dust, or smudges.
-
Curing Time:
Allow the adhesive and joint fillers to cure fully according to their manufacturers' instructions before exposing the panels to heavy traffic, moisture, or extreme conditions. This can range from 24 hours to several days.
3.8 Quality Control Checks
A final inspection ensures the work meets the highest standards.
-
Adhesion Check:
Gently tap various points on the panels to listen for hollow sounds, which might indicate poor adhesion. Rectify as necessary.
-
Visual Inspection:
Check for consistent joint lines, proper alignment of wave patterns, and a clean, blemish-free surface.
-
Protection:
If other trades are still working on site, protect the newly installed MCM Wave Panels from damage using appropriate coverings.
Part 4: Common Challenges and Troubleshooting for Contractors
Even with careful planning, unforeseen issues can arise. Here's how to address some common challenges when installing MCM Wave Panels.
4.1 Panel Warping or Unevenness
-
Cause:
Improper storage, inadequate substrate preparation, or insufficient adhesive coverage.
-
Solution:
-
Ensure panels are stored flat and acclimatized.
-
Re-check substrate flatness. If minor, a thicker layer of adhesive (within manufacturer limits) and firm pressing can sometimes help.
-
Always achieve nearly 100% adhesive coverage by back-buttering and using the correct trowel.
-
For significant warping, the panel may need to be replaced.
4.2 Poor Adhesion
-
Cause:
Dusty/dirty substrate, improper priming, incorrect adhesive mixing, expired adhesive, insufficient adhesive coverage, or installation in extreme temperatures.
-
Solution:
-
Thoroughly clean and prime the substrate.
-
Mix adhesive exactly as per manufacturer instructions.
-
Ensure full adhesive transfer with the correct trowel and firm pressure.
-
Verify adhesive expiry dates.
-
Adhere to recommended temperature ranges for installation.
4.3 Misaligned Wave Patterns or Joints
-
Cause:
Inadequate dry layout, rushing the installation, or not using reference lines and spacers.
-
Solution:
-
Always perform a detailed dry layout.
-
Use laser levels or chalk lines for precise horizontal and vertical guides.
-
Utilize consistent spacers for all joints.
-
Check alignment after every few panels and make minor adjustments while the adhesive is still workable.
4.4 Adhesive Squeeze-Out and Staining
-
Cause:
Applying too much adhesive, or not cleaning immediately.
-
Solution:
-
Use the correct notched trowel size to control adhesive thickness.
-
Wipe away any excess adhesive immediately with a damp sponge or cloth before it begins to cure. Once cured, removal is far more difficult and risks damaging the panel surface.
4.5 Cutting Difficulties
-
Cause:
Using dull tools, incorrect cutting techniques.
-
Solution:
-
Ensure utility knives are always sharp; replace blades frequently.
-
For power saws, use fine-tooth blades designed for composite materials or thin stone.
-
Cut from the decorative face to minimize chipping.
-
Use a straight edge or guide rail for long, straight cuts.
Part 5: Advantages for Your Business – Why Partner with COLORIA GROUP
Choosing COLORIA GROUP's MCM Wave Panels isn't just about selecting a material; it's about partnering with a company that empowers your success in residential and commercial projects. As a comprehensive one-stop solution provider, we offer more than just products.
5.1 Enhanced Project Aesthetics and Client Satisfaction
The unique, captivating aesthetic of MCM Wave Panels allows you to offer clients truly distinctive design solutions. The ability for customization means you can meet specific design visions, enhancing client satisfaction and leading to repeat business and valuable referrals. In today's competitive market, offering high-quality interior and exterior decoration materials that stand out is a significant advantage.
5.2 Cost-Effectiveness and Efficiency
-
Reduced Labor:
The lightweight nature and ease of cutting and handling of MCM panels directly reduce labor time and effort compared to heavy, rigid materials. This means faster project completion and lower labor costs for you.
-
Lower Transportation Costs:
Less weight per square meter translates to lower shipping expenses, especially for large-scale residential and commercial projects.
-
Reduced Waste:
The flexibility and ease of cutting minimize material waste on site, contributing to cost savings and a more sustainable project.
-
Long-Term Durability:
The exceptional durability of MCM Wave Panels means fewer call-backs for repairs or replacements, protecting your reputation and budget.
5.3 Commitment to Sustainability and Green Building
With increasing global demand for sustainable construction, offering products with green and environmentally friendly features is a strong selling point. COLORIA GROUP's MCM panels align perfectly with green building certifications and eco-conscious client demands, positioning you as a forward-thinking and responsible contractor.
5.4 Technical Support and Expertise
COLORIA GROUP doesn't just sell materials; we provide comprehensive support. Our decades of industry experience mean you have access to expert advice on product selection, installation techniques, and troubleshooting. We are your partner in ensuring successful project outcomes, offering the confidence that comes with robust technical backing.
5.5 Global Reach, Local Presence
With a global business footprint and a dedicated presence in key markets like Saudi Arabia, COLORIA GROUP is equipped to support your projects wherever they are located. This global expertise combined with local understanding ensures you receive timely and relevant support.
Conclusion: Master the Wave with COLORIA GROUP
Installing MCM Wave Panels from COLORIA GROUP is a straightforward process when approached with diligence and attention to detail. By following this step-by-step guide, contractors can confidently achieve stunning, durable, and sustainable installations that will impress clients and stand the test of time.
Embrace the future of architectural surfacing with MCM Wave Panels. Leverage COLORIA GROUP's position as a one-stop solution provider for high-quality interior and exterior decoration materials to differentiate your services, enhance your project portfolio, and deliver exceptional value to every client. From understanding the core benefits of our green and environmentally friendly features to mastering the nuances of installation and customization, you are now equipped to confidently integrate these innovative products into your next residential or commercial project. The visual impact of these panels is undeniable, and with your expertise, they will truly transform spaces into architectural masterpieces.


