
There's something deeply satisfying about transforming a space with your own two hands—especially when you're working with materials that feel as luxurious as they are durable. If you've been dreaming of upgrading a wall, backsplash, or even an outdoor patio, let me introduce you to a game-changer: Slate Portoro-inspired MCM panels. These aren't just any building materials; they're a blend of cutting-edge technology and timeless aesthetics, designed to bring the drama of natural stone into your home without the hassle (or the heavy lifting).
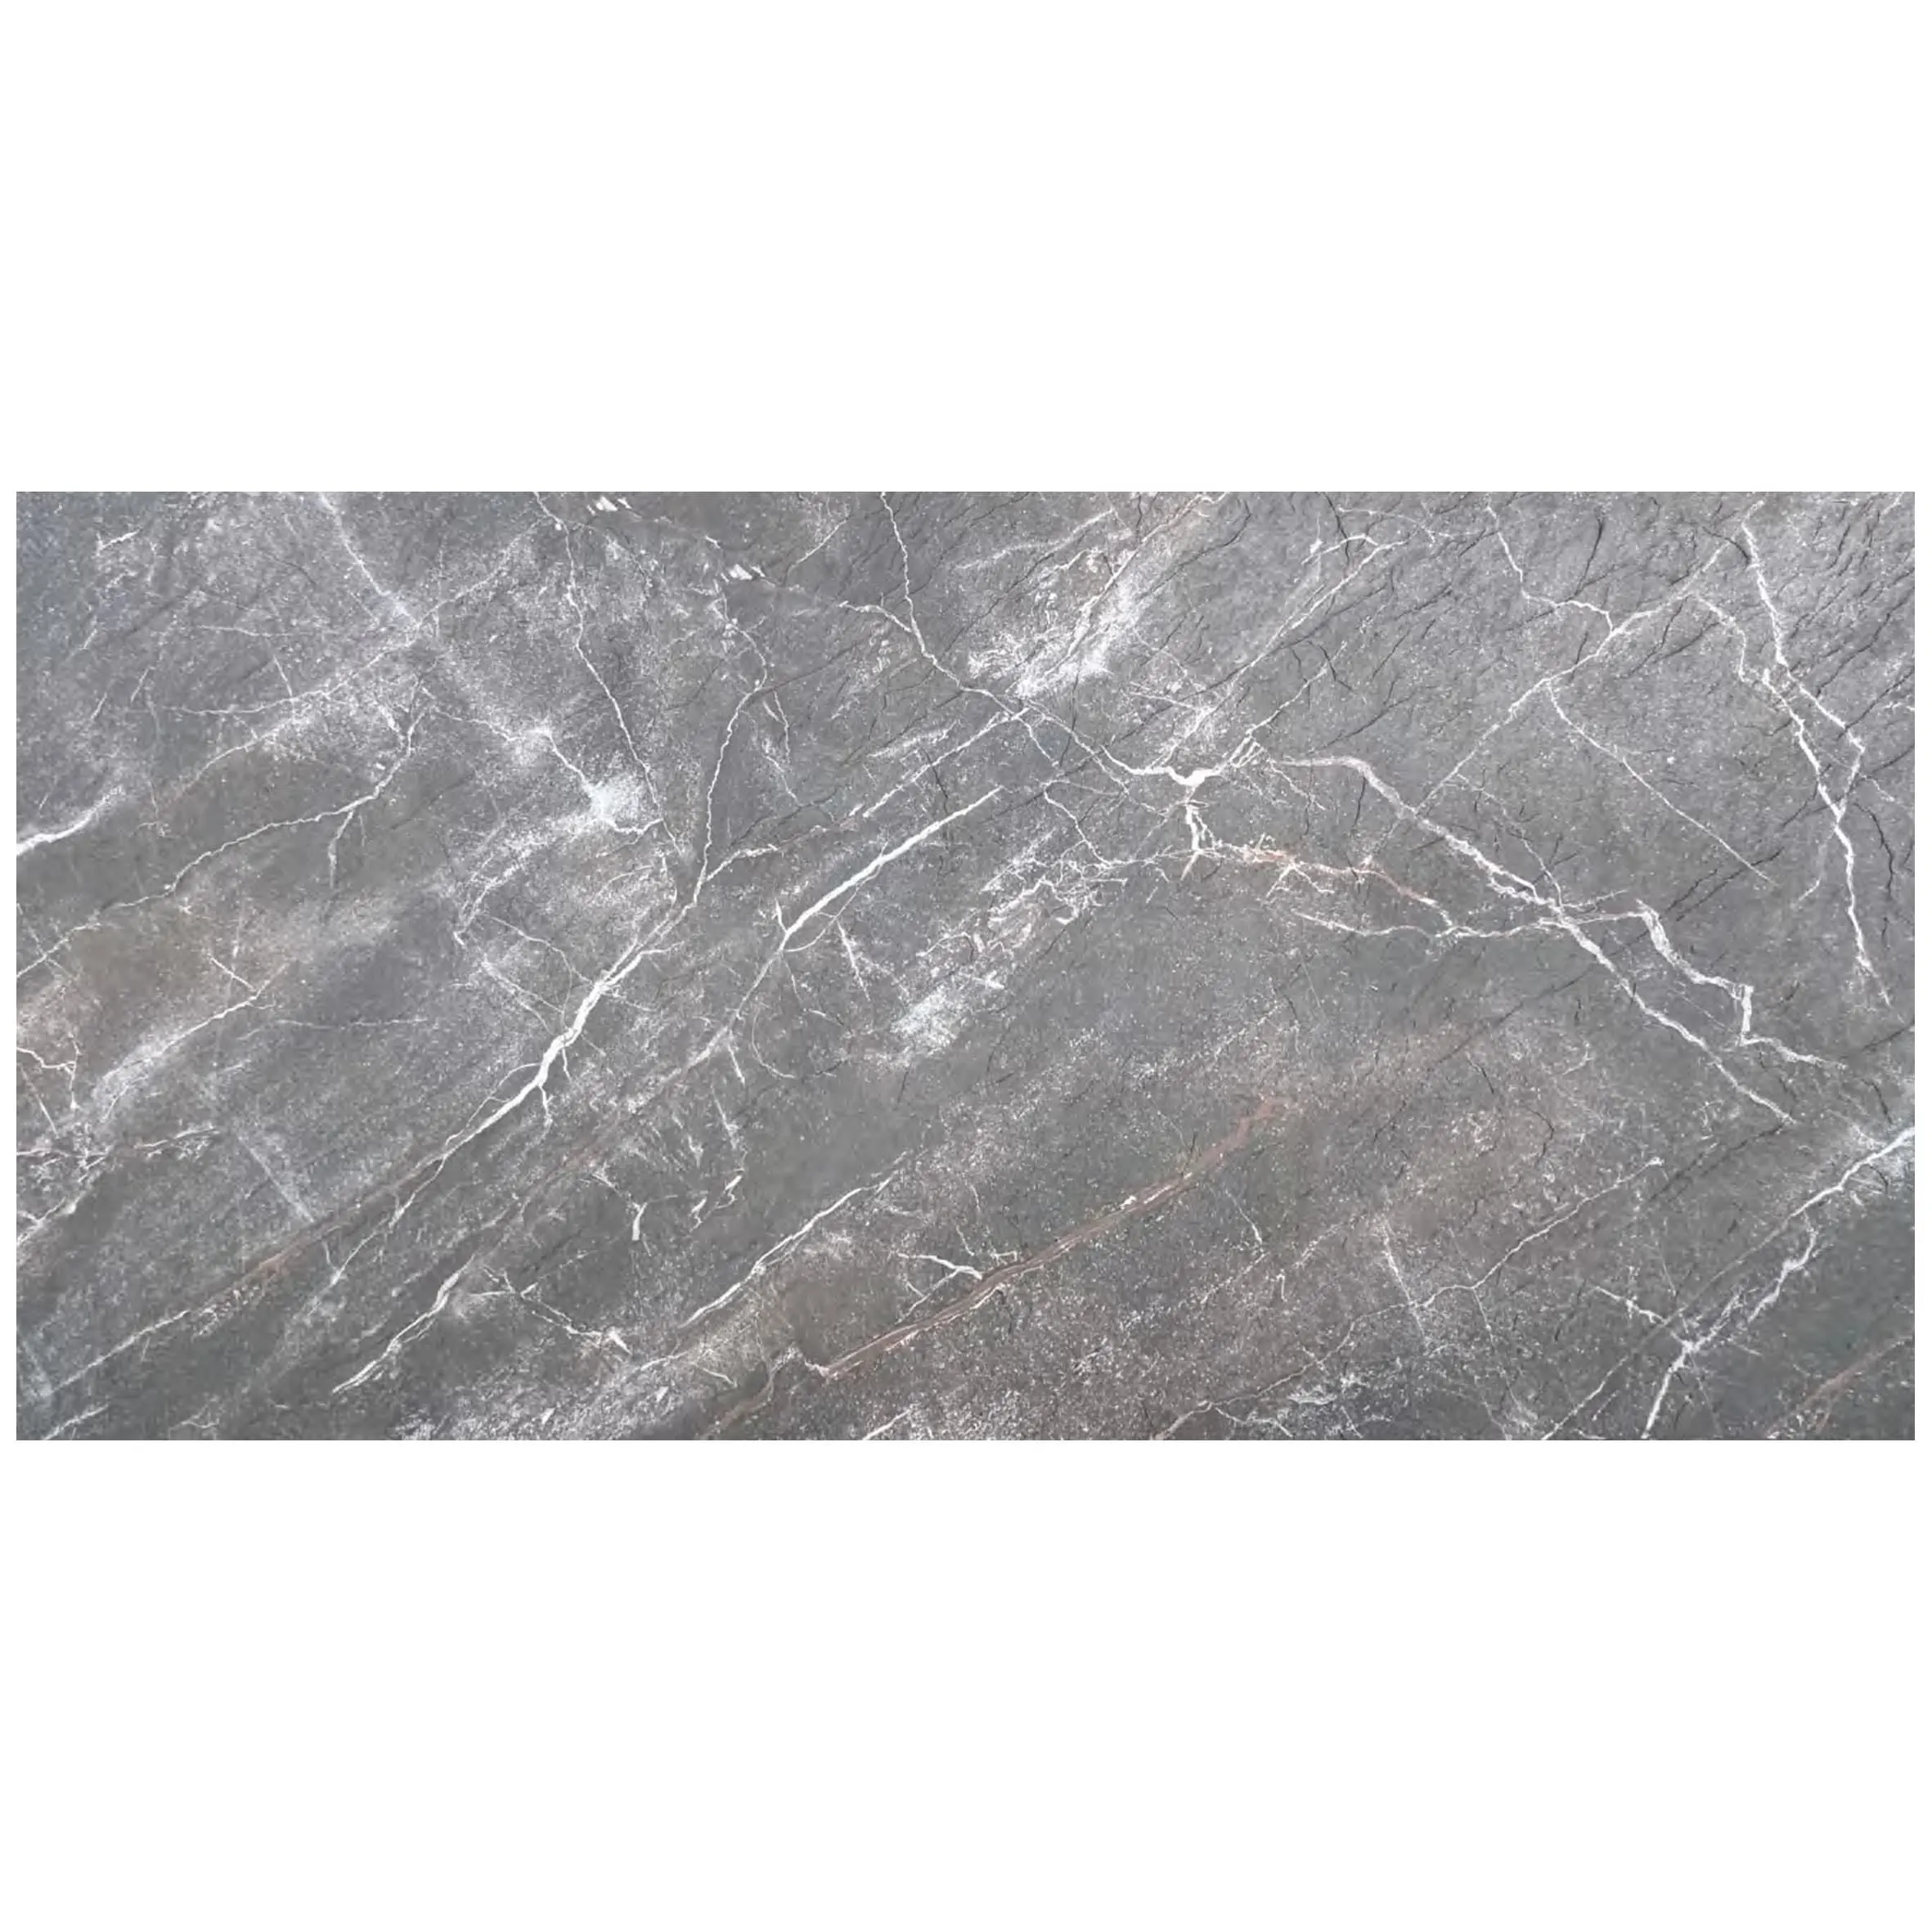
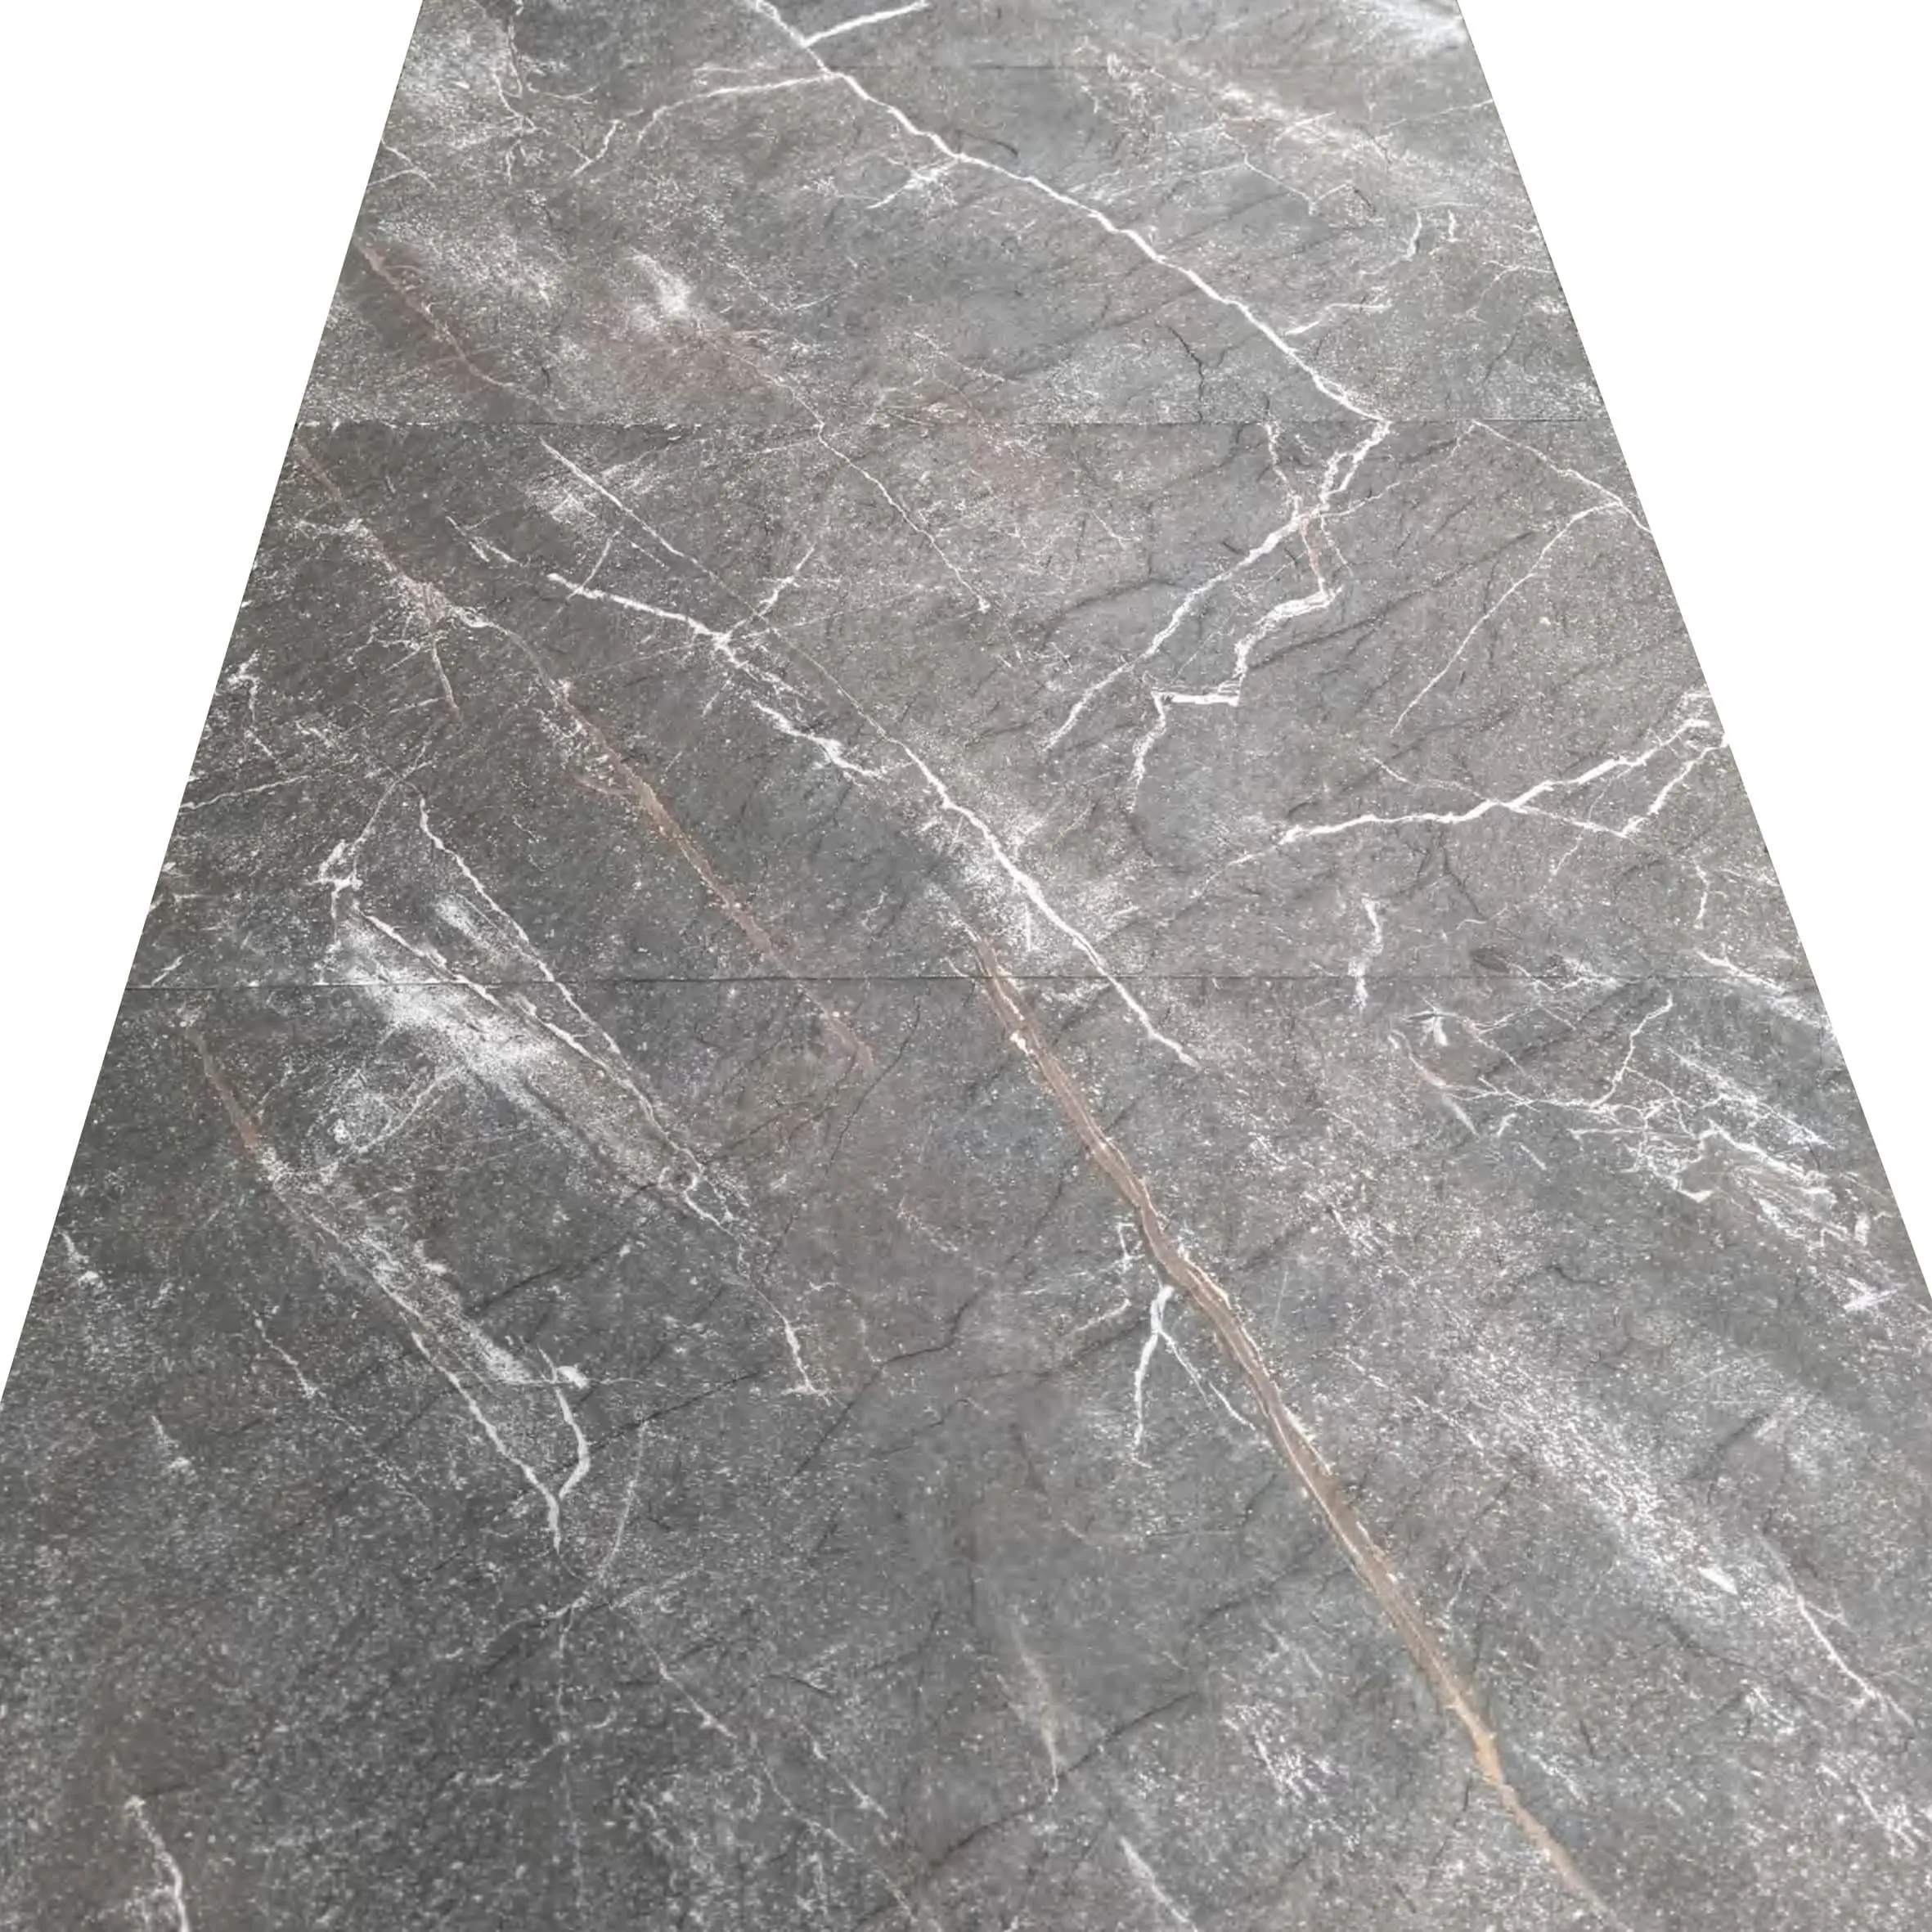
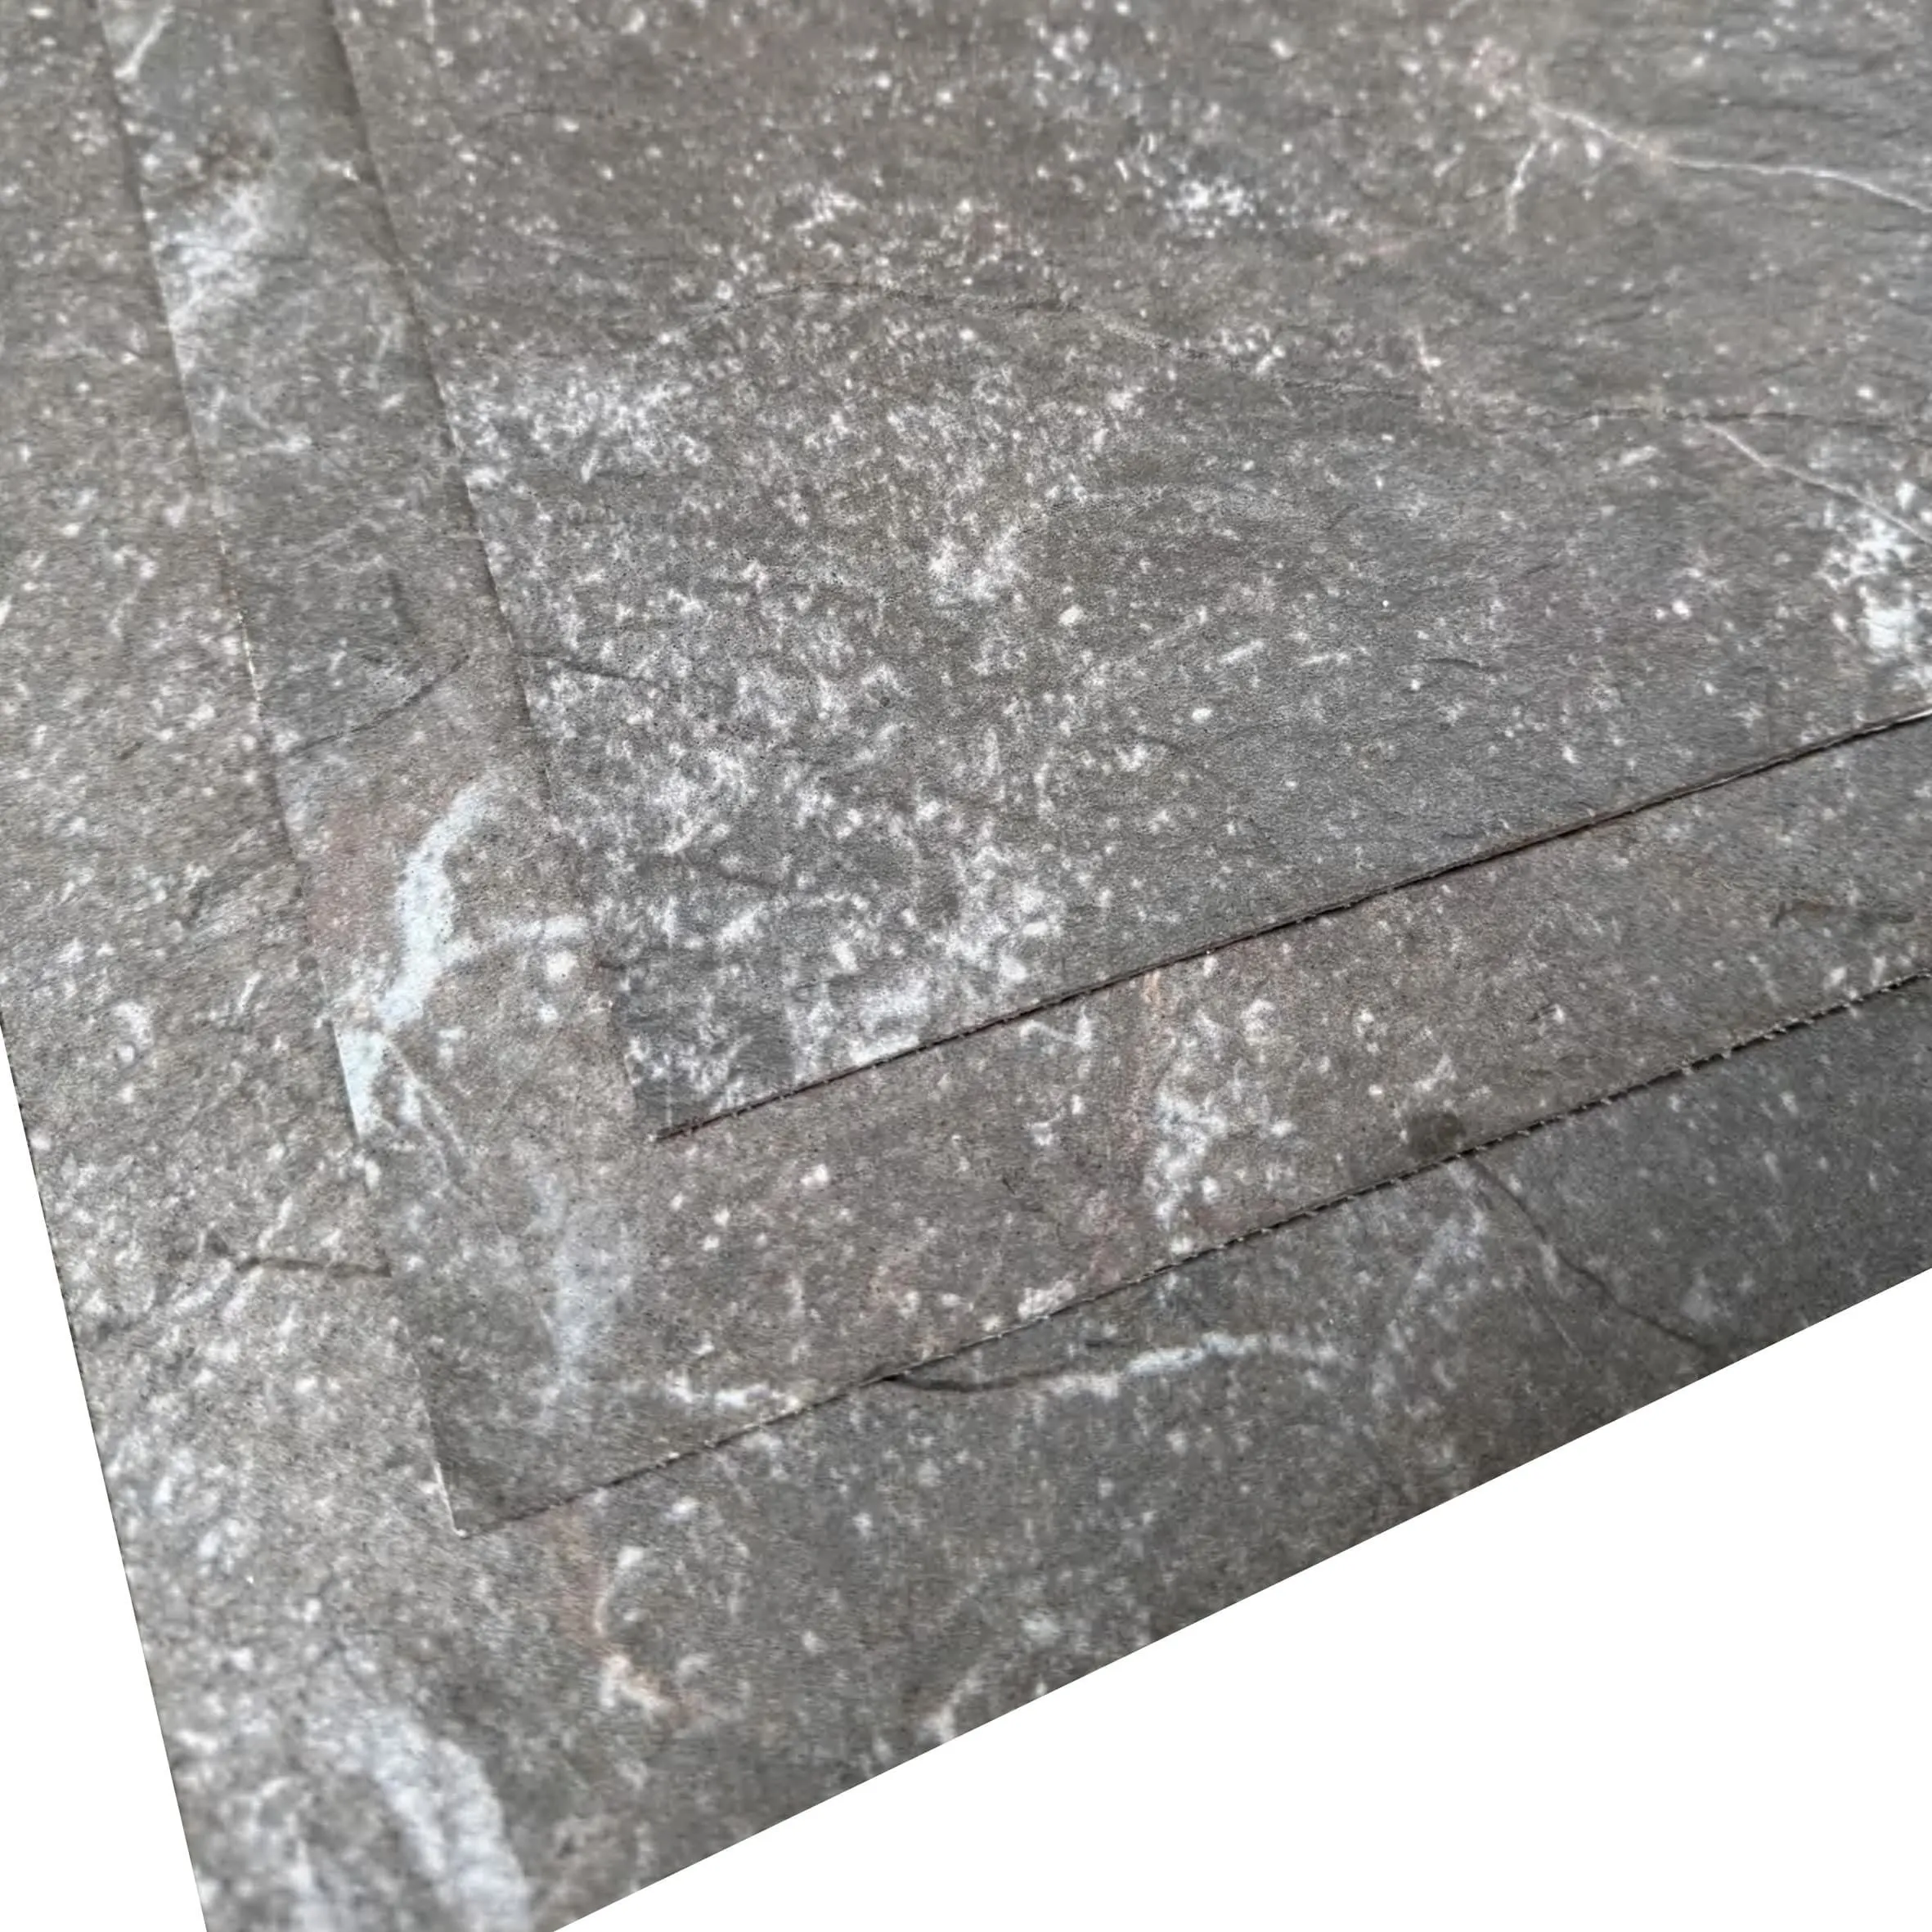
Before we dive in, let's clarify: MCM stands for Modified Composite Material, and when paired with flexible stone technology, it creates panels that are lightweight, easy to install, and remarkably realistic. Think of Slate Portoro—with its rich, dark hues and subtle veining—and imagine it bending to fit curves, cutting cleanly with basic tools, and adhering smoothly to almost any surface. That's the magic of MCM flexible stone. And today, I'm walking you through how to install it, from start to finish, with tips that'll make even a beginner feel confident.
First things first: gather your supplies. You don't need a professional toolkit, but having the right items on hand will save you time and frustration. Here's what I recommend:
And, of course, your star material: Slate Portoro MCM flexible stone panels . You might also want to grab complementary options, like wood grain board for accent strips or fair-faced concrete panels for a modern contrast—more on that later!
Not all panels are created equal, and depending on your space, you might mix and match. Here's a quick breakdown of some popular choices, including our star player:
| Material | Key Feature | Best Use |
|---|---|---|
| Slate Portoro | Deep black base with gold/gray veining; sleek, sophisticated look | Accent walls, fireplace surrounds, high-end backsplashes |
| MCM flexible stone | Lightweight, bendable, mimics natural stone texture | Curved surfaces, ceilings, outdoor kitchens (with proper sealing) |
| Fair-faced concrete | Raw, industrial vibe; matte finish, neutral gray | Modern living rooms, commercial spaces, paired with wood accents |
| Wood grain board | Warm, organic patterns; available in oak, walnut, and more | Accent strips, lower wall panels, or entire walls for a cozy feel |
| Travertine (starry blue) | Soft blue-gray with "starry" mineral deposits; airy, coastal vibe | Bathrooms, sunrooms, or as a complement to Slate Portoro for contrast |
You wouldn't paint a wall without priming it, right? The same logic applies here: your surface needs to be clean, smooth, and dry. Start by removing any existing wallpaper, paint, or debris. If you're working with drywall, fill holes with spackle and sand them flat. For fair-faced concrete or brick, use a wire brush to scrub away dust and loose particles, then wipe with a damp cloth. Pro tip: If the surface is uneven, use a leveling compound to fill dips—even 1/8-inch bumps will show through the panels.
Pro Tip: Check for moisture! If you're installing in a bathroom or basement, use a moisture meter to ensure the wall is dry (less than 12% moisture content). Damp surfaces will ruin the adhesive bond over time.
Now, grab your measuring tape and sketch out the area on paper. Measure the height and width of the wall, then calculate how many panels you'll need—adding 10% extra for cuts and mistakes (yes, even pros make them). When cutting Slate Portoro panels, mark your lines with a pencil, then score the surface with a utility knife along a straightedge. Bend the panel gently, and it should snap cleanly. For curves or intricate cuts, use a jigsaw with a fine blade.
If you're mixing materials—say, adding wood grain board strips between Slate Portoro panels—measure those strips precisely to ensure they align evenly. I like to lay out all panels on the floor first, like a puzzle, to visualize the final look. It's easier to adjust there than on the wall!
Adhesive application is where patience pays off. Use your notched trowel to spread a thin, even layer of adhesive on the back of the first panel—about 1/8-inch thick. Hold the trowel at a 45-degree angle to create ridges, which help the panel stick and allow air to escape. For larger panels, apply adhesive directly to the wall in small sections (3×3 feet) to prevent it from drying out before you place the panel.
MCM flexible stone is lightweight, so you won't need heavy-duty supports, but press firmly once the panel is in place. Use a roller or a clean cloth to smooth out bubbles—start from the center and work outward. If adhesive oozes out the sides, wipe it immediately with a damp rag; dried adhesive is tough to remove.
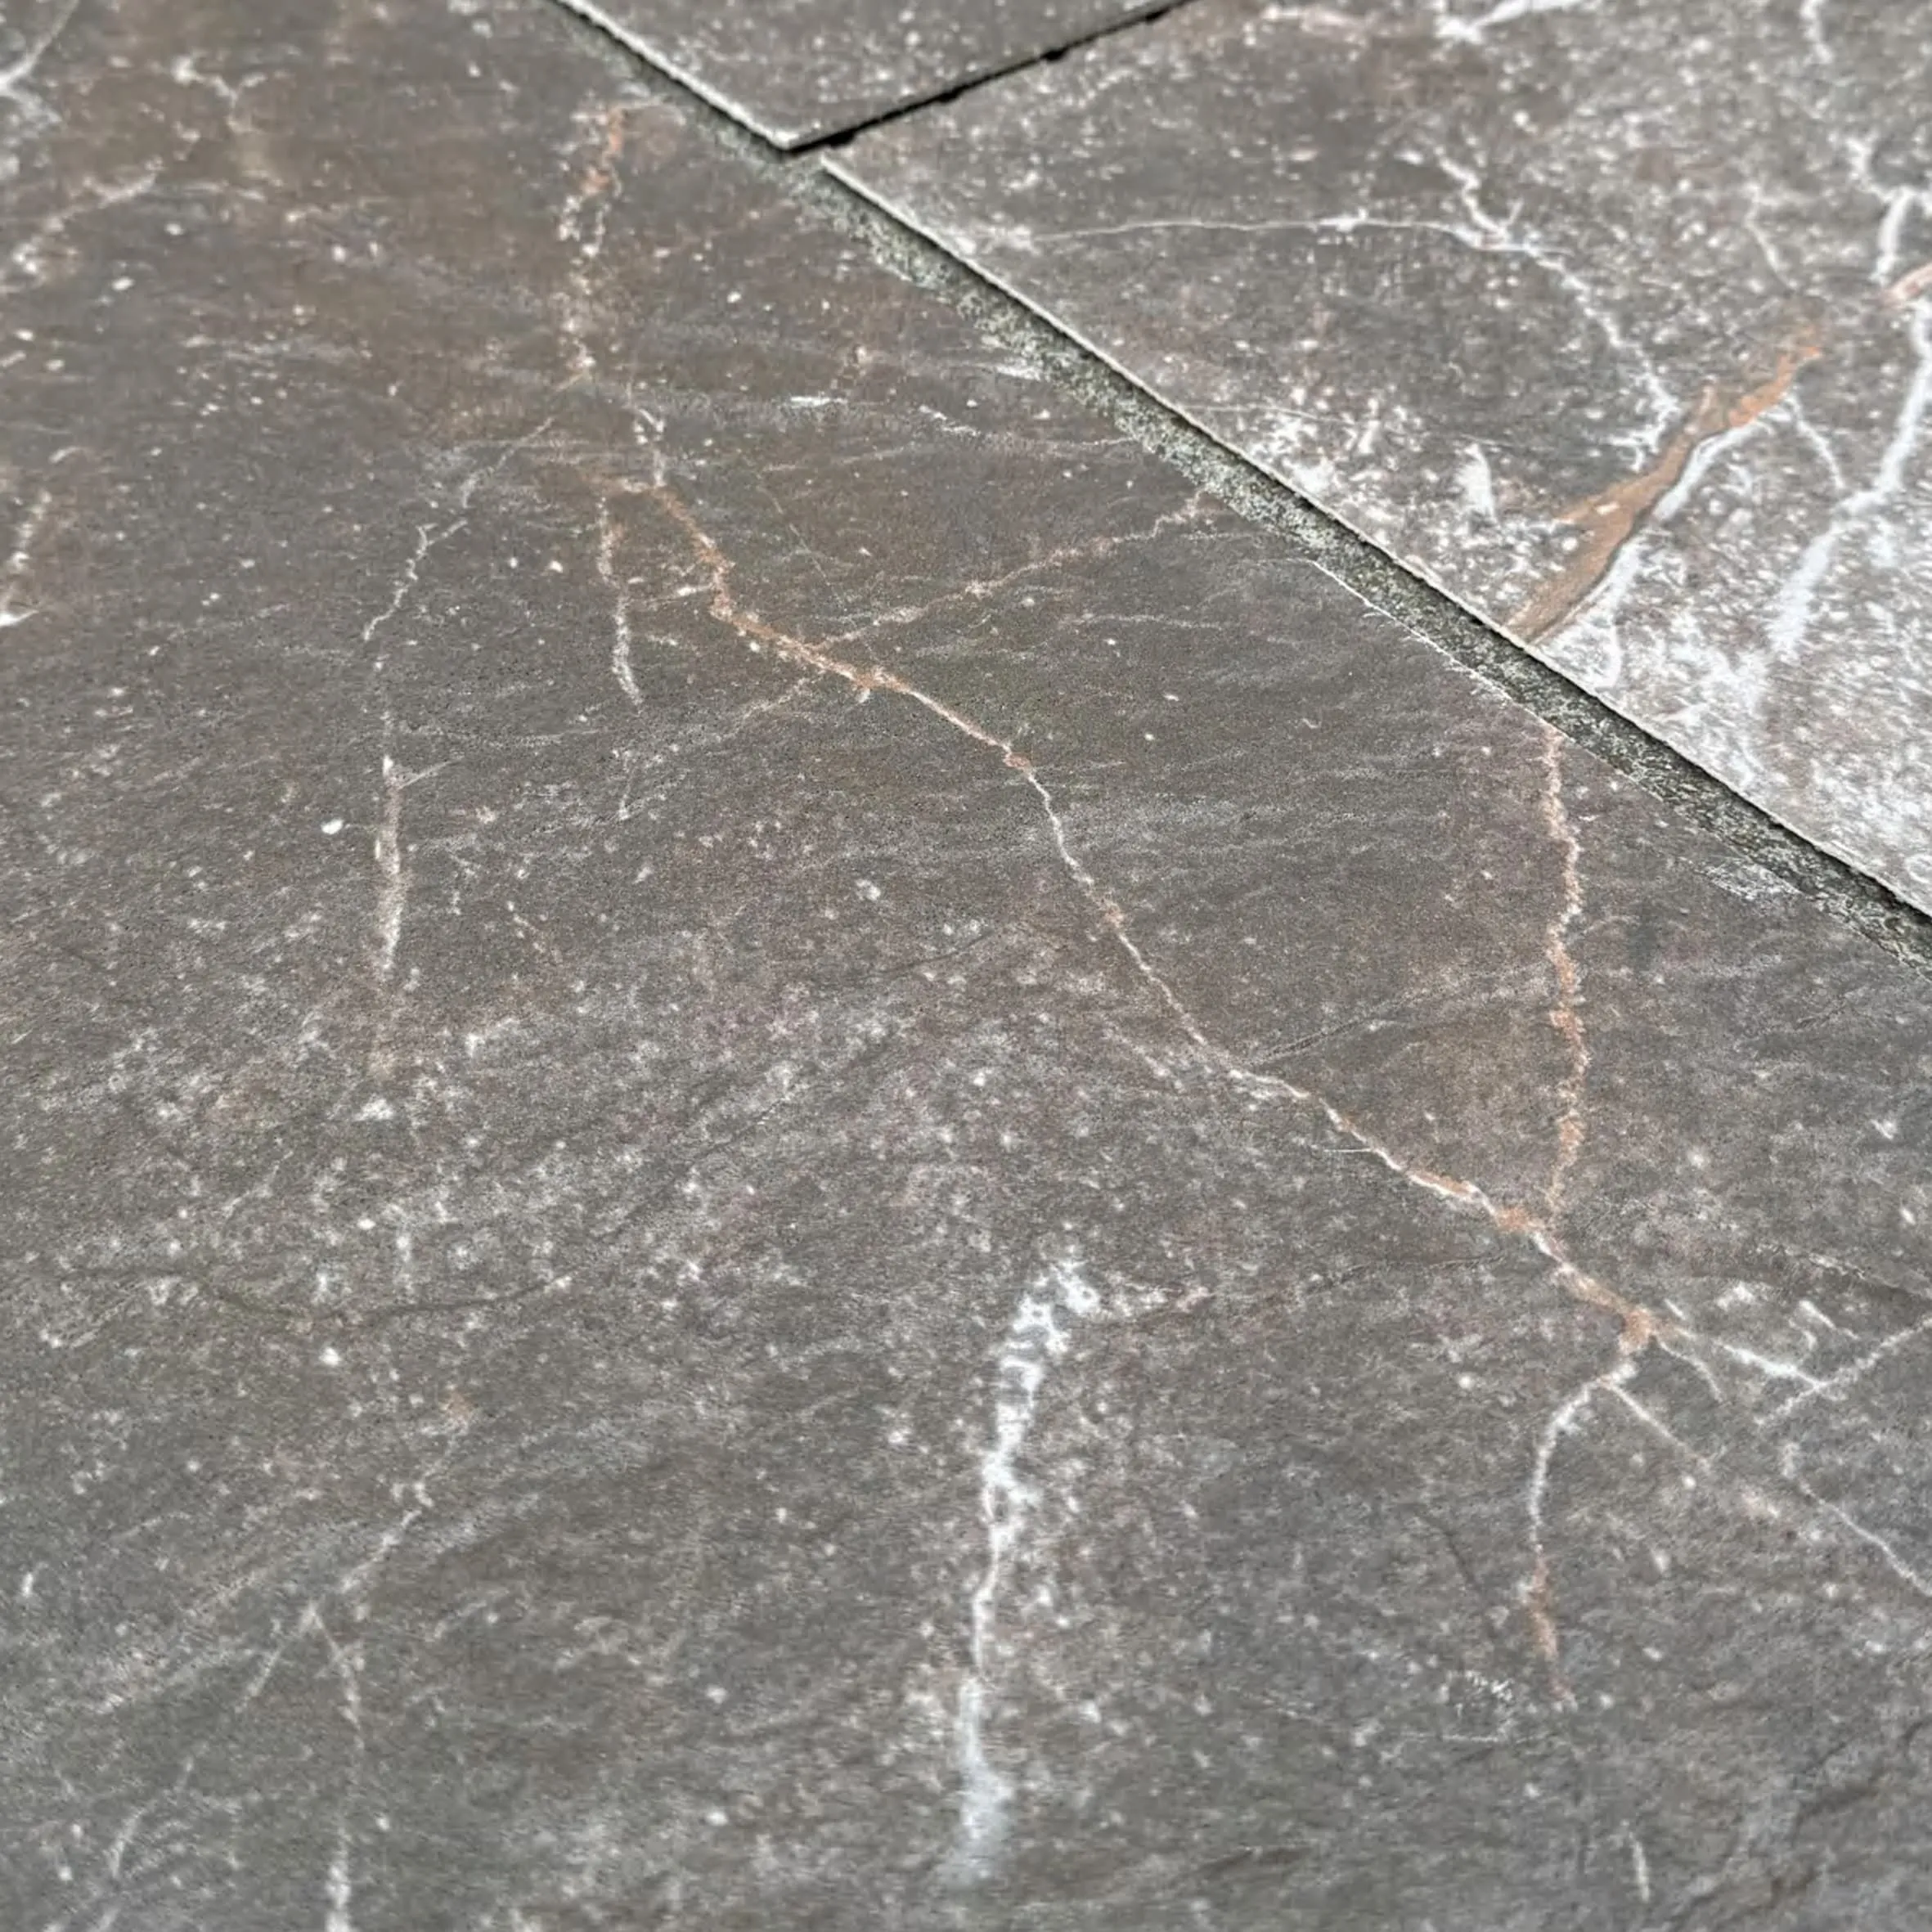
Begin at the bottom left corner (or bottom right, if you're left-handed) and work your way up. Place spacers between panels to ensure consistent grout lines—usually 1/8 to 1/4 inch, depending on the look you want. Use your level after every 2-3 panels to check for plumb (vertical straightness) and level (horizontal straightness). A wonky first row will throw off the entire wall, so take your time here.
For corners, measure the angle and cut panels at 45 degrees for a clean mitered edge, or overlap them slightly for a more rustic look. If you're installing around outlets or switches, cut holes with a hole saw or utility knife—measure the outlet cover size first and add 1/4 inch for wiggle room.
Once all panels are installed and the adhesive has dried (check the manufacturer's instructions—usually 24 hours), it's time to grout. Mix grout according to the package directions—you want a consistency like toothpaste, not runny soup. Apply it with a grout float, holding the float at a 45-degree angle and pressing into the gaps. Wipe excess grout off the panels with a damp sponge, rinsing frequently in clean water. Don't skip this step: dried grout haze is hard to remove, so wipe gently but thoroughly.
After grout dries (another 24 hours), buff the panels with a dry cloth to remove any remaining haze. If you're using wood grain board or travertine (starry blue) accents, check if they need separate sealing—some materials absorb grout differently.
Finally, seal the panels to protect against stains, moisture, and UV rays. Use a water-based stone sealer (avoid oil-based, which can darken lighter stones) and apply it with a foam brush or roller, following the grain of the stone. Let it sit for 5-10 minutes, then wipe off excess with a clean cloth. Apply a second coat after 2 hours for extra protection, especially in high-traffic areas.
Your Slate Portoro MCM panels are installed—now how do you keep them looking brand-new? Luckily, MCM flexible stone is low-maintenance:
Installing Slate Portoro-inspired MCM panels isn't just a home improvement project—it's an act of creativity. When you step back and see that once-bland wall now glowing with the depth of Slate Portoro, accented by warm wood grain board or sleek fair-faced concrete, you'll feel that rush of pride that only comes from building something with care.
Remember, this process is meant to be enjoyable, not stressful. Take breaks, ask for help if you need it, and don't obsess over perfection—small imperfections add character. Whether you're upgrading a backsplash, creating a feature wall, or designing an outdoor oasis, MCM flexible stone gives you the freedom to bring your vision to life without the constraints of traditional stone.
So go ahead—grab your tools, pick your panels, and start transforming. Your space (and future self) will thank you.
Recommend Products


