



There's something undeniably powerful and timeless about a stone finish. Whether it's the rustic charm of a countryside cottage, the stately elegance of a commercial facade, or the modern accent on an interior feature wall, masonry adds texture, character, and significant value to any property. But achieving that picture-perfect, "built to last for centuries" look isn't just about choosing pretty stones. The real magic—and the difference between a project that wows for decades and one that fails in a few years—lies in meticulous preparation and expert installation.
Think of it like being a master chef. You can have the finest ingredients, but without the right recipe, technique, and tools, the final dish will fall flat. The same principle applies to masonry. This guide is your recipe book. We'll walk you through the entire process, from planning and prep to the final finishing touches, sharing best practices that professionals swear by. We'll also explore how modern material innovations are revolutionizing the industry, offering the stunning aesthetics of traditional stone with enhanced durability and installation efficiency. Getting this right means your project won't just look good on day one; it will stand strong and beautiful against the tests of time and weather.
Part 1: The Blueprint for Success - Pre-Installation Planning
Before a single stone is touched, the most critical work begins. Rushing this stage is the number one cause of project failure. Proper planning is the foundation upon which your entire masonry project is built.
1.1 Site Assessment and Project Evaluation
First, walk the site and scrutinize your substrate—the surface you'll be applying the stone to. What is it made of? Is it clean, dry, and structurally sound? Look for signs of trouble:
- Structural Integrity: The wall must be able to support the added weight of the stone and mortar. If you have any doubts about a foundation, framing, or sheathing, consult a structural engineer. This is non-negotiable, especially with heavy, natural stone.
- Moisture Issues: Check for existing water damage, mold, or mildew. Stone and mortar can trap moisture, so any underlying water problems must be fully resolved before you proceed. This includes fixing leaky gutters, poor drainage, and sealing any cracks in the foundation.
- Surface Contaminants: Paint, oil, dust, dirt, or any other sealant will prevent the mortar from bonding properly. The surface must be impeccably clean.
- Building Codes: Research your local building codes. They may have specific requirements for exterior applications, such as the type of water-resistive barrier (WRB) or the need for drainage systems behind the cladding.
1.2 Choosing Your Materials: Tradition Meets Innovation
Your choice of stone is the most exciting part of the planning phase. Traditionally, options included heavy natural stone, which requires a concrete footing and mechanical ties, or manufactured stone veneer (MSV), a lighter concrete-based alternative. While both are excellent choices, the building materials landscape is rapidly evolving.
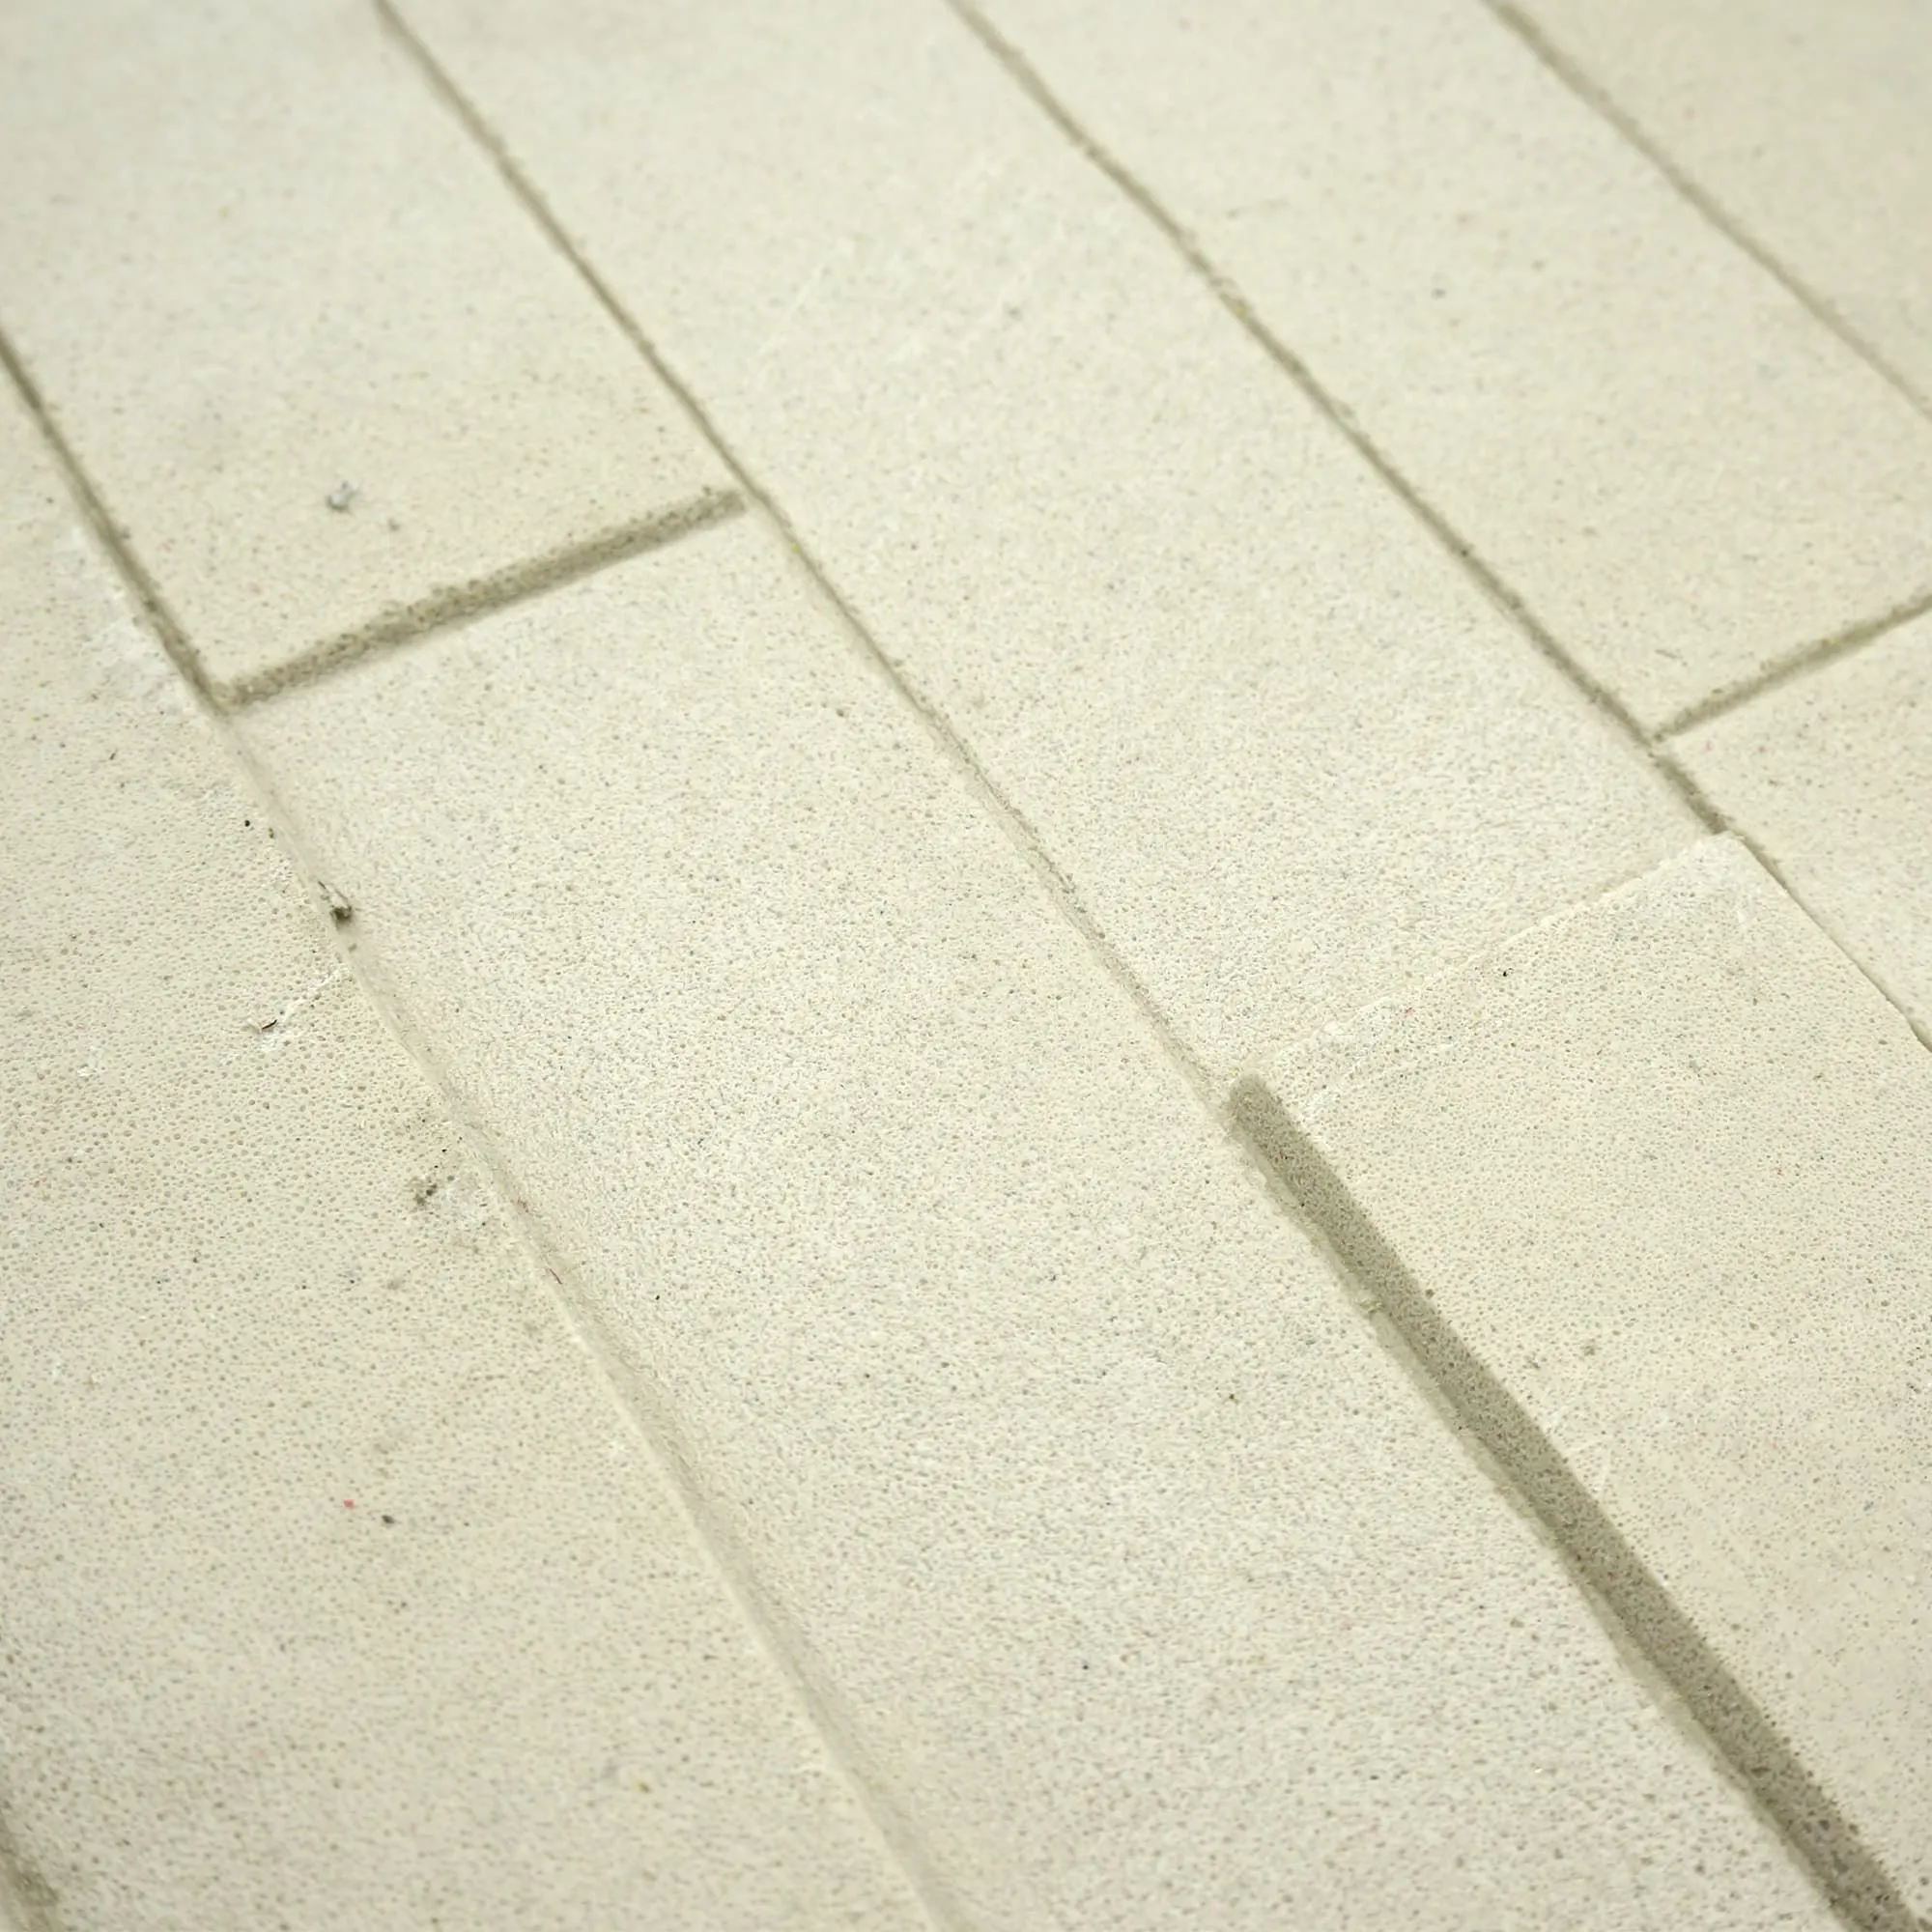
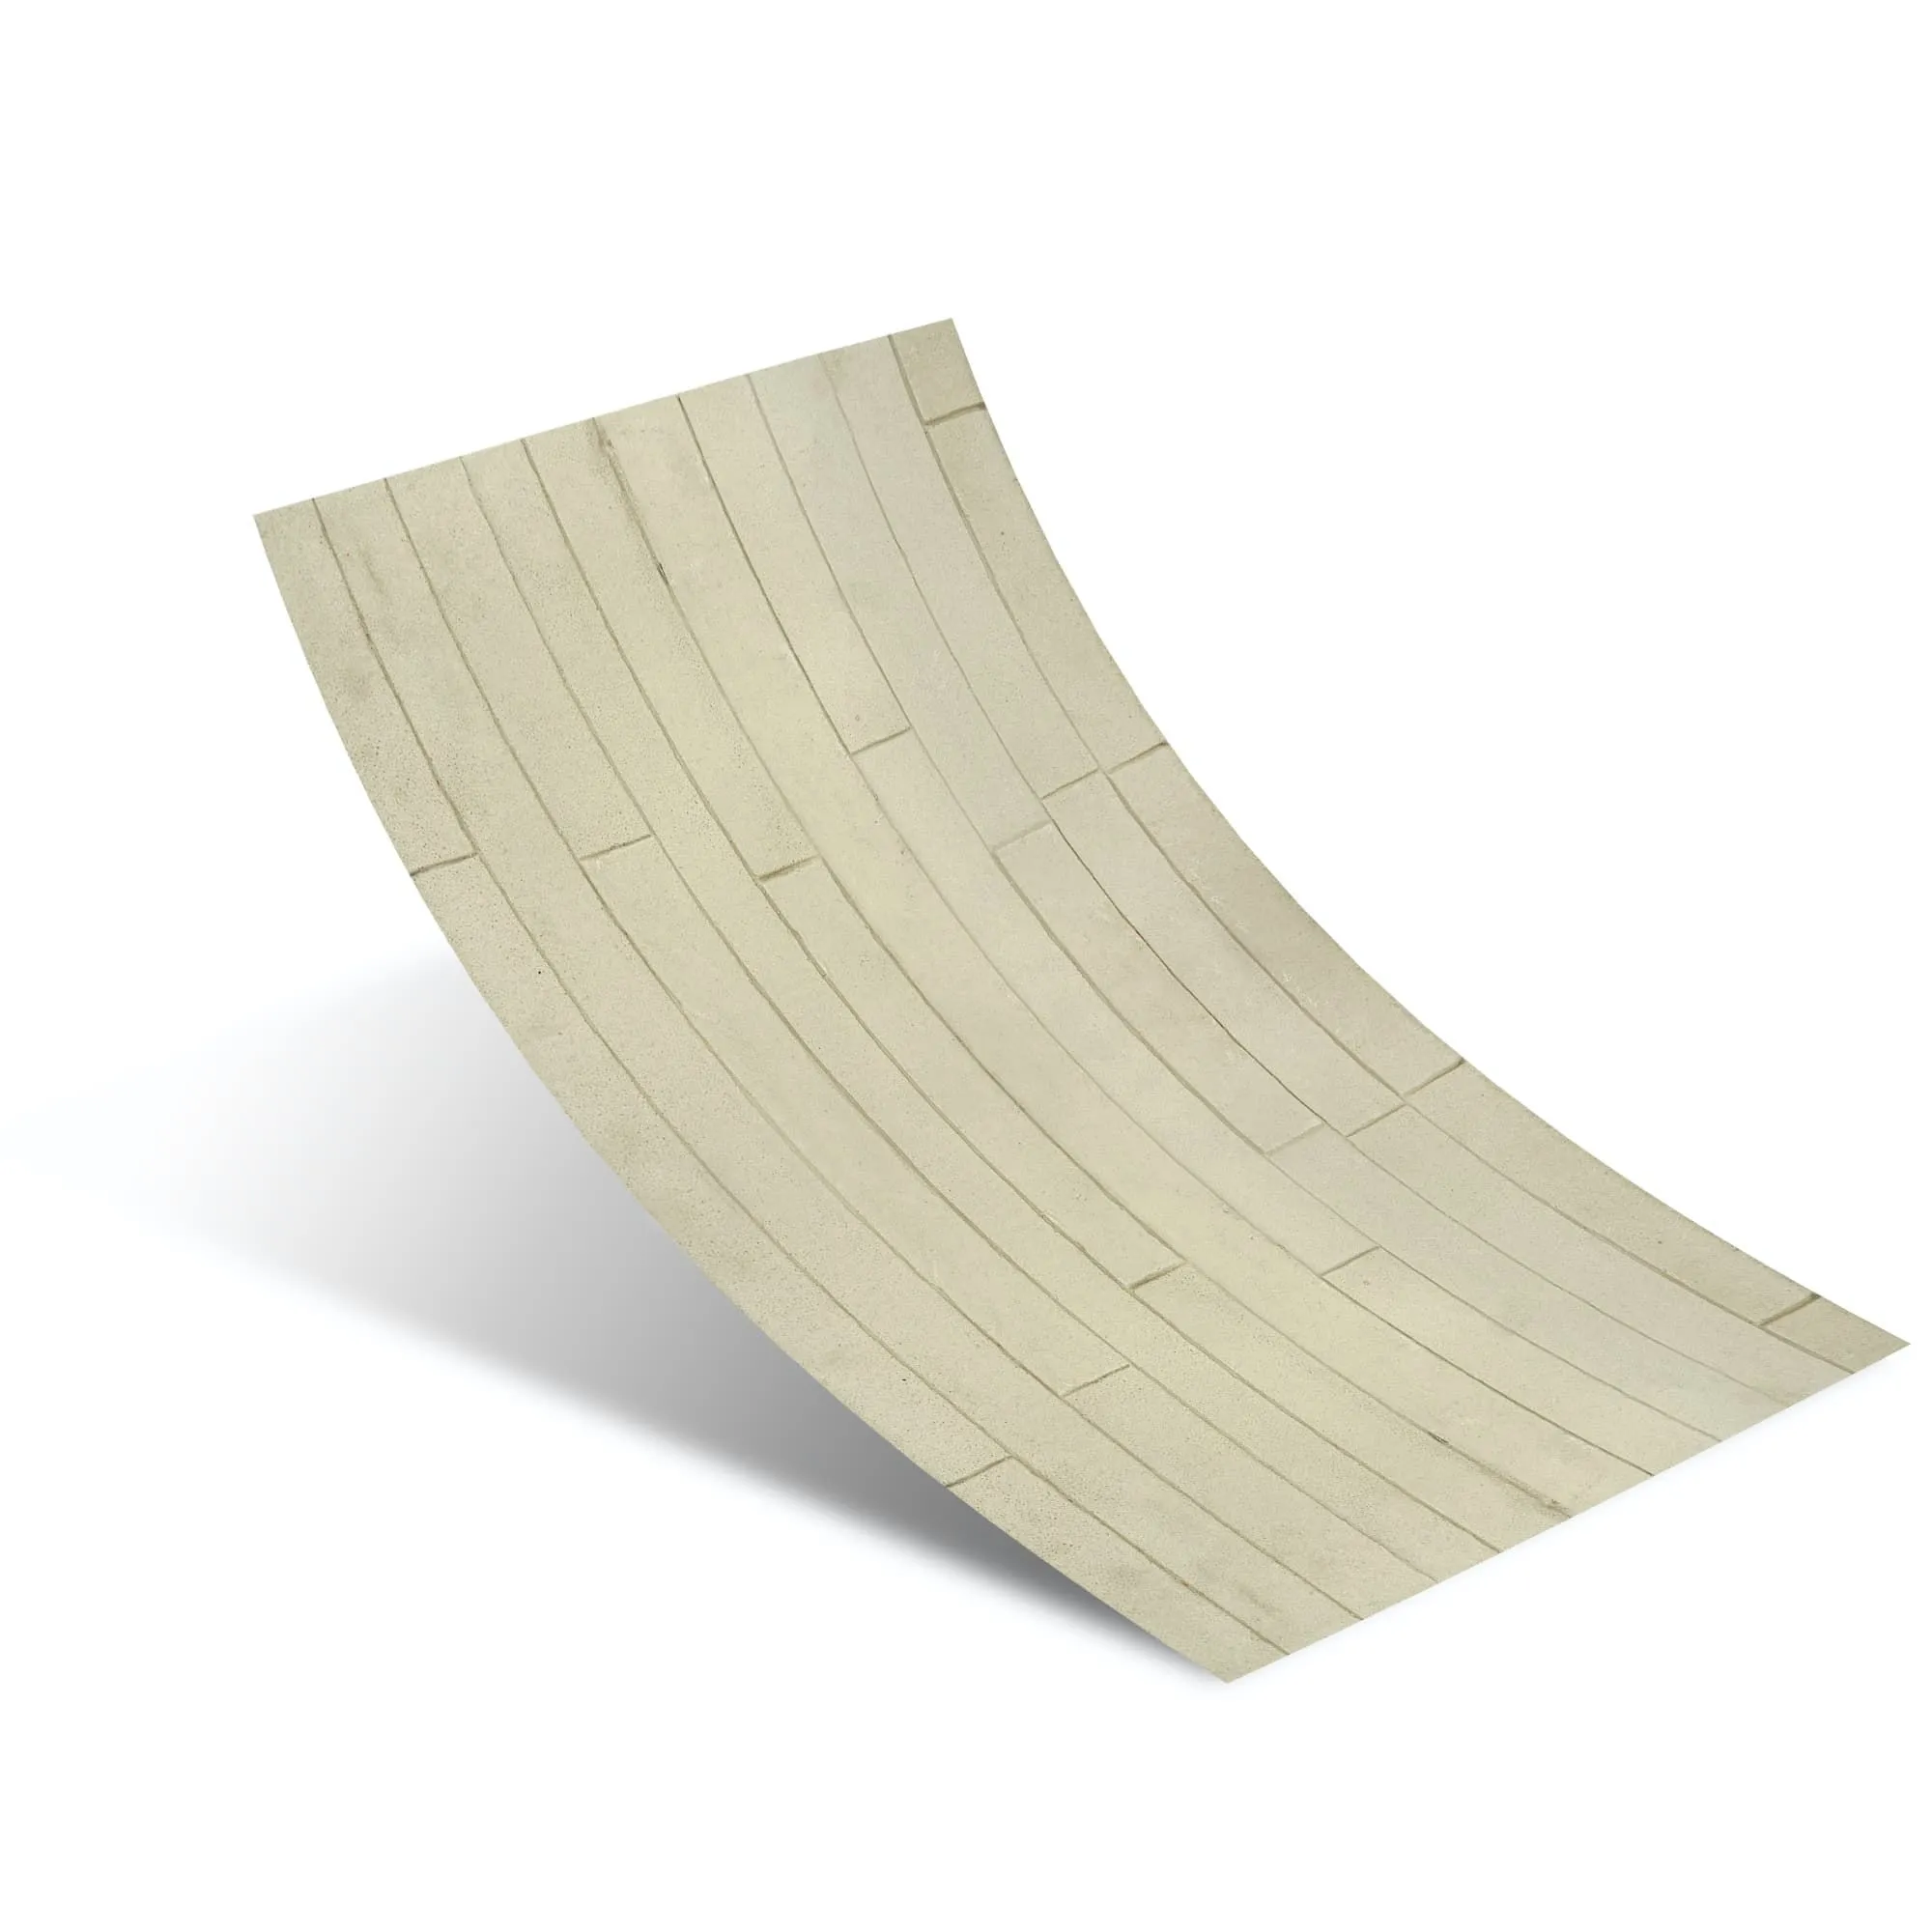
At COLORIA GROUP, our focus as a one-stop solutions provider is to offer materials that not only meet aesthetic demands but also solve real-world construction challenges. This has led to the rise of advanced composite materials that deliver the visual impact of stone without the associated weight and installation complexities. A prime example is MCM Flexible Stone . This innovative material is crafted from modified natural minerals and clays, offering incredible realism while being incredibly lightweight and, as the name suggests, flexible. This means it can be applied to curved surfaces, columns, and even interior applications where weight-bearing capacity is a concern. Its flexibility and ease of cutting drastically reduce installation time and labor costs.
When selecting your material, think beyond just the look. Consider the total weight, installation complexity, long-term maintenance, and environmental impact. Modern materials often provide a superior balance across all these factors.
1.3 Your Tool Arsenal: A Comprehensive Checklist
Having the right tools on hand before you start is essential for a smooth, professional job. Scrambling to find a tool mid-process can lead to costly mistakes. Here's a detailed breakdown of what you'll need.
| Category | Tool | Purpose |
|---|---|---|
| Preparation & Layout | Tape Measure, Chalk Line, Level | For accurate measurements and establishing level guidelines. |
| Safety | Safety Glasses, Dust Mask, Gloves | To protect from dust, mortar, and sharp stone edges. |
| Mortar Mixing | Wheelbarrow or Mixing Tubs, Hoe, Power Drill with Paddle Mixer | For properly mixing mortar to the right consistency. |
| Application | Mason's Trowel, Hawk | For applying the scratch coat and "buttering" the stones. |
| Cutting & Shaping | Masonry Hammer, Grinder with Diamond Blade, Wet Saw | For shaping stones to fit around obstacles. (Note: Some modern materials only require a utility knife). |
| Finishing | Grout Bag, Jointing Tool, Whisk Broom | For applying grout and shaping the joints for a clean finish. |
1.4 The Most Important Step: Surface Preparation
We can't stress this enough: 90% of masonry adhesion failures are due to improper surface preparation. The goal is to create a clean, stable, and porous surface for the mortar to grab onto. The process varies depending on the substrate.
- Unpainted Concrete/Block: This is an ideal surface. Simply ensure it's clean and free of any sealers or form-release agents. If it's very smooth, you may need to rough it up with a grinder to improve the mechanical bond.
- Plywood/OSB Sheathing (Exterior): This is a multi-step process. First, you must install two layers of a building paper or an equivalent water-resistive barrier (WRB), overlapping them shingle-style. Next, attach a metal lath over the WRB using galvanized fasteners every 6 inches. Finally, apply a ½-inch thick "scratch coat" of mortar over the lath, scratching horizontal grooves into it with a scarifier or notched trowel. This coat must cure for at least 48 hours.
- Interior Drywall: For interior applications, you can often apply the stone directly to clean, unpainted drywall, especially if using a lightweight veneer or modern composite. However, for heavier products or in areas with potential moisture (like a kitchen backsplash), it's wise to first apply a liquid-applied waterproofing membrane before setting the stone.
Part 2: The Art of Installation - A Step-by-Step Guide
With your planning and prep complete, it's time for the artistry to begin. Work methodically, don't rush, and always keep an eye on your layout lines.
2.1 Layout and Dry-Fitting
Before mixing any mortar, lay out a 10-20 square foot section of stone on the ground near your work area. Pull stones from several different boxes to ensure you get a good blend of colors, shapes, and sizes. This prevents "color blocking" and creates a more natural, organic look. Arrange them in a pattern you find pleasing, trying to stagger joints and mix large and small pieces. This dry-run helps you visualize the final result and work more efficiently once the mortar clock is ticking.
2.2 Mortar: The "Glue" of Your Project
Using the right mortar and mixing it correctly is paramount. For most veneer applications, a Type N or Type S mortar mix is recommended. Always follow the manufacturer's instructions. The ideal consistency is often described as creamy, like thick pudding or peanut butter. It should be wet enough to stick to the trowel when held upside down, but not so wet that it slumps off the wall. Mix only as much as you can use within an hour or two, as it will begin to set.
2.3 Applying the Stones: Bottom-Up, Corner-Out
The standard practice is to start at the bottom of the wall and work your way up. This allows the lower courses to support the ones above. If your project includes corners, install those first. Corners are key pieces that lock the two walls together visually and structurally.
The application technique is simple but crucial. Using your trowel, apply a full, even layer of mortar to the back of the stone, about ½ to ¾ inch thick. This is called "buttering." Then, press the stone firmly onto the prepared wall surface with a slight wiggling motion. This ensures 100% coverage and squeezes out any air pockets. You should see a small amount of mortar ooze out around the edges. This is a good sign—it means you have a solid bond.
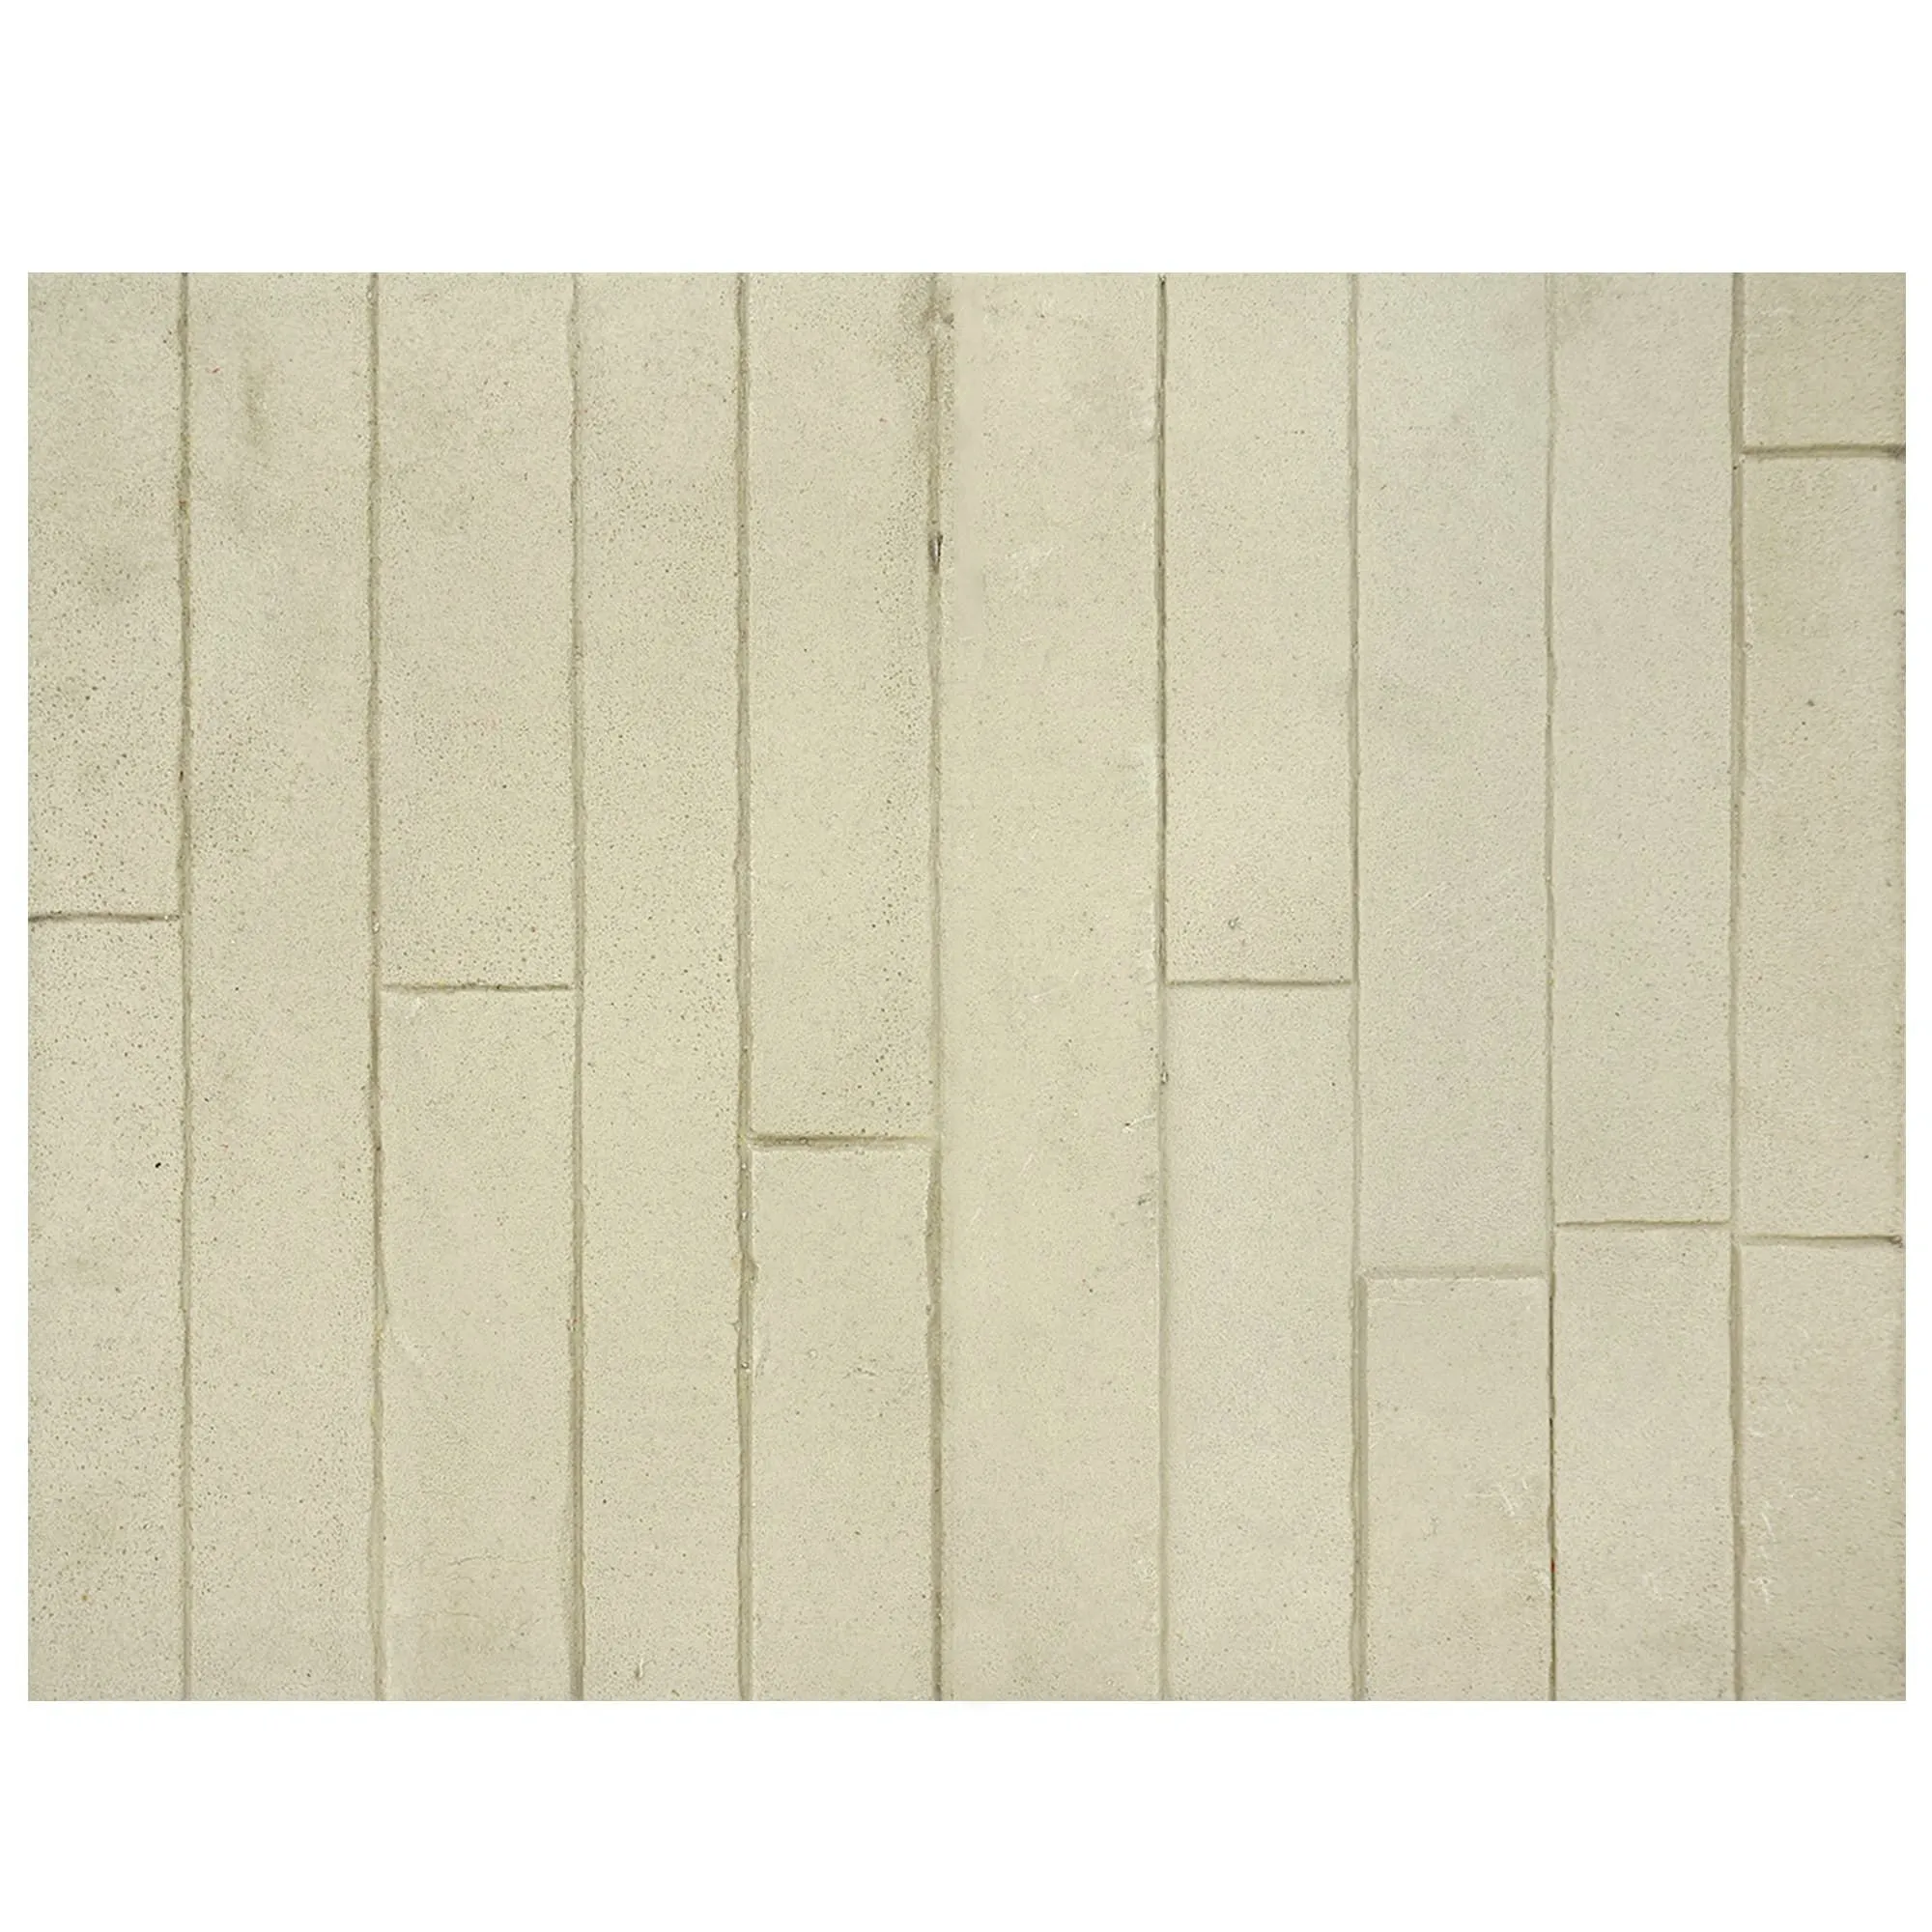
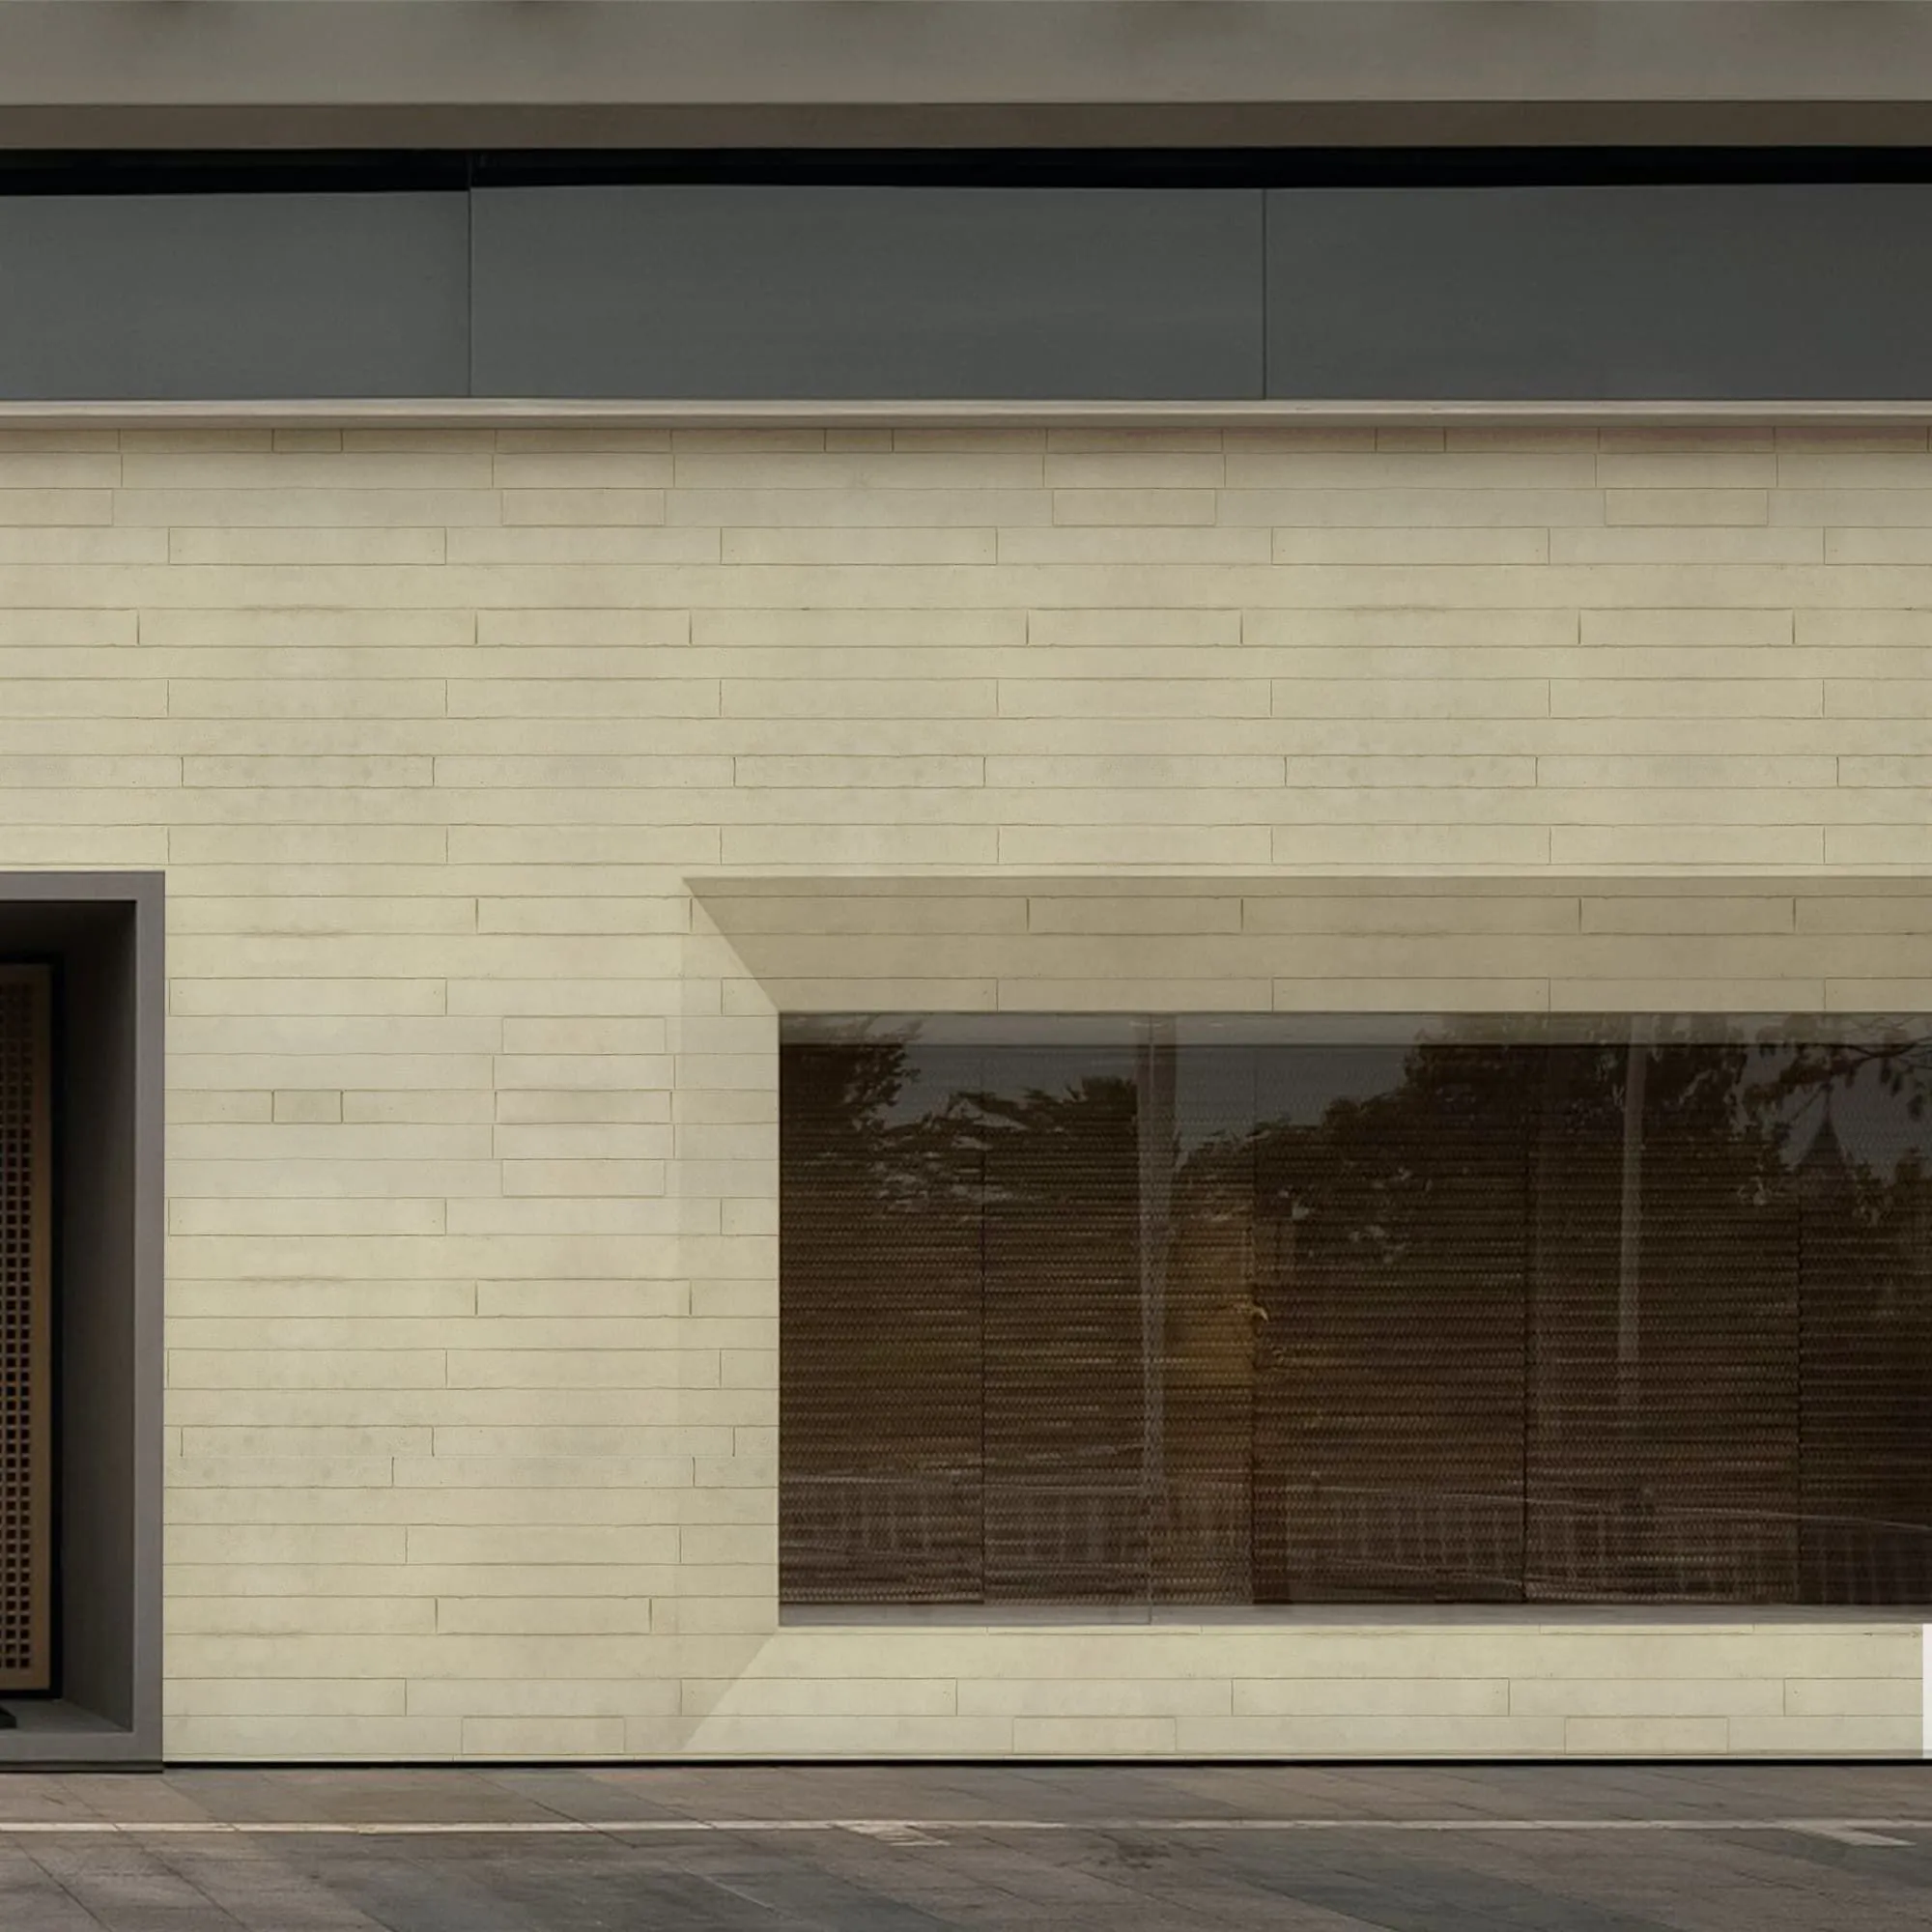
For large-scale commercial facades or interiors aiming for a sleek, monolithic appearance, the challenges are different. Setting thousands of individual small stones is time-consuming and can lead to inconsistencies. This is a scenario where system-based approaches truly excel. Architectural solutions like the MCM Big Slab Board Series are designed for this exact purpose. These are large-format panels that replicate the look of massive stone slabs. Because they cover a large area with a single piece, they drastically reduce the number of joints, create an incredibly clean and modern aesthetic, and can be installed in a fraction of the time compared to traditional piece-by-piece masonry.
Part 3: The Finishing Touches That Define Quality
The job isn't done once the last stone is on the wall. The finishing steps—grouting and cleaning—are what separate an amateur job from a professional masterpiece.
3.1 Grouting: Framing Your Artwork
The grout joint is more than just filler; it's a key design element. You can choose a tight-fit, "dry-stack" look (which still requires mortar bonding behind the scenes) or a more traditional grouted joint. If grouting, wait at least 24 hours after setting the stone.
Use a grout bag (similar to a pastry bag) to carefully apply the mortar into the joints. Overfill them slightly. Let the grout set until it is "thumbprint firm"—when you press it with your thumb, it feels firm but leaves a slight impression. Now, use a jointing tool or a small piece of wood to strike the joints, compacting the grout and creating your desired profile (e.g., raked, flush, or convex).
3.2 Cleaning and Curing
As you work, small amounts of mortar will inevitably get on the stone faces. It is critical to clean these off *before* they dry. Use a soft brush and a little water to gently remove them. If mortar dries on the face of the stone, it can be extremely difficult to remove without staining or damaging the surface. Once all grouting and tooling are complete, use a dry whisk broom to gently sweep the entire surface and remove any loose crumbs of mortar.
Finally, let the project cure. Mortar gains its strength over time through a chemical reaction with water. Avoid exposing the new masonry to heavy rain or direct, intense sunlight for several days. Full curing can take up to 28 days.
Part 4: Pushing Boundaries with Advanced Techniques & Innovations
While traditional masonry is beautiful, modern architecture often demands more. Today's designers and builders want customization, sustainability, and efficiency—areas where material science is making incredible strides.
4.1 The Age of Ultimate Customization
What if you weren't limited by the shapes and textures found in nature or a manufacturer's catalog? What if you could design a completely unique, bespoke wall texture? This is no longer a futuristic dream. The intersection of material science and digital fabrication has given rise to truly groundbreaking possibilities. Take, for example, the MCM 3D Printing Series . This technology allows architects and designers to translate a digital design into a physical, textured wall panel. From intricate geometric patterns to organic, wave-like forms, it offers a level of design freedom that was previously unimaginable in masonry, allowing for the creation of statement walls that are truly one-of-a-kind works of art.
4.2 Addressing Large-Scale Project Demands
On large commercial or residential development projects, consistency and speed are paramount. Every hour of labor saved and every bit of material waste reduced translates directly to the bottom line. This is where engineered product lines, developed specifically for high-volume construction, become invaluable. The MCM Project Board Series is a perfect illustration of this principle. This series is engineered for performance and efficiency, providing panels with consistent thickness, color, and technical properties. This system-based approach streamlines the entire workflow, from logistics and handling to final installation, ensuring that large-scale projects can be completed on time and on budget without sacrificing aesthetic quality. It's a testament to how intelligent material design can solve complex construction challenges.
4.3 The Green Revolution in Building Materials
Sustainability is no longer a buzzword; it's a core requirement in modern construction. Quarrying natural stone is energy-intensive and has a significant environmental footprint. Manufacturing traditional concrete-based veneers also consumes large amounts of energy and water. This is why eco-friendly alternatives are gaining so much traction. The entire MCM product family, for instance, is rooted in sustainability. Made from natural mineral powders and modified clays, the production process is low-energy and low-emission. The materials are lightweight, which dramatically reduces the carbon footprint associated with transportation. Furthermore, they are often made with recycled content and are themselves recyclable, contributing to a circular economy in the construction sector.
Part 5: Common Mistakes to Avoid for a Flawless Finish
Learning from the mistakes of others is the fastest way to mastery. Here are some of the most common pitfalls that can compromise your masonry project.
- Ignoring Weather: Never install stone in freezing temperatures or on a surface that is frozen. The water in the mortar will freeze, expand, and destroy the bond. Likewise, avoid working in extreme heat or direct sun, which can cause the mortar to dry out too quickly before it has a chance to cure properly.
- Incorrect Mortar Mix: Too wet, and the stones will sag. Too dry, and you won't get a good bond. Always aim for that perfect "creamy" consistency and don't try to "re-temper" old mortar by adding more water.
- Skipping the Scratch Coat: On surfaces like wood or gypsum sheathing, the scratch coat and lath are not optional. They provide the mechanical key that the entire system relies on. Skipping this step will lead to catastrophic failure.
- Leaving Mortar Smears: This is a rookie mistake that's hard to fix. Clean as you go! A smear that takes 10 seconds to wipe away when wet can take an hour of scrubbing (and potentially harsh chemicals) to remove once cured.
- Poor Layout Planning: Failing to blend stones from different boxes or starting without a level guideline will result in an amateurish, unappealing finish with noticeable color patches and crooked lines.
Conclusion: Building Beauty That Endures
Achieving a durable, professional-quality masonry finish is a rewarding endeavor that blends technical skill with artistic vision. As we've seen, success hinges on three core pillars: diligent planning, adherence to proper installation techniques, and—critically—the selection of the right materials for the job.
While the time-honored methods of stonework remain valuable, the future of construction and design clearly points towards innovation. The evolution of building materials is enabling us to build more efficiently, more sustainably, and with greater creative freedom than ever before. As a dedicated one-stop solutions provider, COLORIA GROUP is proud to be at the forefront of this movement, delivering next-generation materials that empower architects, builders, and homeowners to realize their visions without compromise. By embracing both best practices and modern innovations, you can ensure your next masonry project is not just a temporary feature, but a lasting legacy of beauty and quality.









