
When it comes to bringing the bold, textured beauty of the MCM big slab board series to life, there's a secret ingredient that often gets overlooked: the tools. These aren't just metal and plastic—they're the unsung heroes that turn heavy, raw materials into stunning architectural features. Whether you're a seasoned contractor, an architect overseeing a commercial project, or a DIY enthusiast tackling a home renovation, the right tools can mean the difference between a seamless, professional finish and a frustrating, error-riddled mess. Today, we're diving into the essential equipment that makes installing MCM big slabs—especially rugged options like rock cut stone —not just possible, but efficient and enjoyable. Plus, we'll explore how "new rock cut stone real photos" and resources like "rough granite real pictures" can be game-changers in mastering these tools.
Let's start with the basics: MCM big slabs are designed to make a statement. They're large (often spanning several feet), dense, and engineered for durability. Think of them as the backbone of modern design—whether cladding a skyscraper's exterior or adding depth to a residential fireplace. But here's the thing: their size and weight make them unforgiving. A tiny miscalculation in measurement, a wobbly cut, or a slip during placement can ruin the slab, delay the project, or even cause injury. That's where tools step in. They're precision instruments that bridge the gap between your vision and the final result. They save time, reduce waste, and ensure that the unique character of materials like rock cut stone —with its natural, chiseled texture—shines through without compromise.
Let's break down the must-have tools into categories, so you can build a toolkit that covers every step of the installation process—from the moment you unload the slabs to the final wipe-down of the finished surface.
Before you even pick up a saw or a lift, you need to know exactly where each slab will go. Measuring and marking tools might seem simple, but they're the first line of defense against misalignment.
MCM big slabs—especially rock cut stone and rough granite —are tough customers. They require tools that can slice through dense materials without cracking, chipping, or overheating.
MCM big slabs can weigh anywhere from 50 to 200 pounds or more—far too heavy to lift by hand. The right lifting tools protect both the slabs and your back.
Once a slab is positioned, you need to secure it so it doesn't shift, crack, or fall. The right fastening tools depend on the surface (wall, floor, ceiling) and the slab's weight.
After the slabs are in place, it's time to clean up and enhance their natural beauty. Finishing tools ensure the installation looks polished and professional.
| Tool Category | Tool Name | Primary Function | Ideal for MCM Big Slab? | Key Features to Look For |
|---|---|---|---|---|
| Measuring & Marking | Digital Laser Level | Projecting straight lines for alignment | Yes | Self-leveling, 50+ ft range, bright laser |
| Cutting & Shaping | Wet Tile Saw | Cutting large slabs with precision | Yes | Sliding table, diamond blade, water cooling |
| Lifting & Placing | Vacuum Suction Lifter | Vertical lifting of heavy slabs | Yes | 300+ lb capacity, quick-release valve |
| Fastening & Securing | Structural Adhesive Gun | Bonding slabs to substrates | Yes | Rotating barrel, high-pressure trigger |
| Finishing & Cleaning | Stone Sealer Applicator Kit | Protecting porous slabs from damage | Yes | Foam roller, grout brush, lint-free cloths |
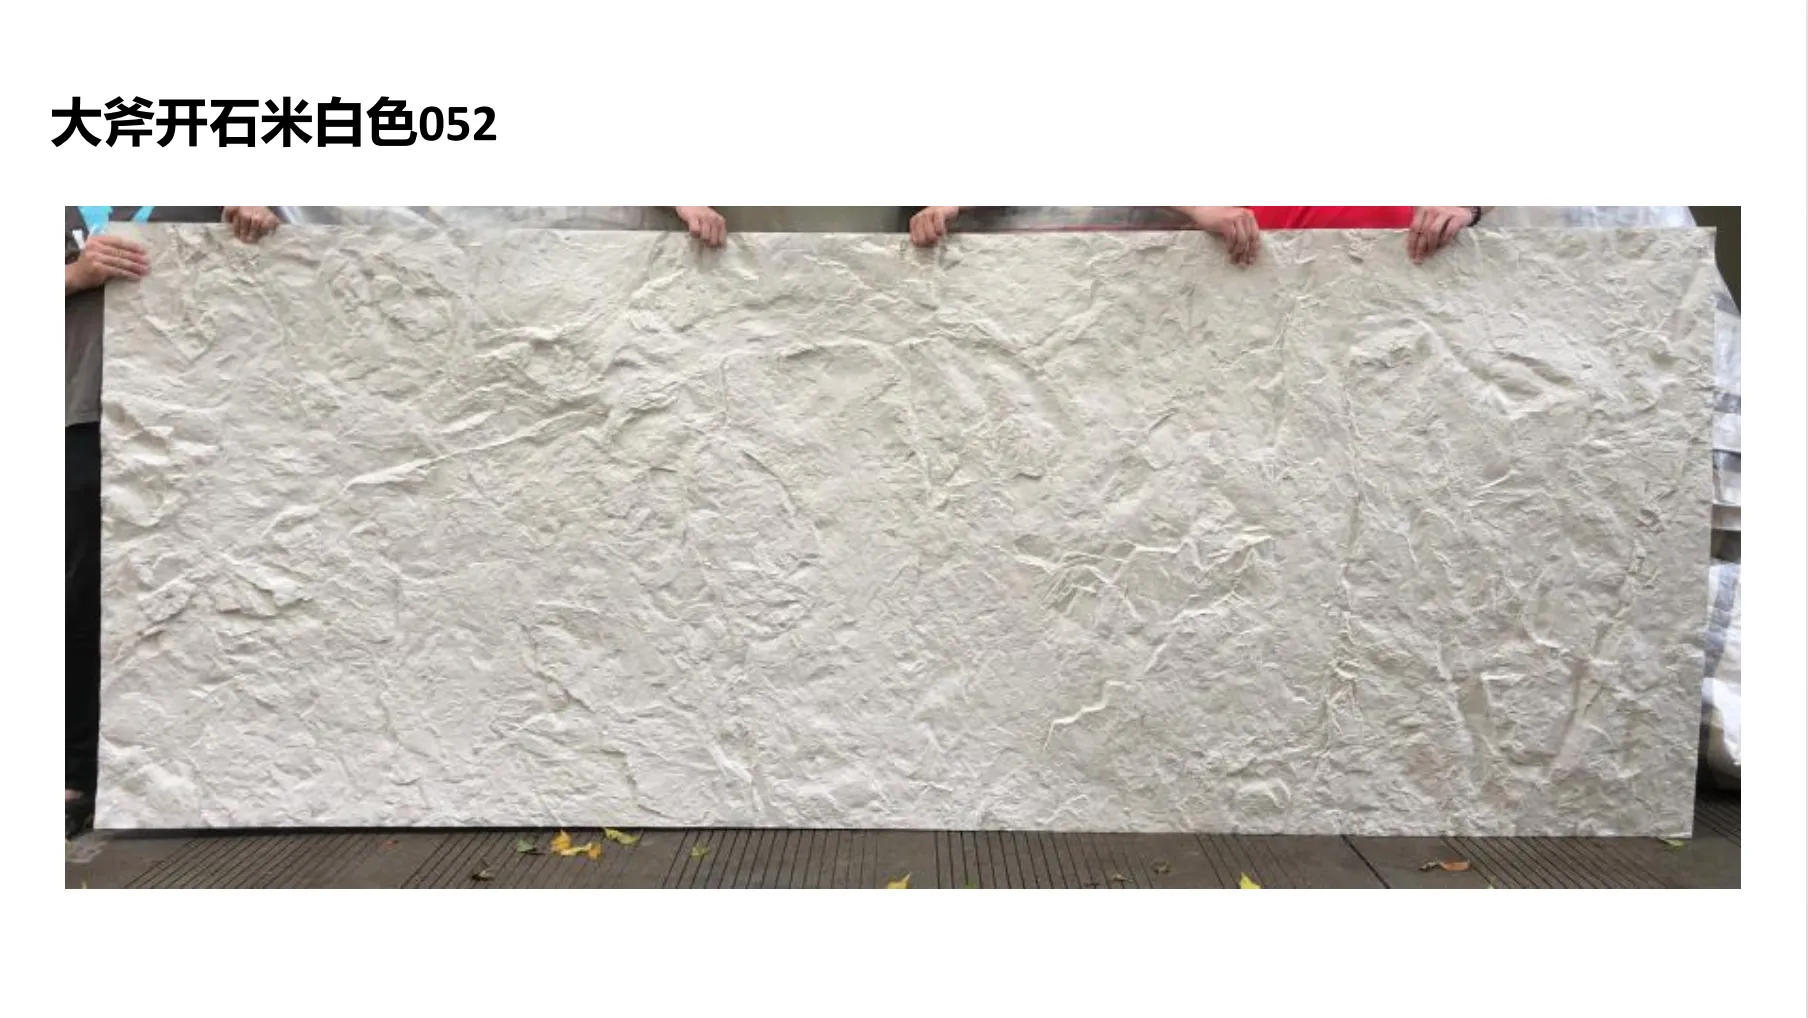
Now that we've covered the tools, let's zoom in on one of MCM's most popular materials: rock cut stone . With its rugged, chiseled texture and earthy tones, it's a favorite for adding warmth and character to both indoor and outdoor spaces. But installing it requires a slightly different approach than smooth slabs like concrete board (white) or bamboo mat board —and that's where "new rock cut stone real photos" come into play.
These photos (while we can't include them here) are more than just eye candy—they're educational. Imagine scrolling through images of a job site where a wet saw is cutting through a new rock cut stone slab: you can see the diamond blade gliding through the stone, water spraying to keep it cool, and the clean, precise edge it leaves behind. Or a close-up of a vacuum lifter gripping the slab's textured surface, proving that even irregular finishes can be lifted safely. These photos demystify the process, showing exactly how each tool is used and what results to expect.
Similarly, "rough granite real pictures" offer insights into working with another tough material. Rough granite's coarse, grainy texture demands tools with extra durability—like a heavy-duty angle grinder with a reinforced diamond disc—and the photos often highlight common mistakes to avoid, such as applying too much pressure (which can chip the edges) or using a dull blade (which leaves jagged cuts).
We get it—tools are an investment. A good wet saw can cost $500 or more, and a vacuum lifter might set you back $300. It's tempting to rent cheap tools or make do with what you have. But anyone who's been in the industry long enough has horror stories of projects derailed by subpar equipment.
Take, for example, a contractor who tried to install MCM big slab board series using a basic circular saw instead of a wet saw. The dry-cutting created clouds of dust that stained the slabs, and the dull blade chipped the edges—costing him hours of extra work to repair and hundreds of dollars in replacement materials. Or a DIYer who used a manual lifter (instead of a vacuum lifter) to install a 150-pound boulder slab (vintage gold) ; the slab slipped, cracking the floor and the slab itself. In both cases, the "savings" from cheap tools were wiped out by the cost of fixes.
On the flip side, contractors who invest in quality tools often finish projects faster, with fewer mistakes, and earn a reputation for excellence. Clients notice the difference—a seamless rock cut stone wall installed with precision tools looks professional, while one with uneven joints and chipped edges looks amateurish. In the end, tools aren't just expenses—they're assets that pay off in better results and happier clients.
At the end of the day, MCM big slabs are more than building materials—they're expressions of design, craftsmanship, and creativity. And to bring that vision to life, you need tools that match their quality. From the first measurement to the final seal, every tool plays a role in ensuring the slabs look as stunning in reality as they do in your plans.
Whether you're working with the bold textures of rock cut stone , the sleek finish of foamed aluminium alloy board (vintage silver) , or the earthy tones of rammed earth board (gradient) , the right toolkit will make the process smoother, safer, and more satisfying. And when you pair those tools with resources like "new rock cut stone real photos"—which show you exactly how to use them—you're setting yourself up for success.
So, the next time you're gearing up for an MCM big slab project, remember: the tools you choose aren't just part of the job—they're part of the masterpiece.
Recommend Products


