Welcome to the exciting world of modern architectural finishing! If you're looking to transform your space with a unique, durable, and aesthetically pleasing material, COLORIA GROUP's MCM Semicircle Board is an excellent choice. As a premier **one-stop solution provider** in architectural materials, we pride ourselves on offering products that combine innovation, sustainability, and ease of use. This comprehensive guide is designed for beginners, walking you through every step of installing our MCM Semicircle Boards, ensuring a successful and stunning outcome for your interior and exterior wall decoration projects.
The MCM Semicircle Board is a proud member of our advanced **MCM (Modified Cementitious Material) series products**, representing the cutting edge in building material technology. These boards offer unparalleled flexibility, incredible strength, and a natural, tactile finish that mimics traditional materials without their drawbacks. Whether you're a DIY enthusiast or a professional venturing into new materials, this guide will equip you with the knowledge and confidence to achieve a flawless installation. Let's get started!
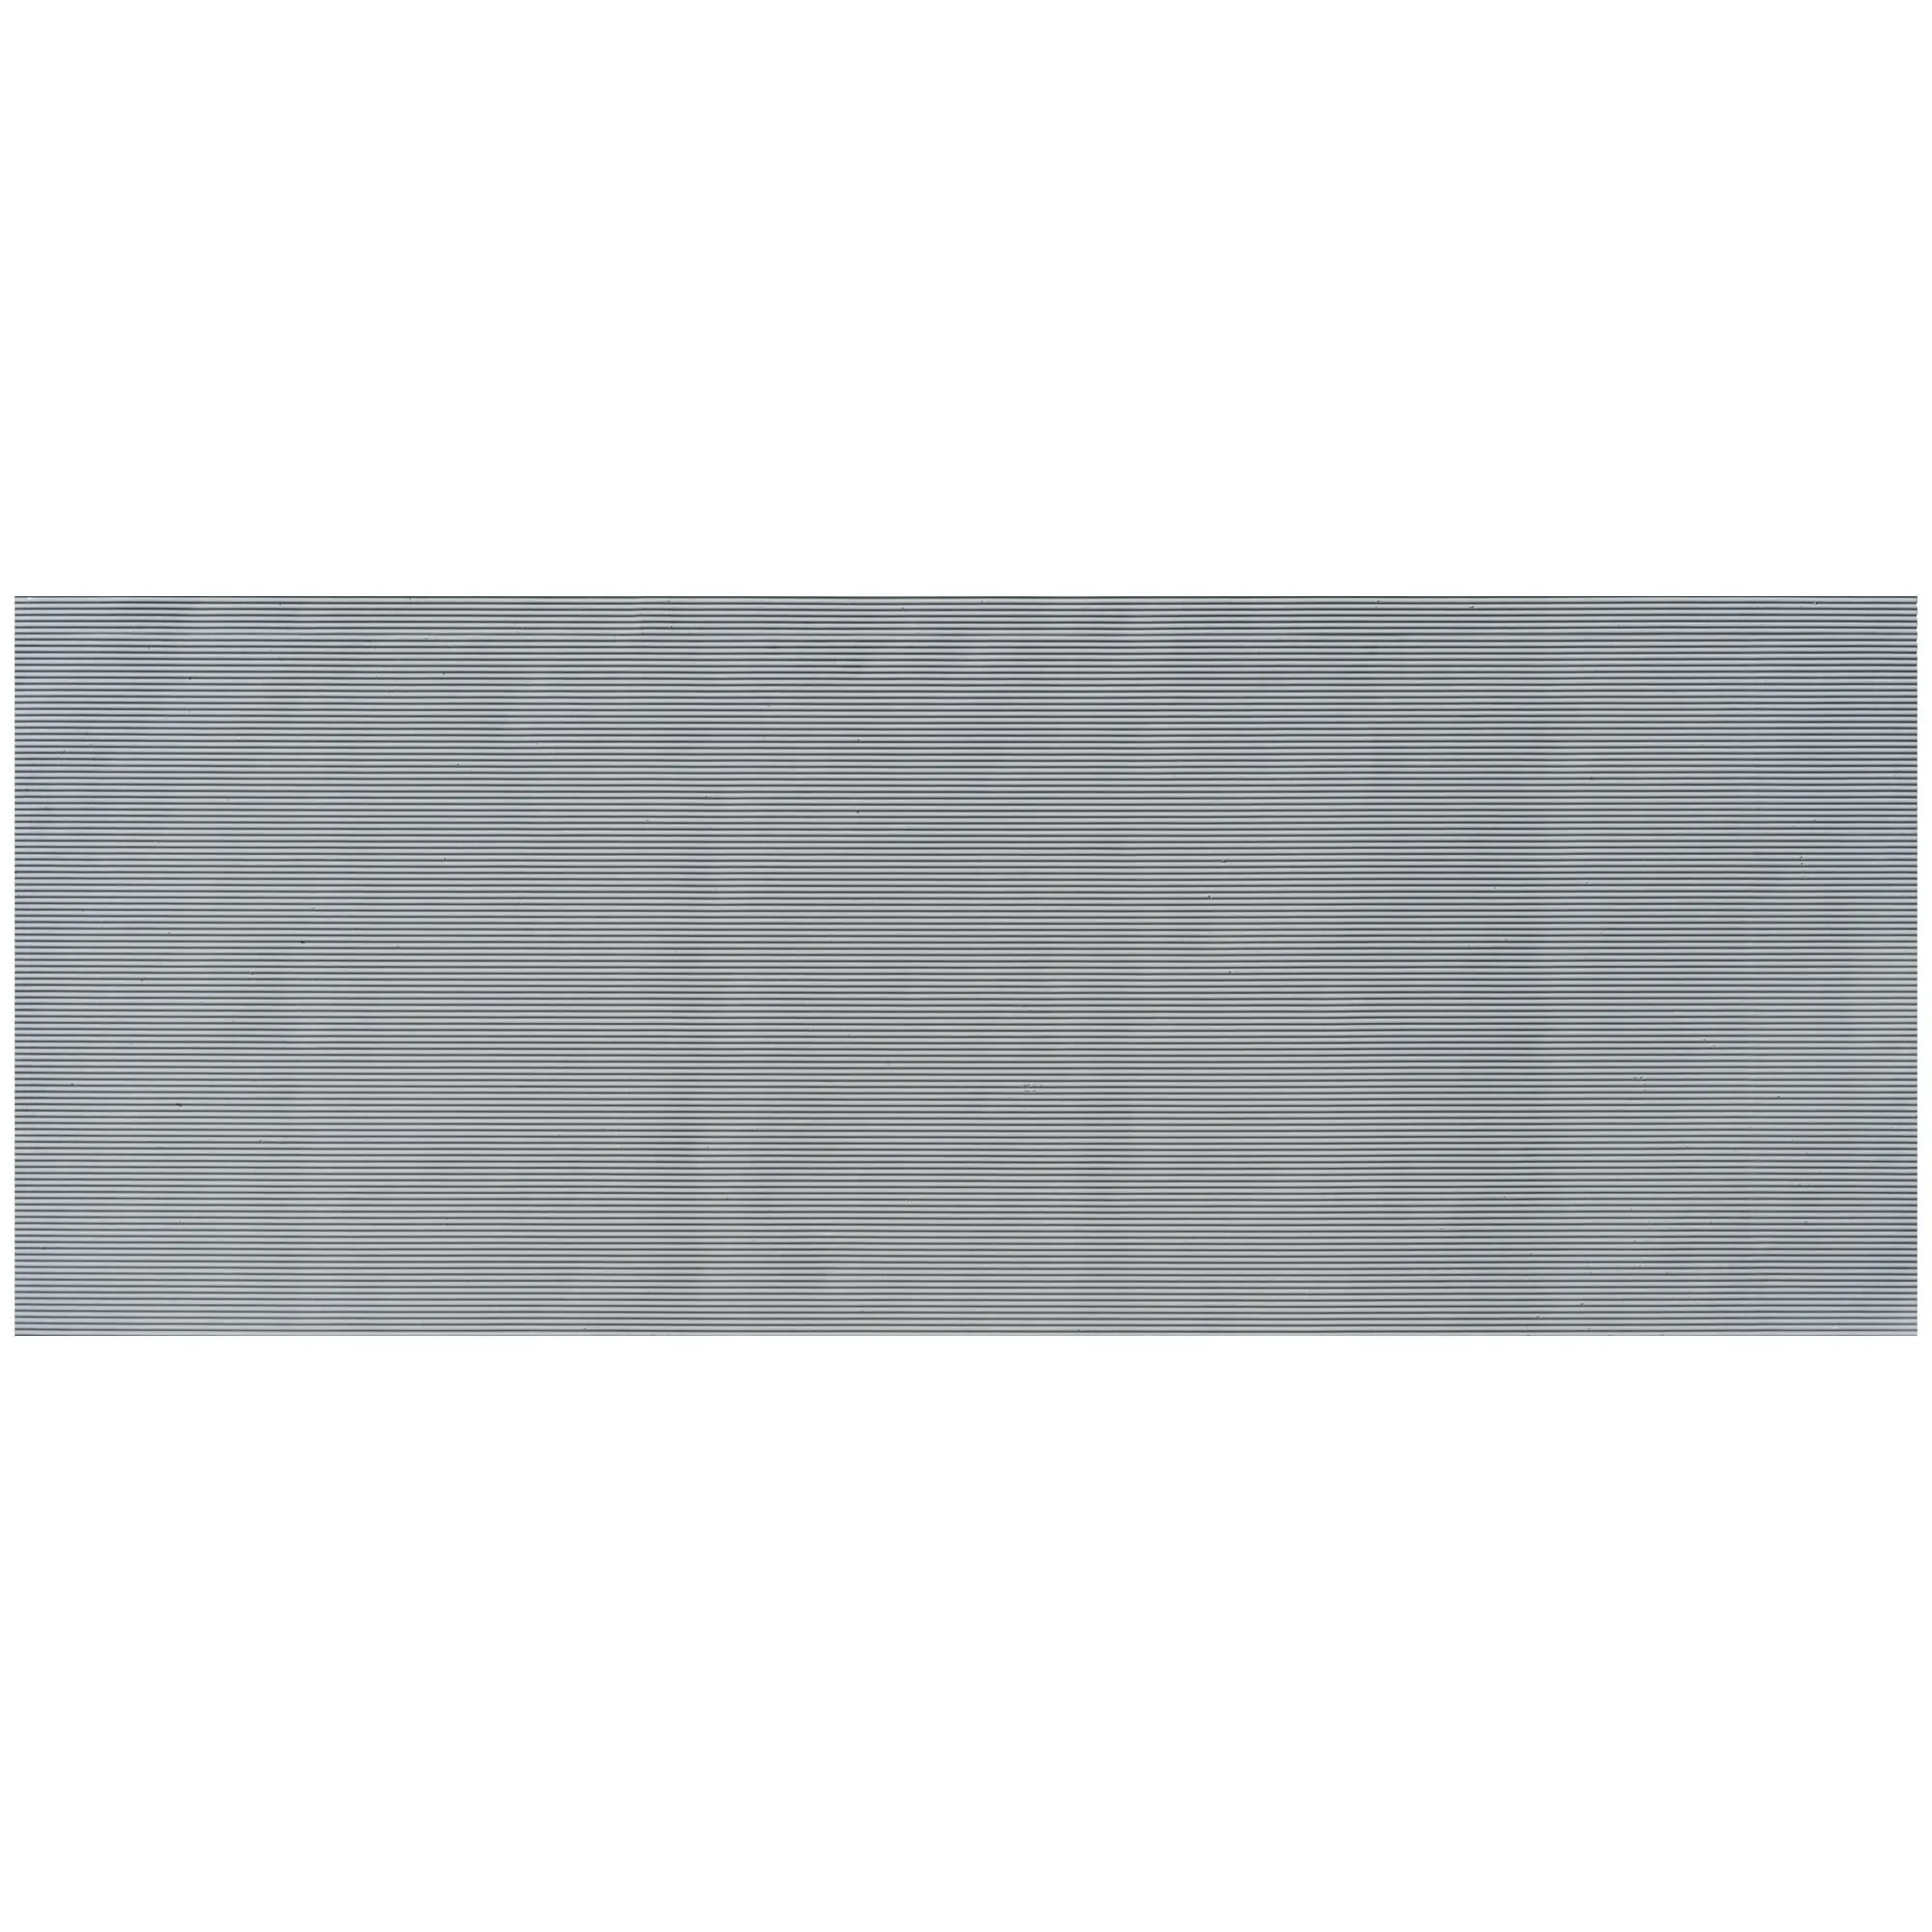
I. Understanding MCM Semicircle Boards
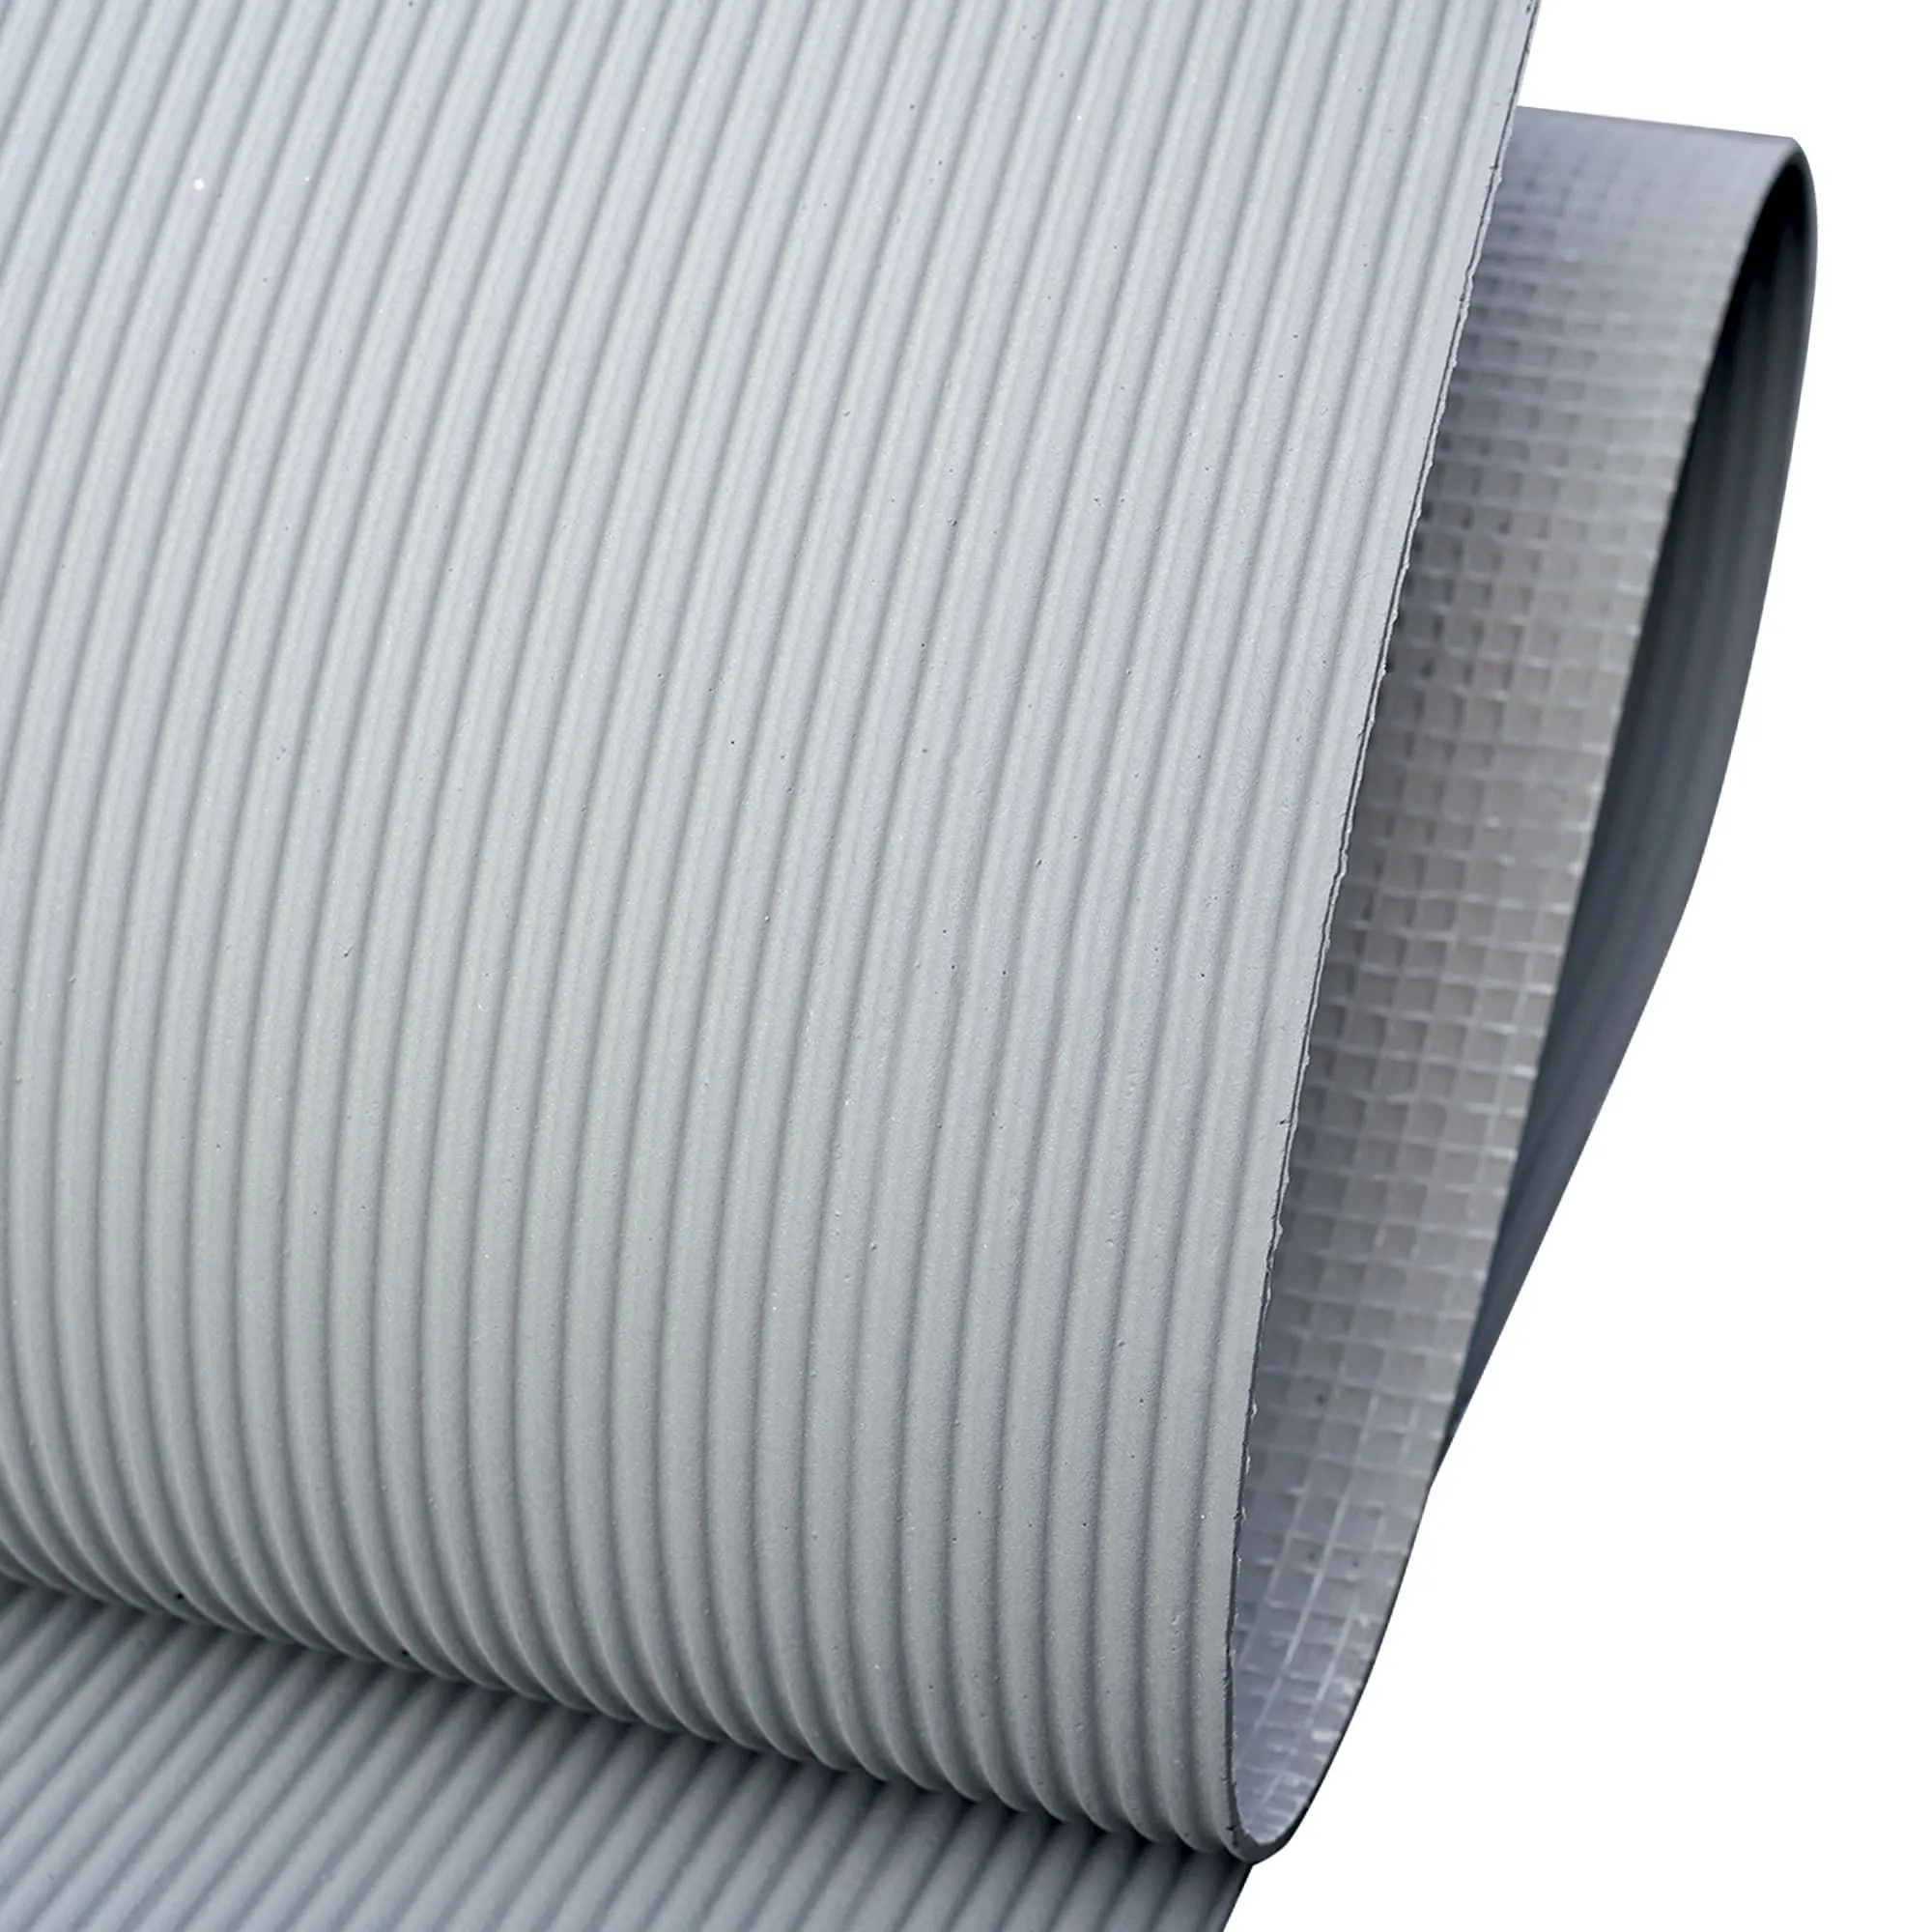
Before we dive into the installation process, it's crucial to understand what makes MCM Semicircle Boards so special. These aren't your ordinary tiles or panels. Made from Modified Cementitious Material, they are incredibly versatile, offering an eco-friendly alternative to many traditional finishing materials. The "semicircle" design refers to its unique profile, which can create dynamic patterns and textures, adding depth and character to any surface.
What is MCM (Modified Cementitious Material)?
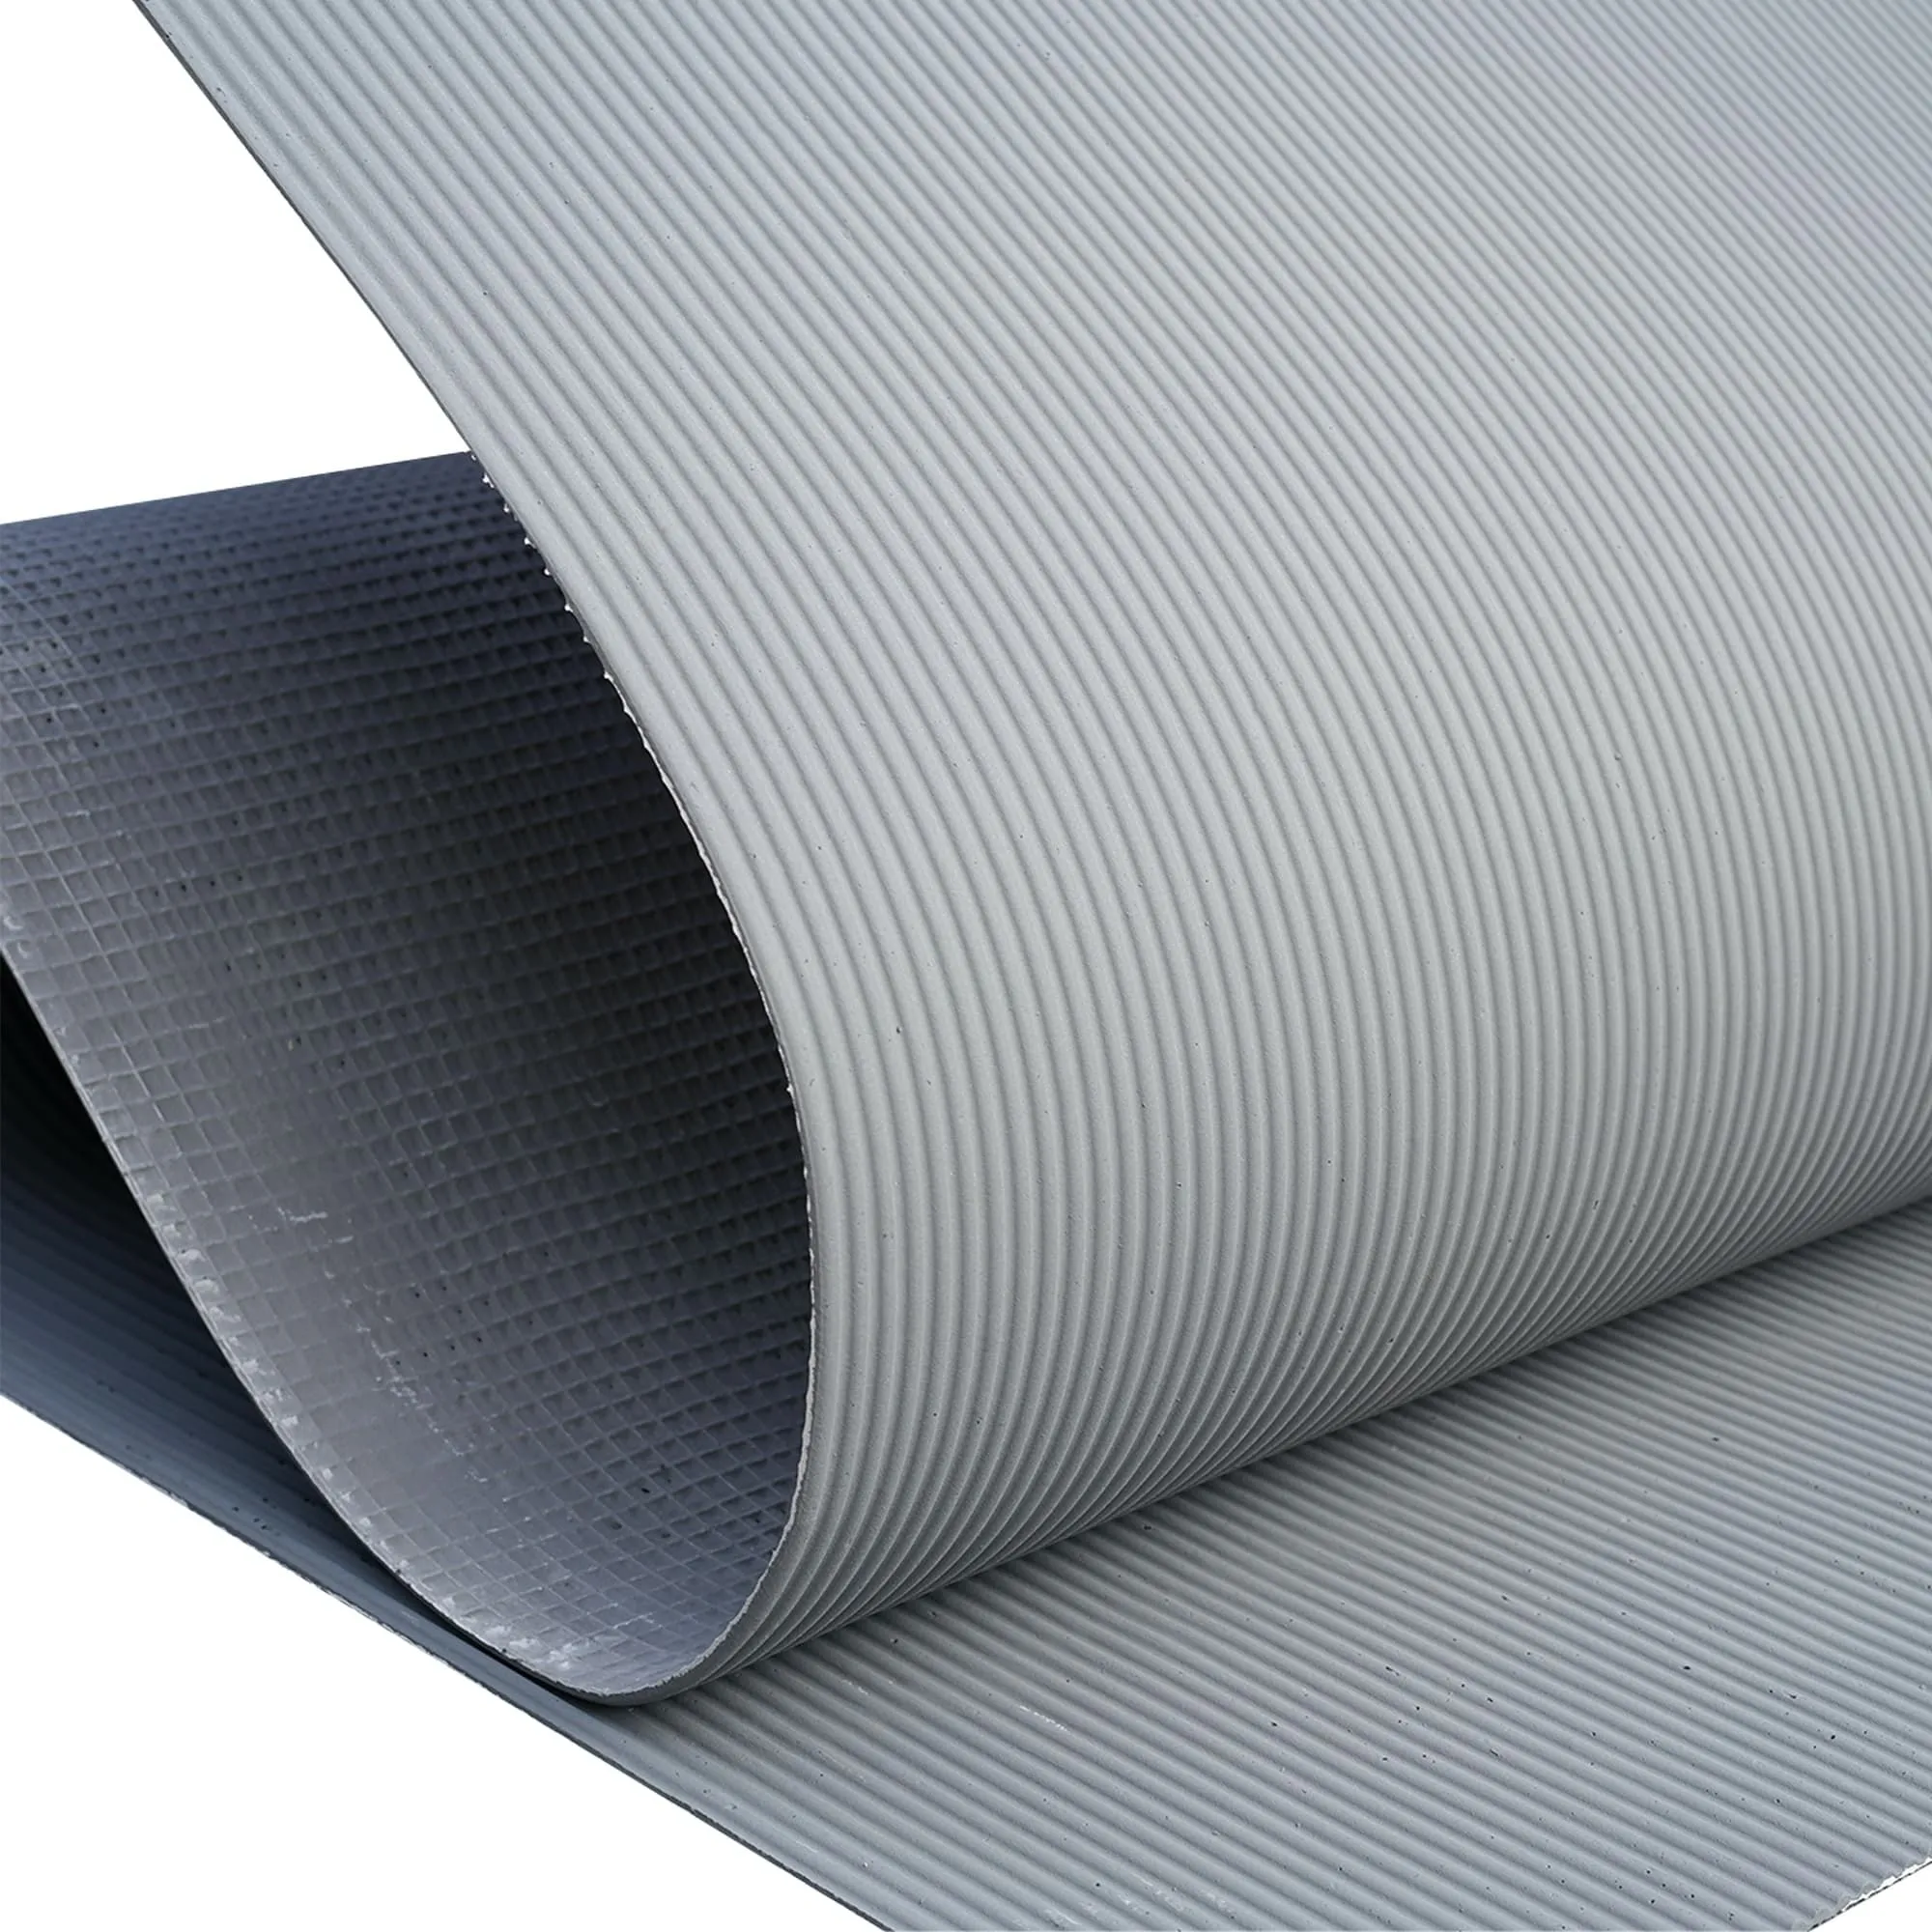
MCM is a revolutionary material developed through years of research and innovation. It's composed primarily of natural mineral powder, plant fibers, and other organic components, bonded with an advanced polymer. This unique composition gives MCM its distinct properties: it's lightweight, flexible, breathable, and incredibly durable. Unlike rigid ceramic tiles or heavy stone, MCM can bend and adapt to various surfaces, making it ideal for creative architectural designs and challenging installations.
Why Choose MCM Semicircle Boards? Benefits Galore!
The advantages of using MCM Semicircle Boards extend far beyond their aesthetic appeal. They are designed with both performance and planet in mind.
-
Exceptional Durability:
Resistant to UV, extreme temperatures, fire, water, and mold. They won't crack, peel, or fade, ensuring your investment lasts for decades.
-
Lightweight & Flexible:
Significantly lighter than traditional stone or ceramic, reducing structural load and making transportation and handling much easier. Their flexibility allows for installation on curved surfaces and minimizes breakage during handling.
-
Eco-Friendly & Sustainable:
This is one of their standout features. Our MCM products boast strong
green and environmentally friendly characteristics
. They are made from natural, non-toxic materials, consume minimal energy in production, and are recyclable. Choosing MCM helps reduce your project's carbon footprint.
-
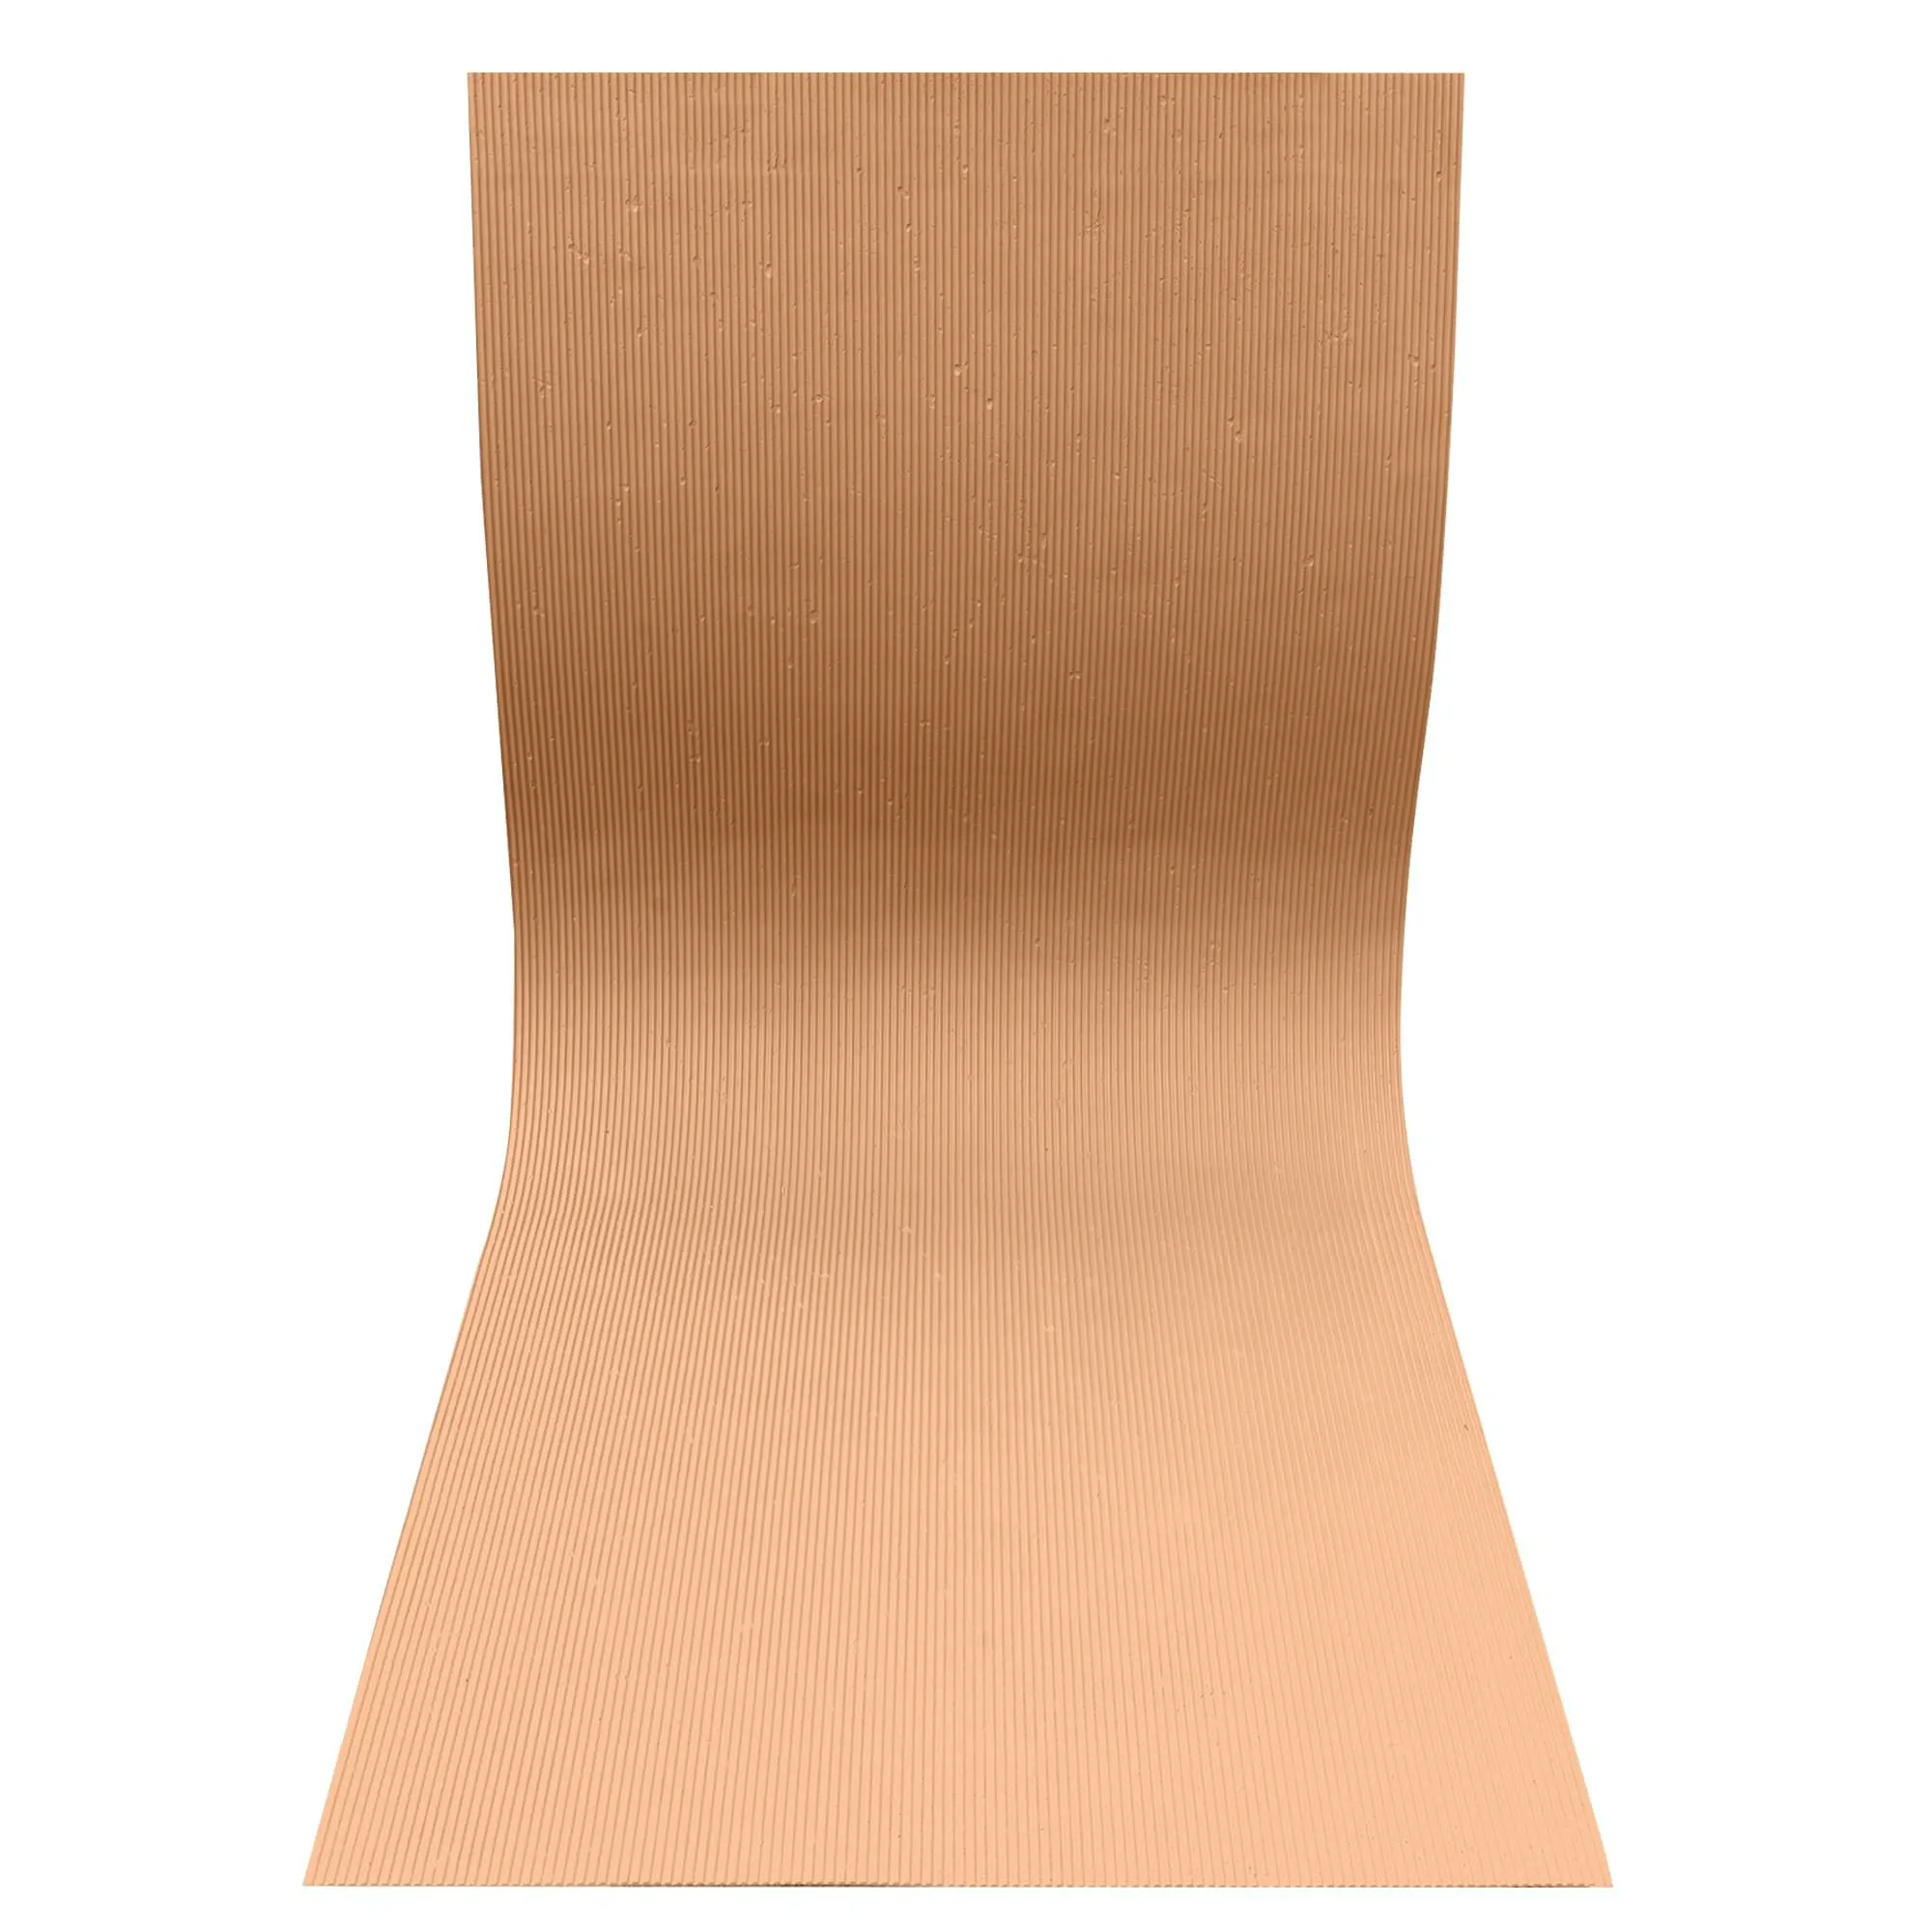
Versatile Aesthetics:
The semicircle profile allows for incredible design possibilities, from subtle textures to bold patterns. Combined with the vast array of colors and finishes available, it offers extensive
customization
options to match any design vision.
-
Easy Installation:
While requiring attention to detail, the process is generally simpler and faster than installing traditional heavy materials, especially for large areas.
-
Breathability:
MCM allows walls to breathe, preventing moisture buildup and promoting healthier indoor environments, reducing the risk of mold and mildew.
-
Low Maintenance:
Once installed, MCM Semicircle Boards require minimal upkeep, saving you time and money in the long run.
II. Essential Tools and Materials
A successful installation begins with having the right tools and materials at hand. Before you start, gather everything listed below. This will help streamline the process and prevent unnecessary delays.
A. Tools You'll Need
|
Tool
|
Purpose / Description
|
|
Measuring Tape
|
For accurate measurements of the installation area and cutting panels.
|
|
Level (Spirit Level or Laser Level)
|
Ensures your installation lines are perfectly straight and plumb. Essential for a professional finish.
|
|
Pencil or Chalk Line
|
For marking cutting lines and layout guides on the substrate.
|
|
Utility Knife / Snips / Scoring Tool
|
MCM can be cut with a heavy-duty utility knife by scoring and snapping. For more intricate cuts or smaller pieces, snips might be useful. A specialized scoring tool can make cleaner breaks.
|
|
Trowel (Notched Trowel)
|
For spreading adhesive evenly onto the substrate or the back of the board. A 3x3mm or 4x4mm notched trowel is commonly recommended for MCM.
|
|
Rubber Mallet
|
To gently tap the boards into place, ensuring good adhesive contact and proper alignment without damaging the surface.
|
|
Roller (Optional but Recommended)
|
A soft rubber roller can be used after placement to press the entire board firmly onto the adhesive, expelling air bubbles.
|
|
Grout Float (Optional)
|
If you choose to grout between boards, a rubber grout float is necessary.
|
|
Caulking Gun
|
For applying sealant or adhesive from tubes.
|
|
Mixing Bucket and Stirrer
|
If your adhesive requires mixing.
|
|
Cleaning Sponges/Cloths
|
For cleaning excess adhesive or grout.
|
|
Safety Glasses and Gloves
|
Always prioritize safety!
|
|
Dust Mask
|
If sanding or cutting creates dust.
|
B. Materials You'll Need
-
MCM Semicircle Boards:
Ensure you have enough boards for your project, plus about 10-15% extra for cuts and potential mistakes.
-
MCM Specific Adhesive:
COLORIA GROUP provides specially formulated adhesives that bond perfectly with our MCM products. Using a non-compatible adhesive can compromise the bond and longevity. Check product specifications for the recommended adhesive type (e.g., polymer-modified cementitious adhesive or specific acrylic-based adhesive).
-
Primer (if recommended):
Depending on your substrate, a primer might be necessary to improve adhesive bond. Consult your adhesive manufacturer's instructions.
-
Joint Filler/Grout (Optional):
If you want a seamless look or need to fill wider gaps, a flexible, color-matched joint filler designed for MCM is available. For very tight joints, this might not be necessary.
-
Sealant (for exterior applications or wet areas):
A high-quality, flexible, weather-resistant sealant (e.g., silicone or polyurethane-based) for perimeter joints and any areas exposed to moisture.
III. Preparation is Key: Laying the Groundwork
The success of your MCM Semicircle Board installation hinges heavily on meticulous preparation. Skimping on this stage can lead to frustrating issues down the line. Take your time here!
A. Surface Preparation
The substrate (the surface you're applying the boards to) must be clean, dry, sound, and level. MCM Semicircle Boards are relatively flexible, but they will conform to imperfections, which can look unsightly.
-
Clean the Surface:
Remove all dust, dirt, grease, oil, paint flakes, loose plaster, and any other contaminants. A thorough cleaning with a stiff brush and appropriate cleaner (if necessary) is essential. Rinse well and allow to dry completely.
-
Repair Imperfections:
Fill any cracks, holes, or divots with a suitable patching compound. For uneven surfaces, a skim coat of leveling compound might be required to create a smooth, flat plane. Allow all repairs to cure fully.
-
Ensure Dryness:
The substrate must be completely dry. Moisture can prevent the adhesive from bonding correctly and can lead to future problems. Use a moisture meter if in doubt, especially for concrete or new plaster.
-
Apply Primer (if needed):
If your adhesive manufacturer or substrate type recommends a primer, apply it now according to the product instructions. Priming helps seal porous surfaces and improves adhesive grab. Allow adequate drying time.
Warning:
Never install MCM Semicircle Boards on a damp or unstable surface. This will lead to delamination and failure of the installation.
B. Planning Your Layout
Good planning minimizes waste and ensures a visually appealing result. The unique semicircle shape requires a bit more thought than standard square tiles.
-
Measure and Sketch:
Accurately measure the entire area where the boards will be installed. Sketch the area on paper and plan your layout. Consider where full boards will be placed and where cuts will be necessary. Try to avoid very thin slivers at edges if possible, as these are harder to cut and install.
-
Find Your Starting Point:
For most wall installations, it's best to start from the center of the wall and work outwards. This helps ensure symmetry and distributes cut pieces evenly to the corners, making them less noticeable. Alternatively, for exterior applications, starting from a prominent corner or architectural feature might be preferred. Use your level to draw a perfectly straight horizontal starting line.
-
Dry Lay (Optional but Recommended):
If your project has complex angles or patterns, consider a dry lay. Arrange some boards on the floor or a large flat surface to visualize the pattern and identify any challenging cuts or potential issues before committing to adhesive.
-
Consider Joint Lines:
Decide on your desired joint width. MCM Semicircle Boards can be installed with very tight joints (almost seamless) or with a small gap for grouting, depending on the aesthetic you're aiming for and the product's specifications. The natural flexibility means minor variations can be absorbed.
Pro Tip:
When planning, remember the repeating nature of the semicircle. Play with the orientation (e.g., all facing up, alternating, or even a staggered pattern) to create different visual effects. This is where the
customization
potential really shines!
IV. The Installation Process: Step-by-Step
With your surface prepped and layout planned, you're ready for the main event. Follow these steps carefully for a smooth and successful installation.
Step 1: Prepare the Adhesive
-
Mix According to Instructions:
If your adhesive is a powder, mix it with water according to the manufacturer's precise ratios. Use a mixing drill with a paddle attachment for thorough blending, ensuring a consistent, lump-free consistency similar to peanut butter or thick yogurt.
-
Allow to Slake:
Many adhesives require a "slaking" period (typically 5-10 minutes) after initial mixing. This allows the polymers to fully hydrate. After slaking, give it a quick re-stir.
-
Work in Small Batches:
Adhesive has an open time (the period it remains workable). Only mix as much adhesive as you can comfortably apply and set boards within this timeframe (usually 20-30 minutes).
Step 2: Apply the Adhesive
-
Spread Evenly:
Using your notched trowel, apply the adhesive to a manageable section of the wall (about 2-3 square feet at a time). Hold the trowel at a 45-degree angle to create consistent ridges.
-
Back-Butter (Recommended):
For optimal adhesion and to prevent voids, it's highly recommended to "back-butter" the back of each MCM Semicircle Board as well. Apply a thin, even layer of adhesive to the entire back surface of the board using the flat side of the trowel. This ensures 100% contact between the board and the adhesive on the wall.
-
Check for Open Time:
Pay close attention to the adhesive's "open time." If the adhesive skins over before you place a board, scrape it off and apply fresh adhesive.
Note:
Some MCM adhesives are designed for application directly to the board only (dot-and-dab method for smaller pieces) or directly to the wall. Always follow the specific instructions for the adhesive you are using.
Step 3: Place the MCM Semicircle Boards
-
Align Carefully:
Starting from your marked guideline, gently press the first board into the wet adhesive. Ensure it is perfectly aligned with your starting line.
-
Press Firmly & Tap:
Once positioned, press the board firmly into the adhesive. Use a rubber mallet to gently tap the entire surface of the board, working from the center outwards. This helps to collapse the adhesive ridges, ensures full contact, and expels any trapped air.
-
Maintain Spacing:
As you lay subsequent boards, maintain your desired joint spacing. For a very tight, near-seamless look, simply butt the edges together firmly. For wider joints, use spacers if necessary. The inherent flexibility of MCM allows for slight adjustments.
-
Check for Level and Plumb:
Periodically step back and use your level to check that the boards are staying perfectly horizontal and vertical. Make minor adjustments immediately while the adhesive is still wet.
-
Clean Excess Adhesive:
Immediately wipe away any excess adhesive that squeezes out from the joints or gets onto the face of the boards using a damp sponge or cloth. Once cured, MCM adhesive can be very difficult to remove without damaging the board's surface.
Step 4: Cutting MCM Semicircle Boards
You will inevitably need to cut boards to fit around corners, edges, and obstacles.
-
Measure Precisely:
Measure the exact dimensions required for the cut piece. Double-check your measurements.
-
Mark the Cut Line:
Transfer your measurements to the MCM board using a pencil.
-
Scoring and Snapping:
For straight cuts, place the board on a flat, stable surface. Use a heavy-duty utility knife or scoring tool and a straightedge to score the board deeply along the cut line multiple times. Once scored deeply enough, you can usually snap the board cleanly along the line. For thicker MCM, you might need to cut all the way through.
-
Curved/Irregular Cuts:
For more complex shapes, you can use heavy-duty snips, a jigsaw with a fine-tooth blade, or even a grinder with a diamond blade (for very precise or thicker material), though dust precautions are essential with the latter. Practice on scrap pieces if you're new to cutting MCM.
-
Smooth Edges:
After cutting, you can gently sand any rough edges with fine-grit sandpaper to achieve a cleaner finish, especially for exposed edges.
Step 5: Continue Laying and Finishing Sections
-
Work Systematically:
Continue working in manageable sections, ensuring each board is properly adhered and aligned before moving to the next.
-
Corners and Edges:
For outside corners, you can butt the edges of the boards together for a crisp look or use a mitered joint if preferred. For inside corners, leave a small expansion gap (around 3mm) that will be filled with sealant.
-
Allow to Cure:
Once all boards are installed, allow the adhesive to cure fully. This typically takes 24-48 hours, depending on humidity, temperature, and adhesive type. Do not disturb the boards during this time.
V. Post-Installation: The Finishing Touches
Once the boards are securely in place and the adhesive has cured, a few final steps will complete your beautiful new surface.
A. Grouting (Optional)
If you chose to leave wider joints between your MCM Semicircle Boards, now is the time to grout.
-
Choose the Right Grout:
Use a flexible, polymer-modified grout that is compatible with MCM and designed for your application (interior/exterior, wet/dry areas). Choose a color that complements your boards.
-
Mix the Grout:
Follow the manufacturer's instructions for mixing. It should be a smooth, workable consistency.
-
Apply Grout:
Using a rubber grout float, spread the grout diagonally across the joints, pressing it firmly into the gaps to ensure they are fully packed. Work in small sections.
-
Clean Excess Grout:
After applying grout to a section, wait for it to partially set (it will start to haze). Then, use a damp (not soaking wet) sponge to carefully wipe away excess grout from the board surfaces. Rinse your sponge frequently. Be gentle to avoid pulling grout out of the joints.
-
Hazing Removal:
Once the grout is fully dry, a light haze might remain on the boards. Buff this off with a clean, dry cloth.
B. Sealing (Especially for Exterior/Wet Areas)
For
exterior wall decoration
or areas prone to moisture (e.g., bathrooms, kitchens), applying a sealant is a crucial protective step.
-
Perimeter Joints:
Apply a bead of flexible, weather-resistant sealant (e.g., silicone or polyurethane) to all perimeter joints, inside corners, and around any fixtures, windows, or doors. This creates a waterproof and expansion-friendly seal. Smooth the sealant with a gloved finger or a tooling stick for a neat finish.
-
Surface Sealer (Optional but Recommended for High Traffic/Exposure):
While MCM is inherently water-resistant, a breathable surface sealer can offer enhanced protection against staining and prolonged moisture exposure, especially for exterior use in harsh climates or high-traffic interior areas. Ensure the sealer is compatible with MCM and allows the material to breathe. Apply according to product directions.

VI. Maintenance and Care
One of the great advantages of MCM Semicircle Boards is their low maintenance. A little care goes a long way in keeping your installation looking pristine for years.
-
Regular Cleaning:
For interior surfaces, a simple wipe-down with a damp cloth or sponge is usually sufficient. For exterior surfaces, occasional rinsing with water from a garden hose can remove accumulated dust and dirt.
-
Avoid Harsh Cleaners:
Do not use abrasive cleaners, strong acids, or solvents, as these can damage the MCM surface. Mild, pH-neutral cleaners are best if deeper cleaning is required.
-
Address Stains Promptly:
If spills occur, clean them up immediately to prevent staining, especially on unsealed surfaces.
-
Inspect Periodically:
For exterior installations, periodically check sealant lines and joints for any signs of wear or cracking. Reapply sealant as needed to maintain water integrity.
VII. Troubleshooting Common Issues
Even with the best preparation, minor issues can arise. Here's how to tackle some common challenges:
A. Boards Not Sticking Properly
-
Cause:
Insufficient adhesive coverage, adhesive dried before board placement (exceeded open time), dusty or wet substrate, incorrect adhesive type.
-
Solution:
Remove the affected board, scrape off all old adhesive from both the board and the wall, clean and dry the area, reapply fresh adhesive (ensuring full coverage and back-buttering), and press the board firmly. Work in smaller sections to manage open time.
B. Uneven Joints or Misalignment
-
Cause:
Starting line wasn't level, rushing installation, not checking alignment frequently, uneven pressure during placement.
-
Solution:
If the adhesive is still wet, gently pry off the board, clean it, and reposition it carefully using your level as a guide. If cured, it might be challenging to correct. Prevention through careful layout and frequent checks is key.
C. Adhesive Squeeze-out on Board Face
-
Cause:
Too much adhesive applied, or not wiping off immediately.
-
Solution:
If wet, wipe immediately with a damp sponge. If dried, carefully try to scrape it off with a plastic scraper (avoiding metal that could scratch the board). For stubborn dried adhesive, specialized removers exist but test them on an inconspicuous area first. Prevention is best.
D. Chipped Edges After Cutting
-
Cause:
Scoring not deep enough, snapping too forcefully, using a dull utility knife, incorrect cutting tool.
-
Solution:
For minor chips, you can gently sand the edge smooth with fine-grit sandpaper. If the chip is significant, discard the piece and re-cut a new one. Ensure your cutting tools are sharp and score deeply.
VIII. Why COLORIA GROUP is Your Trusted Partner
At COLORIA GROUP, we don't just sell building materials; we provide comprehensive solutions. Our commitment to innovation, quality, and customer satisfaction sets us apart. When you choose our MCM Semicircle Boards, you're not just getting a superior product; you're gaining a partner who understands your project needs from start to finish.
-
Expertise You Can Trust:
With decades of industry experience, especially in global markets and regions like Saudi Arabia, we bring unparalleled knowledge to every product we offer.
-
Holistic Support:
As a true **one-stop solution provider**, we offer not only cutting-edge products like our MCM Semicircle Boards but also the technical guidance, recommended accessories (like adhesives), and support you need for a seamless project.
-
Sustainable Innovation:
Our focus on
green and environmentally friendly characteristics
means you're investing in products that are good for your project and good for the planet. Our entire
MCM (Modified Cementitious Material) series products
stand as a testament to this commitment.
-
Unmatched
Customization
:
From our MCM Big Slab Board Series to our MCM 3D Printing Series and MCM Flexible Stone, we offer a vast range of options to bring your unique design visions to life for
interior and exterior wall decoration
.
IX. Conclusion: Your Stunning MCM Semicircle Board Project Awaits!
Congratulations! You've navigated the comprehensive guide to installing COLORIA GROUP's MCM Semicircle Boards. By following these detailed steps, paying close attention to preparation, and exercising patience, you are well on your way to creating a truly spectacular and durable surface.
Remember, the beauty of MCM lies not just in its stunning aesthetics and performance but also in its versatility and sustainability. Whether you're enhancing a residential living space or a commercial facade, our MCM Semicircle Boards offer a modern, eco-conscious choice that will impress for years to come.
Should you have any further questions or require specialized advice for your specific project, don't hesitate to consult COLORIA GROUP's technical experts. We are here to support you every step of the way, ensuring your architectural dreams become a beautiful reality. Happy installing!


