
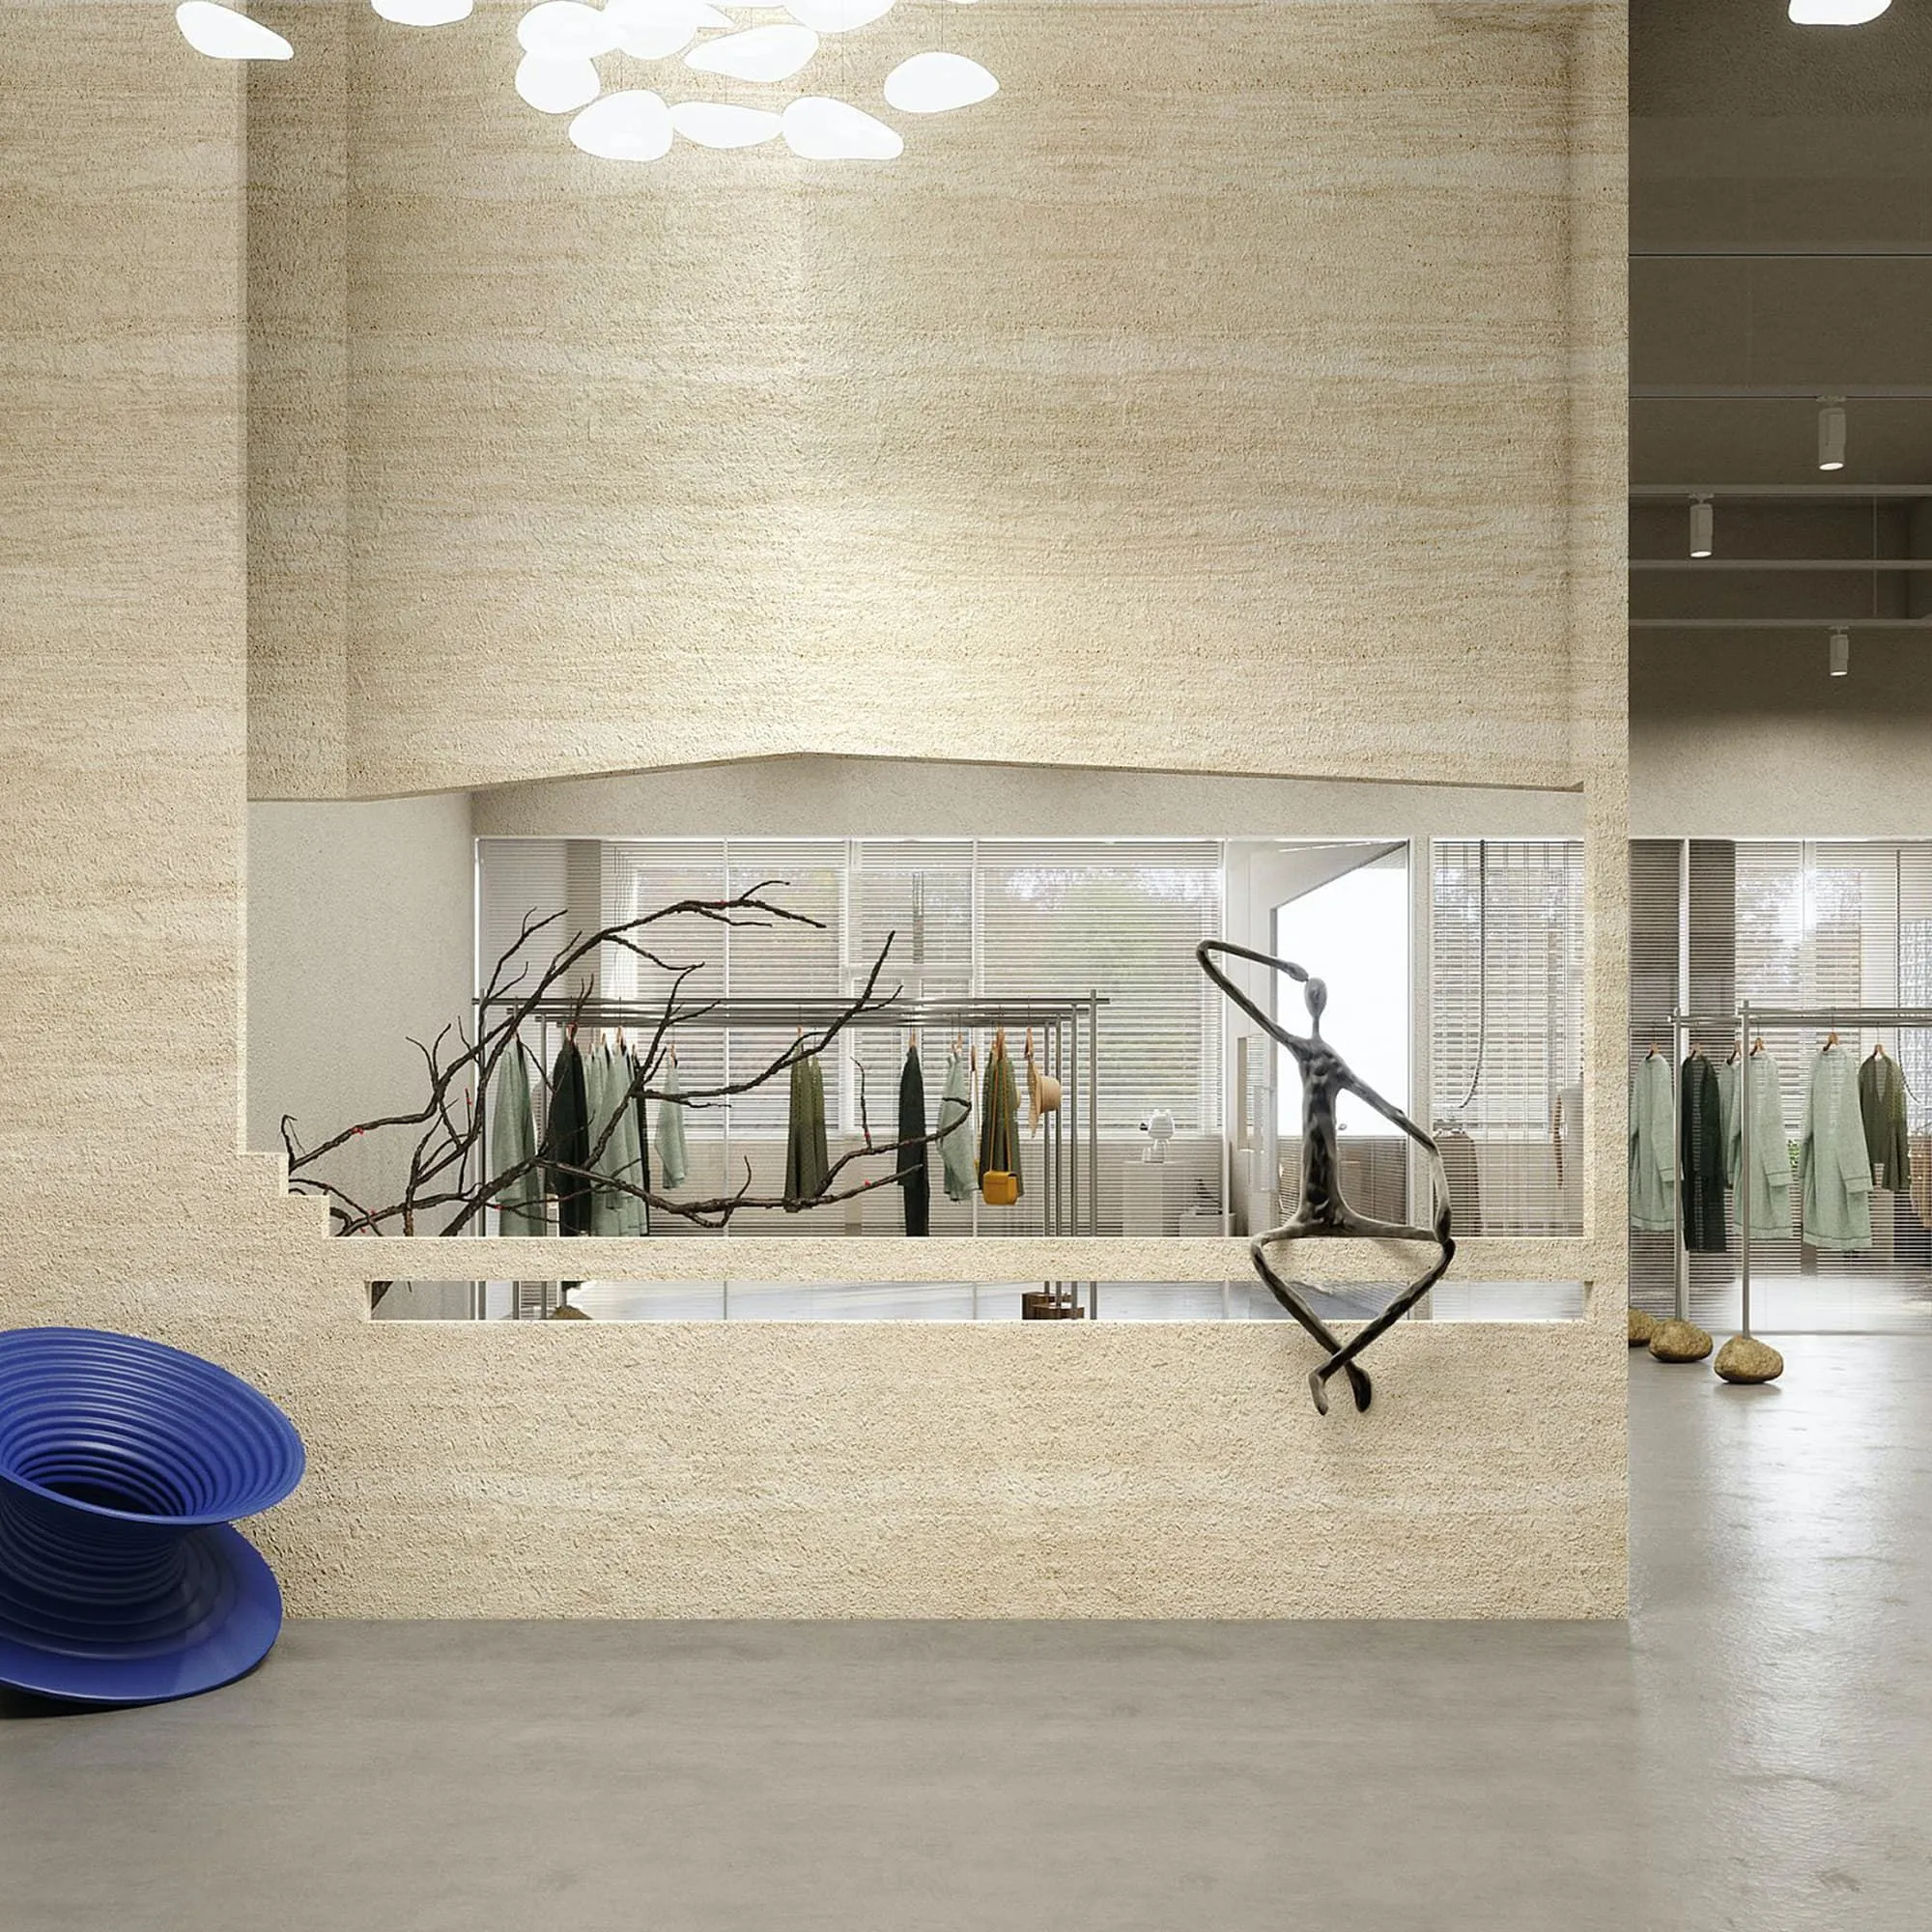
There's a reason MCM Wood Line has become a go-to for designers and DIY enthusiasts alike: it marries the timeless allure of wood grain with the durability of modern composite materials. Whether you're cladding a living room accent wall, revamping a kitchen backsplash, or upgrading your outdoor patio, getting the installation right is the key to unlocking its full potential—both in looks and longevity. In this guide, we'll walk through the steps to ensure your MCM Wood Line panels stick strong and look stunning for years to come, with tips that apply whether you're a seasoned pro or tackling your first home project.
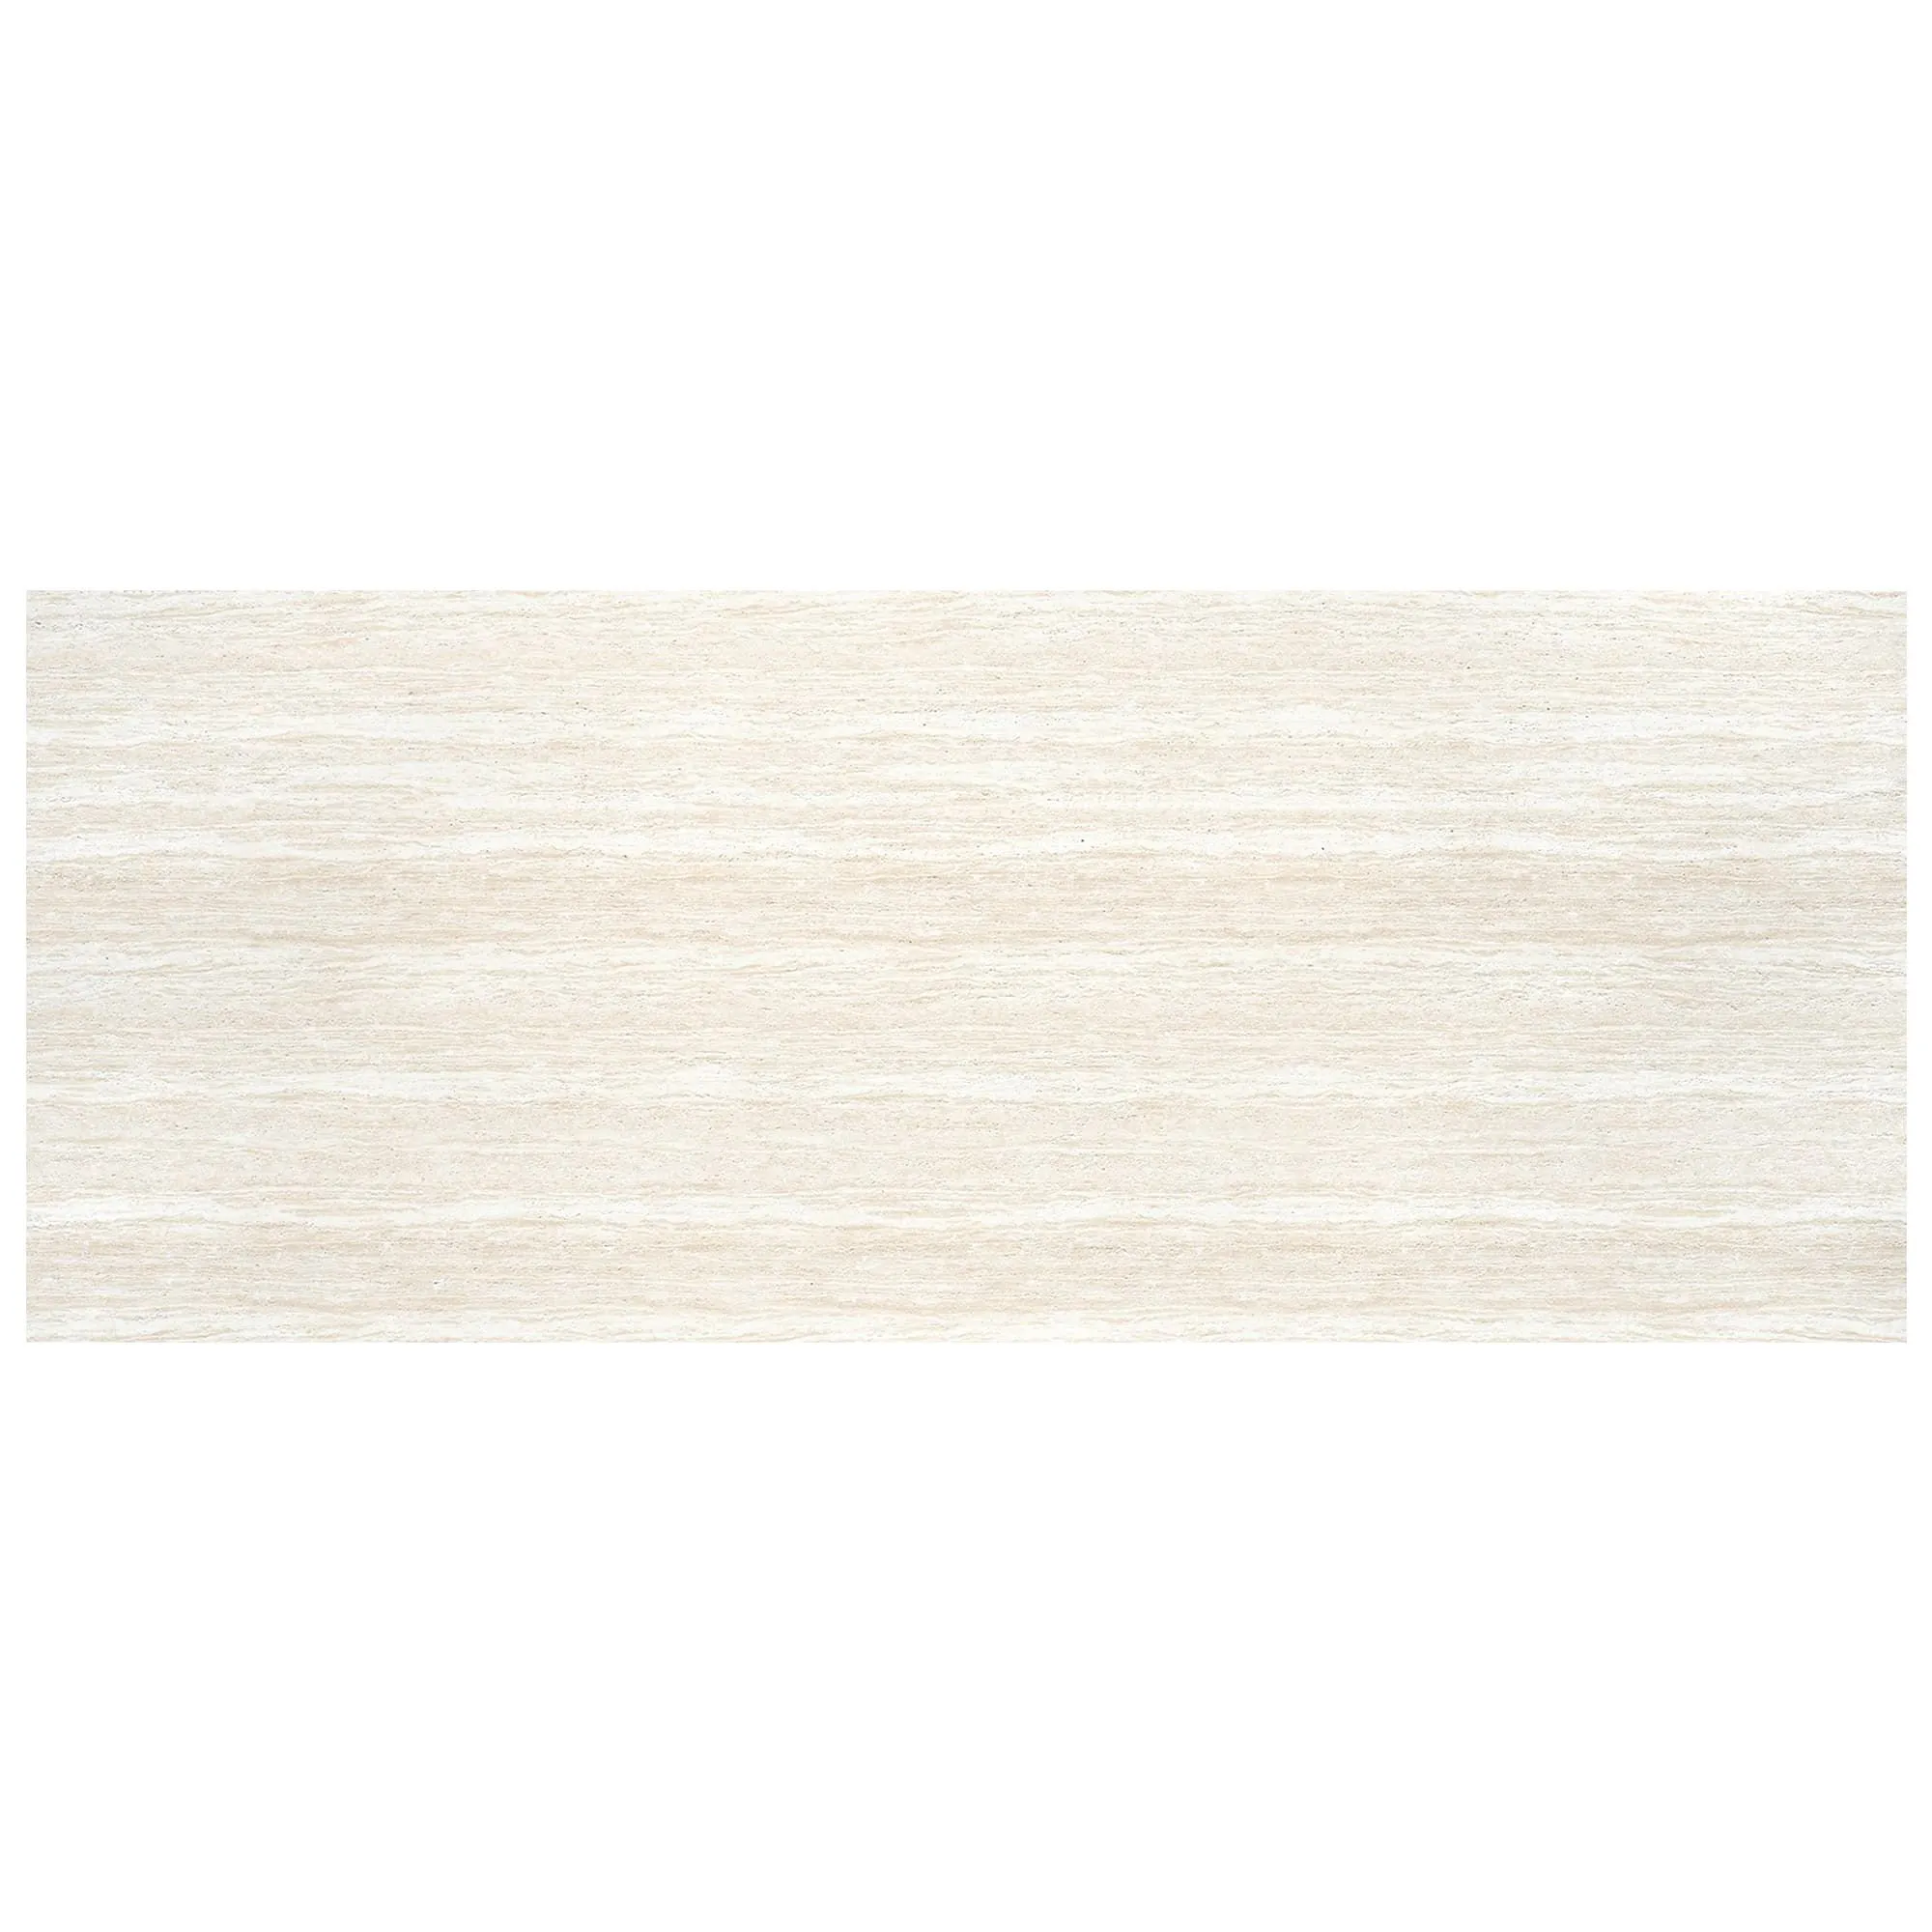
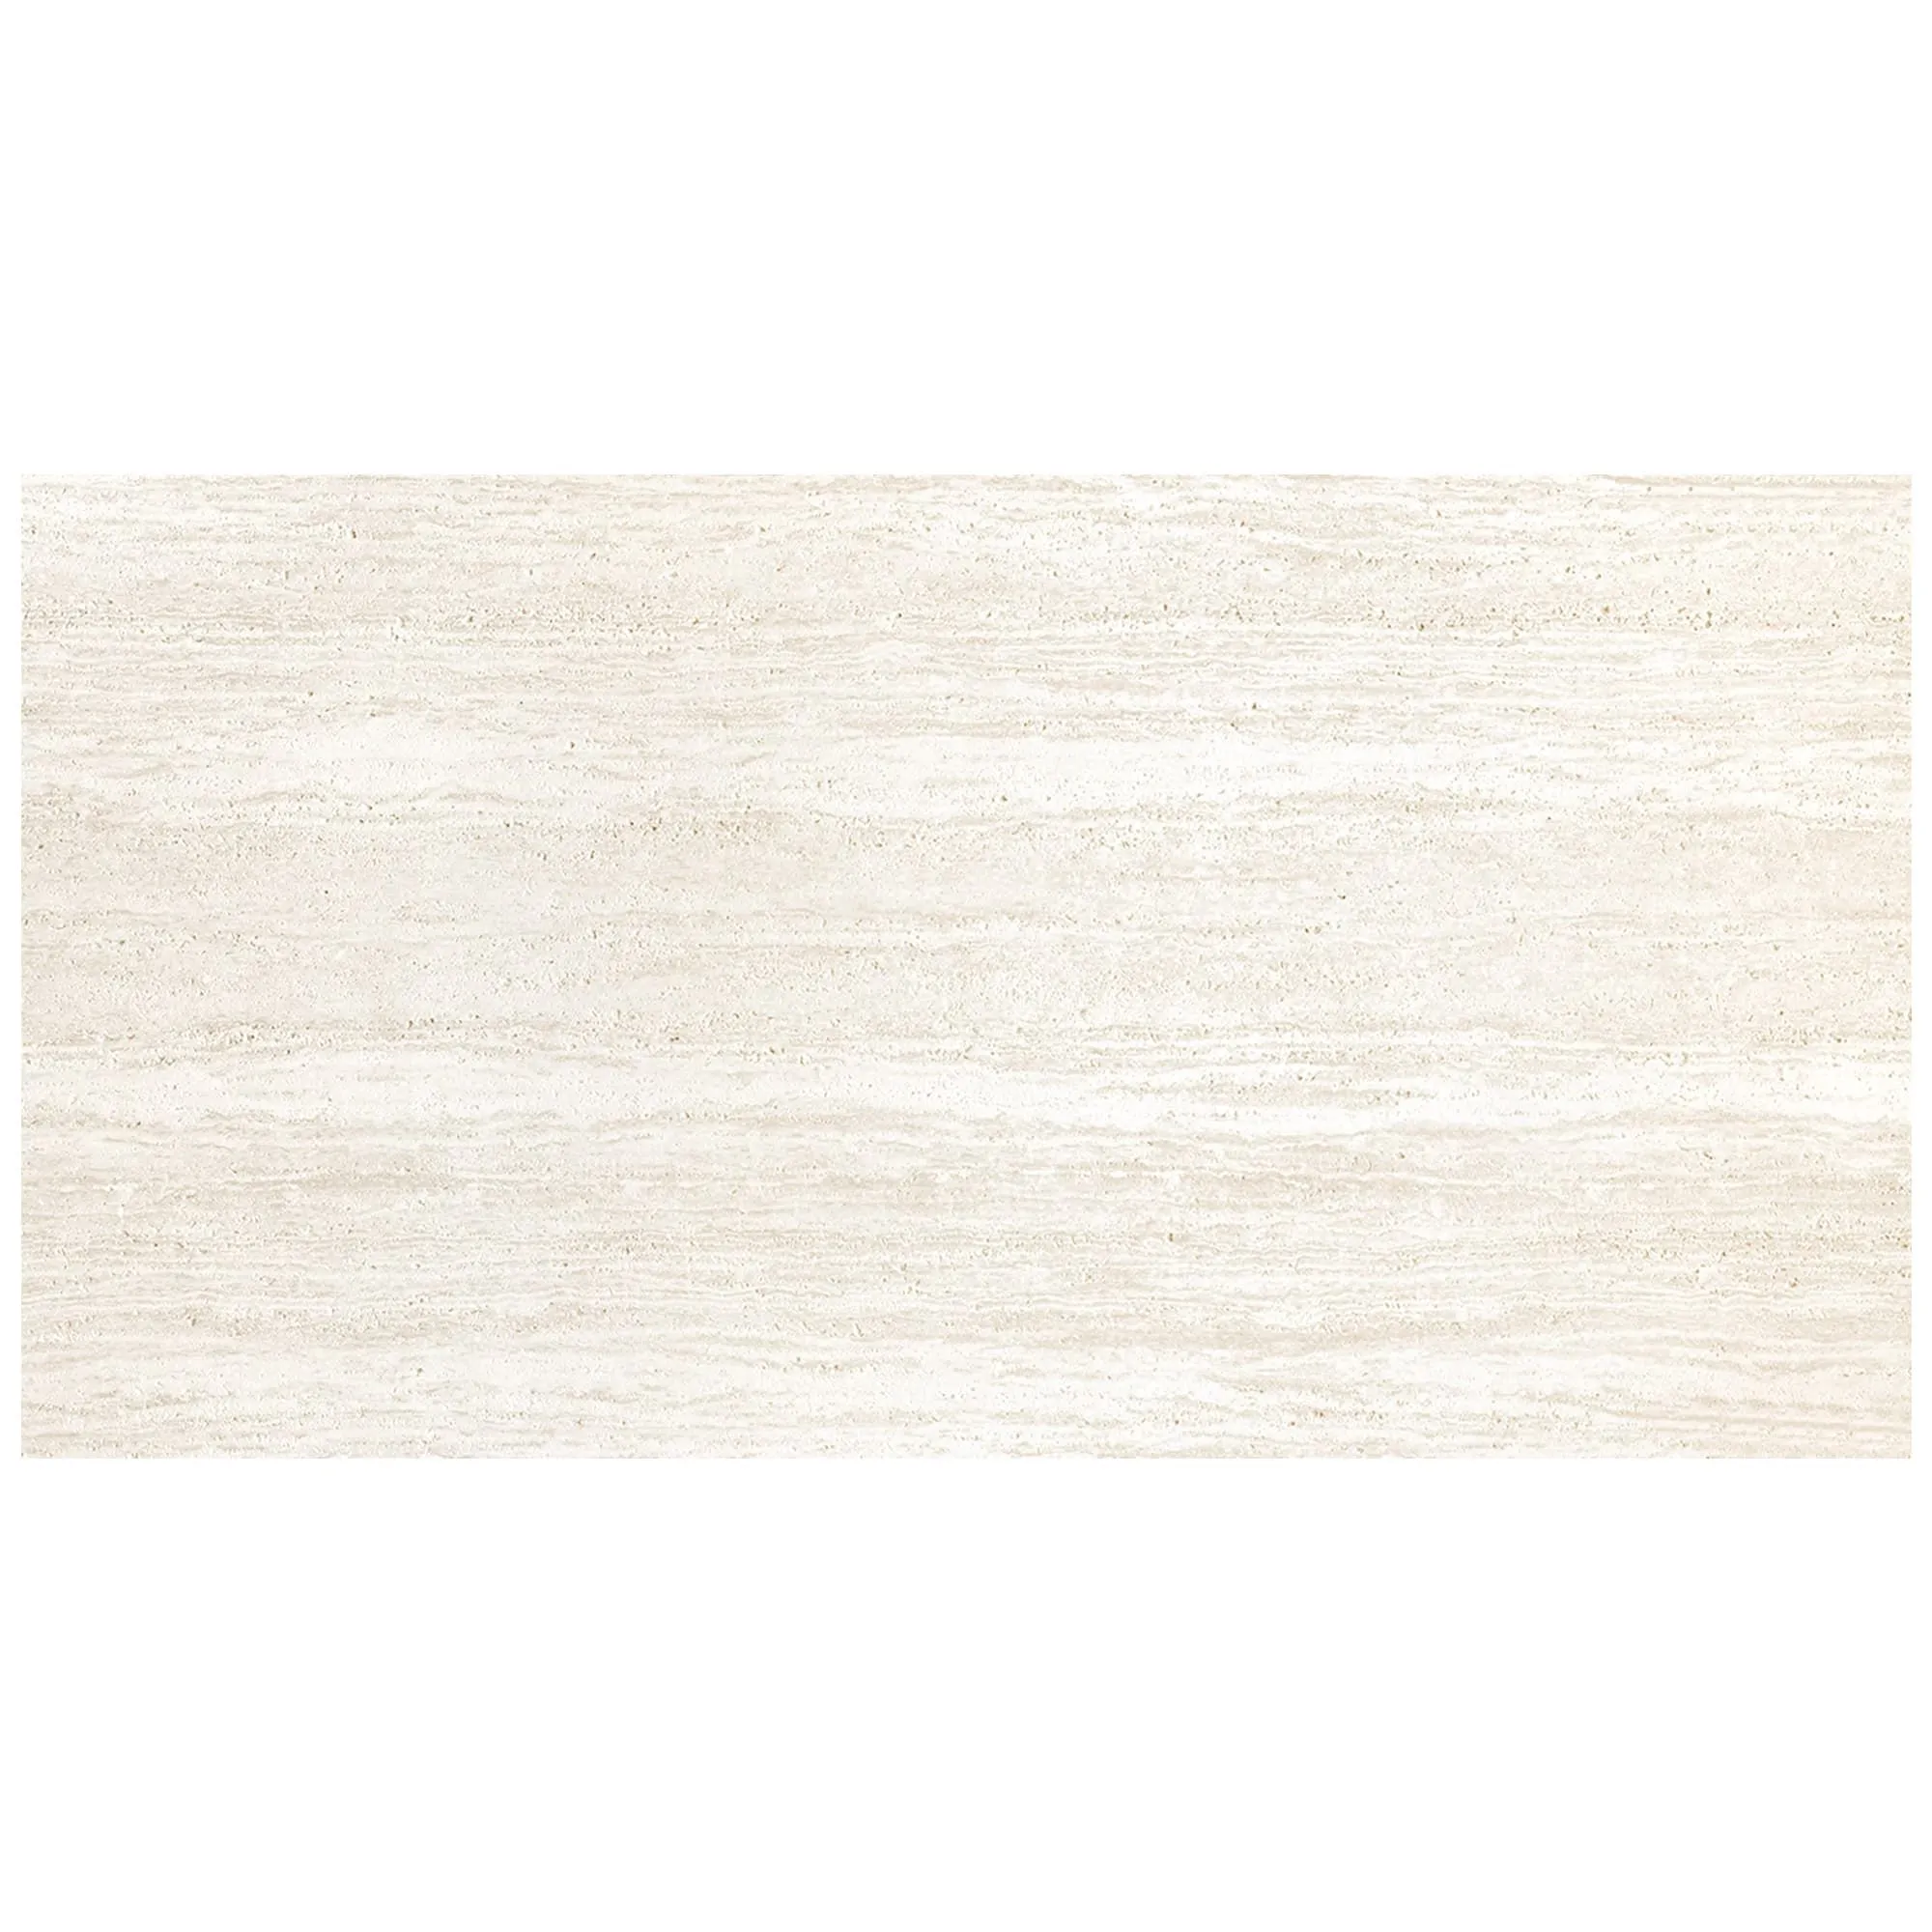
Before diving into tools and adhesives, let's talk about what makes MCM Wood Line special. Unlike traditional wood panels or even rigid alternatives like Fair-Faced Concrete , MCM (Modified Composite Material) panels are flexible, lightweight, and engineered to resist the usual culprits that plague natural materials: moisture, UV rays, and daily wear. Think of it as wood's high-performance cousin—same warm, organic texture, but built to handle a busy household, a rainy climate, or even a commercial space with heavy foot traffic.
One of the perks? It plays well with others. Pair MCM Wood Line with complementary materials like Wood Grain Board for a layered, textured look, or contrast it with the sleekness of Travertine (Beige) tiles for a modern rustic vibe. Its versatility means it fits just as easily in a minimalist apartment as it does in a countryside cottage—but none of that matters if the panels start peeling or warping six months down the line. That's where adhesion comes in.
You wouldn't bake a cake without preheating the oven, and installing MCM Wood Line is no different. Start by rounding up the essentials: a measuring tape, pencil, straightedge, utility knife or jigsaw (with a fine-tooth blade to avoid splintering), a notched trowel (size depends on panel thickness—check the manufacturer's specs), a rubber mallet, and a level. For materials, you'll need a high-quality construction adhesive (we'll dive into choosing the right one later), a primer (if recommended for your surface), and a sealant for finishing. Pro tip: Grab a lint-free cloth and a bucket of warm, soapy water now—you'll thank yourself later for cleaning up spills quickly.
Adhesion starts with the surface. Even the best adhesive won't stick to a dirty, uneven, or damaged substrate. Let's break down how to prep common surfaces—use the table below as a quick reference:
| Surface Type | Prep Steps | Common Issues | Solutions |
|---|---|---|---|
| Concrete (Indoor/Outdoor) | 1. Sweep/vacuum to remove dust. 2. Wash with pH-neutral cleaner. 3. Etch glossy surfaces with muriatic acid (diluted). 4. Repair cracks with concrete filler; let dry 24hrs. | Oil stains, uneven texture, residual paint | Use degreaser for stains; sand rough areas; scrape loose paint before cleaning. |
| Drywall | 1. Wipe with damp cloth to remove dust. 2. Fill nail holes with spackle; sand smooth. 3. Prime with drywall primer if surface is new/unpainted. | Soft spots, uneven seams | Reinforce soft areas with joint compound; tape and mud seams for a flat finish. |
| Plywood/OSB | 1. Sand lightly to rough up the surface (adhesive sticks better to slightly textured wood). 2. Wipe away dust with a tack cloth. 3. Seal knots with shellac to prevent bleeding. | Warping, splinters, moisture damage | replace warped sections; sand splinters smooth; ensure wood is dry (use a moisture meter—aim for <12%). |
| Existing Tile | 1. Clean grout lines with a stiff brush and tile cleaner. 2. Check for loose tiles; reattach with tile adhesive if needed. 3. Sand glazed tiles lightly to create grip. | Grout haze, loose tiles, smooth glaze | Use a grout haze remover; replace cracked tiles; avoid installing over uneven or damaged substrates. |
The golden rule? Your surface should be clean, dry, and flat . Even minor bumps or dips can cause panels to lift over time, so take the extra hour to sand, fill, or level—your future self (and your walls) will appreciate it.
Not all adhesives are created equal, and MCM Wood Line's flexibility means it needs a bond that can move with it (unlike rigid materials like Lunar Peak Silvery , which rely on mechanical fasteners). Here's how to pick the best adhesive for your project:
This is your workhorse. Polymer-modified adhesives (look for labels like "tile mastic" or "construction adhesive for composite panels") offer strong initial grab and long-term flexibility, making them ideal for MCM Wood Line. They work on concrete, drywall, and plywood, and cure well in both indoor and outdoor temperatures (just avoid installing if it's below 50°F or raining—adhesive needs time to set without water interference).
If you're installing panels on a vertical surface (like a wall) and want to avoid temporary supports, a low-expansion spray foam adhesive can help. Apply small beads along the back of the panel, press firmly, and hold for 30 seconds—just don't overdo it, as excess foam can seep out and mar the finish.
Pro tip: Always check the MCM Wood Line manufacturer's recommendations. Some panels require a specific adhesive to maintain warranty coverage, and using the wrong one could void it.

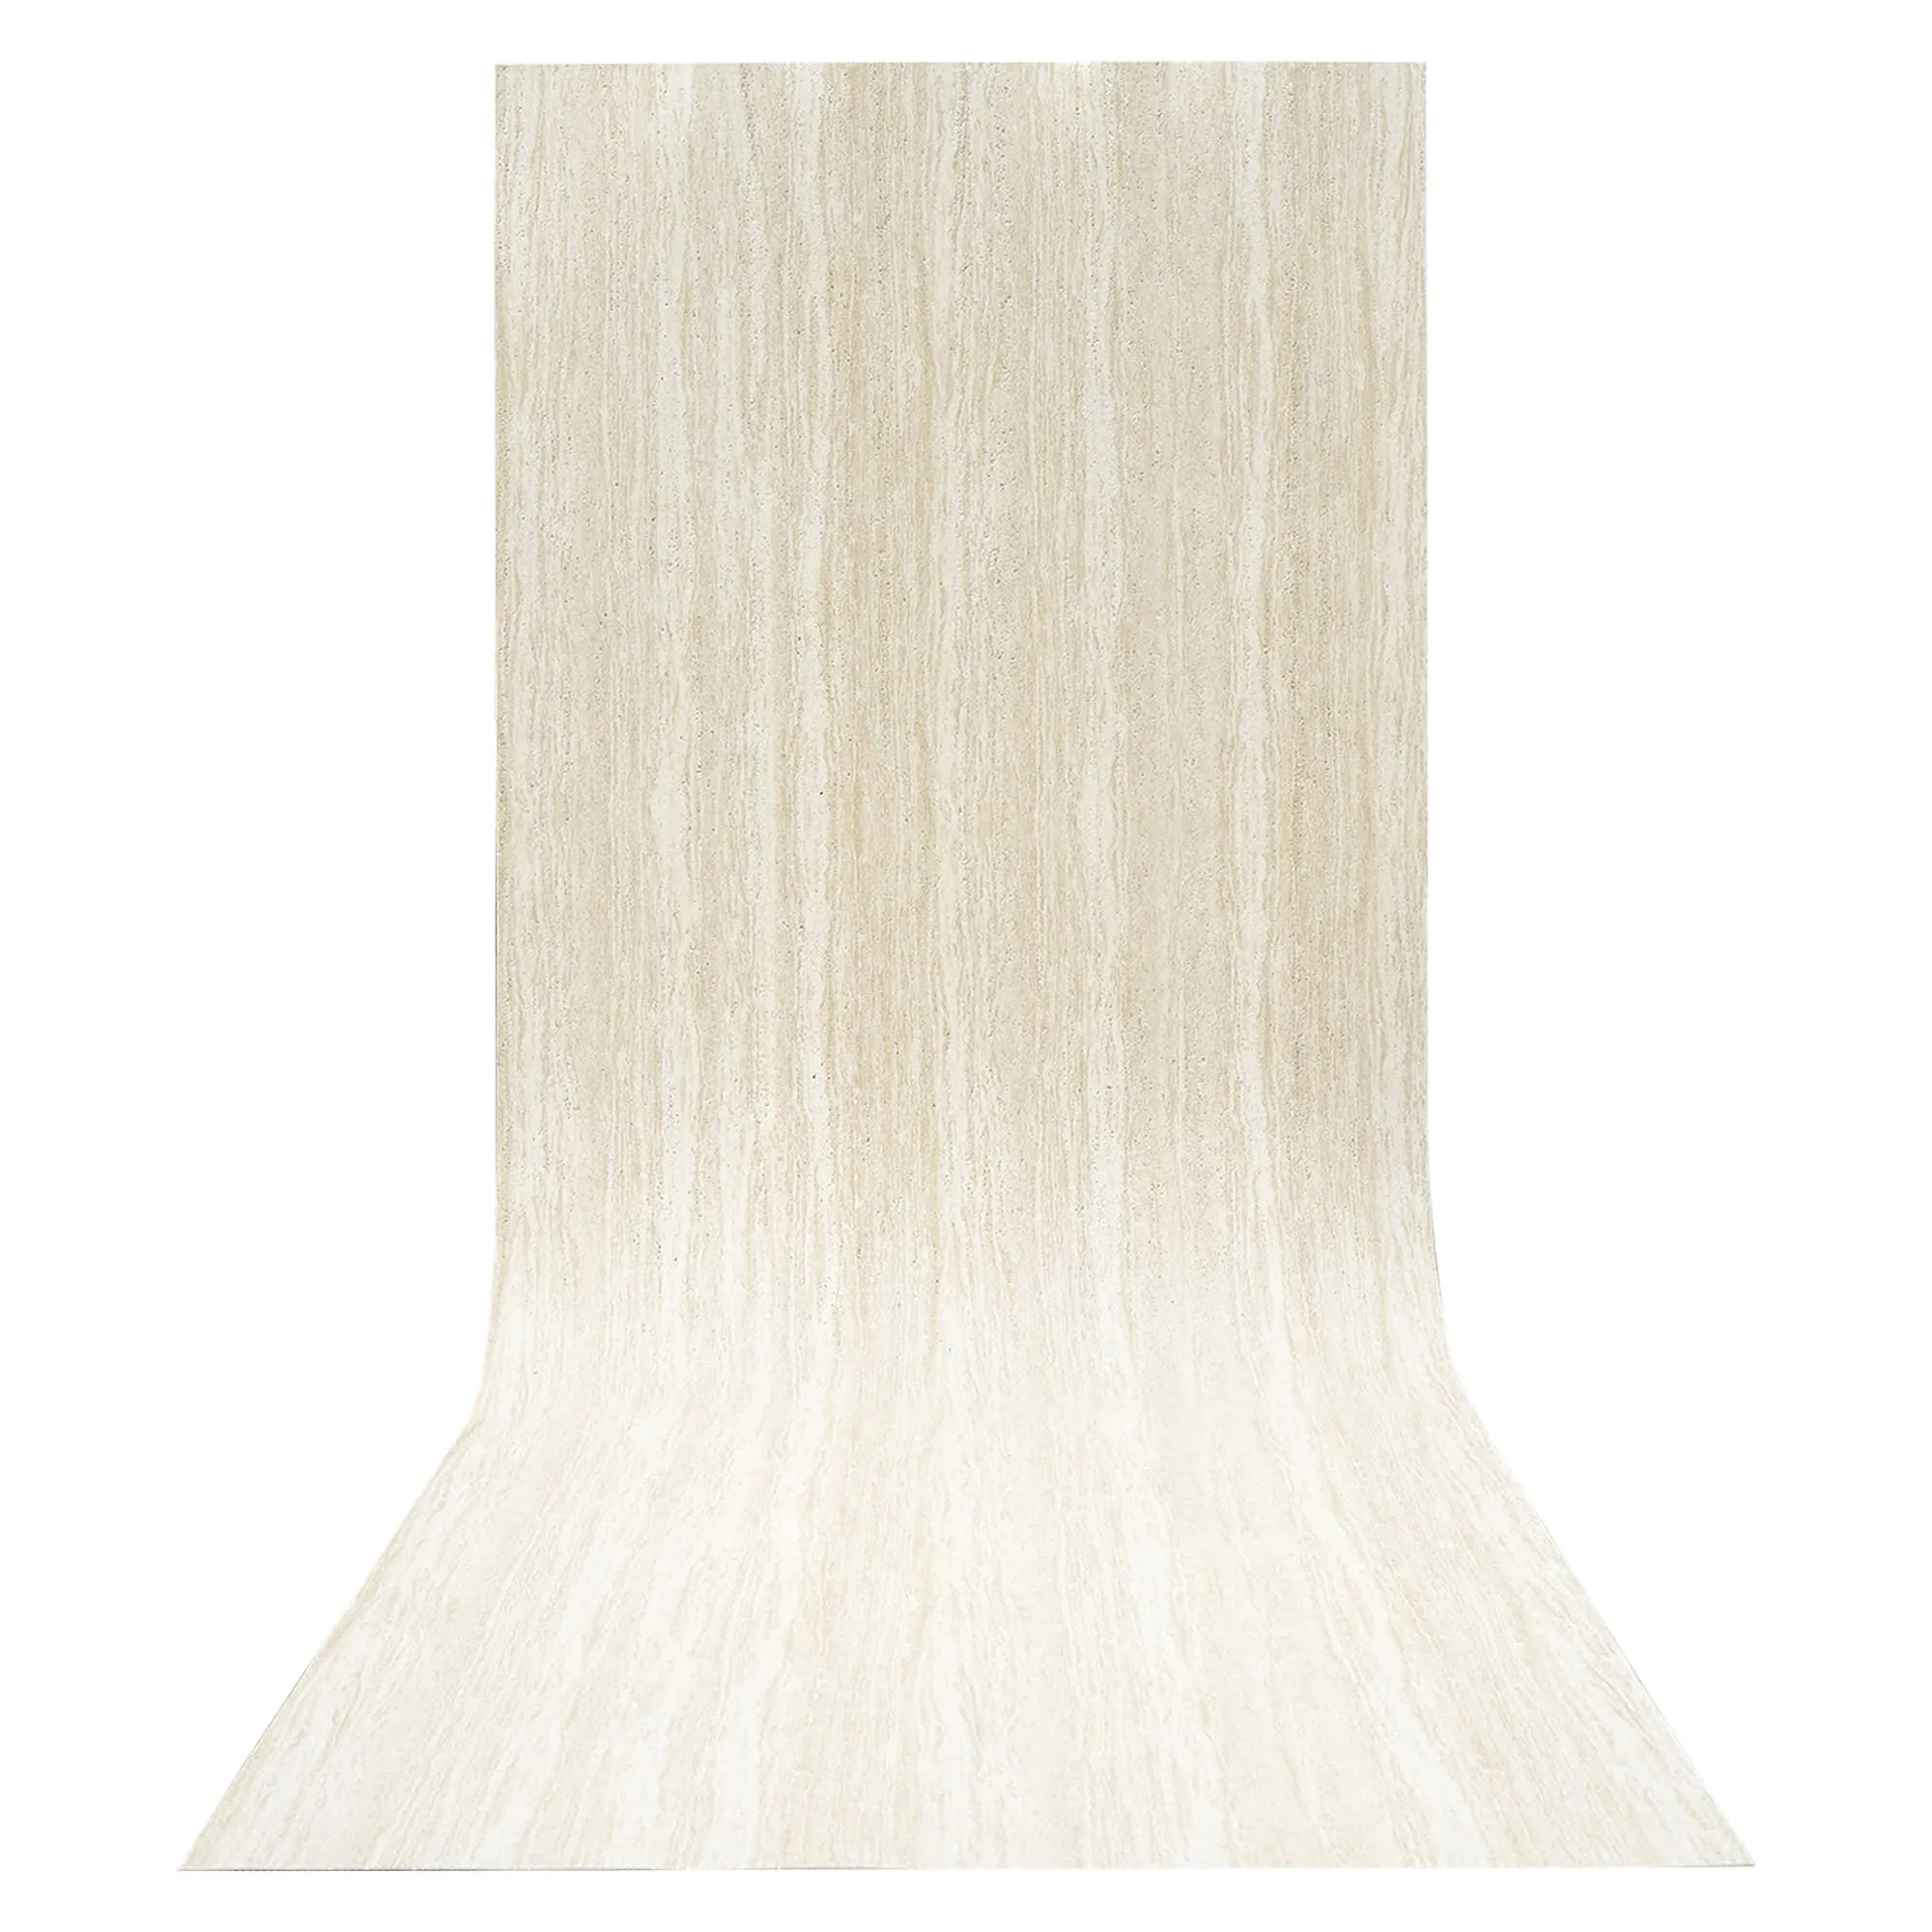
Start by mapping out your space. Measure the height and width of the area, then sketch a rough layout—this helps avoid waste and ensures you don't end up with tiny, awkward cuts at the edges. MCM Wood Line panels typically come in standard sizes (e.g., 4x8 feet), but don't be afraid to mix lengths for a more organic look, especially if you're pairing with Wood Grain Board accents.
When cutting, use a straightedge to mark your line, then score lightly with a utility knife before snapping (for thin panels) or cutting with a jigsaw (for thicker ones). Always cut with the "good" side up to avoid chipping the finish.
Lay out the panels on the floor (or wall, if lightweight) without adhesive to test your layout. This is your chance to adjust for pattern alignment, avoid narrow "sliver" cuts at corners, and ensure seams line up evenly. If you're using a herringbone or diagonal pattern, dry fitting is non-negotiable—you'll save yourself hours of frustration later.
Now for the fun part. Load your notched trowel with adhesive and spread it evenly over the surface, holding the trowel at a 45-degree angle to create ridges. The goal is full coverage—no bare spots. For MCM Wood Line, a 1/4-inch notched trowel usually works, but check the panel thickness: thicker panels need more adhesive to prevent air pockets.
For vertical installations, apply adhesive to both the wall and the back of the panel ("double-buttering") for extra security. Avoid globbing—too much adhesive will squeeze out and create a mess; too little, and you'll get weak spots in the bond.
Once the adhesive is down, place the panel gently, aligning with your layout marks. Press firmly from the center outward to squeeze out air bubbles, then use a rubber mallet (wrapped in a cloth to avoid scratching) to tap the surface—this ensures full contact with the adhesive. For large panels, use temporary supports (like painter's tape or small braces) to hold them in place while the adhesive sets (usually 2–4 hours, but check the label for cure time).
Seams? Keep them tight but not forced—MCM Wood Line's flexibility means a 1/16-inch gap is fine (you can fill it later with matching caulk if needed). For corners, miter cuts or L-shaped trim (look for options that complement Travertine (Beige) or your accent material) will give a clean, professional finish.
Once all panels are installed and the adhesive is fully cured (24–48 hours), it's time to seal the deal—literally. Most MCM Wood Line panels come pre-sealed, but adding a fresh coat of polyurethane or composite-specific sealant will protect against stains, fading, and moisture. Focus on edges and seams, where water can sneak in, and buff lightly with a microfiber cloth for a smooth, natural sheen.
If you're installing in a wet area (like a bathroom or outdoor kitchen), grouting between panels with a color-matched grout (try a sanded grout for a rustic look) adds an extra barrier against moisture. Wipe away excess grout with a damp sponge before it dries, and seal the grout lines separately after 72 hours.
The beauty of MCM Wood Line is that it's low-maintenance, but a little care goes a long way. For daily cleaning, a soft brush or damp cloth with mild soap is all you need—avoid harsh chemicals (like bleach or ammonia) that can strip the sealant. For outdoor panels, rinse with a hose periodically to remove dirt and pollen.
If you notice a loose edge down the line (rare, but possible if adhesive was uneven), don't panic: gently lift the panel, scrape away old adhesive, apply a fresh bead, and press back into place. Let it cure for 24 hours, and it'll be as good as new.
At the end of the day, MCM Wood Line's beauty is only as good as its installation. By taking the time to prep your surface, choose the right adhesive, and follow these steps, you'll ensure those warm wood grains stay put and shine bright for years—whether you're hosting a dinner party, enjoying a quiet morning coffee, or showing off your DIY skills to friends. So grab your trowel, measure carefully, and get ready to transform your space with a material that's as tough as it is timeless.
Recommend Products


