
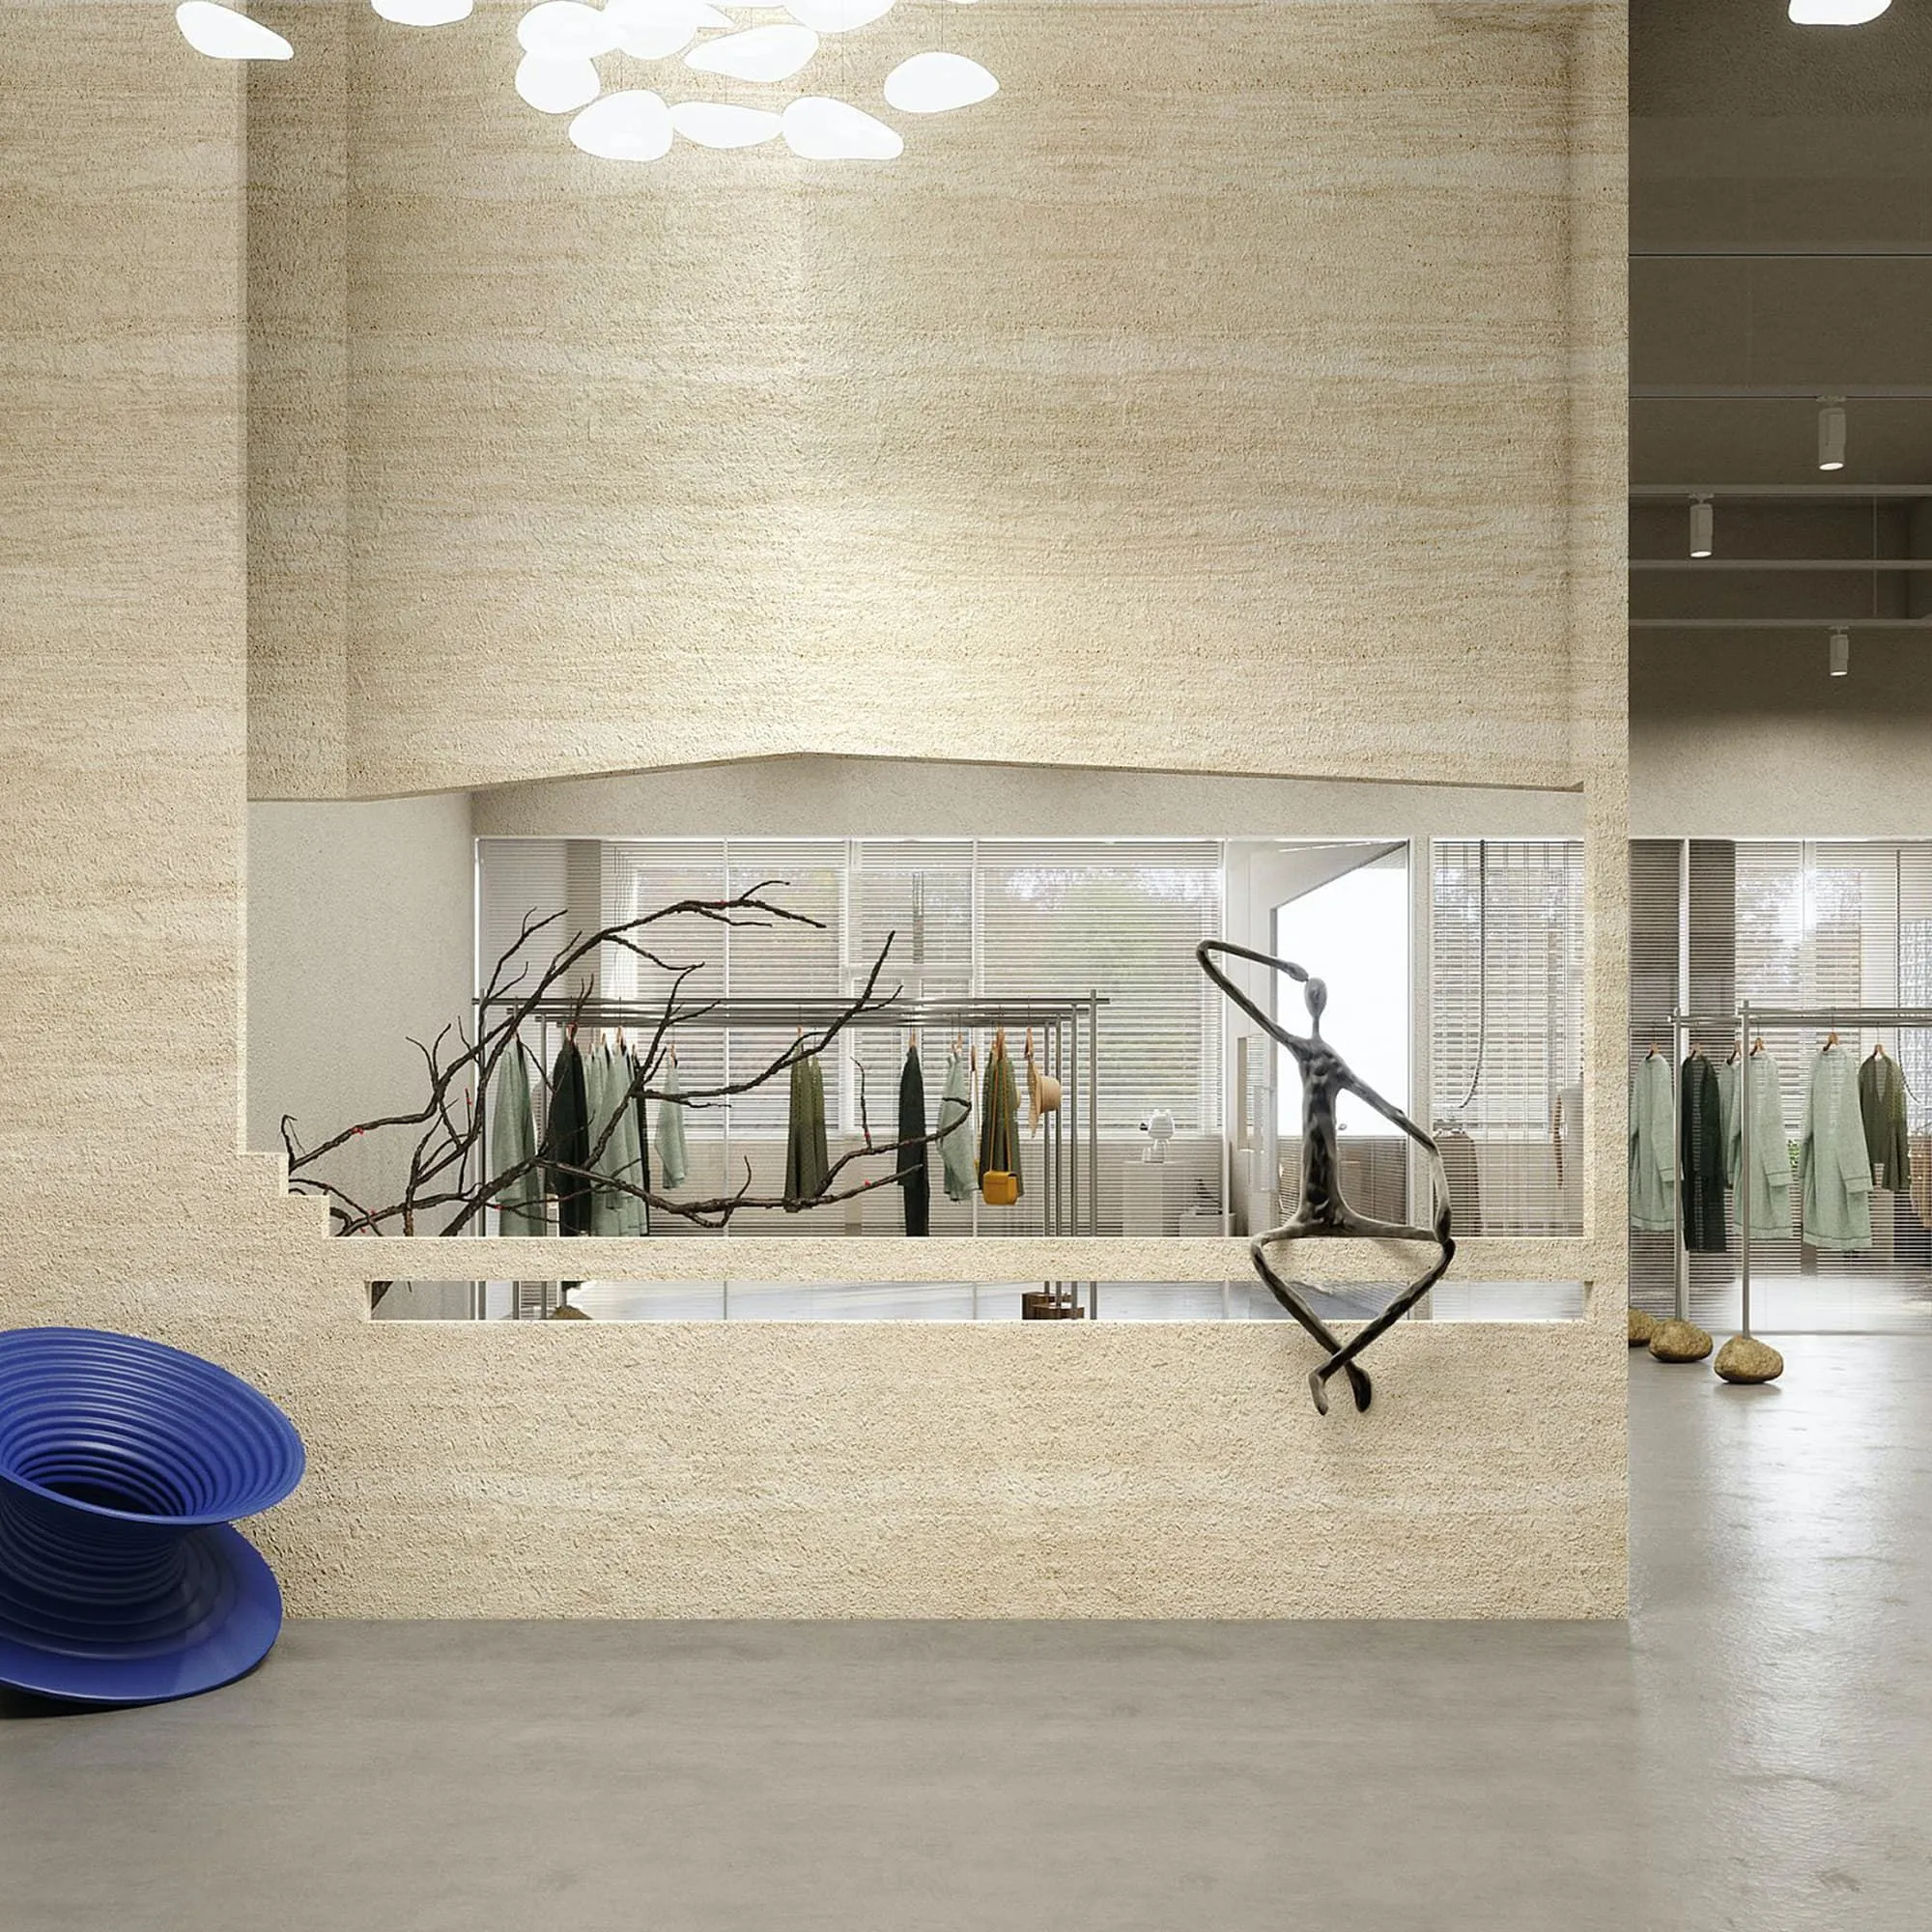
You've spent weeks, maybe months, dreaming up the perfect space. Whether it's a cozy home office nook, a sleek restaurant accent wall, or a welcoming lobby for your business, the vision is clear—and MCM Wood Line is the star of the show. Its warm, natural texture and durable design make it a favorite for anyone craving that timeless wood aesthetic without the hassle of high maintenance. But here's the question that's probably keeping you up at night: how long is this actually going to take?
We get it. When you're eager to see your project come to life, waiting feels like an eternity. But rushing installation often leads to costly mistakes—crooked panels, loose edges, or even damage to the materials you've invested in. That's why we're breaking down the MCM Wood Line installation timeline step by step, so you know exactly what to expect, how to plan, and how to keep things on track. Let's dive in.
Before a single panel goes up, there's crucial work to be done. Think of this phase as the "foundation" of your timeline—cutting corners here almost always leads to delays later. Let's walk through what happens first.
First, your installer (or you, if you're a DIY enthusiast) will visit the site to assess the space. This isn't just about grabbing a tape measure and jotting down dimensions (though that's part of it). They'll check for details that could make or break your installation:
Typically, a site assessment takes 1–2 days, but if issues pop up—say, you find mold behind a bathroom wall—repairs could stretch this phase to a week. For example, prepping a fair-faced concrete wall with minor cracks might involve filling them with a specialized compound, adding a day or two to prep.
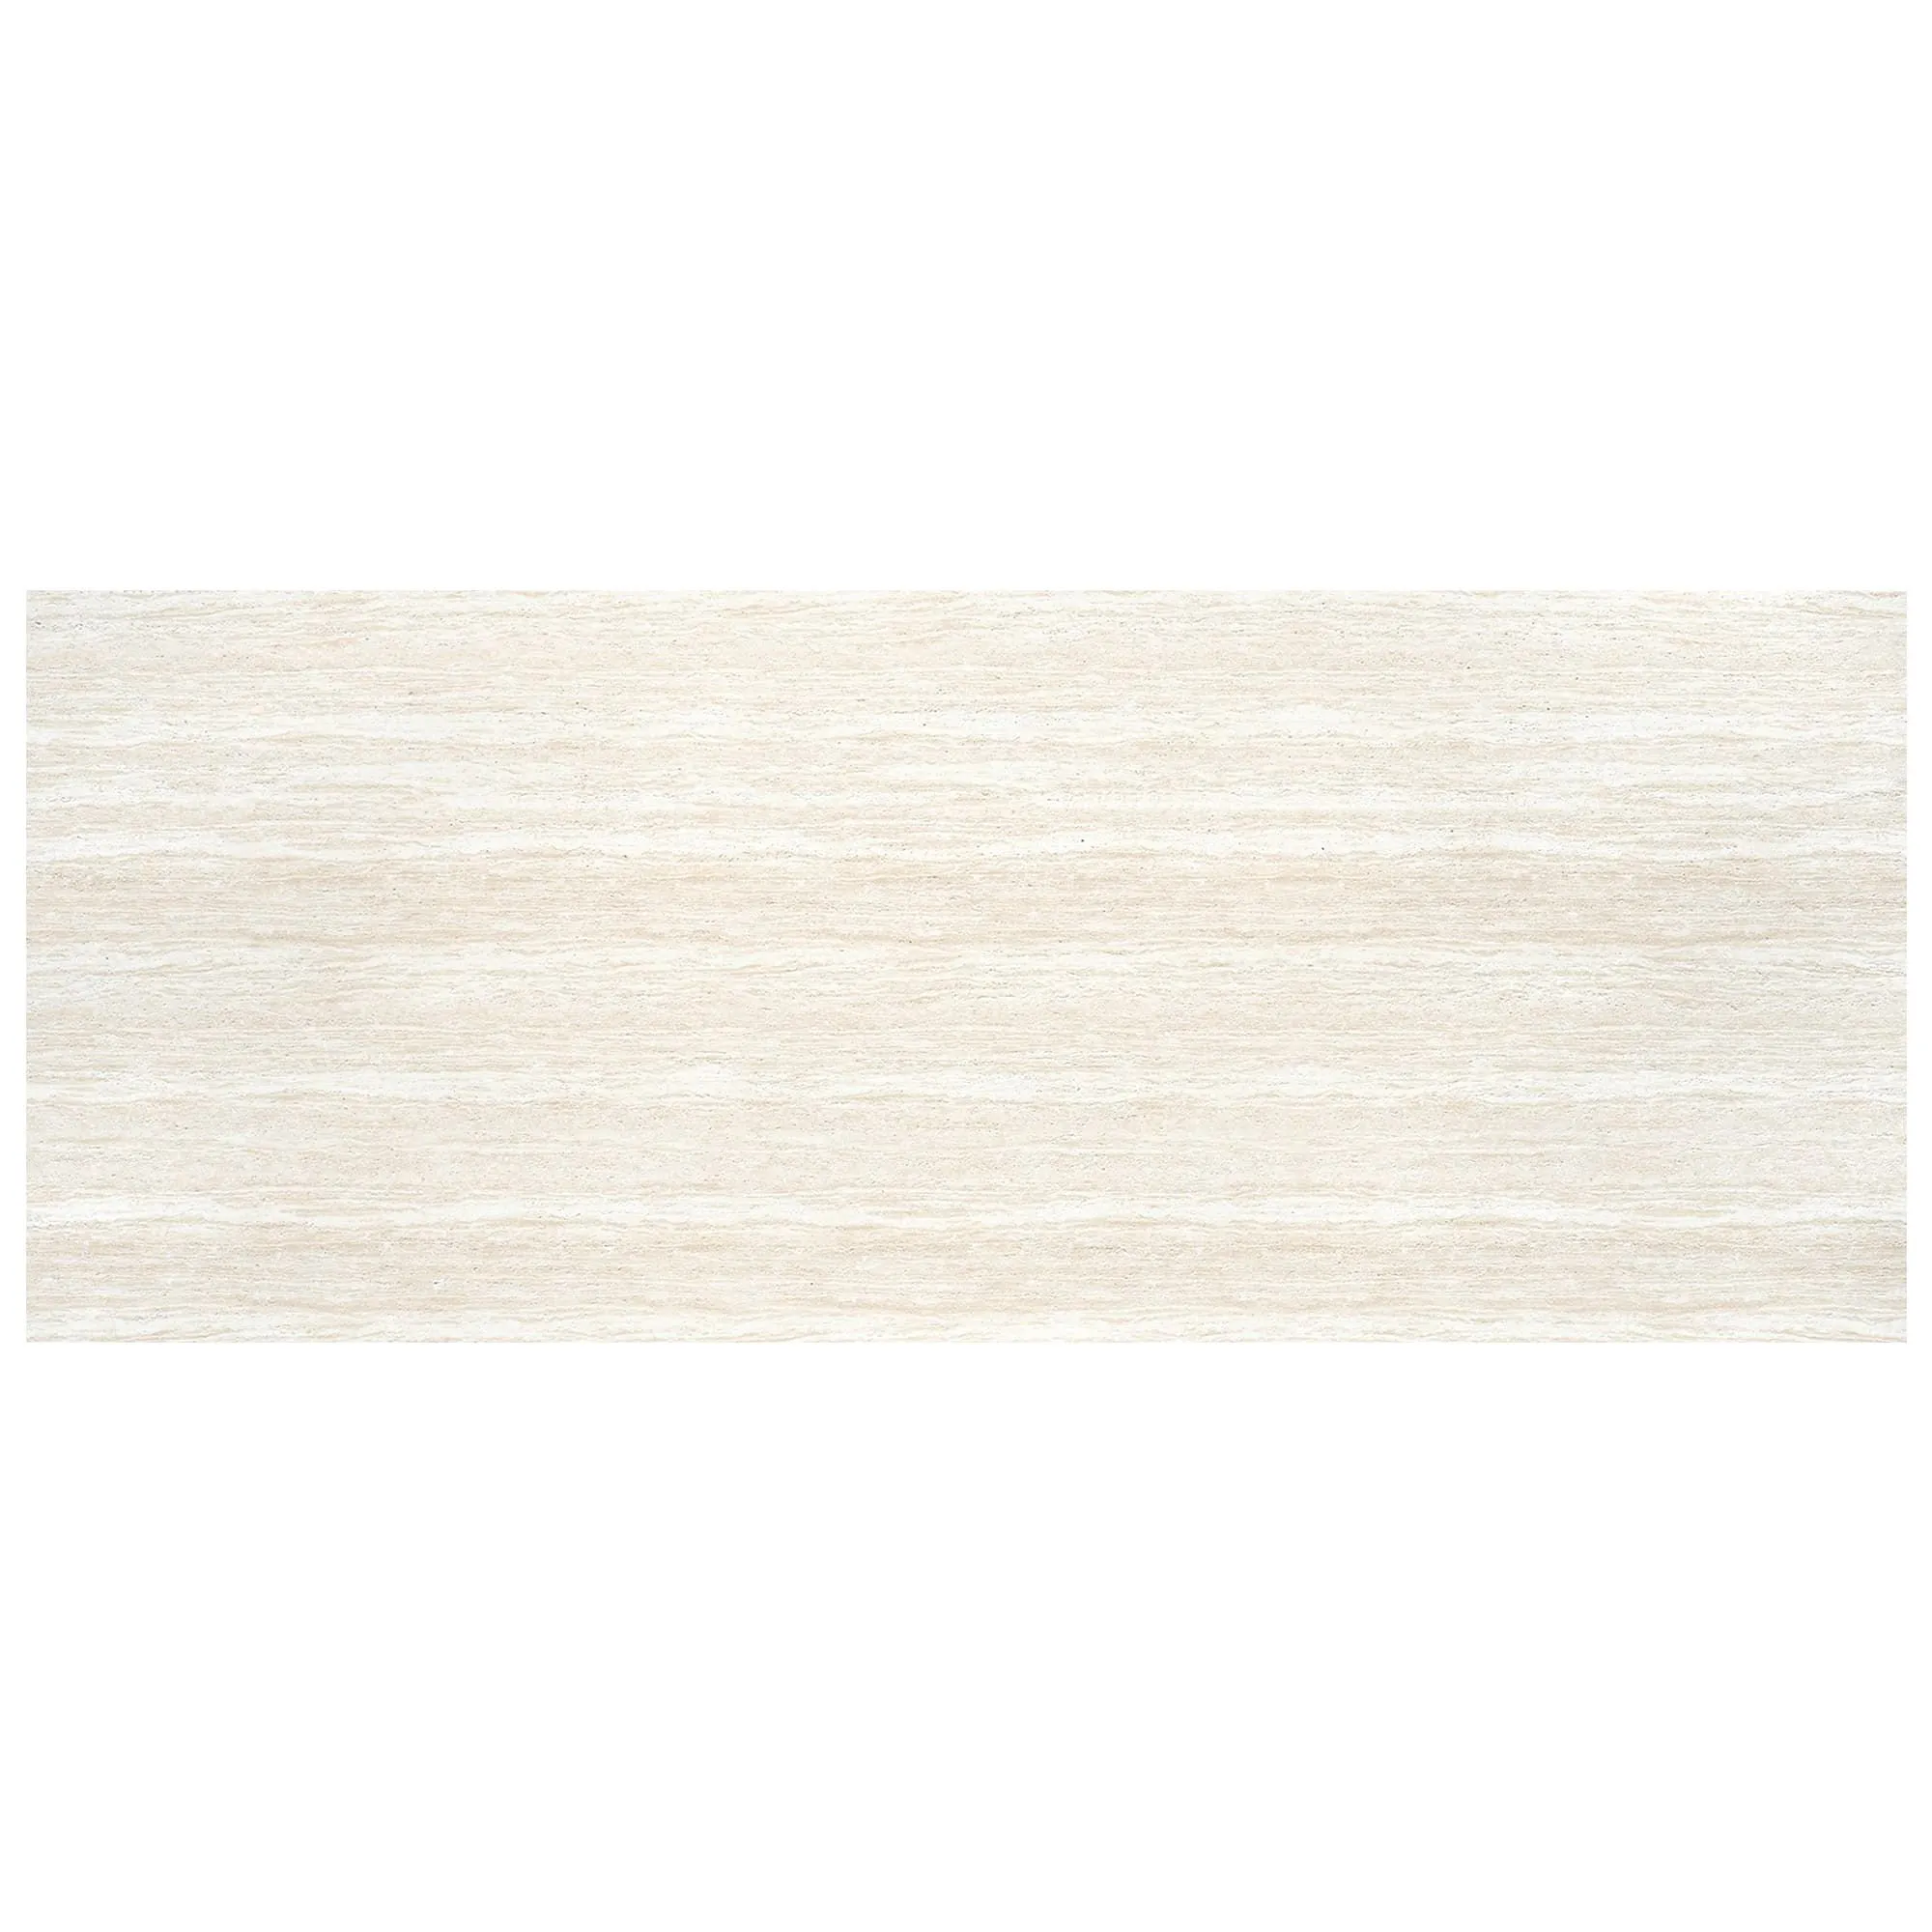
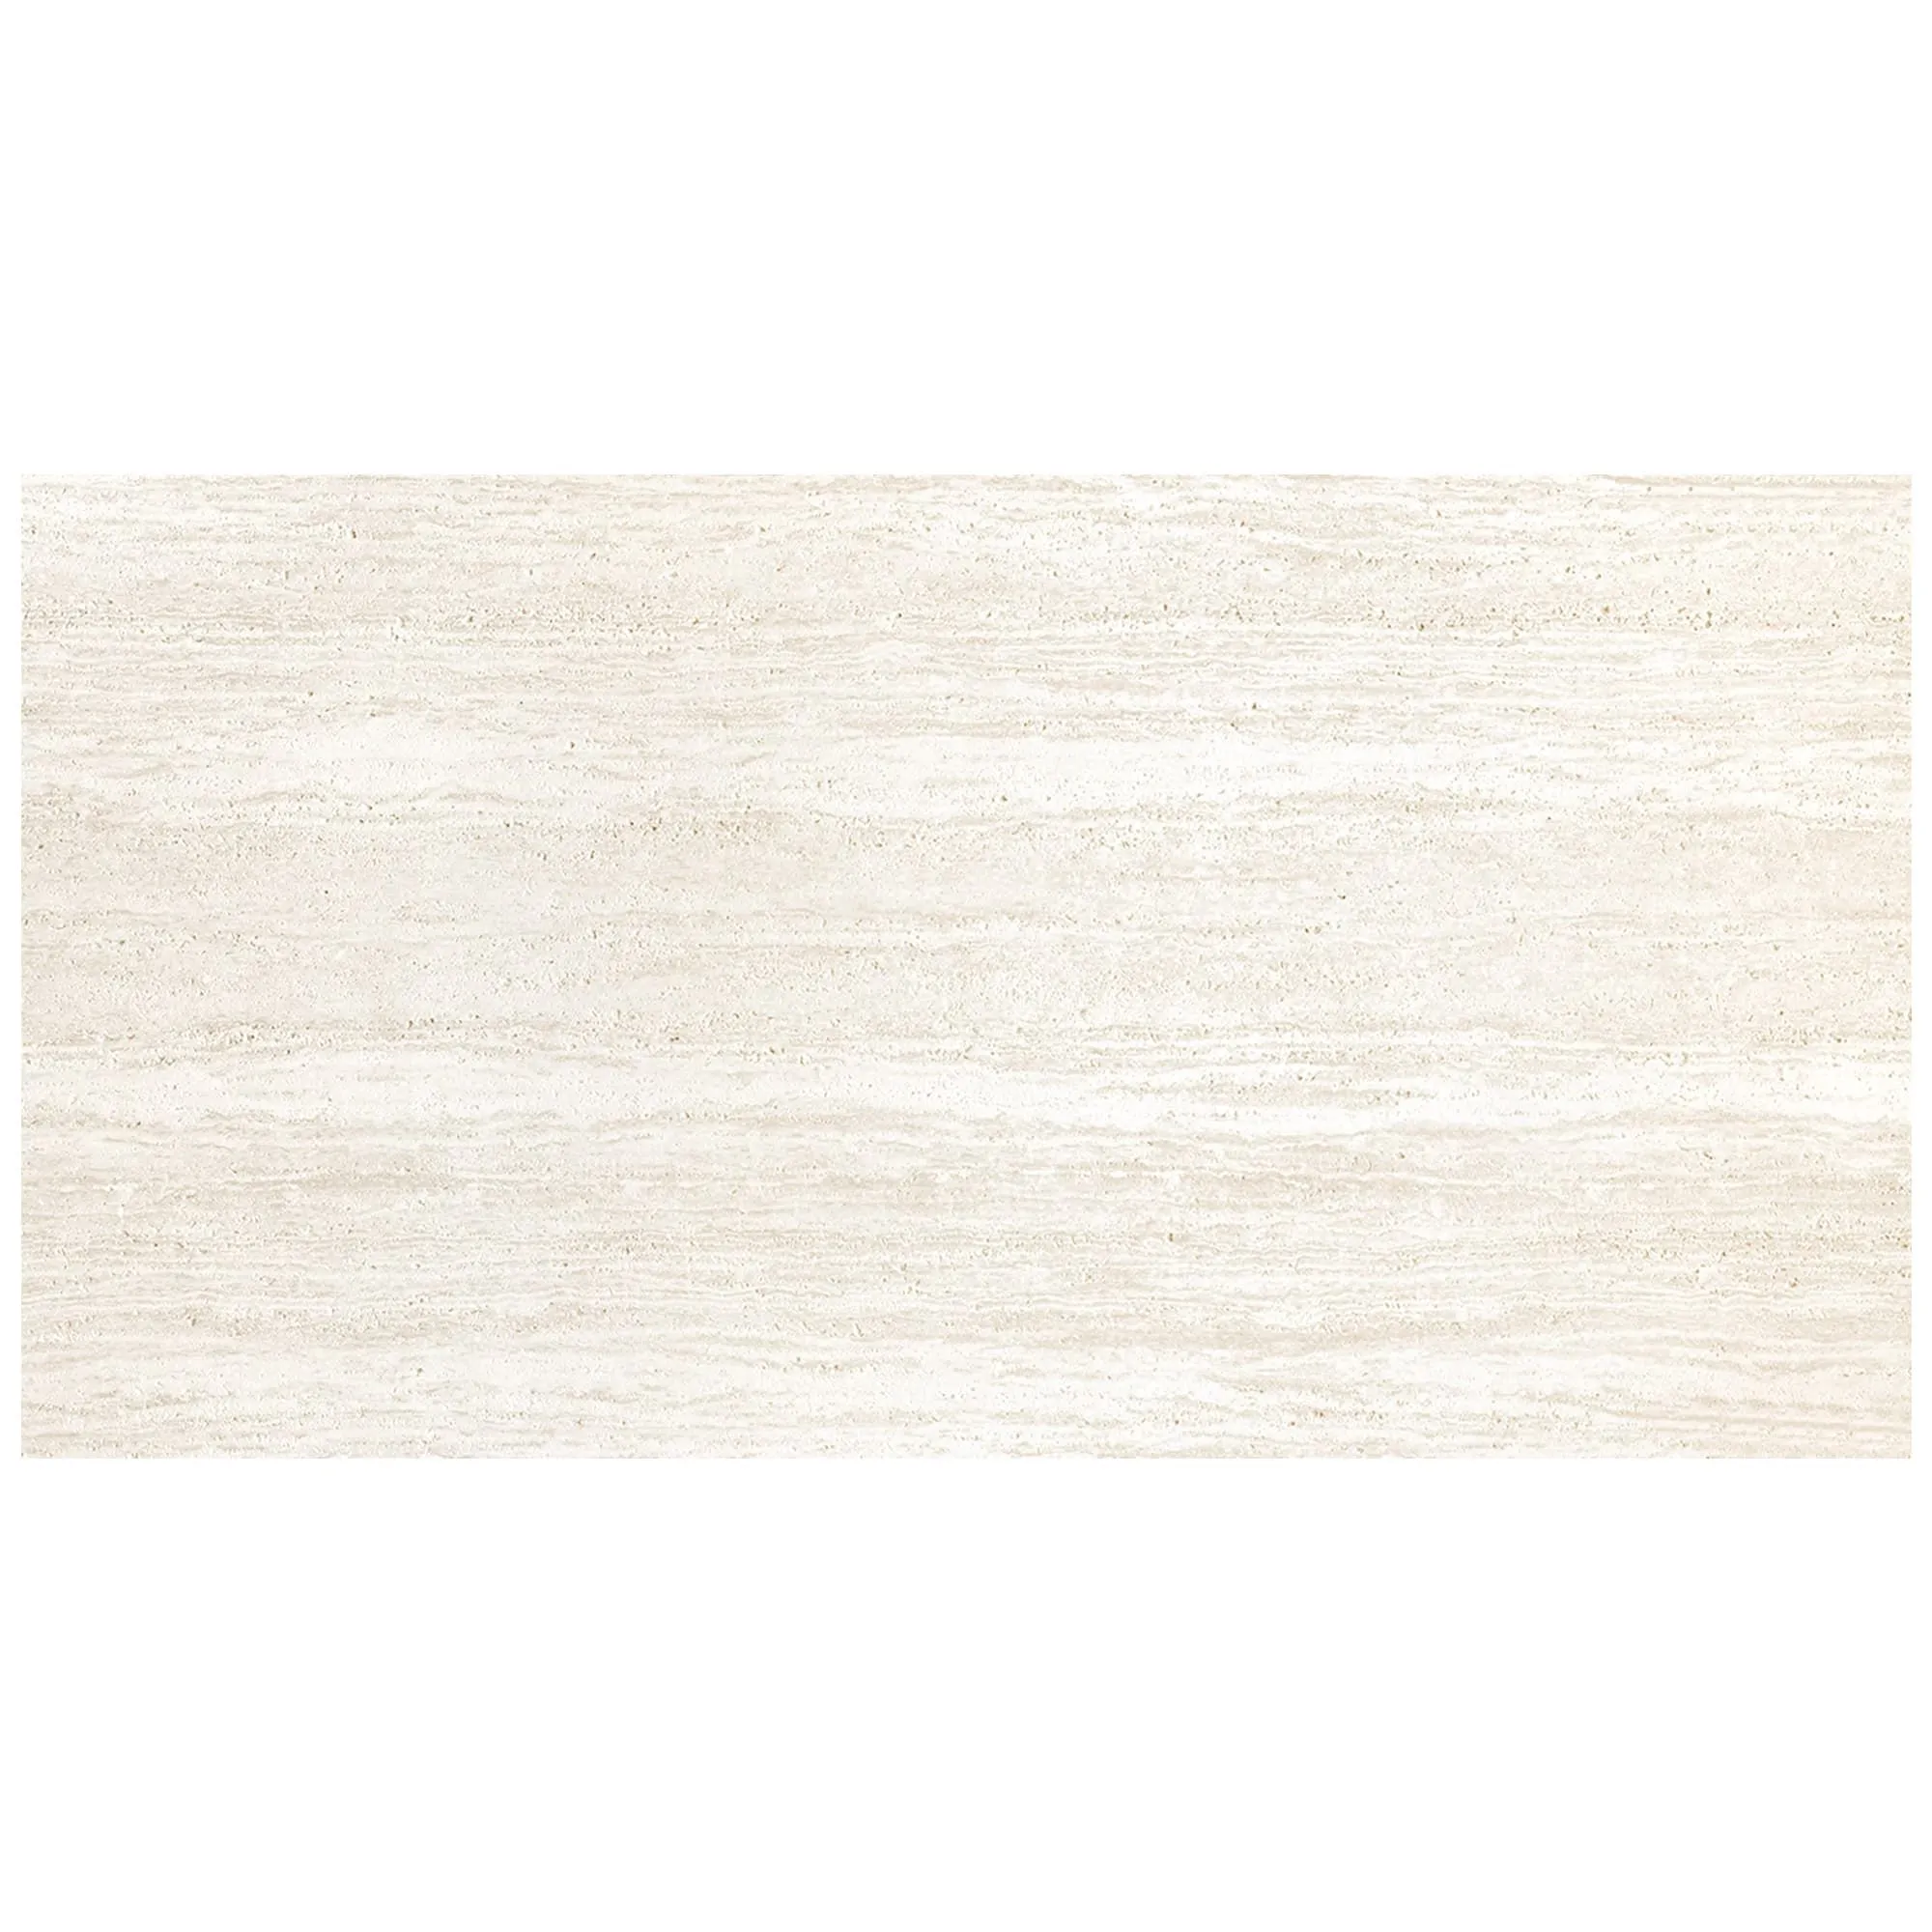
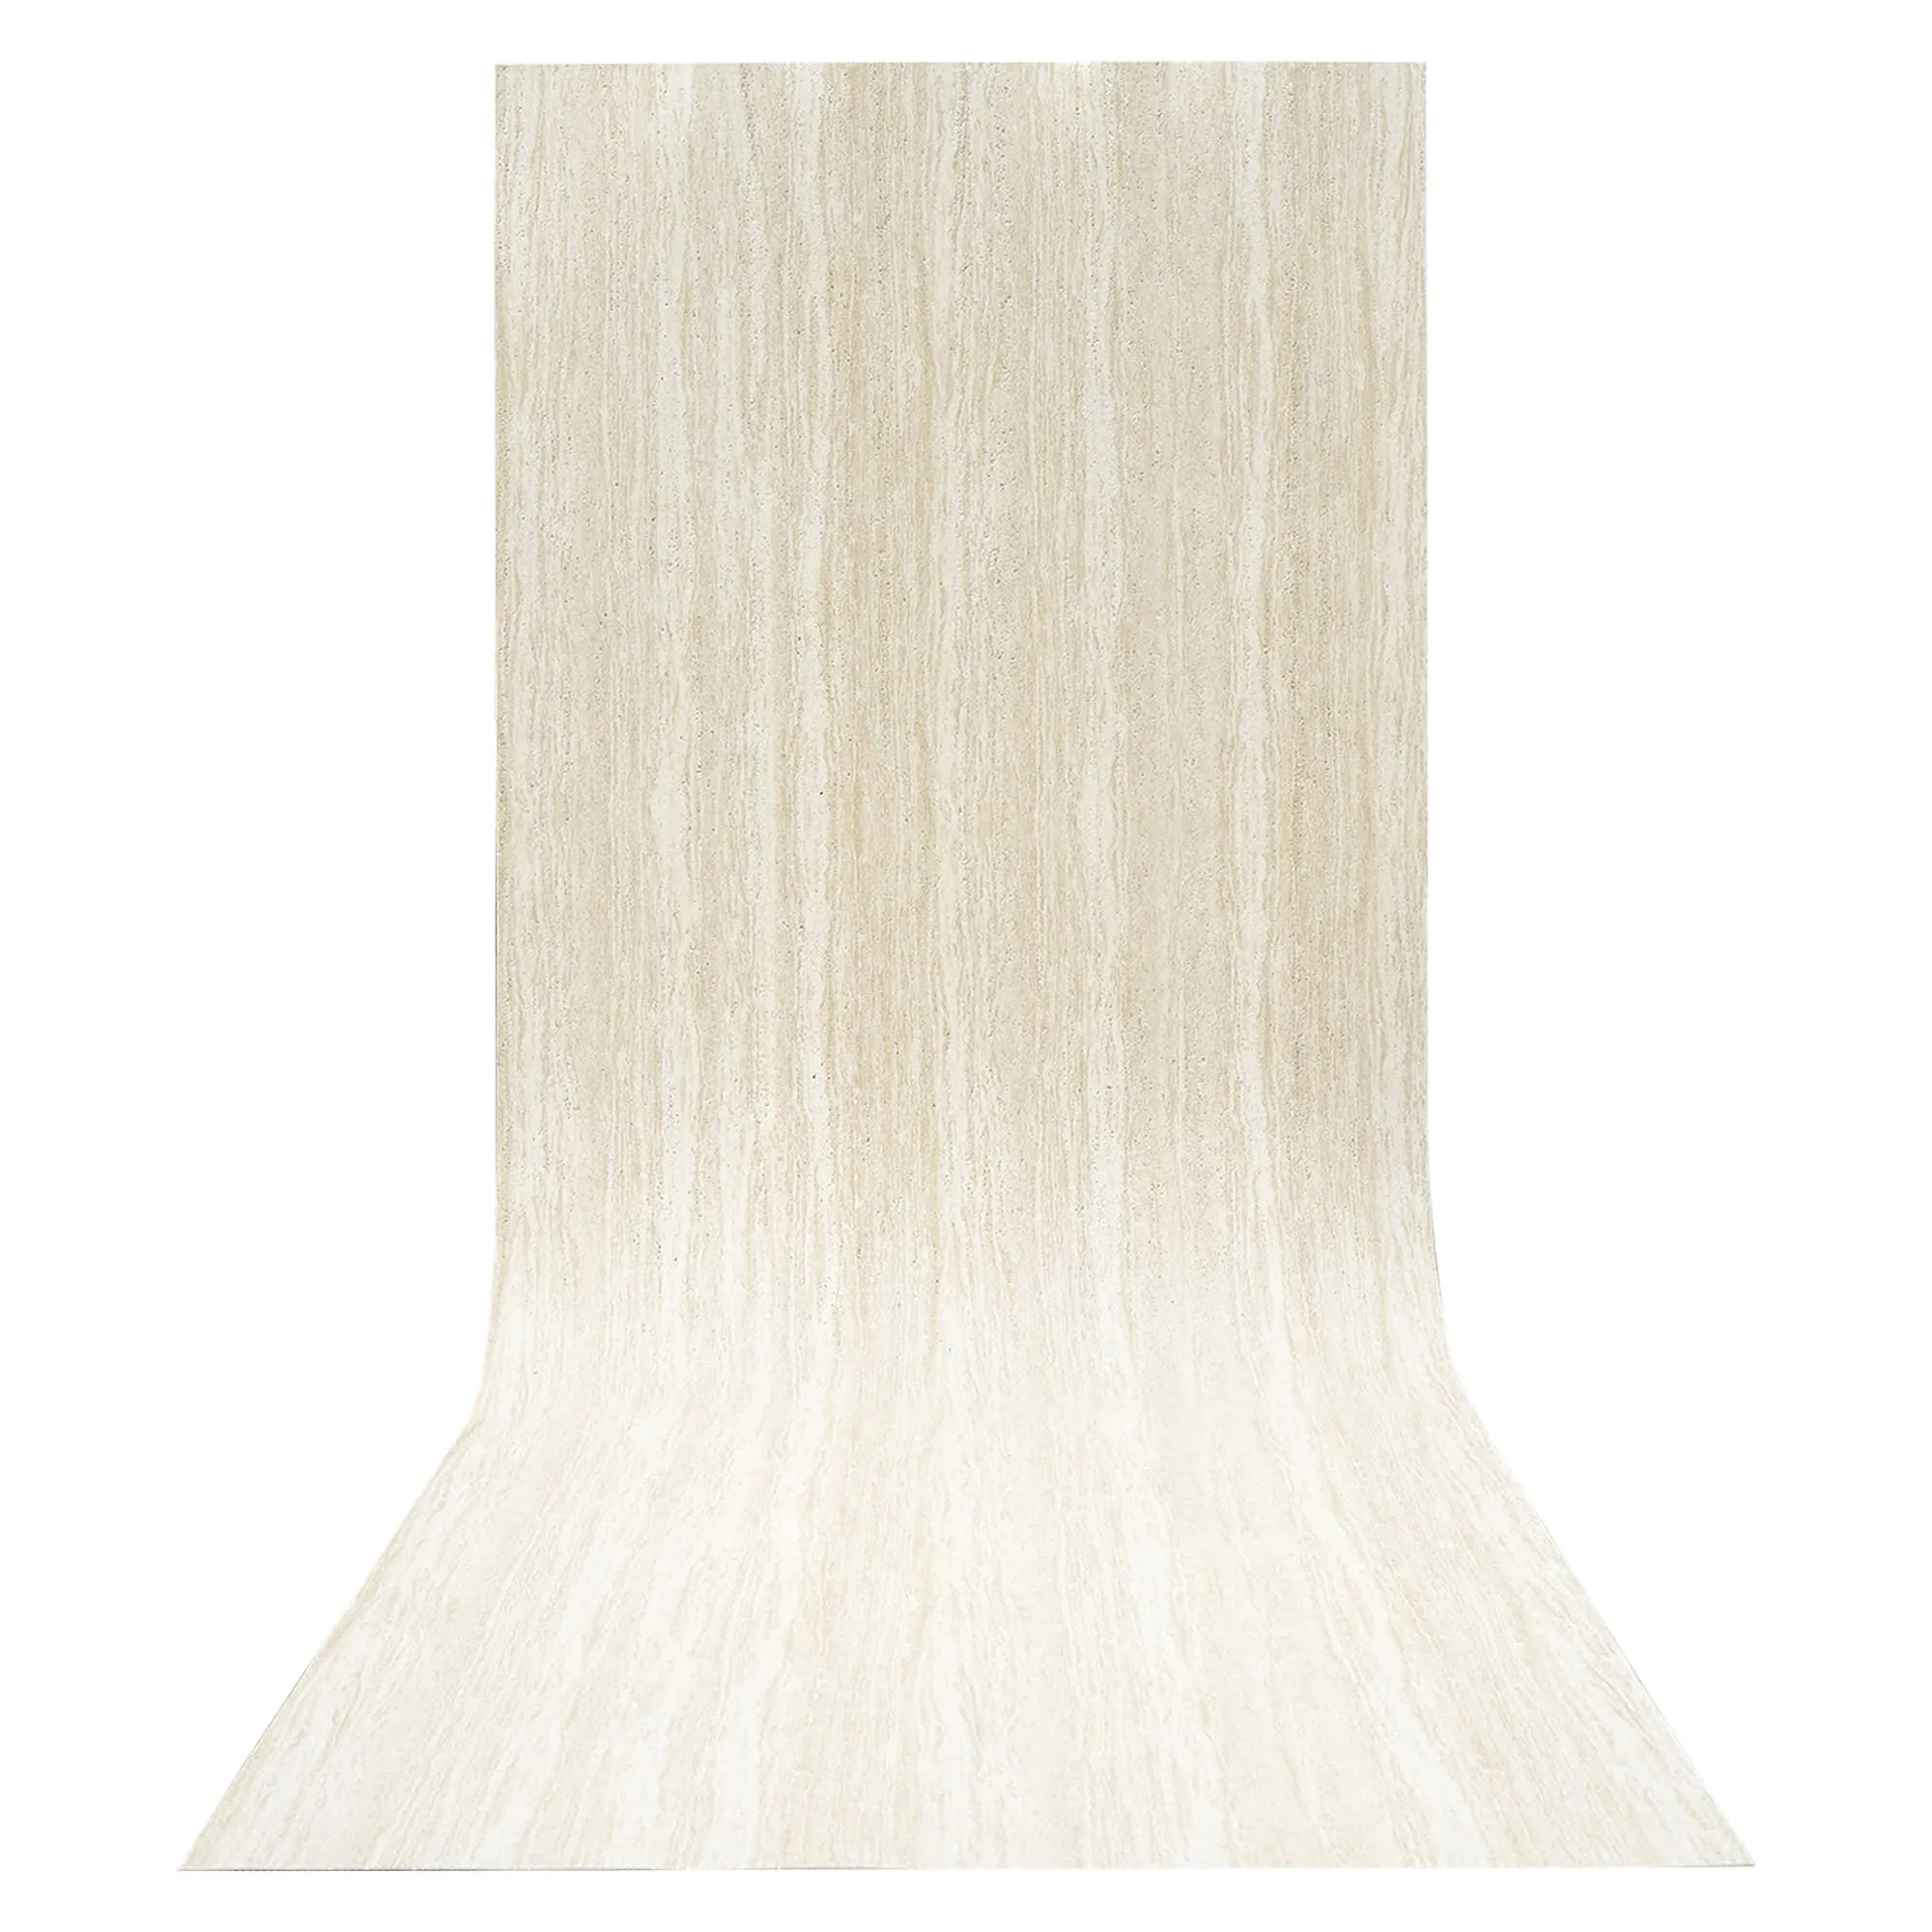
Next, you'll finalize your MCM Wood Line selection. With finishes ranging from rich walnut to light oak, you'll want to confirm stock availability—especially if you're pairing it with complementary materials like travertine (beige) for a mixed-material accent wall. Pro tip: Order 10–15% extra panels to account for cuts, mistakes, or future repairs. Running out mid-project? That's a guaranteed 3–5 day delay while waiting for restocks.
This phase usually takes 3–5 days with in-stock materials, but custom finishes or limited-edition styles might require 2–3 weeks of lead time. Plan accordingly!
When your MCM Wood Line panels arrive, it's time to play detective. Skipping inspection is risky—you don't want to start installing only to find scratched panels or the wrong finish. Here's what to check:
Delivery day takes a few hours, but inspection can span 1–2 days for large projects. If something's off, replacements might take 3–7 days—another reason to order early!
Now, the transformation begins. Installation timelines vary based on project size, complexity, and your installer's experience. Let's break down the steps.
Before panels go up, the substrate needs to be prepped for perfect adhesion. This involves:
A small 10x10 ft wall might take half a day, while a 50 ft commercial lobby with mixed substrates (drywall, concrete, even MCM flexible stone accents) could take 2 full days.
MCM Wood Line panels are surprisingly easy to cut—lighter and more flexible than solid wood, but just as strong. Using a circular saw with a fine-tooth blade, your installer will trim panels to size, including custom cuts for outlets or corners.
Complexity matters here: A straight wall with no obstacles? Done in a day. A herringbone pattern with angles and curves? Each precise cut adds time. For example, a bathroom wall with a niche might need 5–10 custom cuts, adding an extra day.
Panels are attached with moisture-resistant adhesive (check your supplier's recommendations—some work better with MCM materials than others). Installers apply adhesive to the back of panels (or substrate) and press firmly, using clamps or temporary supports while it cures.
Curing takes 24–48 hours, but humidity can slow it down. In a steamy bathroom, expect an extra 12 hours per row. Vertical installations might require waiting for the first row to cure before adding the next—another day or two.

Once panels are up and cured, it's time for the details that elevate the look:
After finishing touches, it's time to tidy up: vacuuming dust, removing debris, and wiping down panels to reveal their full beauty. Then comes the walkthrough with your installer to check:
Minor tweaks might take a few hours, but this phase rarely exceeds a day.
| Phase | Typical Duration | Key Tasks |
|---|---|---|
| Pre-Installation Prep | 1–3 Weeks | Site assessment, material selection, repairs |
| Material Delivery & Inspection | 1–2 Days | Delivery, quality check, storage |
| Installation | 3–7 Days | Substrate prep, cutting/fitting, adhesion |
| Finishing Touches | 1–2 Days | Grouting, sealing, touch-ups |
| Cleanup & Inspection | 1 Day | Debris removal, final walkthrough |
Total Timeline: 2–5 Weeks (from prep to completion)
Rain, humidity, or extreme heat can slow curing or substrate prep—especially for outdoor installations. Solution: Build a 2–3 day buffer for weather delays.
Backordered panels or delayed travertine (beige) accents can halt progress. Solution: Order 4–6 weeks early and confirm delivery dates in writing.
Struggling with custom cuts or misalignment? DIYers often add days to timelines. Solution: Practice on scrap panels, and call a pro for tricky parts—it's cheaper than redoing the wall!
Switching from horizontal to vertical layout mid-project means re-cutting everything. Solution: Finalize designs before prep starts—save "what-ifs" for planning!
Installing MCM Wood Line takes time, but the result—a durable, stunning space that feels warm and lived-in—is worth every day. With careful planning, clear communication, and a little patience, you'll be enjoying your new wall before you know it. And when you walk into that room and see those panels glowing in the light? You'll forget the wait entirely.
Here's to your beautiful, on-time project!
Recommend Products


