
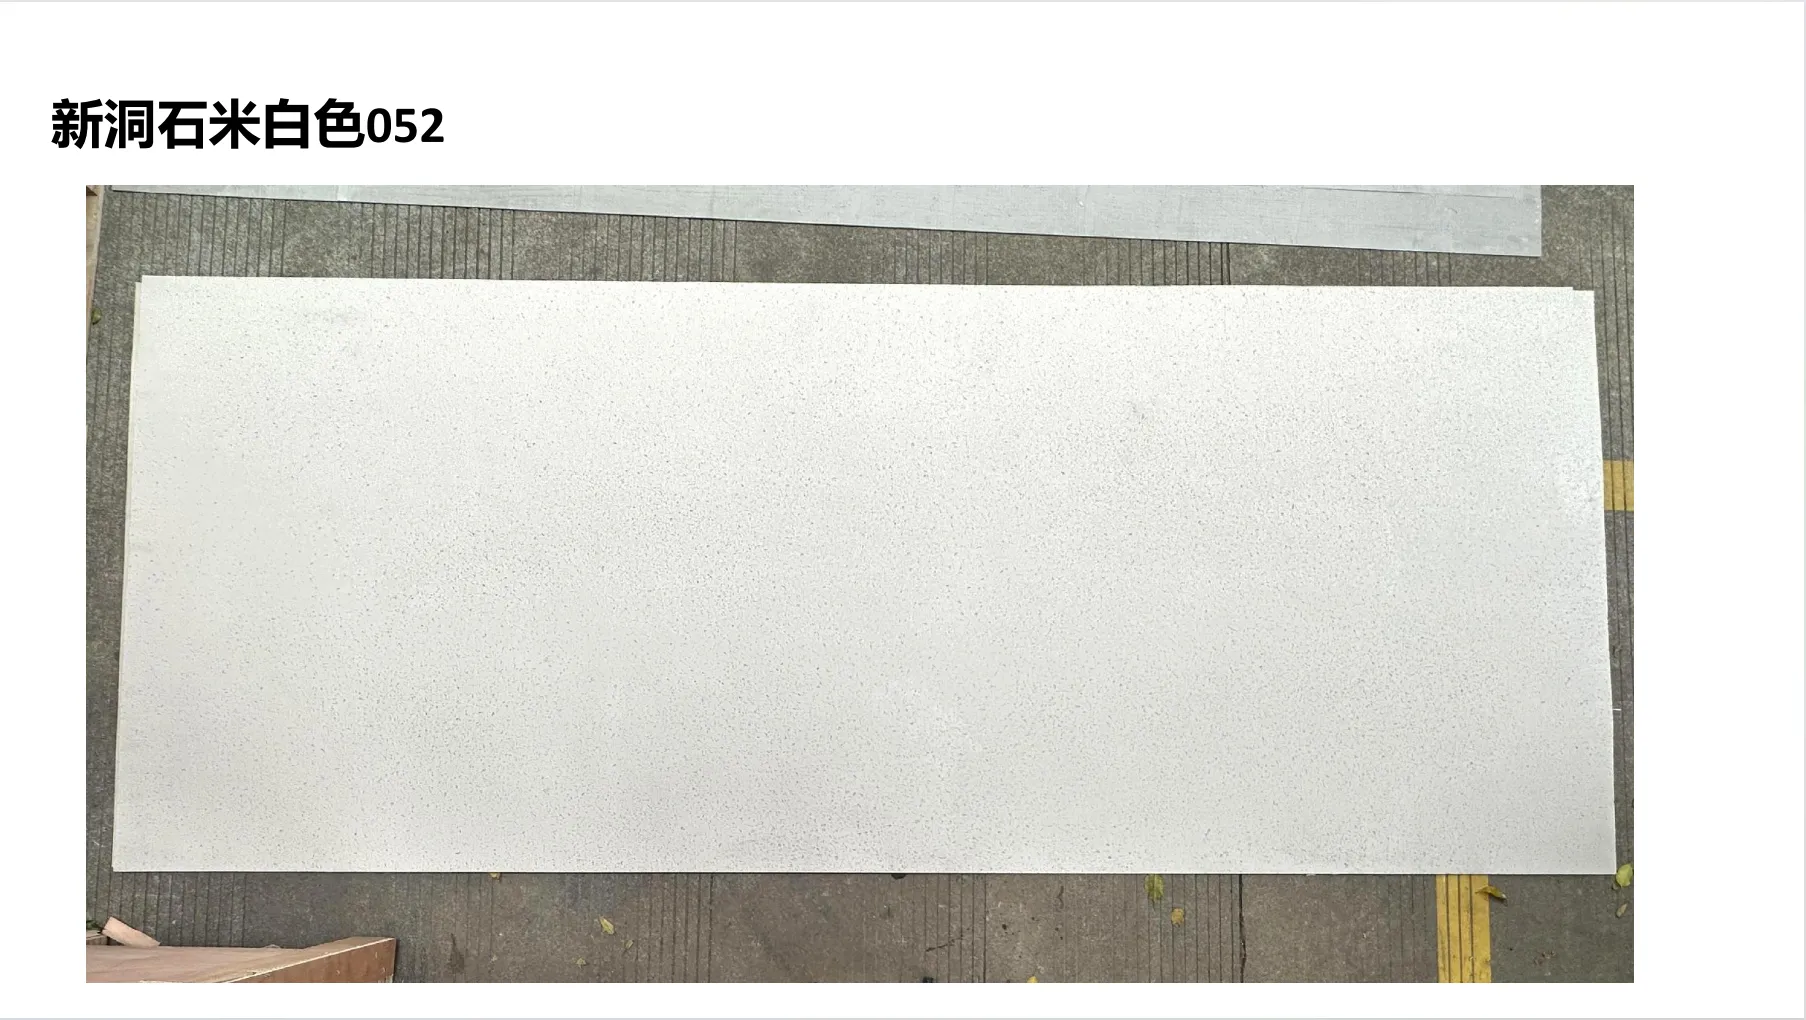
Installing stone cladding can feel like a daunting task—heavy materials, precise measurements, and the fear of chipping or misalignment often loom over even the most enthusiastic DIYers. But what if there was a stone that combined the timeless beauty of natural travertine with the practicality of modern engineering? Enter MS Travertino —part of the innovative big slab board series that's redefining how we approach interior and exterior design. As someone who's worked with everything from traditional marble to industrial concrete, I can confidently say: this flexible stone isn't just a material upgrade—it's a game-changer for anyone craving luxury without the hassle.
Whether you're revamping a kitchen backsplash, upgrading a commercial lobby, or adding texture to an outdoor patio, MS Travertino brings warmth, depth, and durability to every project. Its flexibility (a standout feature of the flexible stone category) means it bends slightly to fit uneven surfaces, while its large slab format minimizes grout lines for a seamless, high-end look. In this guide, I'll walk you through every step of installing MS Travertino—from prepping your space to that satisfying final polish. Think of it as a friend sharing hard-earned tips, not a dry instruction manual.
Let's get real: Rushing the prep work is the #1 mistake I see with stone installations. I once watched a contractor skip surface leveling for a bathroom backsplash, and six months later, the slabs were already cracking. MS Travertino is forgiving, but it's not magic. Taking time to prep ensures your project lasts decades, not just years. Here's what you need to do first:
MS Travertino adheres best to clean, flat, and stable surfaces. Check walls for cracks or bulges—even a tiny dip can throw off the entire installation. For walls, use a 4-foot level to scan vertically and horizontally; for floors, a straightedge works. If you find uneven spots, fill them with a polymer-modified thinset or a self-leveling compound. Outdoor surfaces need extra care: Ensure proper drainage to prevent water pooling, which can weaken adhesive over time.
Nothing kills momentum like realizing you're missing a trowel halfway through. I always recommend laying out all materials the night before—this includes your MS Travertino slabs, adhesive, grout, spacers, and tools. Pro tip: Buy 10-15% extra slabs. Stone can chip during cutting, and having backups avoids delays (trust me, waiting for a replacement slab to ship is no fun).
Stone is sensitive to temperature and humidity changes. Unpack your MS Travertino slabs and let them sit in the installation room for 48 hours. This prevents expansion or contraction after installation, which can cause gaps or warping. I learned this the hard way in a winter project—slabs brought straight from a cold garage to a heated room shrank overnight, leaving unsightly grout lines. Don't skip this step!
You don't need a professional contractor's workshop, but having the right tools makes the job 10x easier. Below is a breakdown of essentials, plus a few "nice-to-haves" that save time:
| Tool Name | Purpose | My Pro Tip |
|---|---|---|
| Notched Trowel (1/4" x 1/4" or 3/8" x 3/8") | Applies adhesive evenly to the surface | Use a 3/8" trowel for floors (more adhesive = better grip); 1/4" for walls to avoid sagging. |
| Wet Saw with Diamond Blade | Cuts slabs cleanly without chipping | Soak the blade in water before cutting to reduce heat—this keeps the stone from cracking. |
| Rubber Mallet | Taps slabs into place gently | Wrap the mallet head in a towel to avoid scratching the stone's surface. |
| Spacers (1/16" to 1/8") | Ensures even grout lines | Use plastic spacers, not wood—wood swells with moisture and can get stuck. |
| Grout Float | Presses grout into joints | Hold it at a 45-degree angle to avoid pulling grout out of the lines. |
| Sponge and Bucket | Cleans excess grout | Use a natural sea sponge—synthetic ones leave streaks on the stone's surface. |
| Adhesive (Polymer-Modified Thinset) | Bonds slabs to the surface | Choose a white thinset for light-colored MS Travertino; gray works for darker tones. Avoid mastic—it's not water-resistant enough. |
| Sealer (Impregnating or Topical) | Protects against stains | Test sealer on a scrap slab first! Some topical sealers can darken MS Travertino's natural color. |
Imagine installing 10 slabs only to realize the last one is a tiny, awkward cut. Ouch. Avoid this by dry-laying the slabs first. Lay them out on the floor (or a large tarp) to visualize the pattern—MS Travertino comes in subtle variations, so mixing slabs from different boxes ensures a natural, non-repetitive look. For walls, start from the bottom and work up; for floors, from the center outward. Mark reference lines with a pencil and painter's tape—this keeps slabs aligned as you go.
Now for the fun part! Installing MS Travertino is surprisingly straightforward once you've prepped properly. I'll break it down into 7 steps, with tips I've picked up over 15 years of installing stone.
MS Travertino's flexibility makes cutting easier than traditional stone, but it still requires care. Always use a wet saw with a diamond blade—dry cutting creates dust that can damage the stone's pores. Measure twice, cut once: Mark the slab with a pencil, then secure it to the saw table with clamps. Let the blade do the work—pushing too hard causes chipping. For curves or notches (like around outlets), use a jigsaw with a diamond grit blade. Pro move: Dip the blade in water periodically to keep it cool.
Pro tip: Save offcuts! Small pieces are perfect for filling gaps or creating accent strips in corners. I once used leftover 6-inch pieces to make a mosaic border in a kitchen—clients still compliment it.
Adhesive application is where patience pays off. Mix your thinset according to the manufacturer's instructions—too runny and it'll slide; too thick and it won't spread evenly. Aim for the consistency of peanut butter. Use your notched trowel to spread a 2-3 square foot area at a time (any larger and the thinset might dry before you lay the slab). Hold the trowel at a 45-degree angle and comb in straight lines—this creates ridges that collapse when you press the slab, ensuring full contact.
Warning: Never "butter" the back of the slab (applying thinset directly to the stone) with MS Travertino. Its porous surface can absorb moisture from the thinset, causing discoloration. Stick to spreading thinset only on the surface.
Lower the slab onto the thinset at a slight angle, then gently slide it into position. Avoid dropping it—even a small impact can crack the slab. Once aligned with your reference lines, place spacers along the edges. Now, take your rubber mallet and tap the center and corners—this ensures the slab beds into the thinset without air bubbles. Use your level again to check for evenness; if it's off, lift the slab (within 10 minutes of placing it, before the thinset sets) and adjust the adhesive.
Work in small sections—2-3 slabs at a time. This keeps you from rushing and allows you to correct mistakes before the thinset hardens. I once tried to do an entire wall in one go and ended up with three misaligned slabs. Lesson learned: Slow down.
MS Travertino needs time to bond. Most thinsets take 24 hours to cure, but check the label—some fast-set formulas dry in 6 hours. Avoid walking on floors or leaning against walls during this time. If you're installing in a high-traffic area, use painter's tape and "wet floor" signs to keep people away. Humidity matters too: In dry climates, mist the slabs lightly with water (don't soak!) to slow curing and prevent shrinkage.
Grouting is where your project goes from "meh" to "wow." Choose a grout color that complements your MS Travertino—for light stones, warm beiges or soft grays work; for darker tones, charcoal or black adds contrast. Mix grout to a creamy consistency, then use your float to press it into the joints at a 45-degree angle. Hold the float diagonally to the grout lines to avoid pulling out the grout you just applied.
Wait 15-20 minutes (check the grout bag for exact time) until the grout haze appears, then wipe the slabs with a damp sponge. Rinse the sponge frequently—dirty water leaves streaks. Do a final wipe with a dry microfiber cloth once the grout is completely dry (usually 24 hours) to buff away any remaining haze. Resist the urge to skip this step—haze can permanently stain the stone if left too long.
MS Travertino is porous, so sealing is non-negotiable—especially in kitchens, bathrooms, or outdoor areas. Wait 48-72 hours after grouting to let everything dry fully, then apply sealer. I prefer impregnating sealers (they soak into the stone) over topical ones (which sit on top) because they last longer and don't alter the stone's texture. Apply sealer with a lamb's wool applicator or a foam brush, working in small sections. Let it sit for 5 minutes, then wipe off excess with a clean cloth. Apply a second coat after 2 hours for extra protection.
Re-seal every 2-3 years (more often for outdoor or high-traffic areas). To test if it's time, drop a few water droplets on the stone—if they bead up, the sealer is still good; if they soak in, it's time to reapply.
Dispose of excess thinset and grout properly (check local regulations—some areas consider them hazardous waste). Clean your tools immediately—thinset hardens like concrete, and a clogged trowel is useless. Wipe down the slabs with a pH-neutral stone cleaner (avoid vinegar or bleach!) to remove any remaining residue. Stand back, and admire your handiwork—you've earned it.
Even pros mess up—don't panic if something goes wrong. Here are the most common issues I've encountered with MS Travertino installations and how to fix them:
This usually happens if the thinset wasn't spread evenly or the surface wasn't level. If it's been less than 24 hours, you might be able to gently pry up the slab with a putty knife, scrape off the old thinset, and reapply. If it's cured, grind down high spots with a diamond grinding pad (use water to reduce dust) or fill low spots with a color-matched grout or patching compound.
Cracked grout often means the slabs moved after installation—maybe due to a unstable surface or insufficient curing time. Remove the cracked grout with a grout saw, then re-grout with a flexible grout (look for "anti-crack" formulas). For hairline cracks, a grout touch-up pen works in a pinch.
Spilled coffee? Red wine? Don't panic. Blot (don't rub!) the stain immediately with a clean cloth. Mix baking soda and water into a paste, apply to the stain, and let sit overnight. Rinse with water and repeat if needed. For oil-based stains (like grease), use a poultice made with acetone and baking soda. Sealing regularly prevents most stains, so don't skip that step!
This is almost always due to a dirty surface. If slabs start lifting, remove them, scrape off the old thinset, and clean the surface with a degreaser (like trisodium phosphate). Reapply fresh thinset and reset the slabs. If the surface was painted, sand off the paint first—thinset doesn't stick to glossy finishes.
Installing MS Travertino isn't just about laying stone—it's about creating a space that feels intentional, durable, and uniquely yours. I've seen it transform a drab office lobby into a sleek, modern space with the big slab board series (those 4x8-foot slabs make walls feel endless) and turn a tiny bathroom into a spa-like retreat with its warm, earthy tones. Its flexibility means it works in curved spaces, outdoor kitchens, even fireplaces—places traditional stone would crack or fail.
Remember: Great installations aren't about perfection; they're about care. Take your time, prep properly, and don't hesitate to ask for help if you need it. Whether you're a seasoned DIYer or a first-timer, MS Travertino rewards patience with beauty that lasts. So go ahead—grab your trowel, put on some music, and start creating. The finished project will make every sore muscle and covered-in-thinset hand worth it.
And if you ever hit a snag? Come back to this guide. I'll be here, cheering you on (and maybe sipping a coffee while reminiscing about that time I turned leftover MS Travertino offcuts into a killer outdoor table). Happy installing!
Recommend Products


