

There's something inherently comforting about beige. It's the color of sunlit sand, of warm coffee mugs, of the quiet elegance that turns a house into a home. And when that beige comes in the form of Muretto Stone (Beige) —with its soft, earthy texture and subtle depth—it's no wonder designers and homeowners alike can't get enough. But here's the thing: even the most beautiful stone is only as good as its installation. A rushed job, a misaligned tile, or a botched thinset application can turn that dreamy beige wall into a frustrating eyesore. That's why we're breaking down the best practices for installing Muretto Stone (Beige) with thinset adhesive—so you can make sure your space shines, from the first trowel swipe to the final curing day.
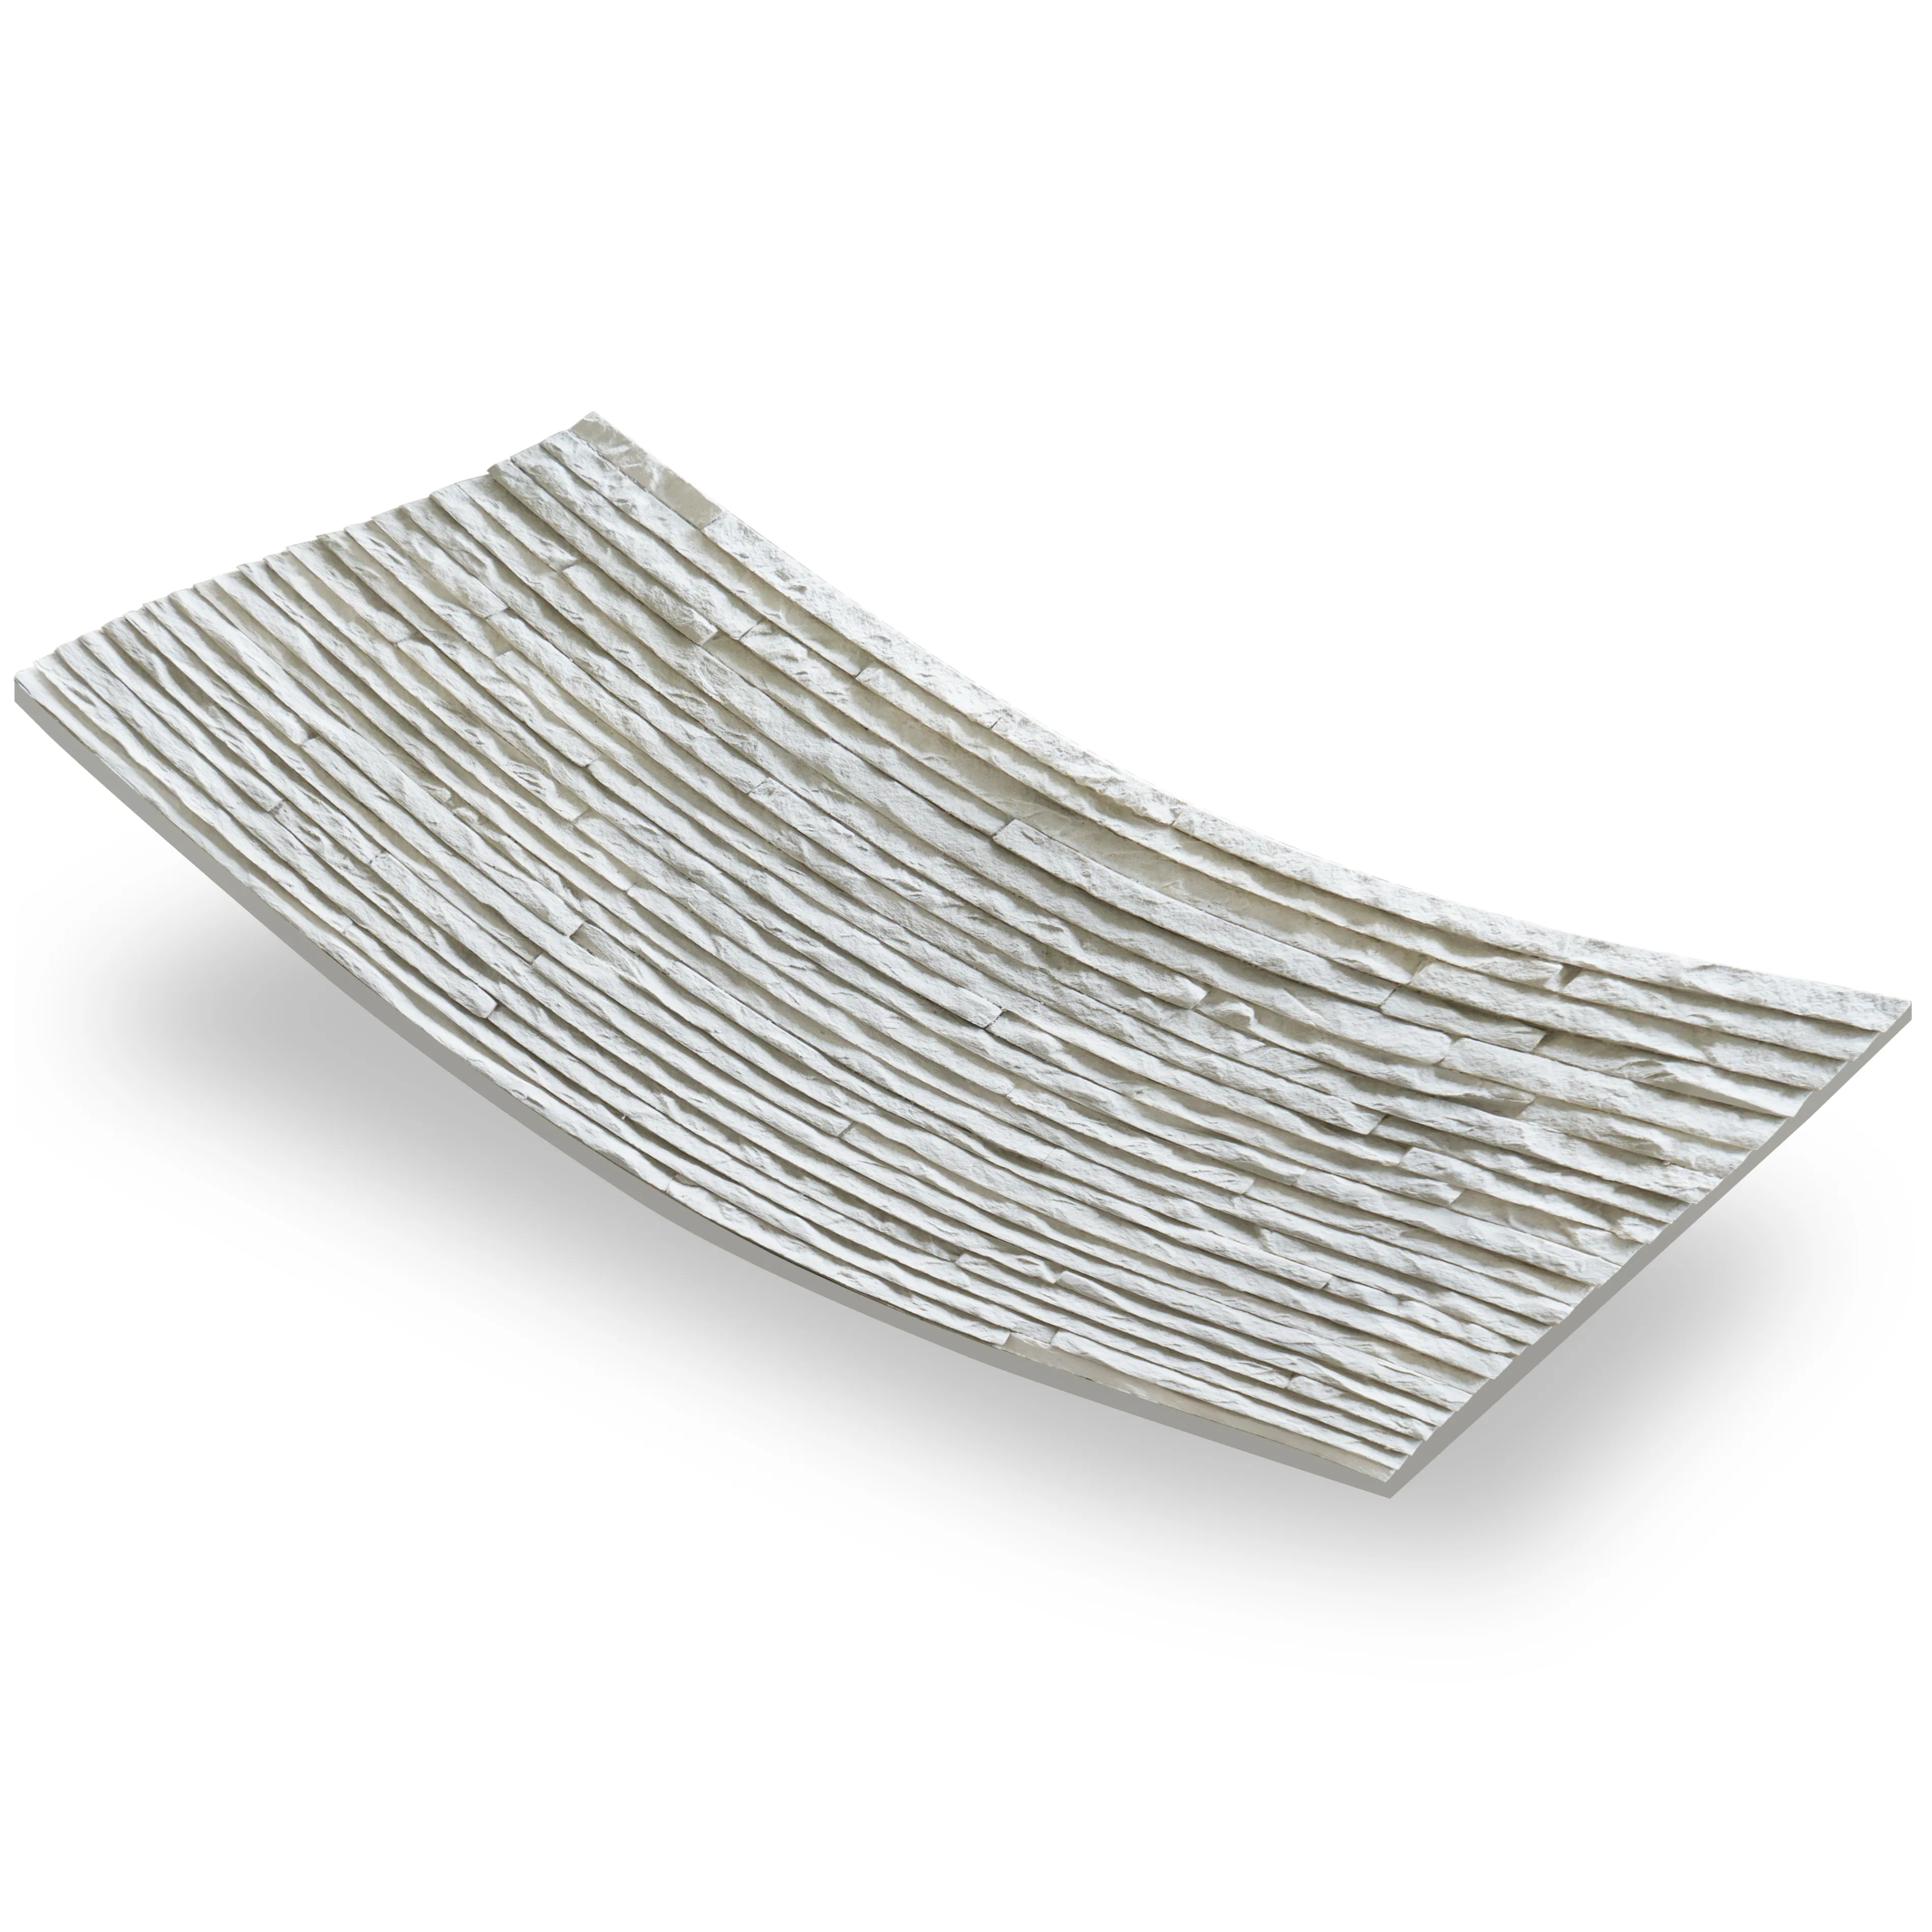
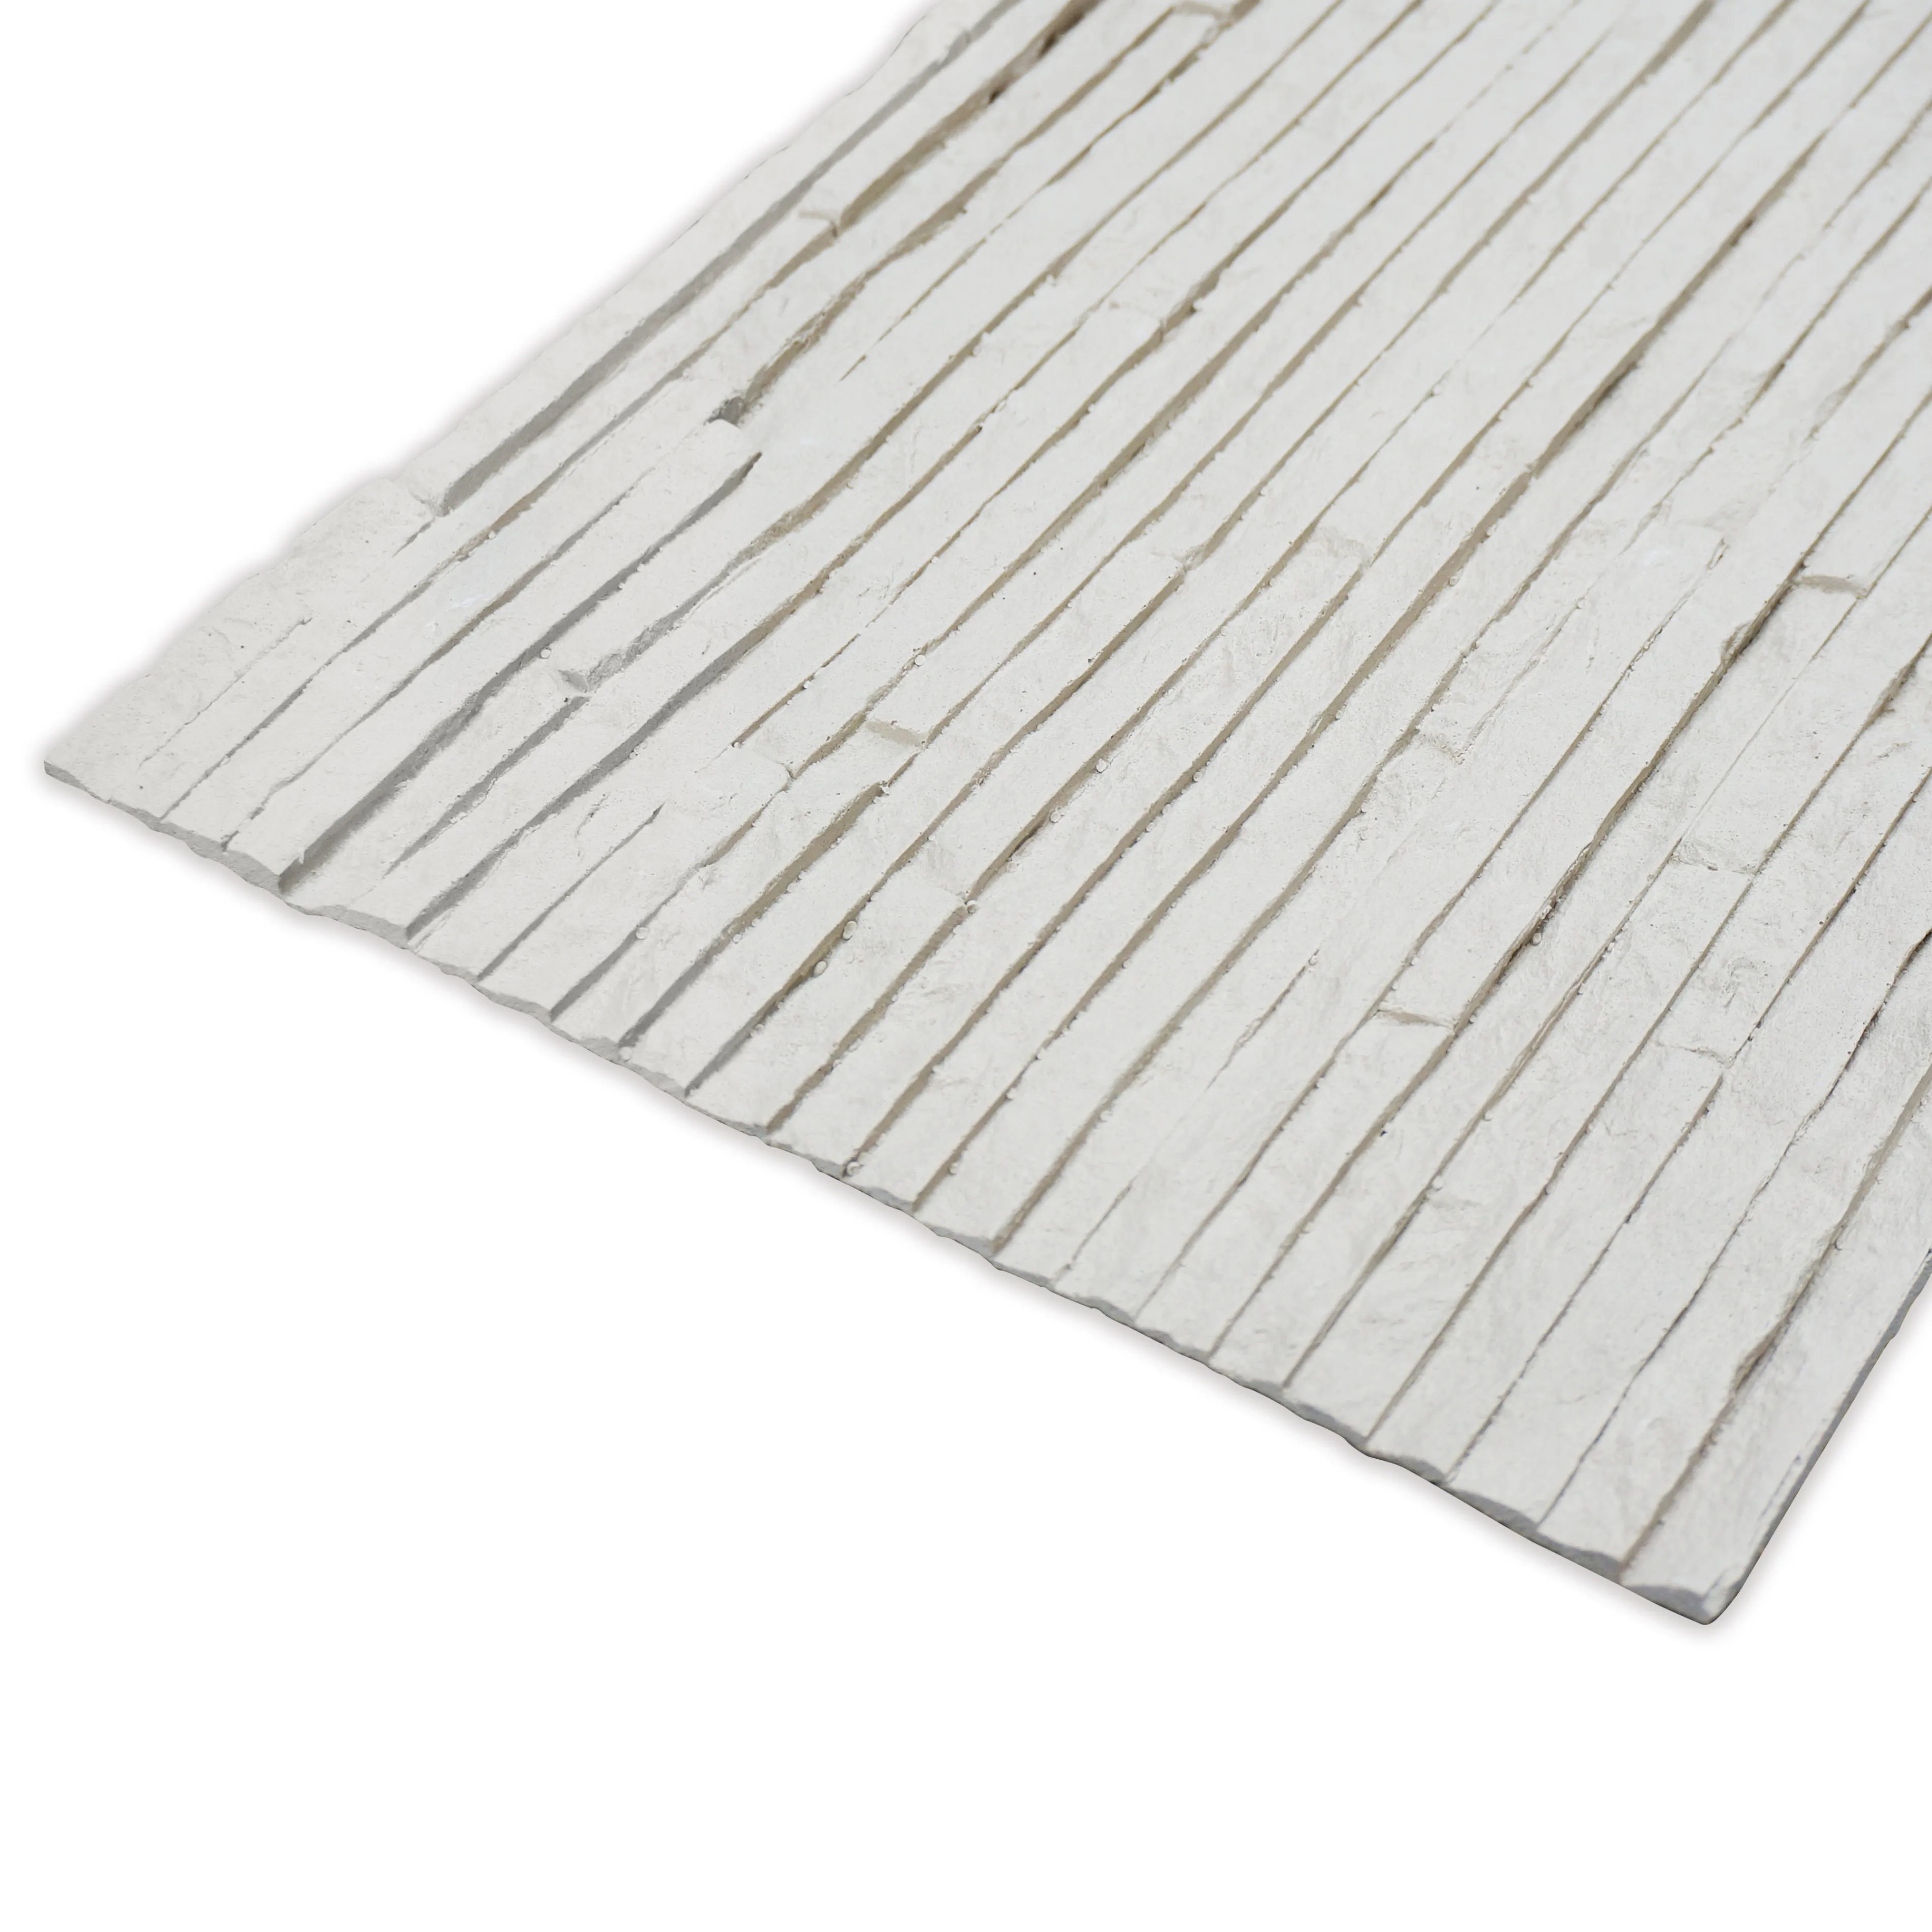
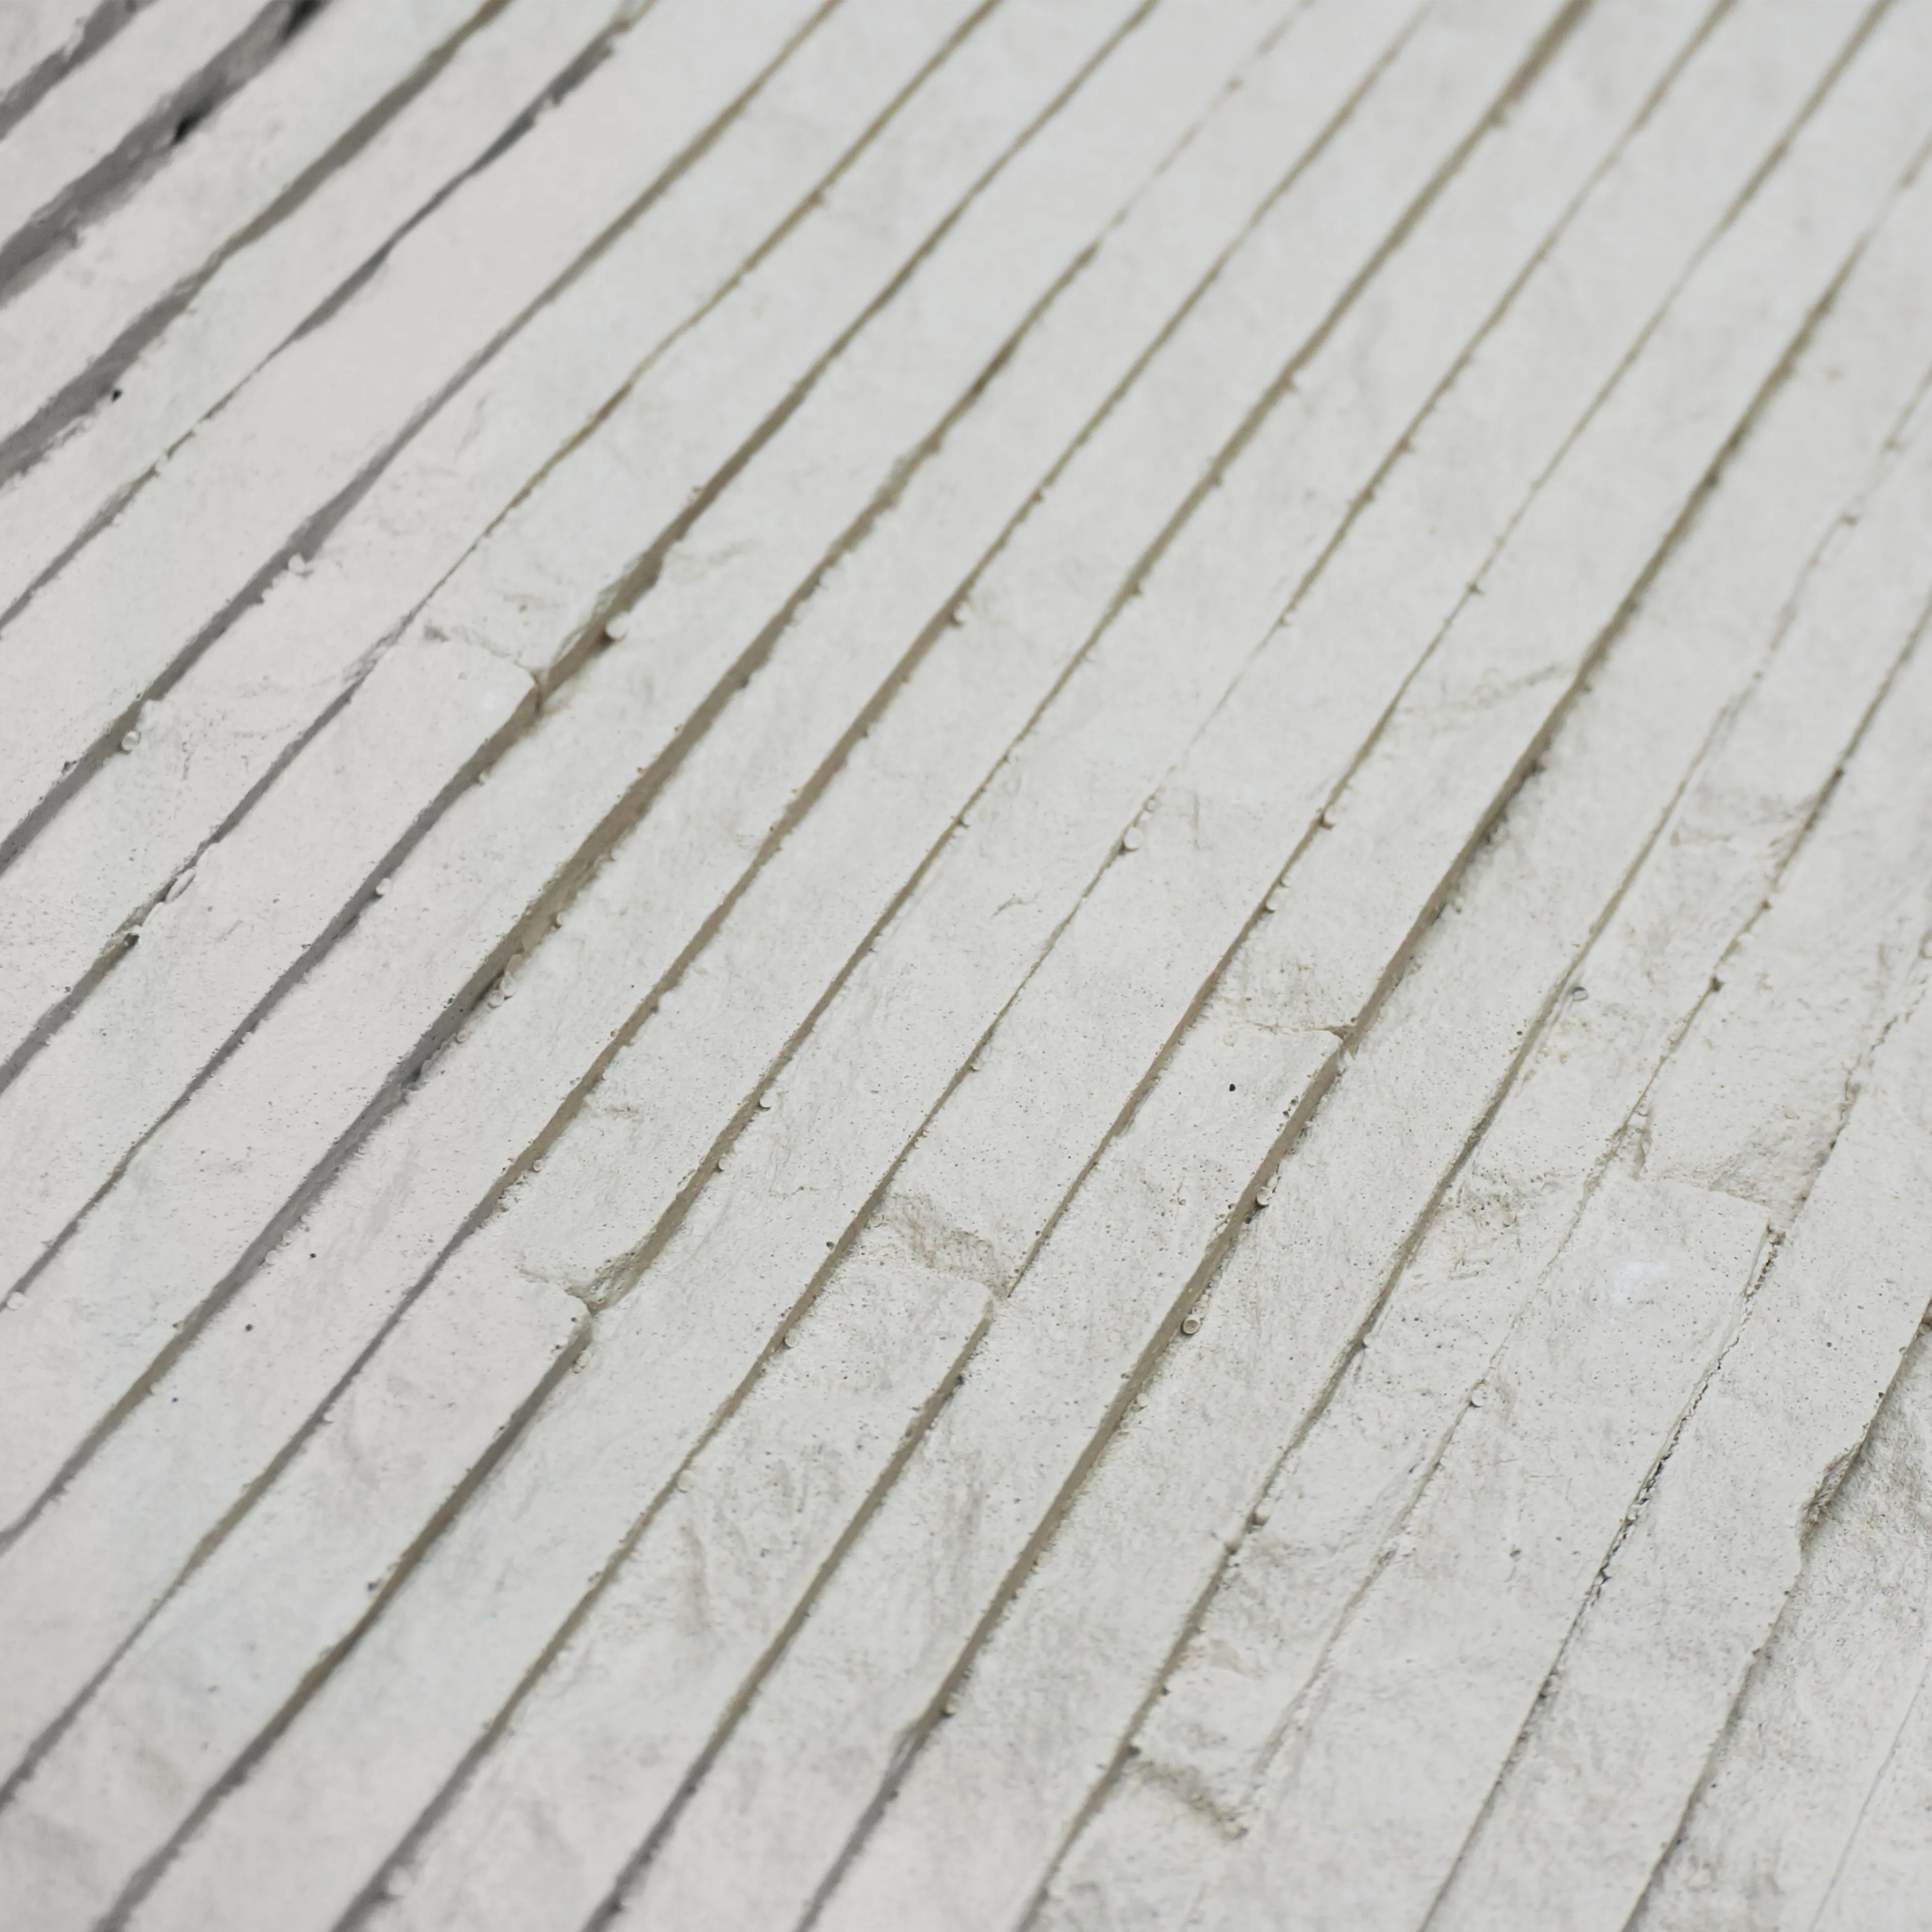
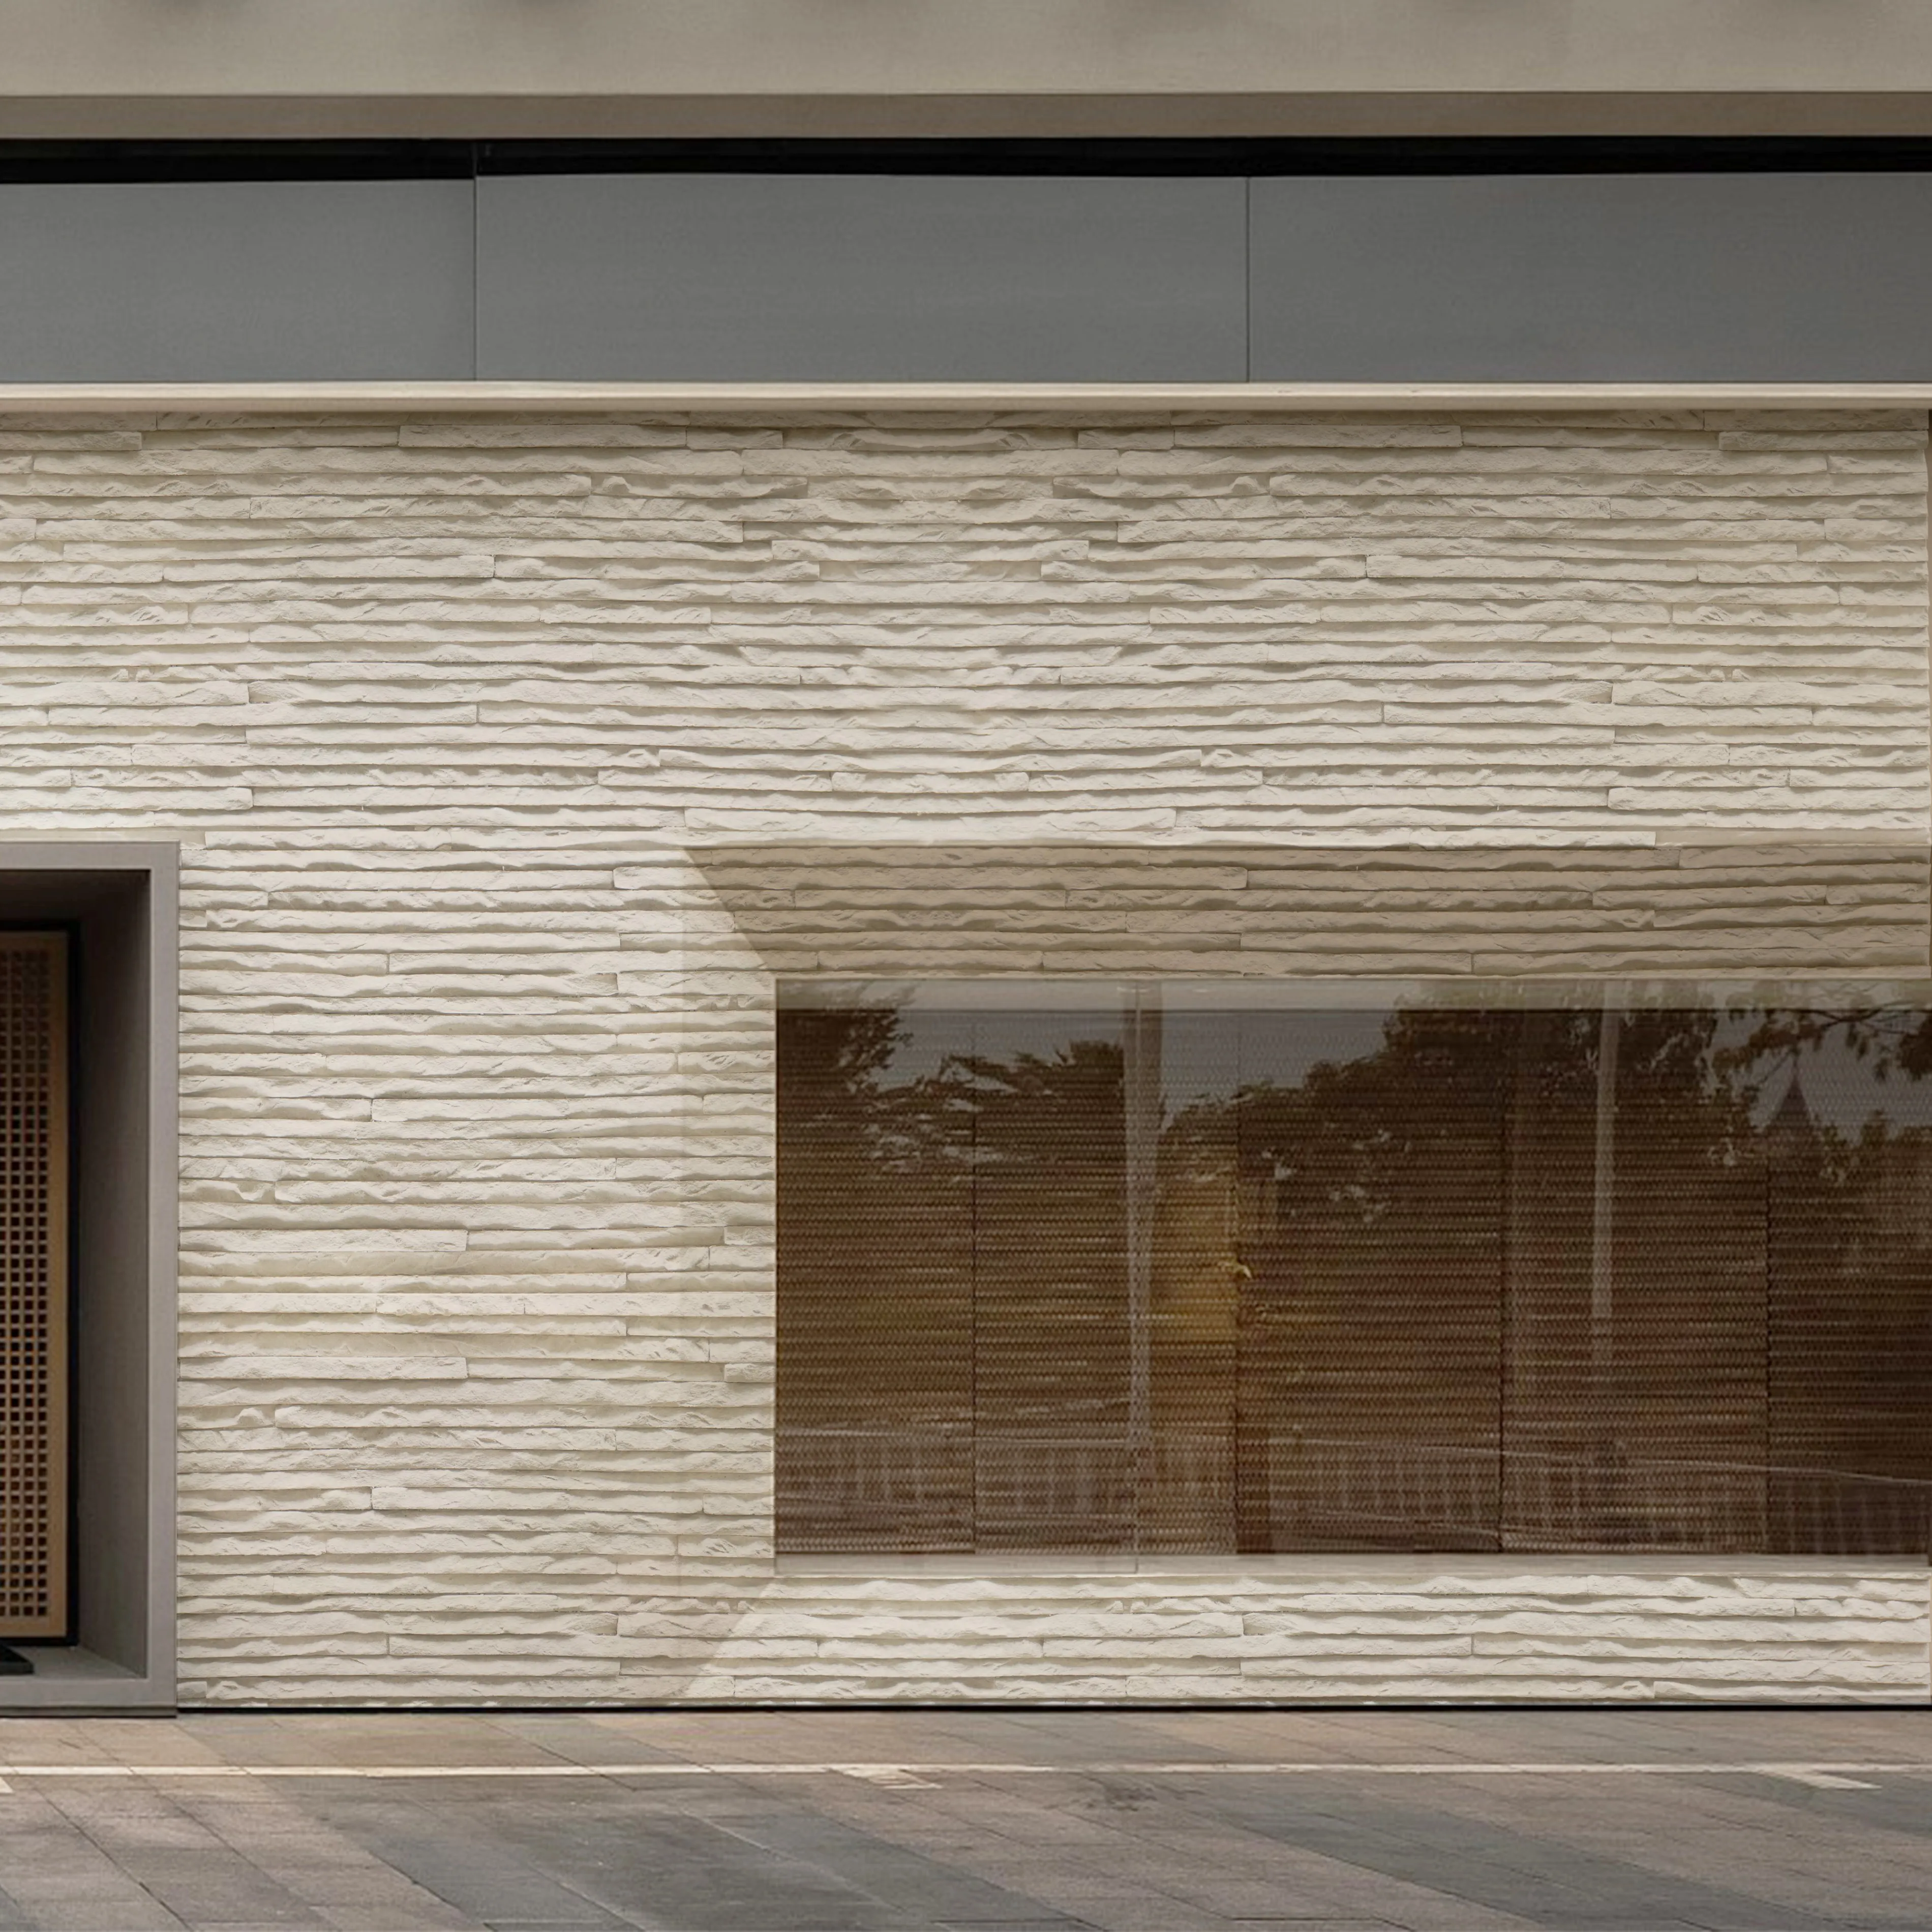
Before you crack open a bag of thinset, let's talk about the star of the show. Muretto Stone (Beige) isn't just another tile—it's a blend of durability and warmth, designed to mimic the look of aged stone without the heft. Unlike some synthetic materials, it has a tactile, organic feel; run your hand over it, and you'll notice tiny variations in texture, like the gentle ridges of a river-worn pebble. It's also surprisingly versatile: use it in a modern kitchen backsplash, a rustic bathroom shower, or even an outdoor patio (though we'll get to weather considerations later).
You might be wondering how it stacks up against other popular materials, like MCM flexible stone . While MCM flexible stone is lightweight and bendable (great for curved surfaces), Muretto Stone (Beige) has a sturdier, more substantial presence. Think of it as the reliable cousin—less flashy, but built to last. And when paired with the right thinset, it can hold its own against moisture, heat, and daily wear and tear.
If there's one piece of advice I can't stress enough, it's this: don't skip prep work . I've seen DIYers dive straight into spreading thinset, only to realize their wall is covered in dust or their floor slopes like a rollercoaster. Trust me—taking an extra hour to prep will save you weeks of fixing mistakes. Here's what you need to do:
Muretto Stone (Beige) loves a smooth, stable surface. Start by inspecting your wall or floor: Are there cracks? Holes? Peeling paint? Fill any gaps with a quality patching compound, and sand down rough spots until they're flush. Next, clean the surface like your stone's life depends on it (because, in a way, it does). Dust, grease, and even leftover adhesive from old tiles will prevent thinset from bonding properly. Use a stiff brush to sweep away debris, then wipe with a damp cloth and let it dry completely. Moisture is the enemy here—if the surface is damp, the thinset won't cure right, leading to loose tiles down the line.
Ever tried to bake a cake without a mixer? Installing stone without the right tools is just as messy. Here's a quick breakdown of what you'll need (we'll dive deeper into thinset-specific tools later):
| Tool | Why You Need It | Pro Tip |
|---|---|---|
| Notched Trowel | Spreads thinset evenly; the size of the notches (e.g., 1/4-inch, 1/2-inch) depends on your stone thickness. | For Muretto Stone (Beige), a 1/4-inch x 1/4-inch square-notched trowel works best for most surfaces. |
| Flat Trowel | Smooths thinset and "back butters" the stone (more on that later). | Opt for a rubber-handled one—your wrist will thank you after hours of work. |
| 4-foot Level | Ensures your stone lines up straight; no one wants a wonky, tilted wall. | Check level both horizontally and vertically with each tile. |
| Tile Spacers | Keeps consistent gaps between stones for grout (usually 1/8-inch or 1/16-inch). | Stick them to the edges of the stone, not the thinset—they'll be easier to remove later. |
| Sponge & Bucket | Cleans excess thinset from stone surfaces before it dries. | Use a natural sea sponge—synthetic ones can scratch the stone's finish. |
Pro Tip: If you're working with a large area, snap chalk lines on the surface to guide your alignment. It's like having a built-in roadmap—no more second-guessing if your first row is straight.
Thinset adhesive is the glue that holds your Muretto Stone (Beige) in place, so getting the mix right is non-negotiable. Too runny, and it'll slump off the wall; too thick, and it won't spread evenly, leaving gaps under the stone. The good news? There's a simple trick to getting the consistency just right: aim for creamy peanut butter . Not the chunky kind, not the watery natural stuff—smooth, spreadable, and thick enough to hold a shape when you scoop it.
Here's how to mix it step-by-step:
Common Mistake: Adding extra water to "make it easier to spread." Resist the urge! Watery thinset has less bonding power, and it'll shrink as it dries, increasing the risk of cracks or loose tiles.
Now comes the hands-on part: applying thinset to both the surface and the back of your Muretto Stone (Beige). This two-step process—called "back buttering"—ensures full contact between the stone and the wall, eliminating air pockets that can cause tiles to pop loose over time.
Grab your notched trowel and load it with thinset. Hold the trowel at a 45-degree angle to the surface, then spread the thinset in a thin, even layer. Use long, smooth strokes, working in small sections (about 2-3 square feet at a time—thinset dries fast!). Once you've covered the area, comb it by dragging the notched edge of the trowel through the thinset. This creates ridges that help the stone adhere, and it ensures the thinset is the same thickness everywhere.
Now flip the stone over and apply a thin layer of thinset to the back using a flat trowel. This is "back buttering," and it's a step many people skip—but don't be one of them. Even if your surface thinset layer looks perfect, the back of the stone might have tiny pits or grooves that need filling. Back buttering ensures those gaps are filled, creating a solid bond. Aim for a layer about 1/16-inch thick—just enough to cover the entire back without oozing out the sides when you press it down.
With thinset on both the surface and the stone, it's time to set it in place. Gently lower the Muretto Stone (Beige) onto the combed thinset, making sure it lines up with your chalk line or spacers. Then, press firmly—use a twisting motion with your hands or a rubber mallet (tap lightly!) to seat the stone into the thinset. You'll see a little thinset squeeze out from the edges—that's a good sign! It means the stone is fully embedded.
Check the level immediately: place your 4-foot level across the stone and adjacent tiles. If it's off, gently lift and reposition— but do it fast . Thinset starts to set within 20-30 minutes, and once it's tacky, moving the stone will disturb the bond.
You've set the last stone, stepped back, and admired your handiwork—now what? Curing. Thinset doesn't dry; it cures , meaning it hardens through a chemical reaction with water. Rushing this step is one of the biggest mistakes you can make. Walk on the floor too soon, and you'll shift the stones; get the area wet, and the thinset might not cure properly, leading to weak adhesion.
Most thinset takes 24 hours to set enough for light foot traffic, but full curing takes 7-10 days. During that time:
If you're installing Muretto Stone (Beige) in a humid space like a shower, consider extending the curing time by a day or two. Moisture slows down curing, so better safe than sorry.
Even pros run into issues—here's how to handle common mishaps:
Lippage is when one tile sits higher than its neighbor, creating a tripping hazard. To fix it mid-installation, lift the tile, scrape off the excess thinset underneath, and reapply with a thinner layer. If it's already cured, you might need to grind down the high spot with a stone file (gently!)—but prevention is better: use spacers and check level after every tile.
If you're working in a hot, dry room, thinset can start to set before you've placed all the stones. Solution: work in smaller sections (1 square foot at a time) and mist the surface with water before applying thinset (but don't soak it—damp, not wet).
Tap the stone with a rubber mallet—if it sounds hollow, there's a gap between the stone and thinset. This usually happens when you skip back buttering. To fix, remove the stone (if it's still fresh), clean off the old thinset, and reapply with extra back buttering.
Muretto Stone (Beige) is a team player, and it pairs beautifully with other materials to create layered, interesting spaces. For example, try combining it with fair-faced concrete for an industrial-meets-earthy vibe—the smooth, gray concrete contrasts with the stone's texture, making both materials pop. Or, for a touch of luxury, mix in lunar peak golden accents. The warm gold tones complement Muretto's beige, adding a subtle shimmer without overwhelming the space.
And if you're working on a project where weight is a concern (like a second-story wall), consider using MCM flexible stone for accent pieces. It's lightweight and easy to cut, so you can create a focal point without straining the structure.
Installing Muretto Stone (Beige) with thinset adhesive isn't rocket science, but it does require care, patience, and attention to detail. From prepping the surface to curing the thinset, every step matters. And when you do it right? You'll have a space that feels warm, timeless, and uniquely yours—one that makes you smile every time you walk by. So take your time, follow these steps, and remember: the best installations aren't just about the end result—they're about the pride in knowing you did it right. Now go grab that trowel, and let's make that beige stone shine.
Recommend Products


