
Cladding isn't just about covering walls—it's about breathing life into spaces, blending durability with design, and turning ordinary structures into stories. If you've landed here, chances are you're ready to work with one of the most versatile players in the MCM (Modified Composite Material) world: Oasis Stone Foge . This guide isn't just a step-by-step manual; it's your partner in making sure every panel, every cut, and every finish feels intentional. Let's dive in, and by the end, you'll not only know how to install Oasis Stone Foge, but you'll also understand why it's become a favorite for architects and DIY enthusiasts alike.
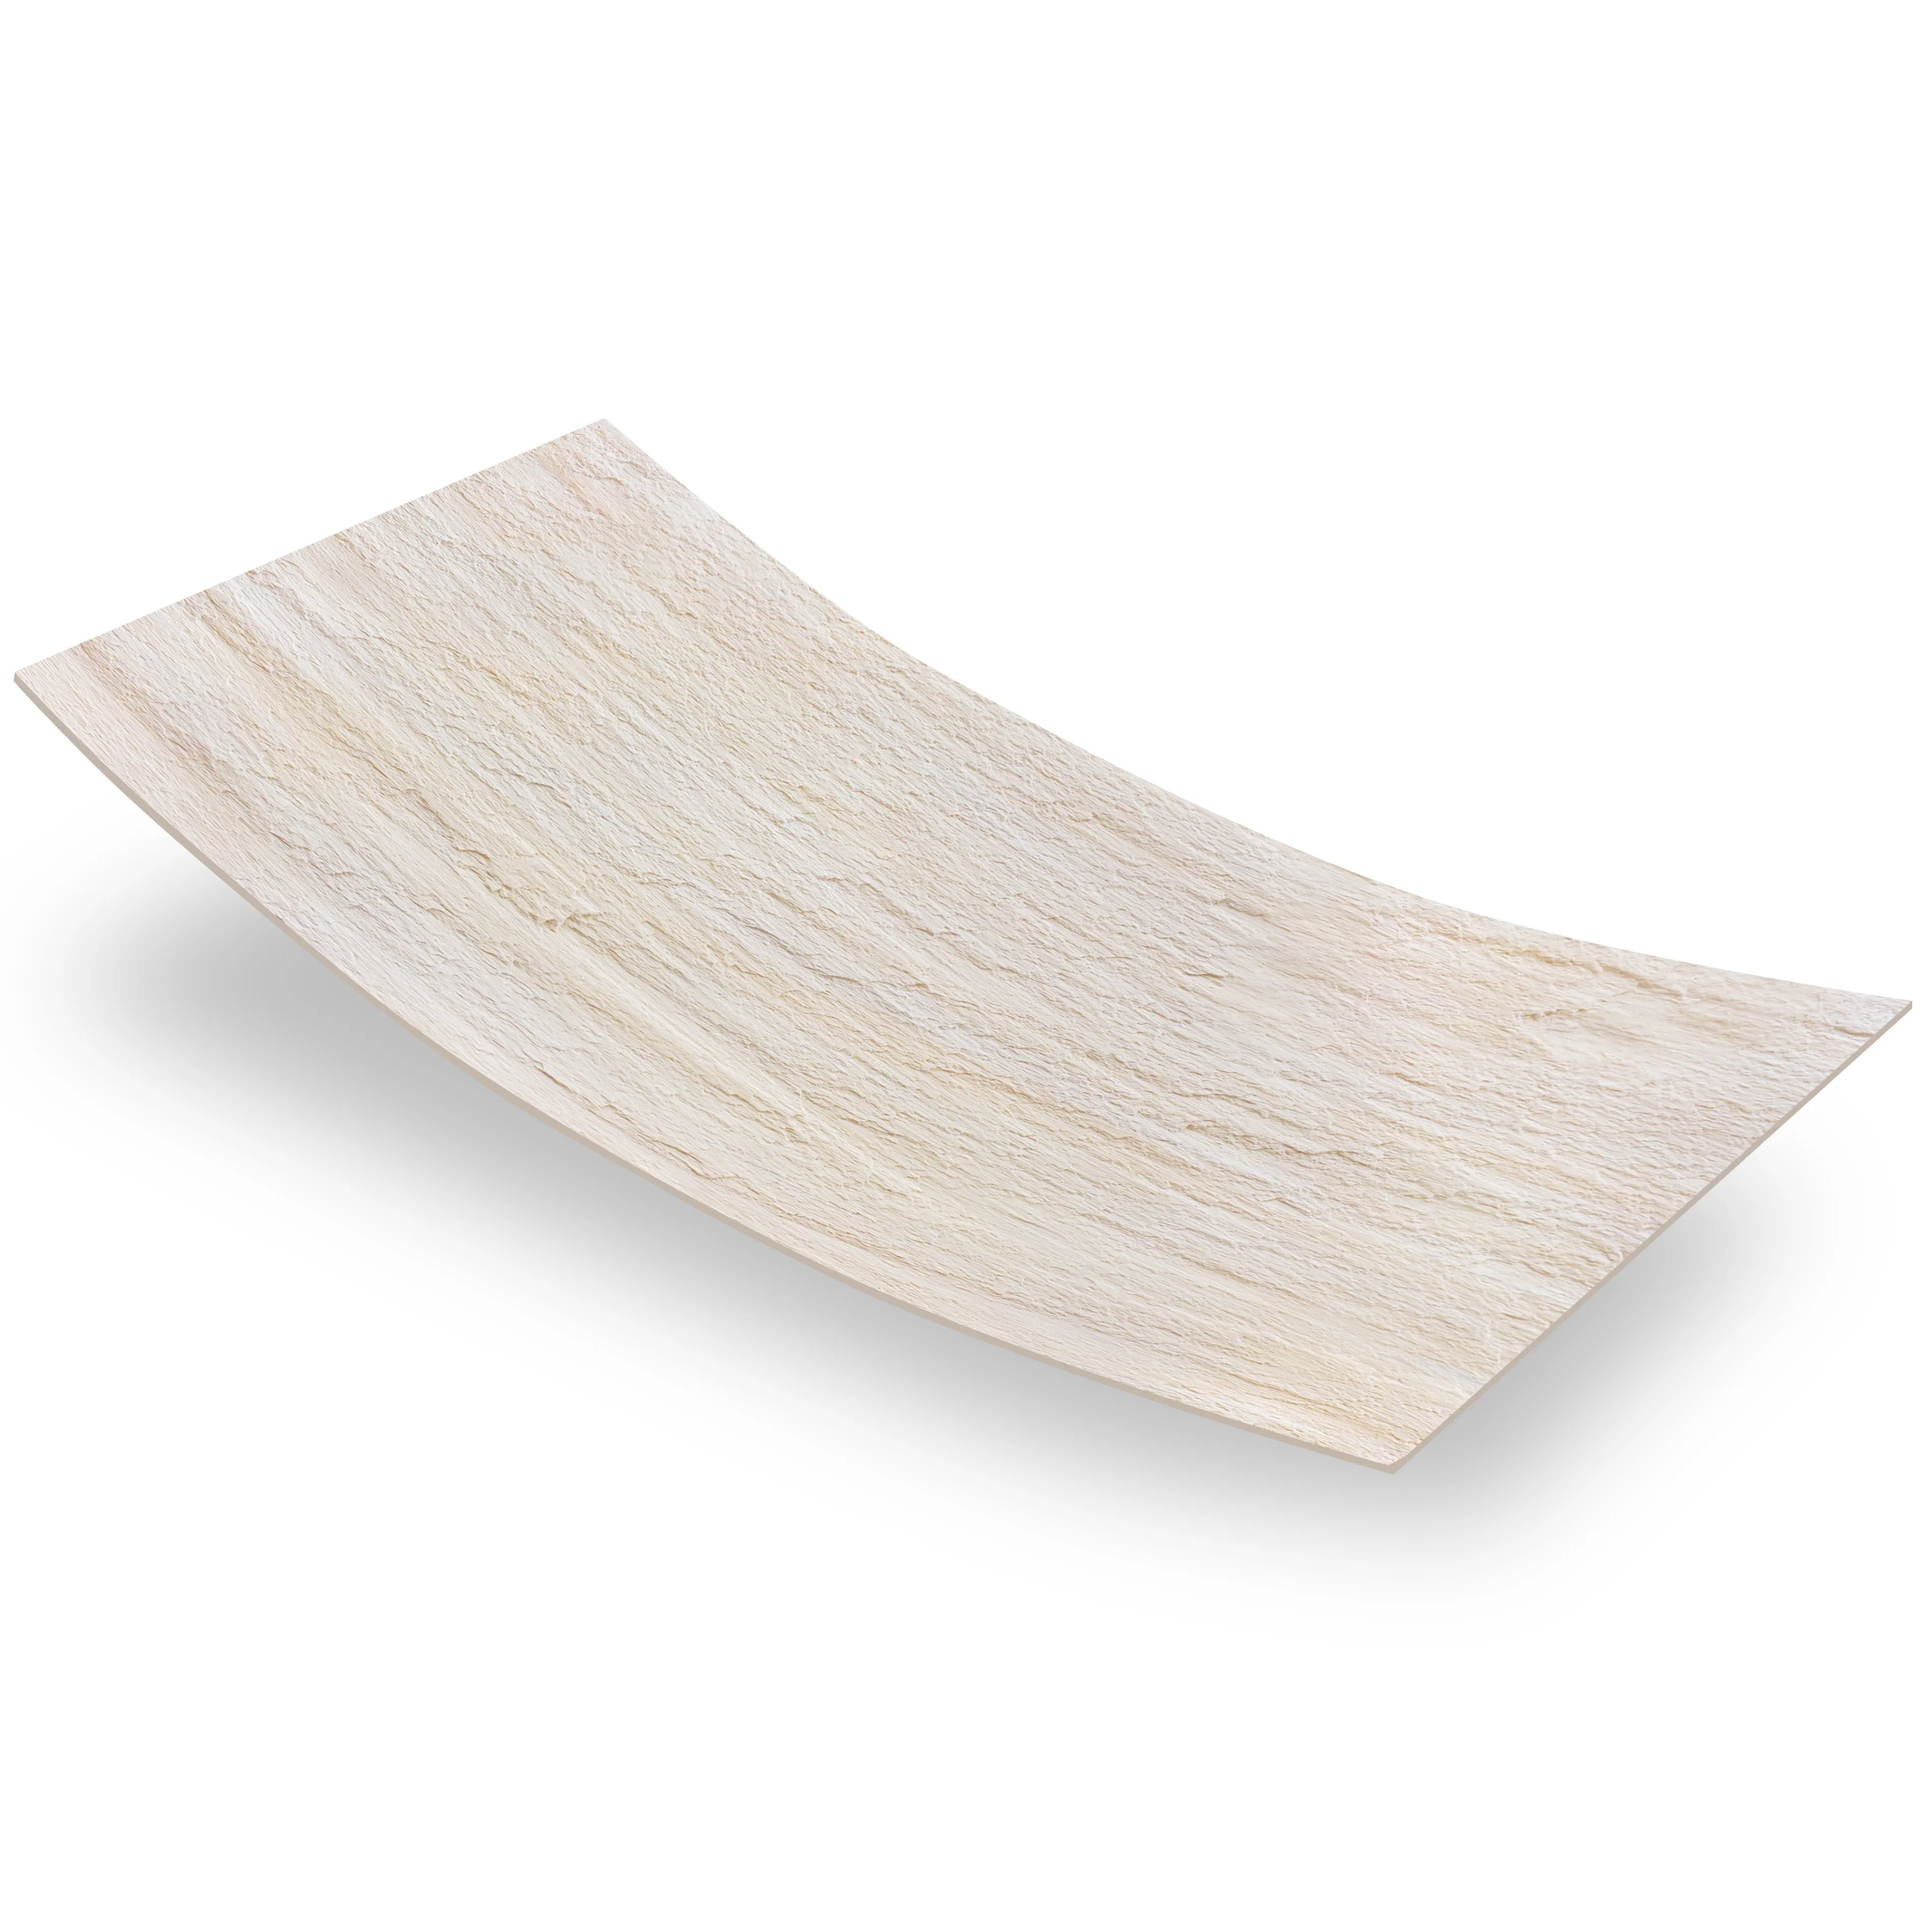
First, let's talk about MCM flexible stone—the backbone of systems like Oasis Stone Foge. Unlike traditional stone or brick, MCM panels are lightweight, resistant to weather, and surprisingly flexible, making them ideal for both interior and exterior projects. They mimic the texture and depth of natural materials but without the hassle of heavy lifting or high maintenance.
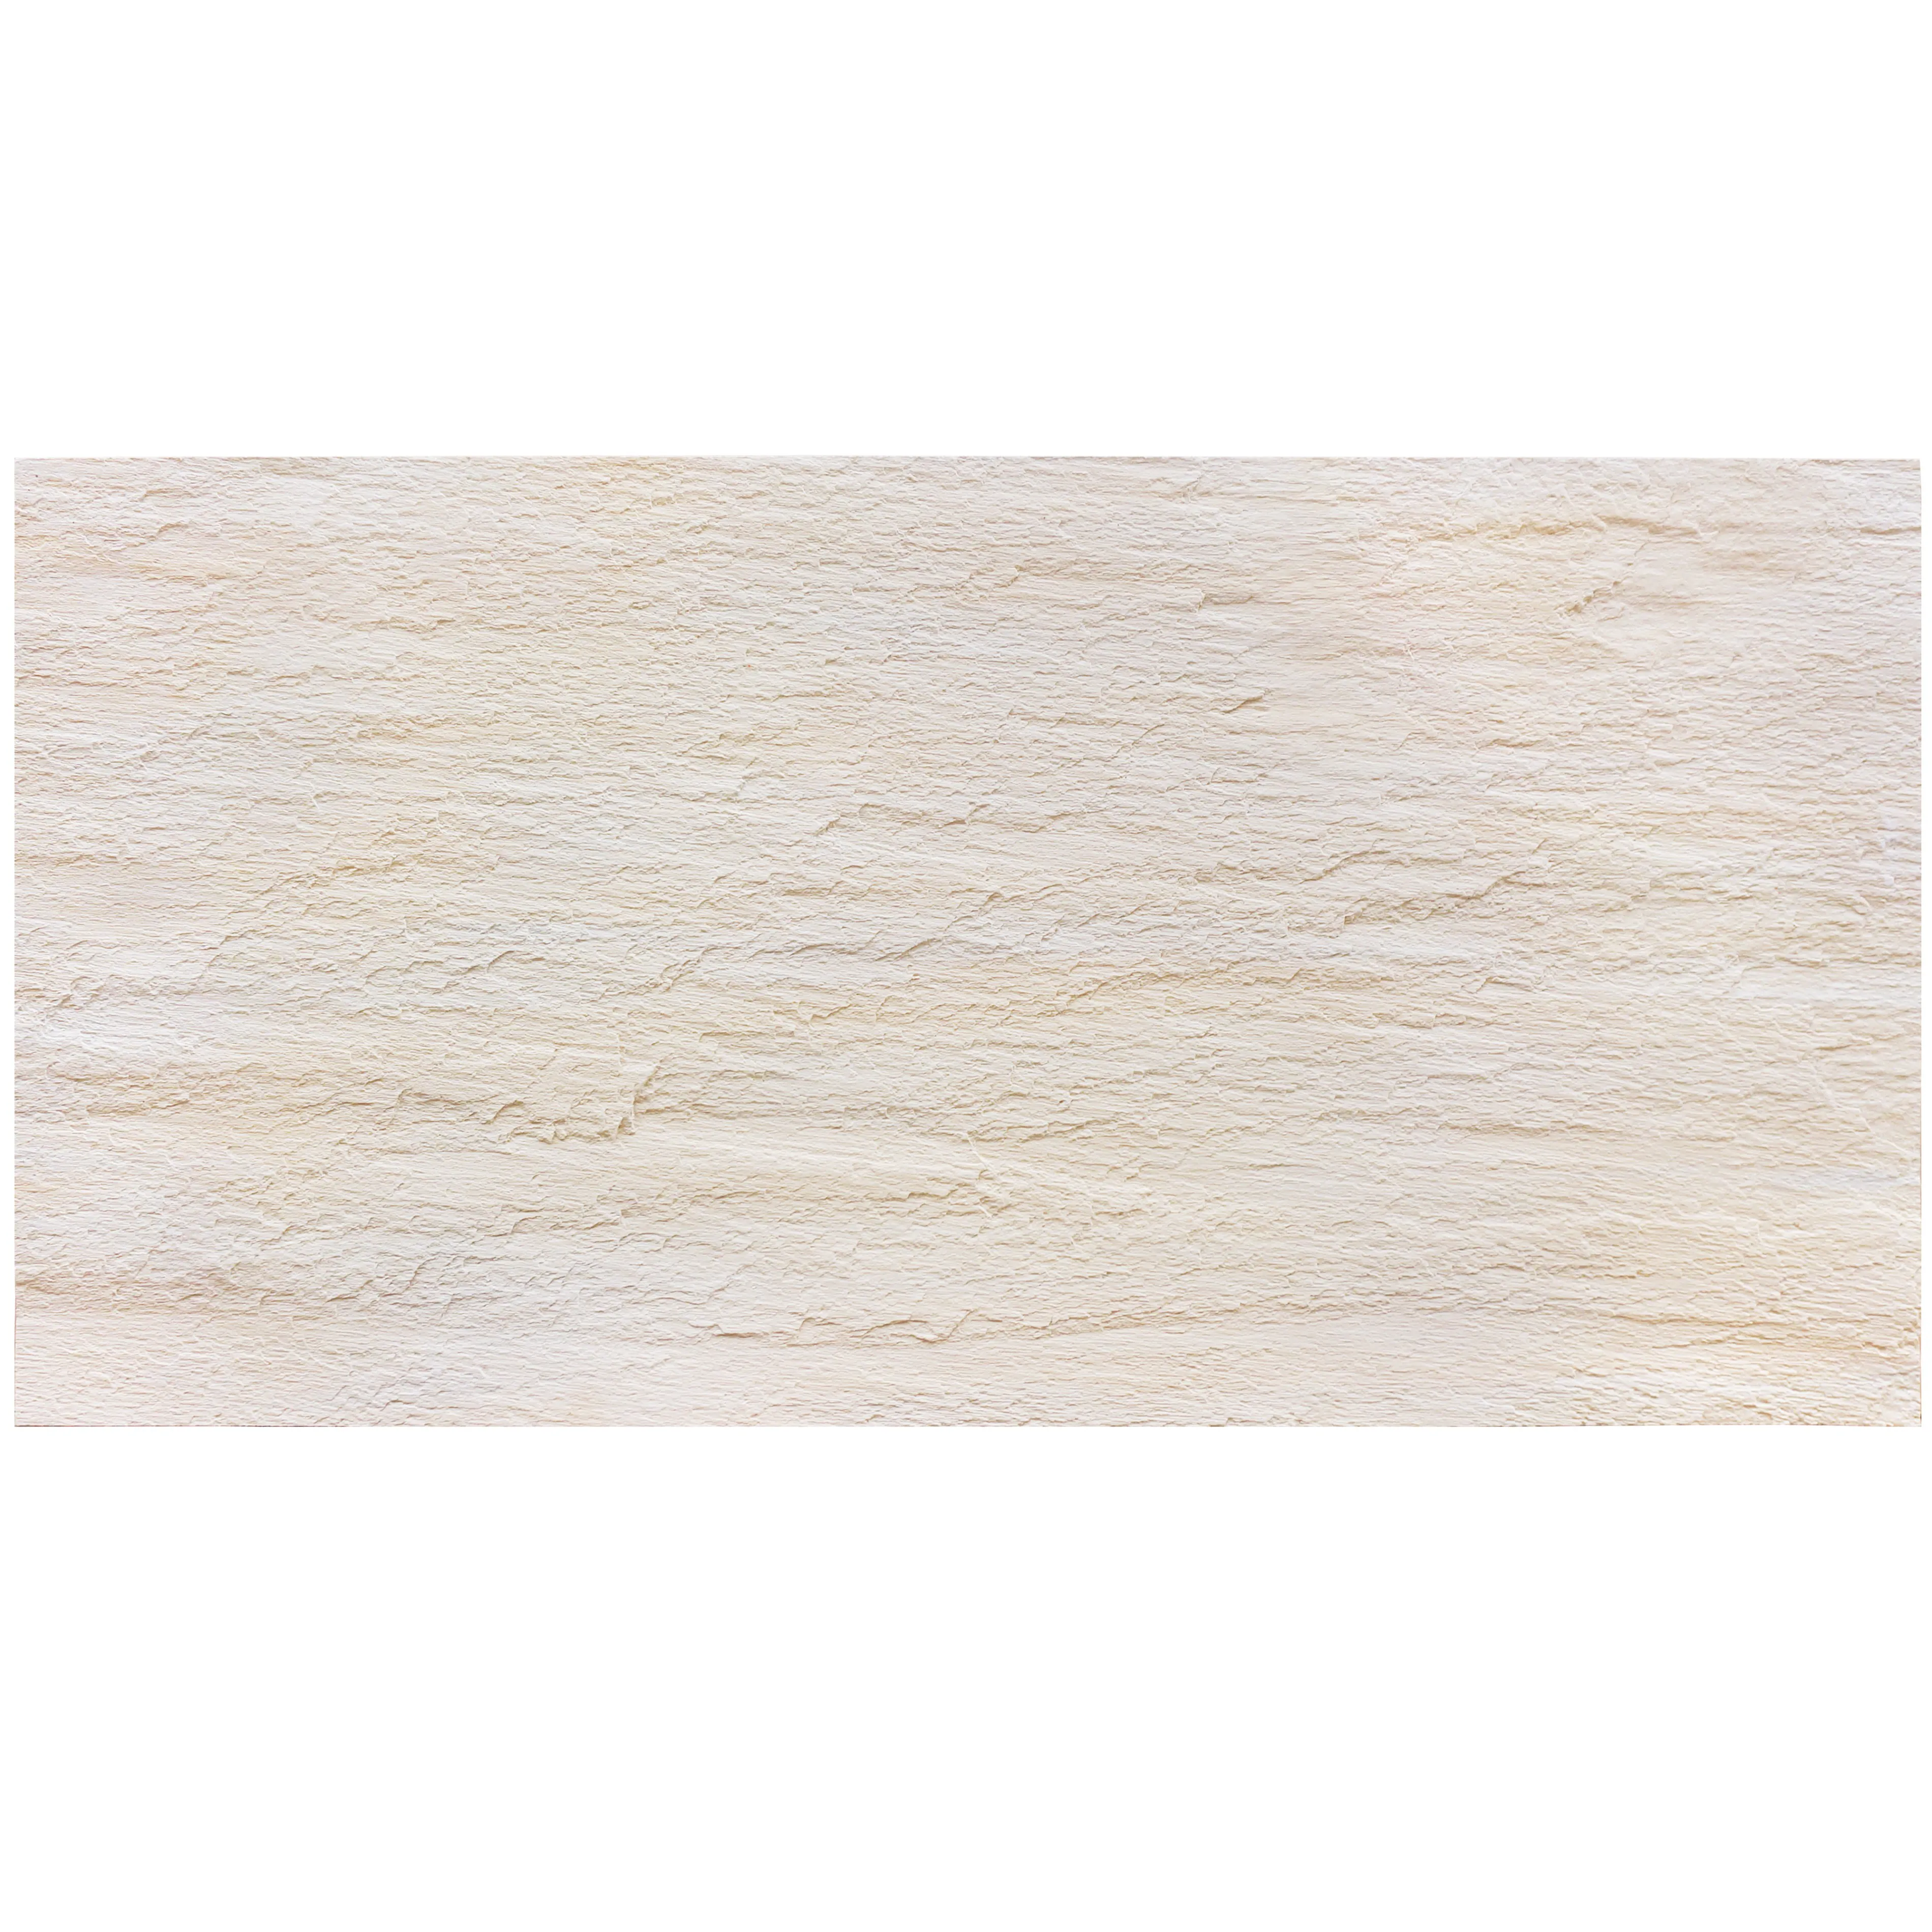
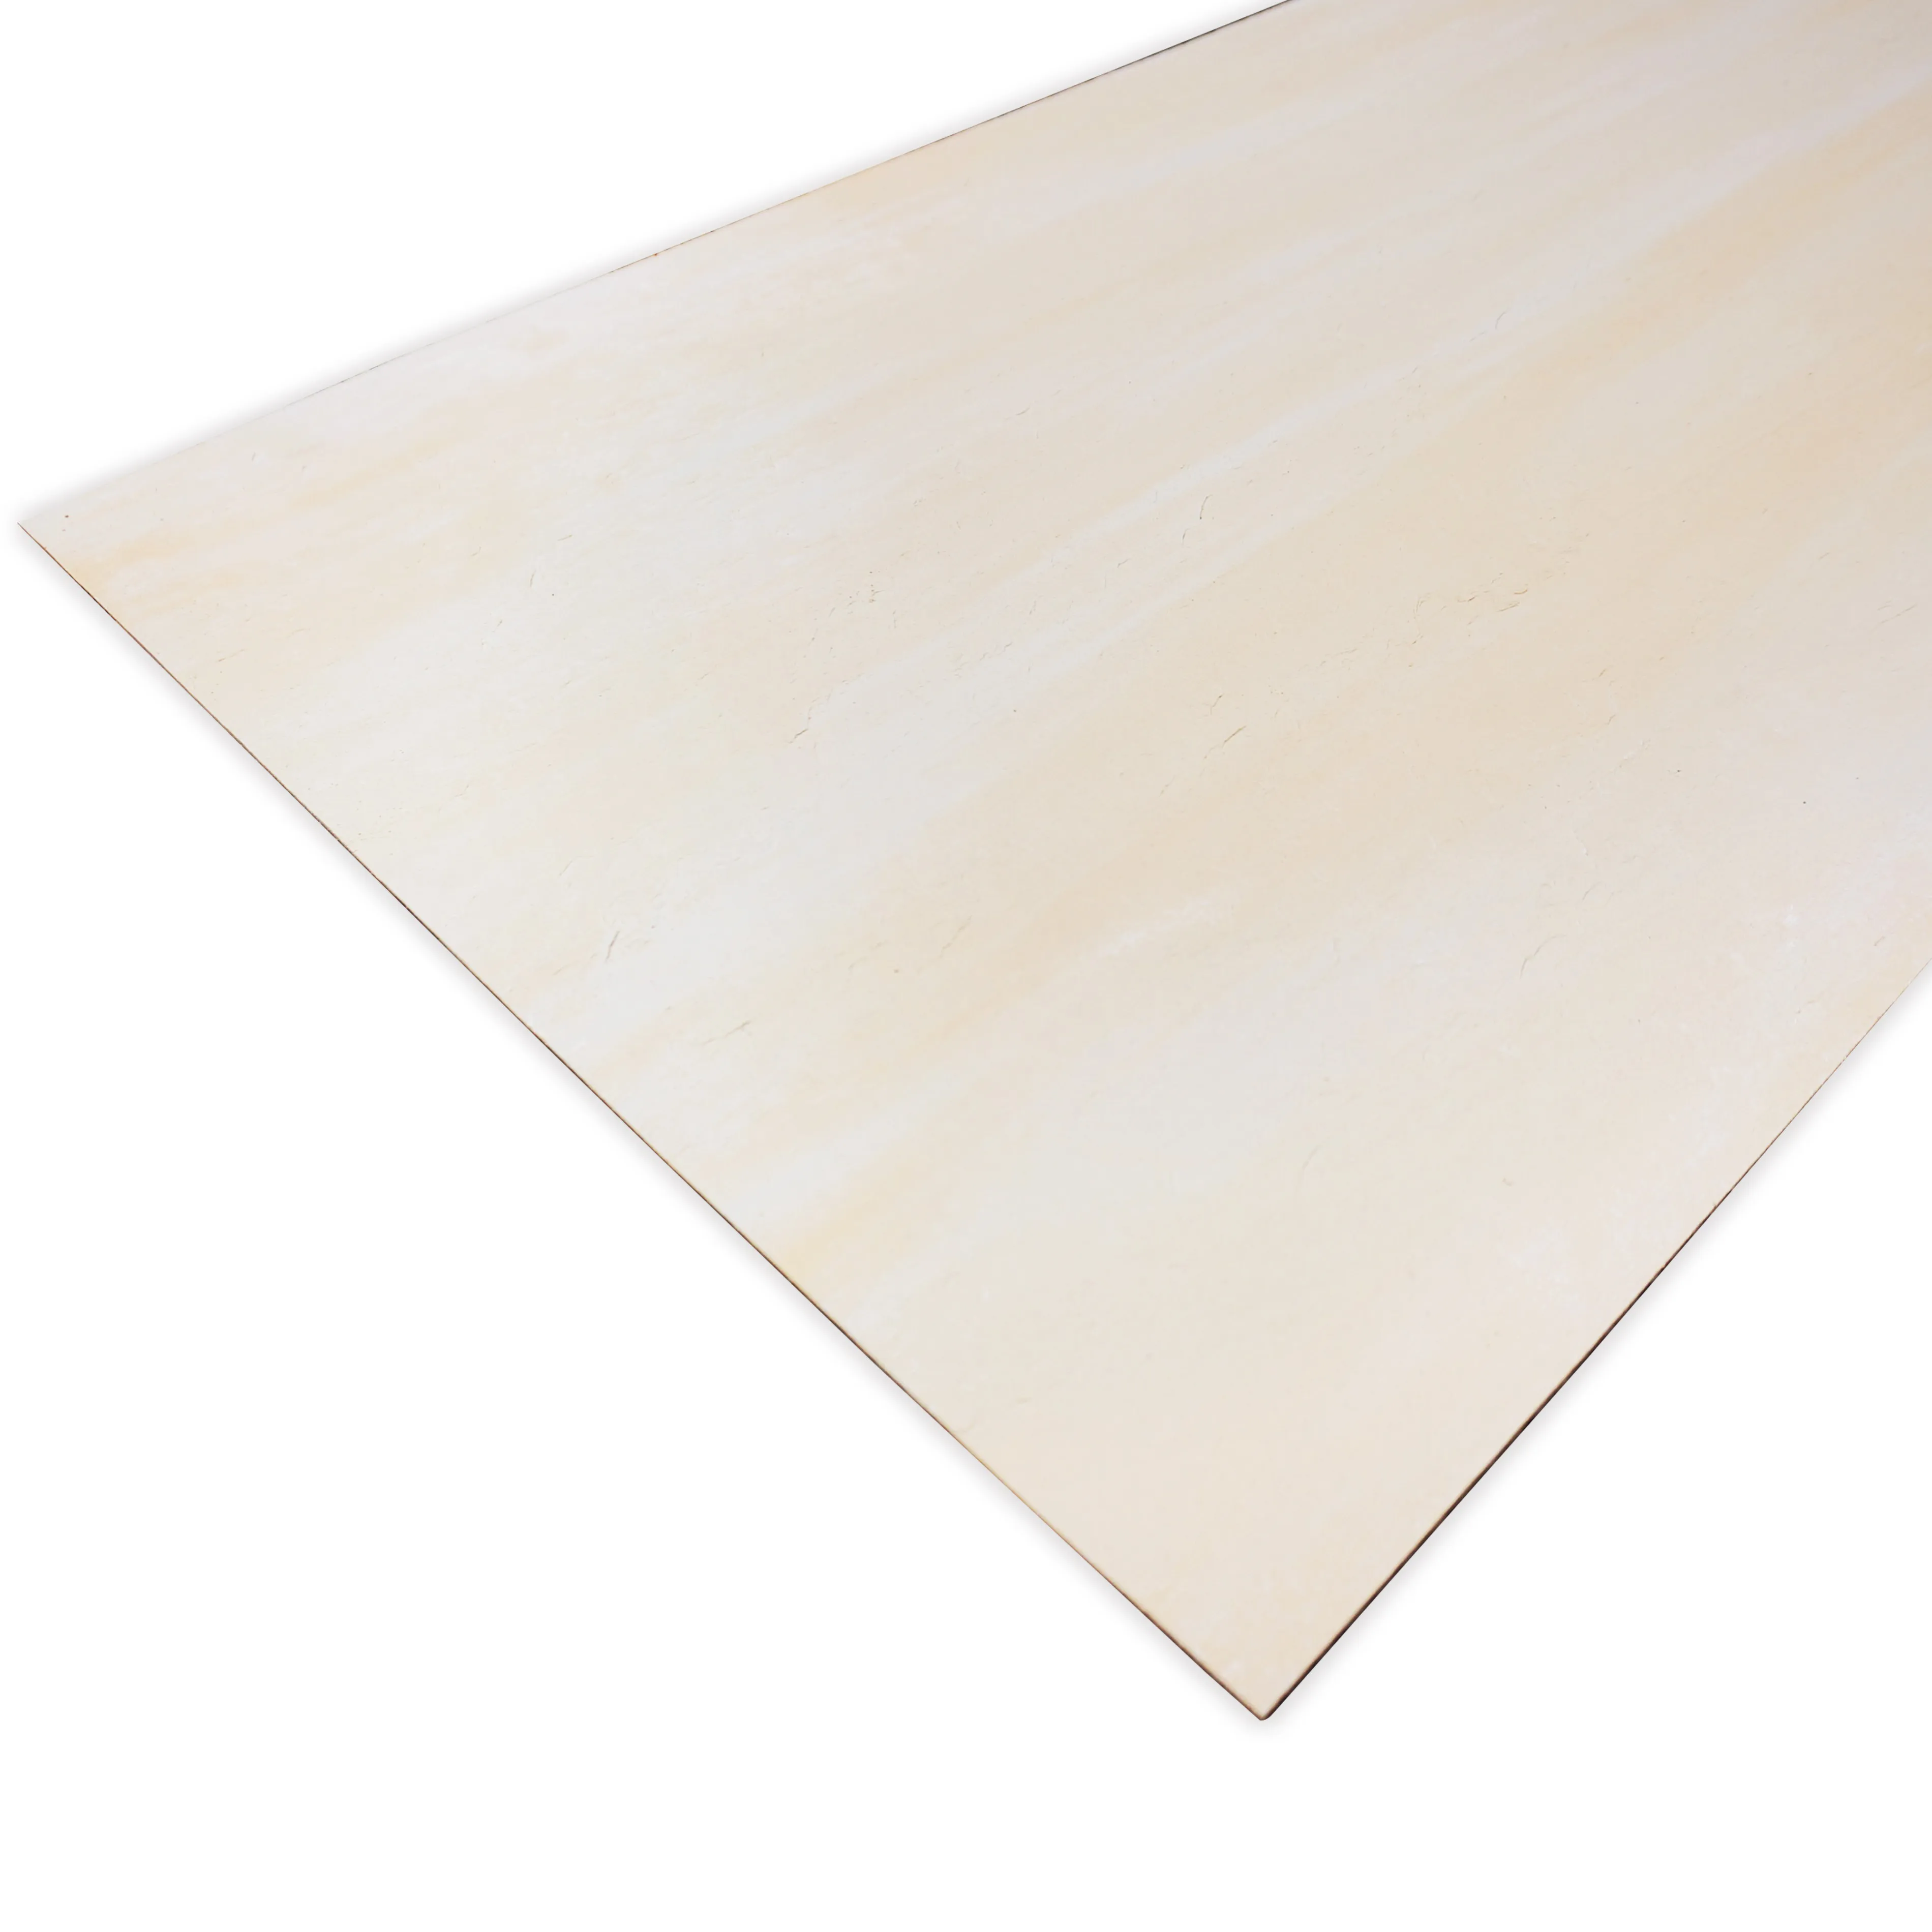
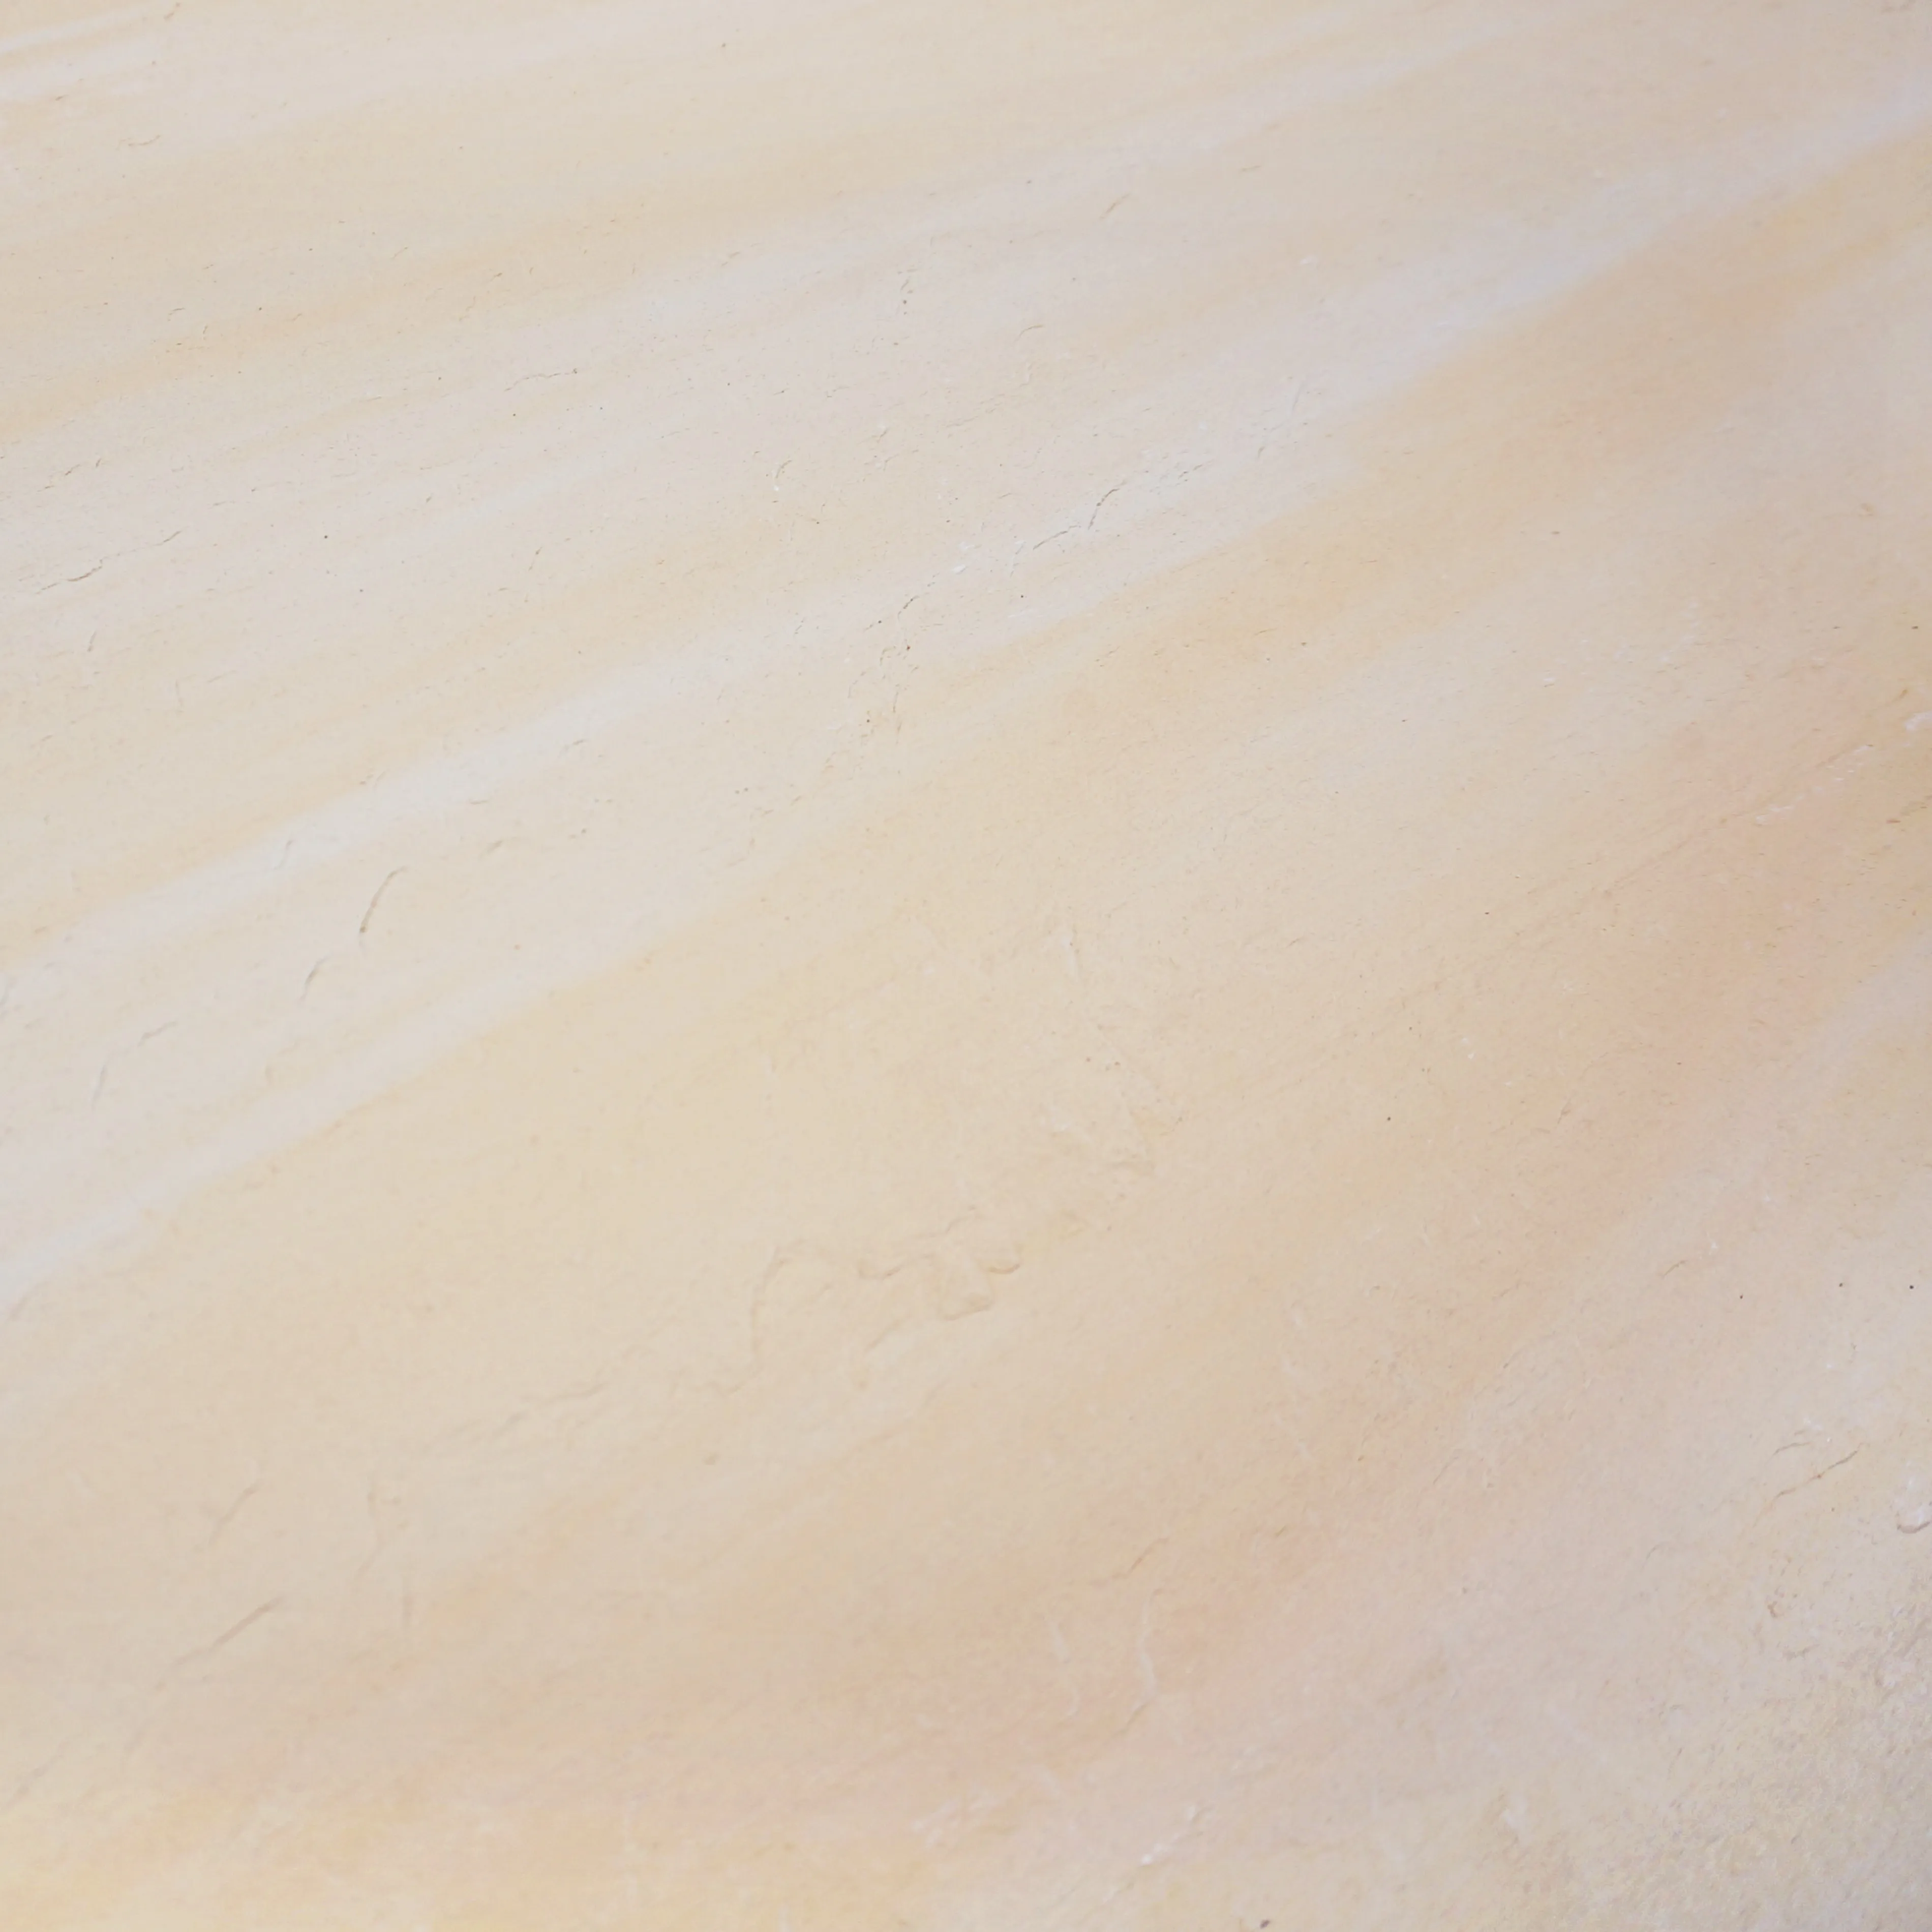
Oasis Stone Foge, in particular, stands out. Picture the soft, weathered look of desert stone, with subtle variations in tone that evoke a sense of calm and timelessness. It's not just a cladding material; it's a mood setter. Whether you're revamping a home facade, designing a cozy patio, or adding texture to a commercial space, Oasis Stone Foge brings warmth that feels both organic and refined.
Before you even unbox your first panel, let's get the groundwork right. Installation is like baking—skip a step, and the result might not hold up. Here's what you need to do:
You don't need a construction crew's worth of gear, but having the right tools on hand makes the job smoother. Here's your checklist:
| Tools | Materials |
|---|---|
| Utility knife or circular saw with a masonry blade | Oasis Stone Foge panels |
| Notched trowel (1/4-inch recommended for most surfaces) | MCM-compatible adhesive (check manufacturer specs!) |
| Level (2-foot and 4-foot for precision) | Grout (match or contrast—we'll talk design later!) |
| Rubber mallet (for gentle tapping) | Primer (if surface is porous, like untreated wood) |
| Sponge and bucket (for cleaning excess grout) | Sealer (optional, but recommended for exterior use) |
Start by mixing your MCM adhesive according to the manufacturer's instructions. It should have the consistency of thick peanut butter—spreadable but not runny. Let it sit for 5–10 minutes (this is called "slaking") to activate the bonding agents.
Using your notched trowel, spread adhesive evenly over a 3x3 foot section of the surface. Hold the trowel at a 45-degree angle to create ridges—these ridges ensure full contact with the panel. Work in small sections to prevent the adhesive from drying out before you place the panel.
Line up your first Oasis Stone Foge panel with the chalk line you snapped earlier. Press it firmly into the adhesive, starting from the bottom and working your way up. Use the rubber mallet to tap gently—this helps the panel bond without damaging the texture. Check with your level to make sure it's straight vertically and horizontally.
Like brickwork, staggering the seams (the vertical gaps between panels) makes the installation stronger and more visually appealing. For example, if your first row starts with a full panel, the second row should start with a half-panel. This "offset" prevents weak points and creates a natural, organic look.
When you reach windows, doors, or corners, measure the space carefully, mark the panel with a pencil, and cut using a utility knife (for thin cuts) or circular saw. Always wear safety goggles and a dust mask—better safe than sorry!
Once the adhesive has cured (usually 24 hours), it's time to grout. Choose a grout color that complements Oasis Stone Foge—soft beige or light gray keeps the focus on the panel texture, while a contrasting hue (like charcoal) adds definition. Apply grout with a rubber float, pressing it into the joints, then wipe away excess with a damp sponge after 15–20 minutes.
If your project is outdoors, a sealer adds an extra layer of protection against rain, UV rays, and dirt. Choose a breathable sealer (MCM materials need to "breathe") and apply it with a paintbrush or roller. Let it dry completely before exposing the surface to moisture.
Oasis Stone Foge is low-maintenance, but a little care goes a long way:
Why stop at one texture? MCM systems are all about mixing and matching. Here are a few ideas to spark your creativity:
Even pros hit bumps. Here's how to fix common issues:
Installing Oasis Stone Foge isn't just about following steps—it's about creating something that reflects your vision. With MCM flexible stone's durability and Foge's timeless texture, you're building more than a wall; you're crafting a space that feels intentional, warm, and uniquely yours.
So grab your tools, take your time, and remember: every panel you place is a step toward bringing your design to life. And when friends ask, "Where did you get that amazing stone?" you can smile and say, "It's Oasis Stone Foge—hand-installed, with a little help from this guide."
Recommend Products


