
Installing specialty building materials like Oasis Stone Foge isn't just a job—it's a craft. Any seasoned contractor will tell you: the difference between a project that impresses clients and one that leads to callbacks often comes down to the tools in your toolbox. When working with materials as unique as MCM flexible stone or as unforgiving as fair-faced concrete, guessing at tool selection isn't an option. Let's break down the essential tools contractors need to install Oasis Stone Foge flawlessly, along with insights into why each tool matters and how to use them like a pro.
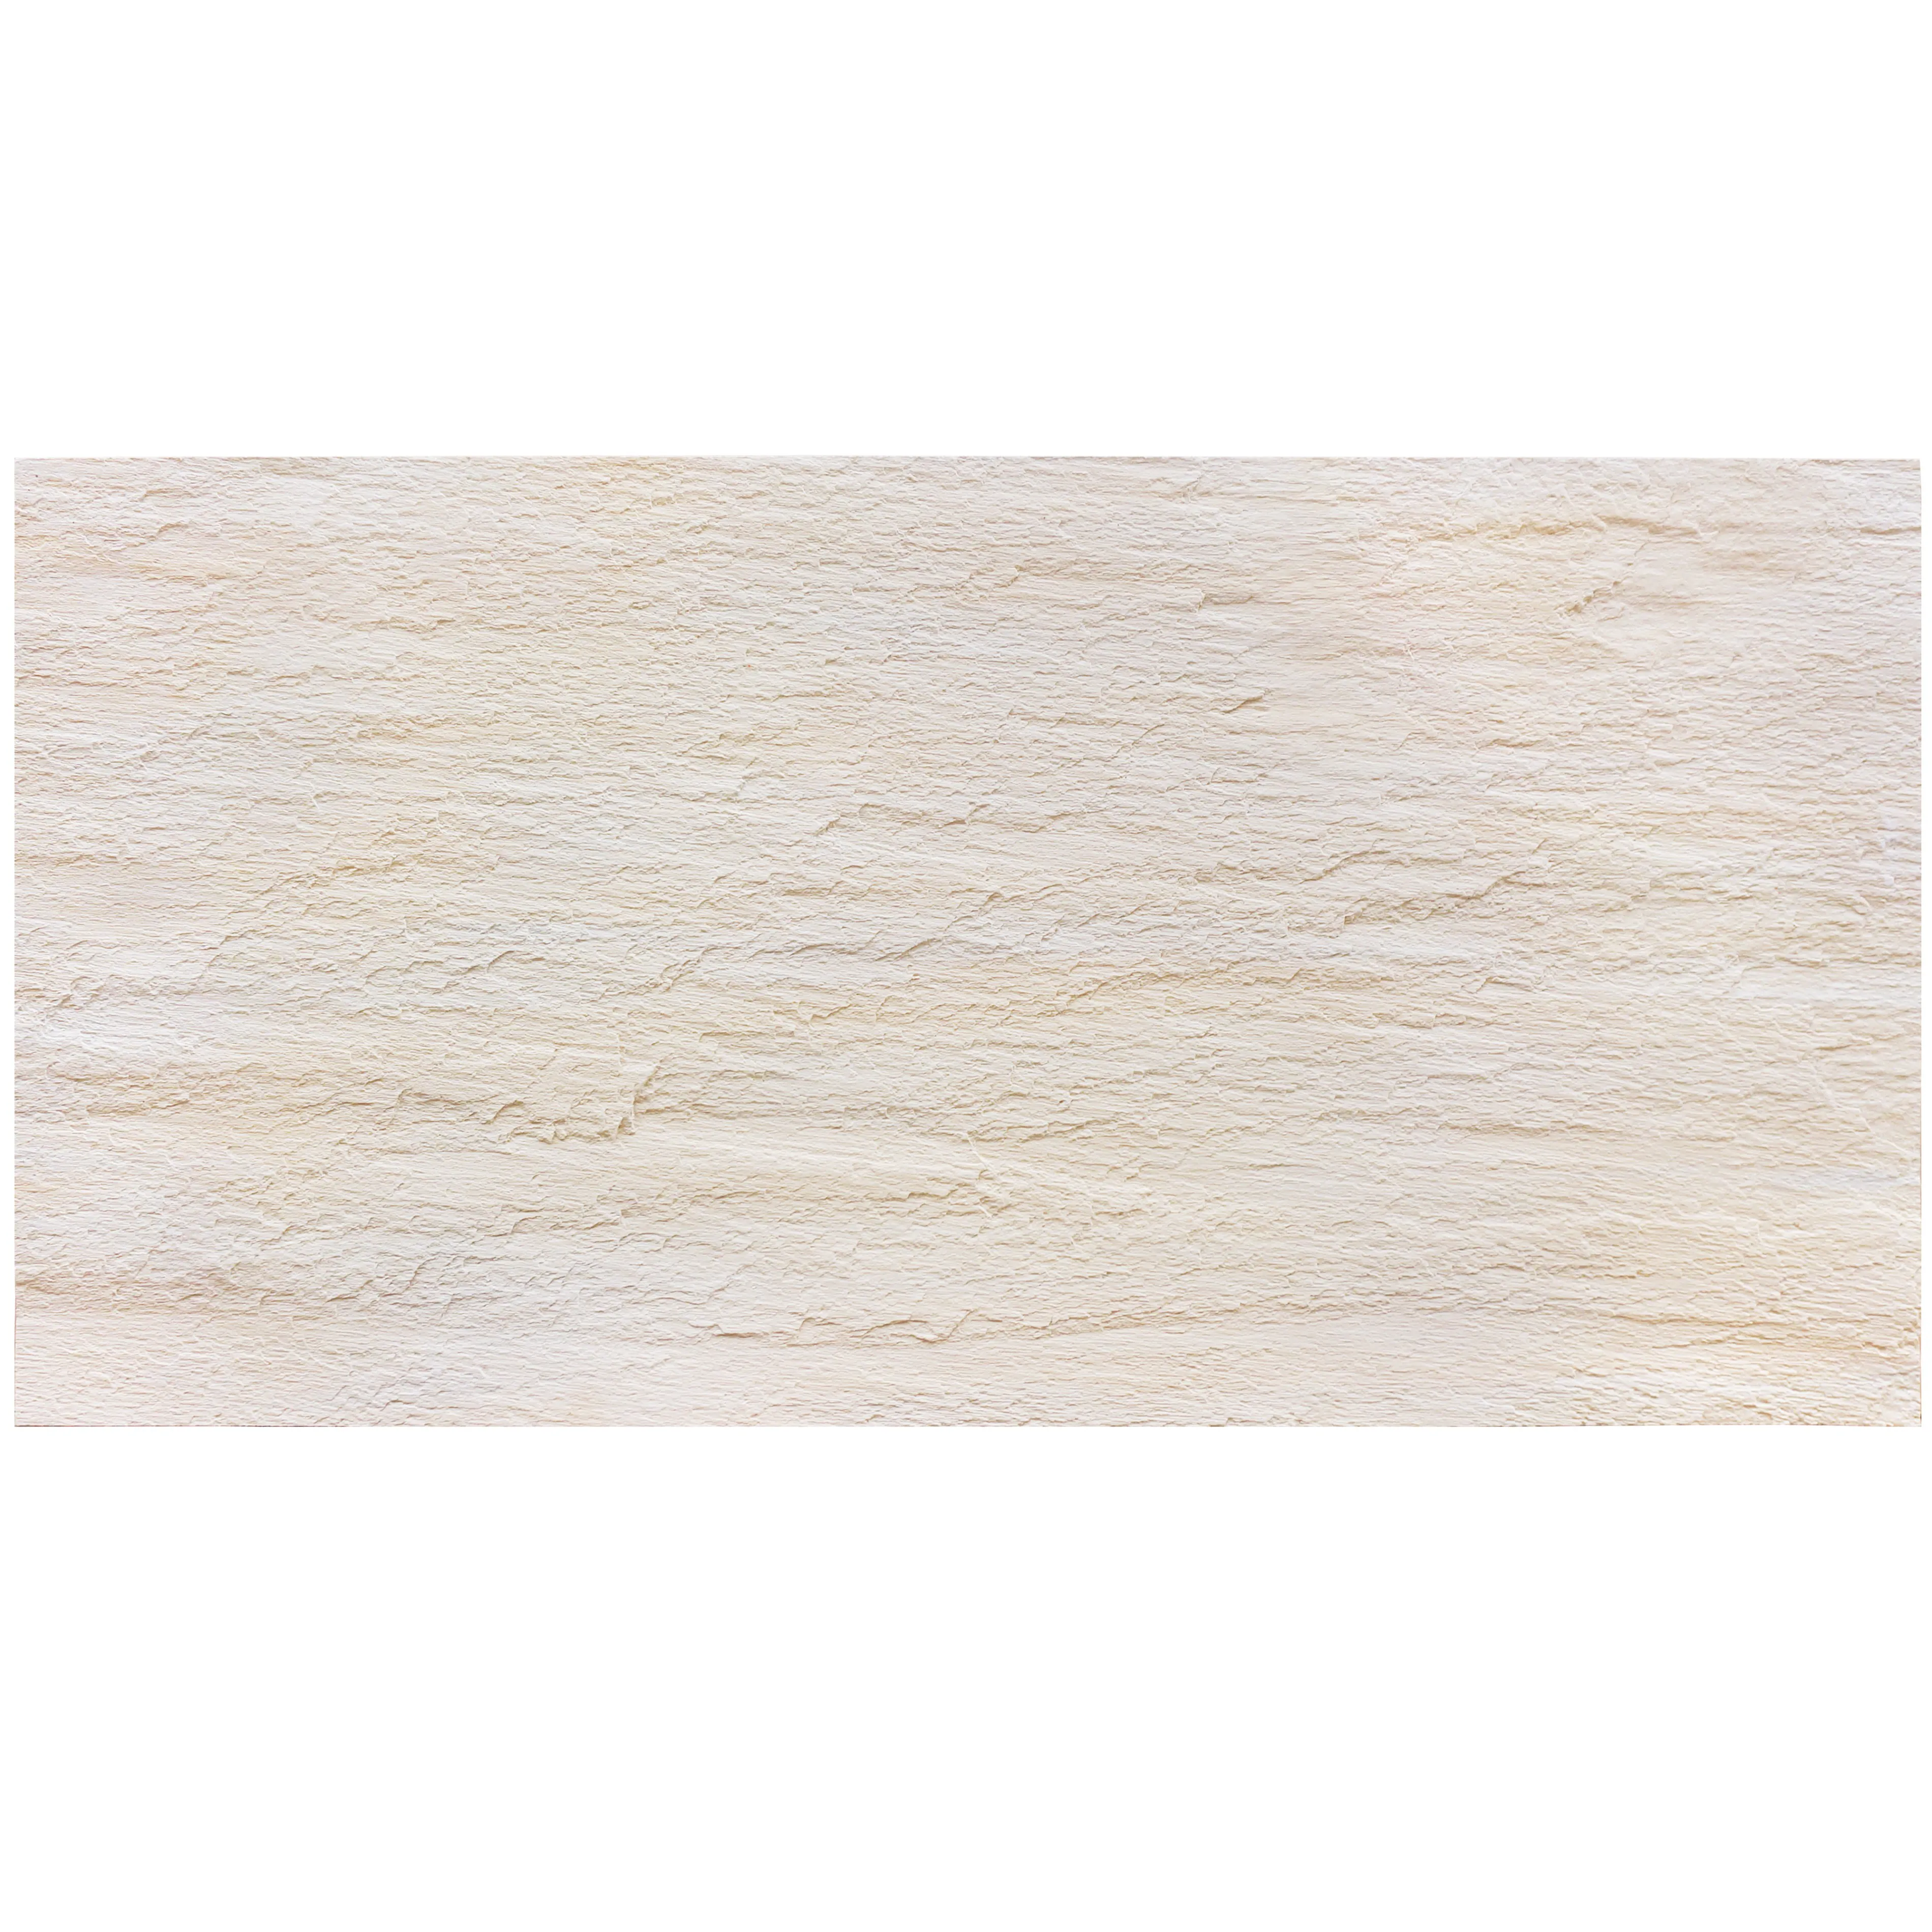
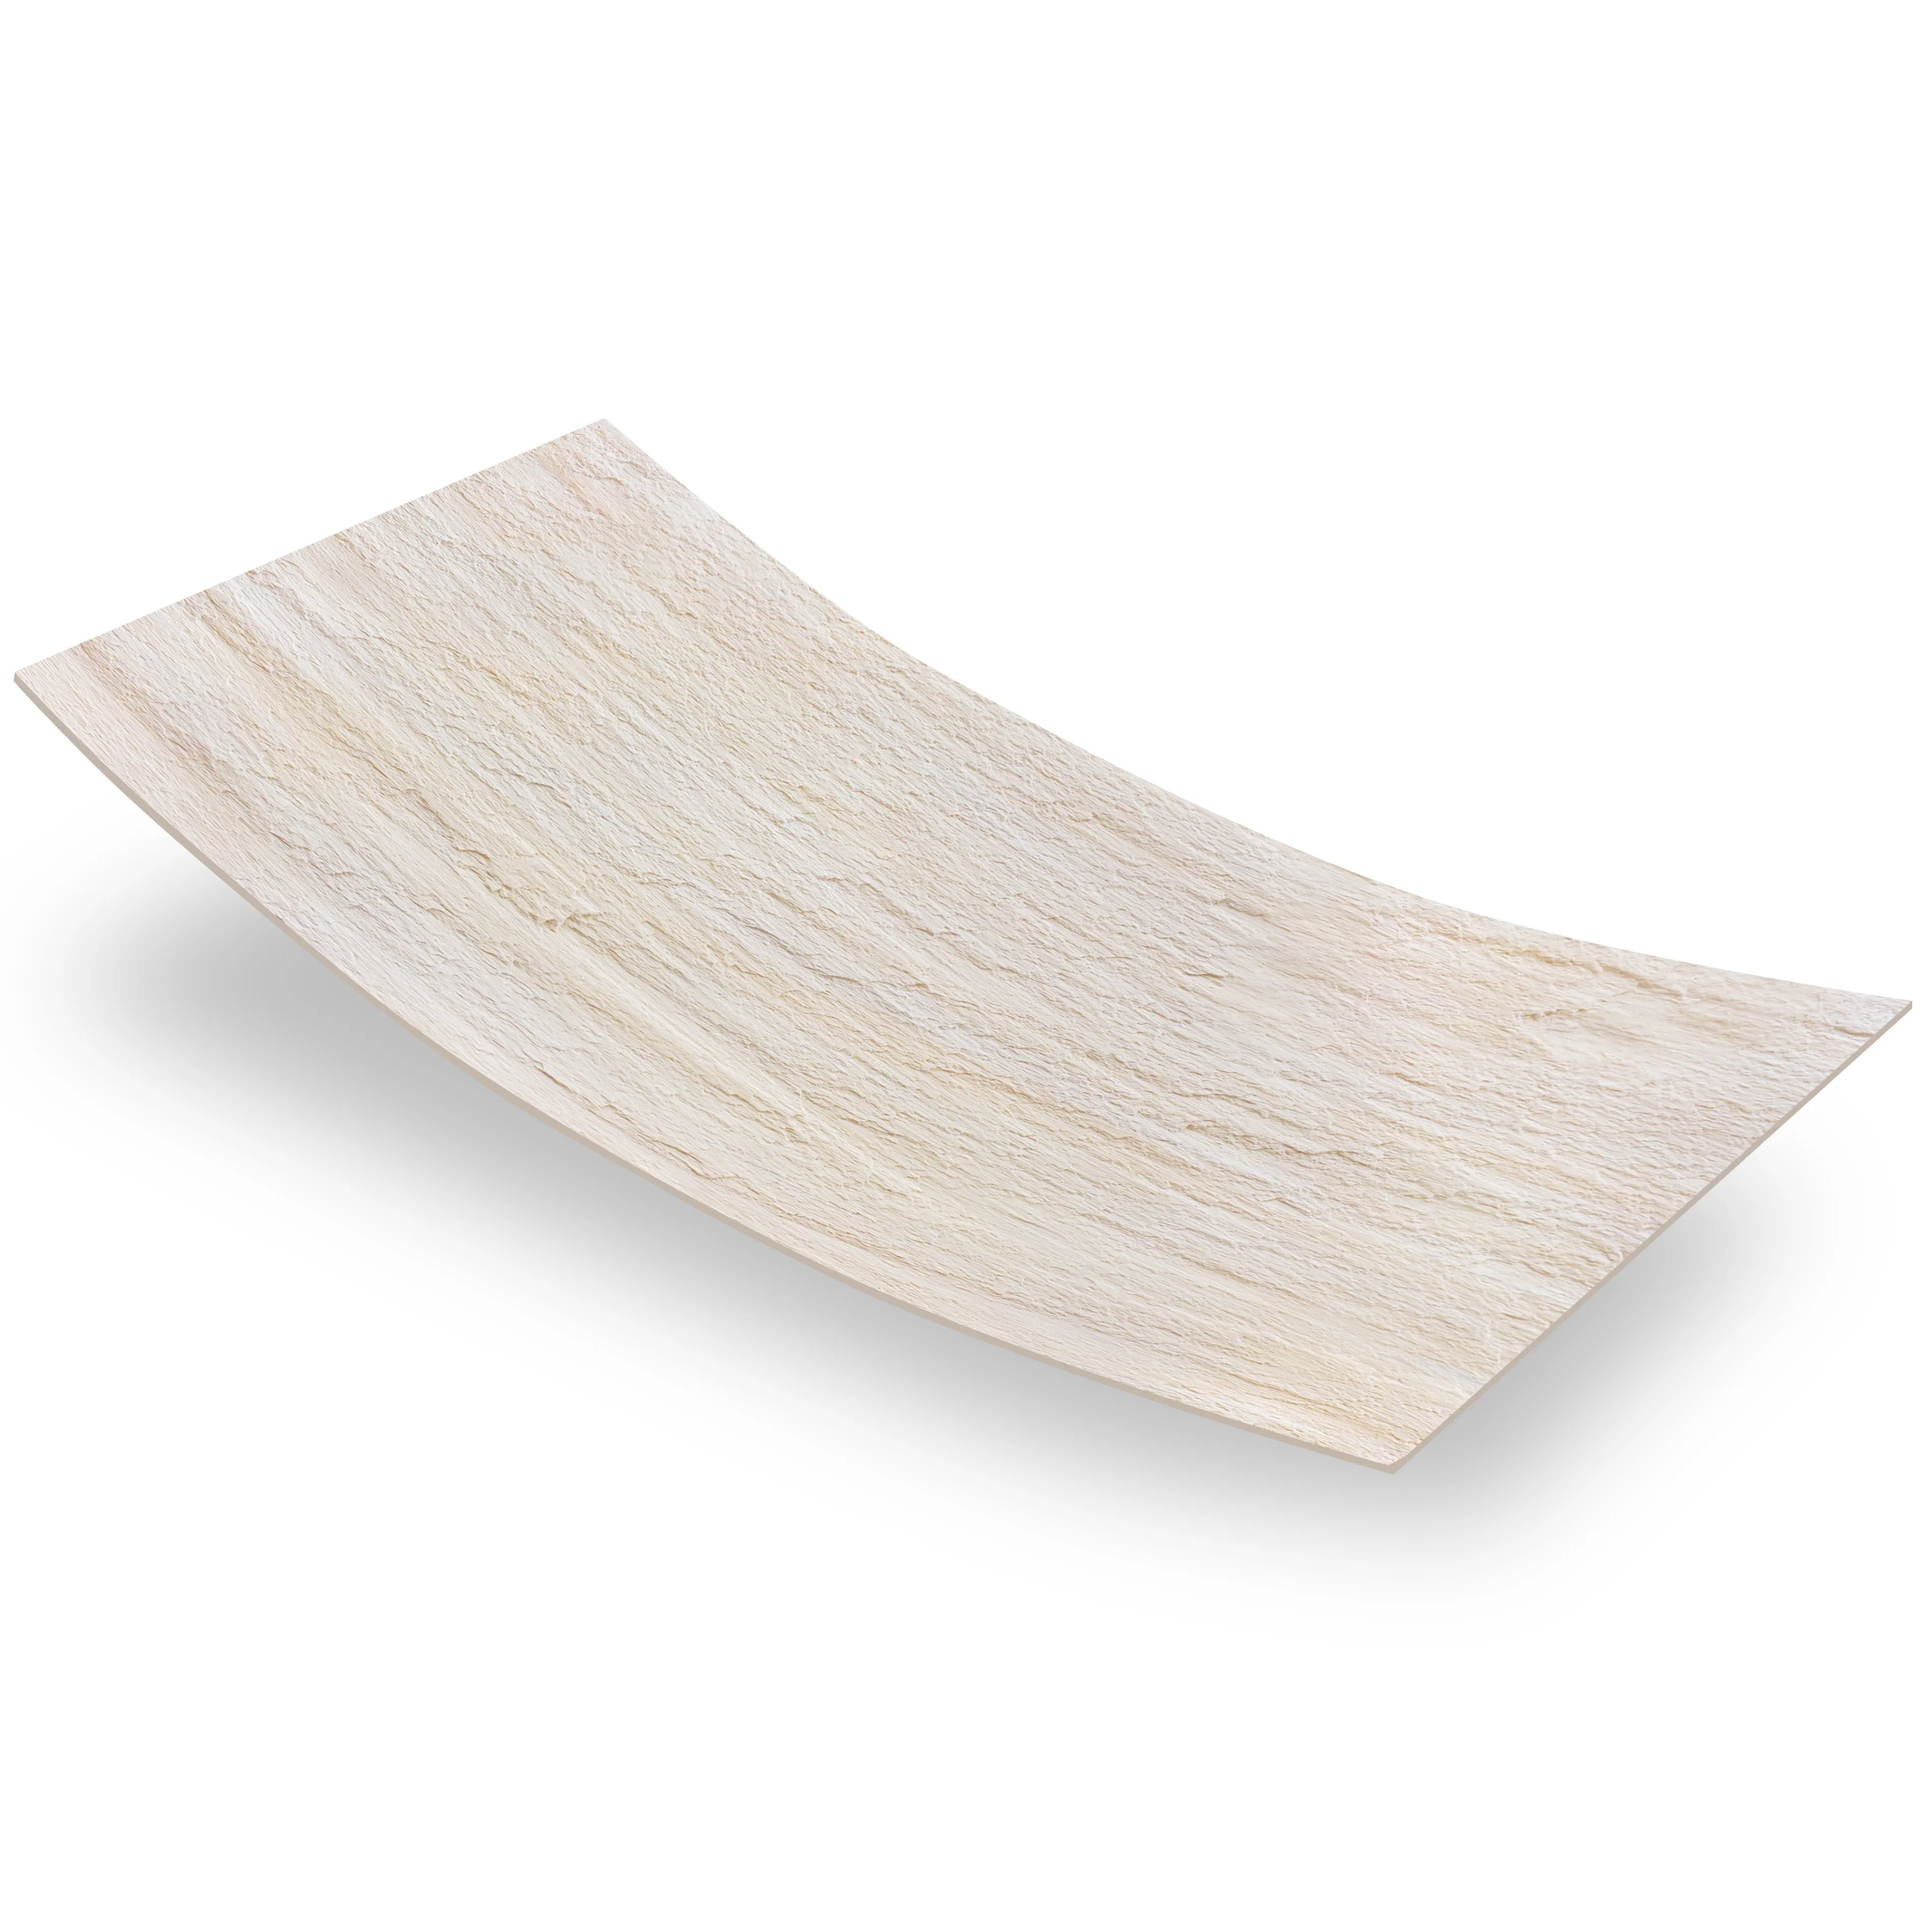
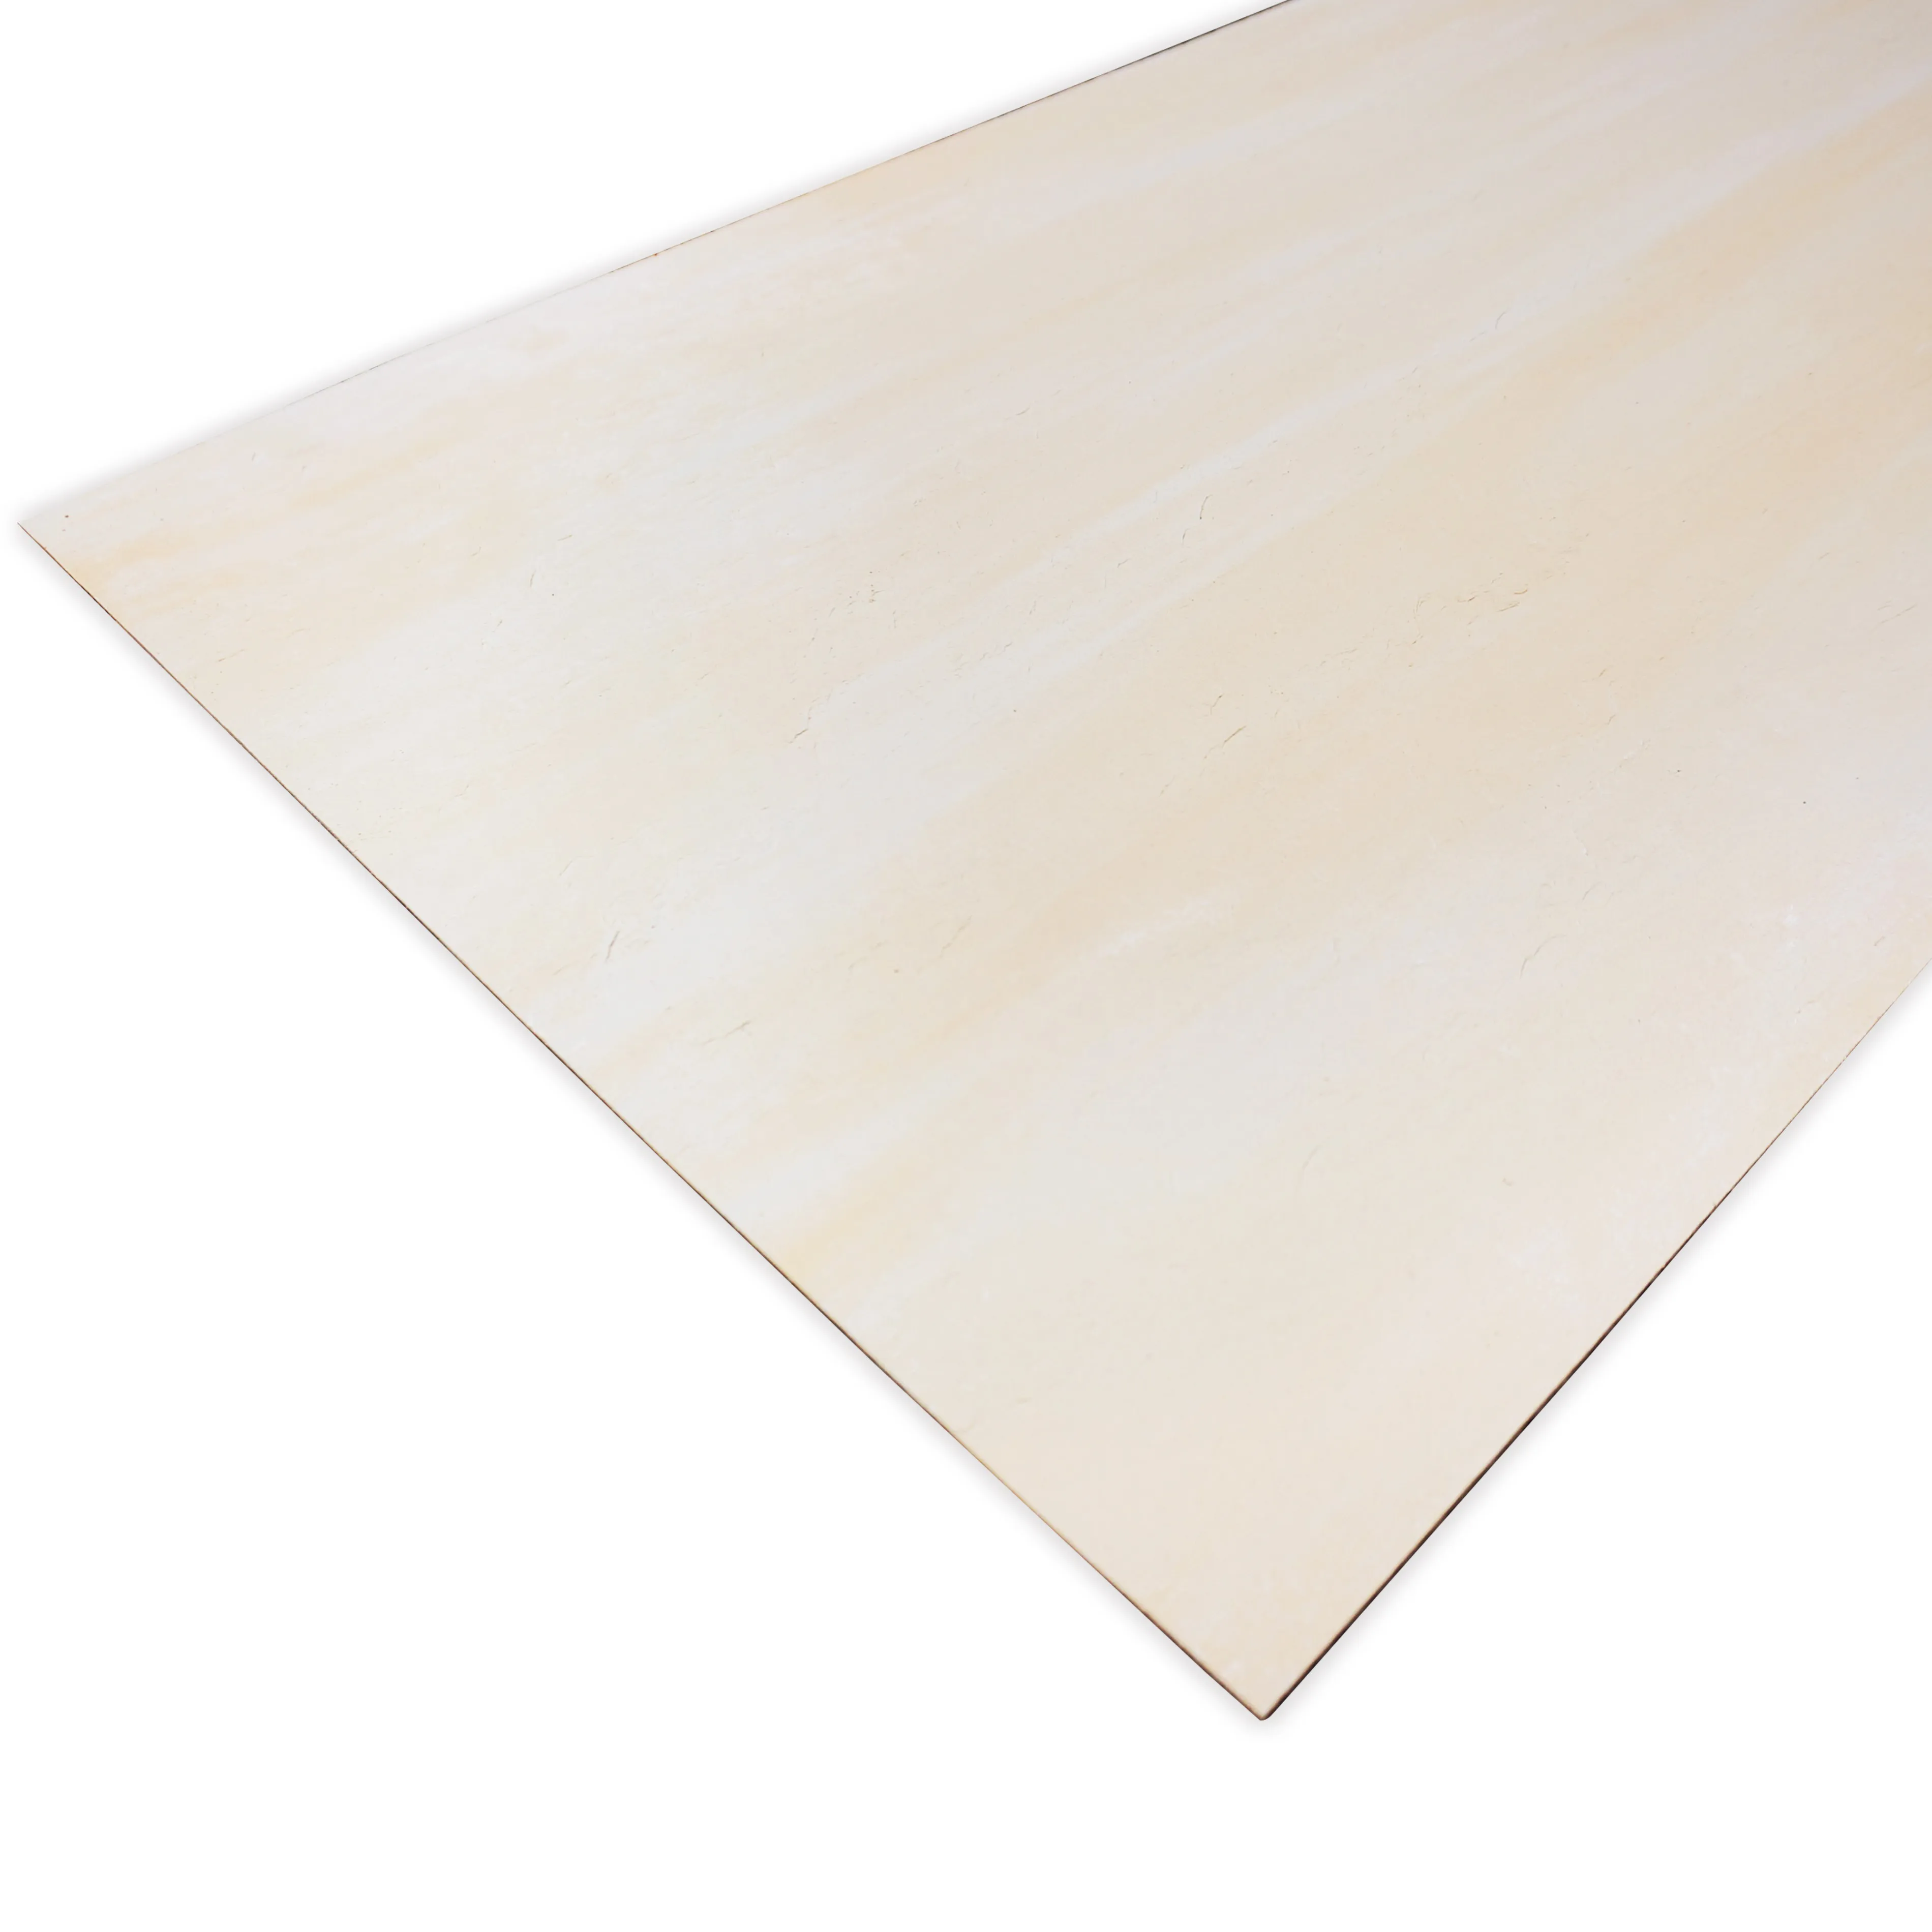
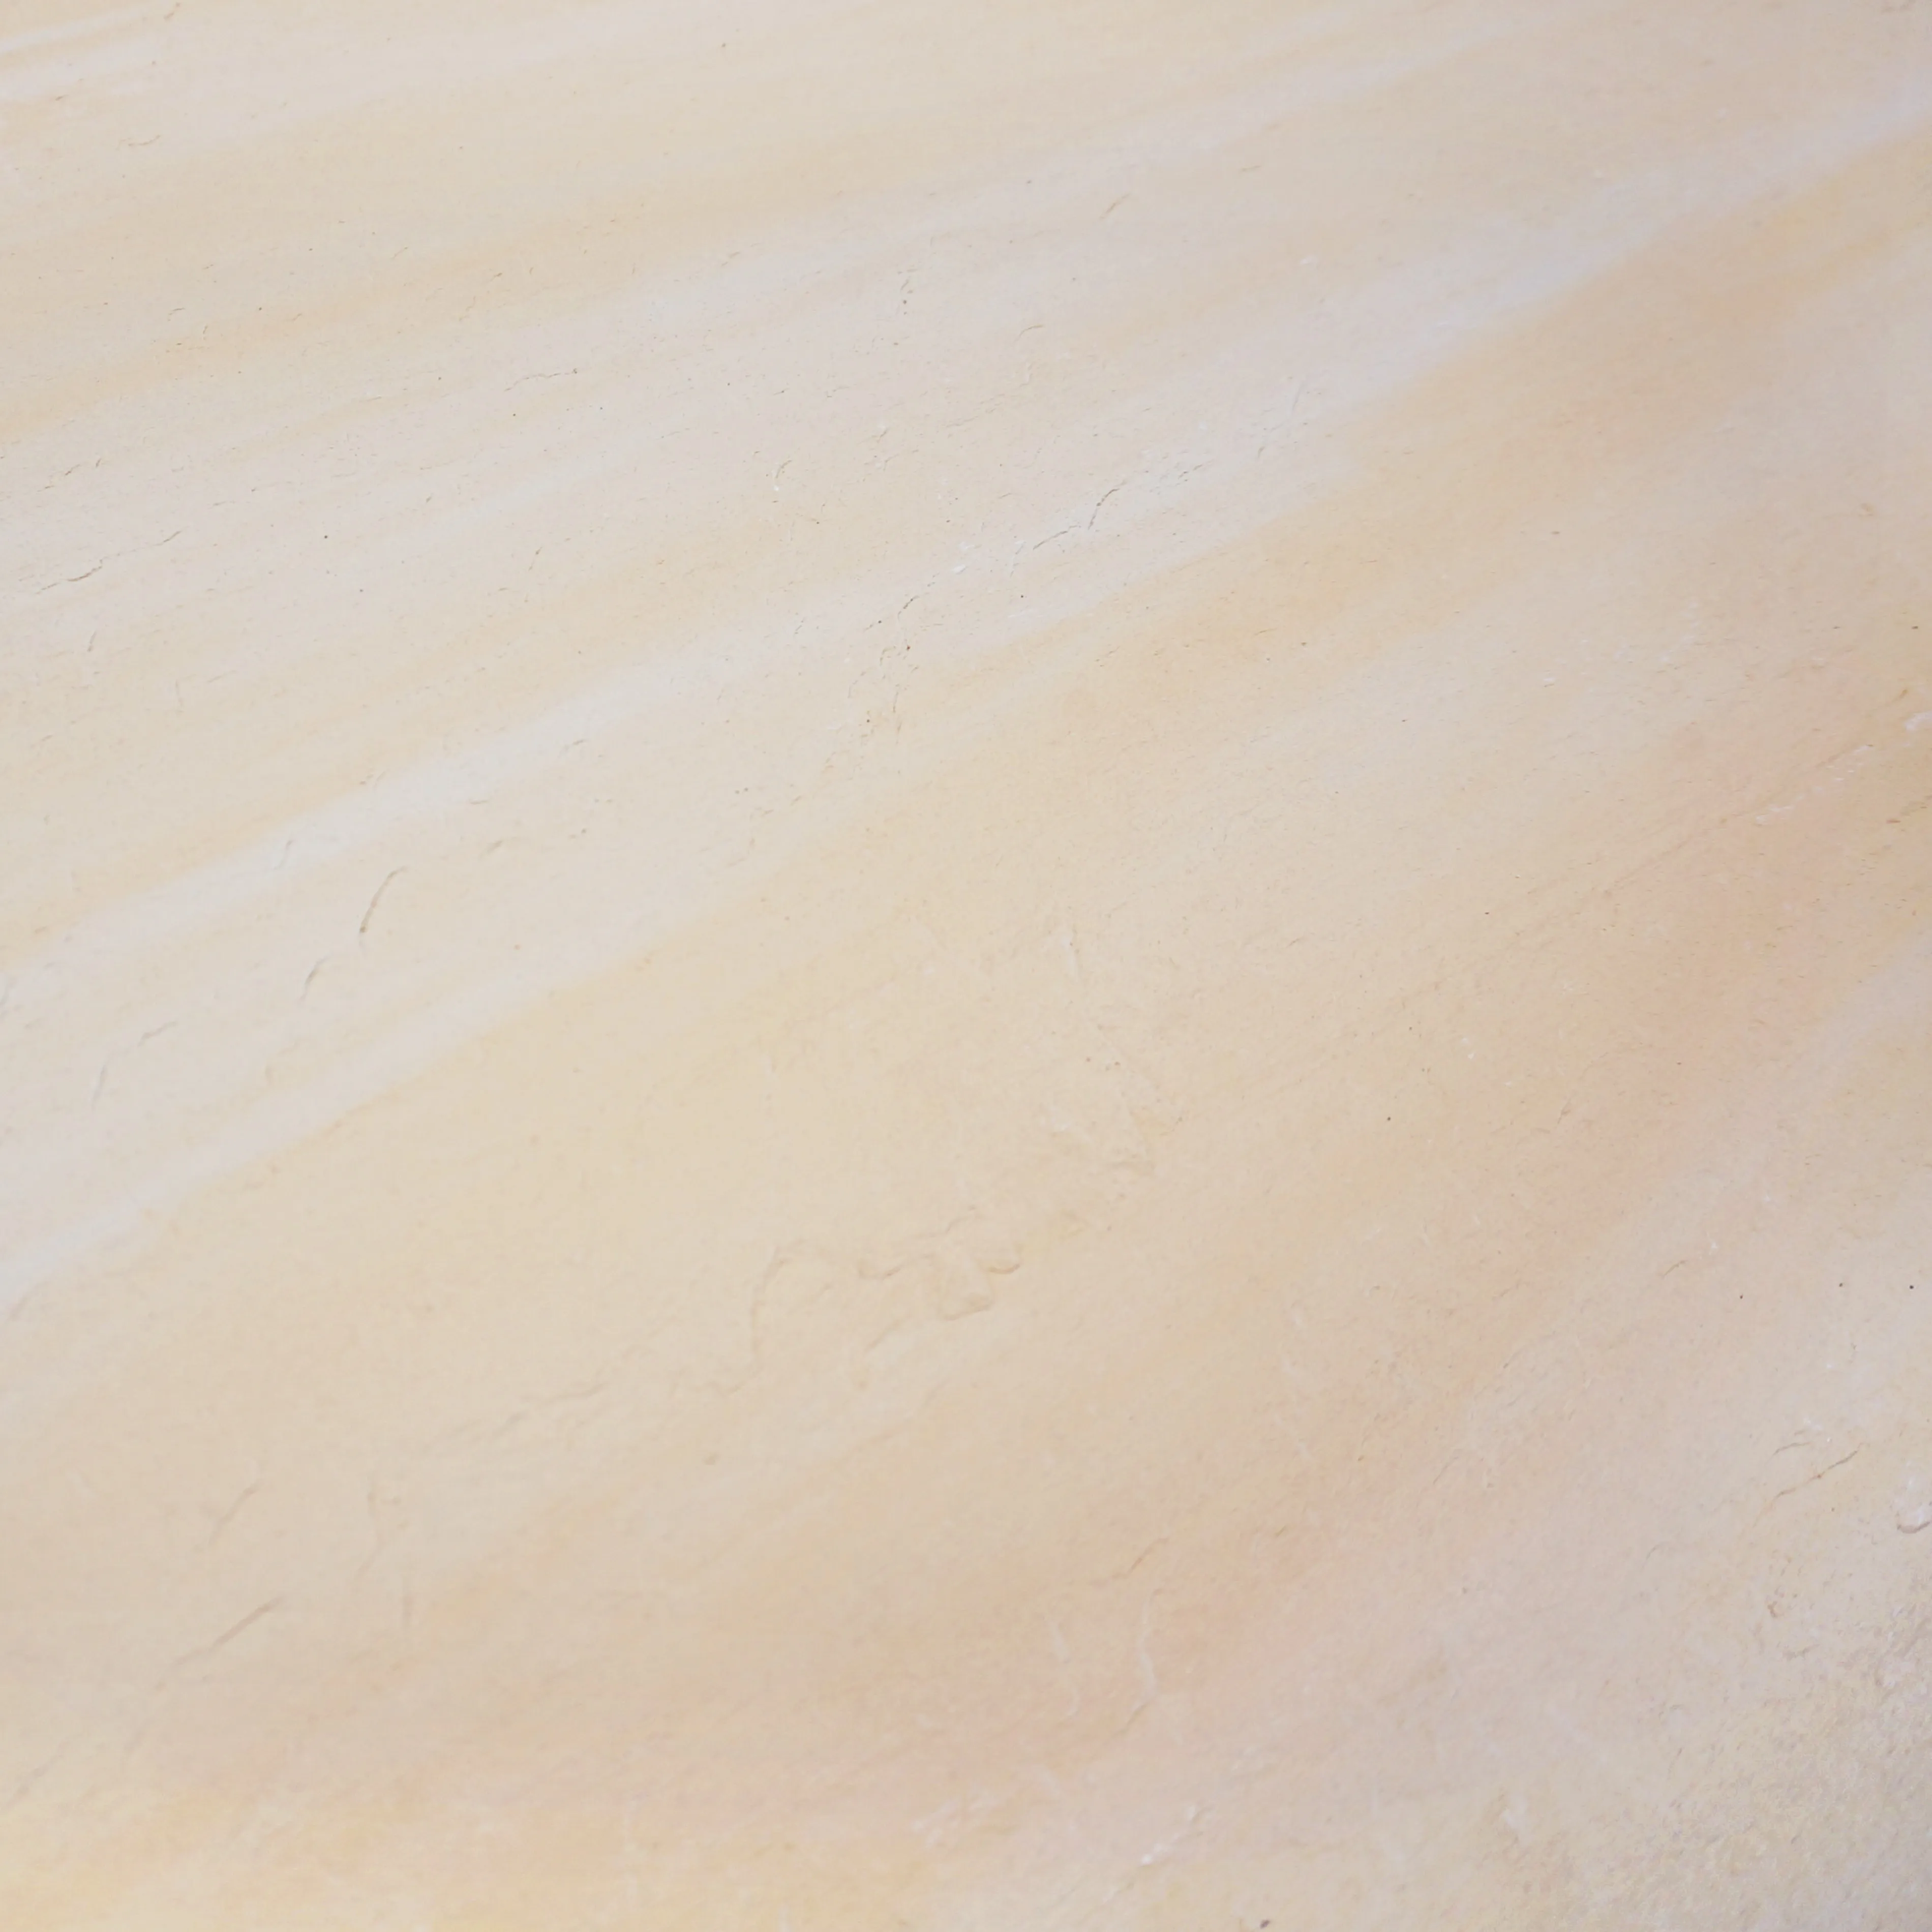
First, let's get clear on what makes Oasis Stone Foge distinct. Part of the broader MCM (Modified Composite Material) family, it's a lightweight, flexible stone cladding designed to mimic natural stone's texture and durability without the heavy weight. Unlike rigid materials like lunar peak silvery or boulder slab (vintage black), Oasis Stone Foge bends slightly, resists cracking, and installs with less structural support. But that flexibility? It demands tools that balance precision with gentleness—tools that won't tear the material or leave uneven surfaces.
Compare that to fair-faced concrete, which requires heavy-duty tools for smoothing and shaping, or 3D printing series materials, which often need specialized cutting equipment. Oasis Stone Foge sits in a sweet spot: it's forgiving, but only if you treat it right. Let's dive into the tools that make that possible.
Hand tools are where the craft happens. These are the tools you'll reach for when you need to adjust a stone by a millimeter, smooth grout into a tight corner, or tap a panel into place without a scratch. Here's what you can't skip:
Forget generic trowels—Oasis Stone Foge needs notched trowels with the right tooth size. A 6mm V-notch trowel is ideal: it spreads adhesive in uniform ridges that bond perfectly with the stone's back surface. Too big (like the 10mm notches used for MCM big slab board series), and you'll have adhesive oozing out the sides; too small, and the stone might not stick. Pro tip: Clean the trowel immediately after use—dried adhesive clogs notches, turning a precision tool into a messy liability.
You might think any mallet works, but a rubber mallet with a soft, non-marring head is non-negotiable. Metal mallets? They'll chip the stone's surface. Hard plastic? Too rigid—you could crack the panel. A 16-ounce rubber mallet lets you tap the stone into place firmly enough to set the adhesive without damaging the finish. I've seen contractors skip this and use their fists (we've all been there), but trust me: a few extra dollars on a good mallet saves hours of fixing dented stones.
Grouting Oasis Stone Foge isn't just about filling gaps—it's about creating a seamless transition between stones. A rubber grout float with a medium-soft sponge edge works best. The sponge absorbs excess grout, while the rubber pushes it into tight spaces without scratching the stone's texture. Avoid foam floats—they leave air bubbles—and always hold the float at a 45-degree angle to the surface. For tight corners, a margin trowel (a small, flat trowel) becomes your best friend; it fits where larger floats can't.
Oasis Stone Foge cuts more like thick vinyl than natural stone, so a sharp utility knife with snap-off blades is your first line of defense for straight cuts. Score the surface, then bend gently to snap—no need for power tools here. For curves or notches? Stone nippers (handheld pliers with sharp, curved jaws) let you nibble away small sections without cracking the panel. I keep two knives on site: one for cutting stone and one for opening packaging—using a dull blade on Oasis is a recipe for ragged edges.
Hand tools handle the details, but power tools make the job feasible—especially on large projects. When installing 500+ sq ft of Oasis Stone Foge, these tools turn a week-long project into a three-day win:
For straight, long cuts (like trimming panels to fit a wall's edge), a wet saw with a 7-inch diamond blade is a must. The water cools the blade and suppresses dust, which is key for two reasons: first, breathing stone dust is dangerous; second, dry cutting can melt the MCM backing, leaving a gummy, uneven edge. Adjust the blade depth to just slightly deeper than the stone's thickness—no need to cut through the entire table. Pro move: Tilt the blade to 45 degrees for beveled edges when installing around windows or corners.
Angle grinders with diamond cup wheels or sanding pads are perfect for smoothing cut edges or creating custom shapes (think arcs for a circular window). Unlike 3D printing series materials, which often require specialized routers, Oasis Stone Foge grinds down easily—just go slow. Use a variable-speed grinder and start at low speed to avoid overheating the stone. And always wear eye protection: even small stone chips fly fast.
Pre-mixed adhesive might seem convenient, but for Oasis Stone Foge, nothing beats freshly mixed thinset. A cordless drill with a spiral mixing paddle ensures the adhesive is smooth and lump-free—critical for consistent bonding. Aim for a slow mixing speed (300 RPM) to avoid introducing air bubbles. I've seen contractors skip this and mix by hand, but uneven adhesive leads to weak spots where stones can lift. A $20 mixing paddle is cheaper than redoing a wall.
You can have the best tools in the world, but if your layout is off, the whole project looks unprofessional. These tools keep Oasis Stone Foge panels straight, level, and evenly spaced:
A self-leveling laser level is a game-changer for large walls or floors. Unlike a traditional spirit level, which checks one spot at a time, a laser projects a straight line across the entire surface—perfect for aligning the first row of stones, which sets the tone for the whole installation. Look for a model with a magnetic base to attach to metal studs, and always double-check the level on both horizontal and vertical axes. Trust me: Clients notice when the top row dips by half an inch.
Old-school tools like chalk lines (filled with blue or red chalk) are irreplaceable for marking layout grids. Snap a vertical line every 24 inches (the typical width of Oasis Stone Foge panels) and horizontal lines every 16 inches to keep rows straight. Pair that with a 25-foot retractable tape measure (with a locking mechanism!) for quick measurements. I once worked with a helper who skipped the chalk line—we spent two hours repositioning panels that had drifted off-center. Don't be that helper.
Oasis Stone Foge isn't the only MCM material out there, and contractors often switch between products like lunar peak golden, travertine (starry blue), or even foamed aluminium alloy board (vintage silver). Here's how tool needs shift between materials:
| Material | Key Tool | Why It's Needed | Pro Tip |
|---|---|---|---|
| Oasis Stone Foge | 6mm Notched Trowel + Soft Rubber Mallet | Light adhesive application; gentle tapping to avoid tearing | Use adhesive with a 30-minute open time—Oasis sets quickly! |
| Fair-Faced Concrete | Bull Float + Concrete Vibrator | Smoothing large surfaces; removing air bubbles | Float before the concrete starts to set—timing is critical. |
| Foamed Aluminium Alloy Board (Vintage Gold) | Metal Shears + Rivet Gun | Clean cuts through thin metal; secure fastening | Wear gloves—aluminium edges are sharp! |
| 3D Printing Series | CNC Router (for custom shapes) | Precision cutting for intricate designs | Test router speed on scrap—3D materials melt easily. |
Tools are an investment—treat them like one. A dull diamond blade on a wet saw won't just slow you down; it'll chip Oasis Stone Foge's edges. A rusted trowel? It'll leave streaks in grout. Here's how to keep your tools in top shape:
At the end of the day, tools aren't just objects—they're extensions of your hands, your eye, and your experience. When you pick up a notched trowel to install Oasis Stone Foge, you're not just spreading adhesive; you're ensuring that stone stays put for decades. When you tap a rubber mallet, you're crafting a finish that makes clients stop and say, "That looks perfect."
So next time you're prepping for an MCM flexible stone project, take an extra 10 minutes to check your tools. Sharpen that blade. Clean that trowel. And remember: the best contractors don't just work with their hands—they work with intention. Your tools? They're how you turn intention into results.
Recommend Products


